


Melting chocolate of any sort is both one of the simplest and one of the easiest-to-mess-up tasks in baking. And what is the best way to melt chocolate anyways? Whether you're wondering how to melt white chocolate chips, milk chocolate bars, or dark chocolate pistoles, I've got all the details you'll need to be a pro in no time!
Jump to (scroll for more!):
- What's the easiest way to melt chocolate?
- How to Prep your Chocolate for Melting
- Special Tools and Equipment You'll Need
- Do these methods work for all chocolates?
- Melting Chocolate in a Microwave
- How to Double Boil Chocolate on the Stove
- How to Melt White Chocolate Chips
- How to Thin Melted Chocolate
- What's the deal with chocolate seizing?
- What to Do with Extra Melted Chocolate
- Frequently Asked Questions
- Chocolate Recipes You'll Love
- 📖 Full Recipe
- Comments
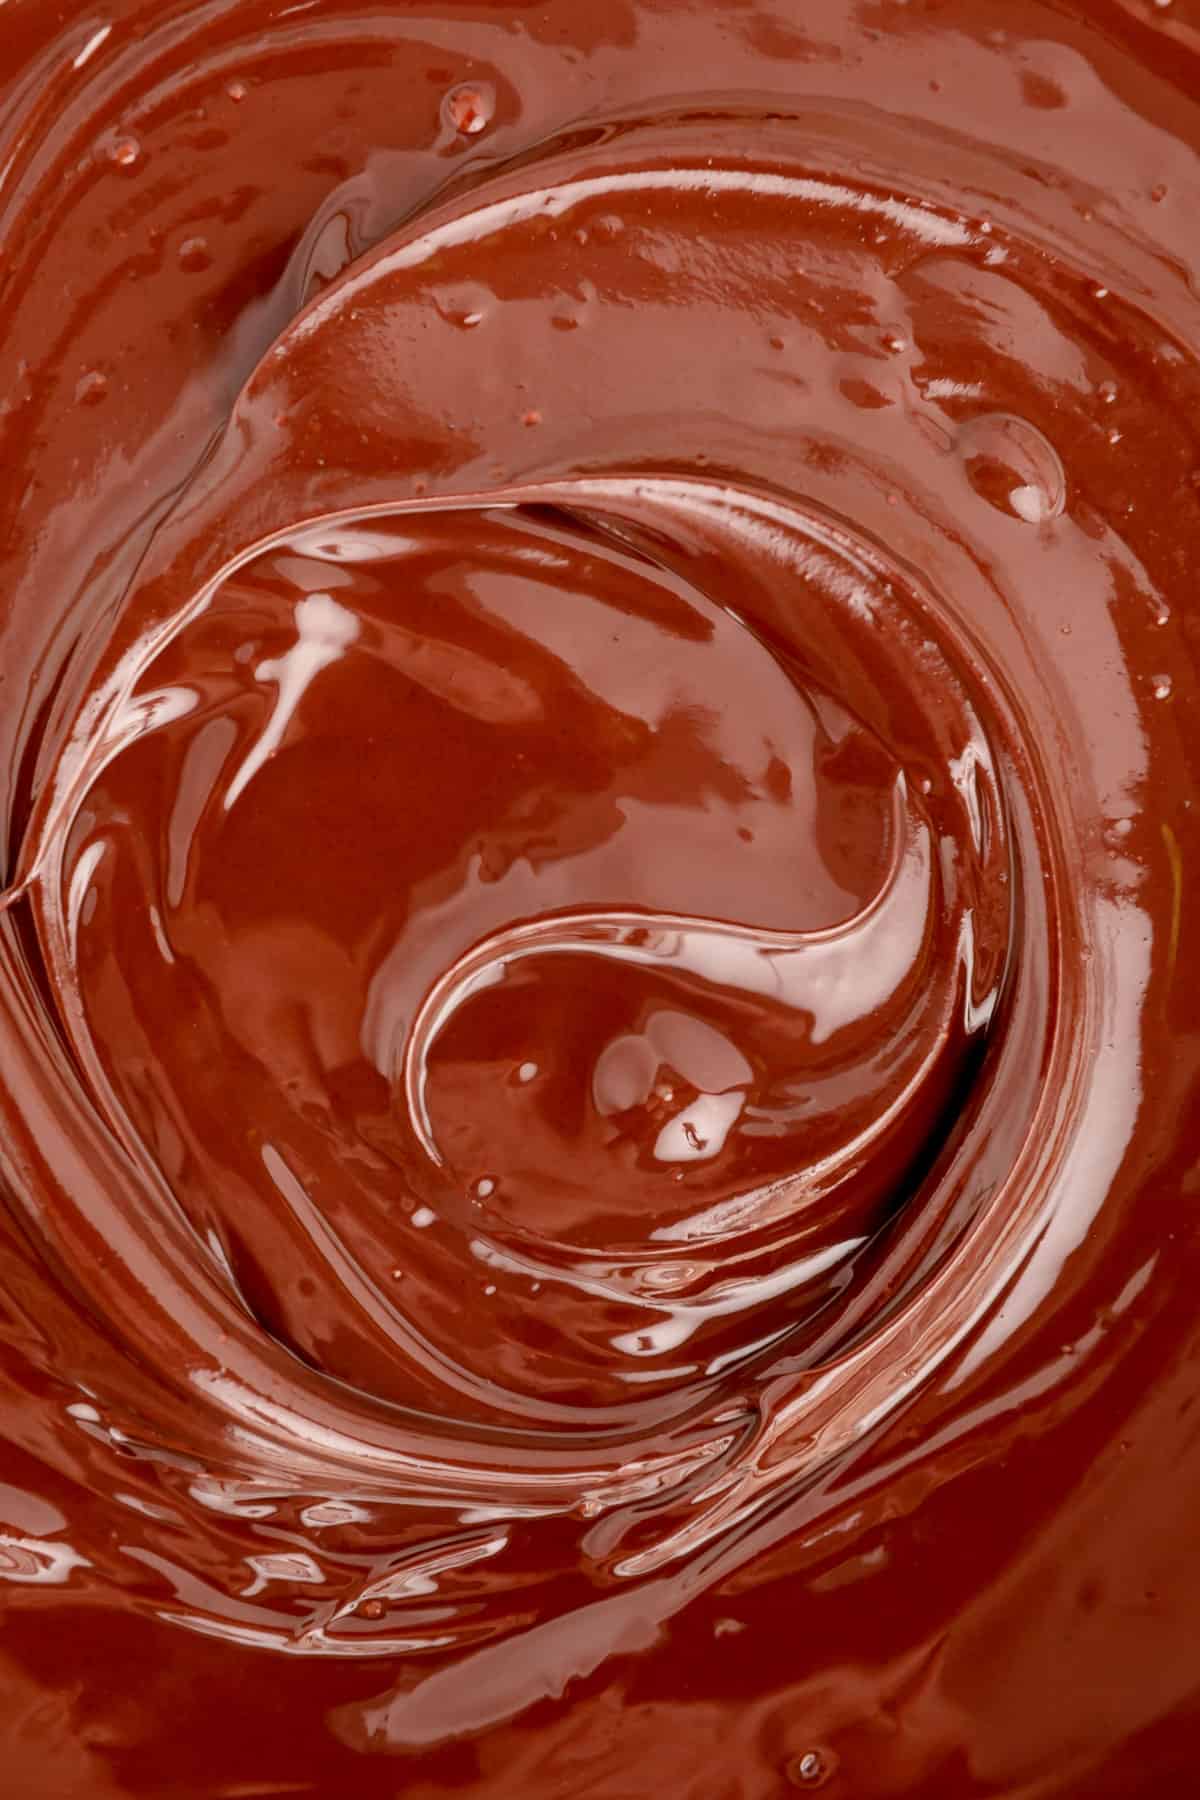
What's the easiest way to melt chocolate?
My personal go to for melting chocolate is always the microwave. Not only is it the fastest method (the chocolate takes less time to melt and you don't have to wait for water to boil), but it also makes less of a mess which I'm always a fan of.
But what if you don't have a microwave? When it comes to how to melt chocolate without a microwave, the stove and a pot of boiling water are your new best friends.
The other big benefit of stove top melting (using a double boiler method, also known as a bain-marie), is when set up correctly, it's a safer way to melt the chocolate without risk of burning. That said, it does carry a higher rise of getting water in your chocolate which is something we definitely want to avoid and we'll chat all about why below!
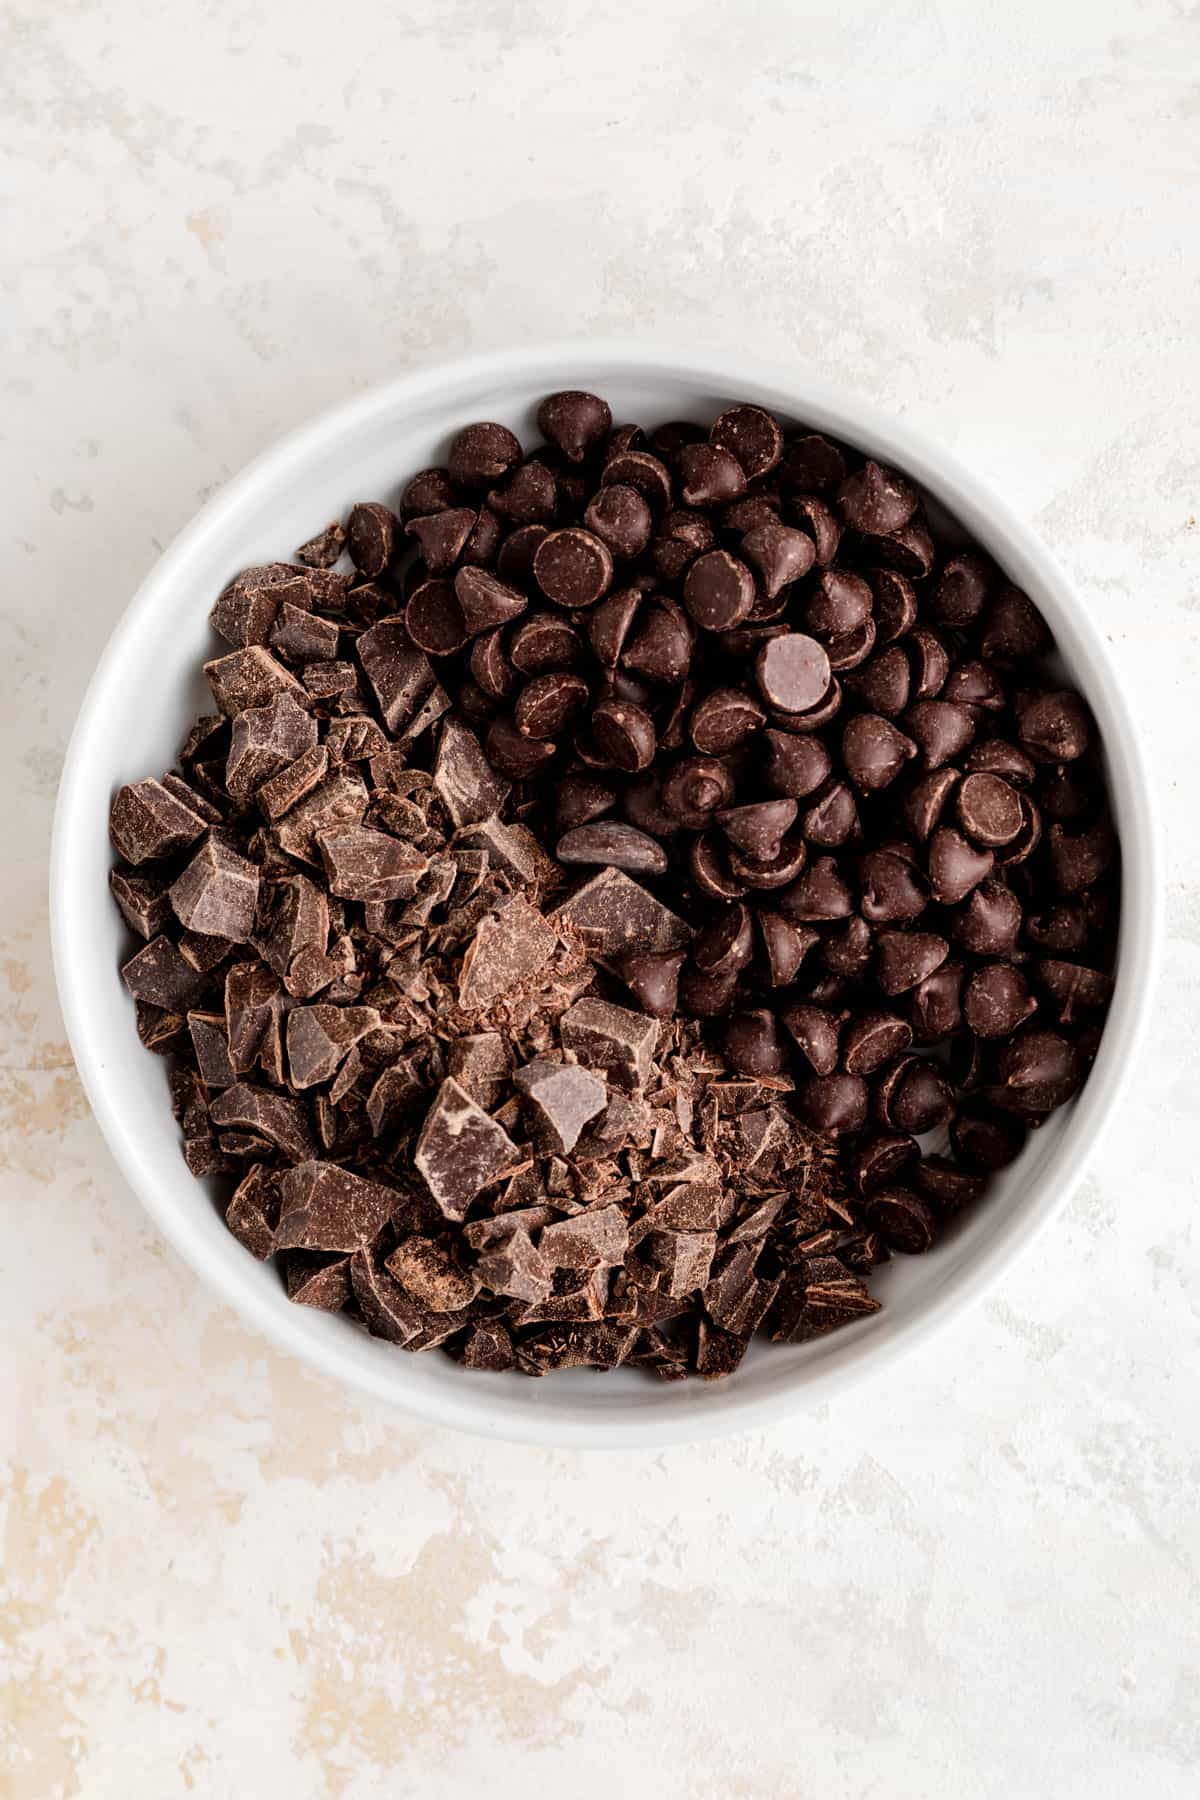
How to Prep your Chocolate for Melting
(Pssst…if you're ready to get melting, get all the details in the tutorial card below!)
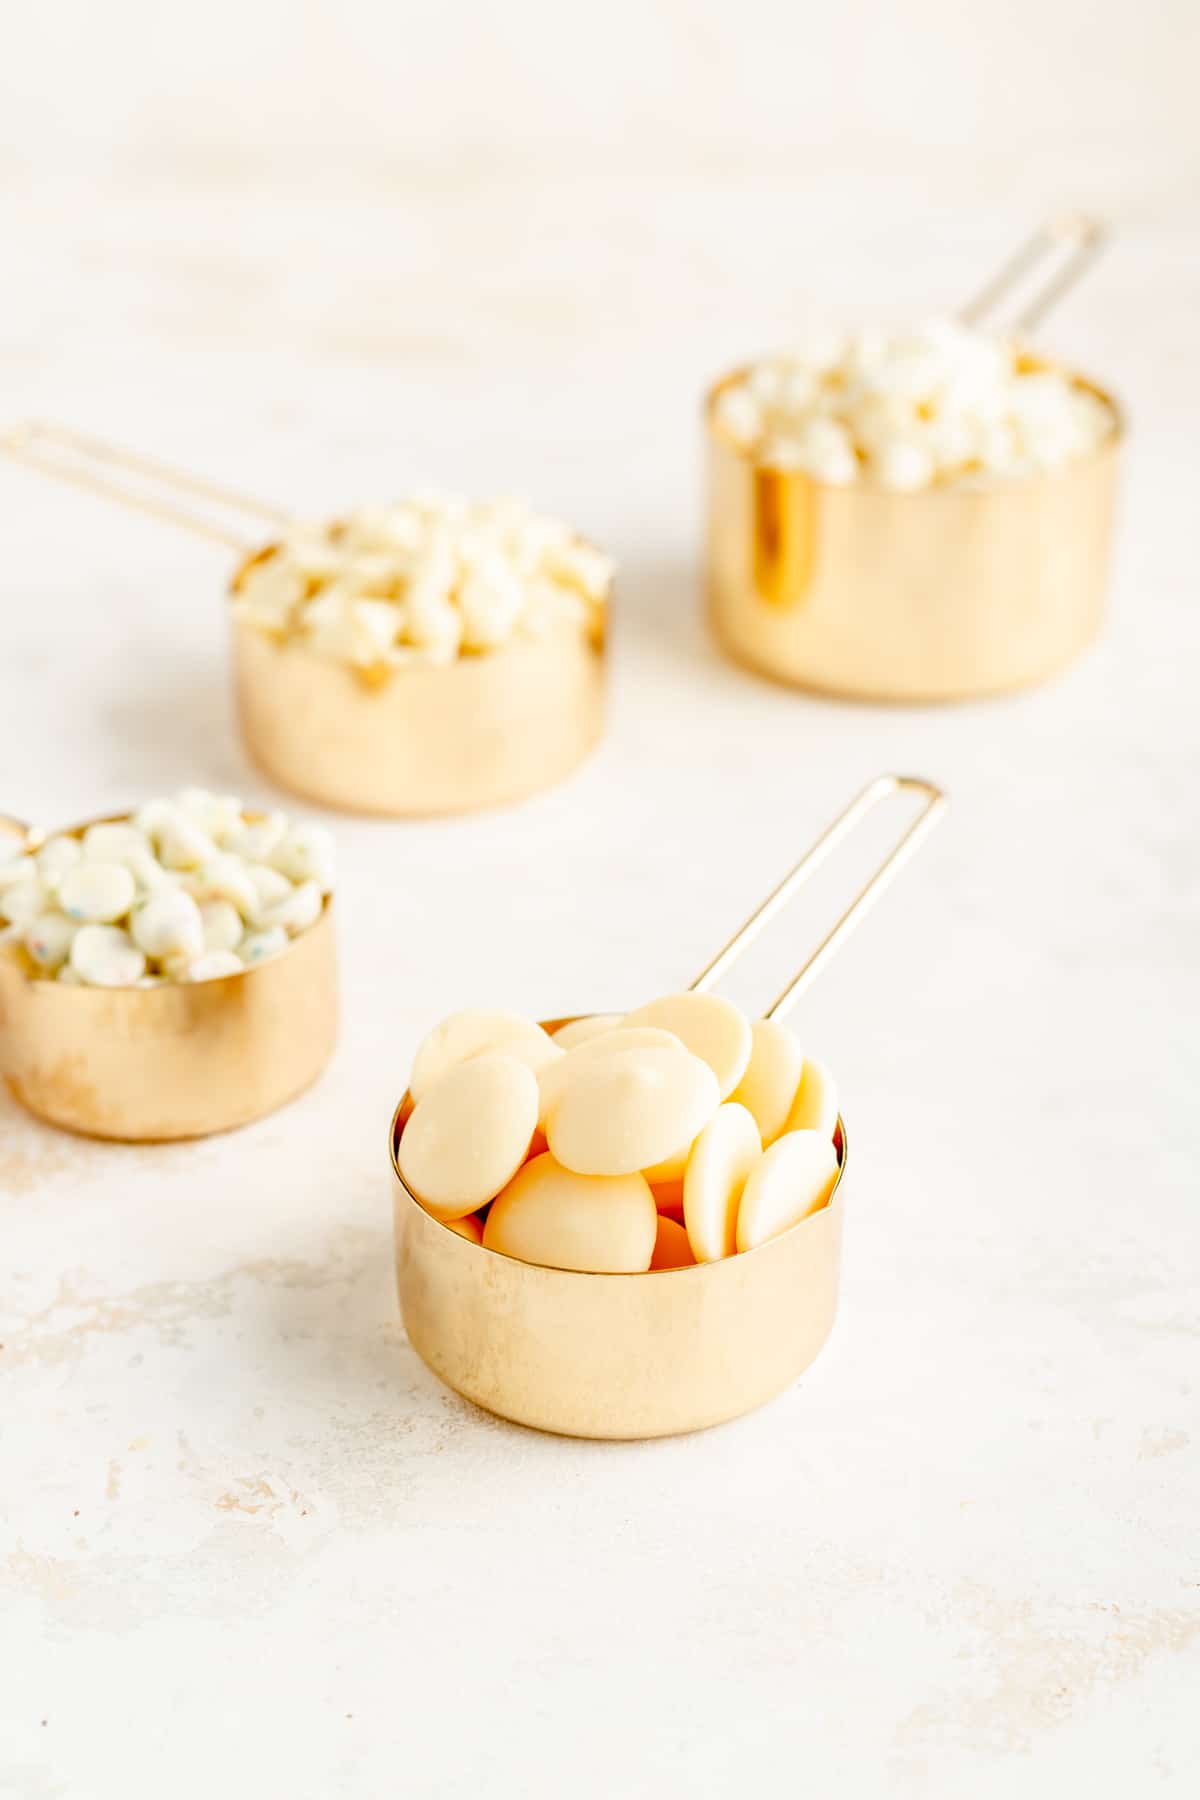
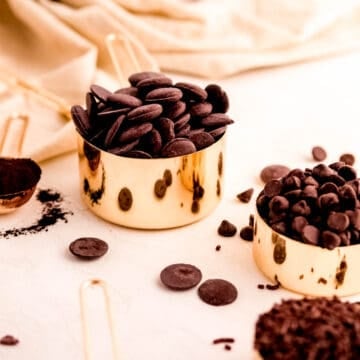
- Regular or Mini Chocolate Chips: good to go as is!
- Chocolate Pistoles (aka flat disks) or Candy Melt Disks: smaller, thin pistoles are good to go as is. If you have 1-inch or bigger pistoles, or particularly thick pistols, you'll want to roughly chop them to a little larger than chocolate chip size for best results.
- Chocolate Bars, Coating Chocolate Bars, or Chocolate Candy (like Hershey's Kisses): roughly chop into pieces a little larger than chocolate chip size.
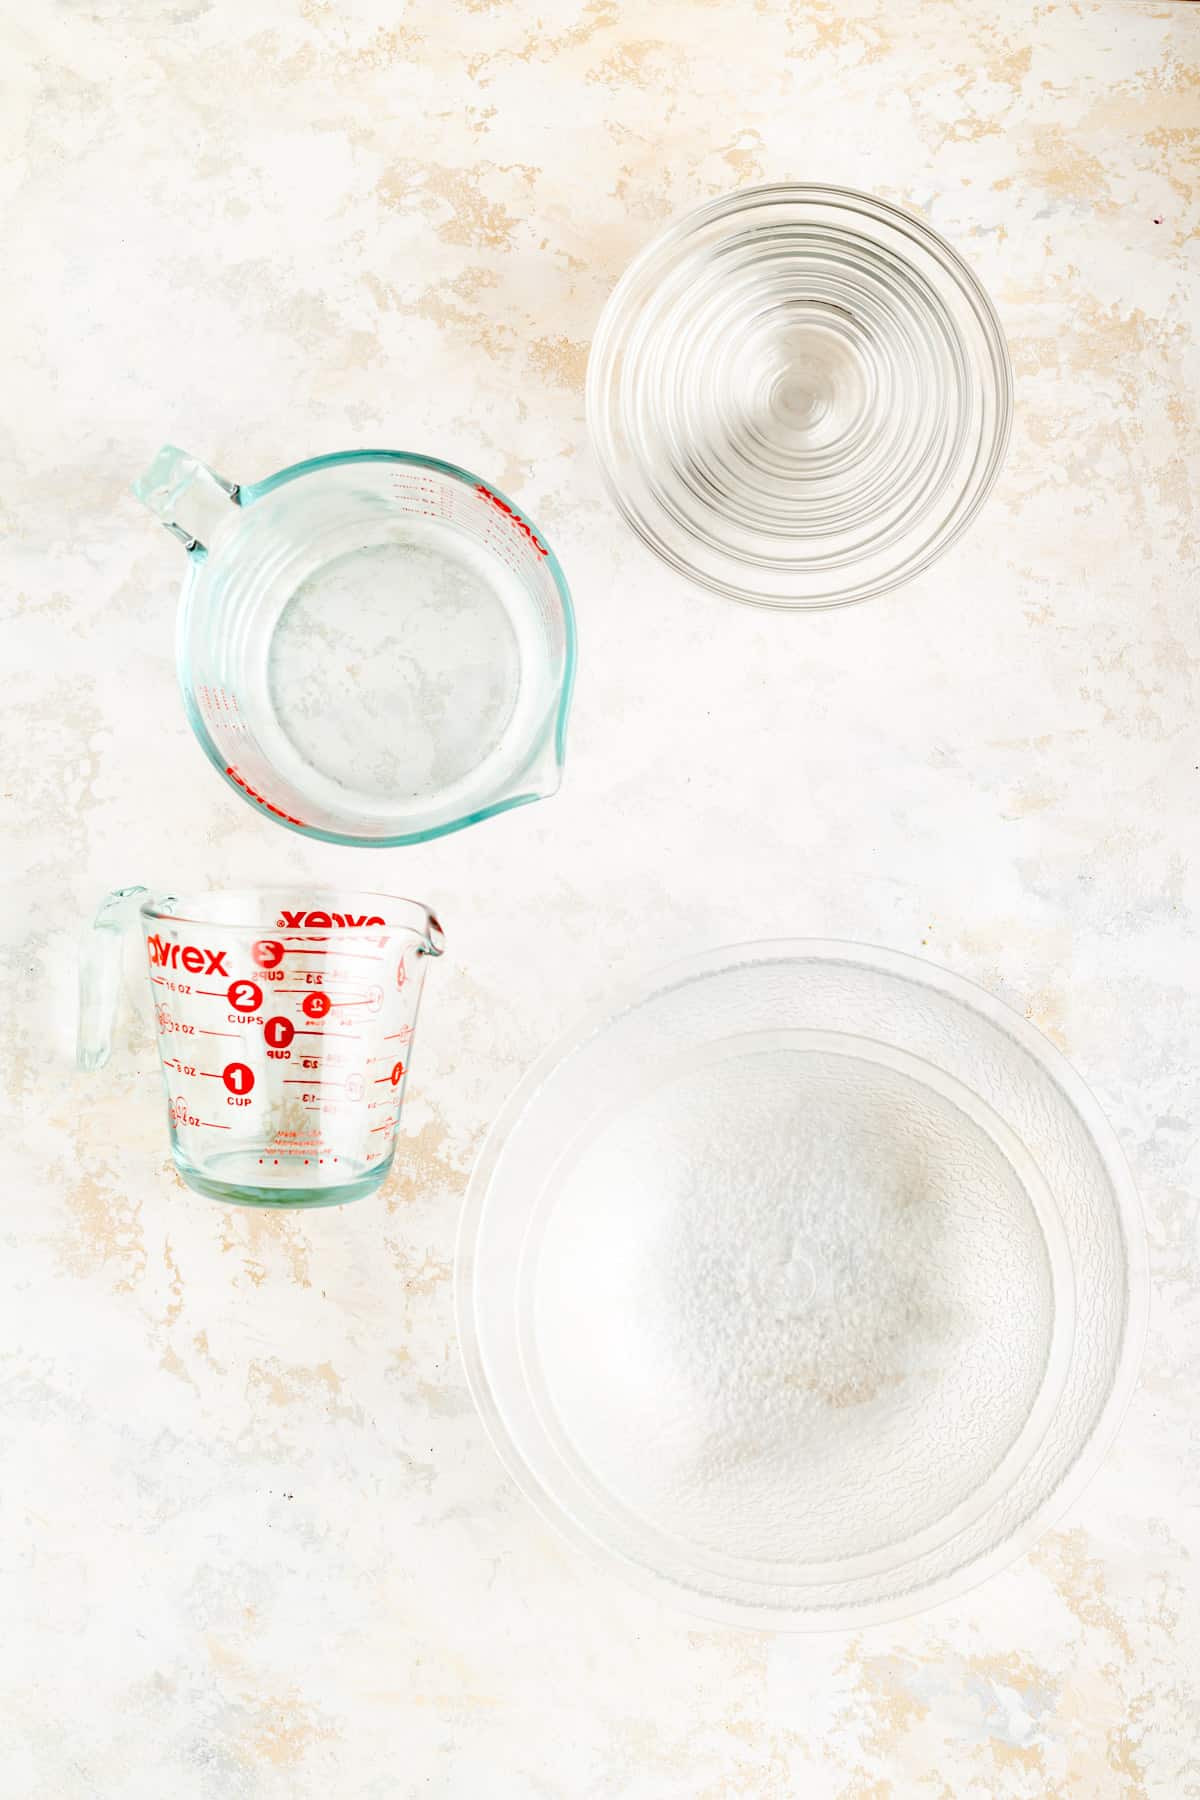
Special Tools and Equipment You'll Need
For the microwave method:
- Microwave with a turntable
- Microwave-safe bowl or glass liquid measuring cup
- I recommend about double the size of the chocolate you're melting for easy stirring
- Heat proof spatula (I prefer silicone)
For the stove-top "double boiler" method:
- A small pot
- A medium metal or heat-safe glass bowl
- metal will help the chocolate melt a lot faster, but heat-proof glass will work if that's all you have available
- the bowl needs to sit nicely on the pot so it seals the top, but doesn't dip low enough to actually contact the inch of water in the bottom
- Heat proof spatula (I prefer silicone)
- An oven mitt (in case your metal bowl gets hot while you're stirring)
If you're wondering, does the type of bowl effect the melting process? The short answer is yes. Some materials heat faster than others, and a thick glass bowl will take longer to heat up than a thin one.
That said, I used an array of melting vessels when testing the method in the tutorial card below, and they all worked well, so I wouldn't worry too much about.

Do these methods work for all chocolates?
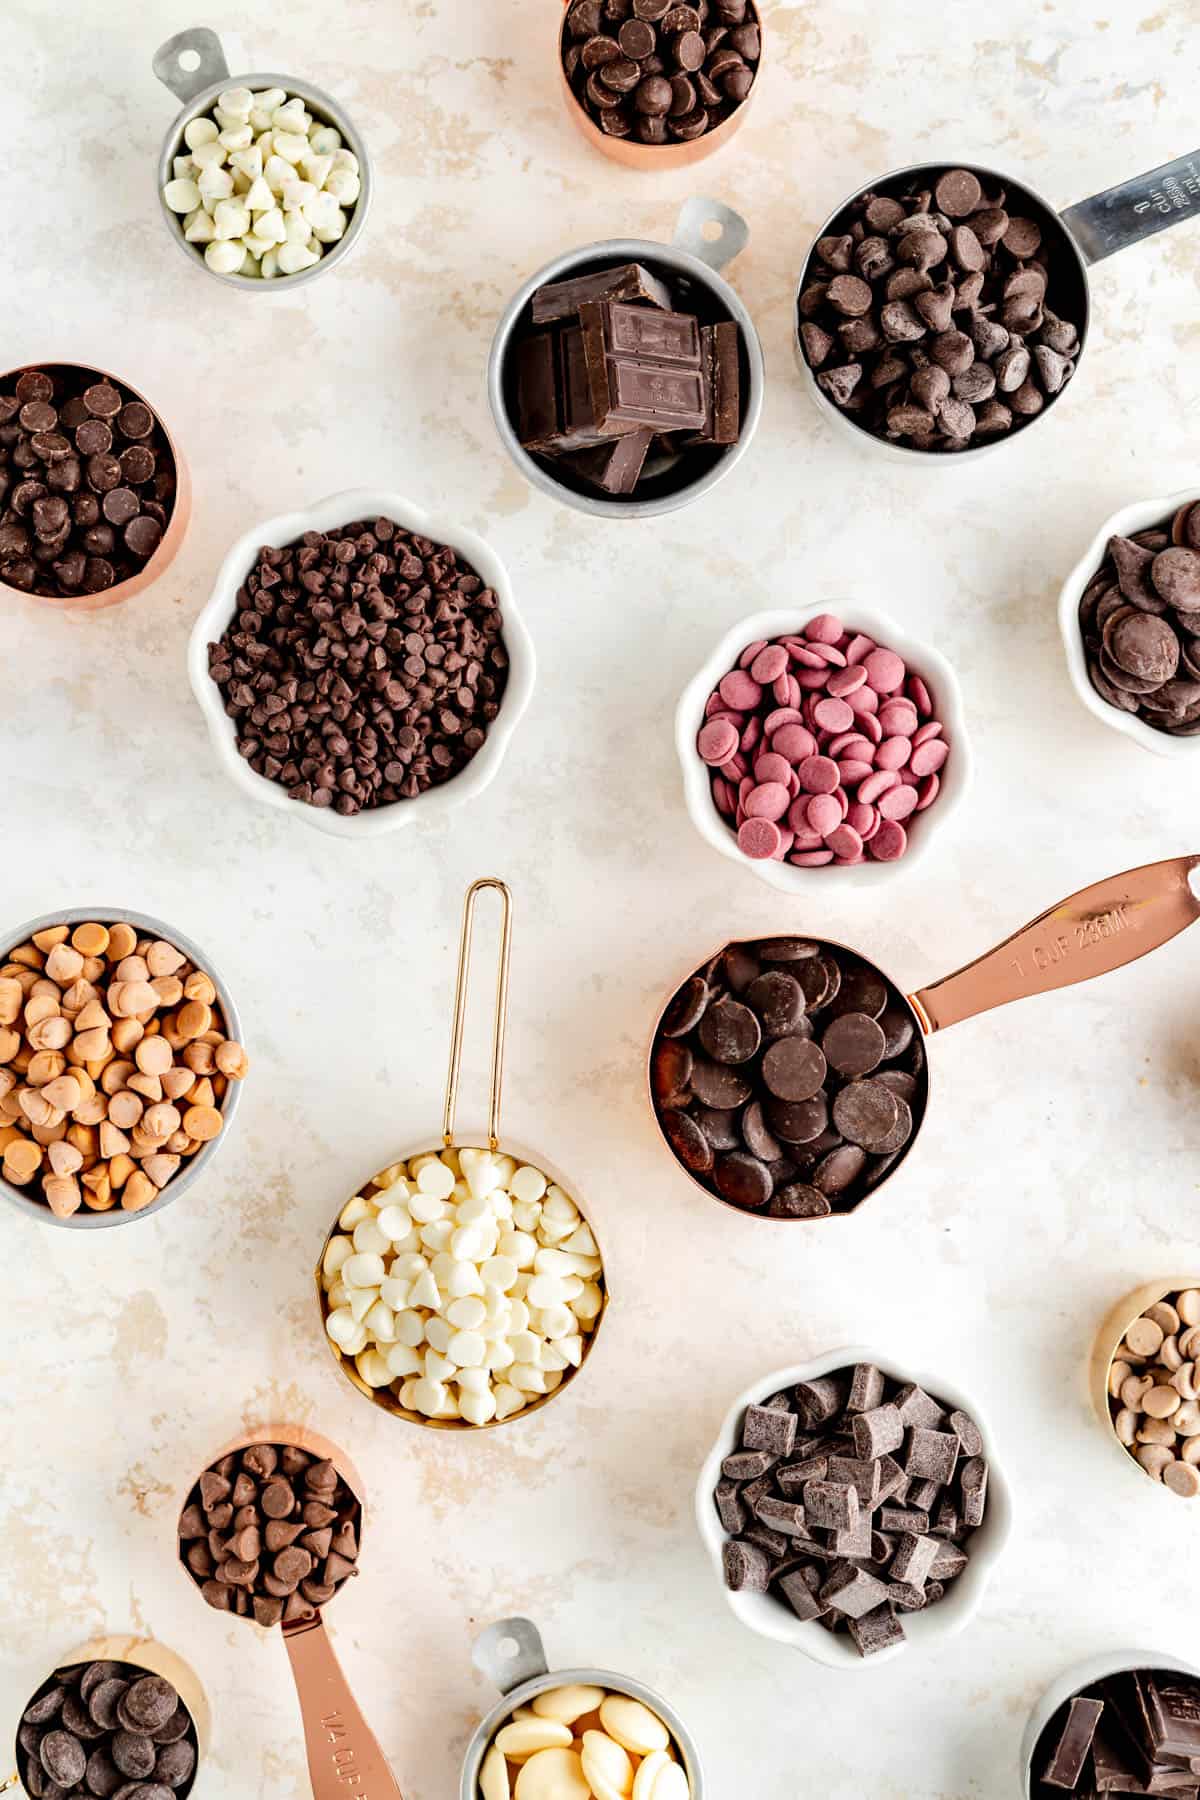
I tested all kinds of chocolate chips, pistoles, and bars when preparing for this tutorial and I created a method to make sure you have sweet melting success regardless of the type of chocolate or your particular kitchen set up. Here's what I've taken into account:
- Microwave strength: every microwave will have different heating dynamics and strength as well (600-1200 watts is the standard range). I tested in microwaves at both the high and the low ends of power so I could be confident my method works no matter what your microwave's strength is.
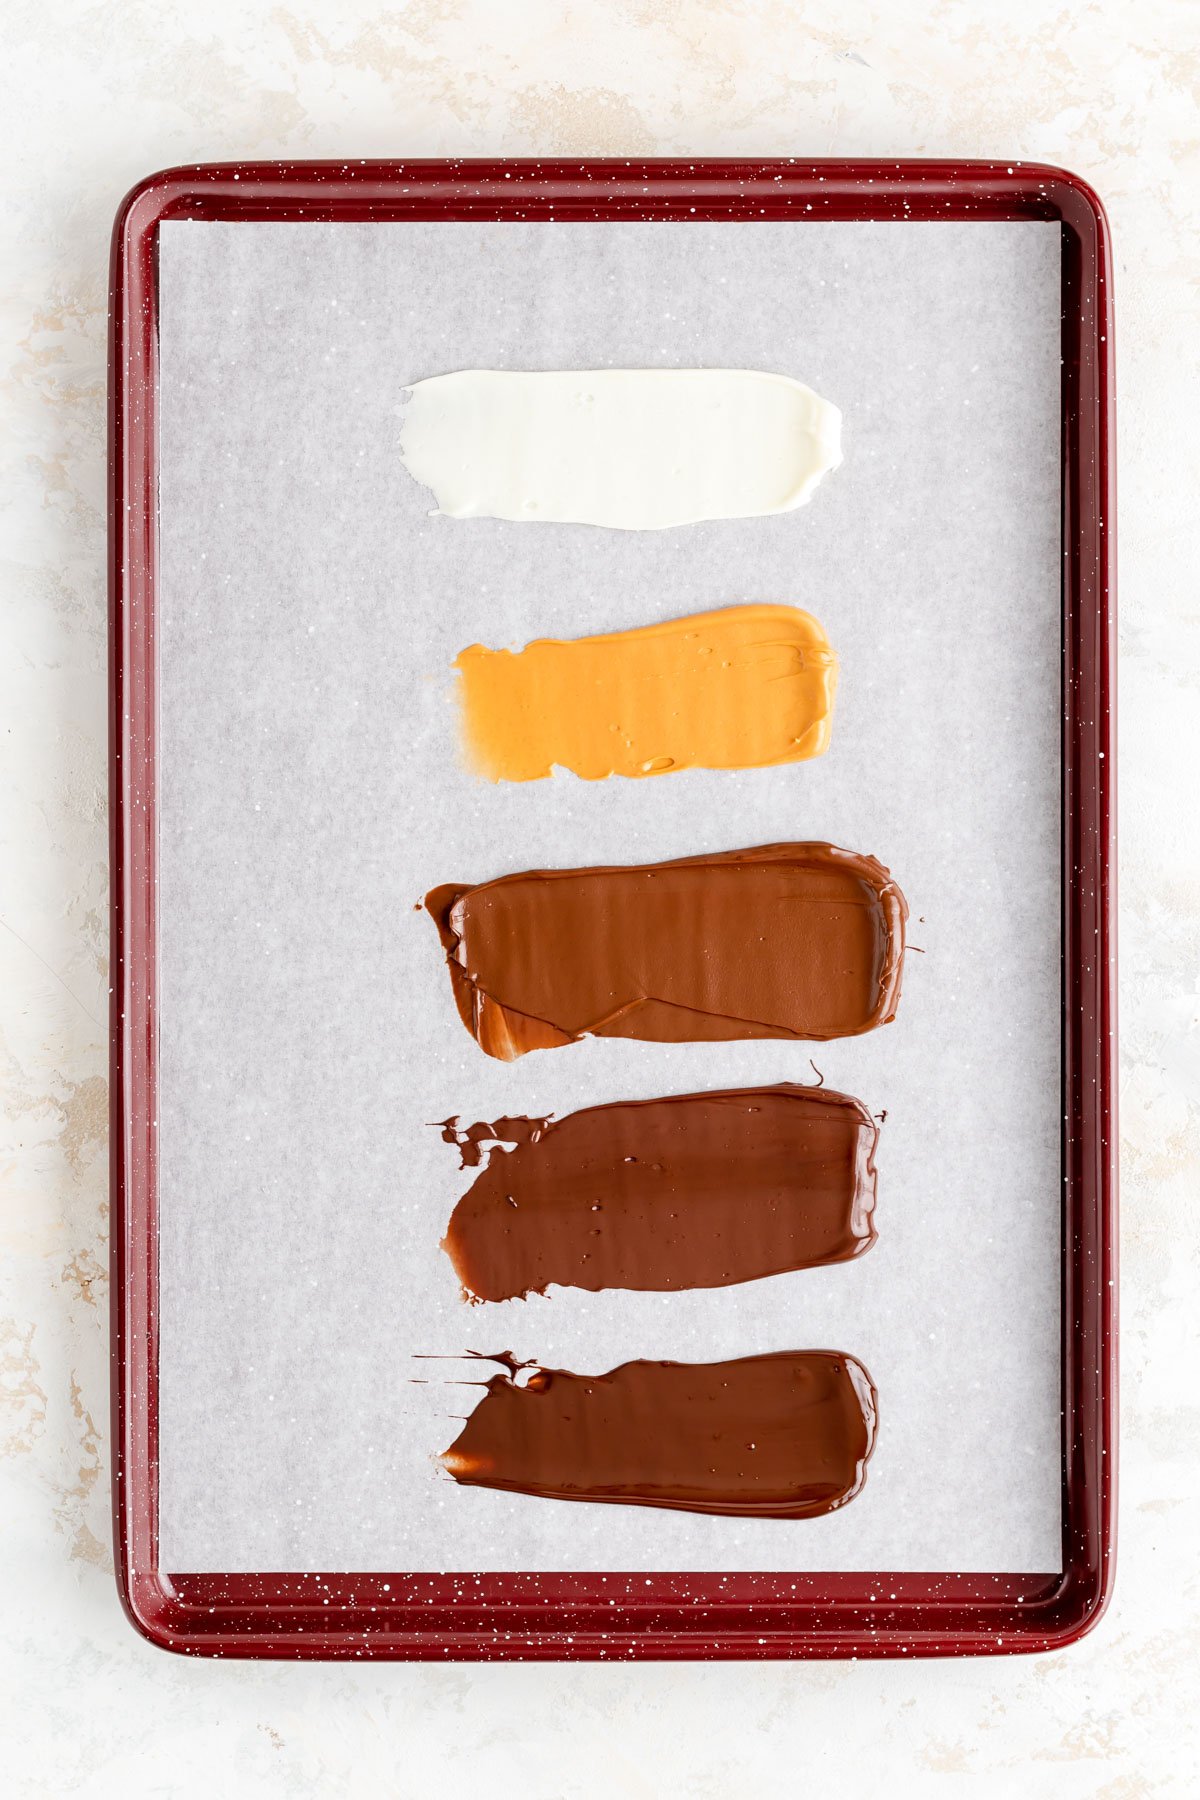
- White, Milk, or Dark: different chocolate chips can be more or less likely to burn when melting due to their particular make up. So I tested over a dozen different flavors and brands of chocolate, and this method worked for all of them!
- Size matters: the chip/chunk size of your chocolate makes a big difference on your success rate for melting chocolate. If chopping chocolate to melt, do your best to keep the sizes of the pieces in the same range so they will melt more uniformly to you.
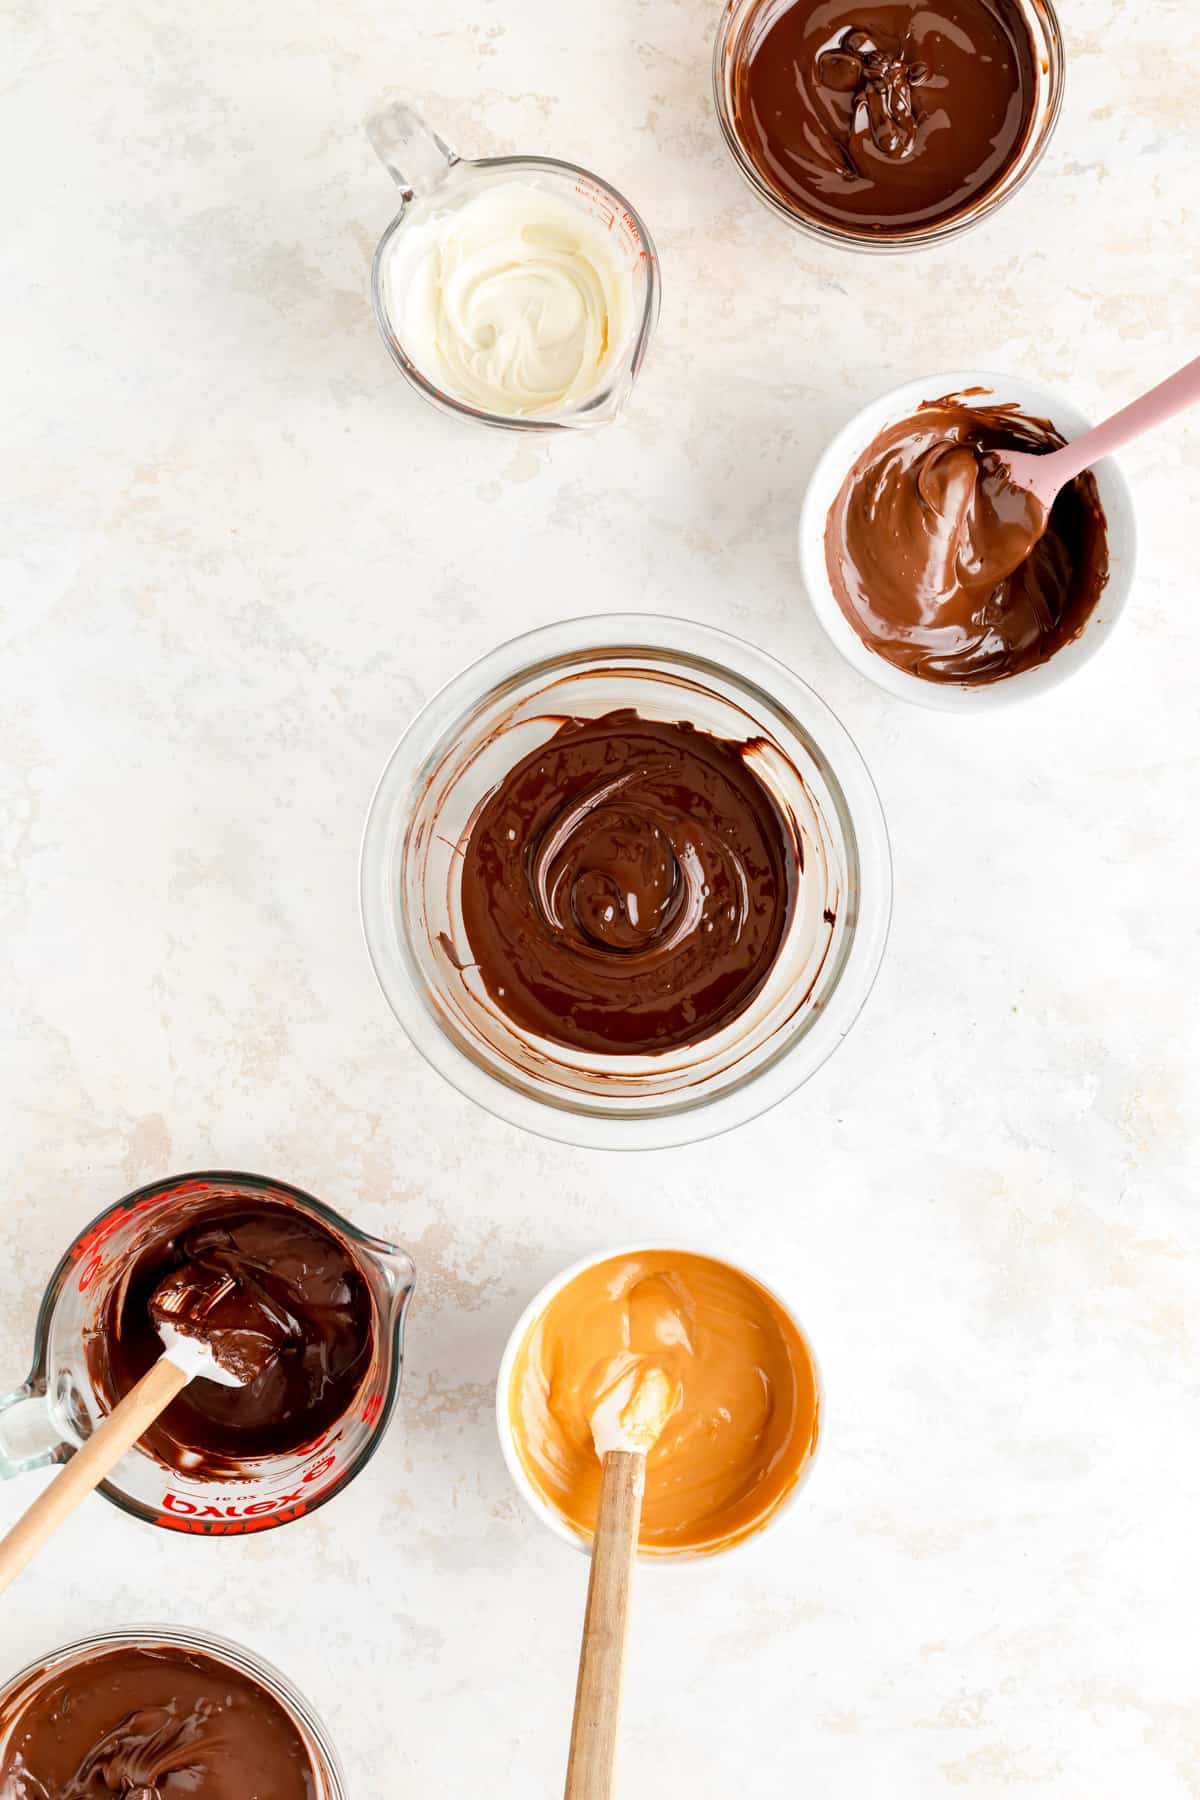
And if you're wondering which chocolates I tested...
I used Nestle, Ghirardelli, Guittard, Belcolade, Baker's, and Reese's brand. Across those brands, I tested 4 sizes of chips, chunks, full bars, and various pistole sizes.
Lastly, I covered white, butterscotch, ruby, milk, semi-sweet, dark, bittersweet, extra dark, and unsweetened flavors. I tested several of the coating chocolates too and they all melted beautifully on the time-line below as well!
Melting Chocolate in a Microwave
(Pssst…if you're ready to get melting, get all the details in the tutorial card below!)
The short version of this method is 30 seconds, stir, 30 seconds, stir, then 10 second intervals followed by a stir, as many times as it takes to fully melt.
The detailed steps are in the tutorial card below, but let's chat about my top tips for microwave melting success:
- Stir, stir, stir: the most important "step" in melting chocolate in the microwave especially is stirring. Microwaves heat unevenly throughout their box, and the chocolate in contact with your warm bowl/pitcher that's heated up will naturally melt faster. Therefore we need to stir really well between microwave rounds to redistribute the heat evenly throughout the chocolate. Otherwise you'll have some spots burning while others aren't even softened yet.
- Keep it centered: because microwaves don't heat evenly throughout the whole box, make sure you keep your chocolate in the center for the best chance at even heating.
- Don't combine times: I know it's tempting, but 1 minute in a microwave, is not the same as 30 seconds + stir + 30 seconds. You need those rounds of stirring in between to redistribute the heat and ensure even melting without burning. So be sure to follow the timing intervals as recommended, and avoid the temptation to combine them into one 90 second round.
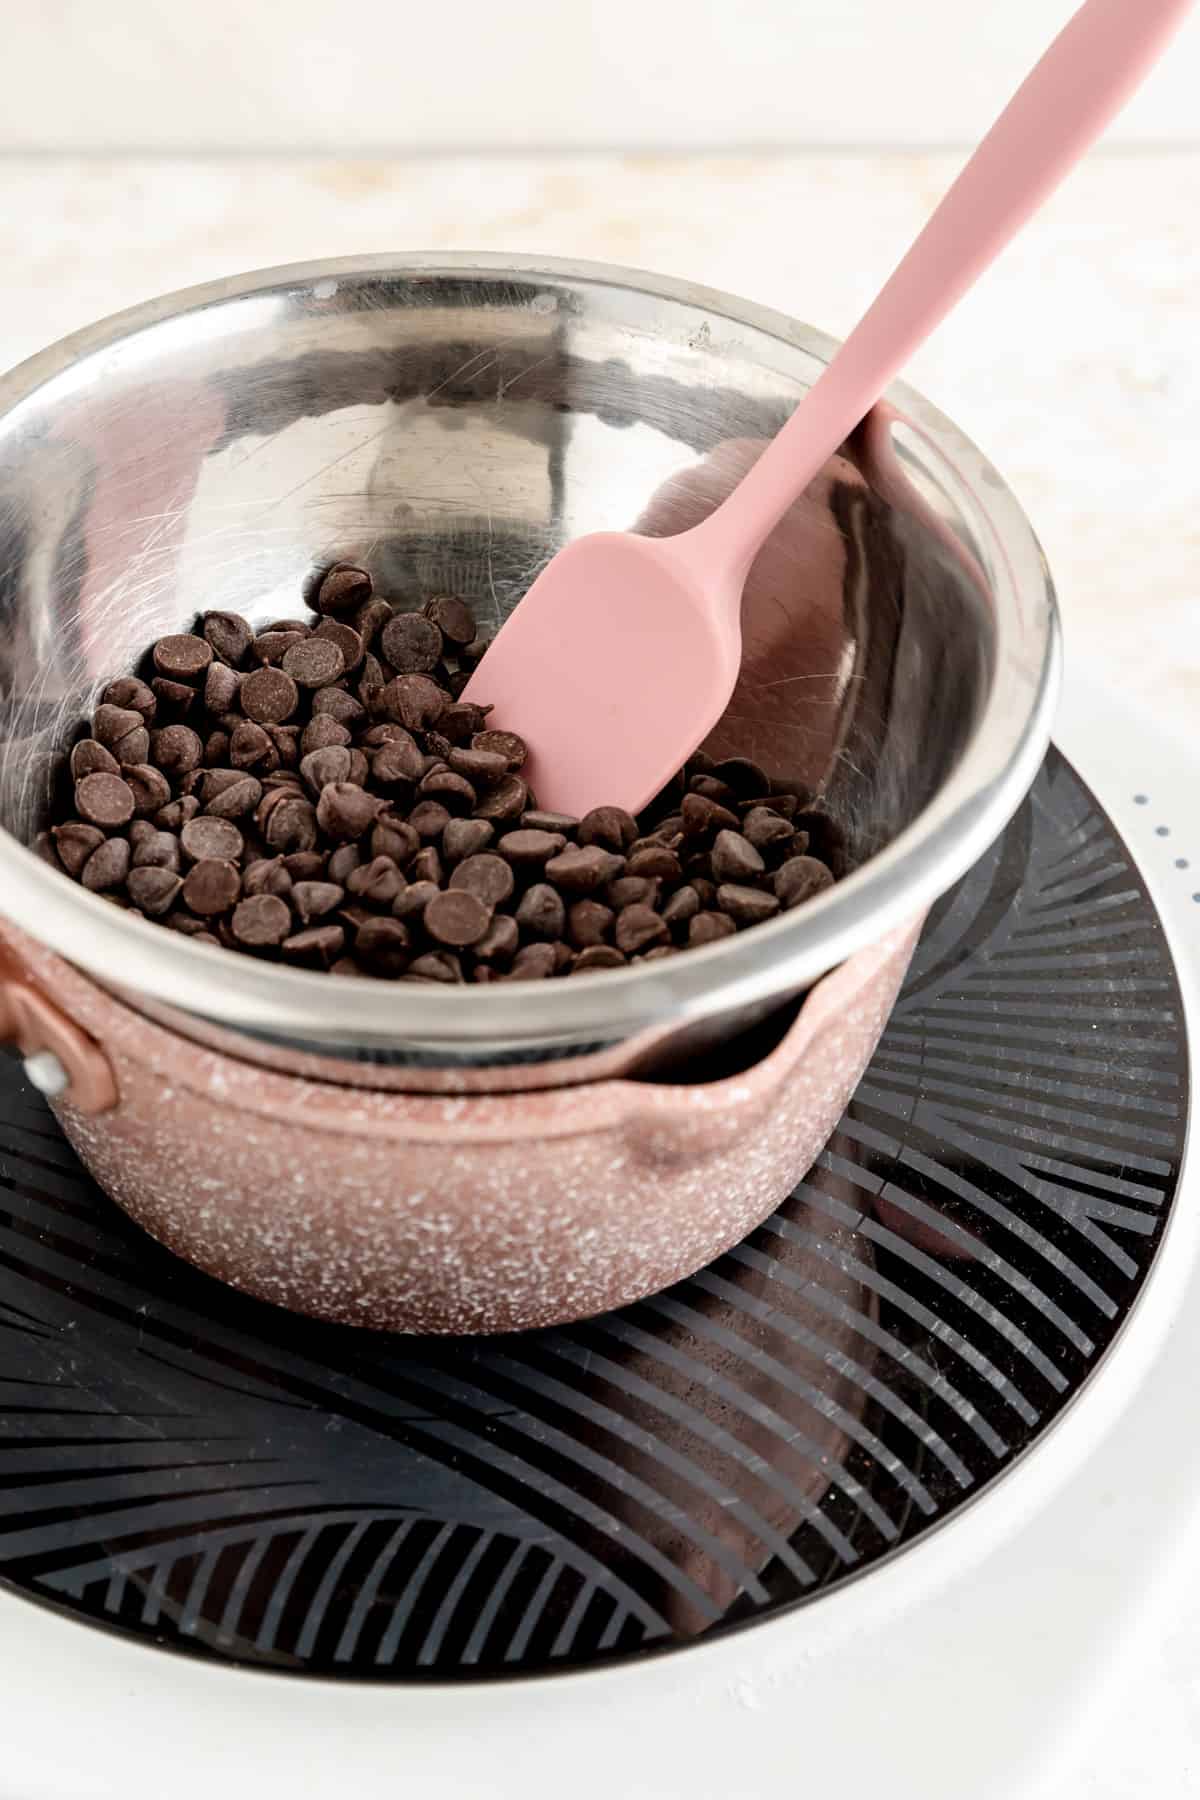
How to Double Boil Chocolate on the Stove
(Pssst…if you're ready to get melting, get all the details in the tutorial card below!)
When it comes to how to melt chocolate on the stove, we're going to use the heat from the steam coming off a shallow pool of boiling water to heat our chocolate bowl and ultimately melt our chocolate.
All the official steps are in the tutorial card below, but let's chat about my top tips for stove-top success:
- Set it up right: when it comes to double boilers, the correct set up is everything. Play around in your cupboard until you find the right bowl to pan pairing. Ideally, the bowl would sit comfortably on top of the pot to seal it and trap the steam below. Most importantly, it should not dip low enough to touch the boiling water. Direct contact with the water will be too much heat, and encourage burning. So we want to make sure we're only using the heat from the steam, and not contacting the water itself at all.
- Stir, stir, stir: another important step in melting chocolate on the stove is stirring frequently. The chocolate in contact with your warm bowl will naturally melt faster. We want to stir frequently to incorporate that melting outer chocolate in with the rest, and to make sure the heat is evenly distributed throughout the melting process. Otherwise you may have some spots burning while others aren't even softened yet.
- Hold it like it's hot: if you're using a metal bowl (which I prefer over glass as it's much faster to heat up), it may get pretty hot while you're stirring. Often, some steam will escape out the top of the pot as the bowl jostles while you stir. As such, I recommend having oven mitts available to protect your hands from both the hot bowl and potential steam burns from the pot below.
- Watch the water! Nothing will ruin a beautifully silky bowl of melted chocolate like a few drops of water. So be extra careful you're not splashing water or condensing any steam into your bowl. Check out the "chocolate seizing" section below for more info on this.
How to Melt White Chocolate Chips
(Pssst…if you're ready to get melting, get all the details in the tutorial card below!)
As I mentioned above, these two methods as detailed below work for all chocolates.
That said, I just wanted to note that white chocolate is the most likely to burn on you due to its high sugar and milk solids content so you'll want to be extra diligent in giving it a good stir.
How do you know if it's burned?
You'll actually see a dark spot where it burned (usually in the bottom of the bowl), and unfortunately, there's no coming back from that. In the case of burnt chocolate, it's best to just start over.
Even if you can work it back in texturally, you'll always have a burnt taste you can't get rid of, and no one wants that ruining the treats you worked so hard to make!
How to Thin Melted Chocolate
All chocolates have different textures when melted due to a few factors, namely fat-content and stabilizers.
Some chips, like Nestle's, have lot of stabilizers to allow their chips to keep their shape when baked. When melted, this means your chocolate will still be pretty thick and "stabilized" even when fully melted.
With some higher-end couverture chocolates that are designed for tempering, you'll have a much runnier chocolate when fully melted (due to both the high fat content and lack of stabilizers).
So if you get your chocolate all melted and still need it a little thinner for dipping, drizzling or coating, you can thin it out.
To do this, just add vegetable or canola oil or melted butter a teaspoon at a time until you reach your desired consistency. Just be sure to stir it in really well between each addition so you can really see how much it's thinning out and make sure you don't take it too far.
Please note though, that any time you add oil or butter to the chocolate, it will set a bit softer when fully cooled and never return to that solid, snappy, hard state again.
What's the deal with chocolate seizing?
The number one problem I see when melting chocolate (other than burning of course) is seized chocolate.
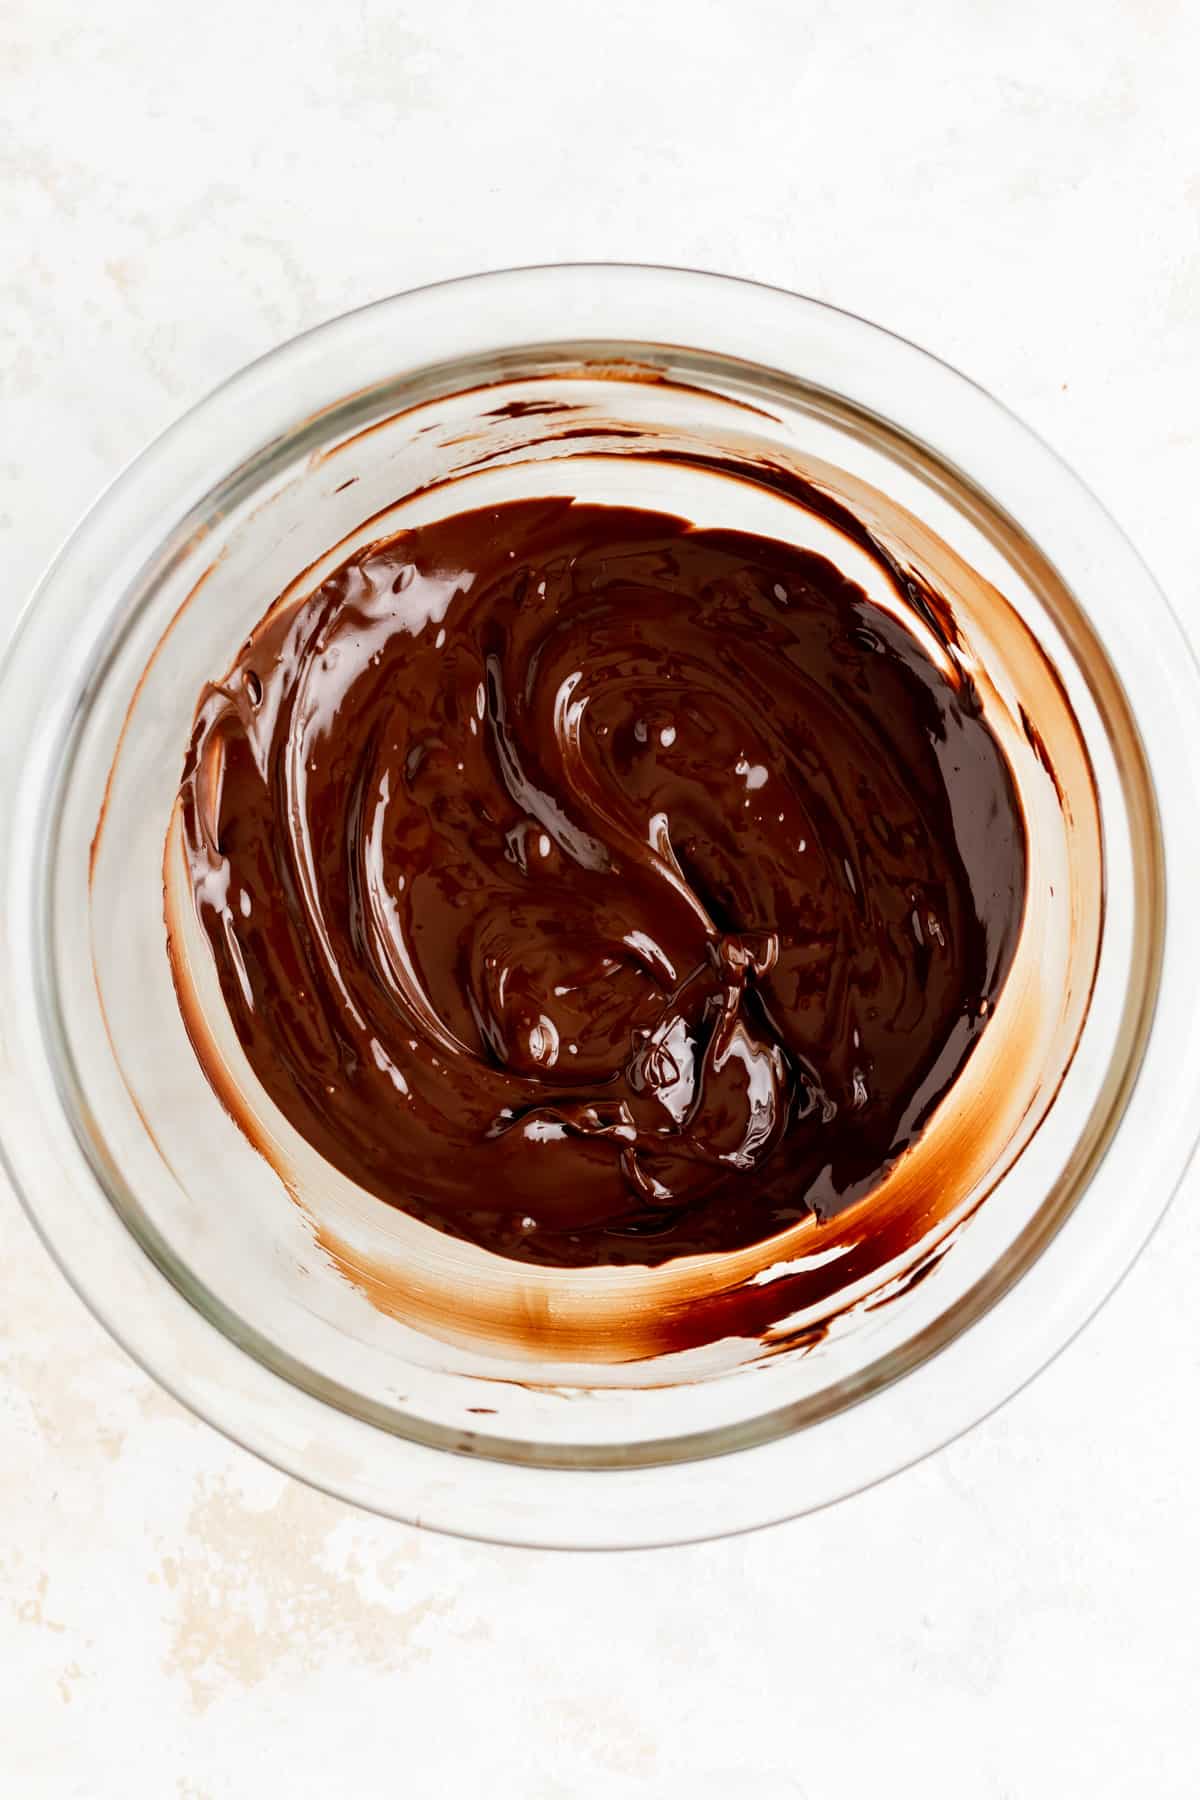
What does that look like you ask? Take a look...
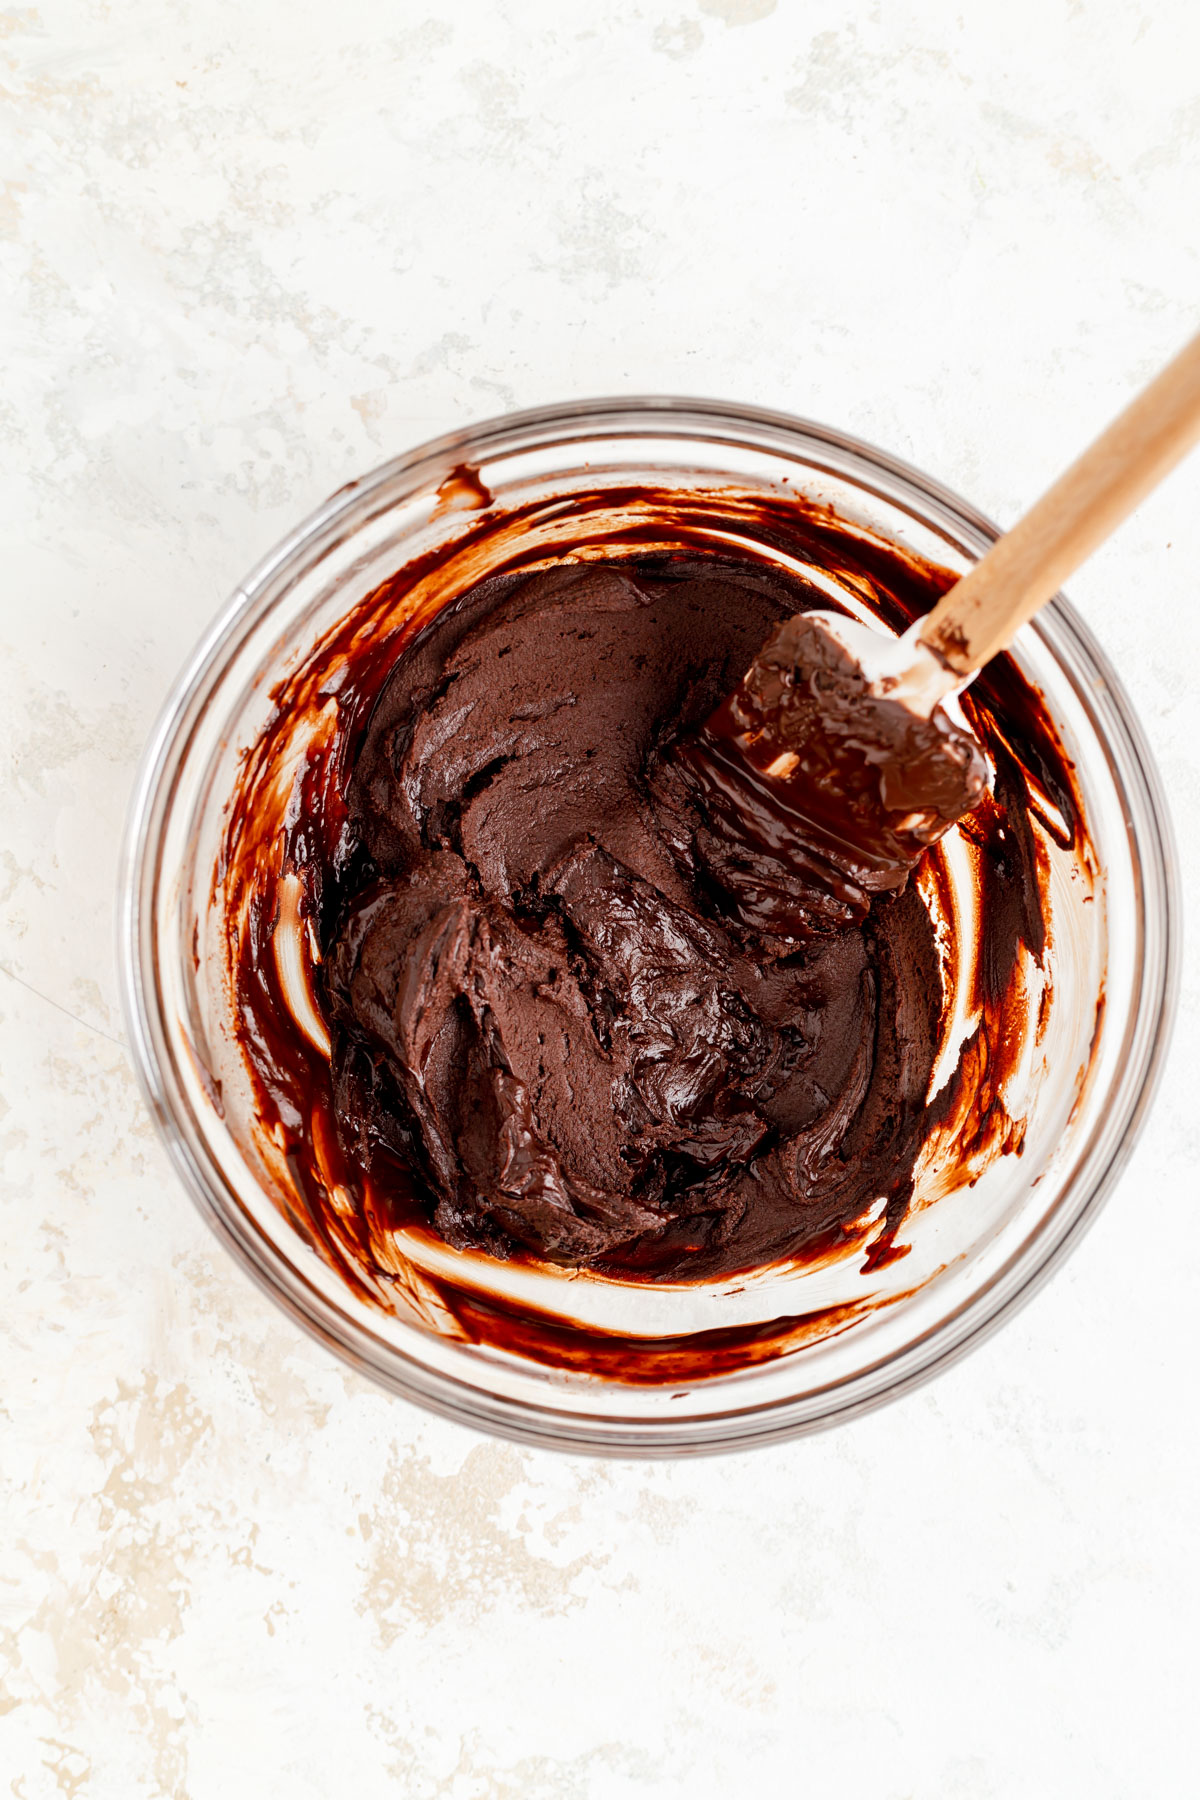
Seizing happens (very quickly) when any water is introduced to the chocolate while melting. The water may come from just-washed dishes, or some sputtering water or condensed steam when using the stove-top method.
No matter how the water gets in there, the result is the same. Very quickly your previously silky molten chocolate becomes very thick. It will become matte, and very grainy, and eventually seize into a solid block you can't stir any longer.
Unfortunately, if this happens, there's no saving that chocolate and you need to start over. So just be careful when you're working to use fully dry dishes, and not jostle the bowl on your pot too much if using the stovetop method, and you should be just fine.
What to Do with Extra Melted Chocolate
When melting chocolate, we often make more than we need to make the dipping, drizzling, or coating easier. So what do you do with that leftover chocolate? (Because there's never a reason to through perfectly good chocolate away!)
Once you've used however much chocolate you needed, line a baking sheet with parchment paper. Pour the extra chocolate onto the parchment, and use a regular or offset spatula to spread it thin.
Allow it to fully set and then break it up into pieces to either re-melt later, sprinkle on top your favorite ice cream, or just mix in to your next batch of chocolate chip cookies!
Frequently Asked Questions
What does it mean if the chocolate is getting clumpy or grainy?
If your whole bowl is clumpy and grainy, your chocolate probably seized from getting water in it.
If just a small spot is clumped up and grainy, it probably means that spot burnt.
In either case, there's no good way to turn that batch into yummy smooth chocolate again, so you'll want to start over with melting a fresh batch.
What does it mean if I start to smell burning?
Sometimes, especially with darker chocolate, you may smell the chocolate burn even when you can see it. If that's the case, give it a really good stir, then taste it.
If you can't taste anything burnt, then you can go ahead and use the chocolate.
If it does taste burnt though, you'll want to start over with a new batch.
How do you temper chocolate? Is that different than just melting it?
Yes! Tempering chocolate and just melting chocolate are very different things.
Just melting chocolate is much easier and faster than tempering, and has no particular temperature you're shooting for.
Tempering on the other hand is a multiple-step process. It requires a high-quality "couverture" chocolate (essentially meaning high-fat). To temper, you heat the chocolate, then cool it, then heat it again to cultivate the perfect environment to form a specific type of fat crystal that structures the melted chocolate in a particular way.
The benefit of well-tempered chocolate is it sets super fast (fully cooled in 2 minutes or less) and it is less likely to "bloom" over time and get those white spots all over the outside.
Tempering chocolate can be intimidating (honestly, I had never even tried to temper chocolate before pastry school). And to tell you how to temper would require a whole other post.
That said, it really isn’t too difficult if you have a good guide and an instant-read thermometer. I don’t have a tutorial post on tempering (...yet), but here’s a great article you can read through if you’d like to learn more.
You can also cheat the system and just use candy melts or coating chocolate if you like their flavor, as they're easy to melt, require no tempering, and are less likely to get that unsightly "bloom" as well (more on this below!).
Is there any difference between melting cheaper chocolate or higher quality chocolate?
The main different you will likely notice is higher quality chocolate typically has more fat and less stabilizers. This usually results in a thinner, runnier texture although that's not a guarantee.
When picking chocolate for your recipes, I would just go with your favorite by taste and the highest quality that works for your particular budget.
Can you melt more than one kind of chocolate together?
Yes, although it's best to just melt a single chocolate at a time.
Because different chocolates melt at different rates and have different melted consistencies, the more uniform the chocolate we're melting is, the smoother, and probably the better tasting it will be as well.
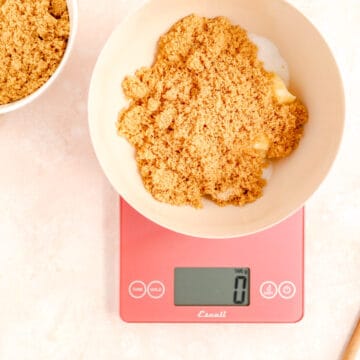
How much does a cup of chocolate chips weigh?
For regular chocolate chips, I usually use about 180g per cup. For chopped chocolate bars, it usually comes in more around 150g, and pistoles closer to 170g.
A lot of it will depend on how you stack them up in the cup since it obviously isn't a perfect measurement. Luckily, in most cases, a little more or a little less chocolate won't break your recipe.
What's the white stuff on the outside of my chocolate? Is it still safe to eat?
When you see a white coating, powder, or dusty look on the outside of your chocolate, you know you're dealing with chocolate "bloom." There are two types of bloom - sugar bloom and fat bloom - both of which are typically caused by the chocolate being stored at incorrect temperatures.
While bloomed chocolate is still safe to eat, it can be something that just happens over time with old chocolate, and thus can be an indicator that the chocolate in your pantry might be a little older than you think (I've definitely. had that happen to me once or twice!).
So I always recommend you double check the flavor of bloomed chocolate is still good when you see that white coating. If so, feel free to go on ahead and melt it as normal!
Check out this article for a whole bunch more info on chocolate bloom.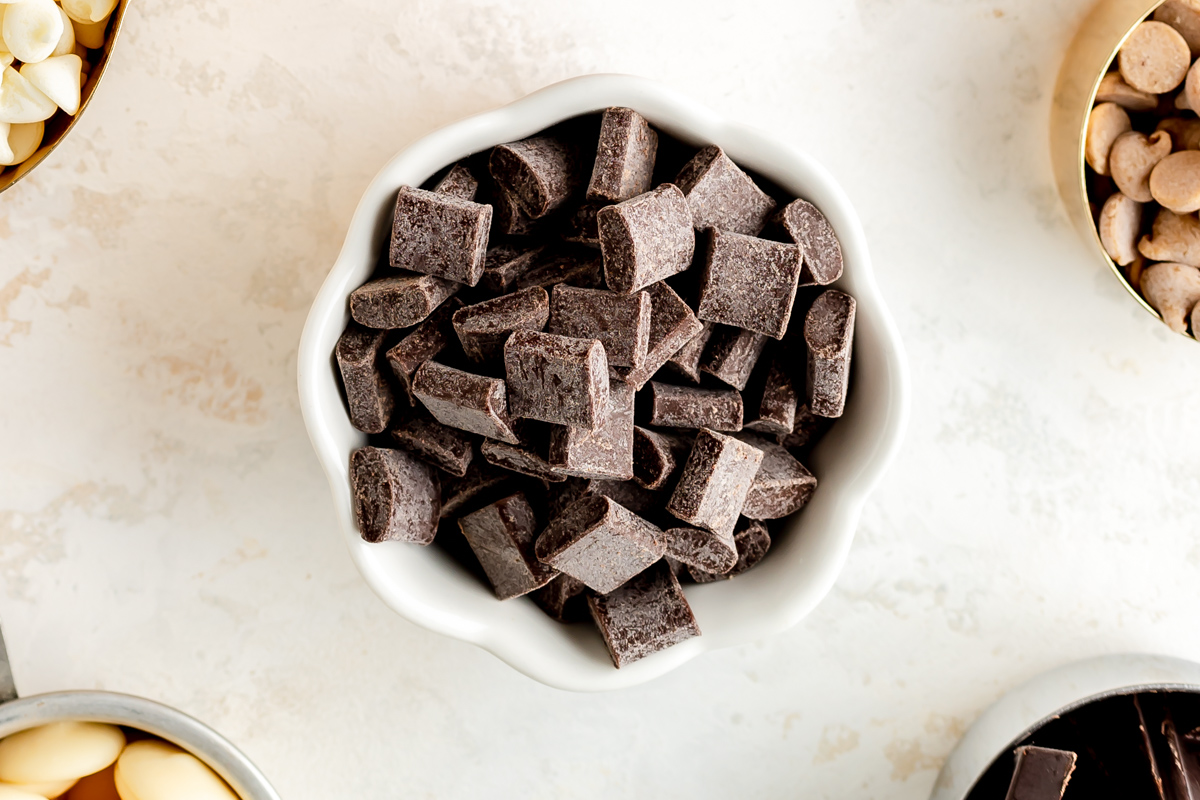
Chocolate Recipes You'll Love
Wondering what to do with all that beautifully melted chocolate? Here are a few of my favorite chocolate recipes you can use it in:
- Easy, Fudgy Brownie Blondies
- Double Chocolate Brownie Truffles (3 ways!)
- Icebox Chocolate Butter Cookies (slice and bake!)
- Rice Krispie Peanut Butter Bars (with chocolate ganache!)

⭐ If you gave this recipe a try please give it a ⭐ rating and tag me on Instagram @mint.and.mallow.kitchen so I can see what you're baking up! ⭐
📖 Full Recipe
How to Melt Chocolate Chips
Equipment
- Heat proof spatula (I prefer silicone)
- An oven mitt
- For stove-top only: small pot and metal or heat-proof glass bowl
- For microwave only: microwave safe bowl or pitcher
Ingredients
- 1 cup chocolate chips, chopped chocolate or pistoles
- 2-3 cups water (for boiling, only if using stove-top method)
Instructions
Microwave Method:
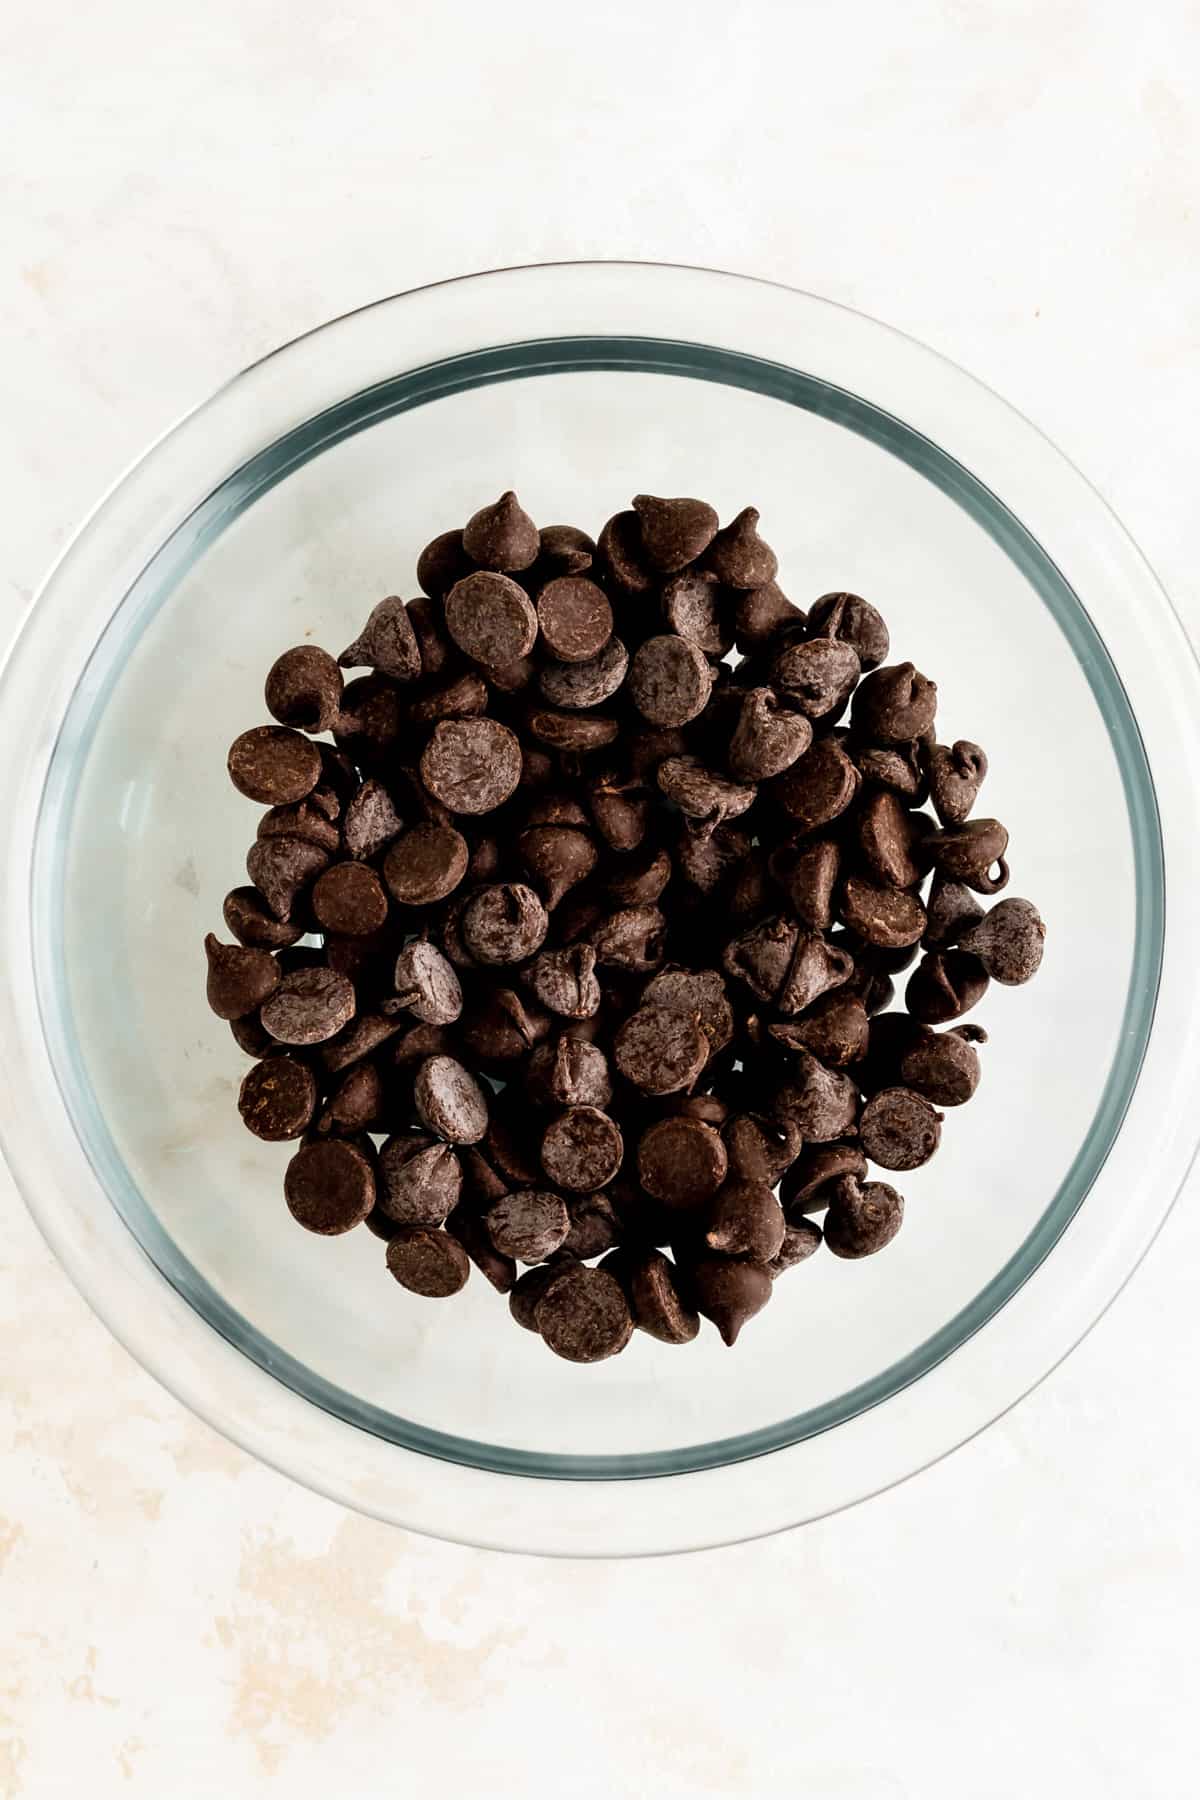
- Prep chocolate: if using bars, chop chocolate into fairly uniform pieces that aren’t too much bigger than a chocolate chip. Add chocolate to a microwave safe bowl or pitcher that’s about twice the size of the chocolate.
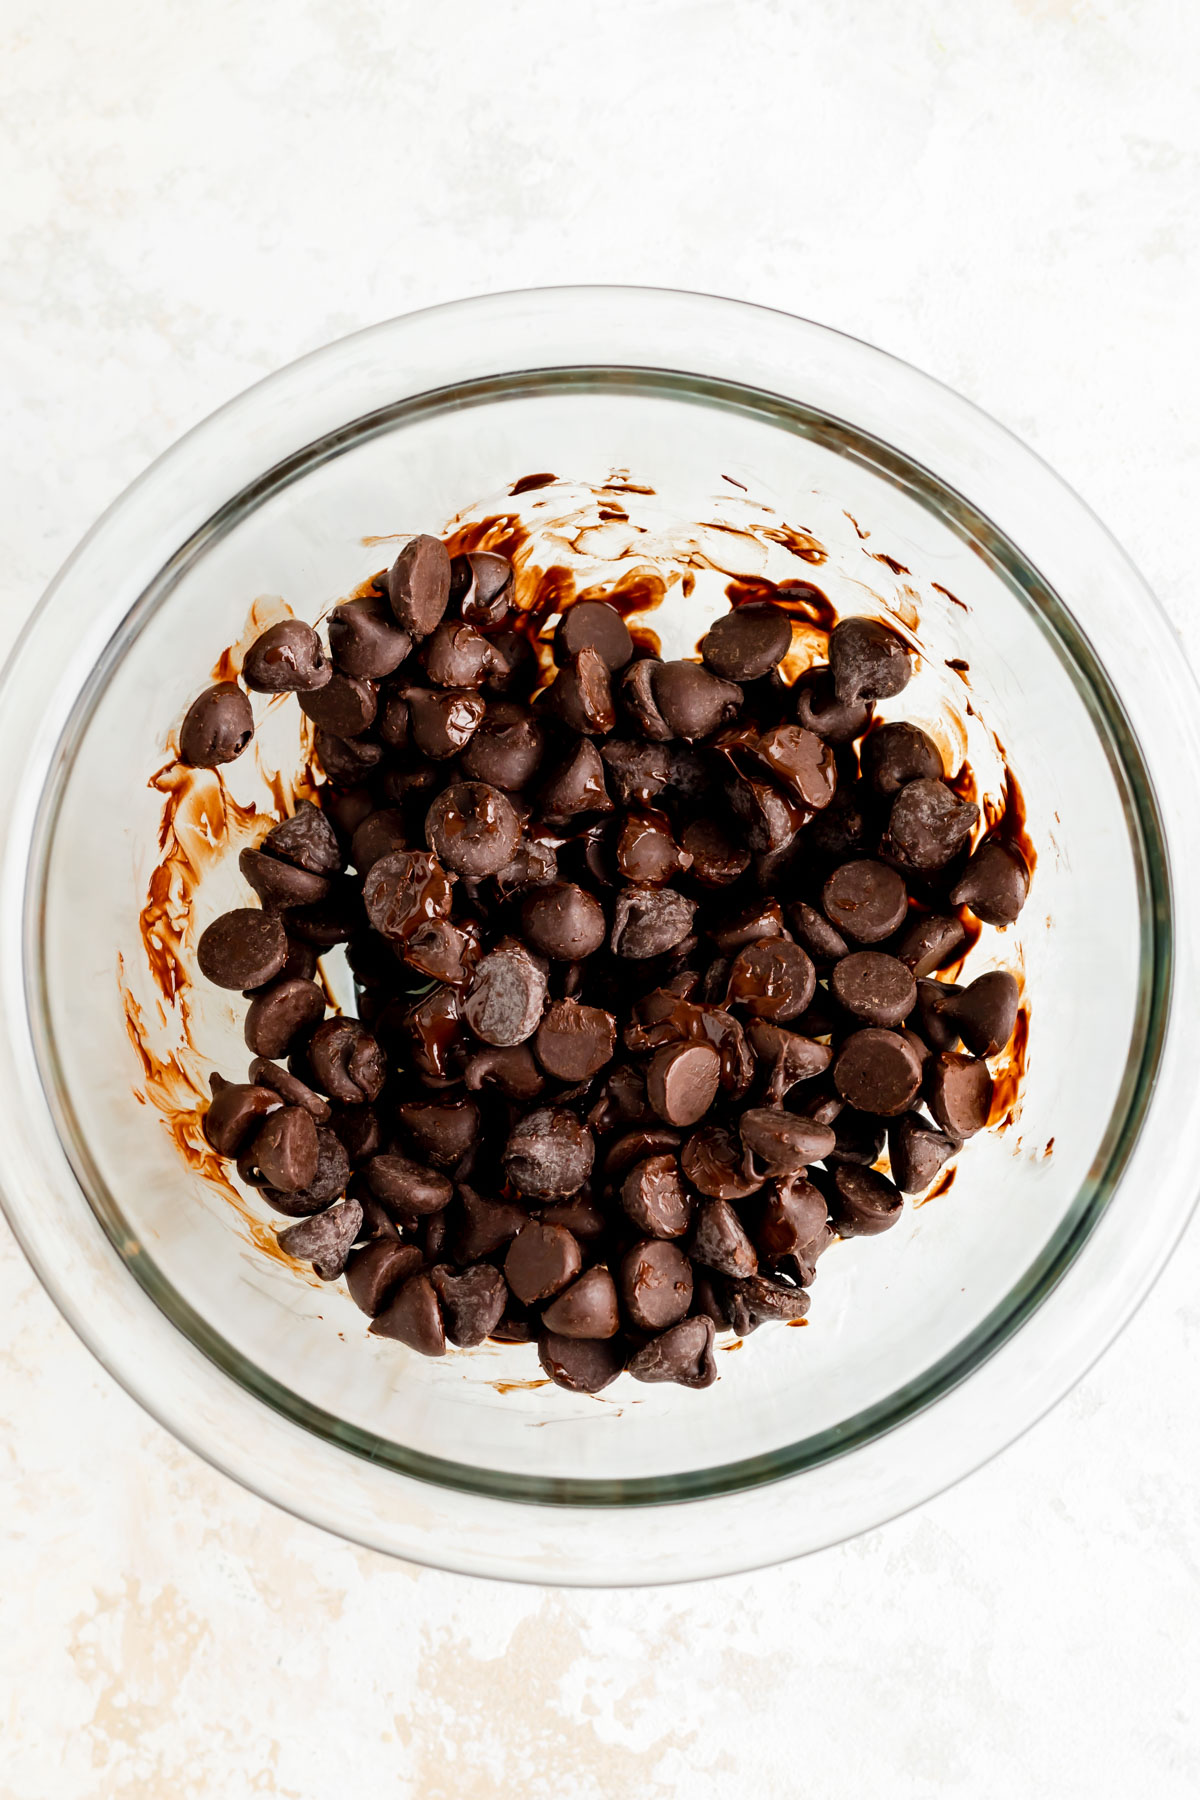
- 30 seconds at full power: microwave the chocolate placed in the center of the microwave for 30 seconds at full power, then stir well, scraping any slightly melted bits off the bottom.
- Another 30 seconds at full power: microwave your chocolate again for 30 seconds at full power, then stir well again.*1
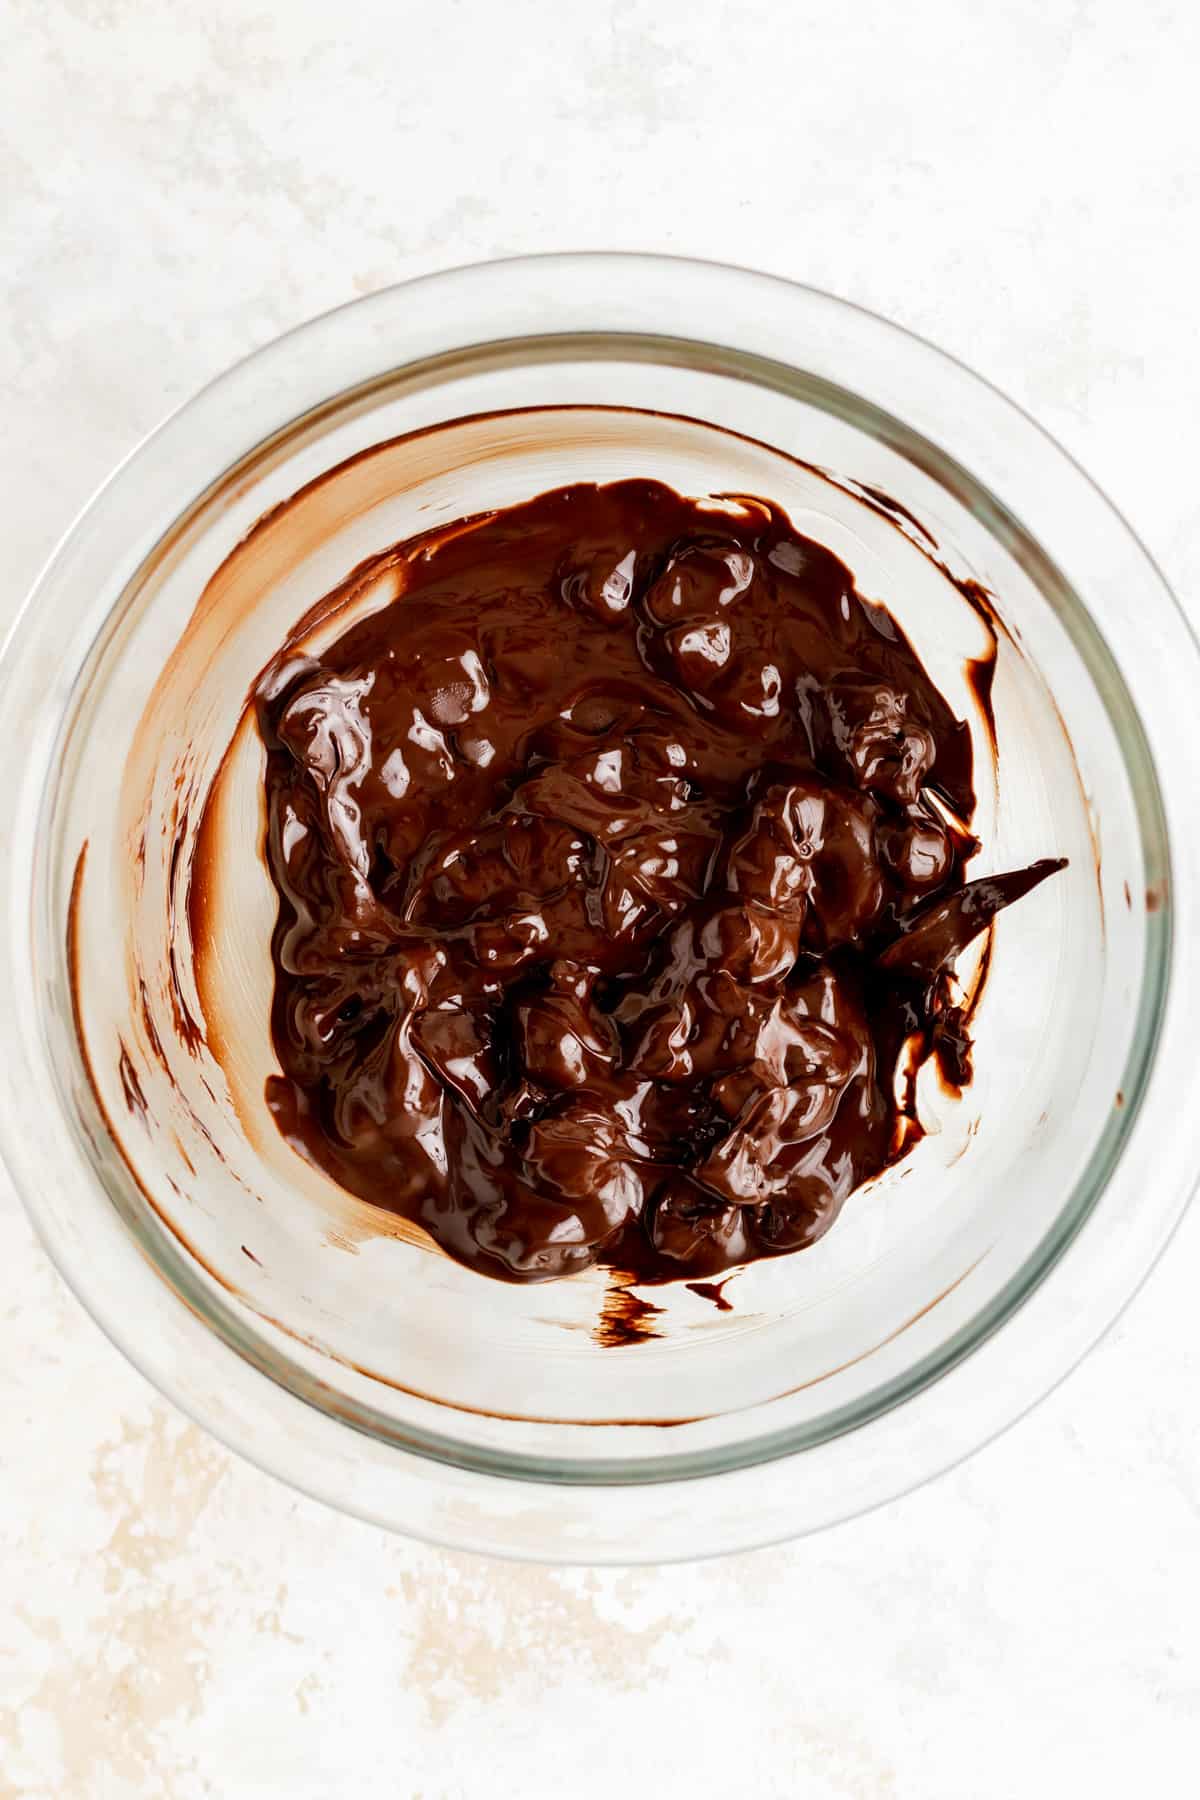
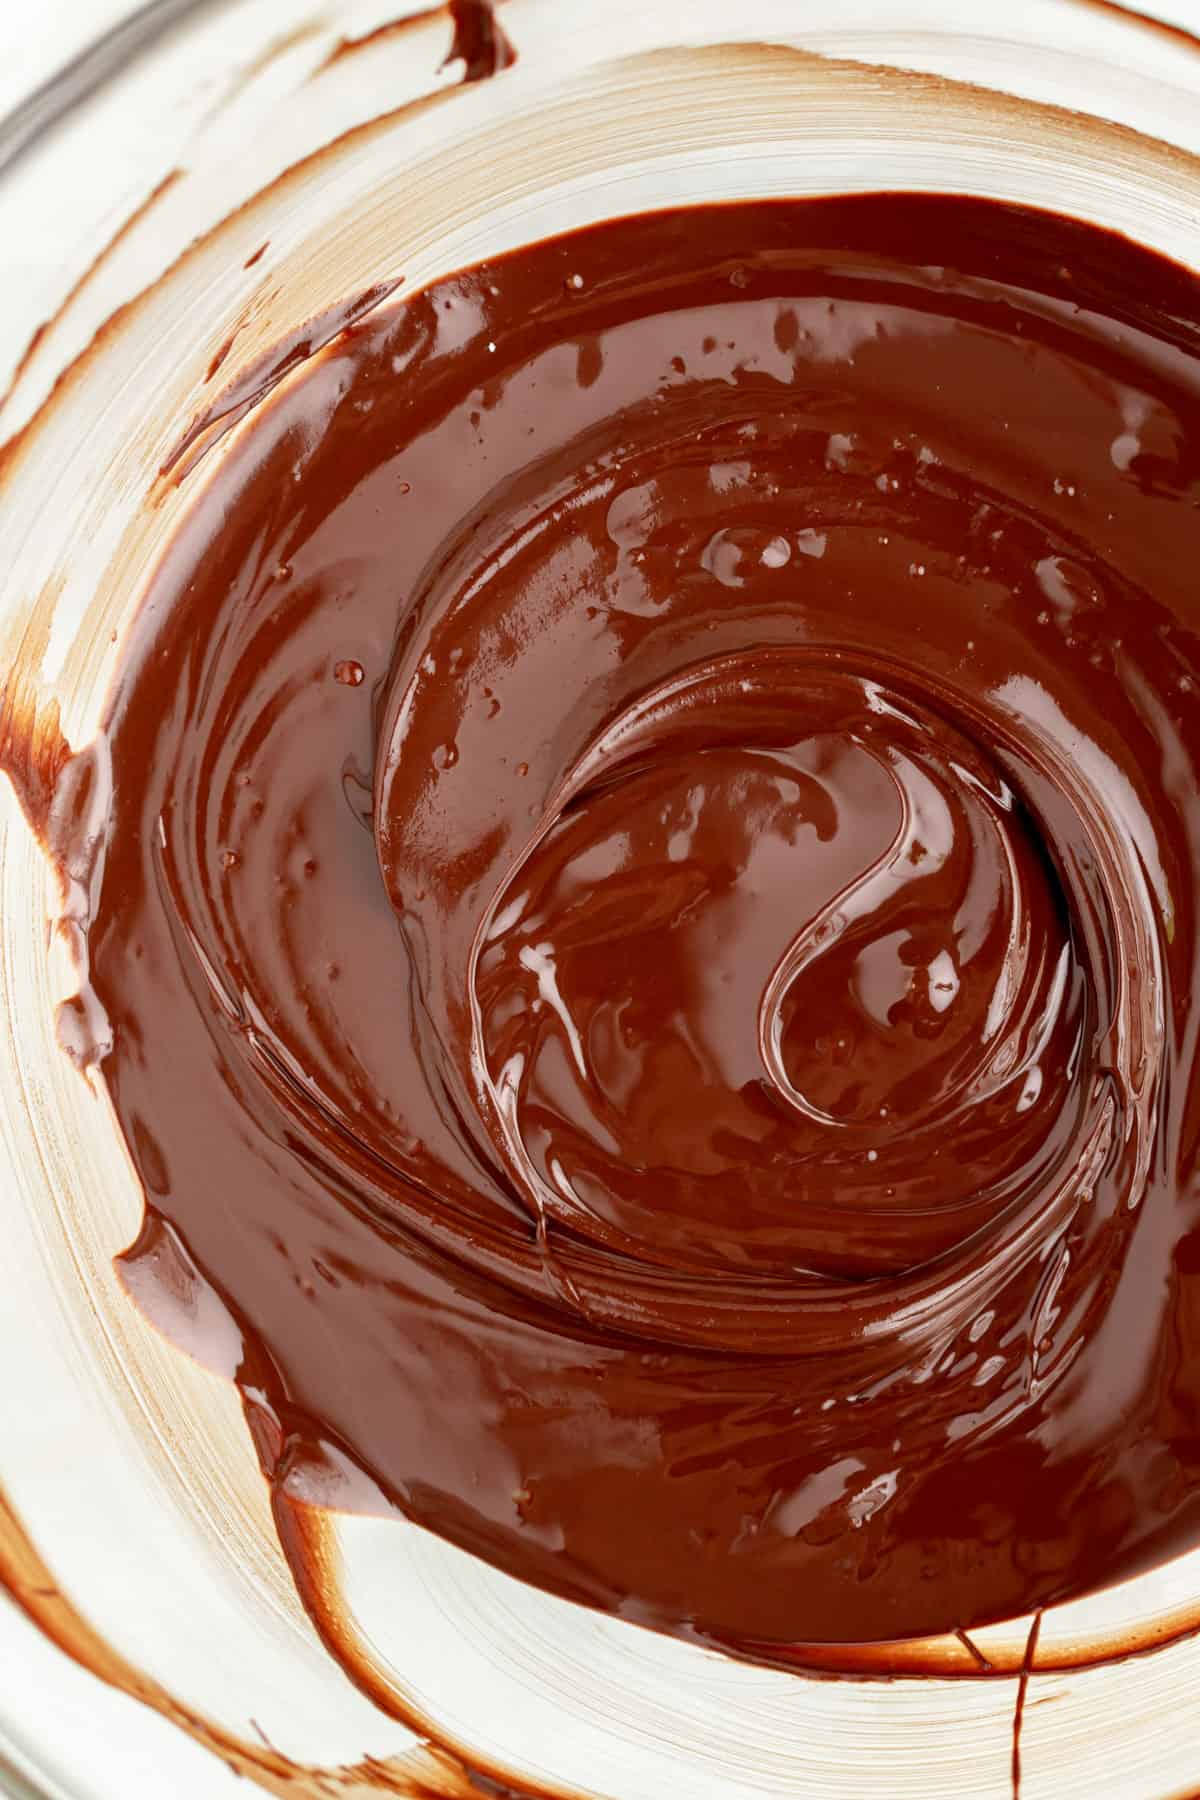
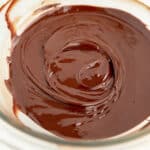
- 10 second intervals until melted: continue microwaving chocolate for 10 second intervals and stirring well to redistribute the heat after each until chocolate is smooth, shiny, and fully melted.*2
Double Boiler on the Stove:
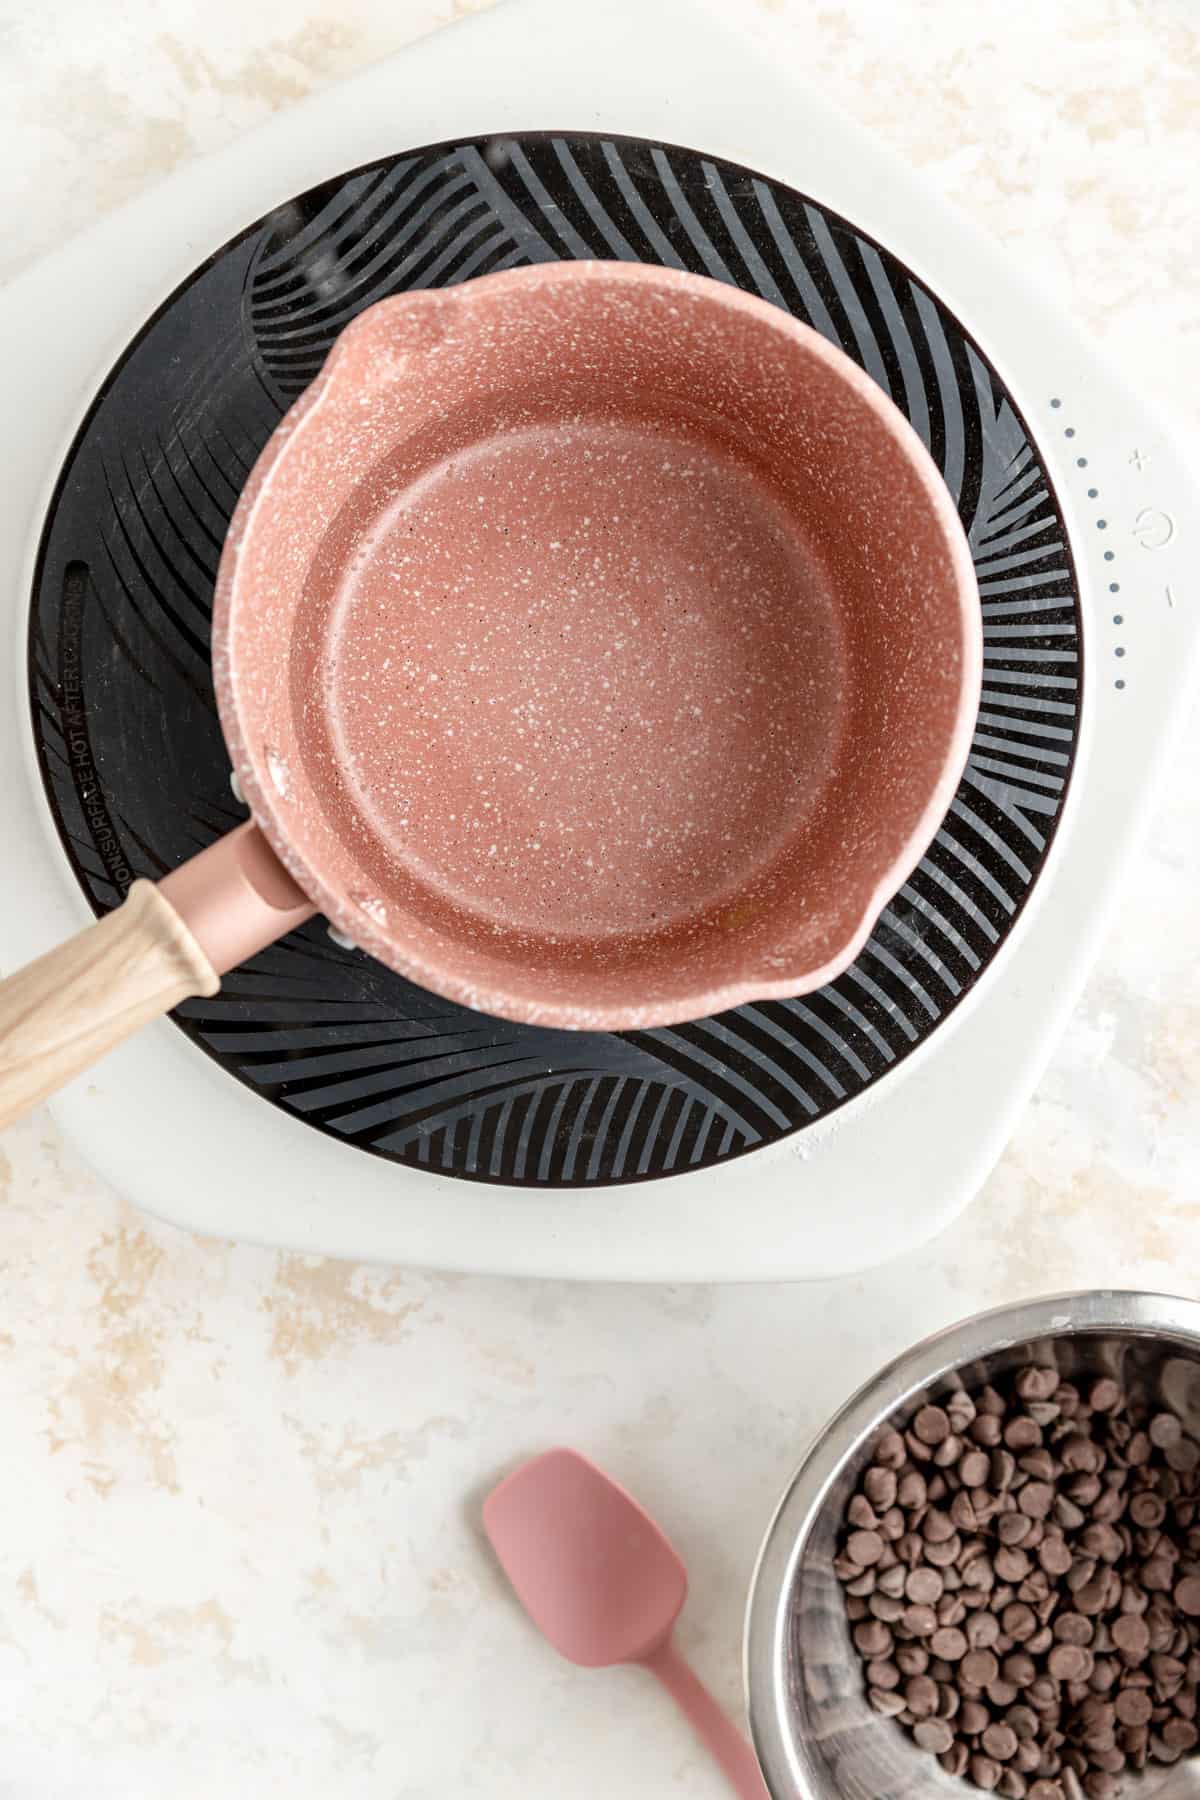
- Prep double boiler: place 1” of water in the bottom of a small pot and bring to a boil.
- Prep chocolate: if using bars, chop chocolate into fairly uniform pieces that aren’t too much bigger than a chocolate chip. Add chocolate to a metal or heat-safe glass bowl.
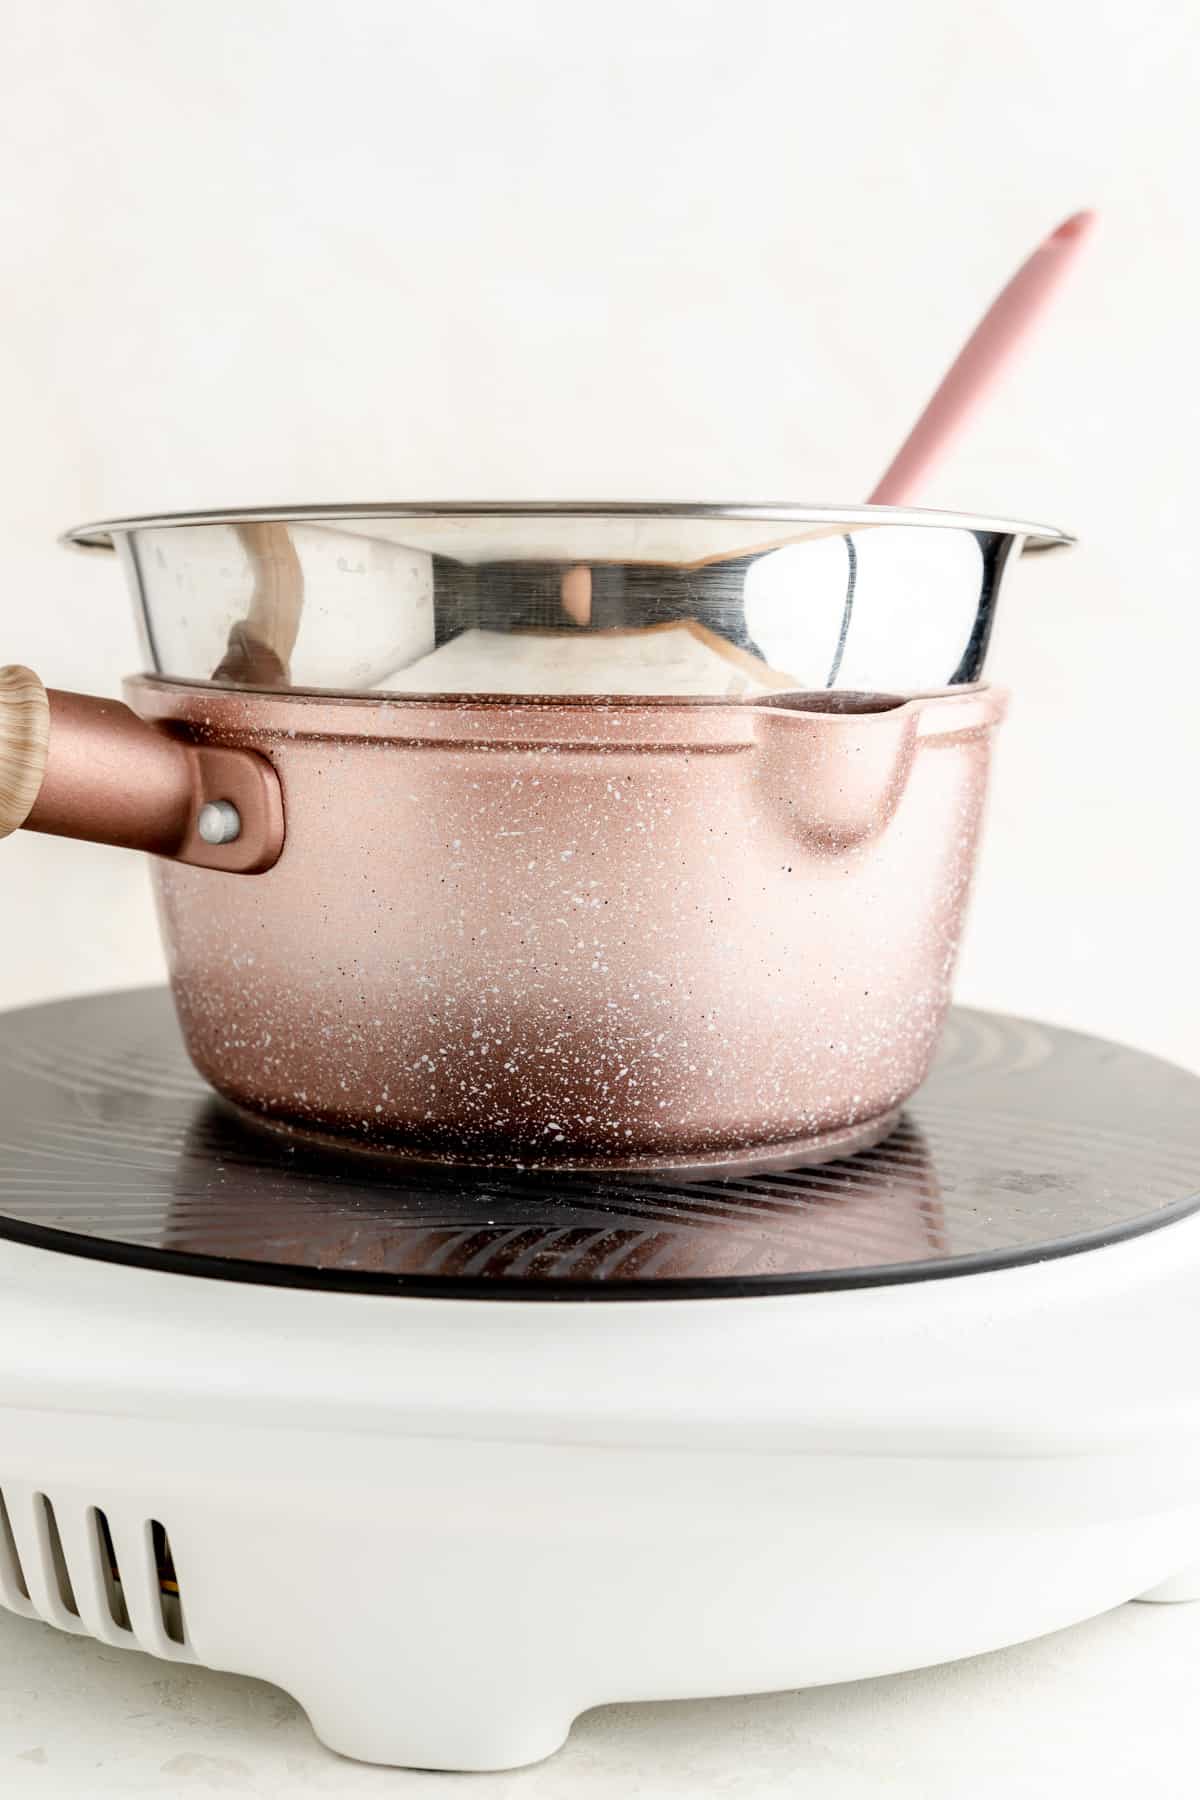
- Melt chocolate over water: set the bowl snuggly on top of the pot to essentially seal the hot steam in below (make sure your bowl doesn’t actually touch the water!).
- Stir frequently: continue stirring your chocolate frequently until smooth, shiny, and fully melted, being careful not to get any water in it or it will seize (an oven mitt is helpful to prevent steam burns on the hand holding the bowl here!).*2
Test Kitchen Tips
- *1The amount of chocolate matters: the times above work well for 1 cup or more of chocolate chips. If you have less, I would recommend just one 30 second interval, then a 15 second interval, and then 10 second intervals until fully melted to minimize the risk of burning.
- *2Leftover Chocolate: for leftover melted chocolate, line a baking sheet with parchment paper. Pour the extra chocolate onto the parchment, and use a regular or offset spatula to spread it thin. Allow it to fully set and then break it up into pieces to either re-melt later, sprinkle on top your favorite ice cream, or just mix in to your next batch of chocolate chip cookies!

Comments
No Comments