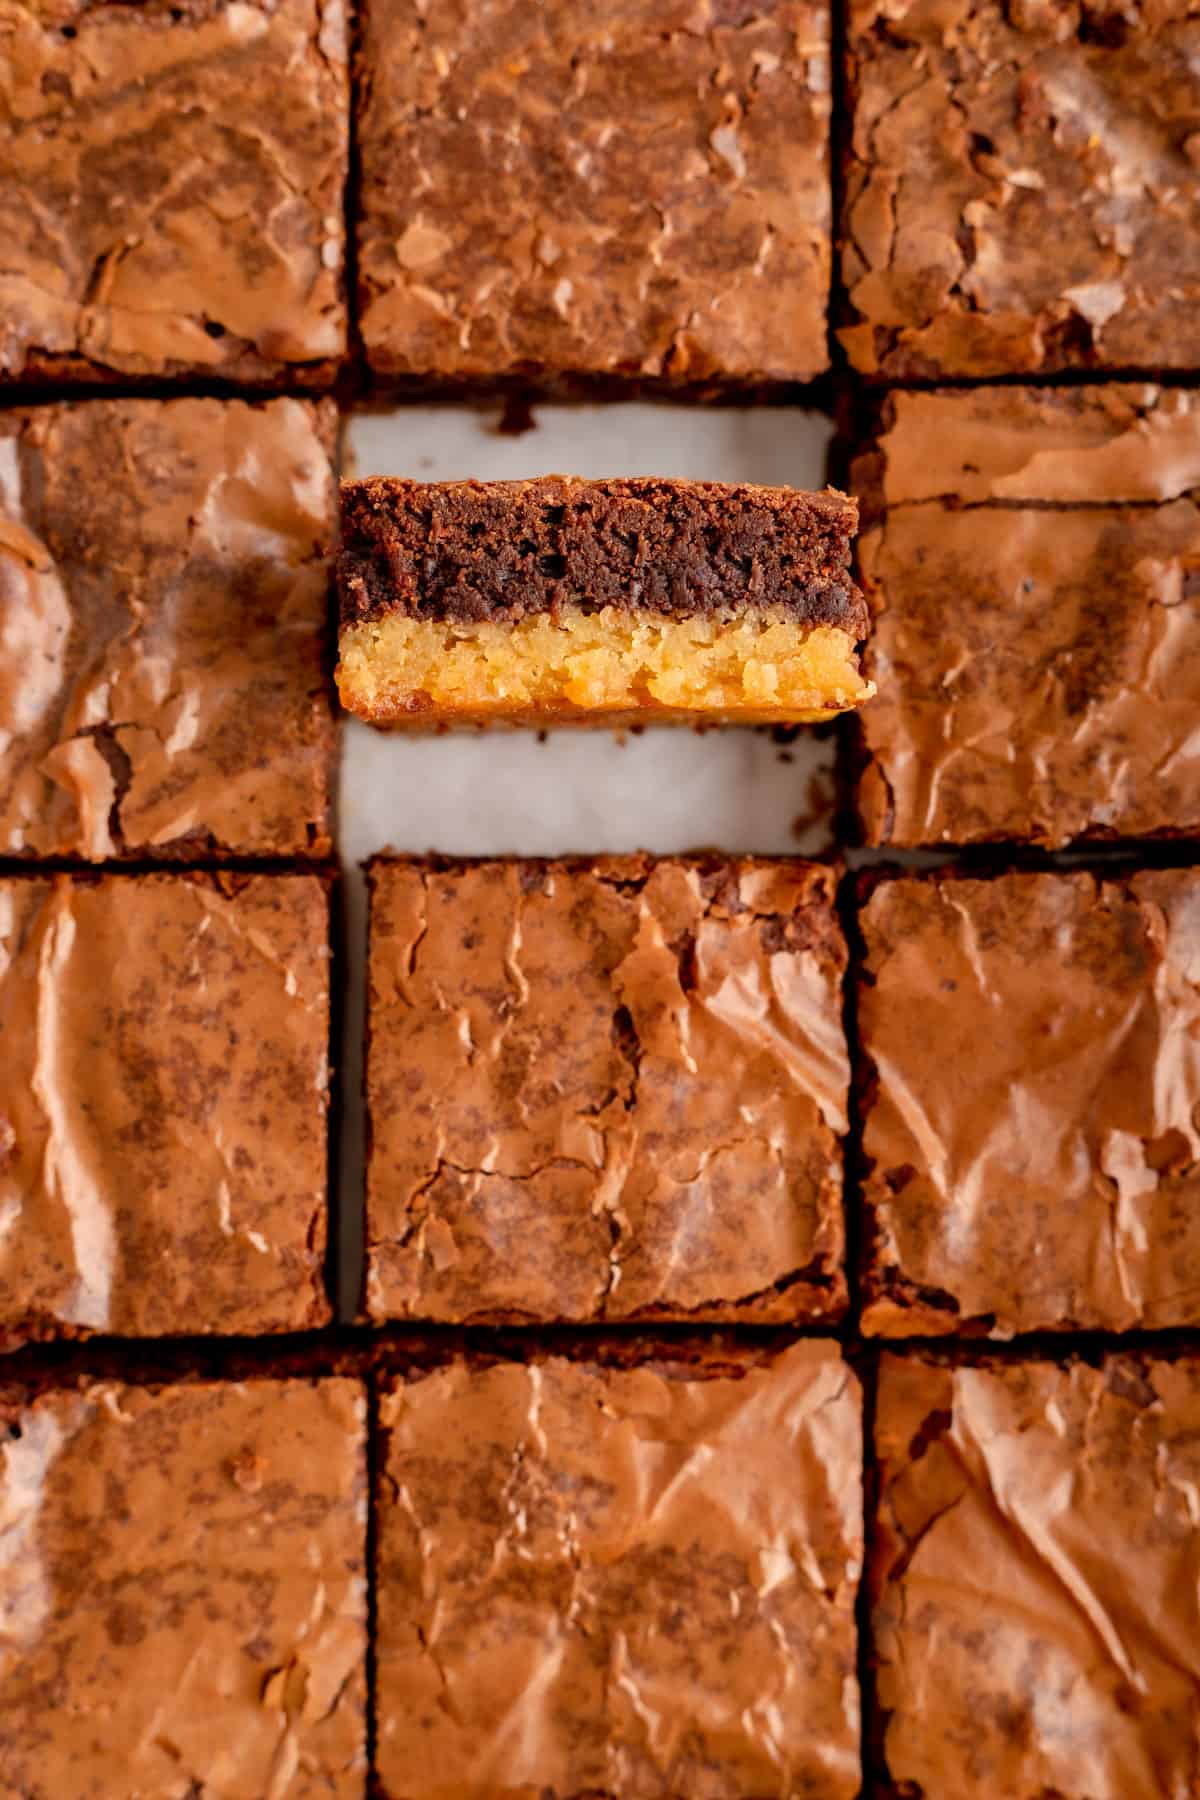
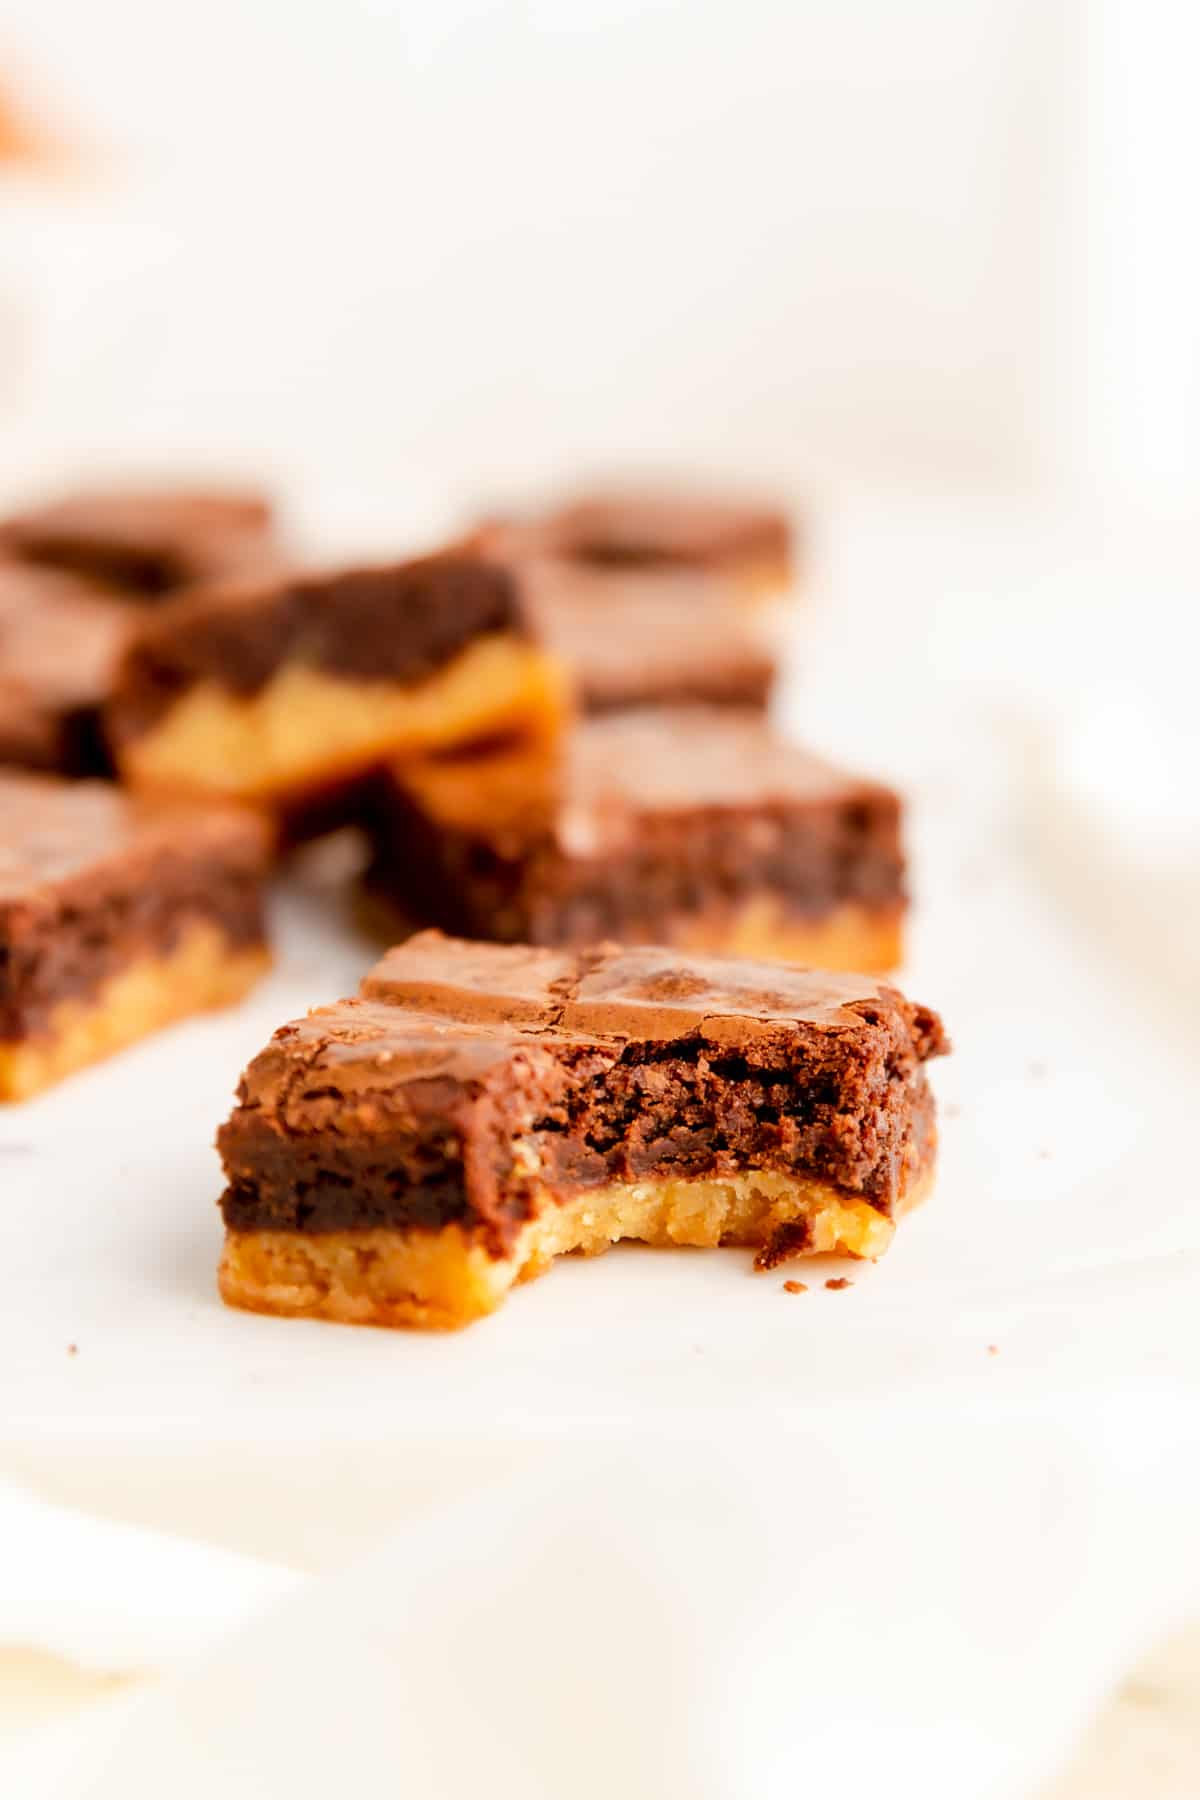
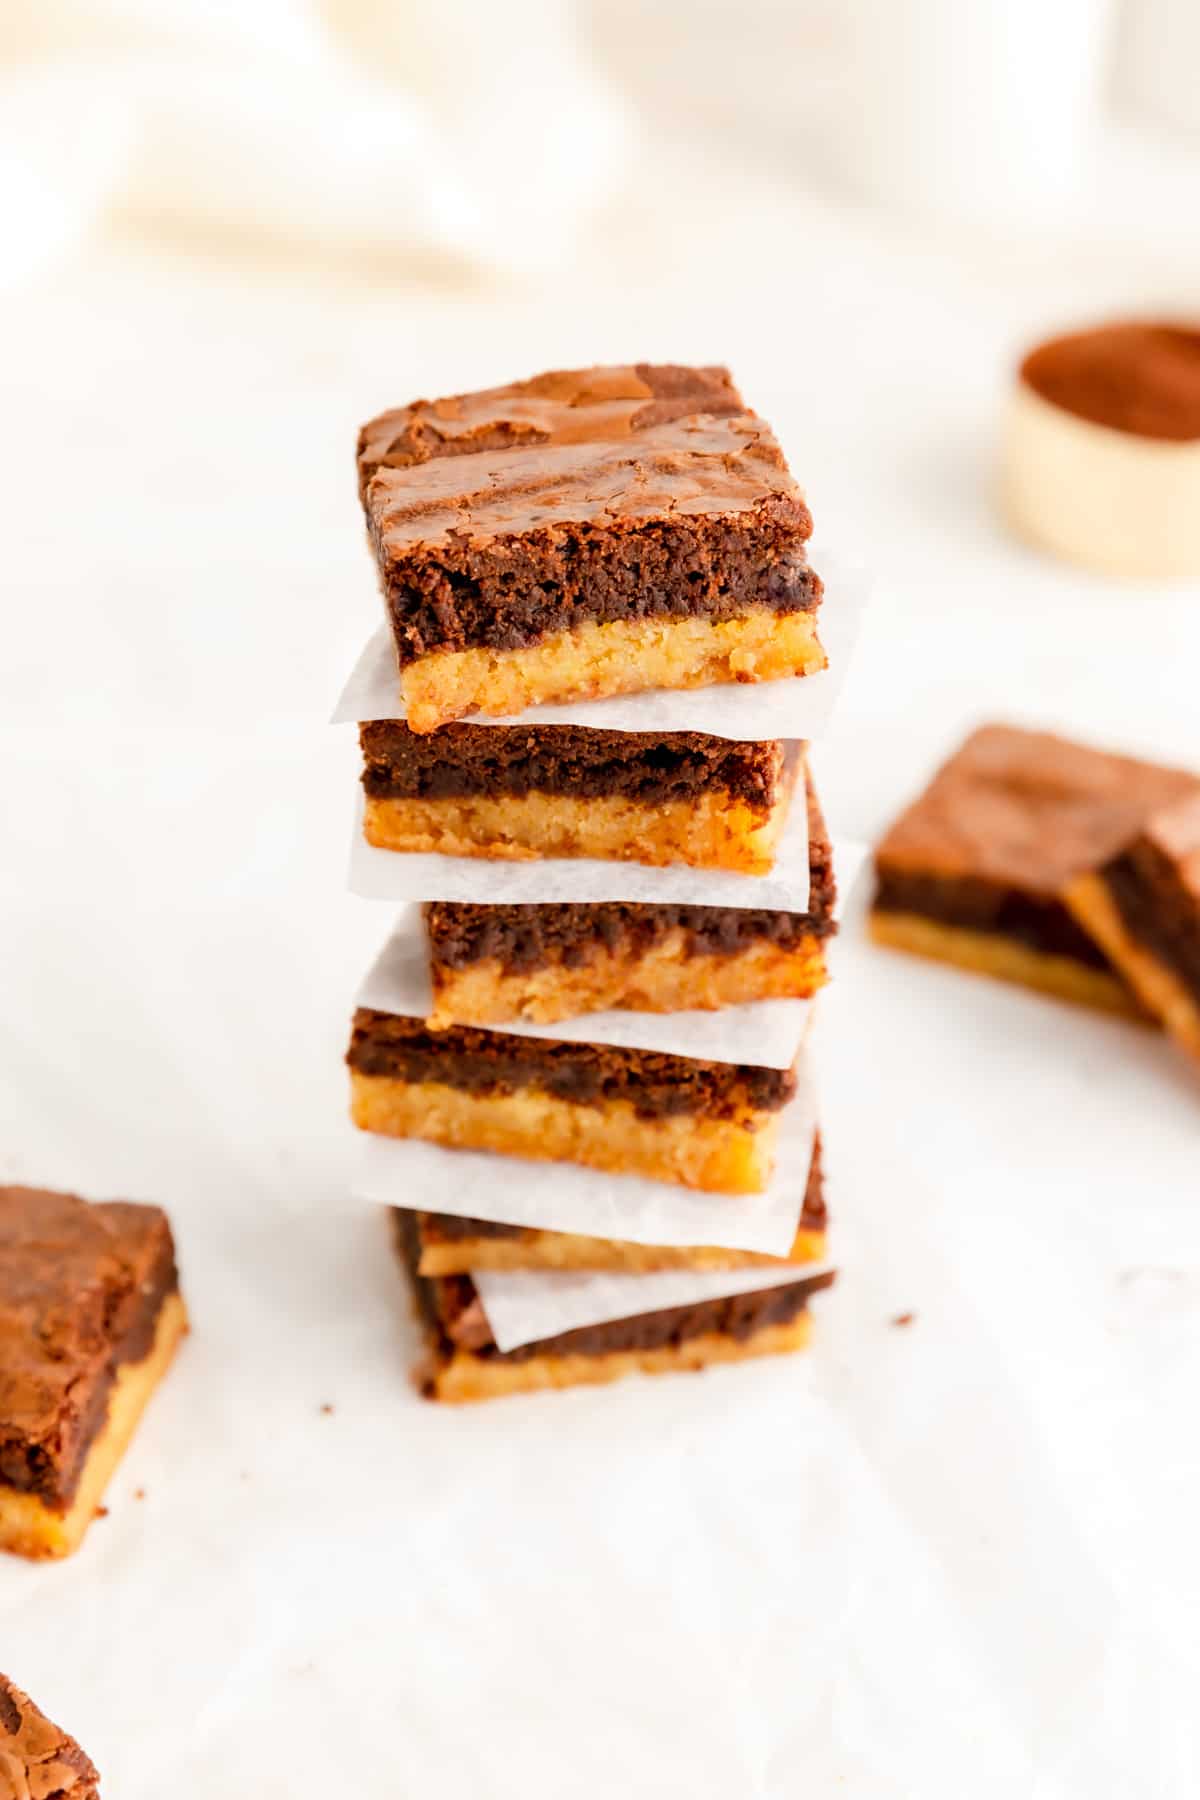
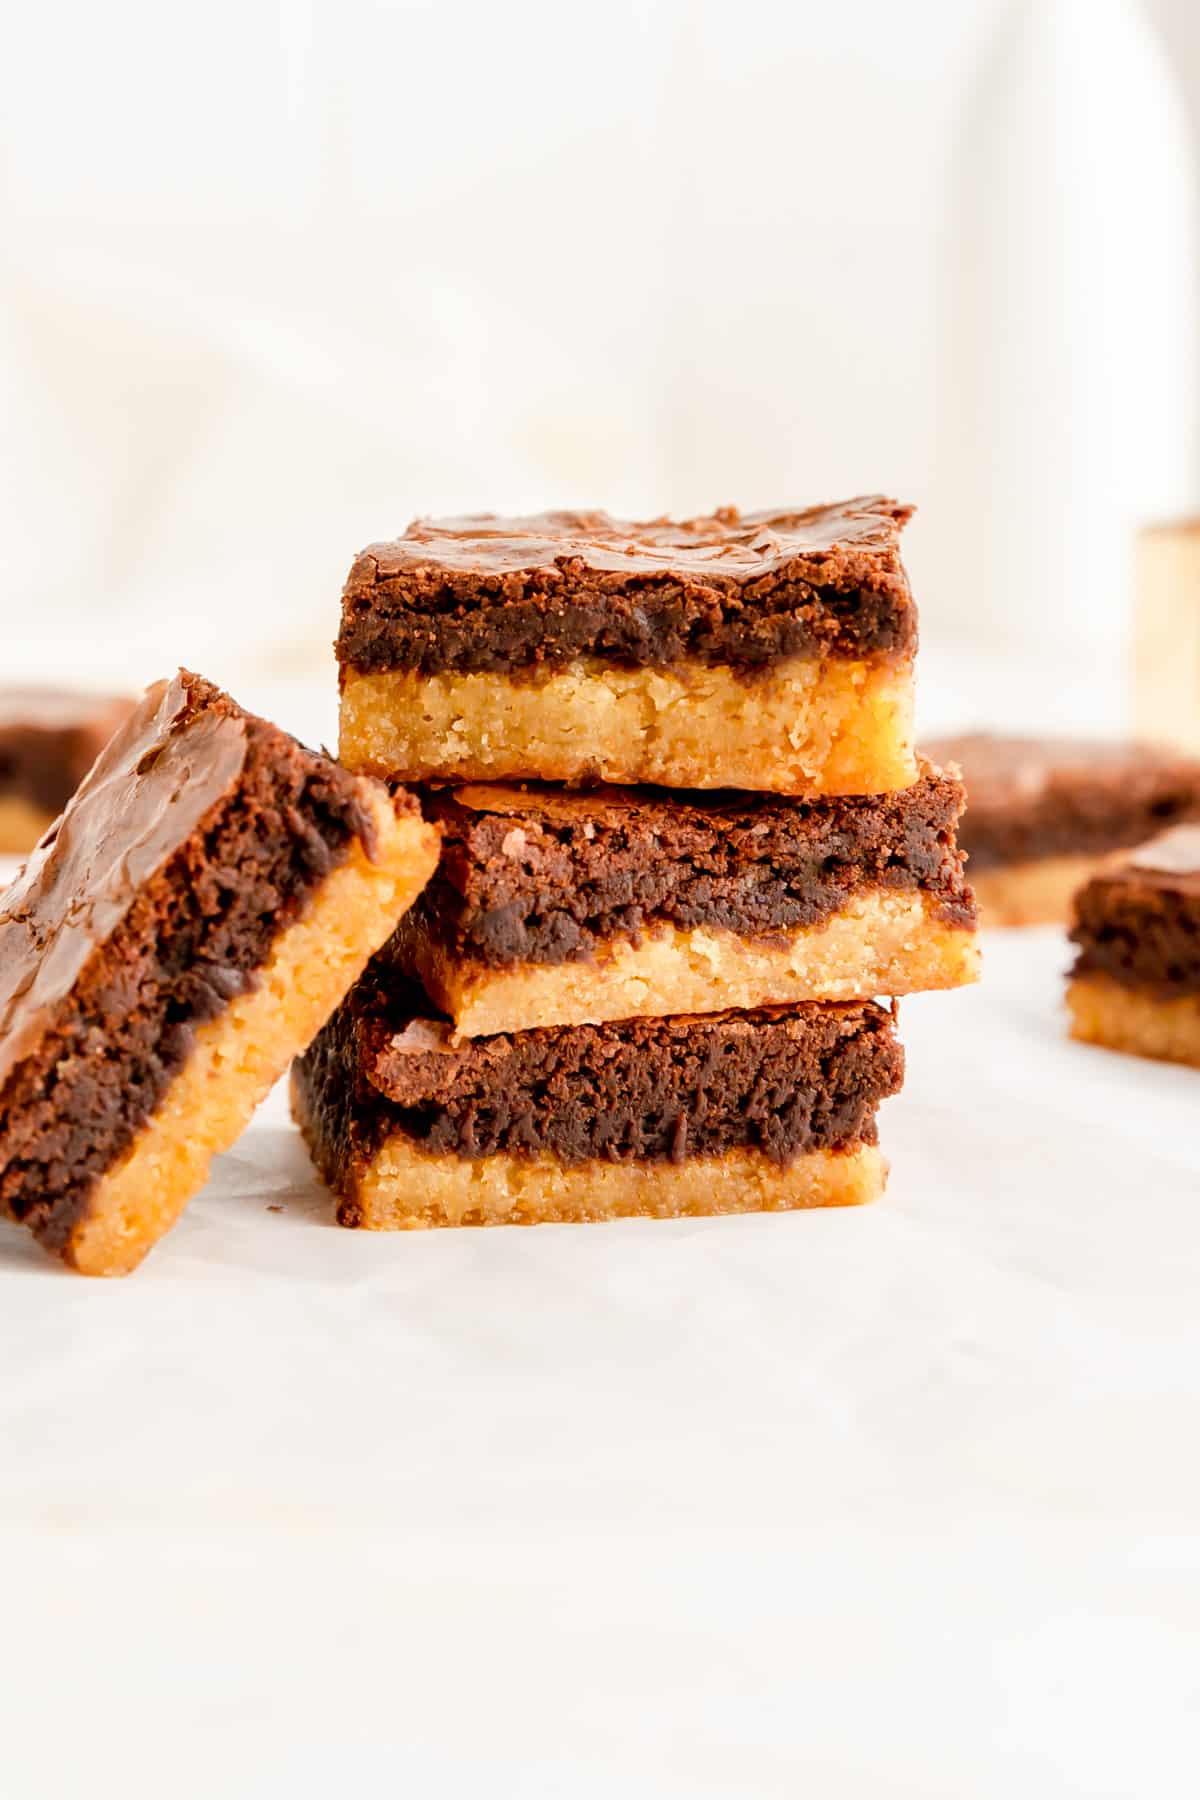
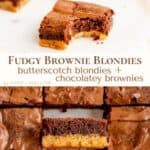
These easy, fudgy brownie blondies start with a gooey, brown sugar caramel blondie batter, then layer a rich, chocolatey, crinkle-top brownie on top! With a quick mix-up by hand and an easy assembly, why would you just make blondies OR brownies when you could have both in one bite?!
Jump to (scroll for more!):
- So, what exactly are Brownie Blondies?
- What’s the difference between blondies and brownies?
- Ingredient Tips for Better Baking
- Special Tools You'll Need
- How to Make Brownie Blondies from Scratch
- Make This Recipe Your Own
- Test Kitchen Tips for Sweet Success
- More Tips + FAQs
- Other Brownies and Blondies You'll Love
- 📖 Full Recipe
- Comments
So, what exactly are Brownie Blondies?
..or a blondie brownie for that matter?
Is it blondies + brownies...or chocolate blondies...or non-chocolate brownies...or blonde brownies? (...talk about a tongue twister!)
Well, it's actually all of the above!
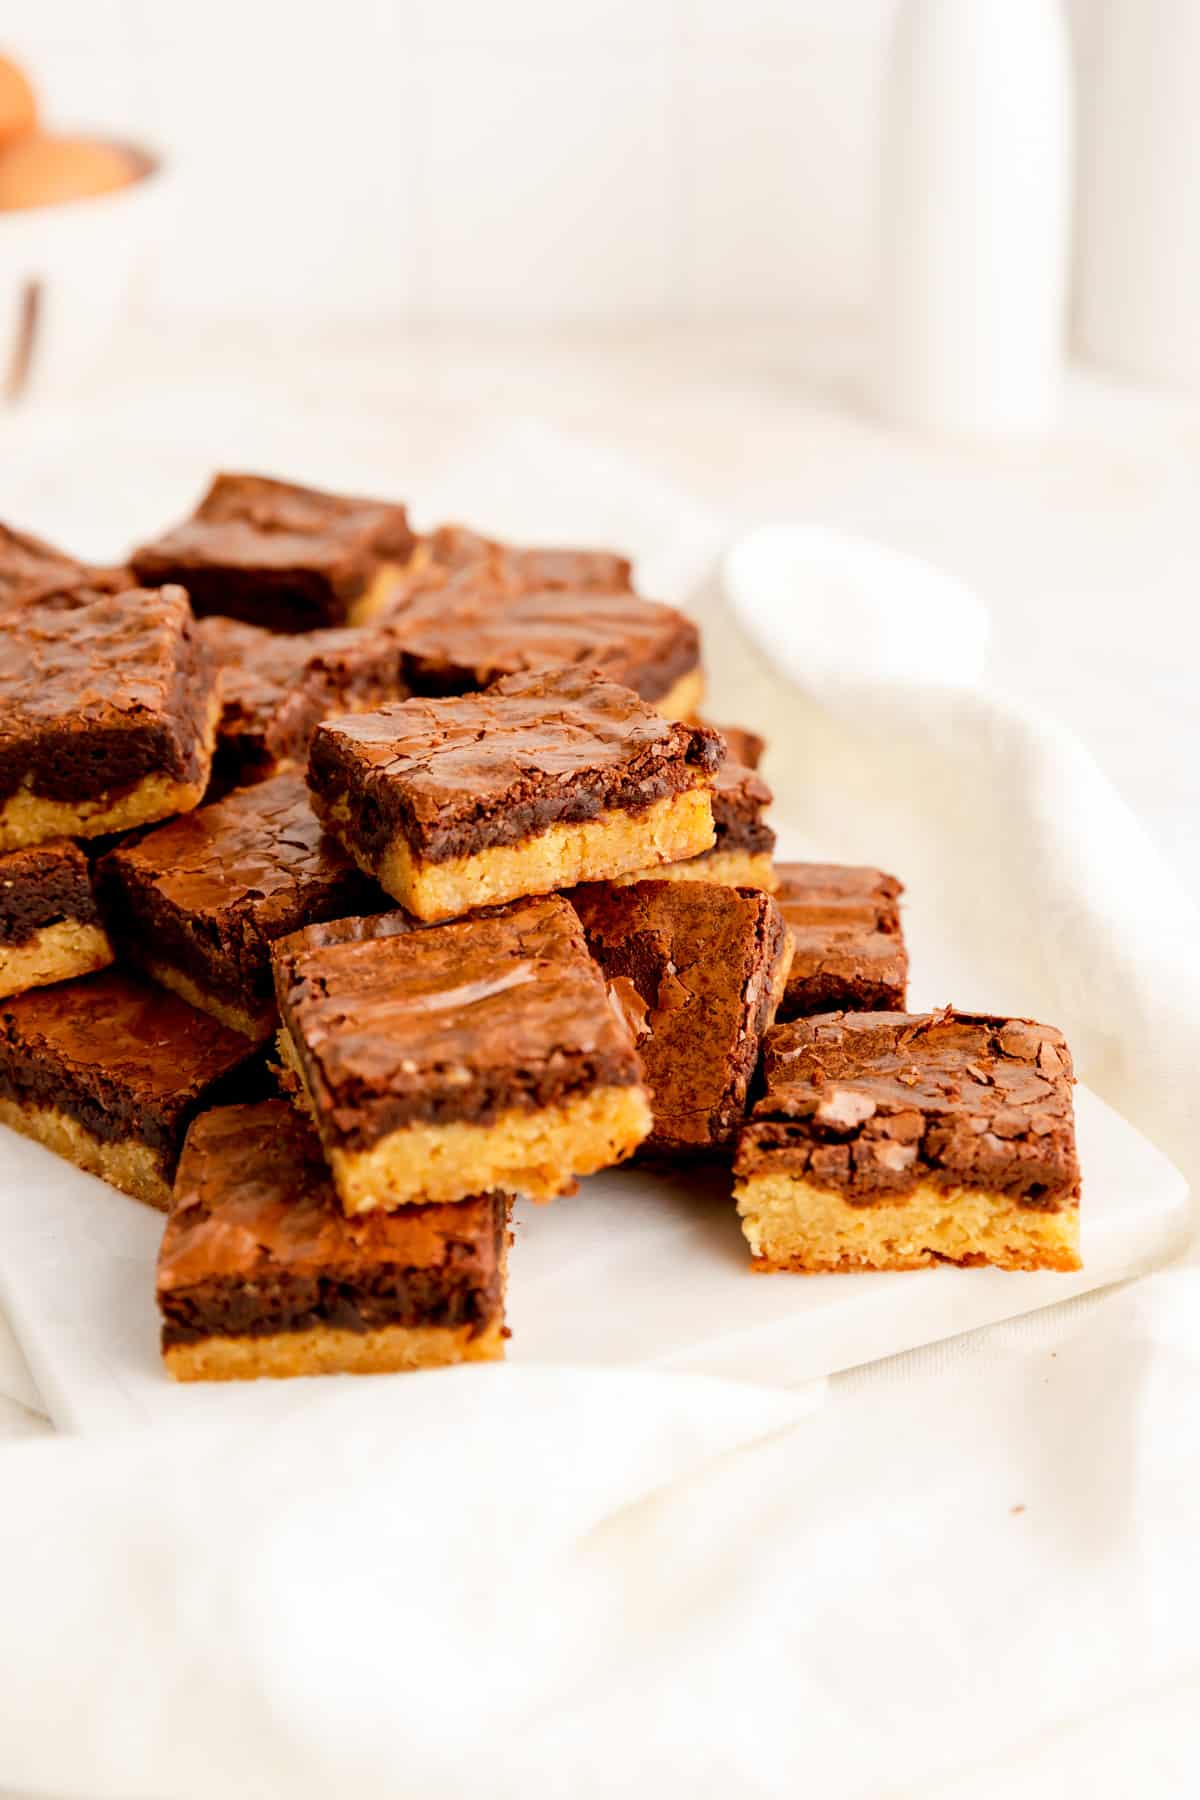
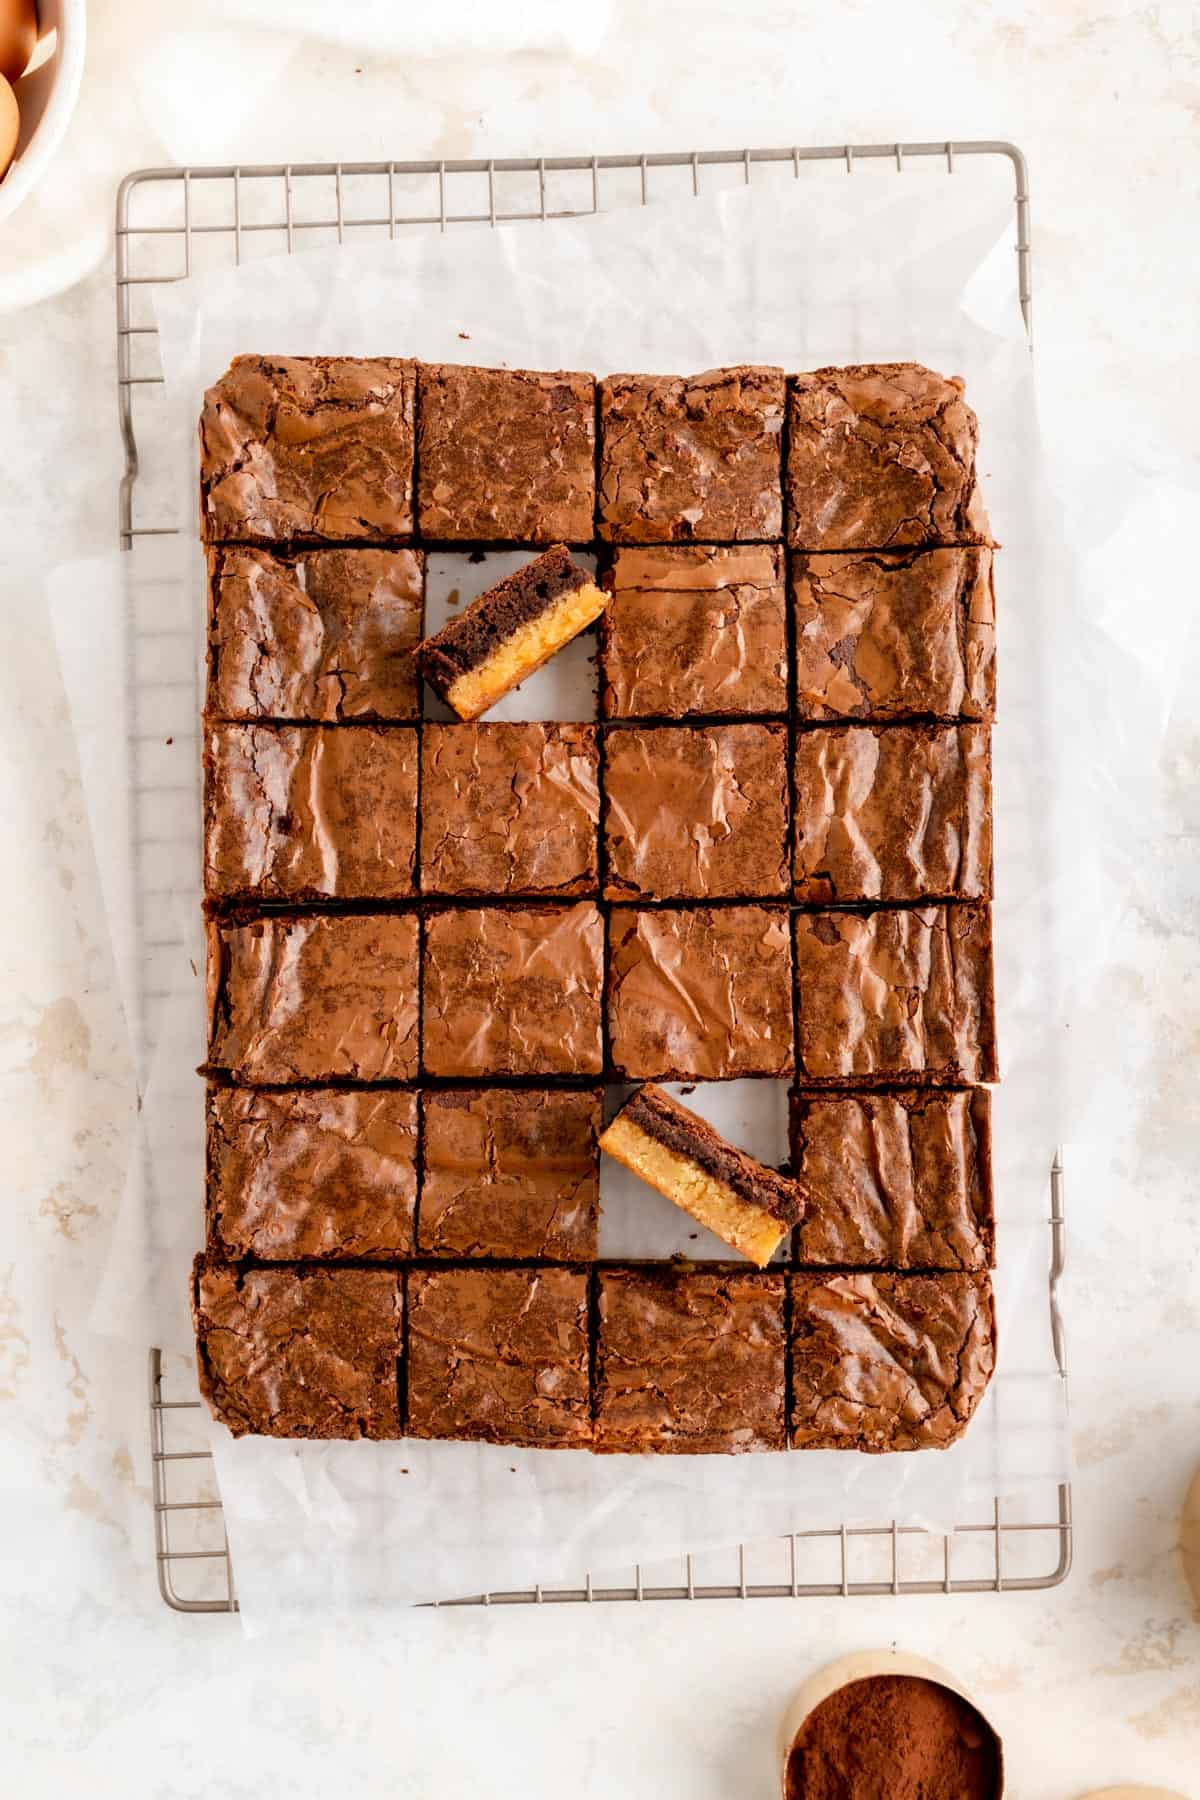
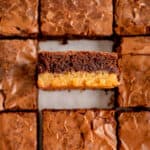
While there are many takes on a brownie blondie and a blondie brownie, mine is a double-layer delight. It starts with a full base of the classic caramel brown sugar blondies we all love. Then I topped that butterscotch layer with a rich, chocolatey brownie complete with the classic crinkle top.
So in short you get the best of both worlds in one bar, with an easy mix-up by hand, and an easy layering process. And what makes them even better is that they look like a deliciously innocent brownie on top, but have a hidden, magical blondie surprise on the bottom!
What’s the difference between blondies and brownies?
Similar to the brownie blondie dilemma, people would define both of these treats differently depending on who you asked.
Both bars have a lot of the same building box:
- a lot of butter for fudginess and flavor (usually melted)
- a good deal of eggs for extra stability in this rich batter
- a high amount of sugar to keep them sweet
- that crinkle top we all love
Personally, for my recipes, I tend to use more brown sugar for that caramel flavor in blondies. Alternatively, I like using more white granulated sugar in brownies to help create a better sugar crust and crinkly top.
And then, of course, there's the chocolate, which is the biggest difference between blondies and brownies in my book.
Whether using cocoa powder or melted chocolate, brownies always have some "brown" chocolate component, i.e milk or dark chocolate. In my opinion, blondies shouldn't have melted chocolate in the batter (with the exception of white chocolate which is pretty rare). But otherwise, blondies would only contain chocolate in the form of chocolate chips or pieces.
There are always exceptions, but in my humble opinion, blondies are "blonde" and brownies are "brown," and I think that's the easiest way to think about the distinction between these two delicious treats!
Ingredient Tips for Better Baking
(Pssst…if you're ready to just get baking, get all the details in the recipe card below!)
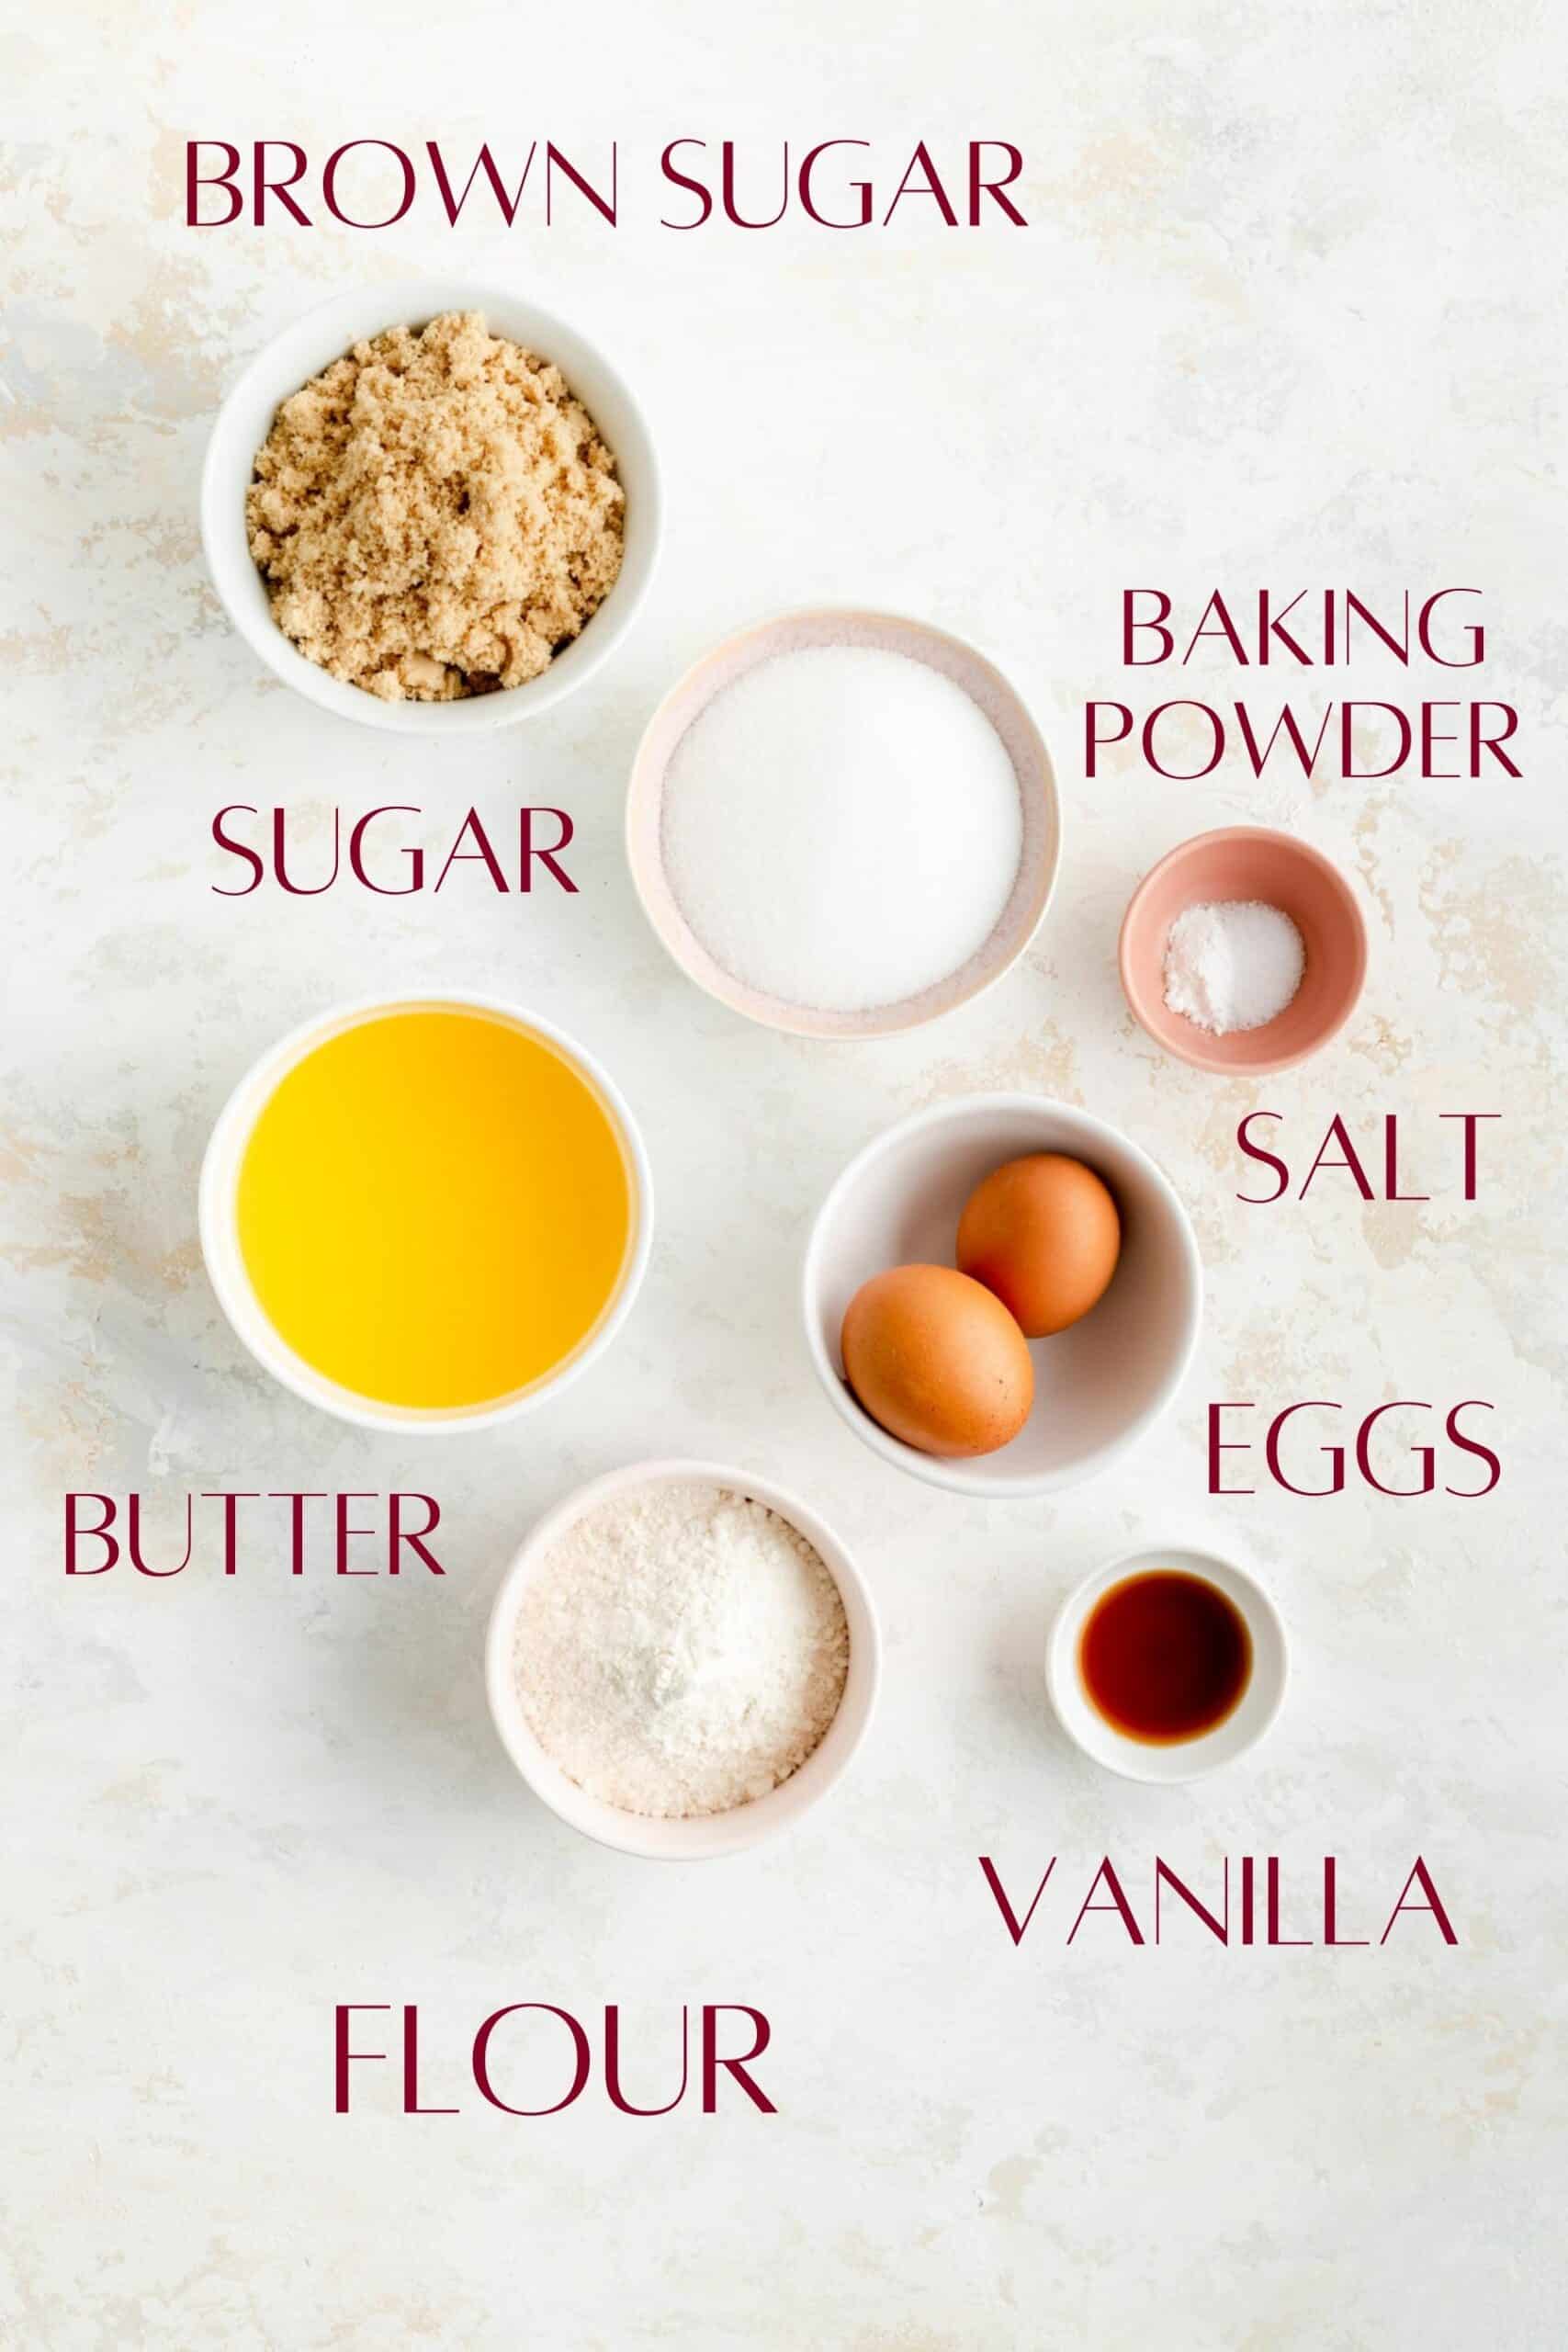
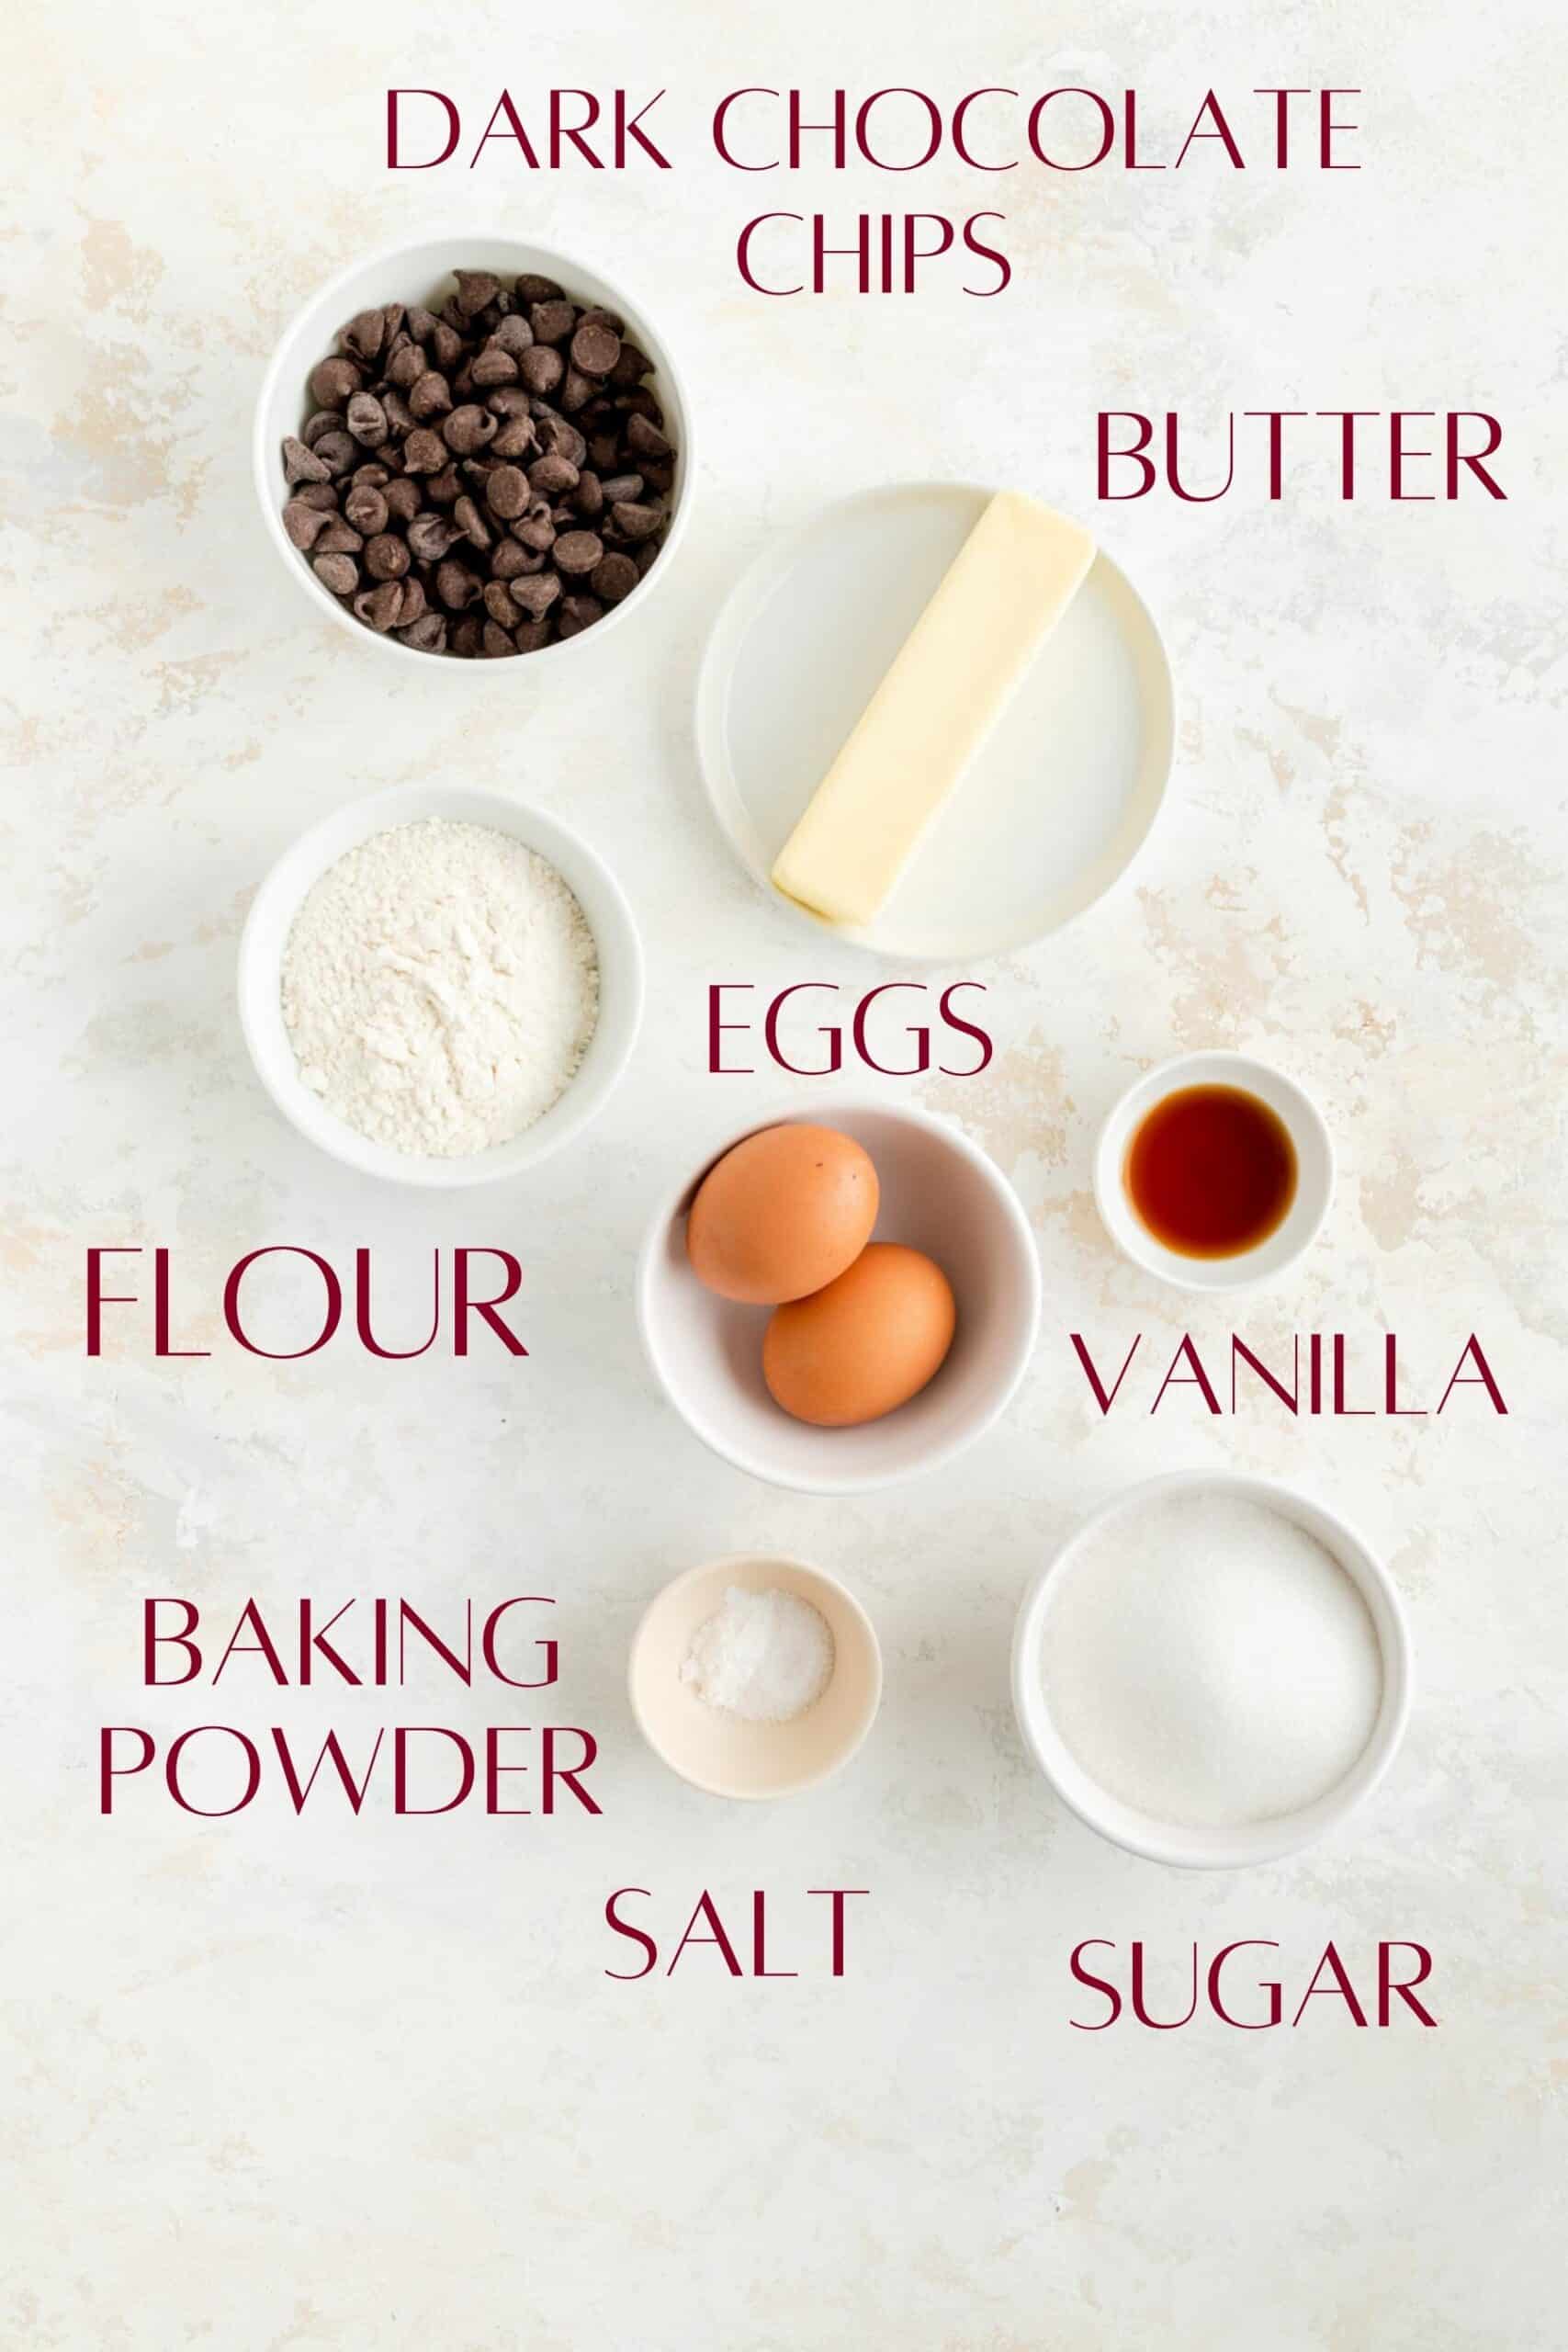
- Butter: make sure to use unsalted butter. There’s a lot of butter in these fudgy bars, and salted butter will yield an overly salty product.
- White Granulated Sugar: helps create a sugar crust that gives us that nice crinkle top on our brownie layer.
- Brown Sugar: helps to add those caramel notes you need for a "butterscotch" flavor, without us actually having to make a caramel. It also provides a fudgier texture to our bars than white sugar would alone.
- Chocolate, not cocoa powder: a lot of brownie recipes use cocoa powder for their batters. However, I found a good quality chocolate to create much richer and stronger flavor in my brownies (and extra fudginess) so we're going to use a whole cup in the second layer of these bars. My favorite readily availble dark chocolate chips are Hershey's Special Dark Chocolate Chips. I also went specifically with dark chocolate here to help offset the overall sweetness in these bars.
- Vanilla: vanilla extract is really important in both layers of these bars. In the blondies, it contributes to the butterscotch/caramel flavor profile. In the brownie layer, it actually makes the chocolate seem more chocolatey too.
- Baking Powder: the recipes I started with for the blondies and brownies actually had no leavener in them. However, since we have a pretty heavy, fudgy bar, I added just a little baking powder in both layers to give us a little lift so these bars don't end up seeming underbaked, but still maintain their fudgy texture.
(p.s. for all the basic tips that no one ever taught you, that are super important to help you bake your best, check out my Baking 101 series!)
Special Tools You'll Need
No mixer or special tools are needed for this recipe. But I do have two recommendations to make your bake the best it can be:
- Use a metal 9" x 13" pan (see FAQs for other pan size info): you should always be baking in metal pans, as the metal will provide the best heat transfer. This means you'll have the best possible final product, and likely be closest to the recipe developer's bake time as well. That said, because this recipe is extra fudgy, it's extra important to use metal here. A glass or ceramic pan could leave your bars seeming too gooey or raw, simply because it's a poor heat conductor.
- Use an offset spatula for easy spreading: my single favorite tool in the kitchen is my small offset spatula. It just makes spreading anything and everything so much easier. Since we are layering two batters in this recipe, it's helpful to have an offset so you can easily spread the brownie batter overtop your blondies without digging into the blondie layer. The angled base allows you to comfortably hold the tool while still having a nice flat spreading surface to move your batter around. (If you don't have one, you'll still be able to make delicious bars. An offset will just make your life that much easier for this recipe and so many more.)
How to Make Brownie Blondies from Scratch
(Pssst…if you're ready to just get baking, get all the details in the recipe card below!)
TO MAKE THE BLONDIE BATTER:
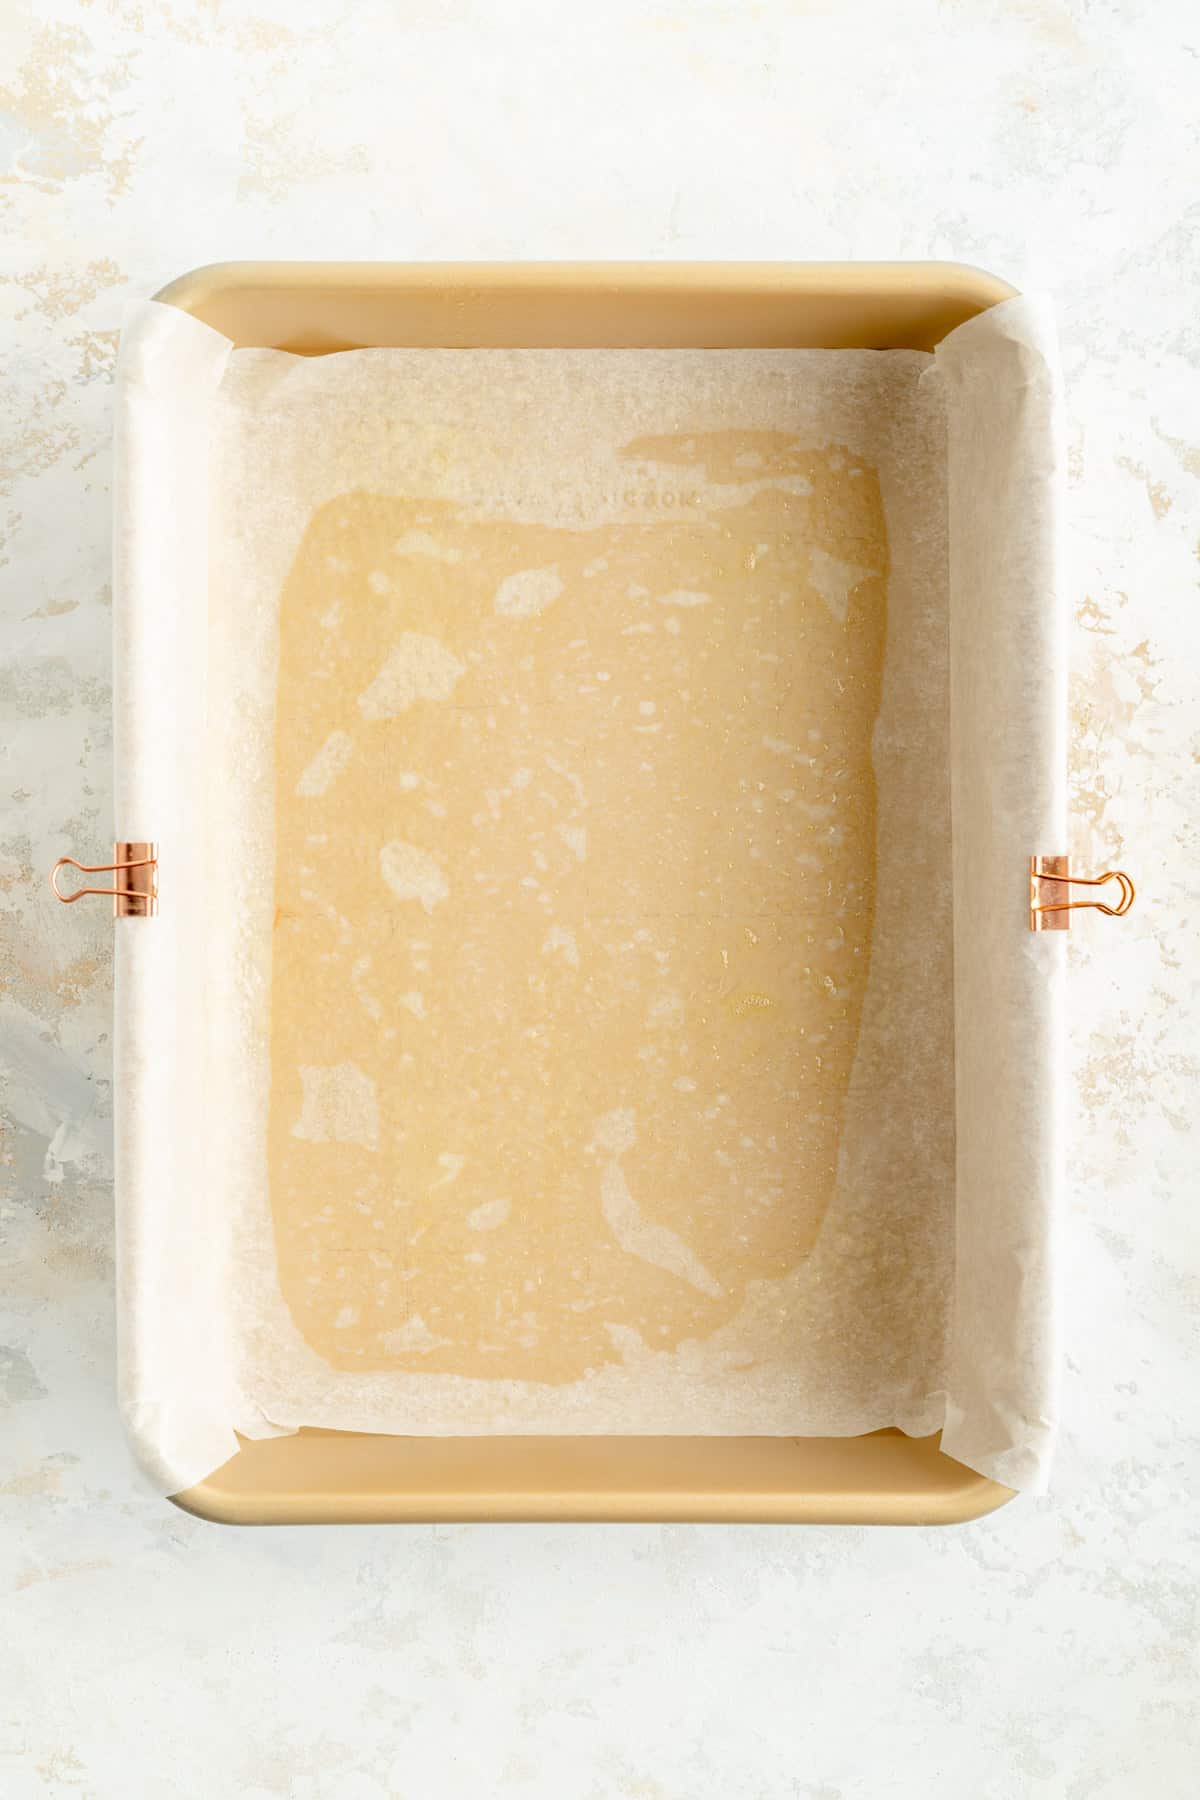
- Prep your pan with a parchment sling and preheat the oven.
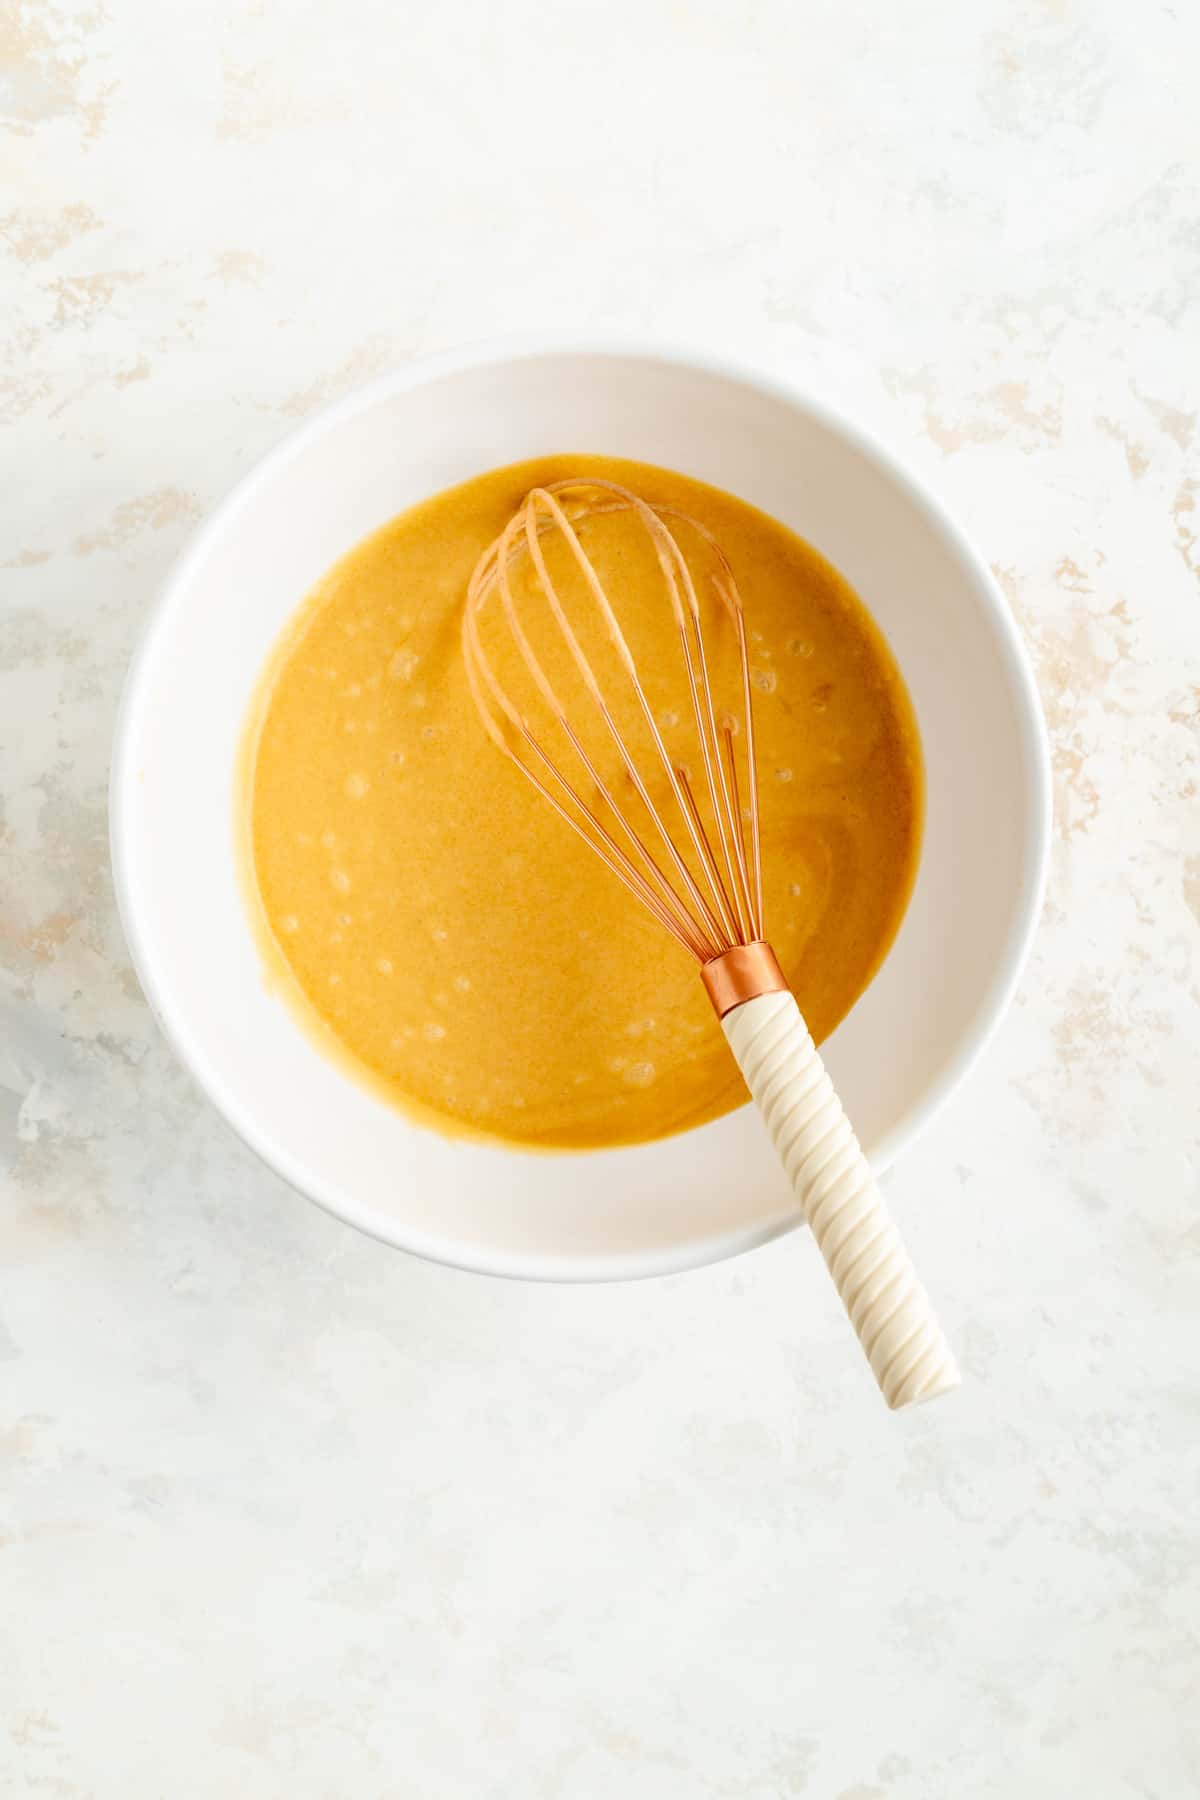
- Whisk together melted butter, brown sugar, sugar, vanilla, and eggs into a smooth and creamy mixture.
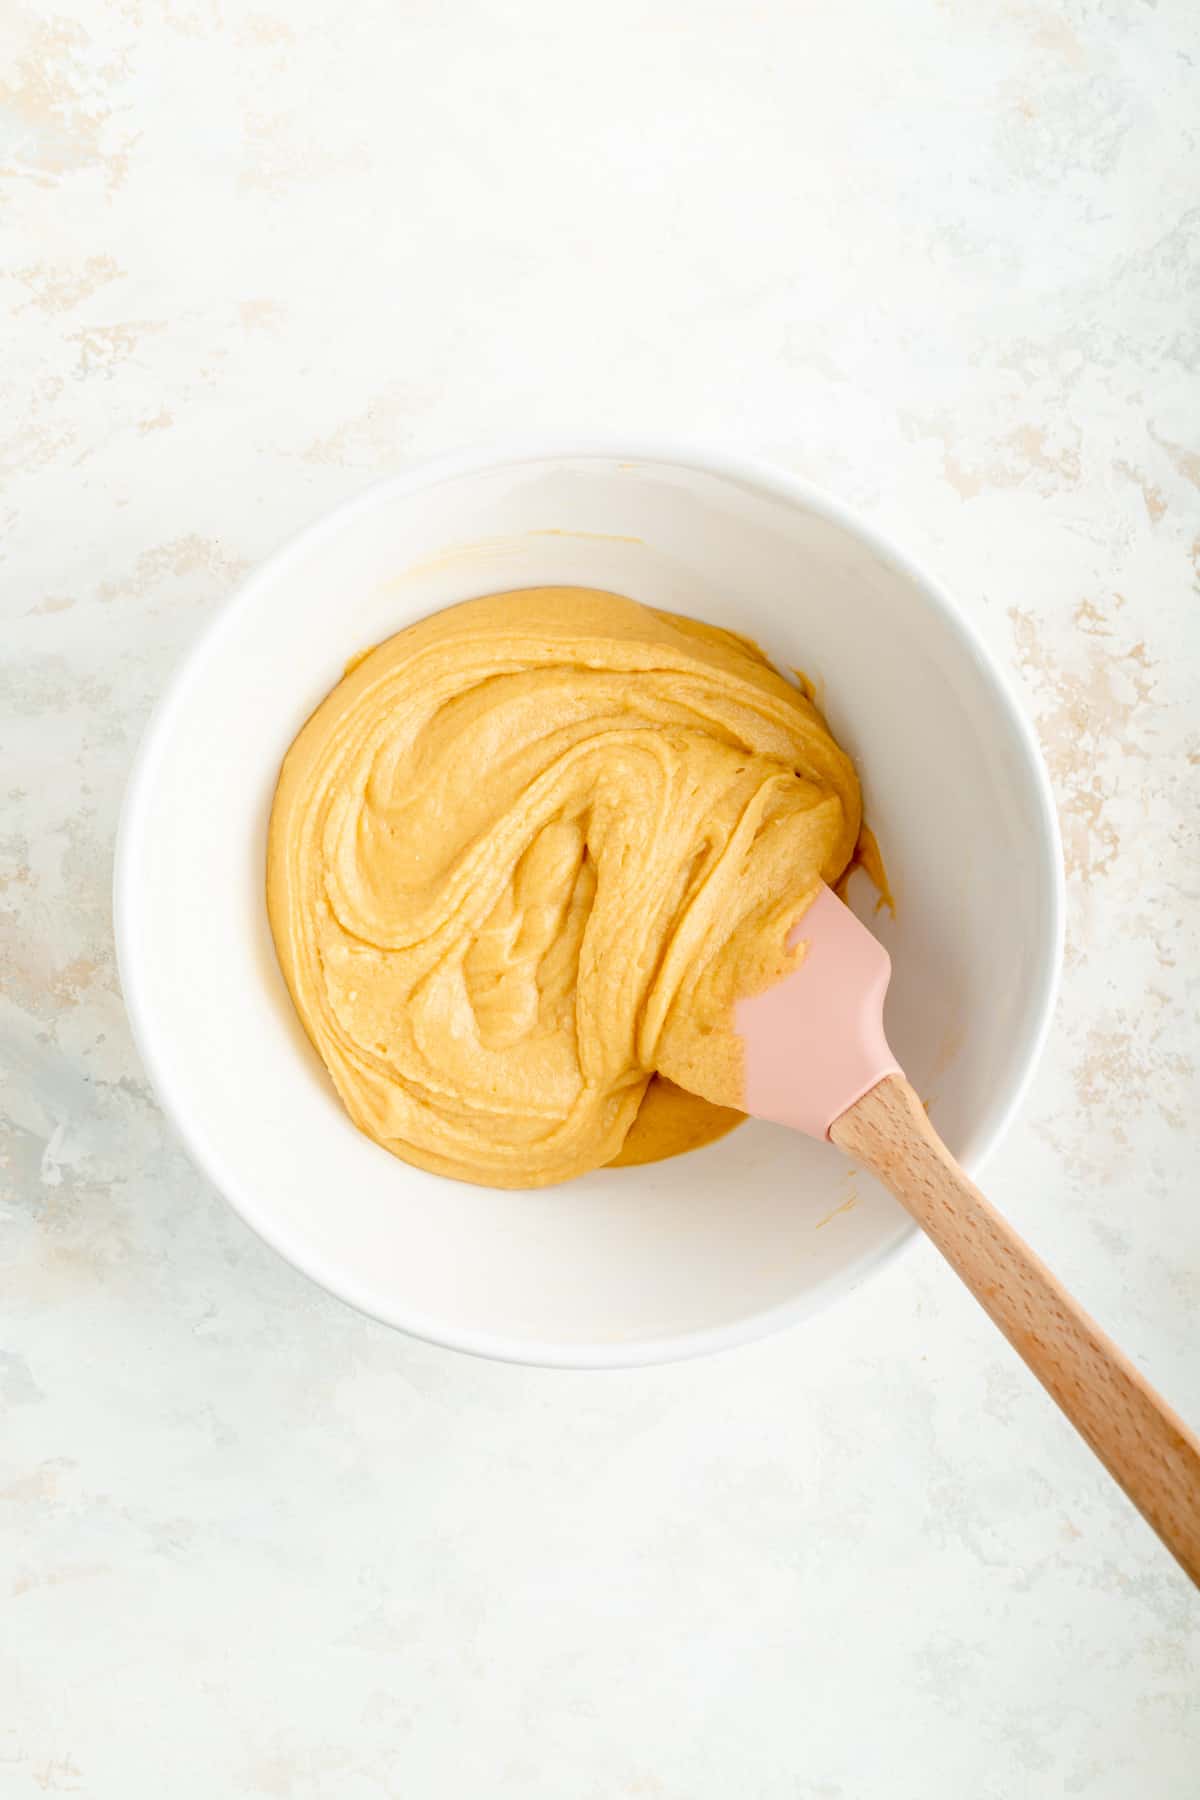
- Blend together flour, baking powder, and salt in a small bowl. Blend the dry mixture into the batter until fully incorporated.
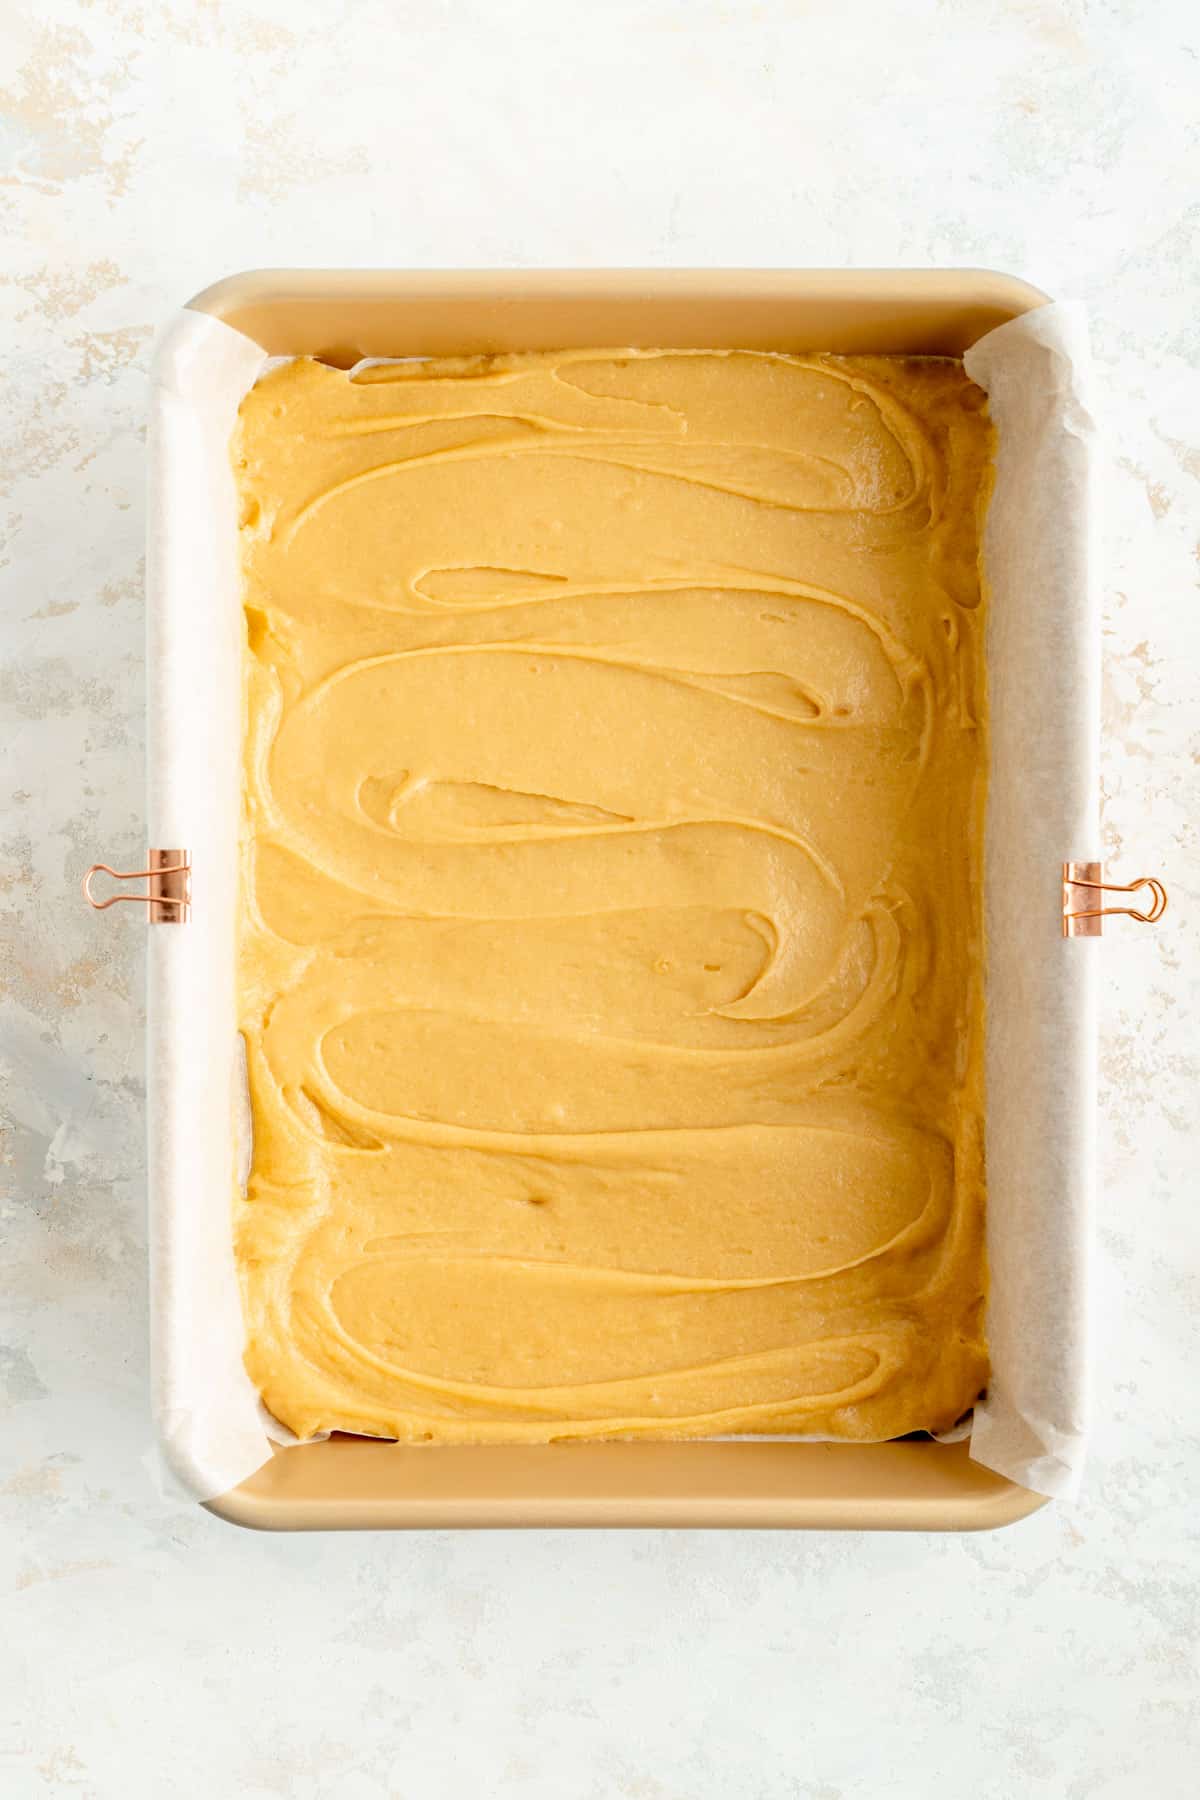
- Transfer batter to prepared pan, spread into an even layer, then chill while you prepare the brownie batter.
TO MAKE THE BROWNIE BATTER:
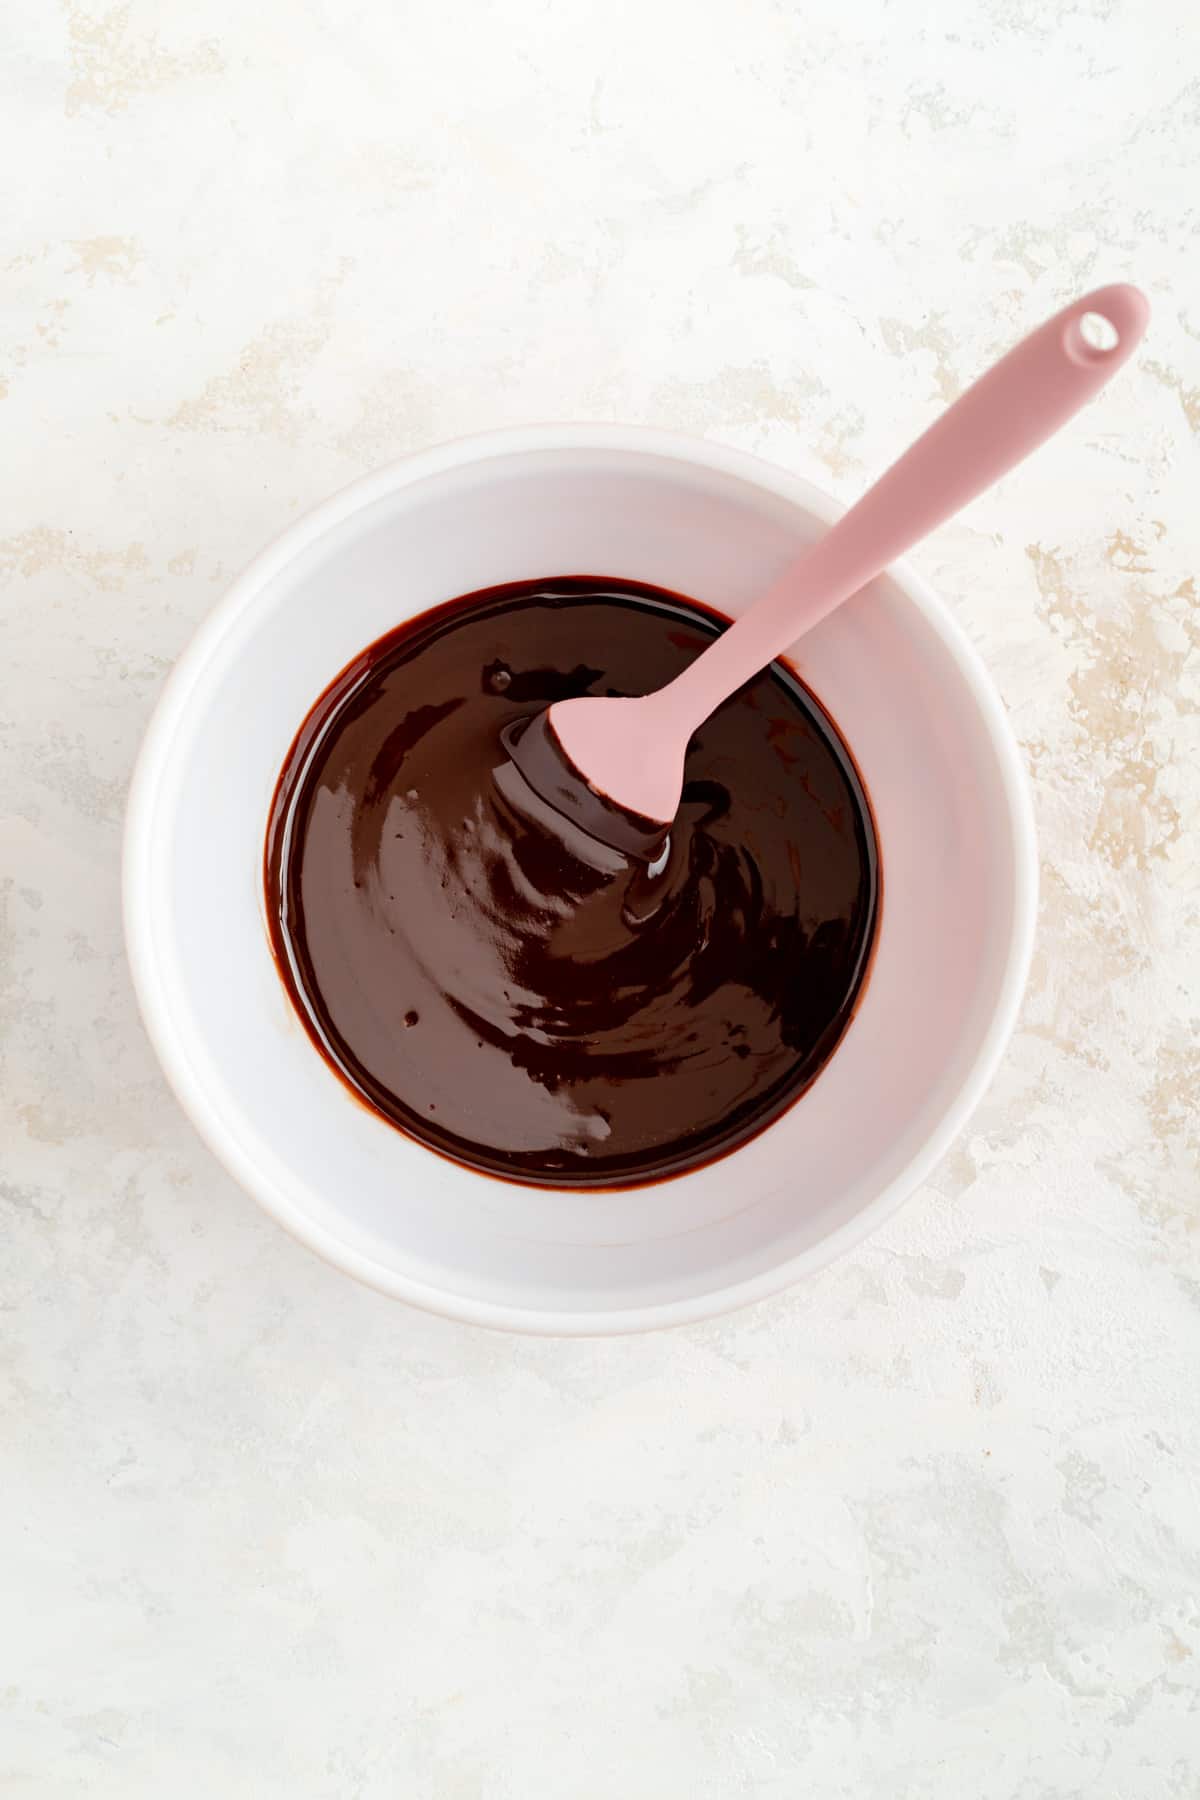
- Melt chocolate and butter over a double boiler or in the microwave until fully combined, shiny, and smooth. Cool for 5-10 minutes.
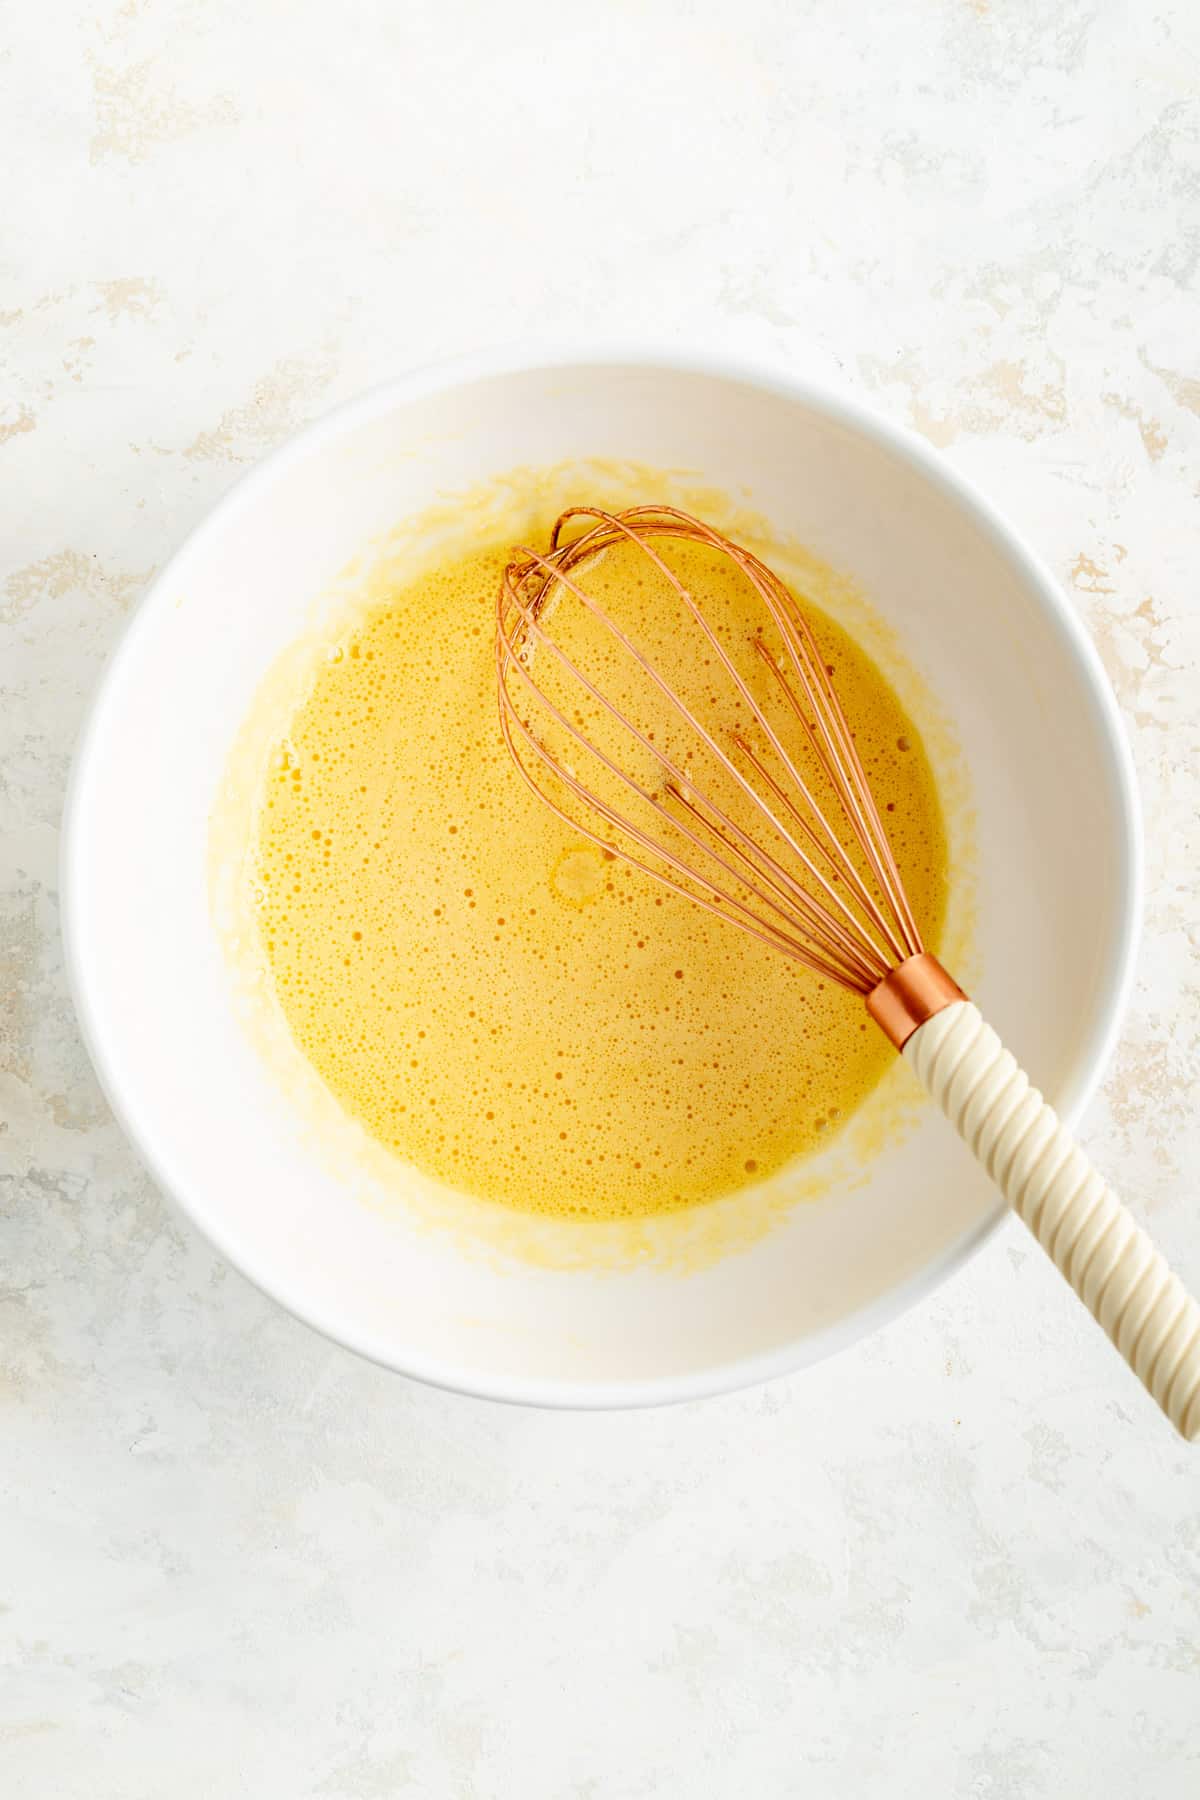
- Whisk together sugar, eggs, and vanilla until smooth.
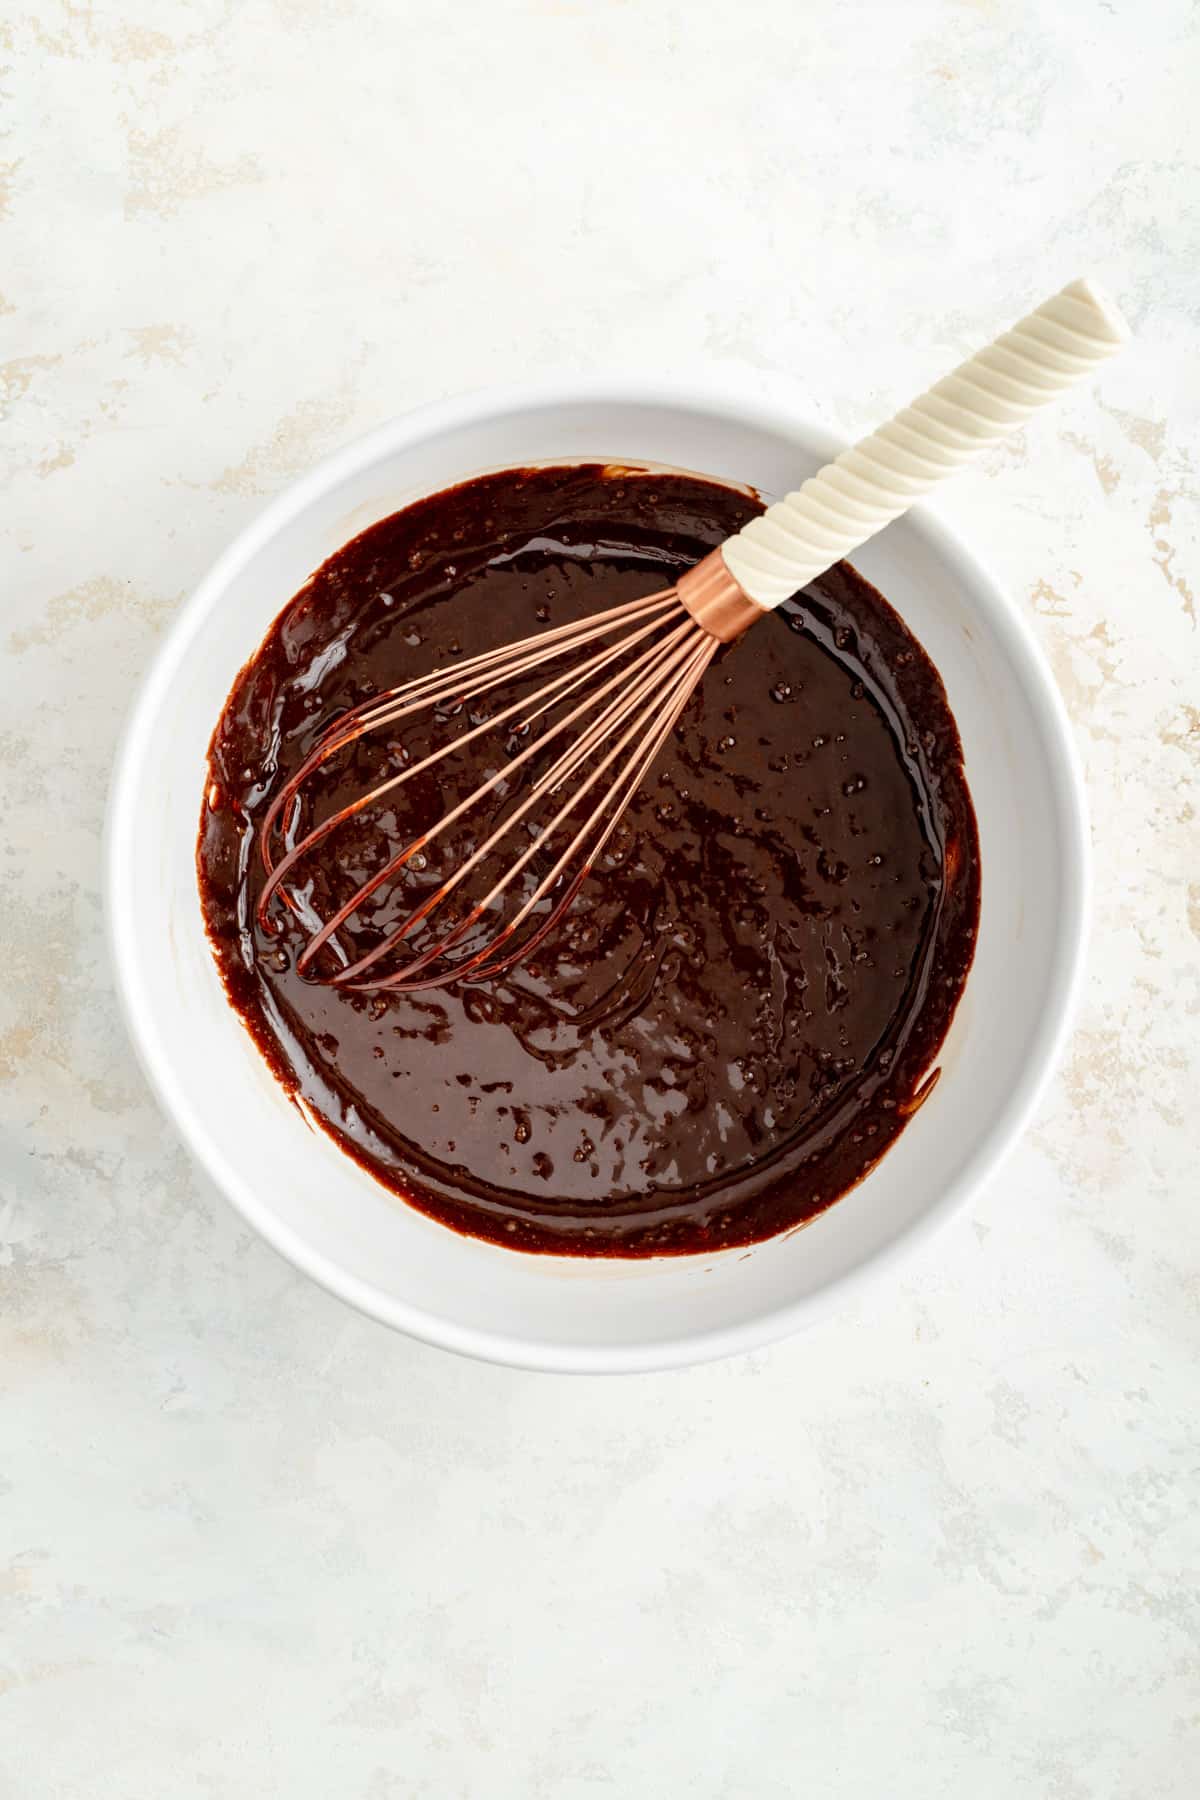
- Add slightly cooled chocolate mixture, whisking until fully combined.
- Blend together flour, baking powder, and salt in a small bowl. Blend the dry mixture into the batter until fully incorporated.
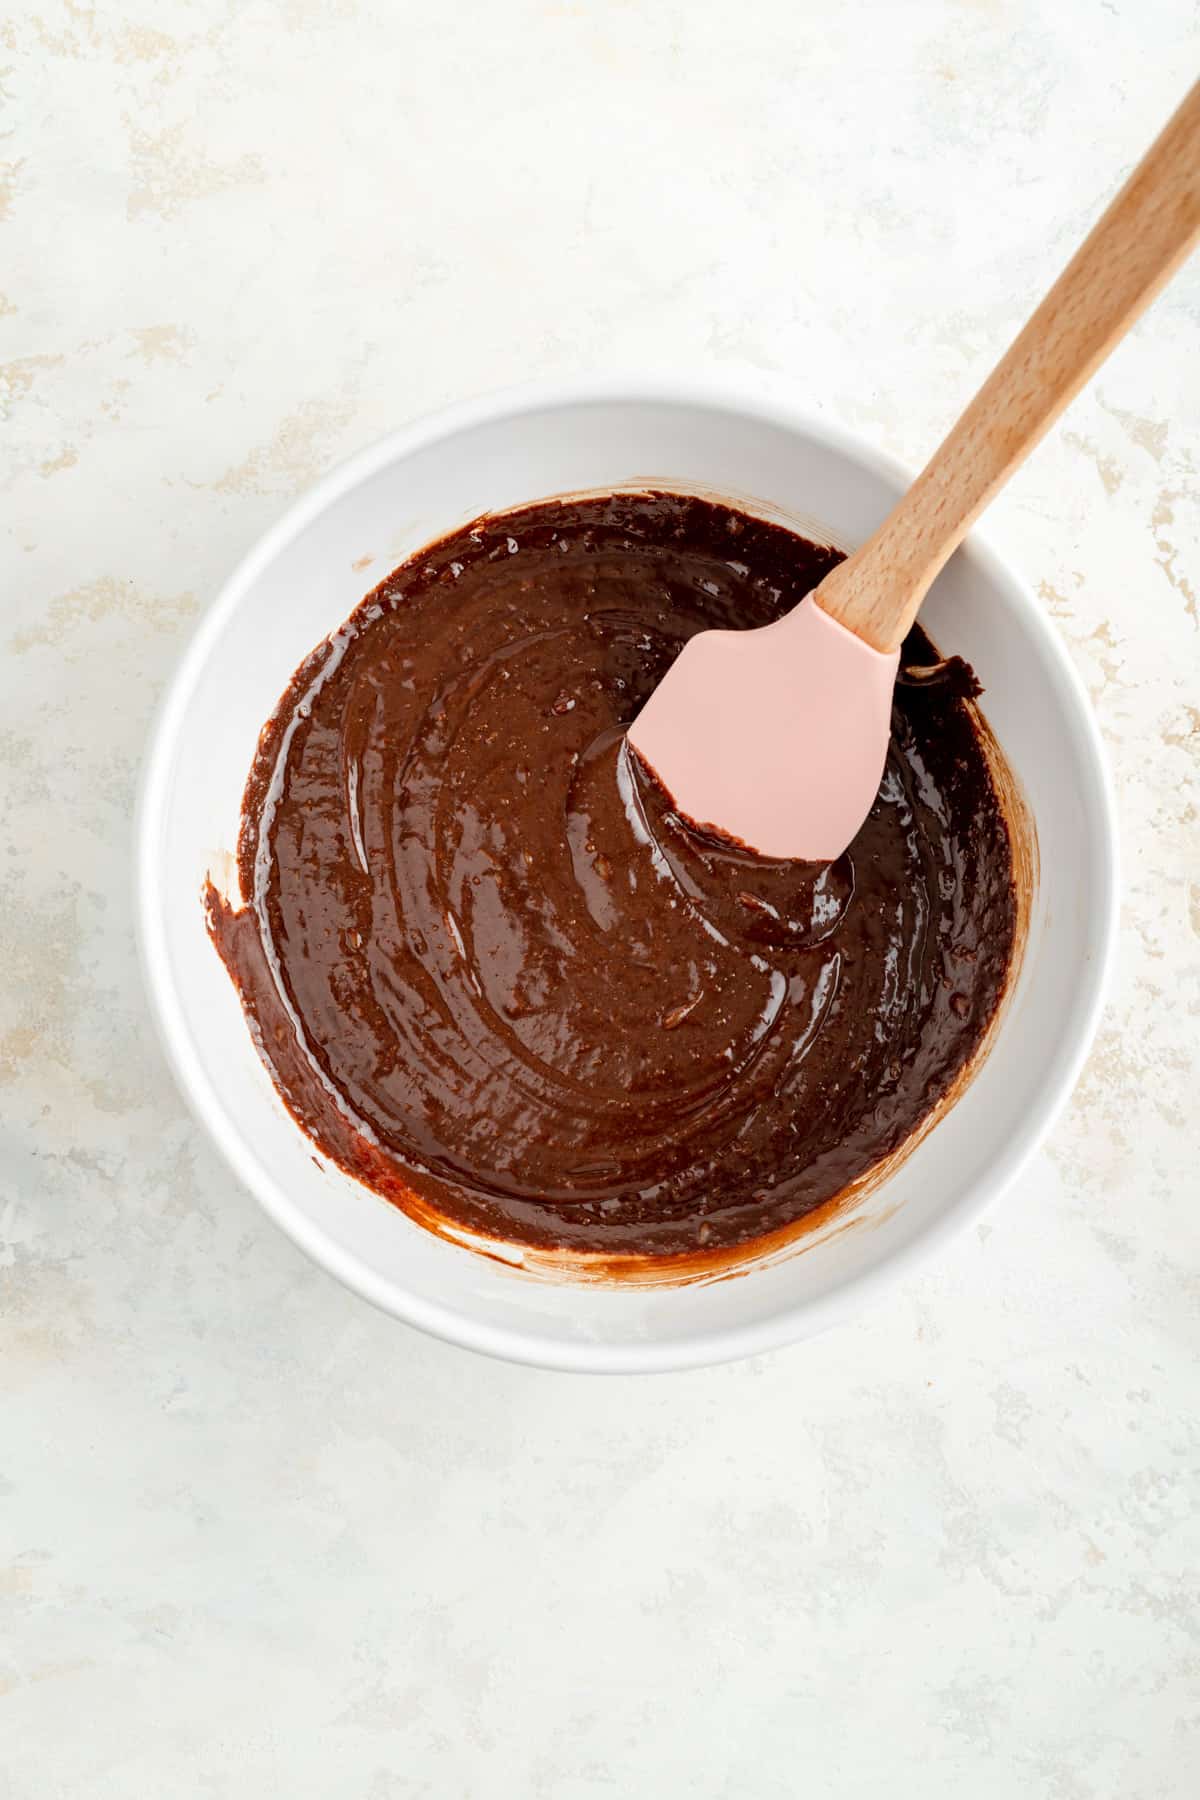
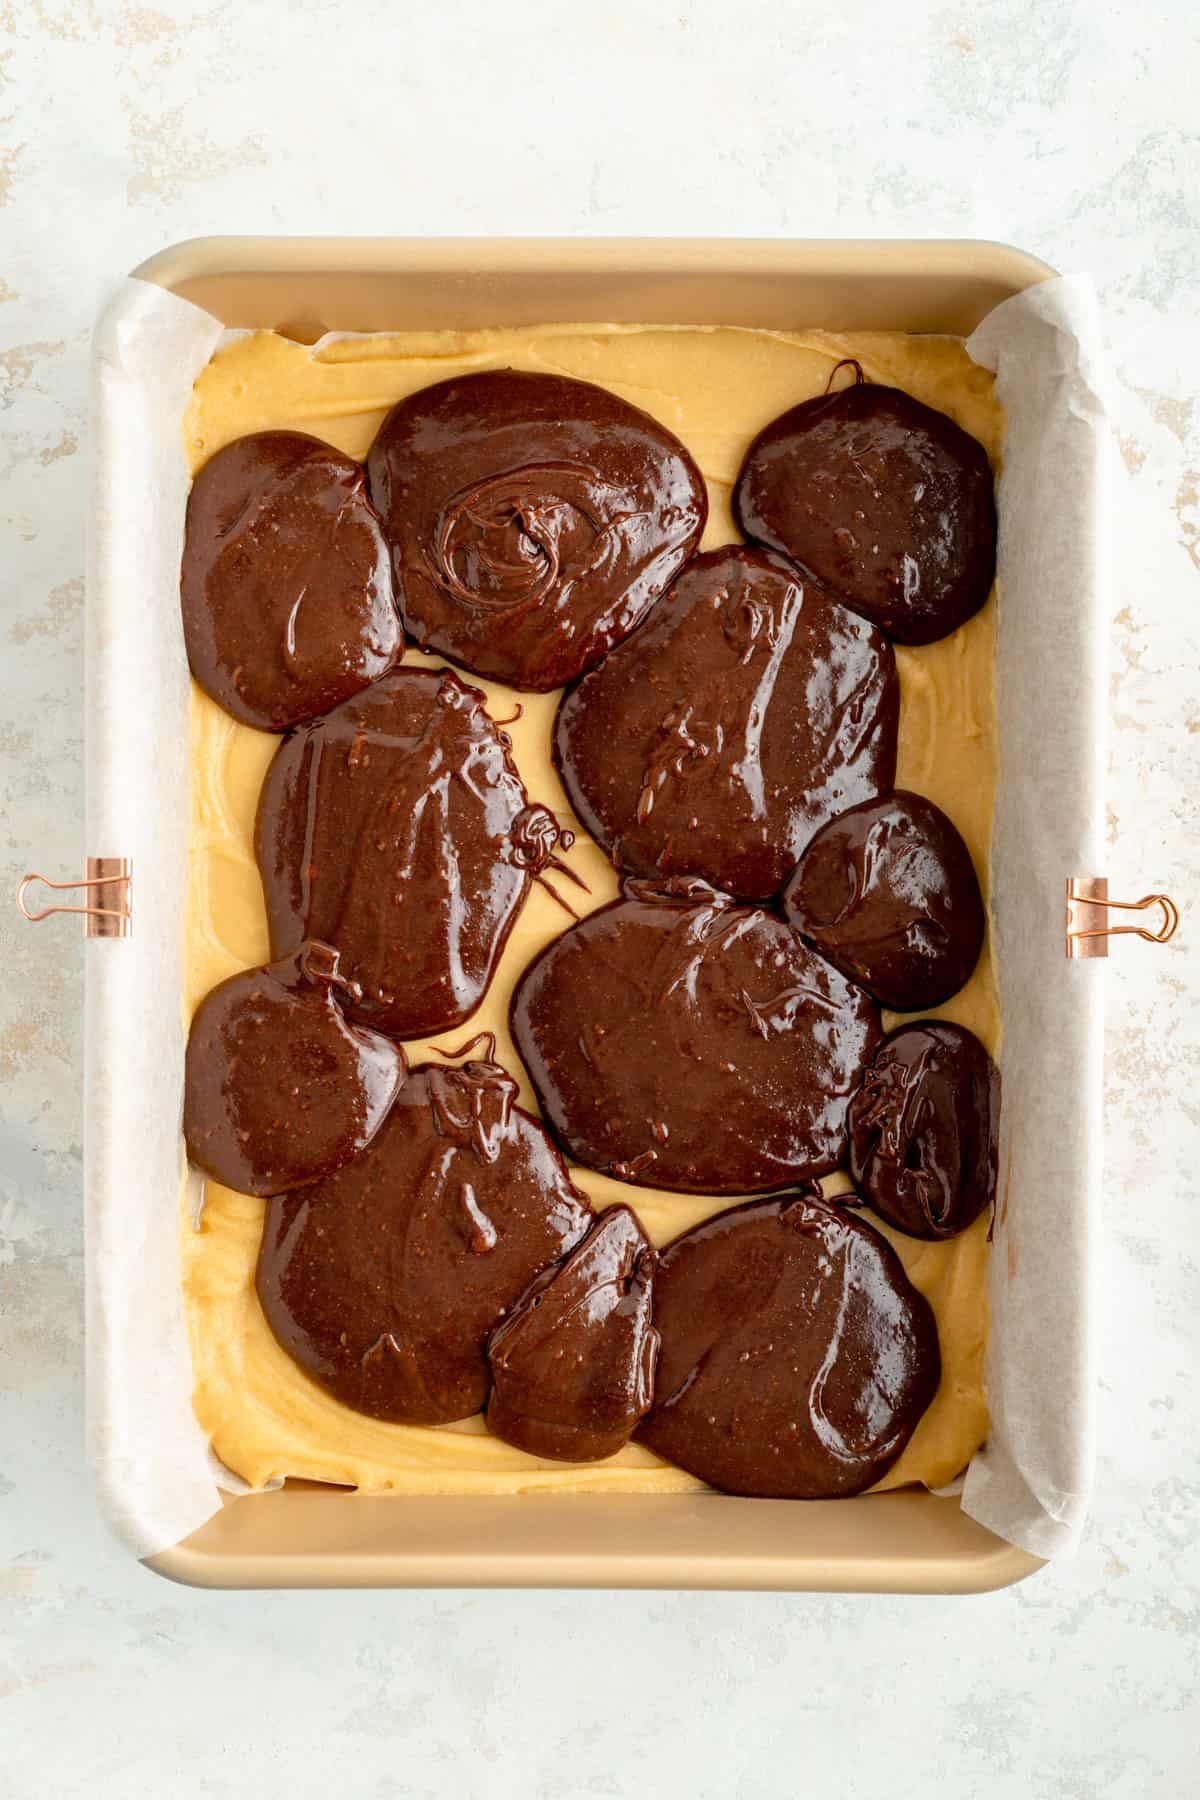
- Carefully drop brownie batter in large spoonfuls spread evenly across the top of the chilled blondie batter. Gently spread the brownie batter into a solid layer until it fully covers the blondies.
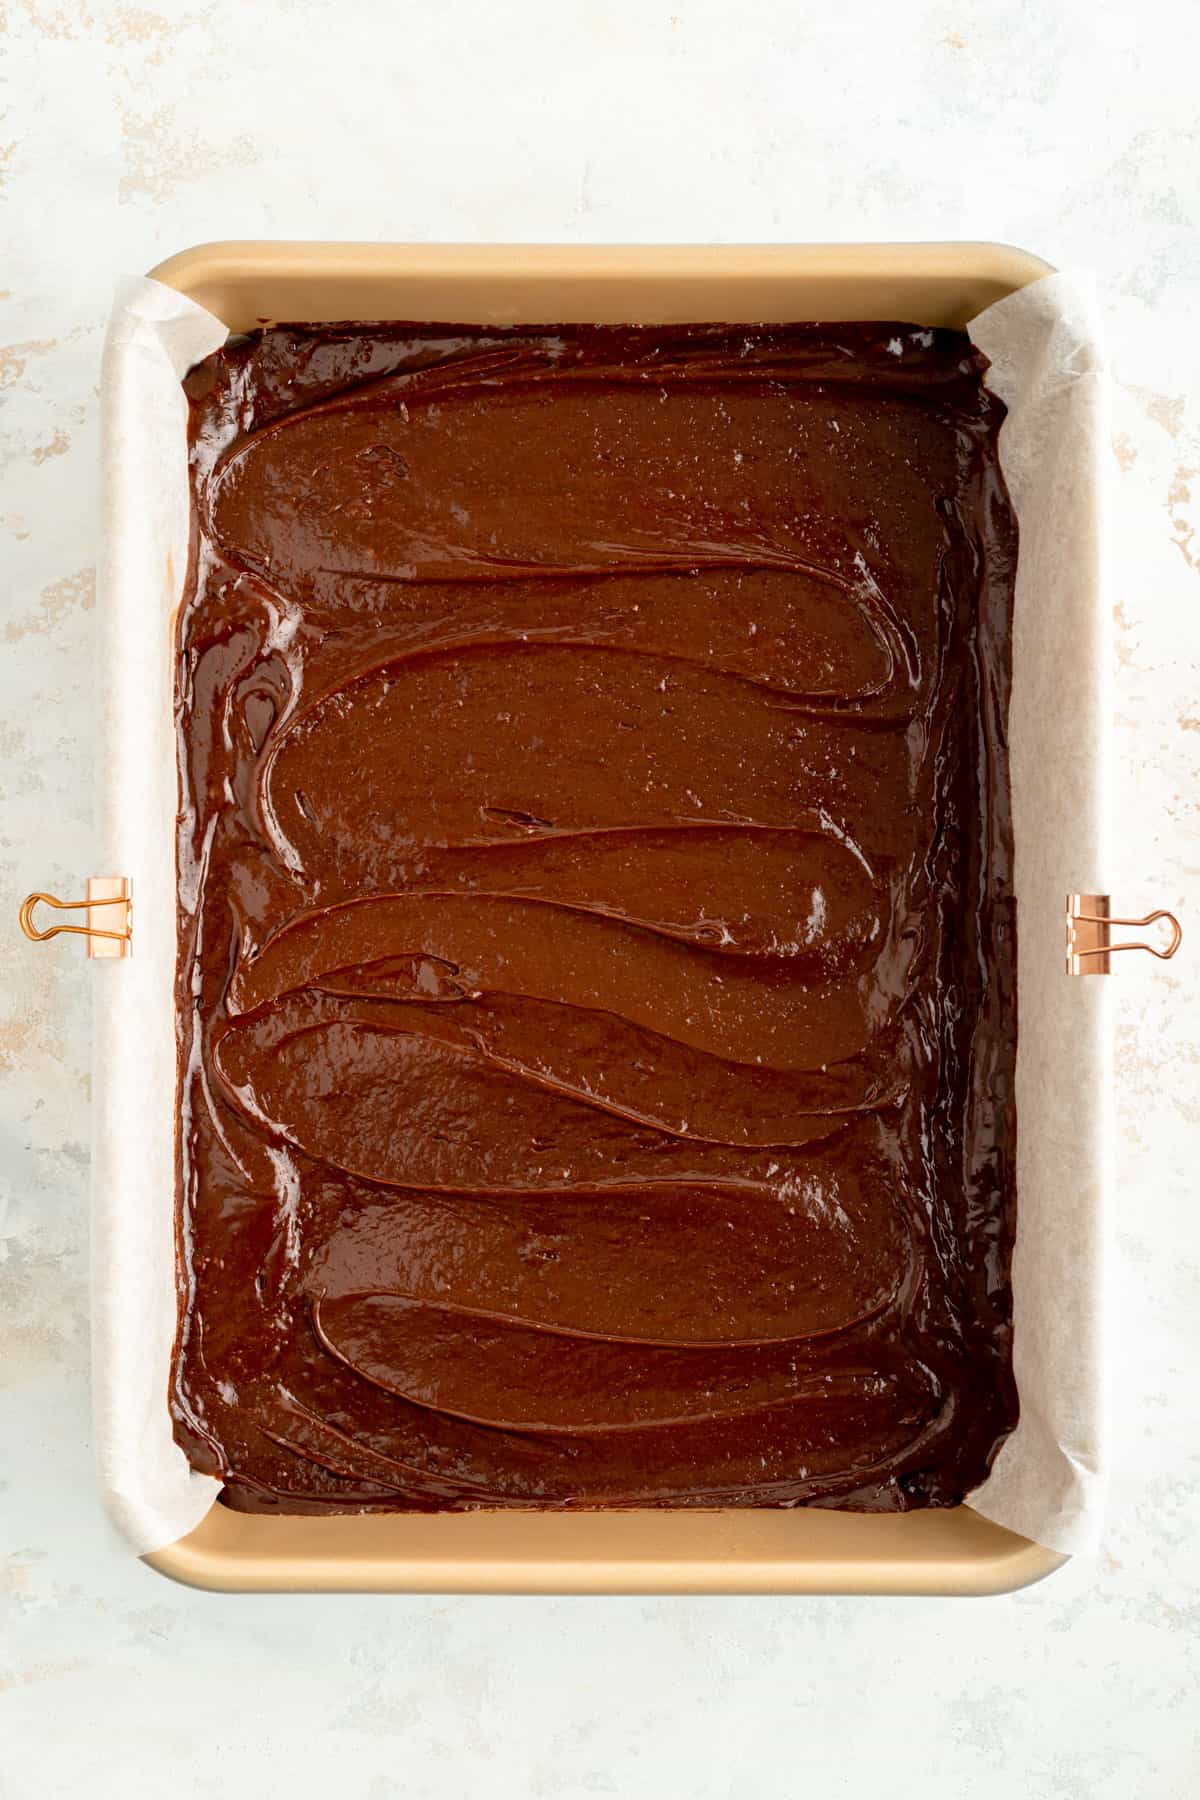
- Bake for 38-44 minutes, until a toothpick inserted into the center comes out clean.
- Cool bars fully before using the parchment sling to transfer the bars to a cutting board to slice. Pass out a couple of bars to share some sweetness, and enjoy!
And check out the full RECIPE WEB STORY for a click-through tutorial!
Make This Recipe Your Own
- Switch up the chocolate: I love dark chocolate in this recipe (and any recipe lol) because the base is pretty sweet. The bitterness of dark chocolate balances that out. However, if you love milk chocolate, you're welcome to use milk chocolate chips instead. You could even go the other way and use extra bittersweet chips to make this recipe your own.
- Add a little decoration: these brownies will come out with a beautiful crinkle top as long as you follow the directions as written. However, if you want to jazz them up, you're welcome to add your favorite decoration. Some options are...
- A few mini chocolate chips sprinkled on top right when the bars come out of the oven, so the chips stay propped on top, but can get a little melty from the warm brownies.
- A melted chocolate drizzle, which you can apply just using a fork and waving your hand left to right across the pan for a zigzag effect. You could use several types/colors of chocolate, or even add your favorite sprinkles to the chocolate drizzle while it's still warm.
- A white, milk, or dark chocolate glaze/ganache, spread over top the cool brownies in a solid layer for a pretty finish. You can of course also add a few sprinkles on top here as well while the glaze is still wet so they adhere well.
- Play around with a swirl: I designed these bars as a layered treat, specifically with the blondies on the bottom because I felt it gave you the most blondie flavor without the brownies taking over. I also found the layering easier than a complicated swirl pattern. If you'd like to play with some fun patterning though, feel free to mix up both batters and then drop them in at the same time in large spoonfuls. You can then use a toothpick or dinner knife to swirl them together for a marbled instead of a layered bar.
Test Kitchen Tips for Sweet Success
Here are a few tips to help you create the tastiest bake you possibly could:
- Mix well, but don't overmix: we want to make sure we mix these batters well at each step. Making sure each ingredient batch is incorporated before adding the next will help create that crinkle top finish, and help the batter hold all the fat and sugar in this recipe. At the same time, we want to be careful not to overmix too. Overmixing in the early steps isn't a big concern since we're mixing by hand. But, you'll want to be careful once you have added the flour. When incorporating the dry mixtures, be sure to mix just until the flour is incorporated, and then you're ready to cast the batter into your pan.
- Make sure the blondies are chilled: layering these bars is easiest when the blondie layer is firm-ish. It won't take long to set up with all the butter, but if you're really speedy mixing up your brownie batter, and notice your blondies are still pretty soft, just re-chill them in the fridge, or even the freezer for another 10-15 minutes before topping with the brownie batter.
- Bake for the full time until a toothpick comes our clean: it can be a little hard to tell when these bars are done, as you'll have a beautiful top from about halfway through the bake onwards. The best thing to do is to use a toothpick to check it comes out clean when inserted into the center of the pan. (Check the FAQs below for more tips on this!)
- Fully cool before cutting: these bars are extra fudgy and have a lot of yummy butter in them. Because of this, you'll want to make sure they cool and fully set before removing them from the pan to slice them up.
More Tips + FAQs
How can I tell when my bars are done?
First off, when you shake the pan, the batter shouldn't move at all when the bars are done.
The best check for doneness though is to use a toothpick to check it comes out clean when inserted into the center of the pan.
Also, make sure you go for the full bake time, even if you think your bars are ready early (the top will look fully baked long before the bars are actually done).
Can you make these blondies ahead of time? Can you freeze them?
These rich bars will keep up to a week at room temperature. While you can freeze them and thaw to enjoy later, I find they're best enjoyed fresh. They lose some of their fudginess in the freezing process which is kinda the best part.
How do you store these brownies?
You can store these bars for up to a week, in an airtight container at room temperature.
Can I make these in an 8-inch square pan?
I actually tested this out, and while it technically worked, I found that the baking dynamics just didn't produce as nice a texture or look in these bars in the smaller batch size. If you do want to try to make a half batch in an 8-inch square, be sure to check the bars quite early, starting around 25 minutes in, as they will bake for a significantly shorter amount of time.
However, for the best experience, I recommend sticking with the 9-inch x 13-inch pan and just passing out your extra bars to neighbors if you feel like it's too big of a batch for you. Alternatively, you could always search out a recipe designed for a smaller pan originally.
What makes blondies and brownies fudgy?
It's really a combination of ingredients that contribute to the fudginess of these bars. However, some of the primary factors are the high butter and high sugar content of these recipes, in combination with a pretty small amount of leavener.
Why are my blondies greasy?
While it could be a lot of things, there are frequently three reasons that your Blondie bars may come out really greasy.
1. You may not have incorporated the butter, sugar, and/or eggs fully into your batter, and therefore it wasn't blended enough to hold itself together properly.
2. Your bars could definitely be underbaked. You could just extend the bake time, but first I would highly recommend getting an oven thermometer and checking that your oven temperature is actually where are you think it is, and not running a little low. Your oven will also run below temp if you're frequently opening the door during the bake, so it's best to leave the door closed for as much of the bake as possible.
3. You just couldn't wait to cut them. Because these bars are so fudgy they really need time to set up out of the oven. Therefore, if you cut them 30 minutes after pulling them out, your bars may look really greasy, underbaked, and almost raw because the structure hasn't had time to solidify as it cools.
Other Brownies and Blondies You'll Love
Here are a few of my other favorite bar recipes - some are blondies, some are brownies, some are in a world of their own, but all of them are easy and delicious:
- Double Fudge Brownies (that can be made gluten-free!)
- Coconut Butterscotch Blondies
- 7-Layer Magic Bars
- Sea Salt Bourbon Pecan Bars
- Brown Butter Rice Krispie Treats

⭐ If you gave this recipe a try please give it a ⭐ rating and tag me on Instagram @mint.and.mallow.kitchen so I can see what you're baking up! ⭐
📖 Full Recipe
Easy, Fudgy Brownie Blondies
Ingredients
FOR THE BLONDIES:
- 6 tablespoons (¾ stick) unsalted butter (melted)
- ¾ cup light or dark brown sugar (packed)
- ½ cup sugar
- 1 teaspoon vanilla extract
- 2 large eggs
- ¾ cup all-purpose flour
- ½ teaspoon baking powder
- ½ teaspoon fine salt
FOR THE BROWNIES:
- ½ cup (1 stick) unsalted butter
- 1 cup dark chocolate chips or chopped bars
- ¾ cup sugar
- 2 large eggs
- 2 teaspoons vanilla extract
- ½ cup all-purpose flour
- ½ teaspoon baking powder
- ½ teaspoon fine salt
Instructions
TO MAKE THE BLONDIE BATTER:
- Preheat and prep: lightly grease a 9" x 13" metal pan, line it with a parchment sling, then grease the parchment paper as well. Preheat oven to 350°F.*1
- Whisk together most blondie ingredients: combine melted butter, brown sugar, sugar, vanilla, and eggs and mix by hand or with a mixer on low until everything is fully incorporated into a smooth and creamy mixture.
- Add flour: blend together flour, baking powder, and salt in a small bowl. Blend the dry mixture into the batter by hand until fully incorporated.
- Transfer to pan and level: transfer batter to prepared pan, and spread into an even layer all the way to the edges. Place pan in fridge to chill while you prep the brownie batter.*2
TO MAKE THE BROWNIE BATTER:
- Melt chocolate and butter: over a double boiler or in the microwave, melt butter and dark chocolate chips together, mixing until fully combined, shiny, and smooth.*3 Allow chocolate to cool for 5-10 minutes (really hot chocolate could cook our eggs in the next step).
- Combine sugar and eggs: whisk together sugar, eggs, and vanilla until smooth.
- Add chocolate: add slightly cooled chocolate mixture to the egg mixture and mix until fully combined.
- Add flour: blend together flour, baking powder, and salt in a small bowl. Blend the dry mixture into the chocolate batter by hand just until fully incorporated.
- Pour into pan: remove the blondie pan from the fridge.*4 Carefully drop brownie batter in a bunch of large spoonfuls spread evenly across the top of the chilled blondie batter. Use a spatula to gently spread the brownie batter into a solid layer until it fully covers the blondies. (These two batters are a little soft and may mix up a little, in which case, don’t worry! They’ll still taste just as delicious.)
- Bake: bake for 36-42 minutes, until the surface of the bars looks dry and fully set, nothing moves when you gently shake the pan, and a toothpick inserted into the center comes out clean.
- Cool to room temperature: cool bars fully before using the parchment sling to transfer the bars to a cutting board to slice (or simply slice them right in the pan). Pass out a couple of bars to share some sweetness, and enjoy this scrumptious chocolate + vanilla mash-up!
Test Kitchen Tips
- *1Can you make these bars in an 8” square pan? While technically you can make a half batch and significantly reduce the baking time for an 8" square pan, I found the texture and look was much nicer in a 9" x 13" pan, so I'd recommend sticking with the full batch size for best results.
- *2Save some dishes! After finishing the blondie batter, just give your tools a quick rinse (no need to sanitize) as you can use that same bowl and those tools to mix the brownie batter instead of dirtying new ones.
- *3Melting Chocolate: if using the microwave to melt your chocolate, set it to 50% or lower power and heat for 30-second intervals, stirring well between each round, to prevent the chocolate from burning.
- *4Make sure blondies are fully chilled: if you're really speedy mixing up your brownie batter, and notice your blondies are still pretty soft, just re-chill them in the fridge, or even the freezer for another 10-15 minutes before topping with the brownie batter.
- Storage: store air-tight at room temperature for up to a week. You can freeze baked bars, but they’ll lose some of their fudginess in the thaw and are best enjoyed fresh.




Suzanne says
Hi, has anyone tried making a 2 layer brownie and blondie cake? I am thinking a buttercream frosting would taste best? (I am trying to transform this recipe into a birthday cake, so I need a light colored frosting). Thanks!
Jocelyn at M+M says
Hi Suzanne! If you're looking for a frosting to pair with this recipe, I would go for a simple American buttercream. For an easy recipe, you can try either my vanilla buttercream or chocolate buttercream (just search them on the site here and the recipes will pop right up!) and I think both flavors would work. It just depend on whether your birthday girl or boy is really into chocolate or would prefer balancing the fudgey brownies with a simpler vanilla. Hope that helps and happy baking!
Krysta says
Wow! I made these with 1:1 gluten-free flour from King Arthur. They have no business being this good. They are hard to stop eating. Thanks!
Jocelyn at M+M says
Awwww thank you for such a stellar review Krysta! And what's even funnier is I actually worked on developing that 1:1 GF flour when I worked at King Arthur lol - so happy you loved the recipe and thanks for sharing your tips for making them gluten-free!
Rosie says
Adding this to the top of my to-bake list! Excellent photos as always.
Jocelyn at M+M says
Thanks lady, and knowing what a fan you are of the bronwie half of this recipe, I'm sure the blondie addition will only improve your affection!