


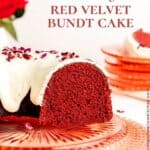
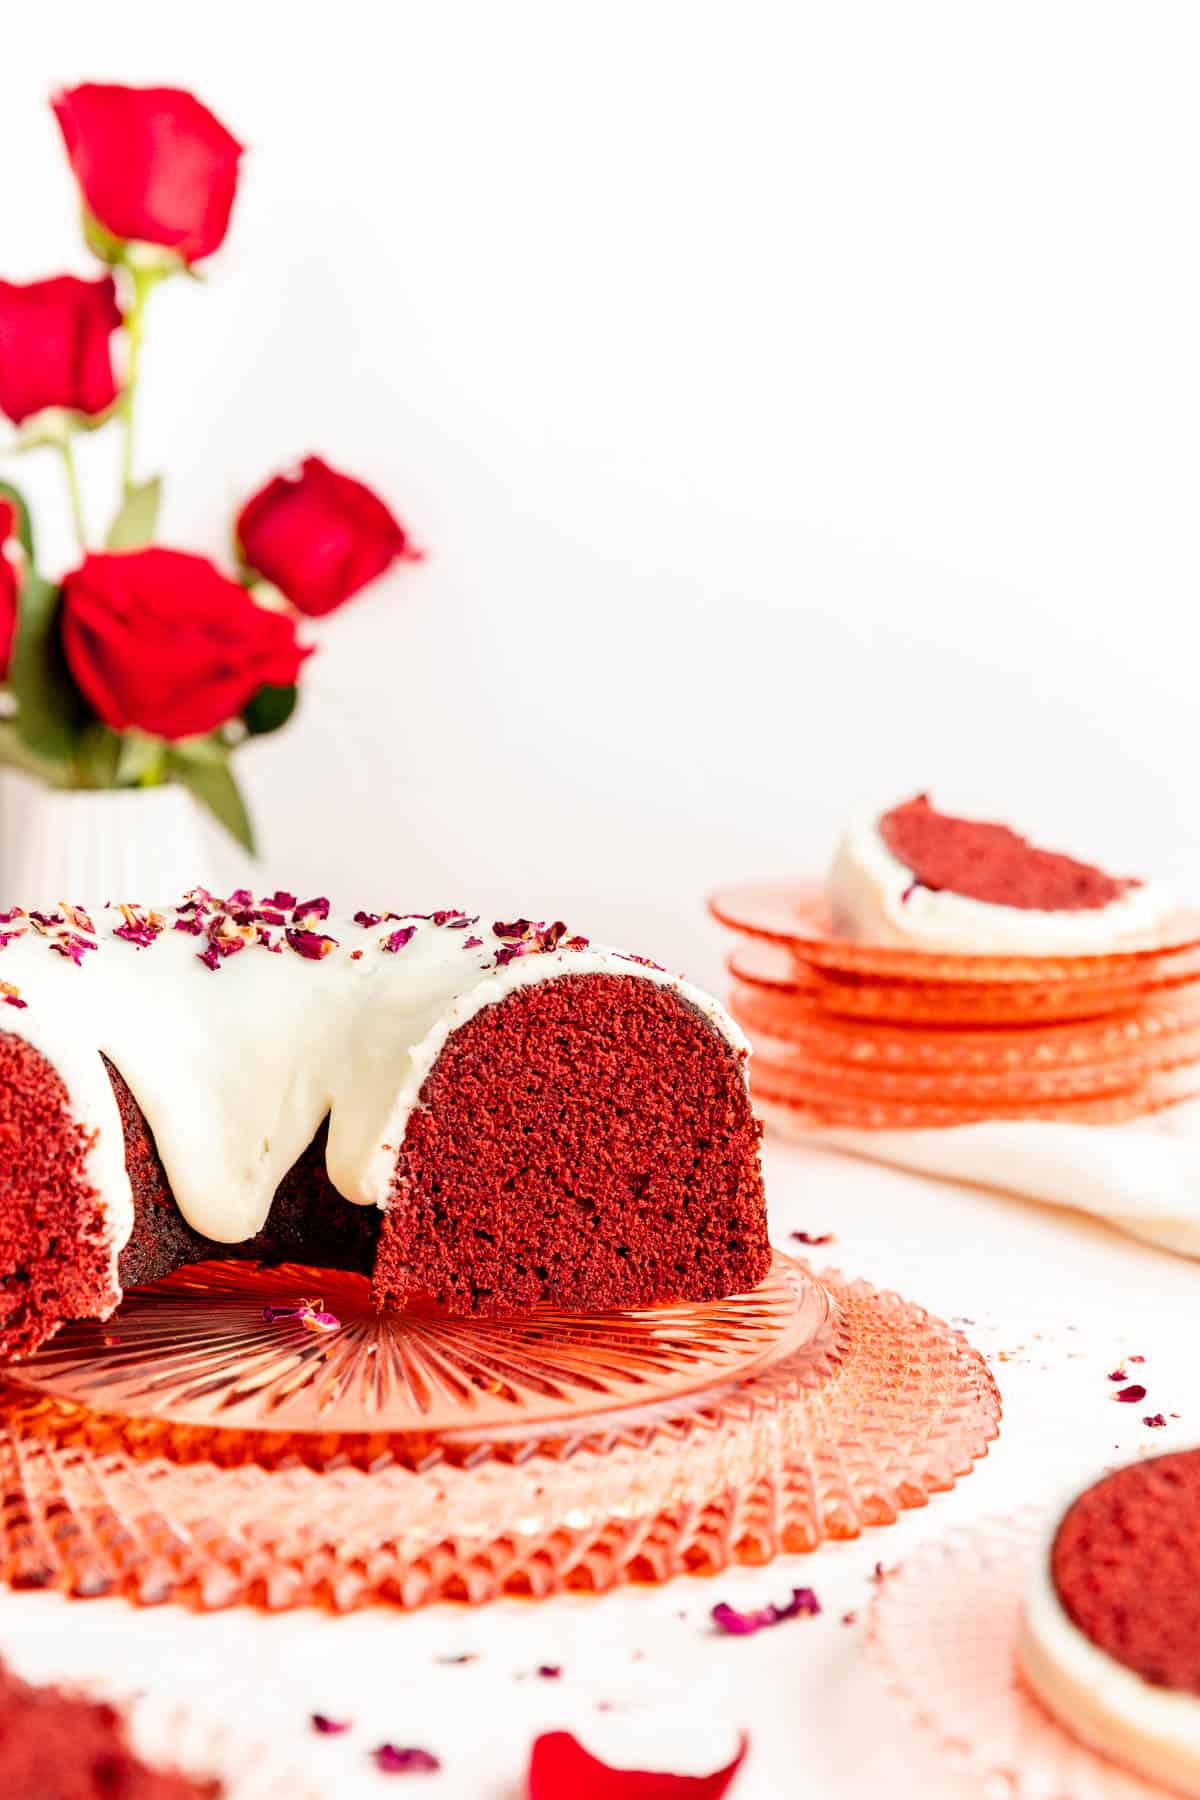
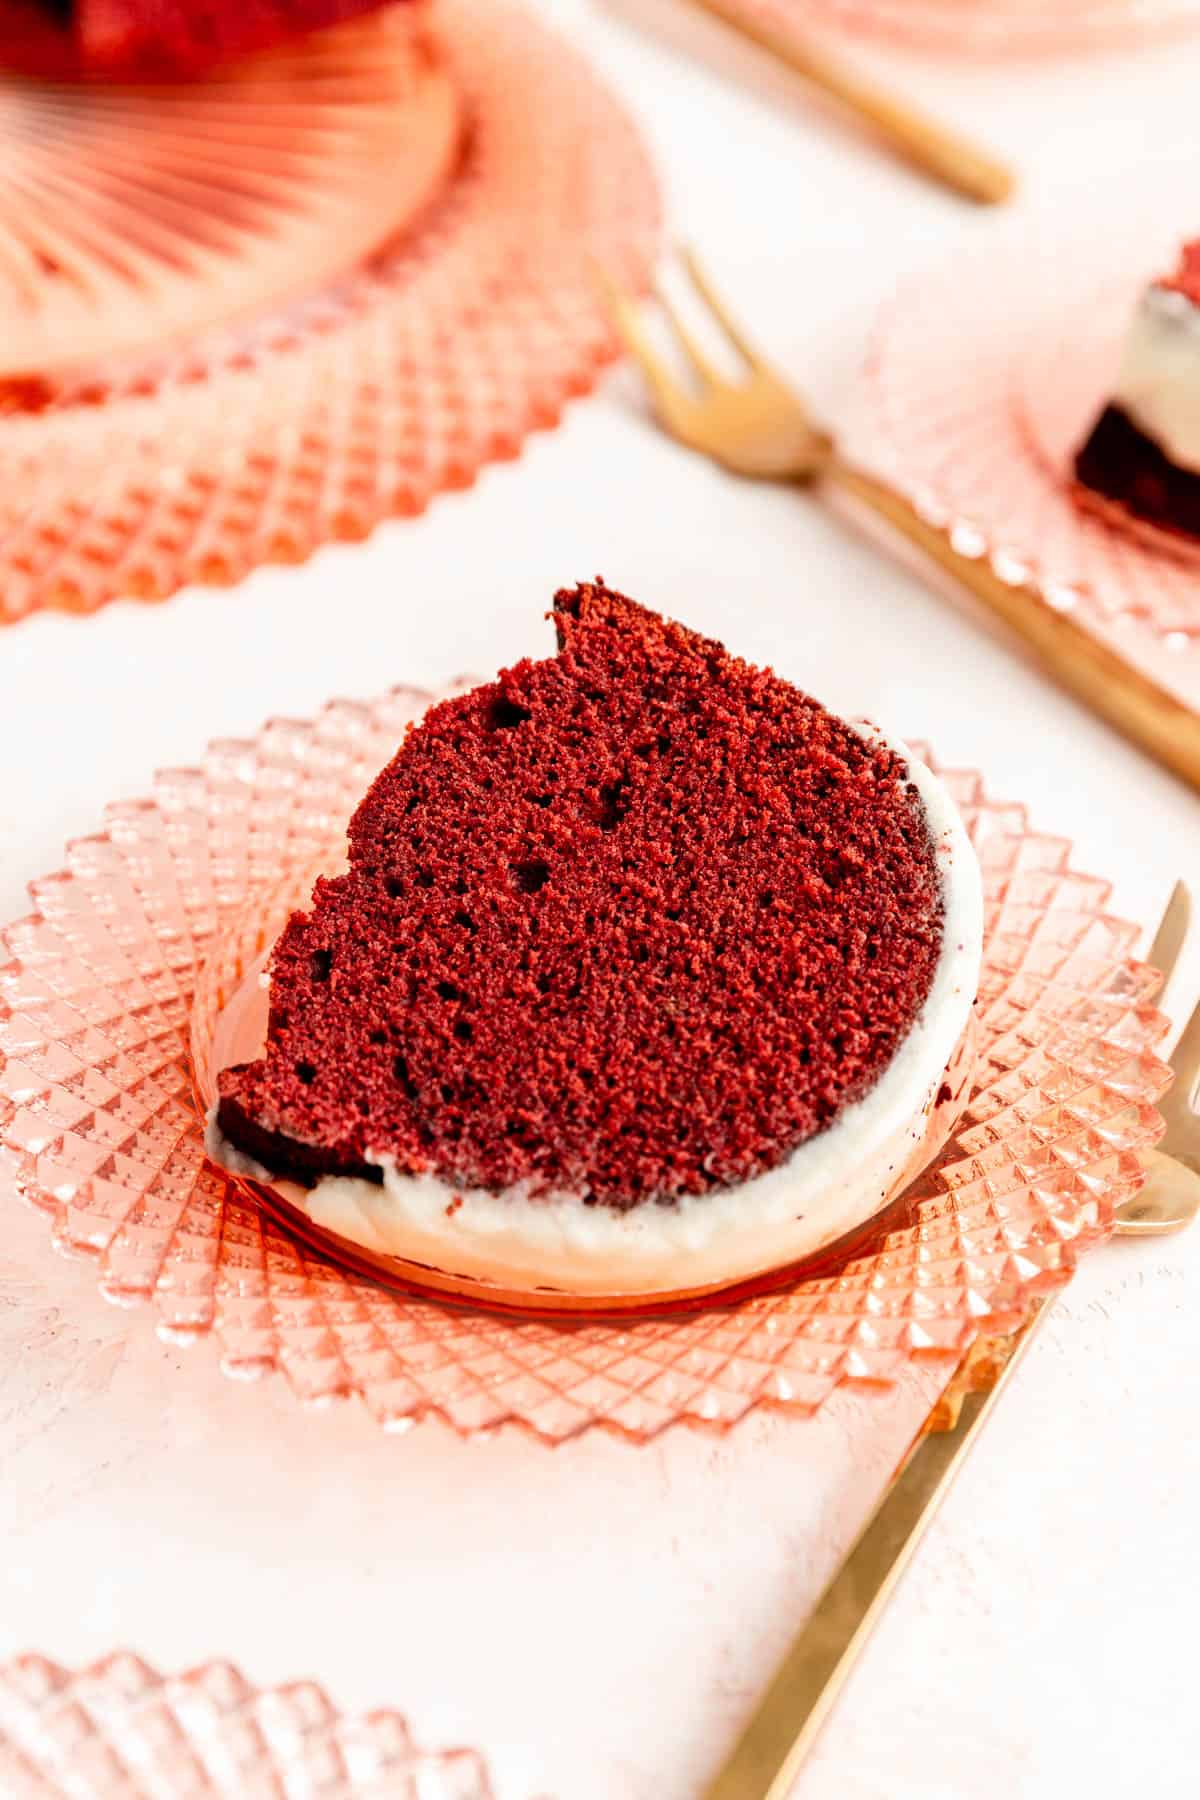
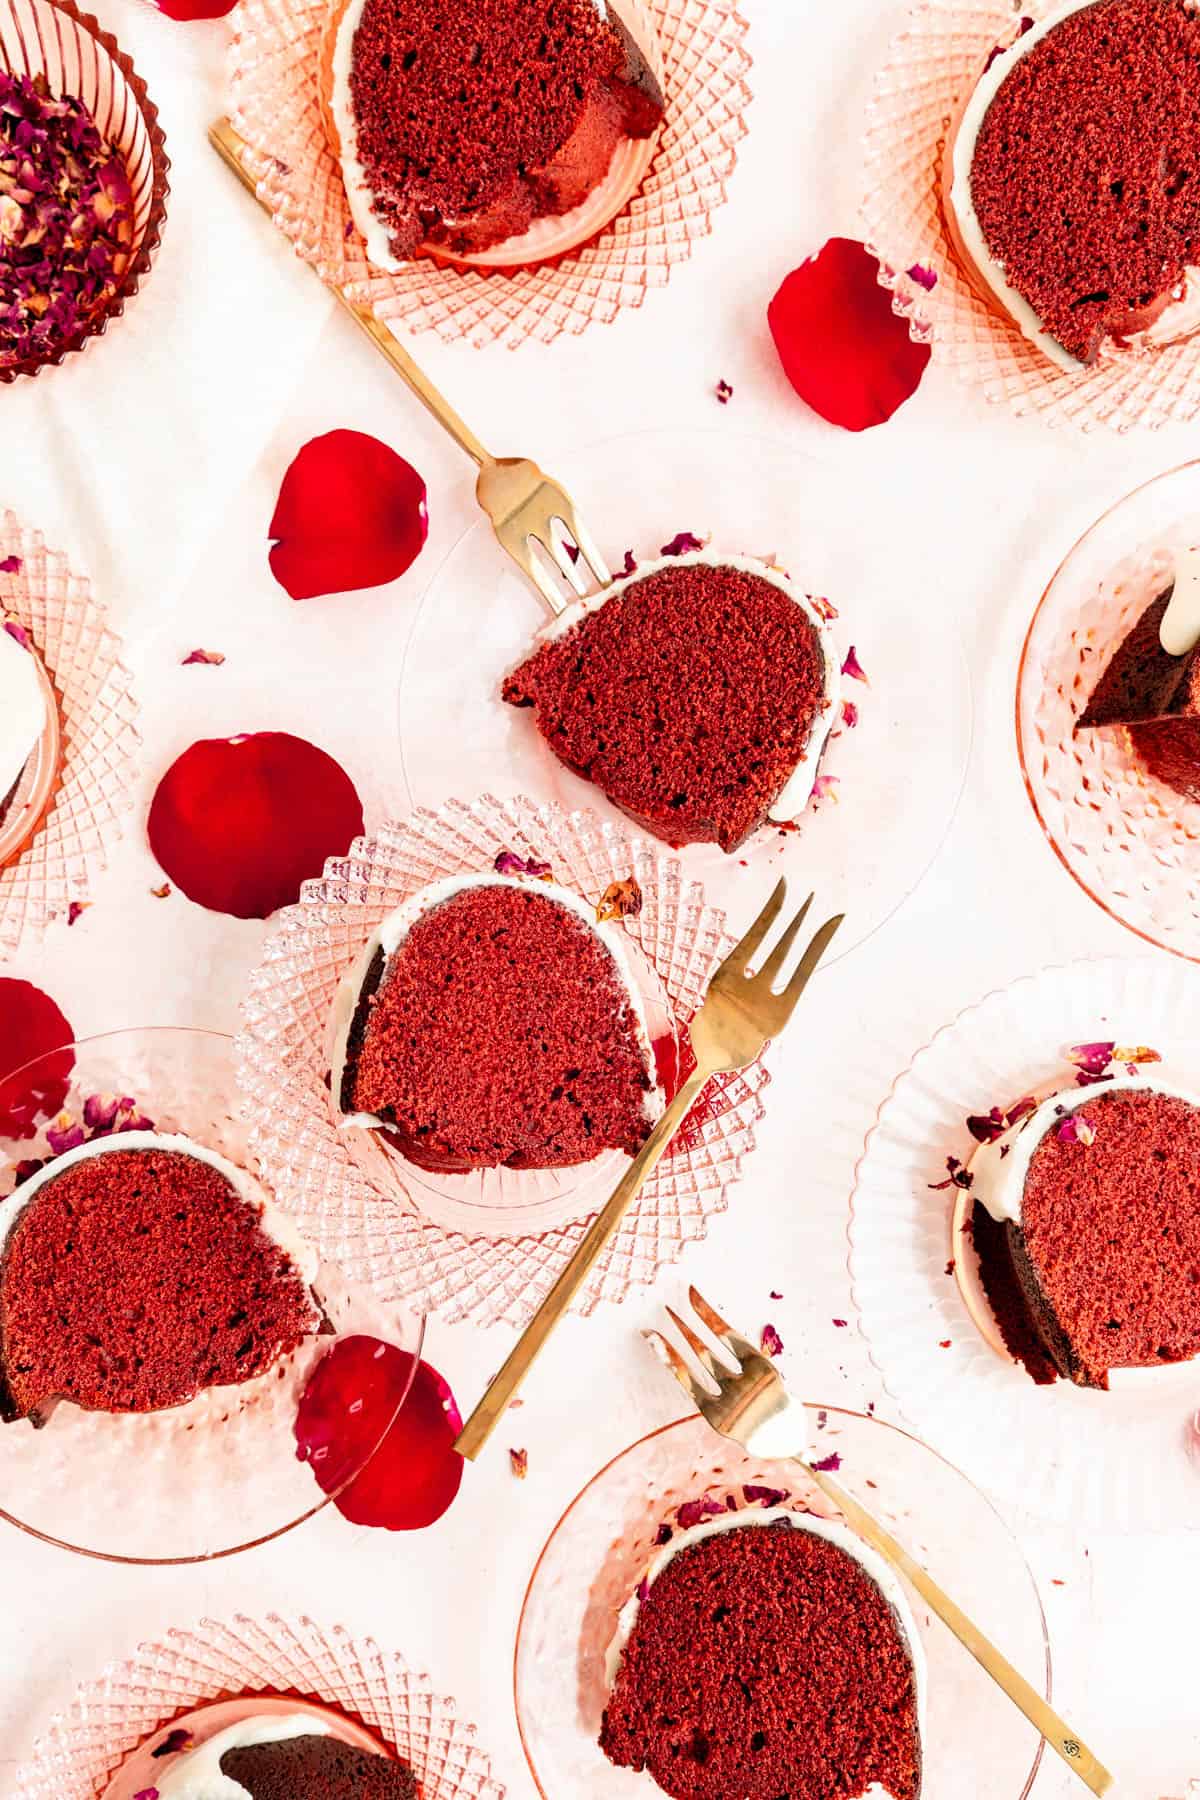
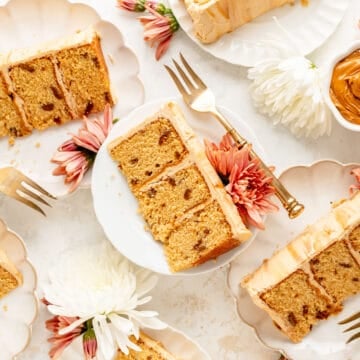
This rich, moist red velvet Bundt cake with cream cheese glaze has everything you love about this classic red layer cake in a super easy recipe. With just the right amount of chocolate flavor, a tender and moist crumb, and the perfect tang from that drippy cream cheese glaze, a big or mini slice of this Bundt will definitely have you feeling all the love!
Jump to (scroll for more!):
Big or Mini, This Recipe is Nothing Bundt Delicious
Red velvet cakes are in my blood as they are my mother's absolute favorite, and I have spent many days in the kitchen baking up deliciously rich red treats for her birthdays year after year.
But it wasn't until this year that I wanted a recipe that had all the flavors and moist texture I loved about a classic red velvet layer cake, but that was less work, and more grab-a-slice-with-a-cup-of-afternoon-tea-friendly (as my mother is known to do). So naturally, I turned to Bundts!
Now, I know Bundts can seem old-fashioned, and nowadays, people are more likely to order one from Nothing Bundt Cakes than make one themselves. But we're not having that here at M+M Kitchen.
We bake our own cakes, and will not be tempted by seductively accurate and cute brand names. (That said, I do still stand by my occasional cravings for a Costco cake that simply can not be replicated at home - I know...because I've tried lolz).
I also love pretty much anything in mini form, and given how much batter a Bundt cake recipe makes, I've given some notes in the recipe card on how to bake this batter up as adorable mini Bundt cakes too if you like!
What makes a Bundt a Bundt?
So what is so special about Bundt cakes? How is a Bundt cake different from a layer cake?
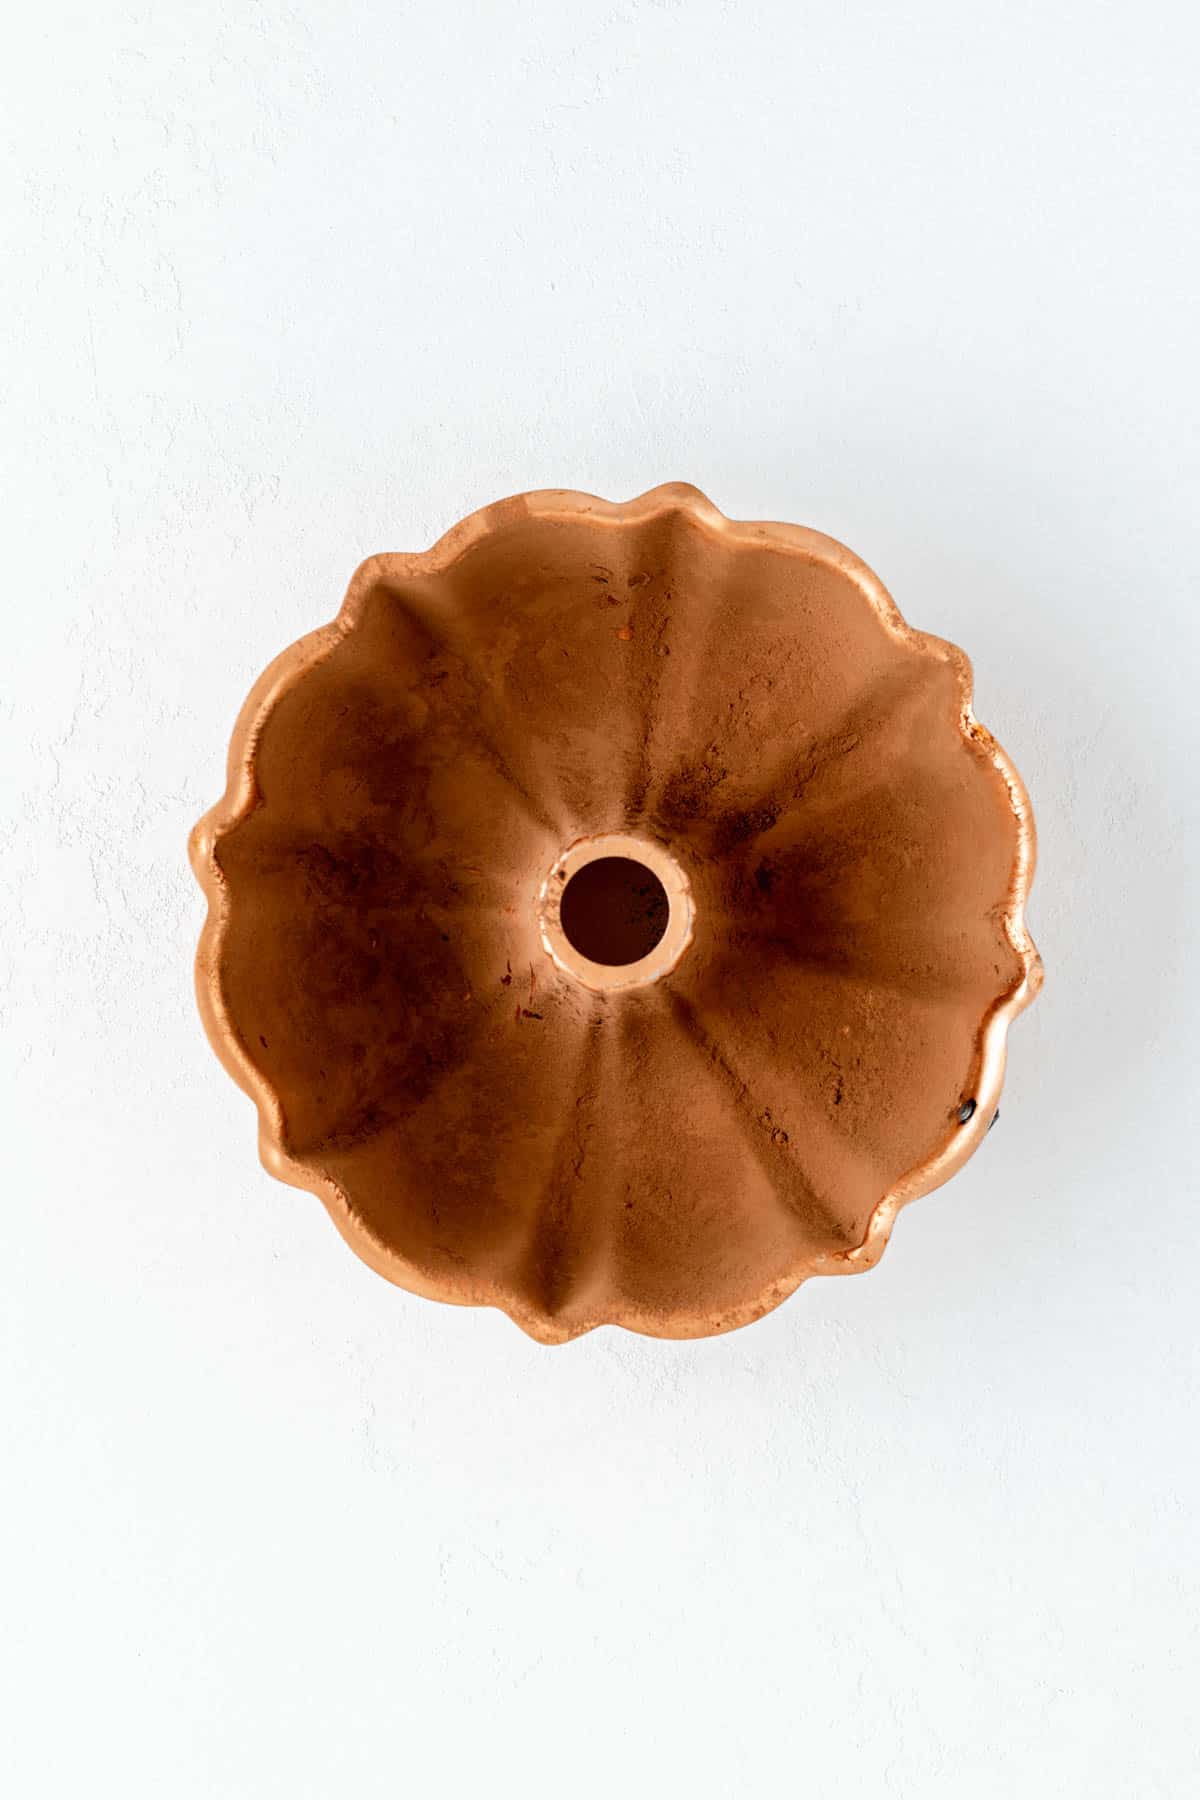
Well...that answer is very simple, it's just the pan really! While Bundt cakes have a really wide range of textures, Bundt pans are very specific and unique. I get all my Bundts from Nordic Ware (or the occasional thrift or antique store find!). Bundt pans (and even the word "Bundt" itself) have a really fun history you can read more about in this article.
Bundt cakes historically signify people coming together. And if you have spent any time here in the kitchen with me, you'll know I'm all about helping you live your best life through baking and bringing people together around incredibly delicious food. So of course, a Bundt cake recipe was right up my alley!
Ingredient Tips for Better Baking
(Pssst…if you're ready to just get baking, get all the details in the recipe card below!)
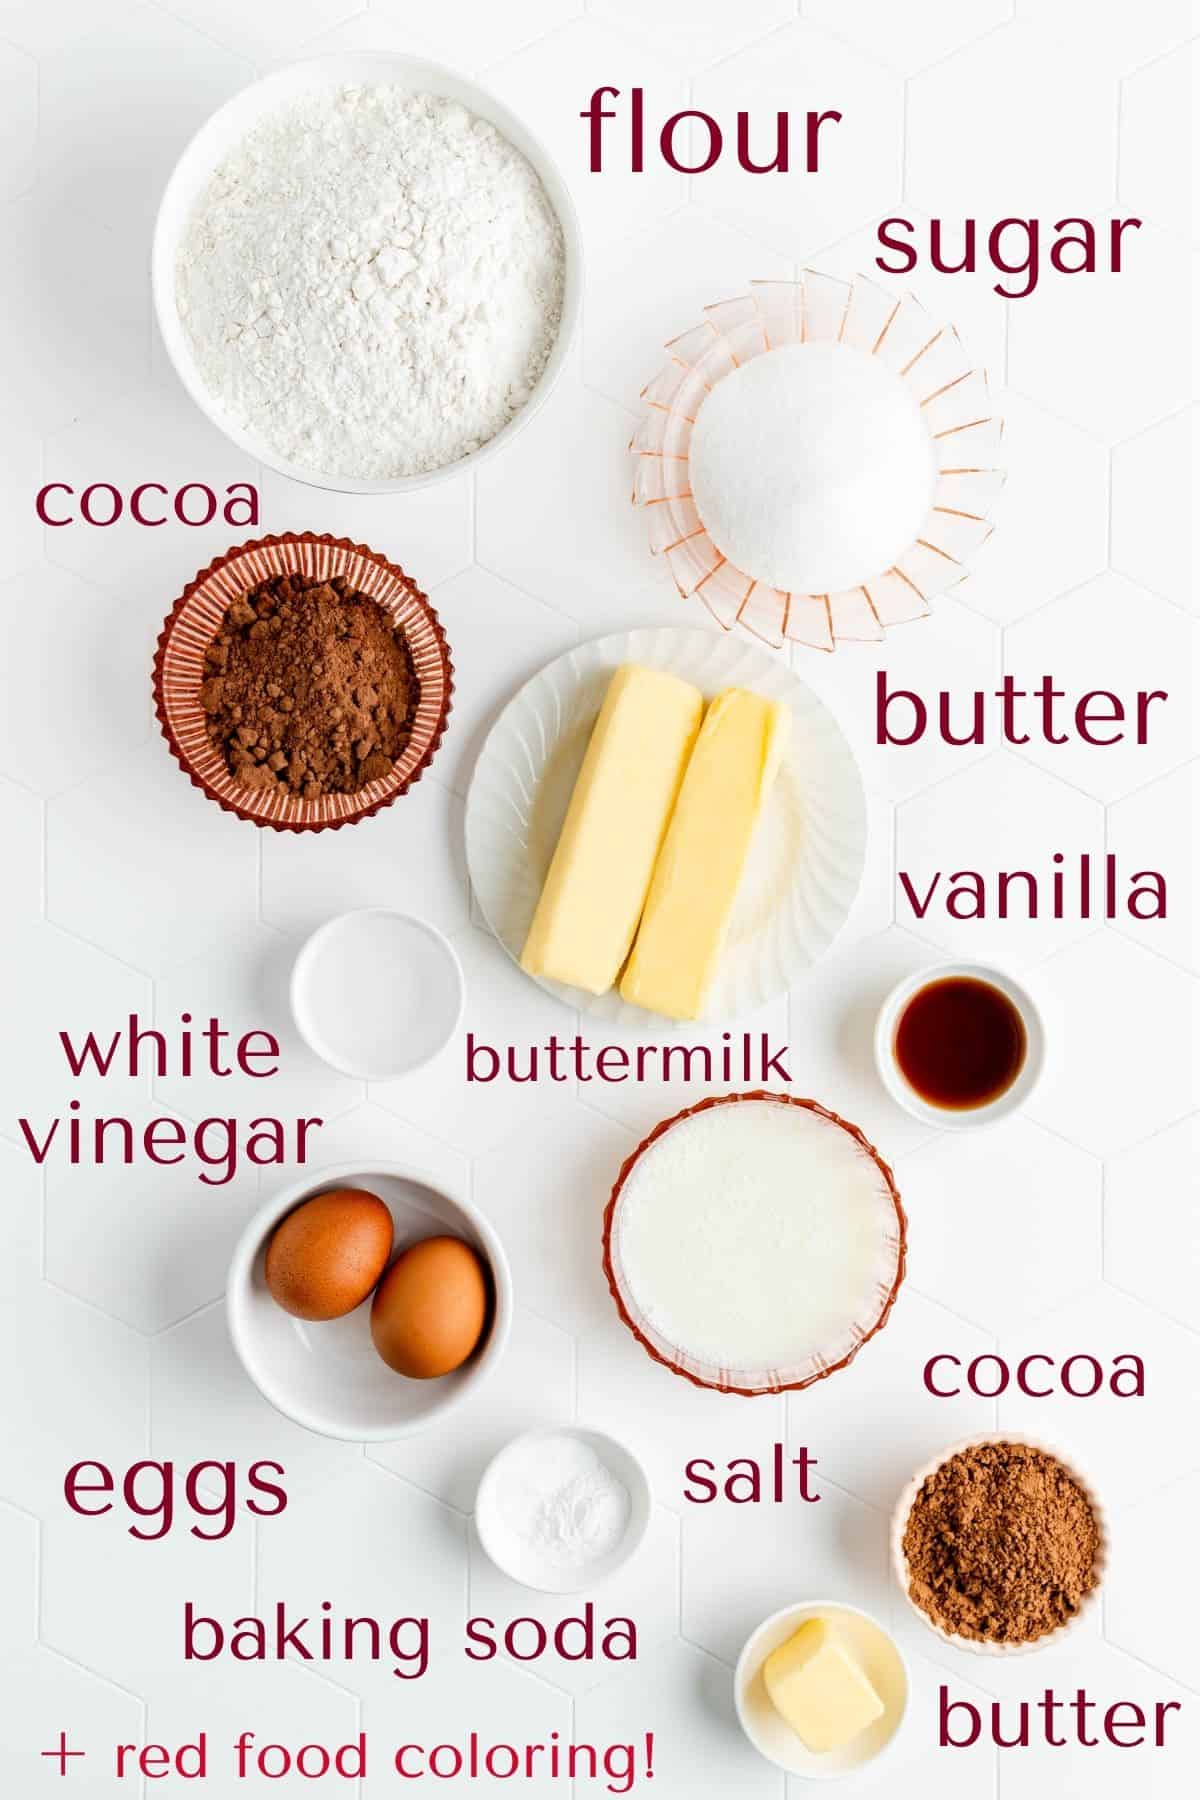
- Natural (not dutch processed) cocoa: for cakes using baking soda as their leavener, we need natural cocoa, specifically. Dutch-processed cocoas have had their acidity removed. Why do we need that acidity? Because the cocoa's acid reacts with the "basic" baking soda to neutralize its flavor and help our cake fully rise. Cocoa blends work too, like this triple cocoa blend which is my favorite all-purpose cocoa to bake with.
- Buttermilk: we're using buttermilk here because...1) it's a classic part of the red velvet flavor profile 2) it's helping to balance the sweetness in this rich cake; and 3) it's acidity helps to react with the baking soda and tenderize our cake. In a pinch though, you can use regular milk if that's all you have.
- White Vinegar: yep...more acid! The baking soda and vinegar combo is a staple of all red velvet recipes. Here, the vinegar is a very strong acid, again helping to get that baking soda going. Many recipes have you mix it with the baking soda ahead of time, but I find you lose a lot of the ingredients in the transfer to your mixing bowl, so I found a way to skip that step altogether!
- Red food color: you need A LOT of coloring to get a rich red velvet flavor. I also calculated the amounts in this recipe for the cheap red food dye you get at the grocery store, but if you have the stronger gels, you can definitely use less. (More on food coloring in the FAQs section below!)
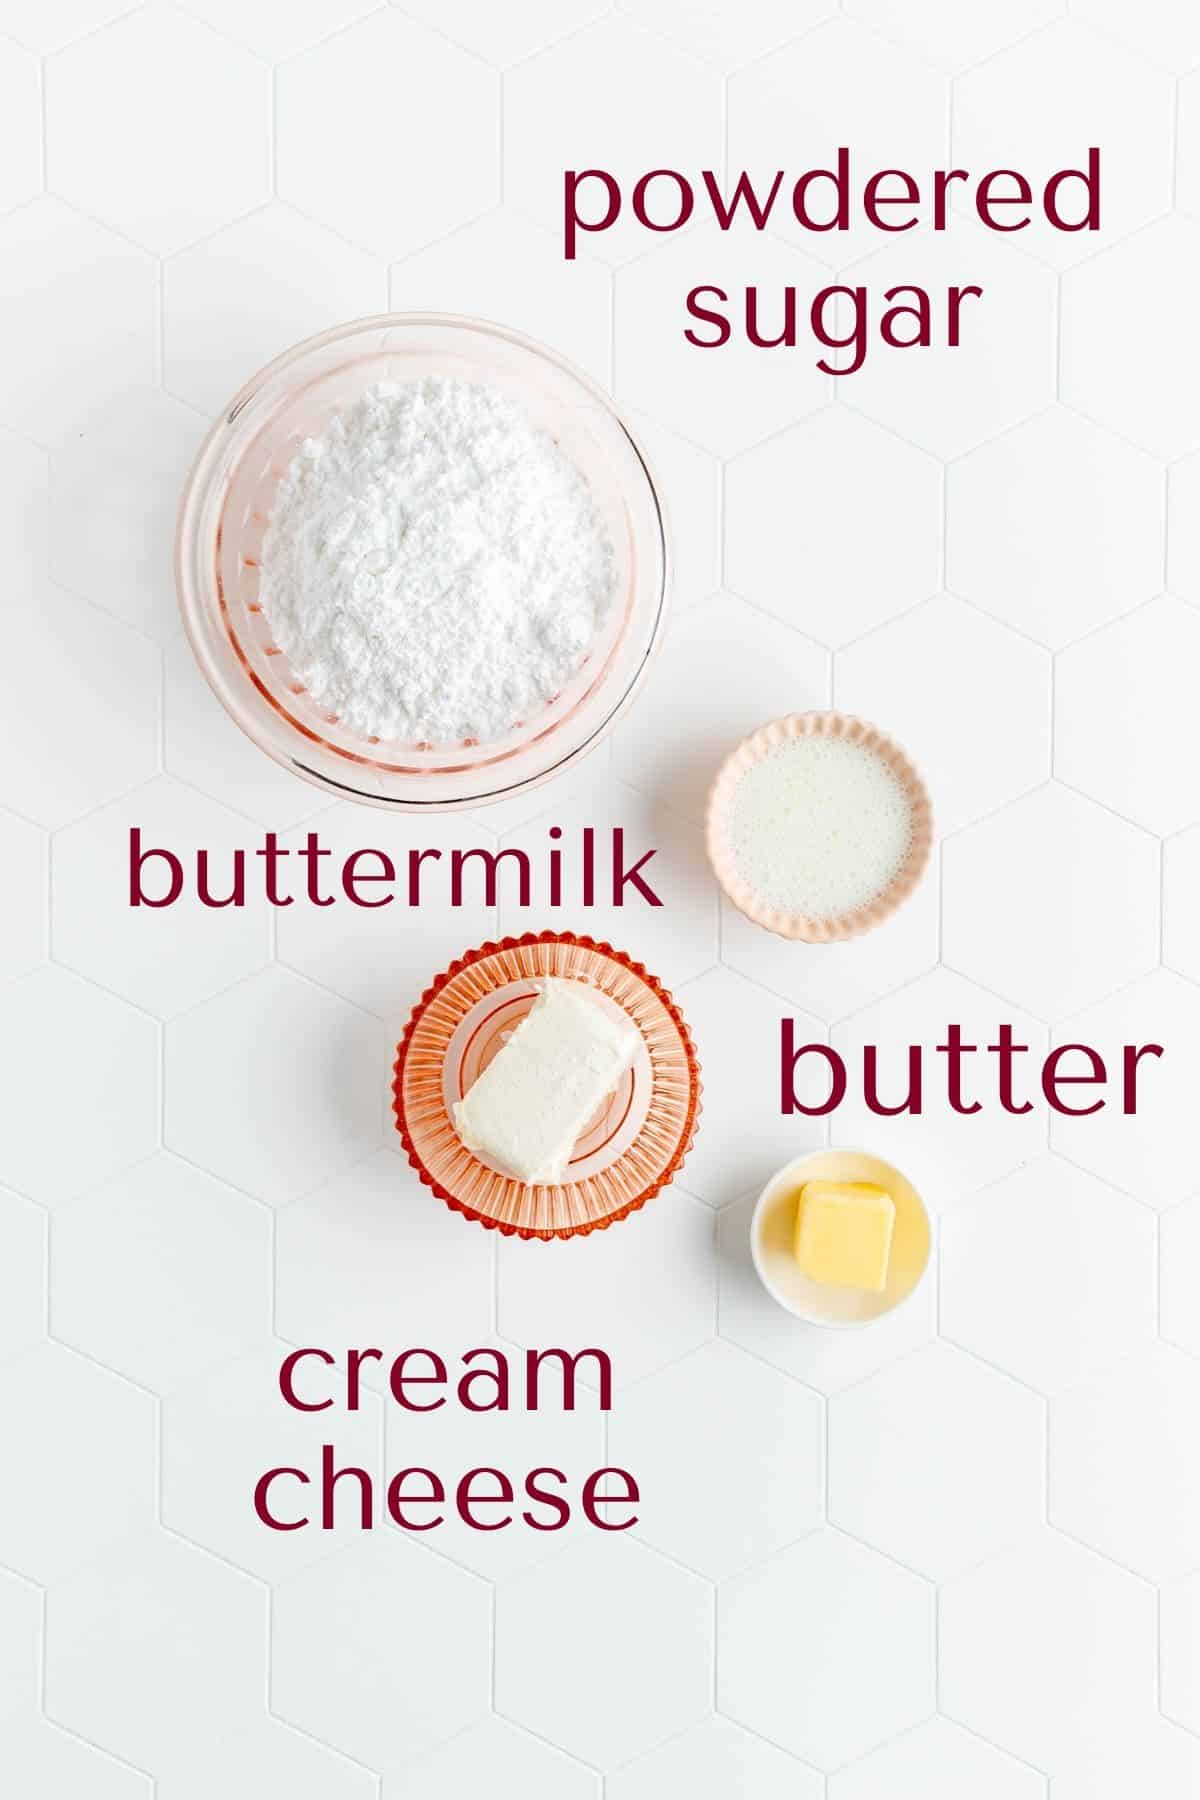
- Softened Butter + Cream Cheese: I know that it can be hard to remember to get those little bits of butter and cream cheese out for your glaze when you don't need them soften for the cake. I tried a bunch of ways to make the glaze with them cold/melted, and I'm sorry, but there just wasn't a good option. So, remember to pull out your butter and cream cheese to soften a few hours before your start!! (But if you forget, don't worry - I gotcha. I have a "quick-soften" method for you in the recipe card notes below.)
(p.s. for all the basic tips that no one ever taught you, that are super important to help you bake your best, check out my Baking 101 series!)
Special Tools and Equipment You'll Need
The only special tool you need here is your Bundt pan. A pastry brush isn't necessary, but it's really helpful. Here are the big and the mini Bundt pans I used in these photos.
How to Make This Bundt from Scratch
(Pssst…if you're ready to just get baking, get all the details in the recipe card below!)
TO MAKE THE CAKE:
- Preheat your oven, melt your butter, and thoroughly grease and cocoa-dust your pan. (We're using cocoa instead of flour so we have a dark chocolate finish on our final cake instead of white splotches from the flour since this is a chocolate batter.)
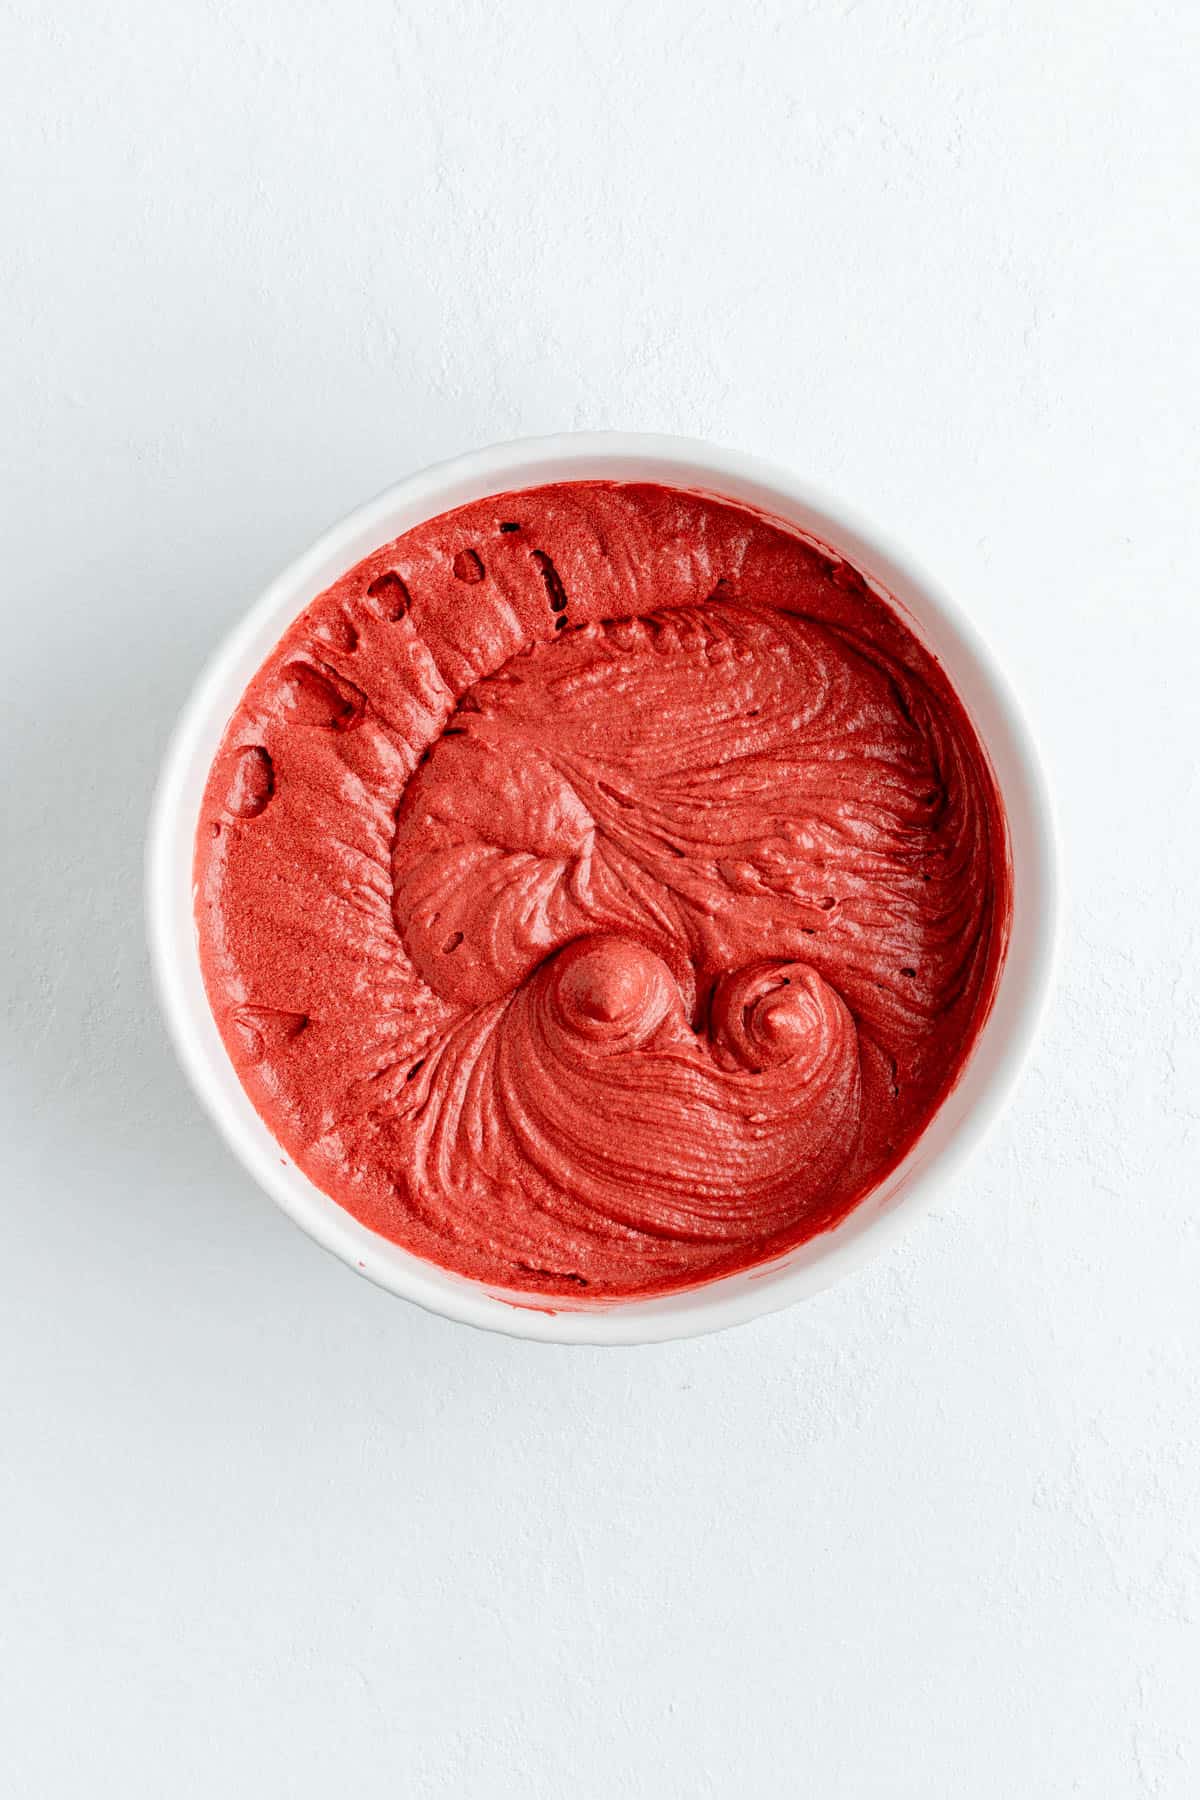
- Combine all the dry ingredients until blended.
- Combine all the wet ingredients until blended.
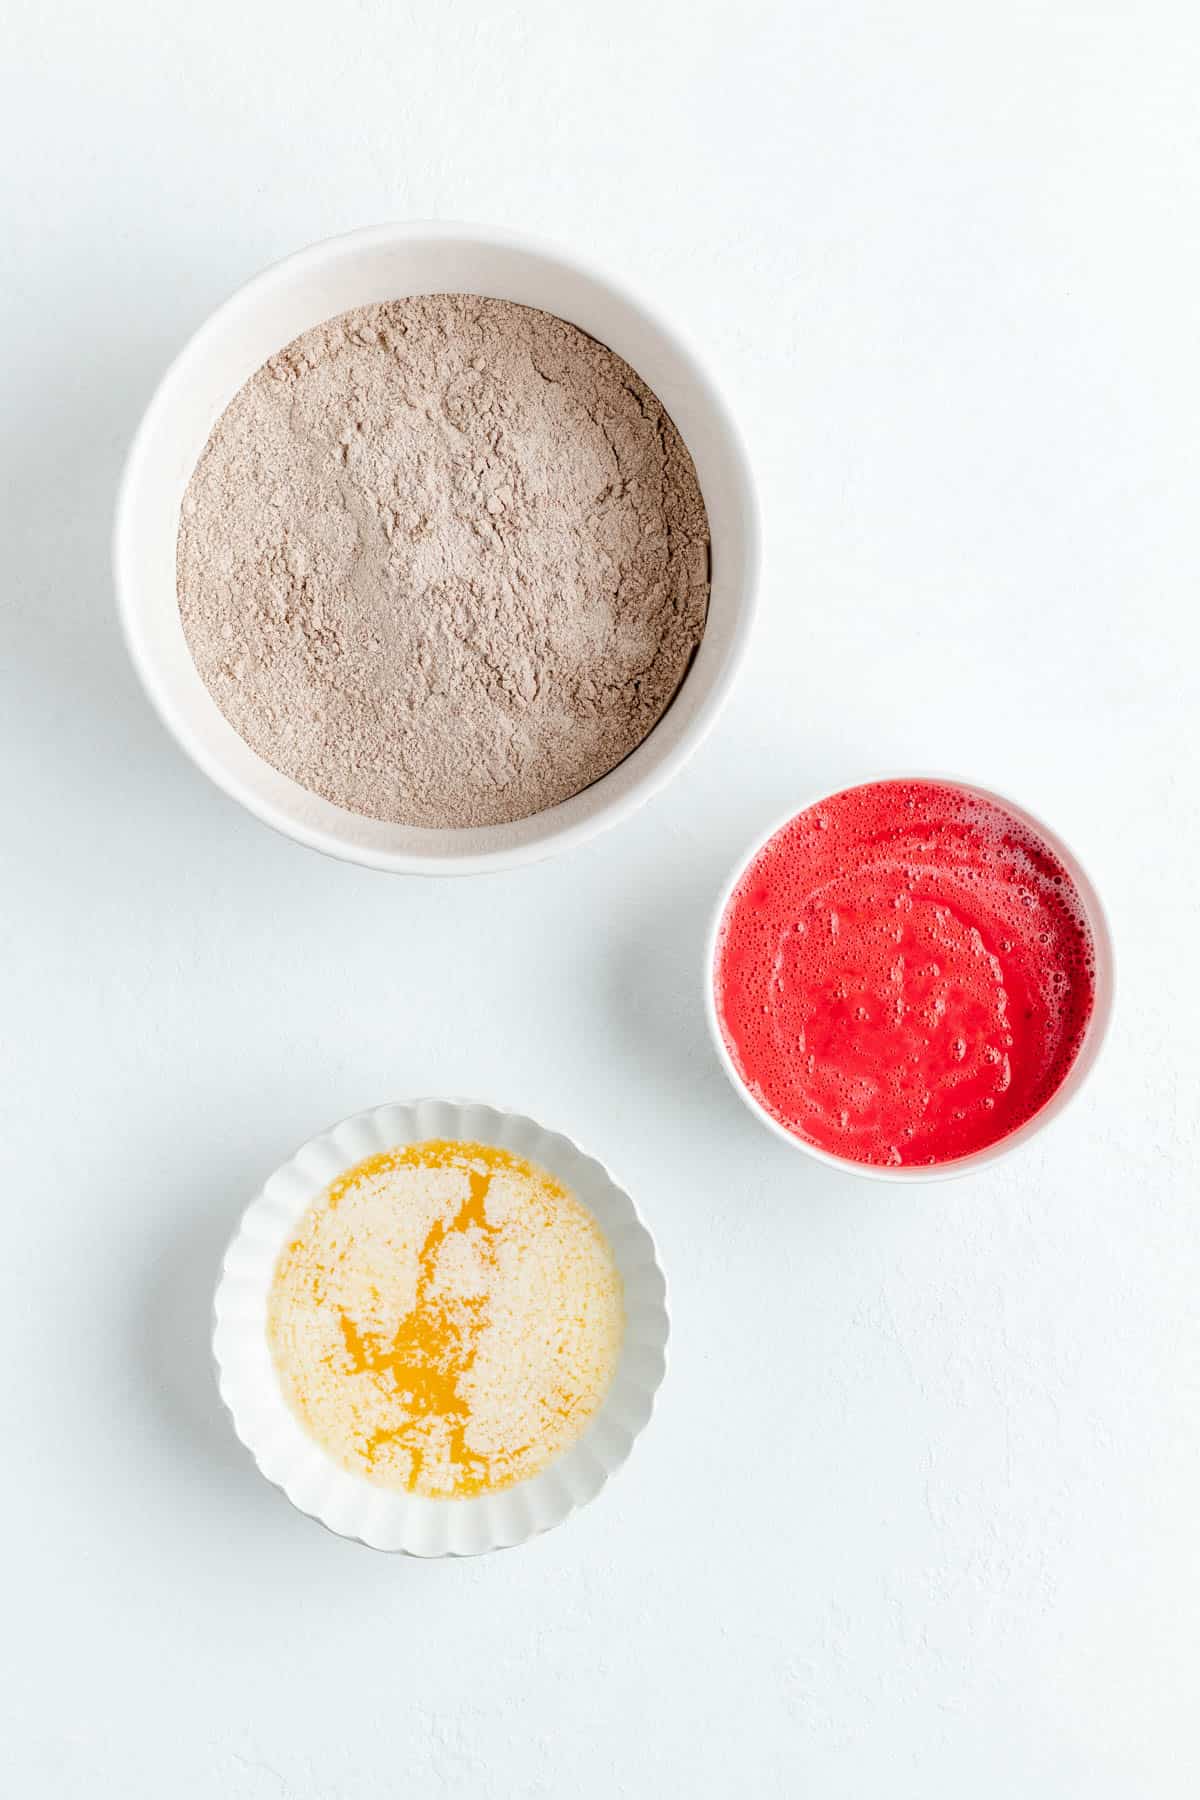
- Mix together the dries, the wets, and the melted butter until batter is smooth and fully combined.
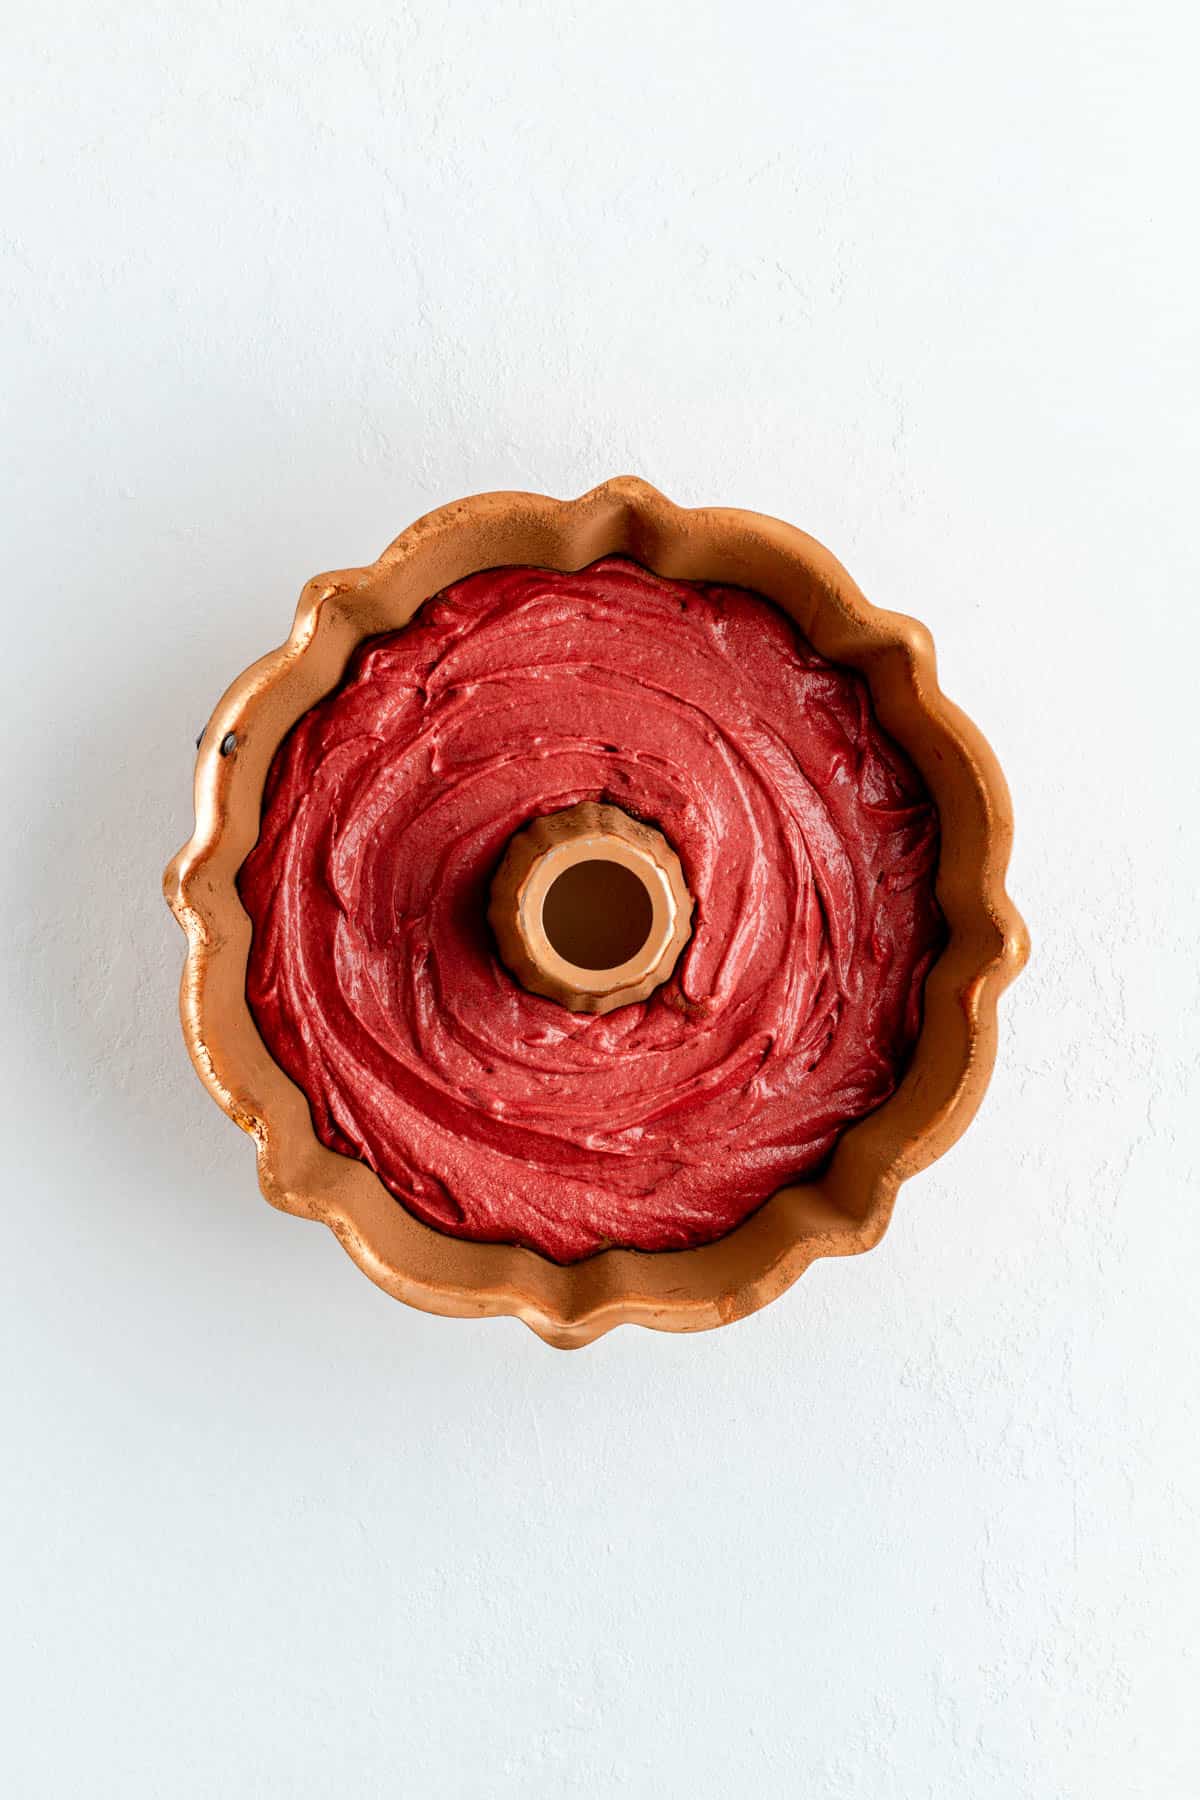
- Transfer batter to your prepared pan and bake.
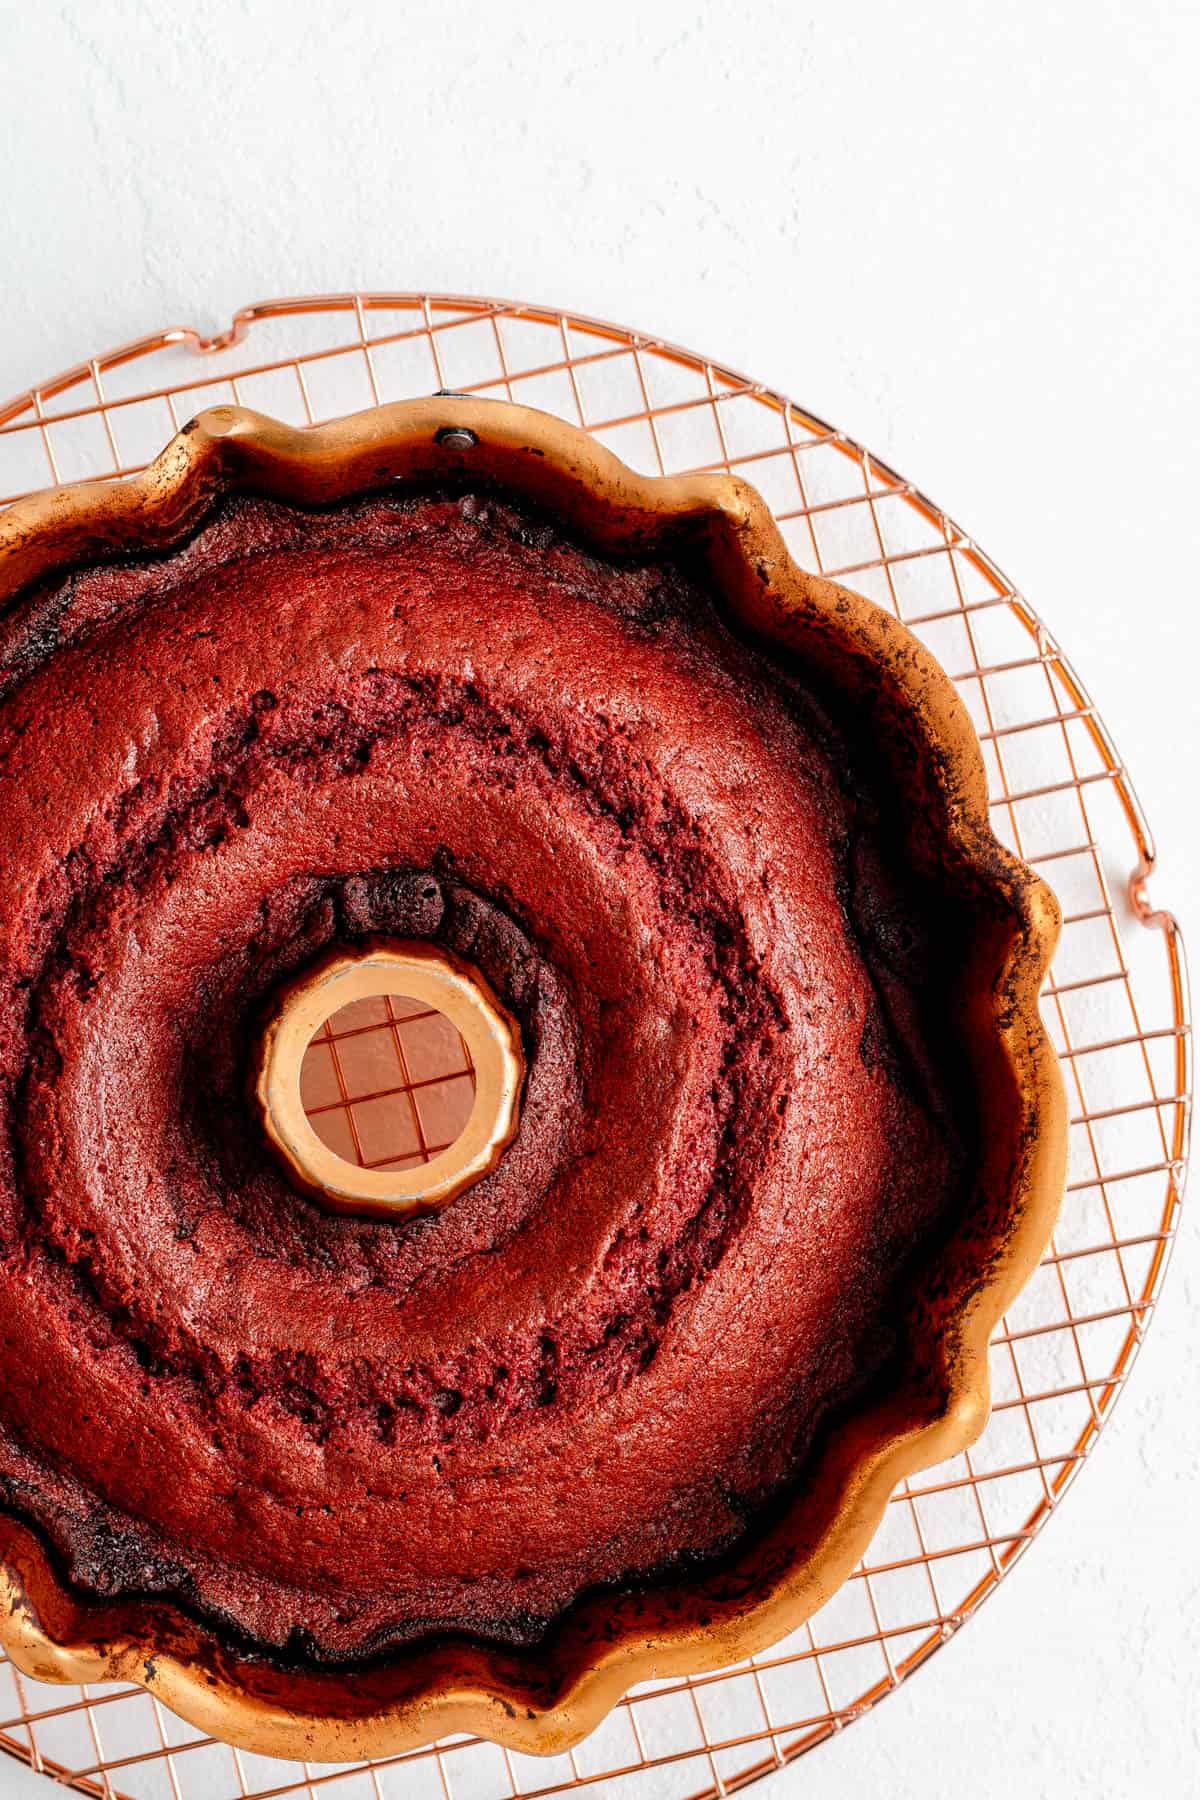
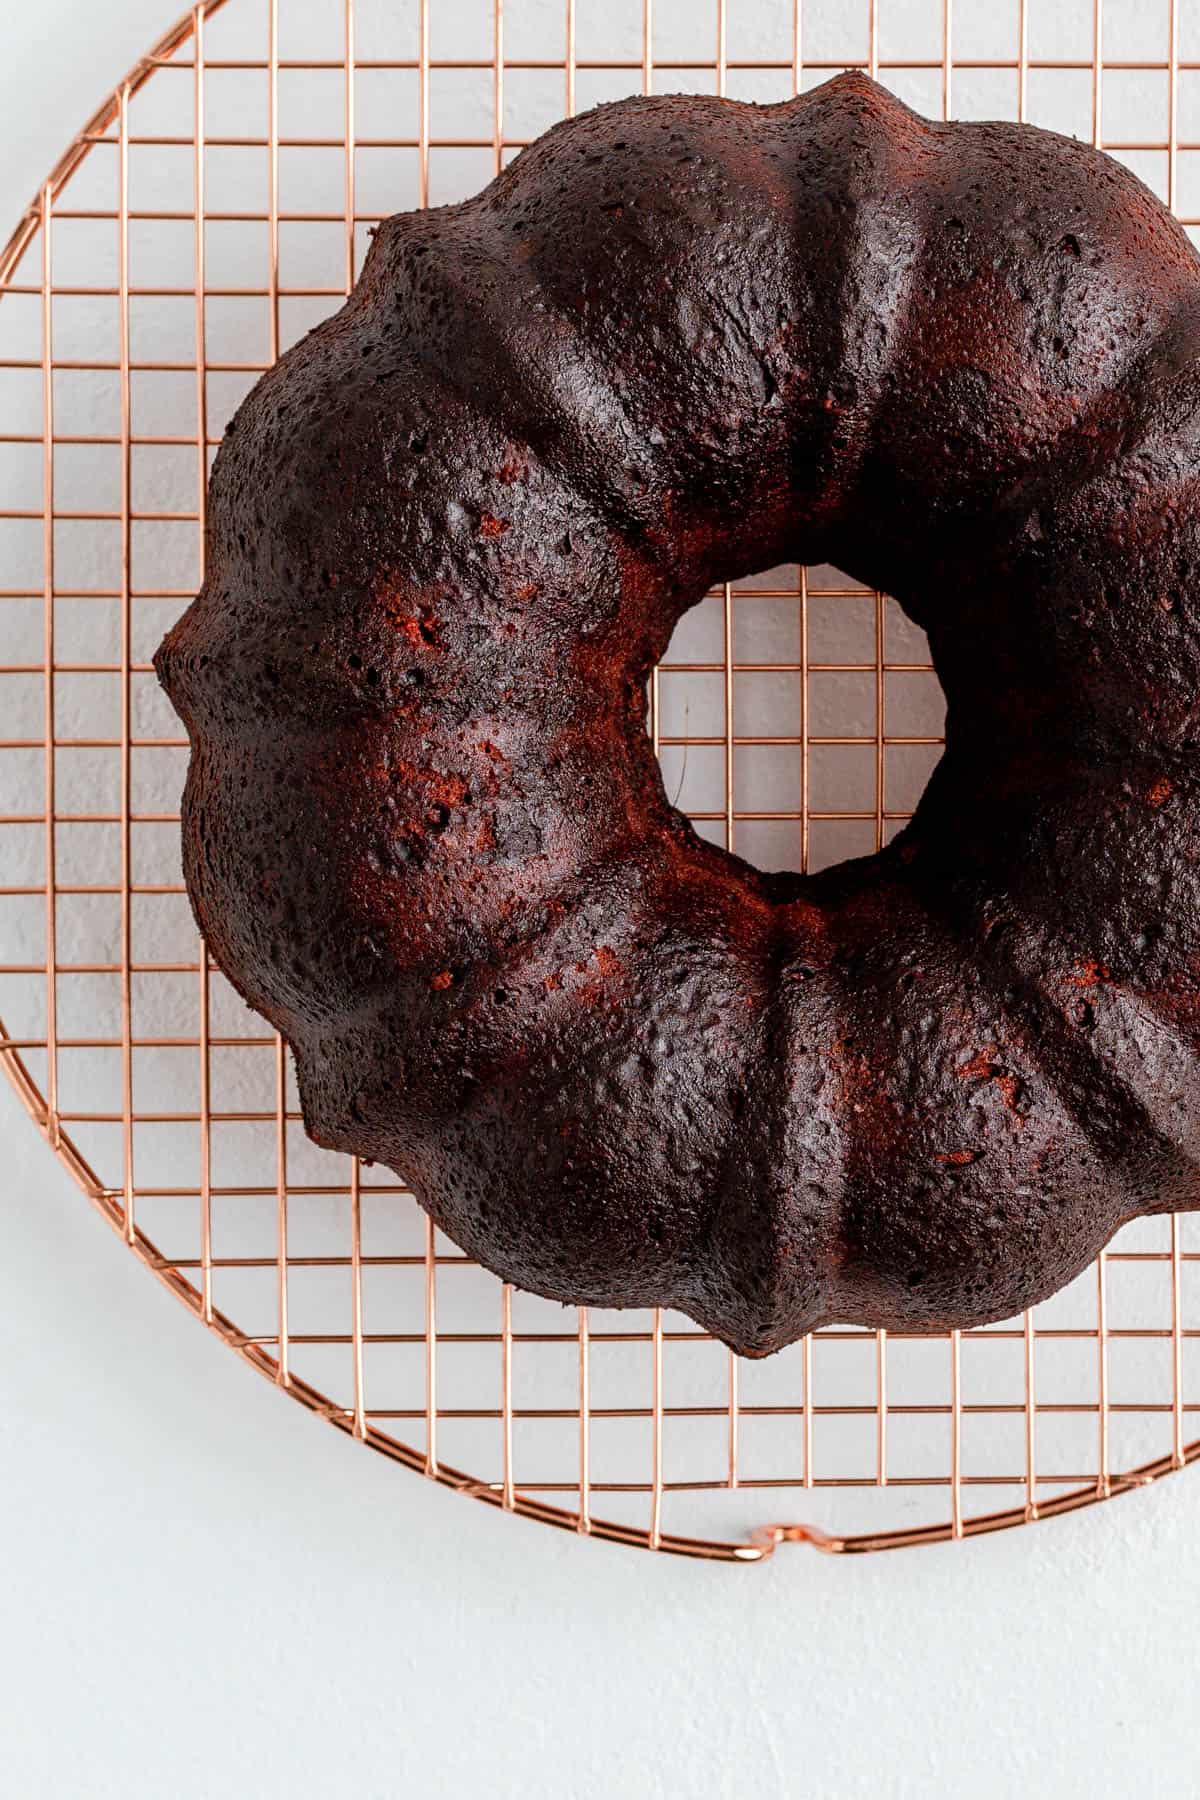
- Allow cake to cool fully in the pan, then flip out onto a cooling rack once fully cooled.
TO MAKE THE GLAZE:
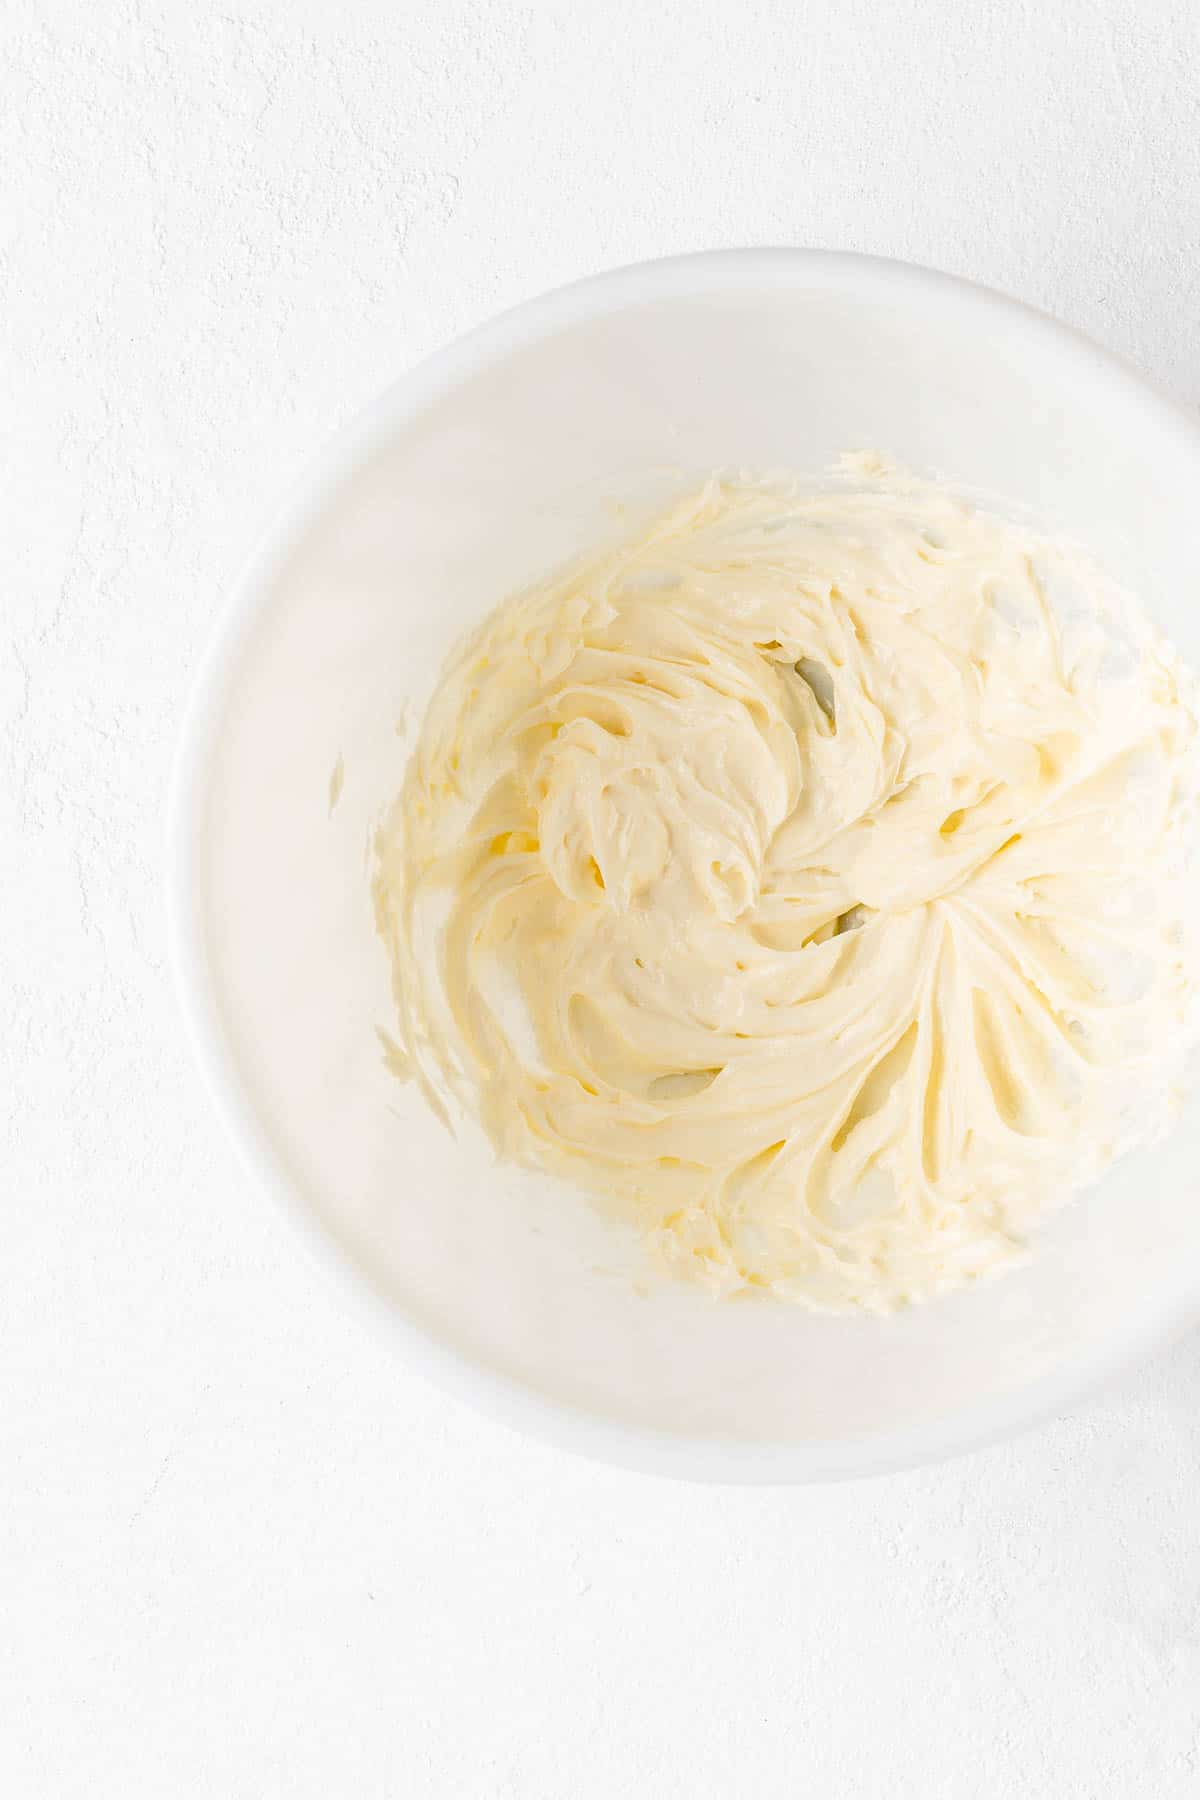
- Combine softened butter and cream cheese until smooth.
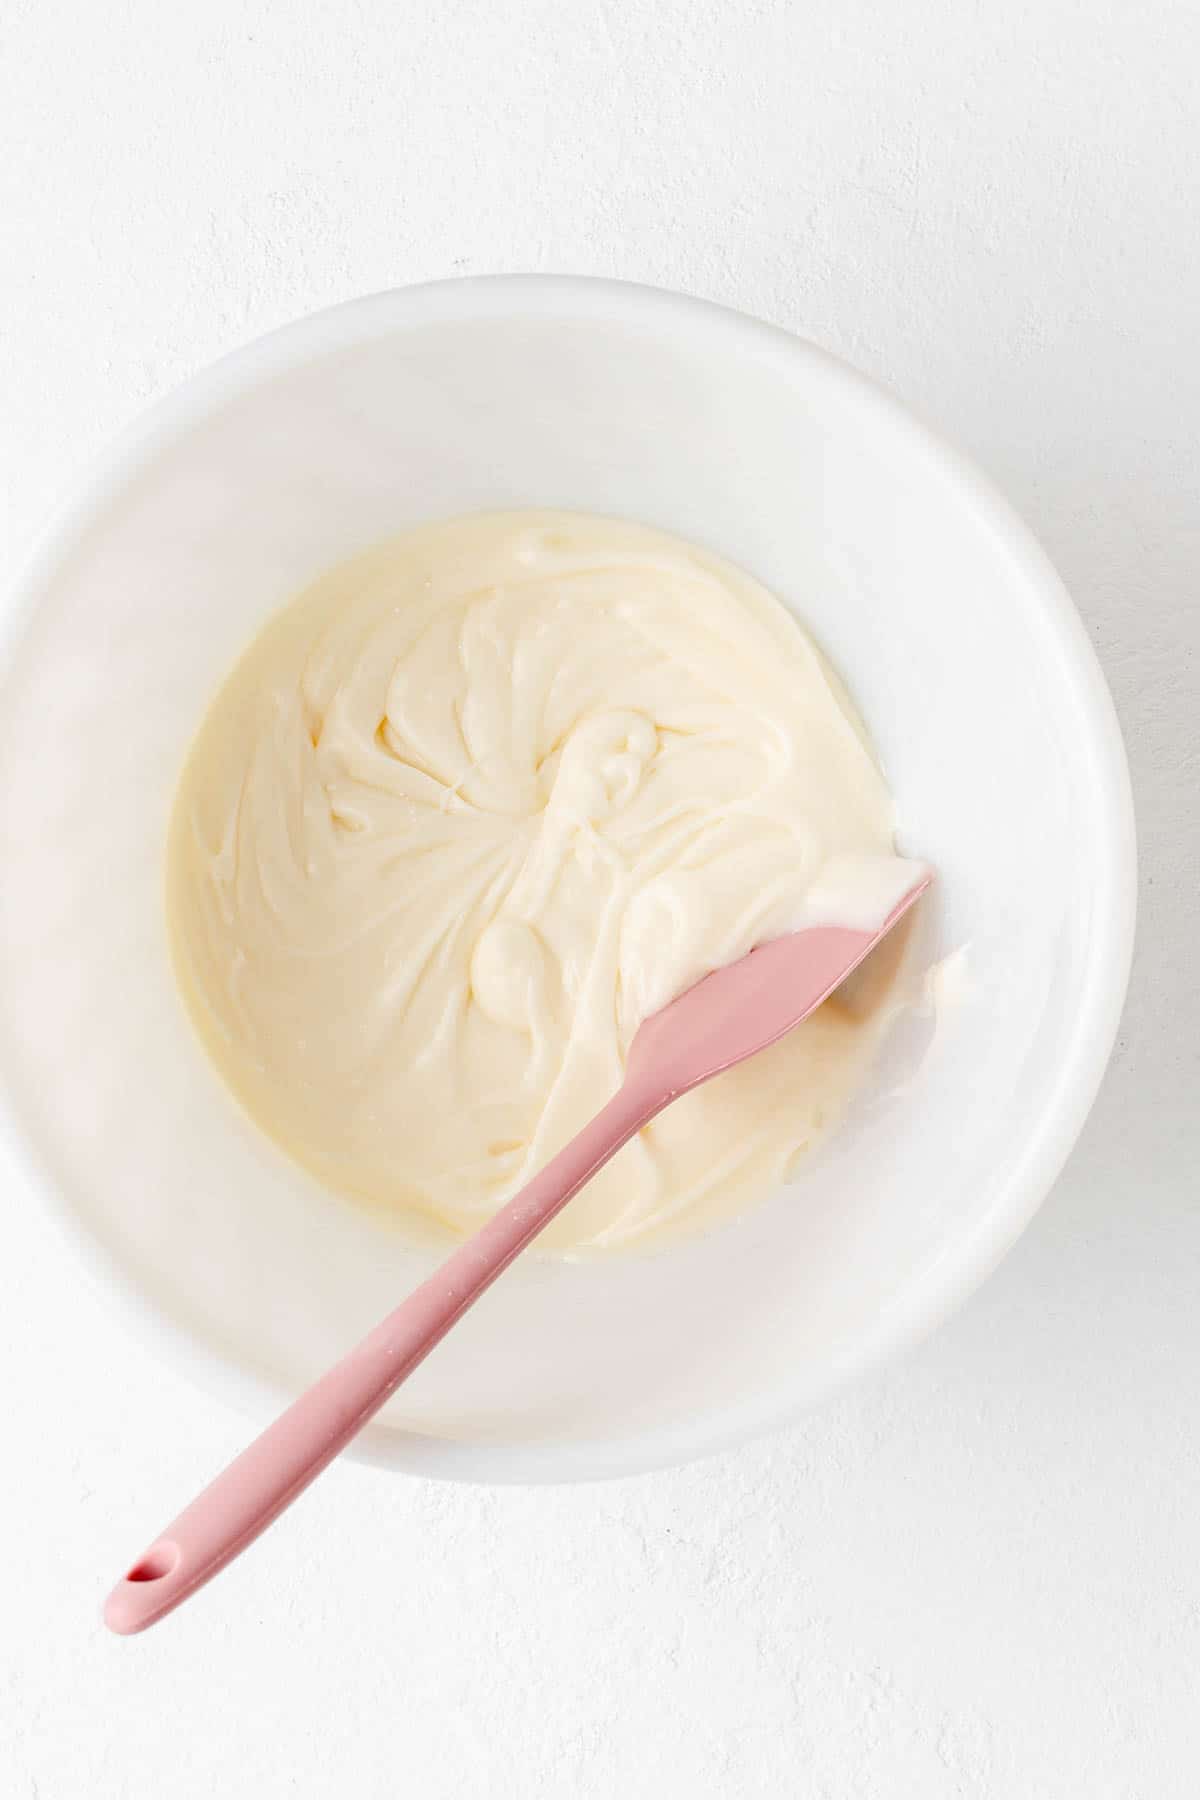
- Mix in remaining ingredients to form a thick but just-barely pourable glaze.
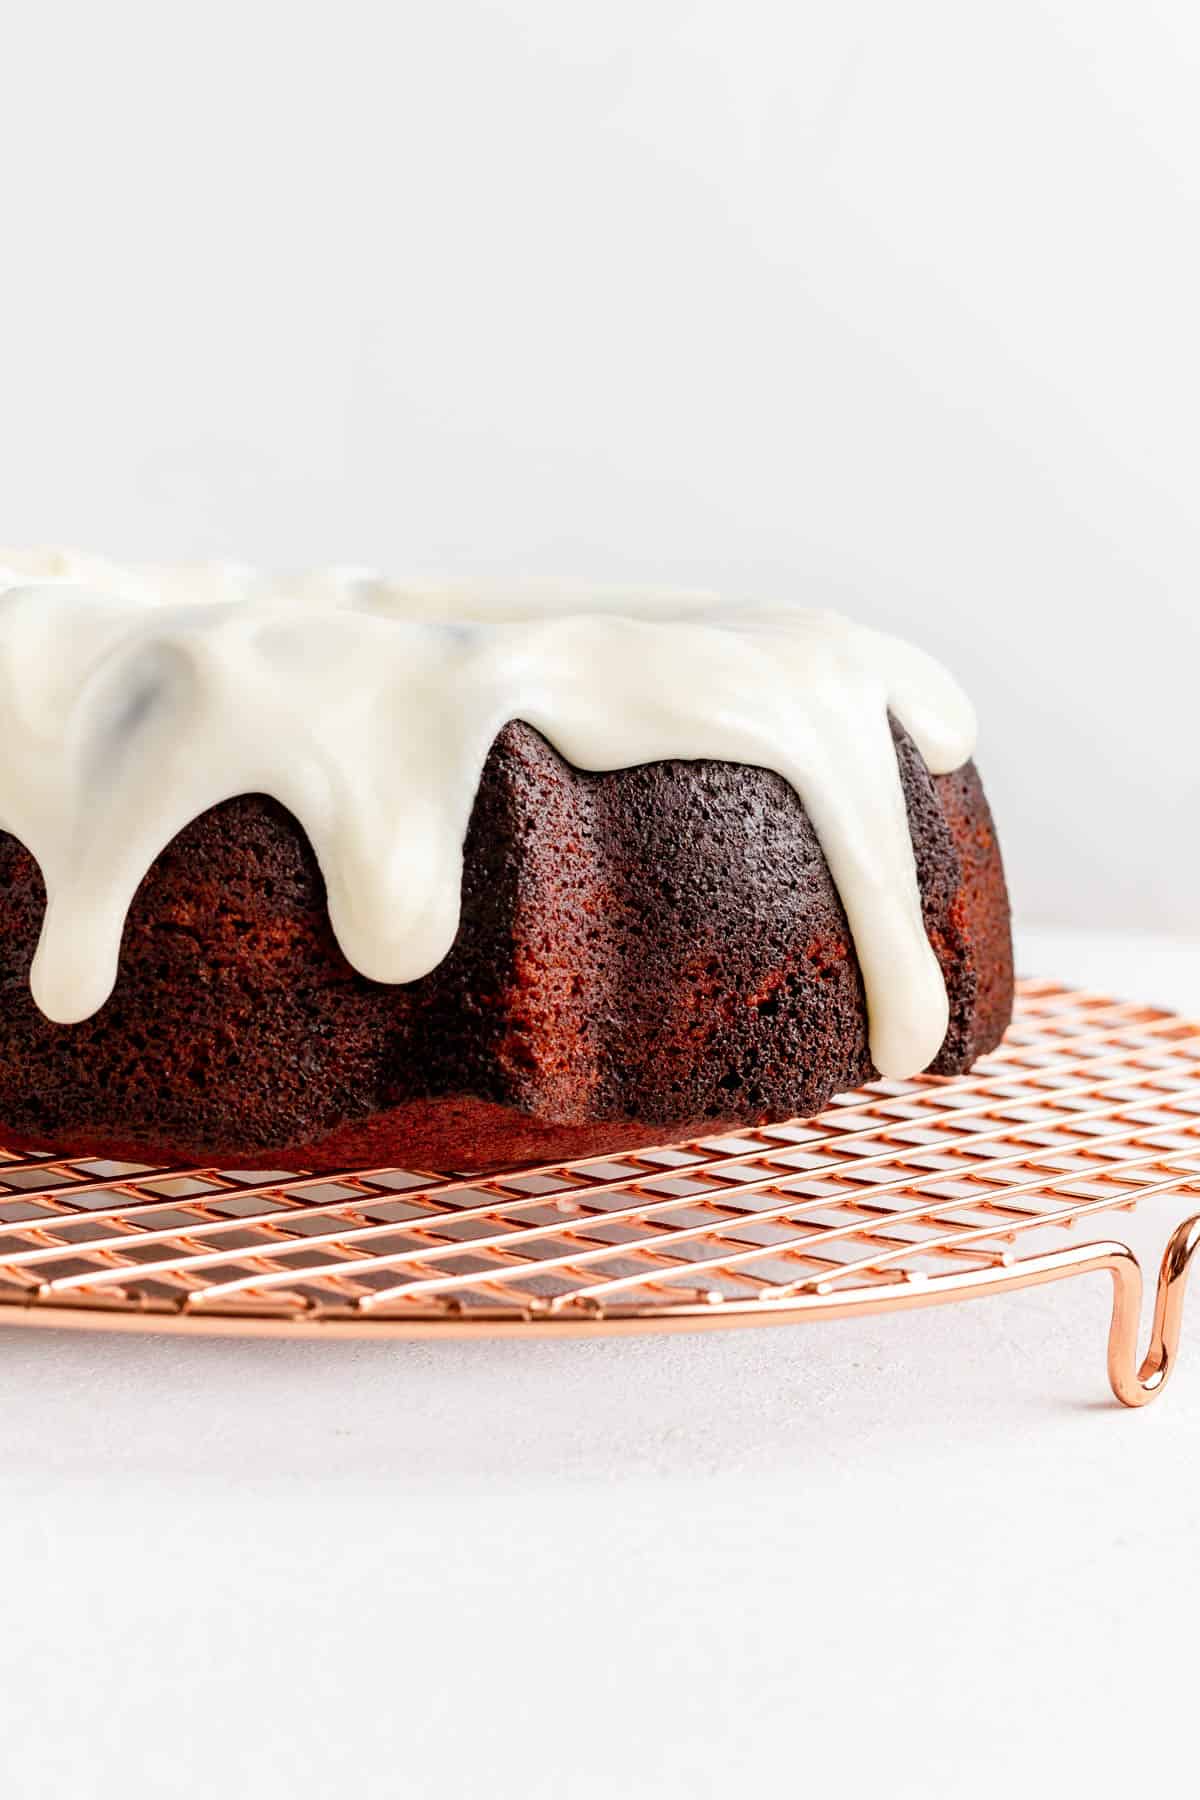
- Pour, spread, and drip your glaze over your cake, slice it up, and enjoy!

Check out the full RECIPE WEB STORY for a click-through tutorial!
Test Kitchen Tips: How to Grease a Bundt Pan
Usually, in this section, I list off a few pointers here to make sure you get the best product possible, but for Bundts, there is one tip that towers above all...
Take the time to grease your pan very thoroughly!
The pan prep makes all the difference for Bundts and can be what separates the more beautifully shaped cakes, from stuck-in-the-pan disasters. I want to make sure all your hard work pays off with a beautiful final product from this recipe. But for that to happen, your cake must release in one piece.
It seems like in both my personal and professional experience, there are a lot of different camps on how to prep a Bundt pan.
But I've found that baking sprays don't do a thorough enough job of coating the pan. And they also often lead to a bubbly surface on your cake too that isn't very attractive.
I prefer to use melted butter (1-2 tablespoons is enough), and to carefully brush the full surface of my pan. This way you can make sure it is well-greased in all the nooks and crannies. (This is especially important if you're using a fancy or intricate pan).
You'll then dust the butter with flour or cocoa (based on your batter flavor and personal appearance preferences) as an extra layer of protection against sticking to the pan for a smooth final release.
More Tips + FAQs
Can you make this cake ahead of time?
Yes! Especially before slicing, this cake will keep well, so you can make it up to 2 days ahead of service if you like. In that case, just make sure to wrap it well, air-tight at room temperature for storage, and then glaze it right before serving.
How do you store leftover cake? Can you freeze Bundt cake?
To keep this cake fresh, wrap a small piece of plastic wrap over the cut ends, then keep it fully wrapped, air-tight for up to a week at room temperature.
While you can freeze this cake, I find its moist and tender crumb doesn't fully return after thawing, so I wouldn't recommend freezing this cake before serving.
What is the flavor of red velvet, really? Is red velvet just vanilla cake with food coloring?
Red velvet cake is essentially a light chocolate cake. There are always a few tablespoons of cocoa powder involved to give it a subtle chocolate flavor, but not enough for it to taste like a proper chocolate cake.
It also has a lot of acidic ingredients that can give it a bit more of a tang than a traditional chocolate cake (especially when it's classically paired with cream cheese frosting). The high level of acidity in the batter also means it tends to be very tender, rich, and moist.
And then, of course, it's loaded with red food coloring, as our modern cocoas don't naturally make it quite red enough as some cocoas did in the old days (and modern expectations for this cake definitely tend toward more unnaturally red tones).
Can I make this Bundt without food coloring? What about natural food coloring?
Yes - you absolutely can. While it won't quite be red velvet cake anymore, the food coloring serves no functional purpose other than aesthetics. So if you're okay with a light-brown velvet cake, then you're welcome to leave it out.
You're also welcome to experiment with natural colorings, just know that red tones will vary based on your particular dye, and often won't be as vibrant as the artificial red coloring.
Can I just butter my pan and skip the cocoa so I don't have a dark finish on the outside?
Yes...but at your own risk. I did test this cake without the cocoa and just used a butter-only prep on my pan twice. Both times, the cake did not fully release and I was left with the bottom of the cake on the plate and the top of the cake still in the pan.
If you don't have an intricate pattern on your Bundt and the non-stick surface is functioning well, it's possible you could make this cake and have the bright red finish on the outside as well. I, however, prefer the security of knowing the cocoa will substantially aid in the cake's release. And, as it is a chocolate cake, I don't mind that dark chocolate finish on the outside (especially since we're glazing it anyways).
If you're averse to the dark exterior finish, you can dust your pan with flour instead and you will just have a dustier white finish to the outside of your cake.
Of course, you're always free to experiment with different pan preps, but just know a greased and dusted pan is your best chance of a good release.
Other Recipes You'll Love
If you're a fan of Bundts, definitely be sure to check out my Lemon Bundt Cake with Lemon Glaze, and White Chocolate Raspberry Cake. And if you're looking for a quick mix cake for a crowd, try my Easy Vanilla Sheet Cake with Raspberry, Chocolate, Vanilla, or Cream Cheese Frosting! And for other festive red treats, don't miss out on my Jammy Dodger Cookies and Strawberry Jam-Filled Donut Muffins!

⭐ If you gave this recipe a try please give it a ⭐ rating and tag me on Instagram @mint.and.mallow.kitchen so I can see what you're baking up! ⭐
📖 Full Recipe

Red Velvet Bundt Cake with Cream Cheese Glaze
Ingredients
FOR THE PAN:
- 1-2 tablespoons unsalted butter (melted)
- ¼ cup natural cocoa powder
FOR THE CAKE:
- 1 cup unsalted butter (melted)
- 2 ½ cups all-purpose flour
- 1 ½ cups sugar
- 3 tablespoons natural cocoa powder*1
- 1 teaspoon baking soda
- 1 teaspoon salt
- 1 cup buttermilk or milk*2
- 2 large eggs
- 2 teaspoons vanilla extract
- 1 teaspoon white vinegar
- 1 ½ teaspoons (about 100 drops) liquid red food coloring (you will need a lot less if you have a strong gel coloring)
FOR THE GLAZE:
- 2 tablespoons unsalted butter (softened)
- ¼ cup (2 ounces; ¼ brick) Philadelphia Original Cream Cheese (softened)
- 1 ⅓ cups powdered sugar (sifted)
- 2 tablespoons buttermilk or milk
Instructions
TO MAKE THE CAKE:
- REMINDER!!! If you haven't already taken the cream cheese and butter out to soften for your glaze - do It now!*3
- Preheat oven and melt butter: preheat your oven to 350°F, and place your baking rack one rung below the middle. Melt your butter and set it aside.
- Prep your pan: grease and dust a 10-cup Bundt pan with cocoa powder by brushing the melted butter thoroughly throughout the inside of the pan, then knocking the cocoa powder around the pan over a sink or trashcan to fully cover the butter. Knock all excess cocoa out of the pan once coated.*4
- Combine dry ingredients: in a large mixing bowl, whisk together to flour, sugar, cocoa, baking soda, and salt, and set aside.
- Combine wet ingredients: in another small bowl, whisk together buttermilk, eggs, vanilla, vinegar, and red food coloring.
- Combine the dries, wets, and melted butter: pour the wet ingredients and melted butter into the center of the dries. Mix on low speed for about 30 seconds using a hand or stand mixer, then medium speed for 1 minute until smooth and fluffy.
- Transfer and bake: transfer batter to prepared pan and spread evenly to all edges. Shake gently to level. Bake for 42-48 minutes until the cracked ring around the center of the cake is dry, feels fully set, and springs back when gently pressed. (Another good trick is to listen for a quiet little crackle and pop which is the air bubbles in your batter popping when the cake is finished baking.)
- Cool fully in pan: cool cake for at least 30 minutes (or ideally until it's at room temp) while upright, then flip over onto a wire rack and un-pan to finish cooling completely. If the cake is sticking to the pan, gently use a small offset spatula or dinner knife to loosen the edges where possible, then knock the pan on the wire rack a couple of times until it releases onto the rack.
TO MAKE THE GLAZE:
- Combine butter and cream cheese: place softened butter and cream cheese in a medium-sized bowl. Mix together until smooth and fully combined by hand or with a hand mixer (a hand mixer will give you a smoother glaze here).
- Mix in remaining ingredients: add in the powdered sugar and buttermilk, and blend until fully combined and smooth. The glaze should be fairly thick, but still just barely pourable. If you prefer a thinner glaze, add milk, a ½ teaspoon at a time, until you reach your desired consistency (and be careful - just a little extra milk can really thin out the glaze!)
- Drip, slice and enjoy! Slowly pour and spread glaze in a ring around the top of the cake, in the center of the arch and allow it to slowly drip down the sides. Allow the glaze to set for at least 15-20 minutes, then cut off a slice (and maybe one for a friend too!) and enjoy this rich and colorful treat!
Test Kitchen Tips
- *1Natural cocoa or blend, not dutch: for this cake, because we are using baking soda as our leavener, we need to use natural cocoa (which is acidic) to react with that baking soda fully (otherwise you can get a soapy taste in your cake. You can also use a blend of cocoas that includes natural cocoa as well, but avoid using all Dutch-process cocoa as it’s had its natural acidity removed.
- *2Buttermilk or milk? The buttermilk in this recipe adds acidity to balance the flavor, and give the crumb a really nice, tender texture. It's also just a classic part of the "red velvet" flavor profile. That said, in a pinch, you can definitely use regular milk instead. If available, you can always combine a teaspoon of lemon juice with your cup of milk, then stir it together and let it sit for about 10 minutes before adding it to your batter for a homemade buttermilk option as well.
- *3Forget to soften your cream cheese and/or butter? To quick soften both, place them each in their own ziplock bag (while still in their wrappers) and make sure to seal the bags really well. Fill a large pot or bowl with 2-3 quarts of hot (but not boiling) water from your kitchen tap. Submerge the sealed butter and cream cheese in the hot water, weighting them with a glass or bowl as needed to keep them submerged. Check back in about 20-30 minutes and they both should be softened and ready to go for the glaze!
- *4Pan prep: make sure you take the time to grease and dust your pan well as it's the most important step in a Bundt recipe! I prefer to use melted butter, brushed on thoroughly to cover the whole inside of the pan, and then knock cocoa around in the pan to fully coat the butter. You can also use a paper towel dipped in the melted butter to coat your pan thoroughly as well if you don't have a pastry brush. Check out this recipe's full blog post for a detailed pan prep tutorial.
- To make mini Bundts: depending on your particular style of mini bundt pan, this recipe will yield 12-18 mini bundts. You also may need to adjust your bake time for the minis, which will again depend on your particular pan’s shape/size. I’d recommend starting a timer for 25 minutes, and then checking every 5 minutes after that until your Bundts are done. You’ll still be looking for the center ring on top of the cake to be fully set and dry, springing back when gently pressed.
- Storage and freezing: to keep this cake fresh, wrap a small piece of plastic wrap over the cut ends, then keep the whole bundt fully wrapped, air-tight for up to a week at room temperature. The moist and rich crumb doesn't fully return after thawing, so I wouldn't recommend freezing this cake before serving for the best results.
Comments
No Comments