Whether you're a new baker just beginning your kitchen journey or a pastry pro who's looking to up your tool game at home, I've got all the details on what to buy and how to use it to help you bake everything better.
Jump to (scroll for more!):
This post contains Amazon affiliate program links. This means that I earn a small commission on qualifying purchases at no additional cost to you. I will never provide a link to, nor recommend any product or service that I don’t genuinely love or personally use. Thank you for supporting MINT + MALLOW kitchen and the brands and products that help keep this blog running.
Why Having The Right Tools is Important
Hopefully, you've read through Part 1 of this post by now, and know that while you don't need a bunch of fancy-schmancy equipment to create beautiful and delicious baked goods at home, there are definitely some indispensable tools and techniques that will make your baking journey much more successful and enjoyable.
Since I had too many tips to be contained in a single post, this Part 2 list will walk you through the second half of my Top 10 essential baking tools. Not only that, but I'll give you all the details on the classic and unconventional ways you can use these tools to help you bake everything better. So let's get *tool* it! (Sorry...I couldn't help myself hehe)
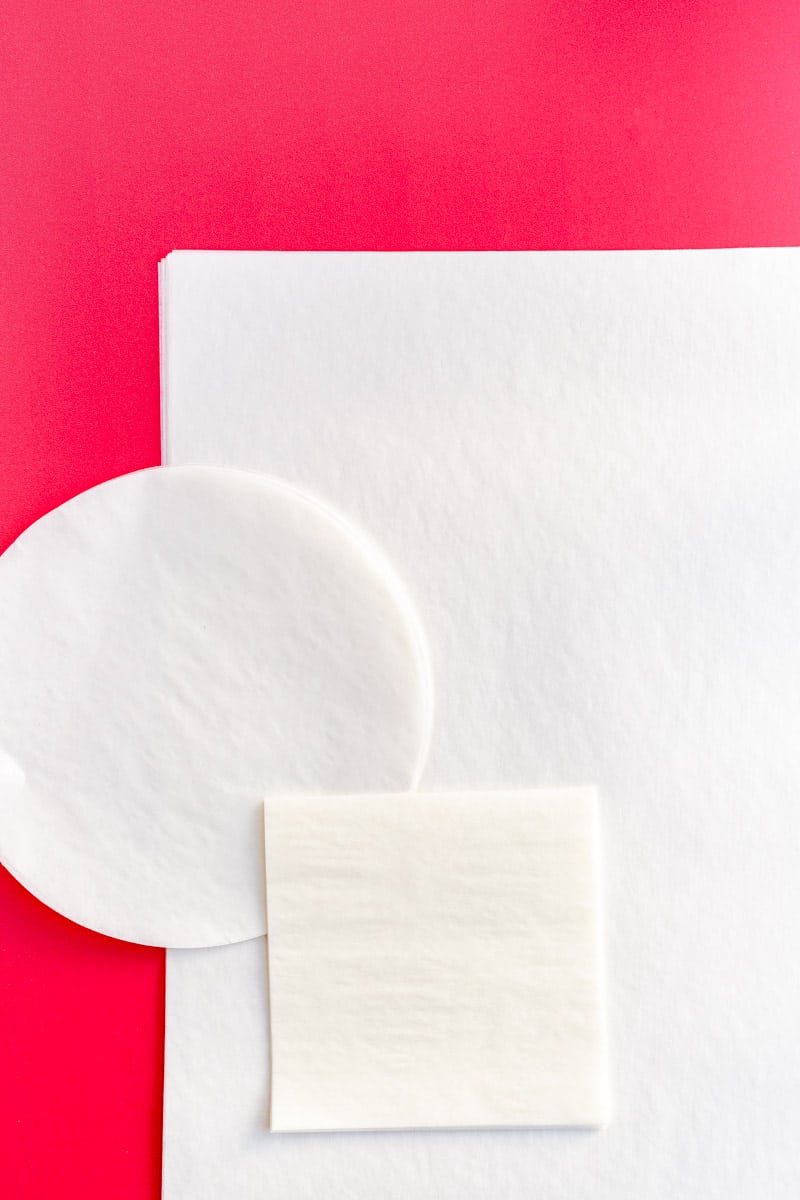
6. Pre-Cut Parchment Paper - Half Sheets, Rounds, and Mini Squares
Buy the parchment half-sheets, parchment rounds, and parchment squares I love here!
Traditional use:
- Half Sheets: I know you could always get a roll of parchment paper, but having pre-cut half sheets will not only make your life so much easier, but it'll make sure that your cookies don't spread into a wonky shape because your parchment had weird ridges or edges. So I highly recommend getting some pre-cut half sheet for lining all your baking pans (they're easier to cut down too for smaller pans or rounds than the rolls as well).
- Rounds: parchment rounds are of course for lining cake pans, as they perform the super important function of making sure your cake doesn't get stuck in the pan. However, you'll find that they come in many sizes, the most commonly used being 8-inch and 9-inch rounds. I usually buy 8-inches because I tend to develop for 8-inch round pans, since that's with more people have at home, but if you use both 8 and 9 inch pans, you certainly can buy both sizes, or just buy the 9" rounds as they trim down to 8" very easily.
- Mini Squares: these mini parchment squares are traditionally used for things like separating raw hamburger patties for freezing to make sure they don't stick together, so you can pull them out individually later. This could also go for cooked pancakes, so you can easily peel them apart out of the freezer for a quick re-heat breakfast. However I have another primary use that I love them for that I'll talk about below.
Pro tips:
- Half Sheets: my favorite pro hack for half sheets is that they are great for lining/slinging 9" x 13" pans. To do this, you turn them the opposite direction you'd naturally think, so you have the long side of the parchment running parallel to the short end of the pan. You then add a quick crease in the bottom corners and on the top edge to mimic the pan's shape, and finally use all-metal alligator clips to secure the edges. This will allow you to release your entire batch of bars or brownies in one go, and move them onto a baking sheet or cutting board for much easier portioning.
- Rounds: of course you want to use rounds to bake your cake, but another of my favorite uses for them is actually for storing cakes. It's one of the easiest ways to keep your cakes nice and moist when they're cooling or maybe sitting in the fridge for a day or two waiting to be stacked. Keeping lightly greased rounds on the top and bottom of your layers will keep them from getting stuck to the cooling rack or plastic wrap used for storage, and also make clean up nice and easy for you! Even better, keeping an extra parchment round on either side of the cake layer really helps to seal in the cake's moisture during storage until I'm ready to seal it with frosting as well.
- Mini Squares: mini parchment squares are my favorite hack for keeping my workstation clean. I have a stack of them right next to my workbench and I pull them out anytime I have a dirty tool to set the tool or the measuring cup or whatever messy items I'm baking with onto the squares. That way I don't have to dirty my workspace at all, and can continue to use that tool and move it around my space without making a mess. Once I'm done, I just throw the dirty parchment square away for easy clean, and we're good to go!
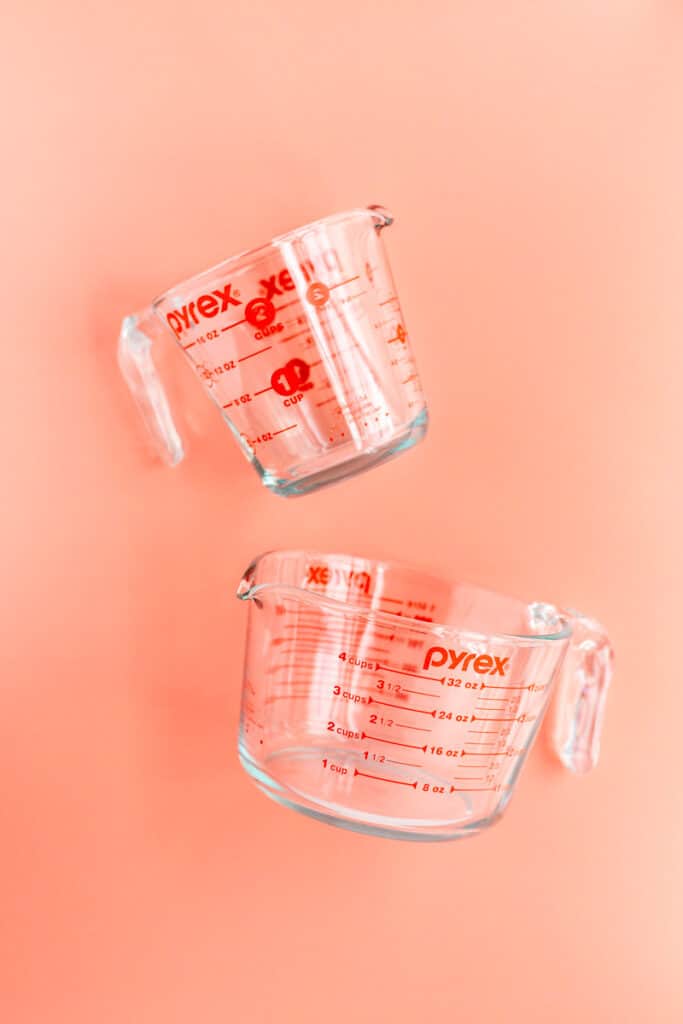
7. Pyrex Pitchers - Two Sizes
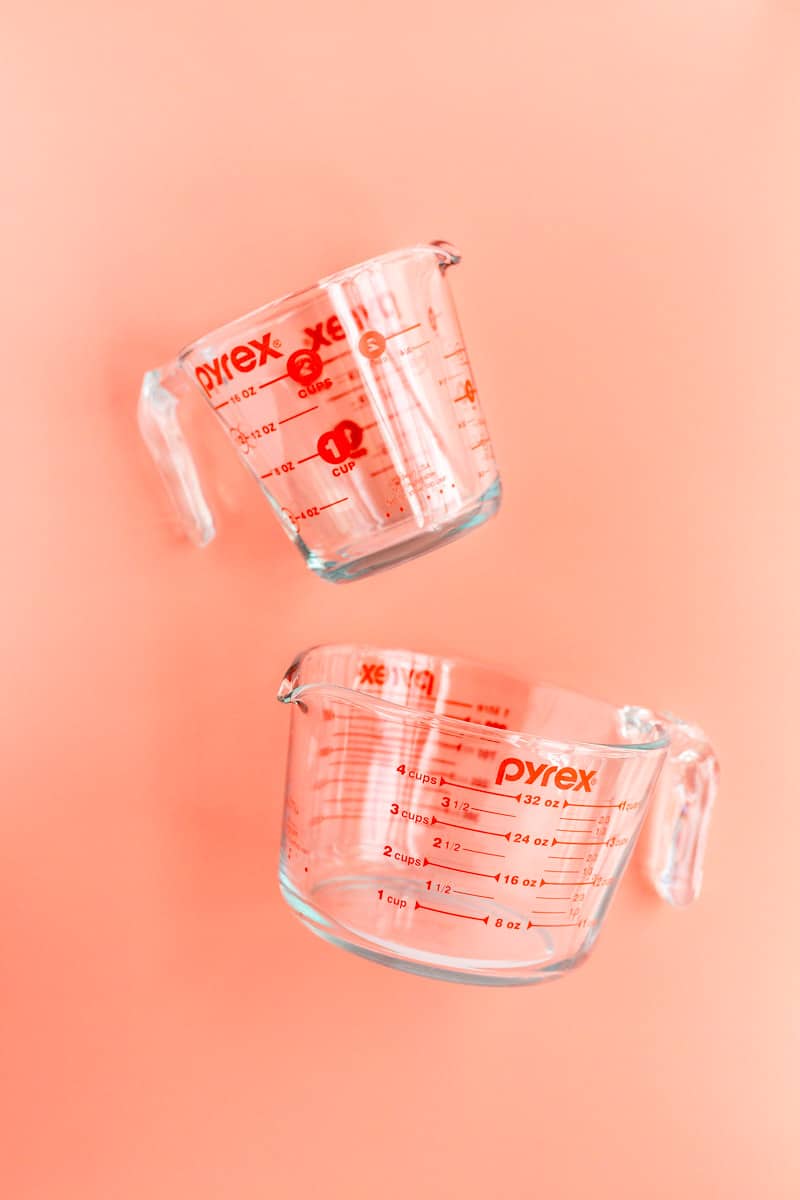
Buy the 1-cup, 2-cup, and 4-cup Pyrex pitchers I love here!
Traditional use:
- Liquid cups for liquid ingredients: hopefully, many of us use our Pyrex's in baking to measure our liquid ingredients. These pitchers are a great option for scaling because liquid ingredients really should be measured in a liquid measuring cup like those picture here, as opposed to a dry measuring cup (the ¼, ⅓, ½ and 1 cups you think of as "measuring cups" with the long handle attached).
Pro tips:
- No More Exploding Butter: my favorite uses of Pyrex however are for melting ingredients. They have some great options that actually come with a little vented red lid too. Especially for melting butter this is great option, because if you melt your butter a little too far, it won't explode in your microwave and make a huge mess everywhere.
- Melting Chocolate: Pyrexes are also my favorite for melting chocolate in the microwave because they are nice and heavy, which helps to transfer the heat evenly and lowers the risk of burning the chocolate. I also like to have at least two sizes (usually a 2-cup, and a 4-cup), so I have options depending on how much I need to melt for my recipe. My Double Fudge Brownies for instance require you to melt all of the chocolate and butter together in which case the 2-cup pitcher isn't quite big enough.
8. A Mixer - Hand and/or Stand
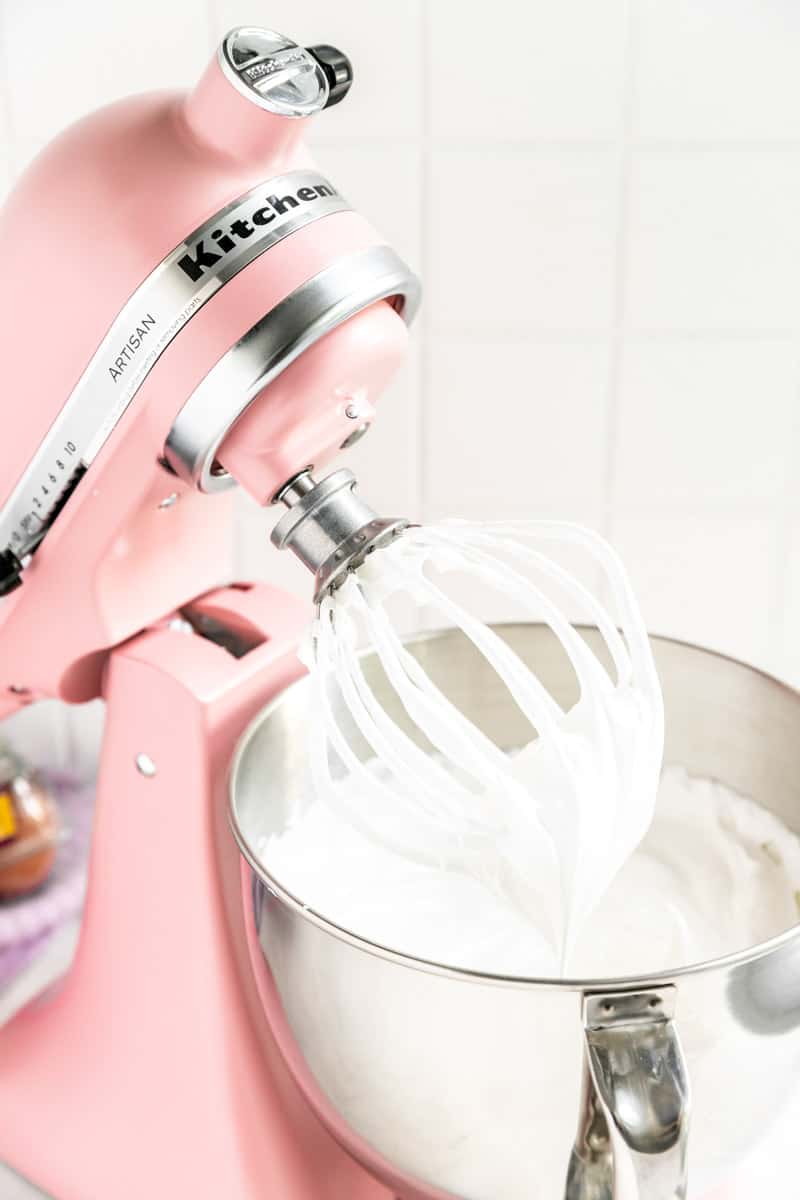
Buy the hand mixer I love here, and the stand mixer I love here! (That link is to a basic stand mixer, but any model from KitchenAid is good. You can just determine what level you need based on how much or little you use your mixer.)
Traditional use:
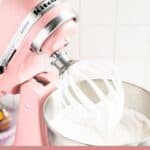
- Mixers gonna mix: I think we all know a mixer is used for mixing our delicious doughs, frostings, and batters. While some recipes can be made by hand, the majority of the recipes on this blog tend to use a mixer. Why you ask? Well 1) mixers are going to do a much better job and sometimes are the only option for getting ingredients thoroughly mix; 2) it's waaaay less work for your arm muscles, so it's really a win-win - better final prodcuts and less work for the baker. (Read more about my thoughts on mixers and why they're so important in my tutorial on Mixers 101.)
Pro tips:
- When to use hand vs. stand mixers: if a recipe requires a mixer, for the most part you should be able to use either a hand or stand mixer. But, certain recipes will benefit from one over the other. Because of this I would like to have both options available to me. Frequently, I use the handmixer for shorter, quicker and more vigorous mixing. On the contrary, I use the stand mixer for slower, longer, more delicate mixes, or for particular big batches.
- The power of the handmixer: A handmixer can be a bit more vicious with it's mixing, which can toughen some prducts, so you may find that stiffer cookie doughs, for example, won't come together well with a hand mixer that keeps busting the dough into little pieces. However, if you're looking to make a small batch of homemade whipped cream, the super powder mix of a hand mixer and it's ability to do small bathes well will be the way to go.
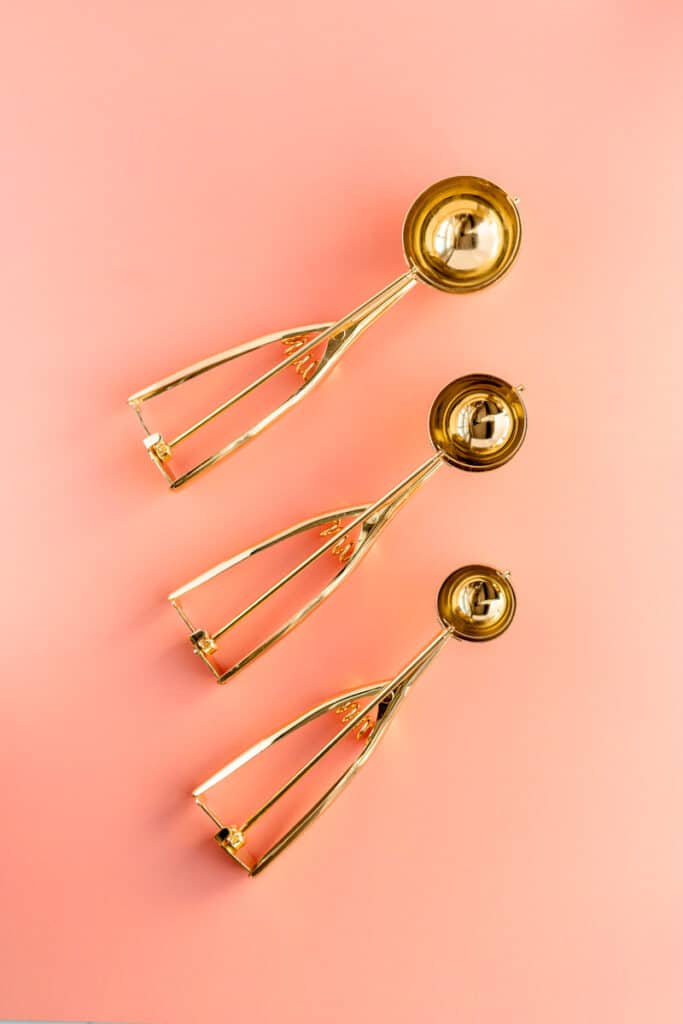
9. Ice Cream Scoops
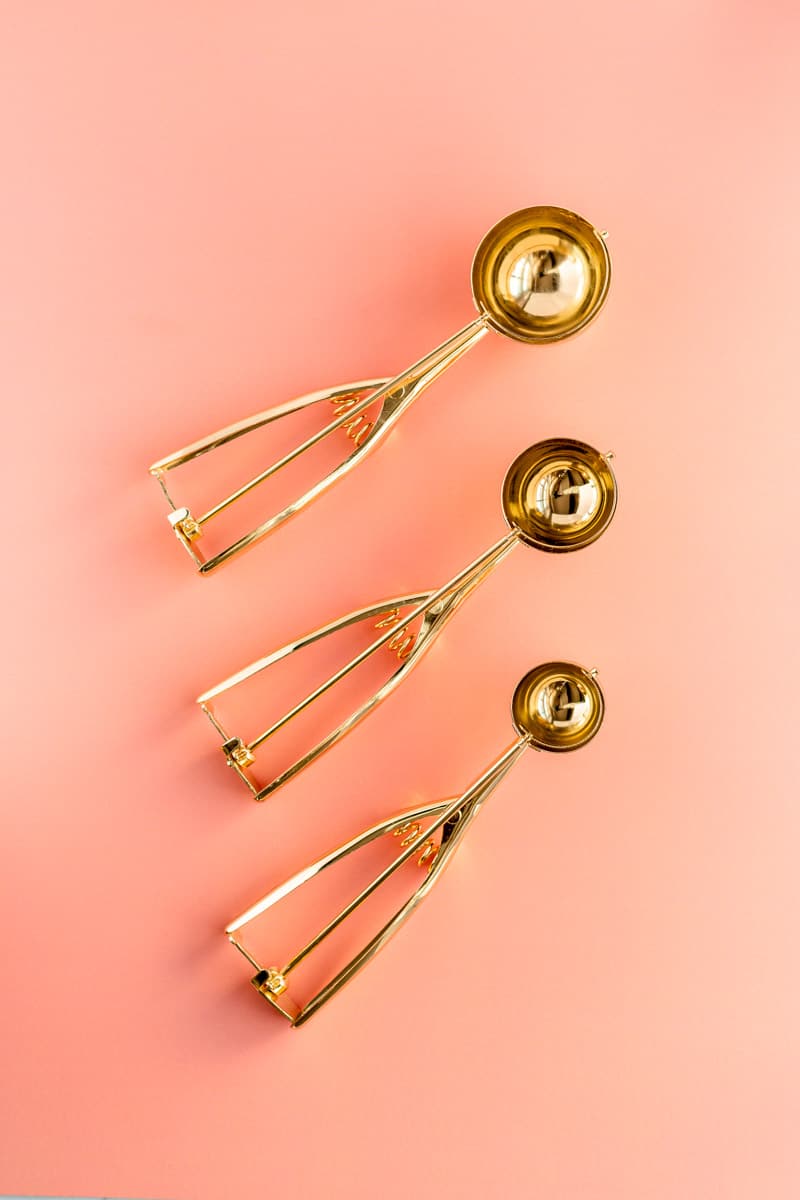
Buy the ice cream scoops I love here! (For cupcakes and standard-sized cookies, this #24 scoop is the one I use the most.)
Traditional use:
- It's Sundae time: of course, the traditional use of an ice cream scoop is to scoop up a delicious ice cream sundae. However, if you read through nearly any of my recipes, you'll know that this is one of my most indispensible tools in the kitchen, for perfect, consistent portioning, with minimal effort in so many different categories of recipes.
Pro tip:
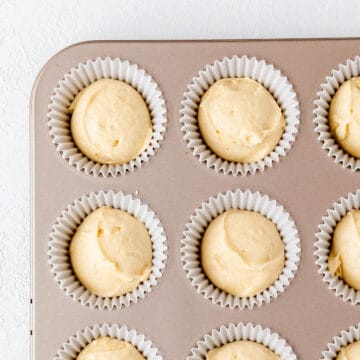
- Portion like a pro: the name of the game with ice cream scoops is portioning. They can portion cookies into identically-sized rounds or cupcakes into beautifully domed twins. They're even useful for easily and equally portioning frostings when stacking cakes or filling cookie sandwiches. Whatever your recipe is, an ice cream scoop will be your best friend for producing a full batch of identical products. Not only will they produce more equally sized and shaped products, but they will allow you to work much faster too. And even more, they're so much easier to use than if you're trying to repeat the same task with a dinner spoon or spatula.
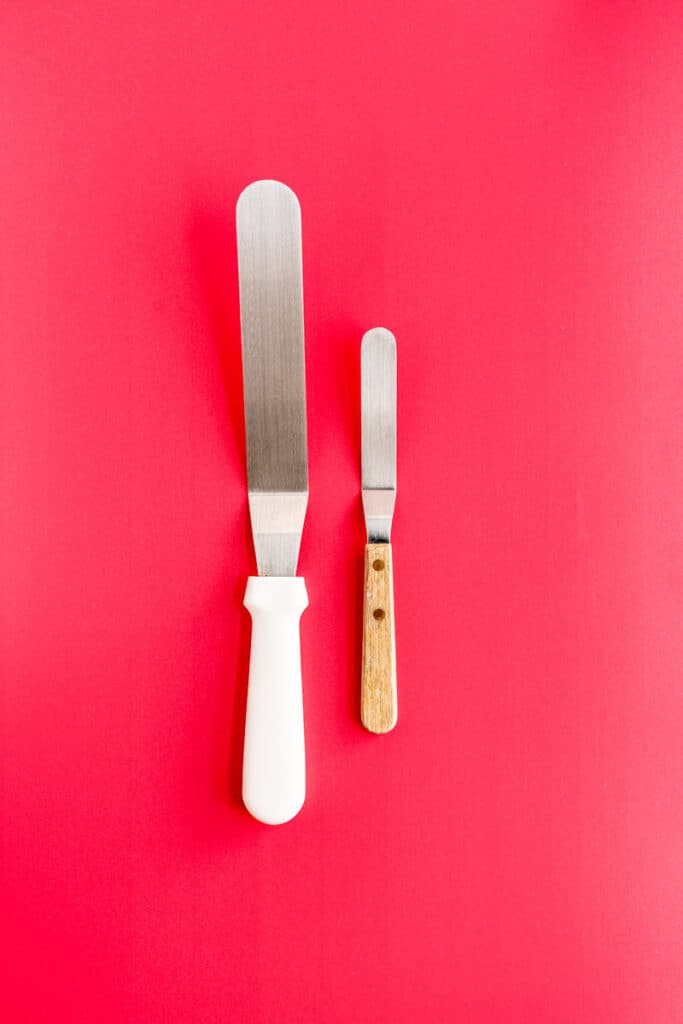
10. Offset Spatulas - One Big, One Small
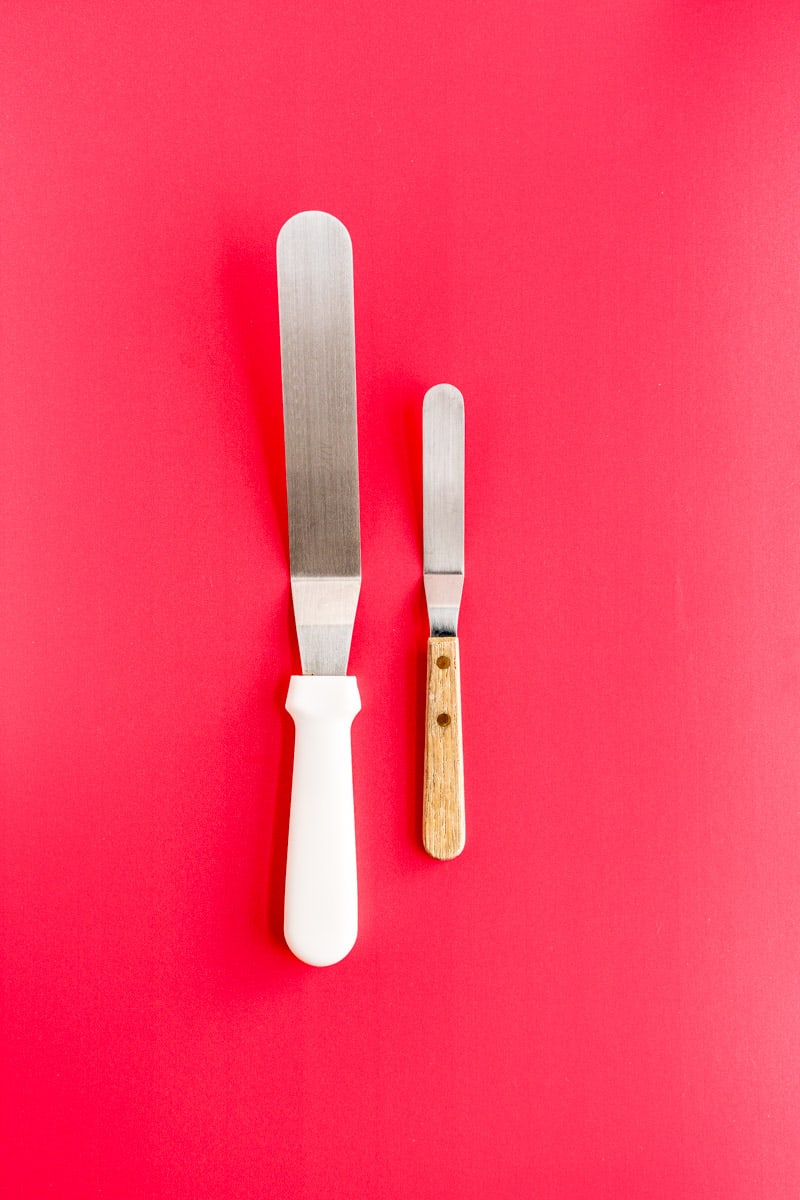
Buy the small offset and large offset spatulas I love here!
Traditional use:
- Frost it: I might've saved the best for last because I'll tell you a little secret...this tool is my number one favorite tool in the kitchen. The traditional use of offset spatulas is to frost cakes. And don't get me wrong - I absolutely use them when I need to spread frosting on any kind of product but they are helpful for so much more! I find it's good to have a smaller one and a bigger one to size to your product. So if you're spreading frosting on a small sugar cookie, you'd want a smaller spatula, whereas if you're frosting the full side of the layered cake you'll want the bigger one.
Pro tips:
- Spread everything: I not only use the spatulas to spread out frosting, but they're also my go to for spreading batters into nearly any kind of pan - cake pan, bundt pan, brownie pan, etc. Using an offset to level your batter before a bake will ensure a much more level finish on your final product for only a second or two of work.
- Parchment cutting: they are also my favorite tool for cutting down parchment paper. I like to use the slightly more flexible offset spatulas with a thinner metal end, which means they're the perfect tool for sliding in a parchment crease without veering off track. Simply fold over the portion of your paper you'd like to cut off, crease it well, then hold the fold down with one hand while you slide your offset spatual down the seam with the other. You'll get a perfect cut everytime, and won't risk going off the crease as you would if you used a sharp knife. And it's much faster than cutting with scissors as well!
Don't miss Part 1 for more tool recs!
There were too many tips for one post so check out my other recommendations that made the top 10 list in Part 1 and get to outfitting your kitchen like a pro!
(And please let me know what tool questions, recs, or woes I can help you with in the comments below!)

Ready to learn more and put all your new skills to good use?
Check out my newest tutorials and recipes below, and get to baking!
This website contains Amazon affiliate program links. This means that I earn a small commission on qualifying purchases at no additional cost to you. I will never provide a link to nor recommend any product or service that I don’t genuinely love or personally use. Thank you for supporting MINT + MALLOW kitchen and the brands that keep this blog running.









Comments
No Comments