


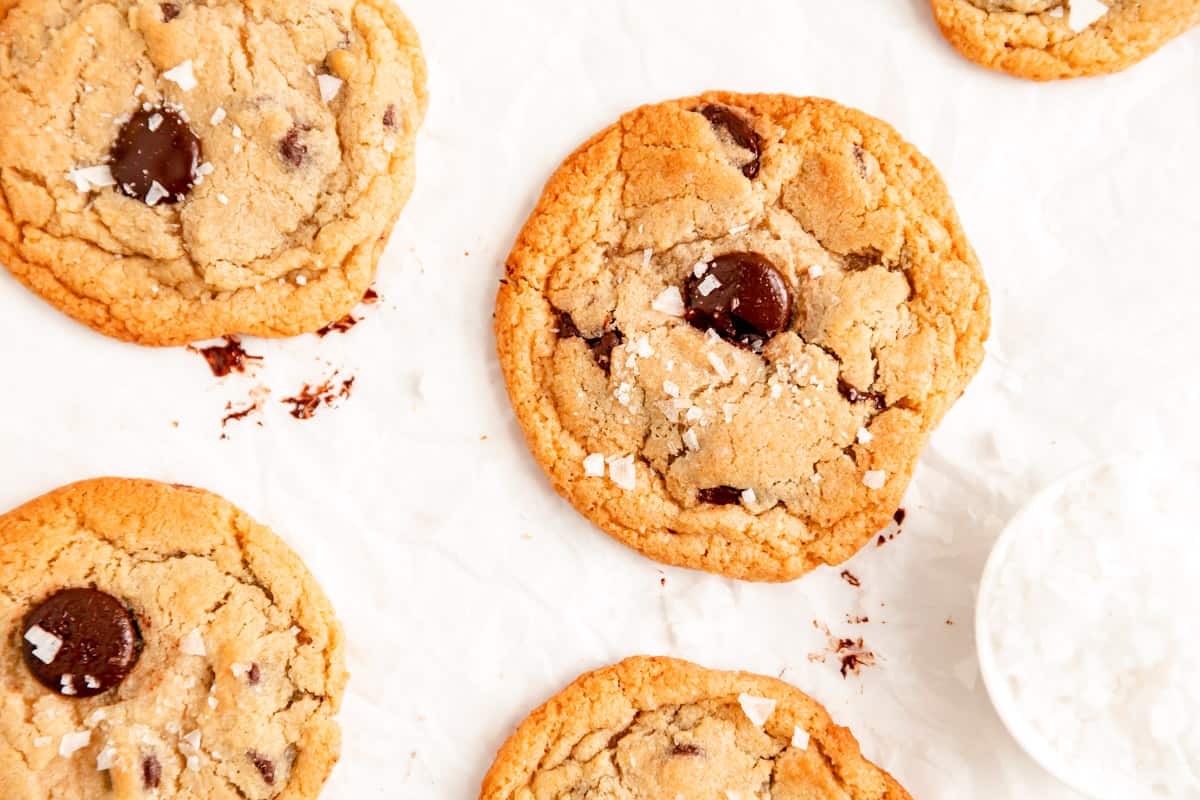
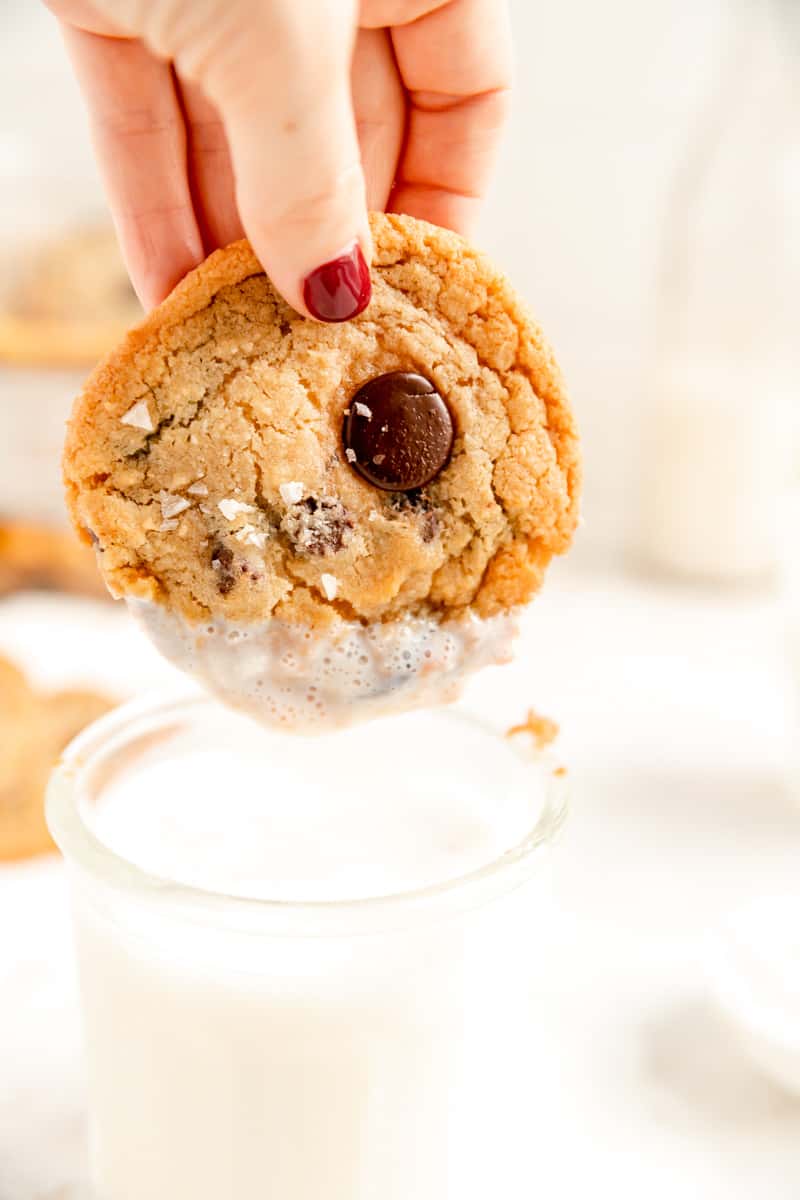
These chewy Bakery Style Chocolate Chip Cookies have the perfect balance of all your favorite cookie elements: a deliciously crisp edge, a flat chewy center, tons of gooey molten dark chocolate and a little sprinkle of flaked sea salt on top to round it all off!

Jump to (scroll for more!):
Not Your Average Chocolate Chip Cookie
If you take one look at these cookies, you'll know that although they are a classic through and through, these are not your average chocolate chip cookie.
Now chocolate chip cookies have been around since the 1930's when Ruth Wakefield of Toll House is credited with first inventing them. (Check out that linked article for some really fun history on how they were created!)
But I have to be honest - I was never a fan of the Toll House recipe...eek! (I know, I know...I can hear the angry emails coming in now). So, I set out on a long, long journey to invent a recipe of my own to rival the tastiest bakery cookies out there.
The Re-Invention of the Chocolate Chip Cookie
In my humble opinion, it doesn't get better than a warm and gooey chocolate chip cookie with a crisp edge and doughy center, packed with molten dark chocolate.
That's what always seemed so amazing about bakery style chocolate chip cookies to me - they had these addictively contracting textures that no home-baked recipe I tried ever seemed to achieve.
So the quest for the perfect chocolate chip cookie recipe was no small task in the M+M kitchen.
I spent over 5 years working to perfect this recipe, and now I'm thrilled to be sharing my (very unbiased) take on the BEST sea salt chocolate chip cookie recipe with you all.
This classic recipe is elevated with a few serious rounds of mixing to give you that crackly look that tells you these little treats will have a delightfully crisp edge, but a flattened soft and chewy center. You'll get a double hit of "gooey" from the just under-baked middles, and the loads of molten chocolate throughout.
Last, but certainly not least, that salted finish from the flaked sea salt crystals on top seals the deal with a modern twist to balance perfectly with the sweet cookie dough below.
Why This Recipe Leads to Sweet Success
- How do you make chocolate chip cookies stay chewy? So this question is always a hot topic when it comes to chocolate chip cookies. Other than the obvious "the right ingredients in the right amounts," the star of this chewy show is the brown sugar. "Inverted" sugars, like brown sugar and honey, add that "chewy" quality to many recipes due to how they're made. In addition, we keep a little white sugar in there too (which is not inverted), to maintain a nice crispy edge to our cookies. The bake time is also really important here which we'll talk more about below!
- What's the best chocolate for chocolate chip cookies? This answer is definitely a very personal one, but I love using dark chocolate specifically to balance the sweet, classic chocolate chip cookie base. Using some high quality chocolate and mixing up the chip shape/size for some variety in the molten chocolate pockets is also important for that bakery style taste. So, for this recipe I personally used half Hershey's Special Dark Chocolate Chips and half Cocoa Barry 60% pistols. But feel free to use whatever chocolatey combo sounds tasty to you!
- Bake em' now or later! Since chocolate chip cookies are always a good idea, I've also written full instructions on freezing chocolate chip cookie dough and exactly how to bake them from just mixed, chilled, and frozen temps!
Ingredient Tips to Bake it Better
(Pssst…if you're ready to just get baking, get all the details in the recipe card below!)
- Brown Sugar + White Sugar: you do really need both to get both that crisp cookie edge (white sugar) and perfectly chewy, gooey middle (brown sugar). Feel free to use light or dark brown sugar too. I like the milder flavor of light brown sugar for these cookies. But, if you'd like a little extra note of molasses, go for the dark brown sugar. In a pinch, these cookies could be made with just white or brown sugar, but please note, it will significantly change the final texture and look of the cookies. (And if you need a Chocolate Chip Cookie recipe without brown sugar, I've got you!)
- Baking Soda: baking soda helps these cookies spread out, not up like baking powder would. Developing this recipe without baking powder helps to keep us in the chewy instead of cakey world.
- Flaked Sea Salt: this is where the "salted" part comes in. The sea salt goes on before baking, and these beautiful little crystals give us the perfect salted pop of flavor to balance their sweet cookie bases below. This recipe does work without the flaked sea salt if you don't have any on hand, but I highly recommend you pick some up for the full experience of this tasty recipe.
(p.s. for all the basic tips that no one ever taught you, that are super important to help you bake your best, check out my Baking 101 series!)
How to Make These Cookies From Scratch
(Pssst…if you're ready to just get baking, get all the details in the recipe card below!)
- Cream butter, sugars, and flavor until light and fluffy.
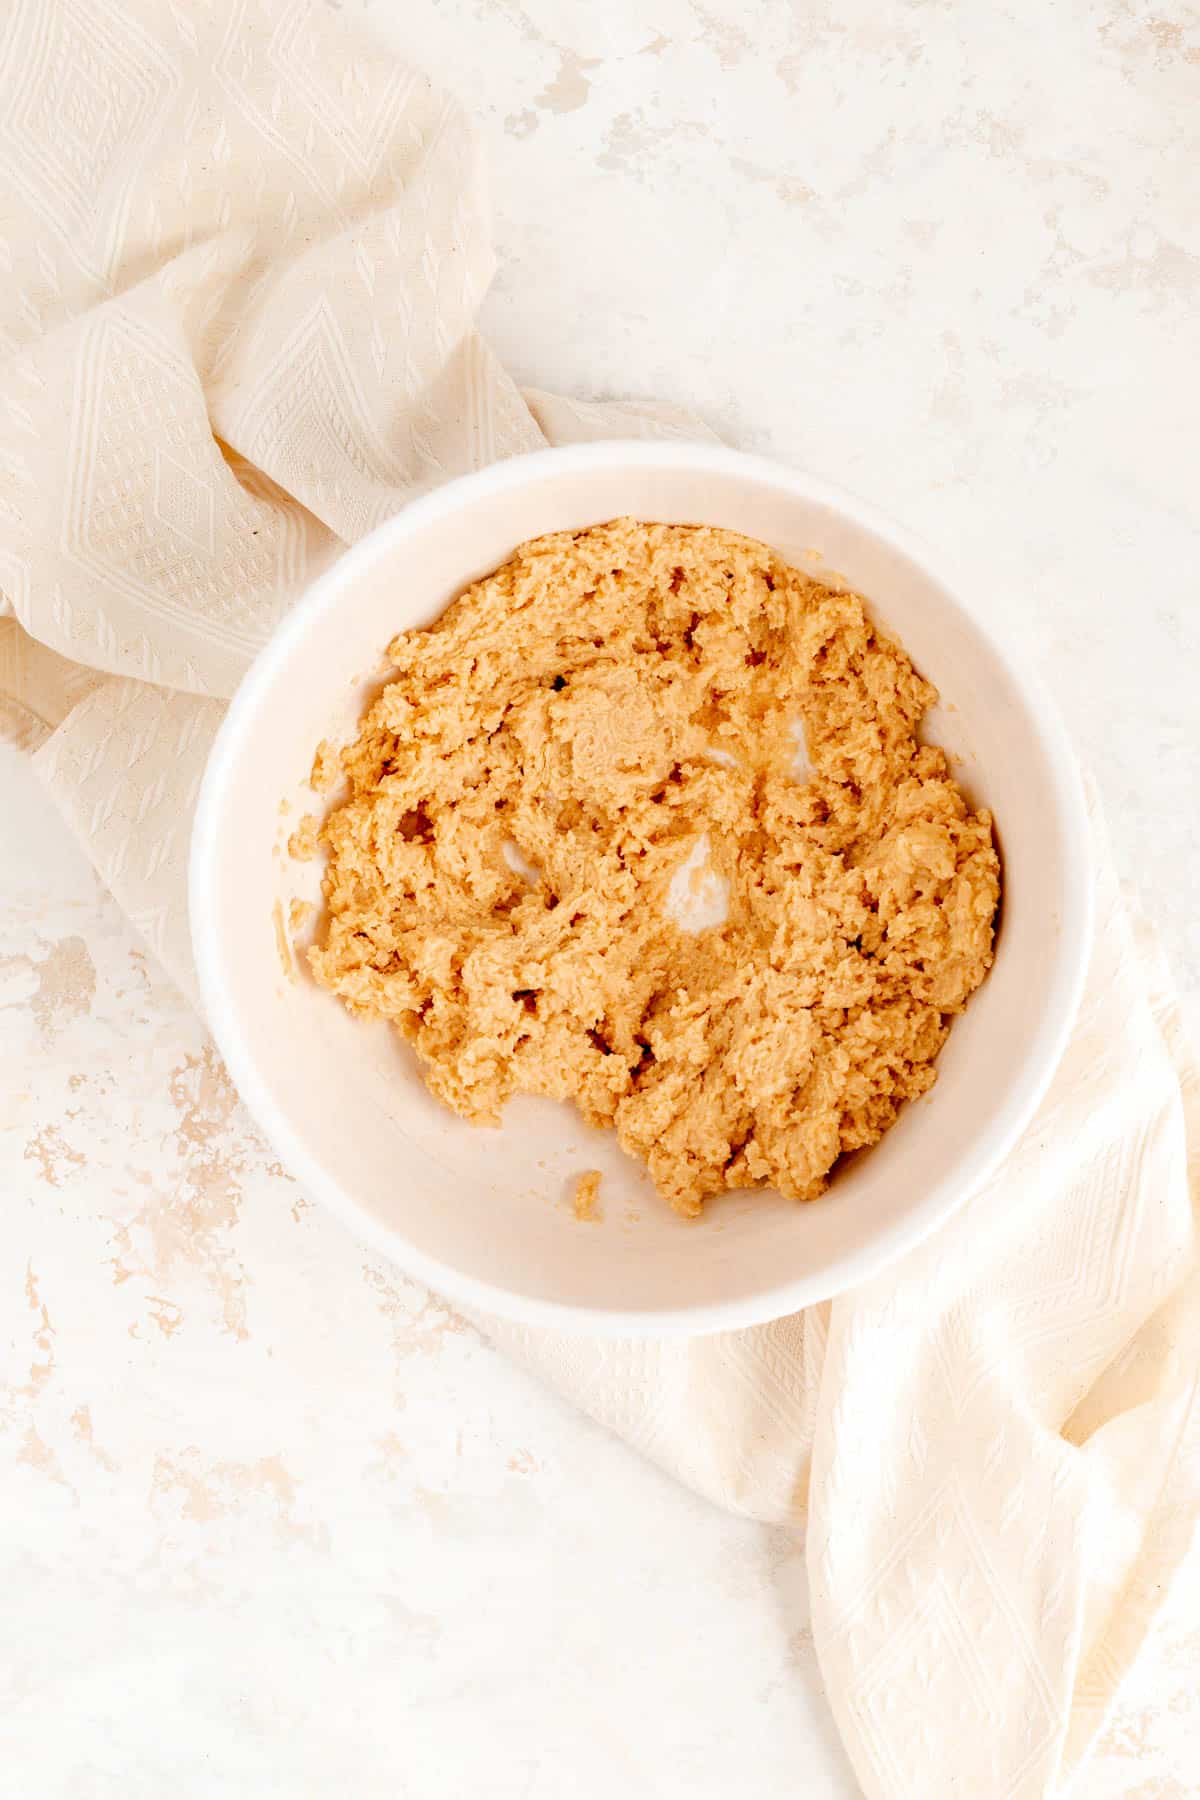
- Beat in the egg until batter is smooth and fluffy again.
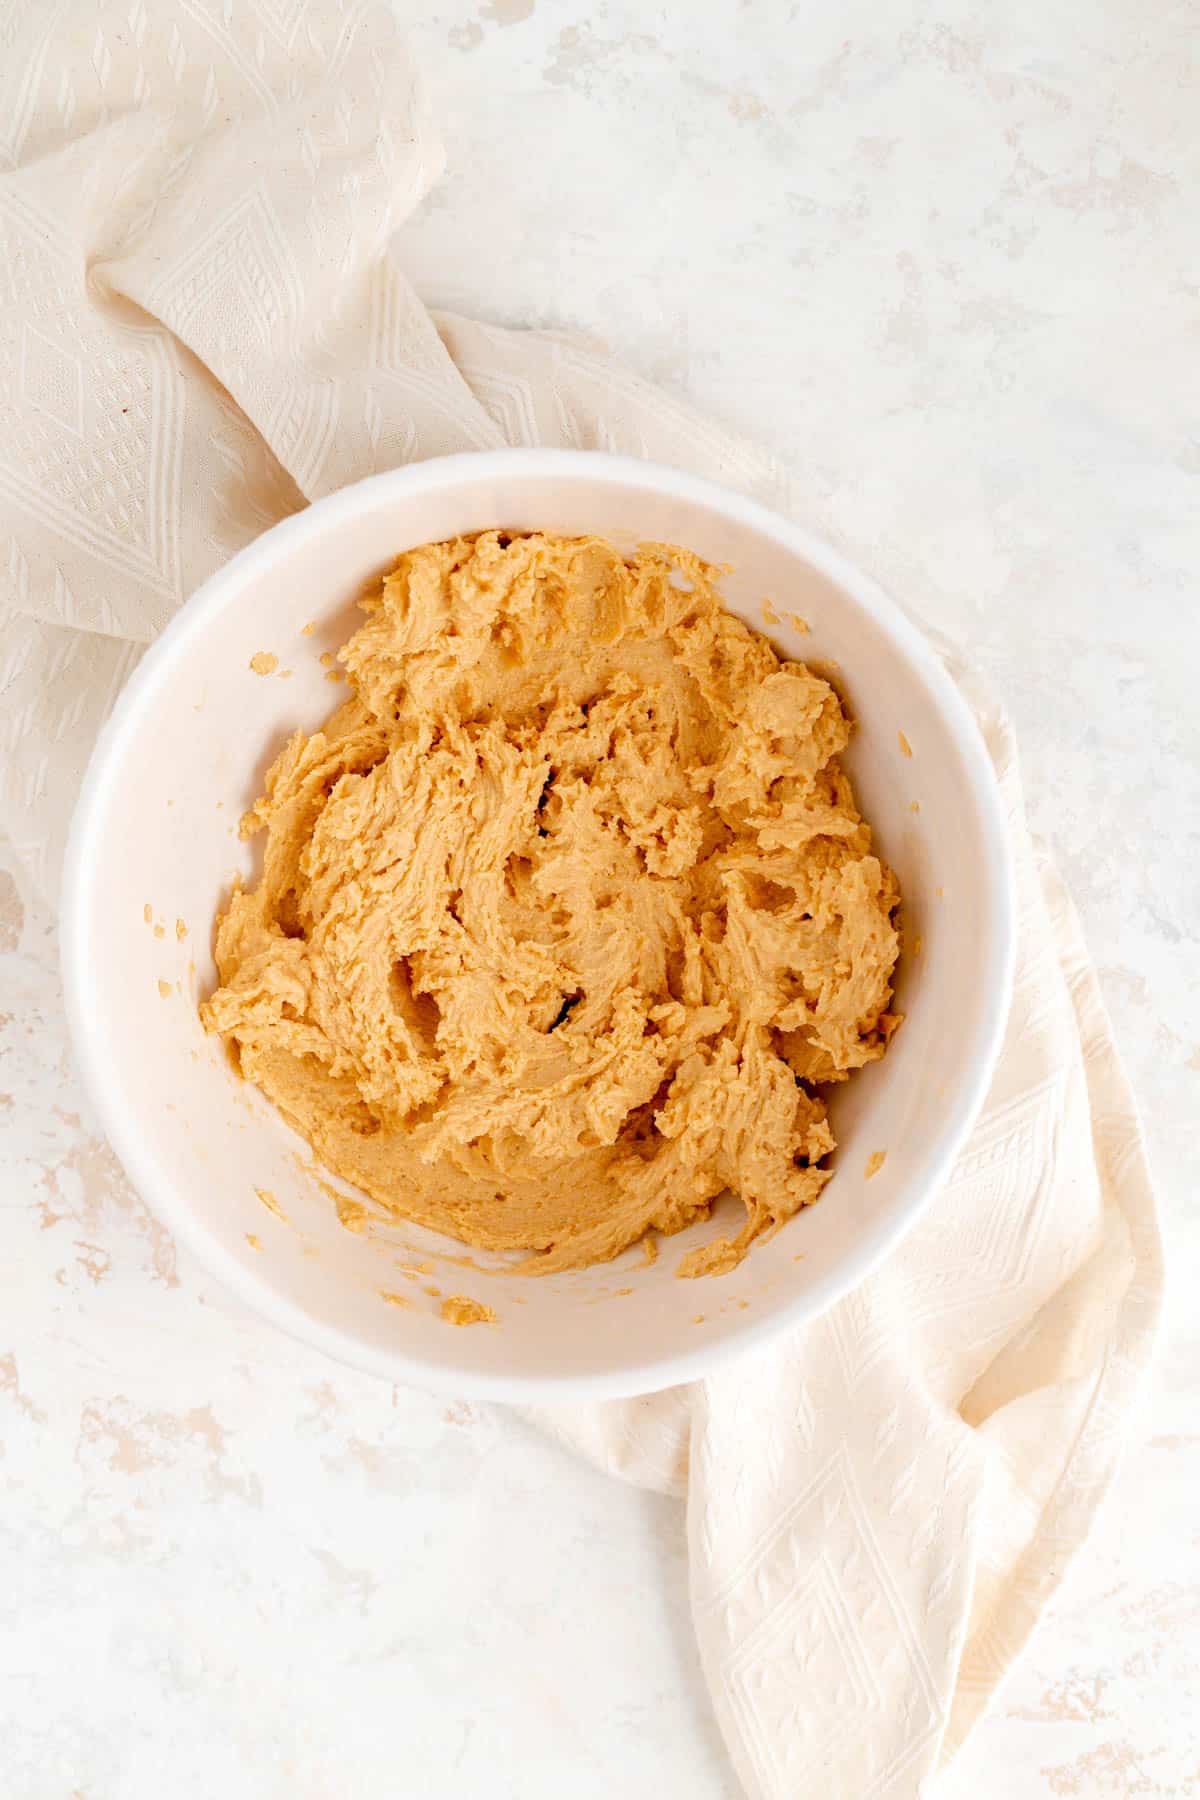
- Stir in the dry ingredients until almost fully combined.
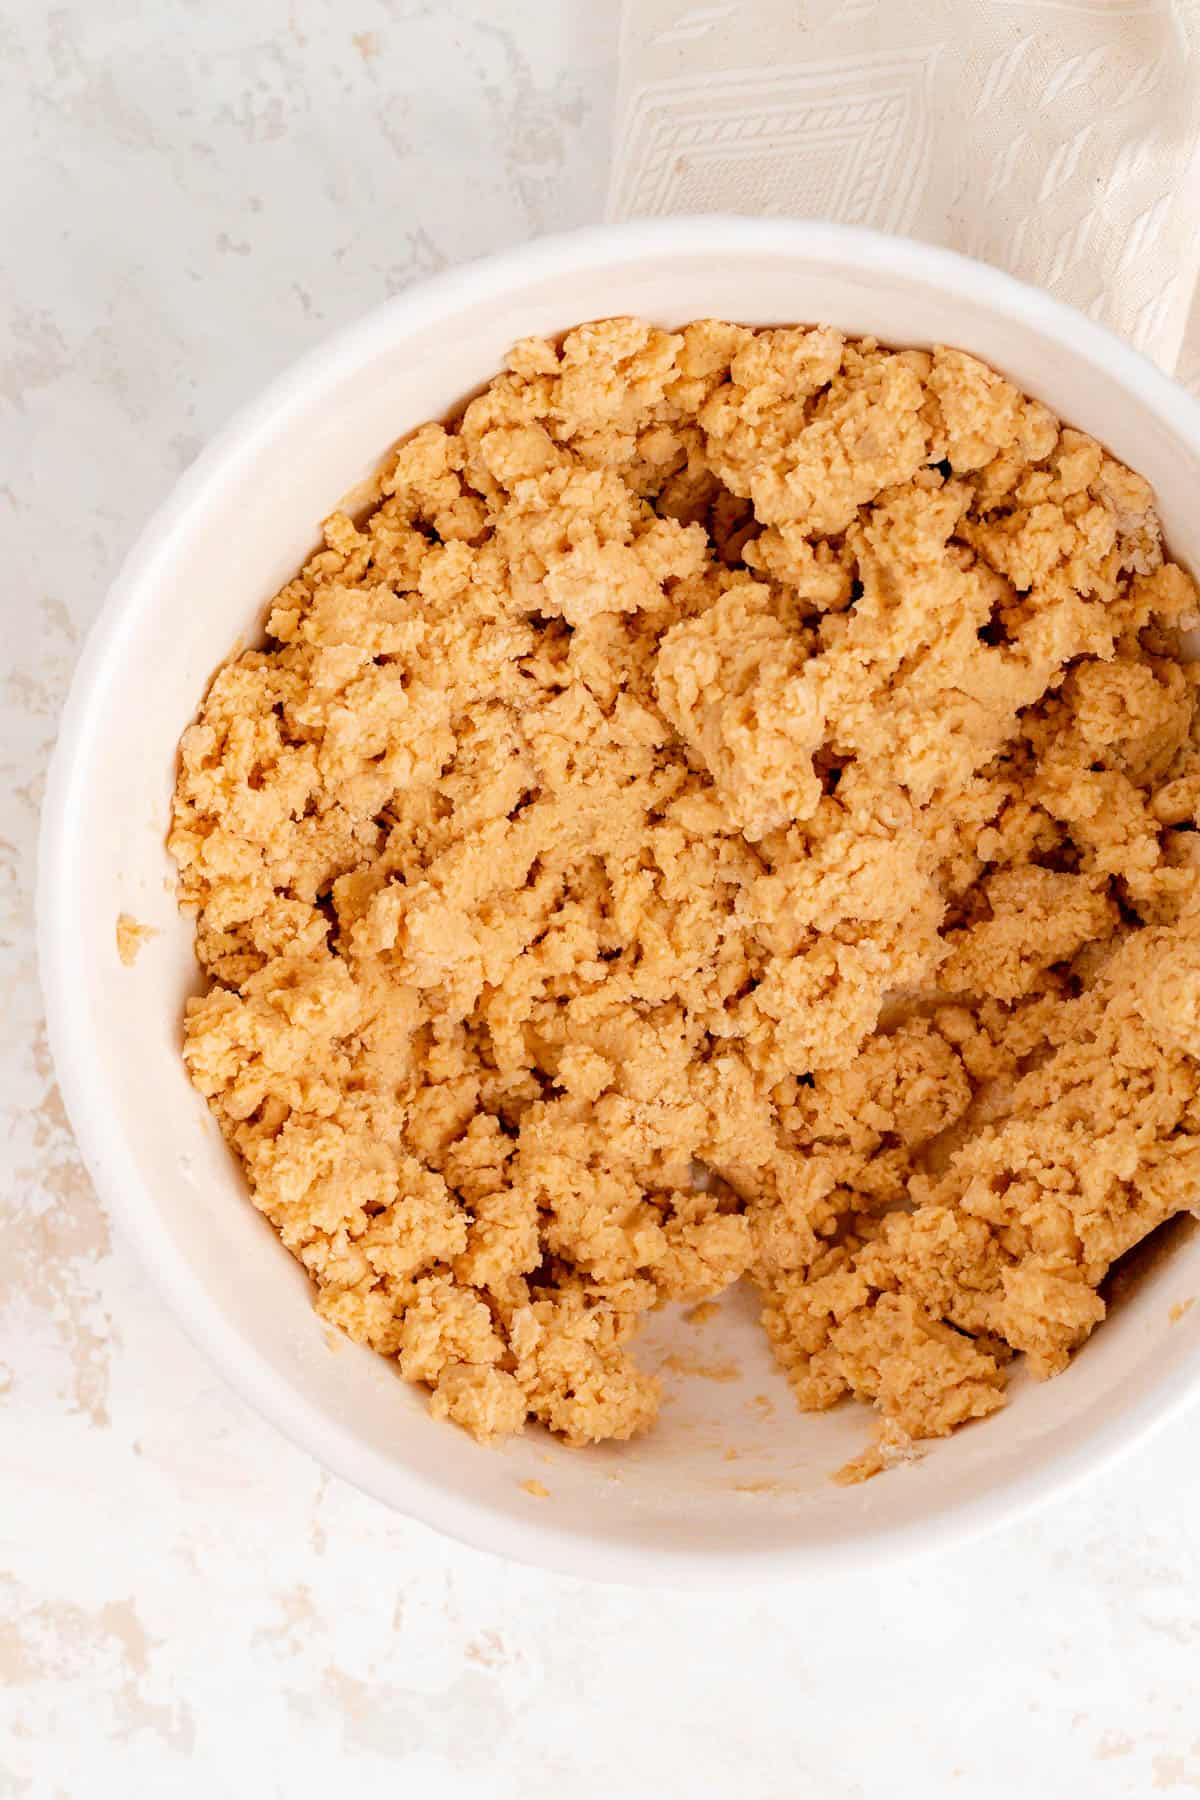
- Mix in the chocolate chips until evenly distributed.
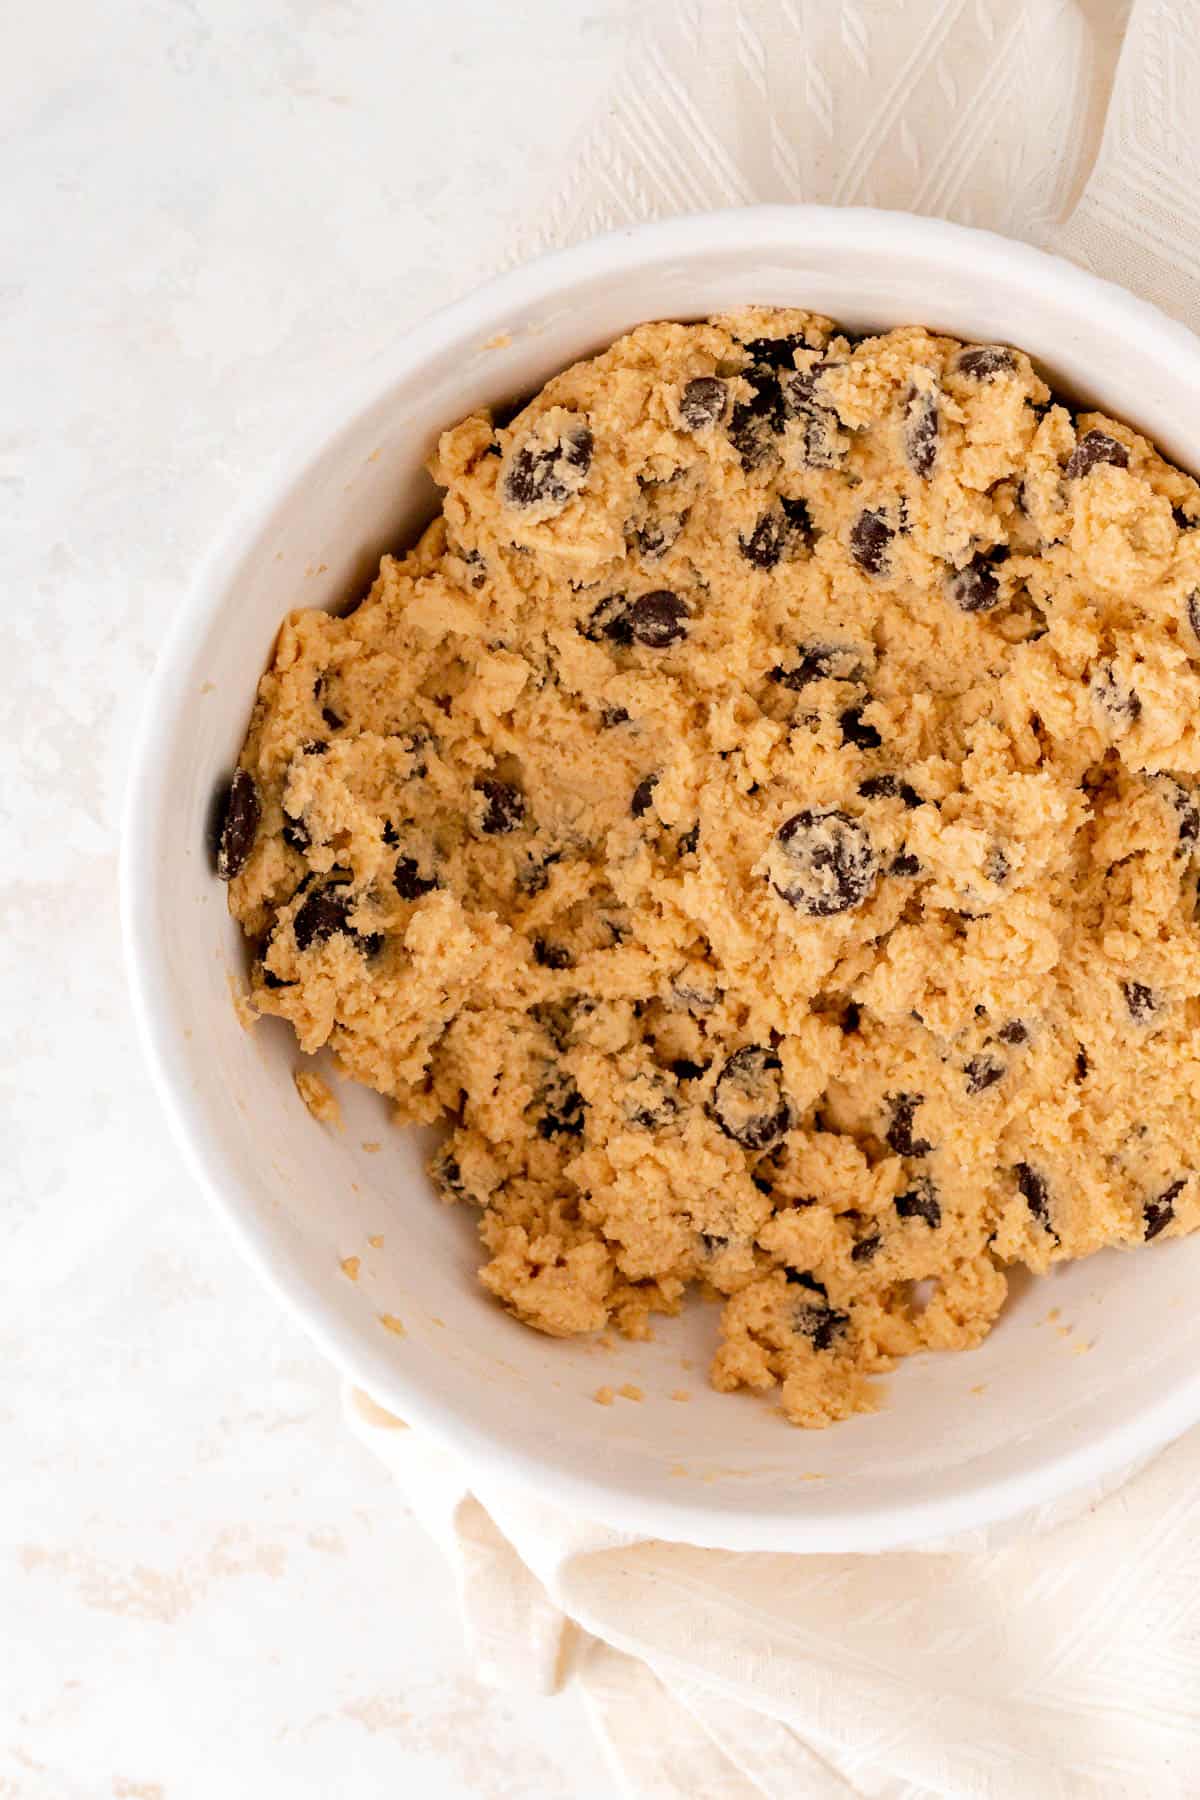
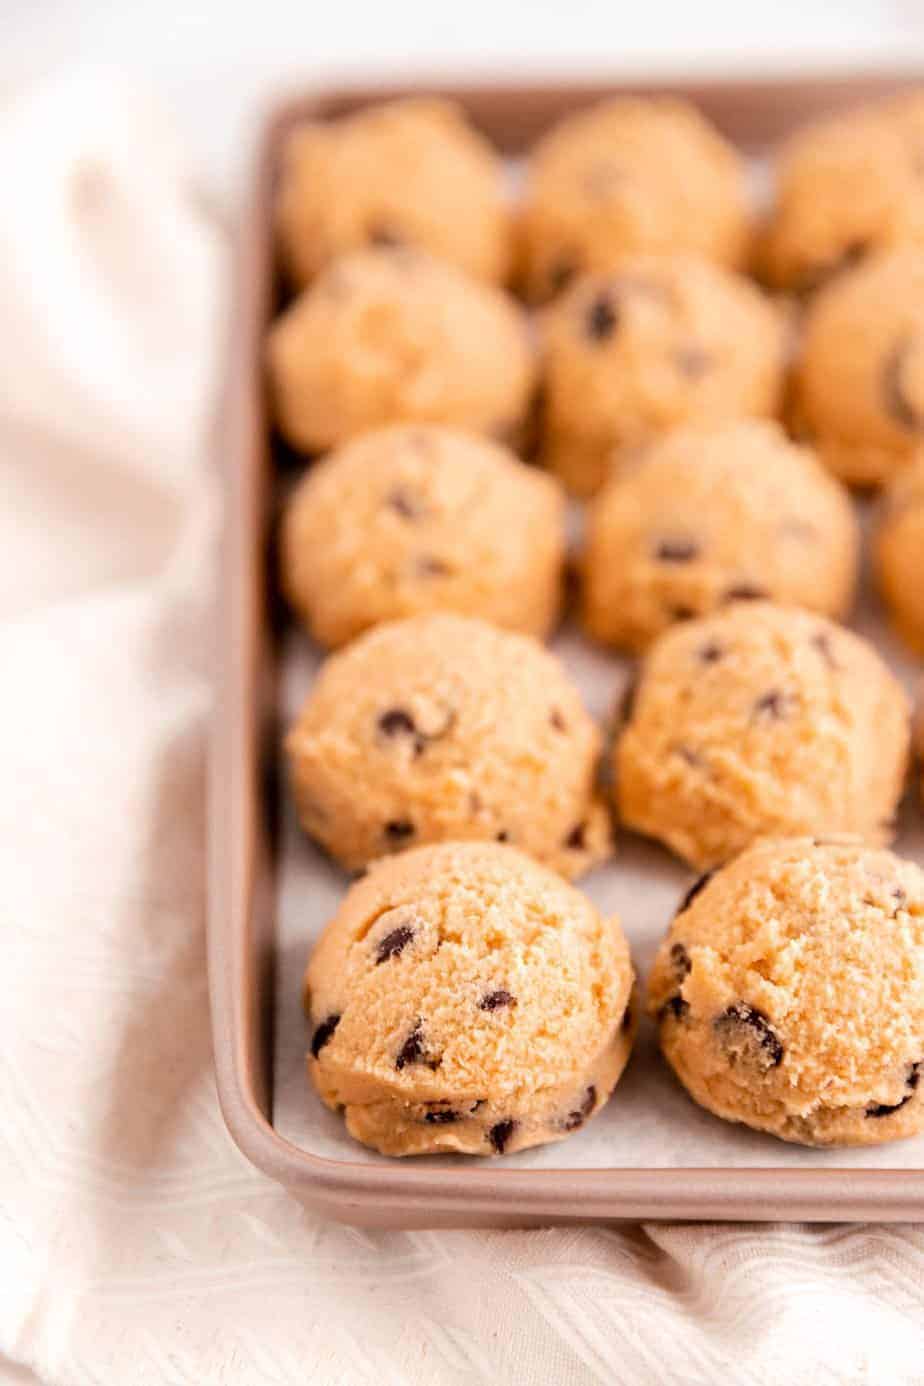
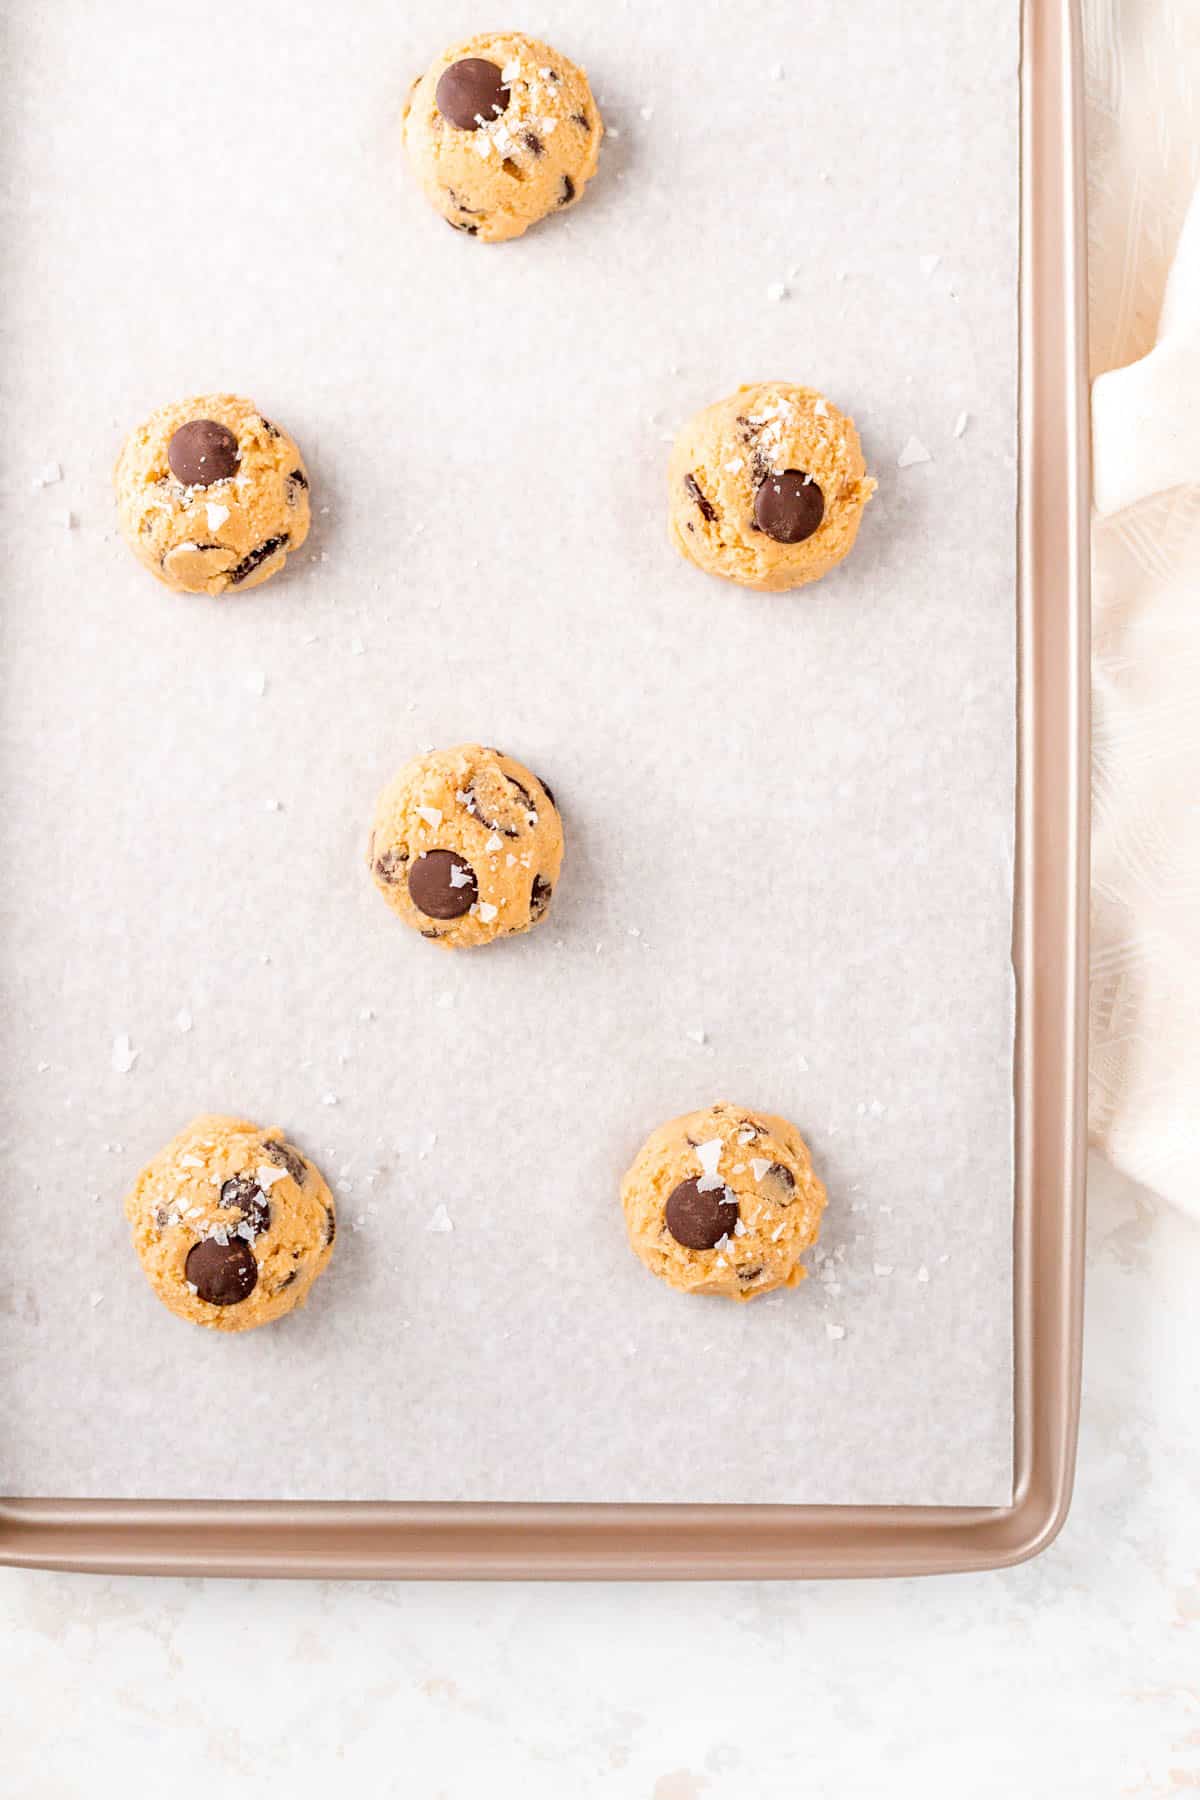
- Scoop and tray on parchment paper lined baking sheets.
- Chill or freeze dough balls, or top with salt and chocolate garnish to bake right away.
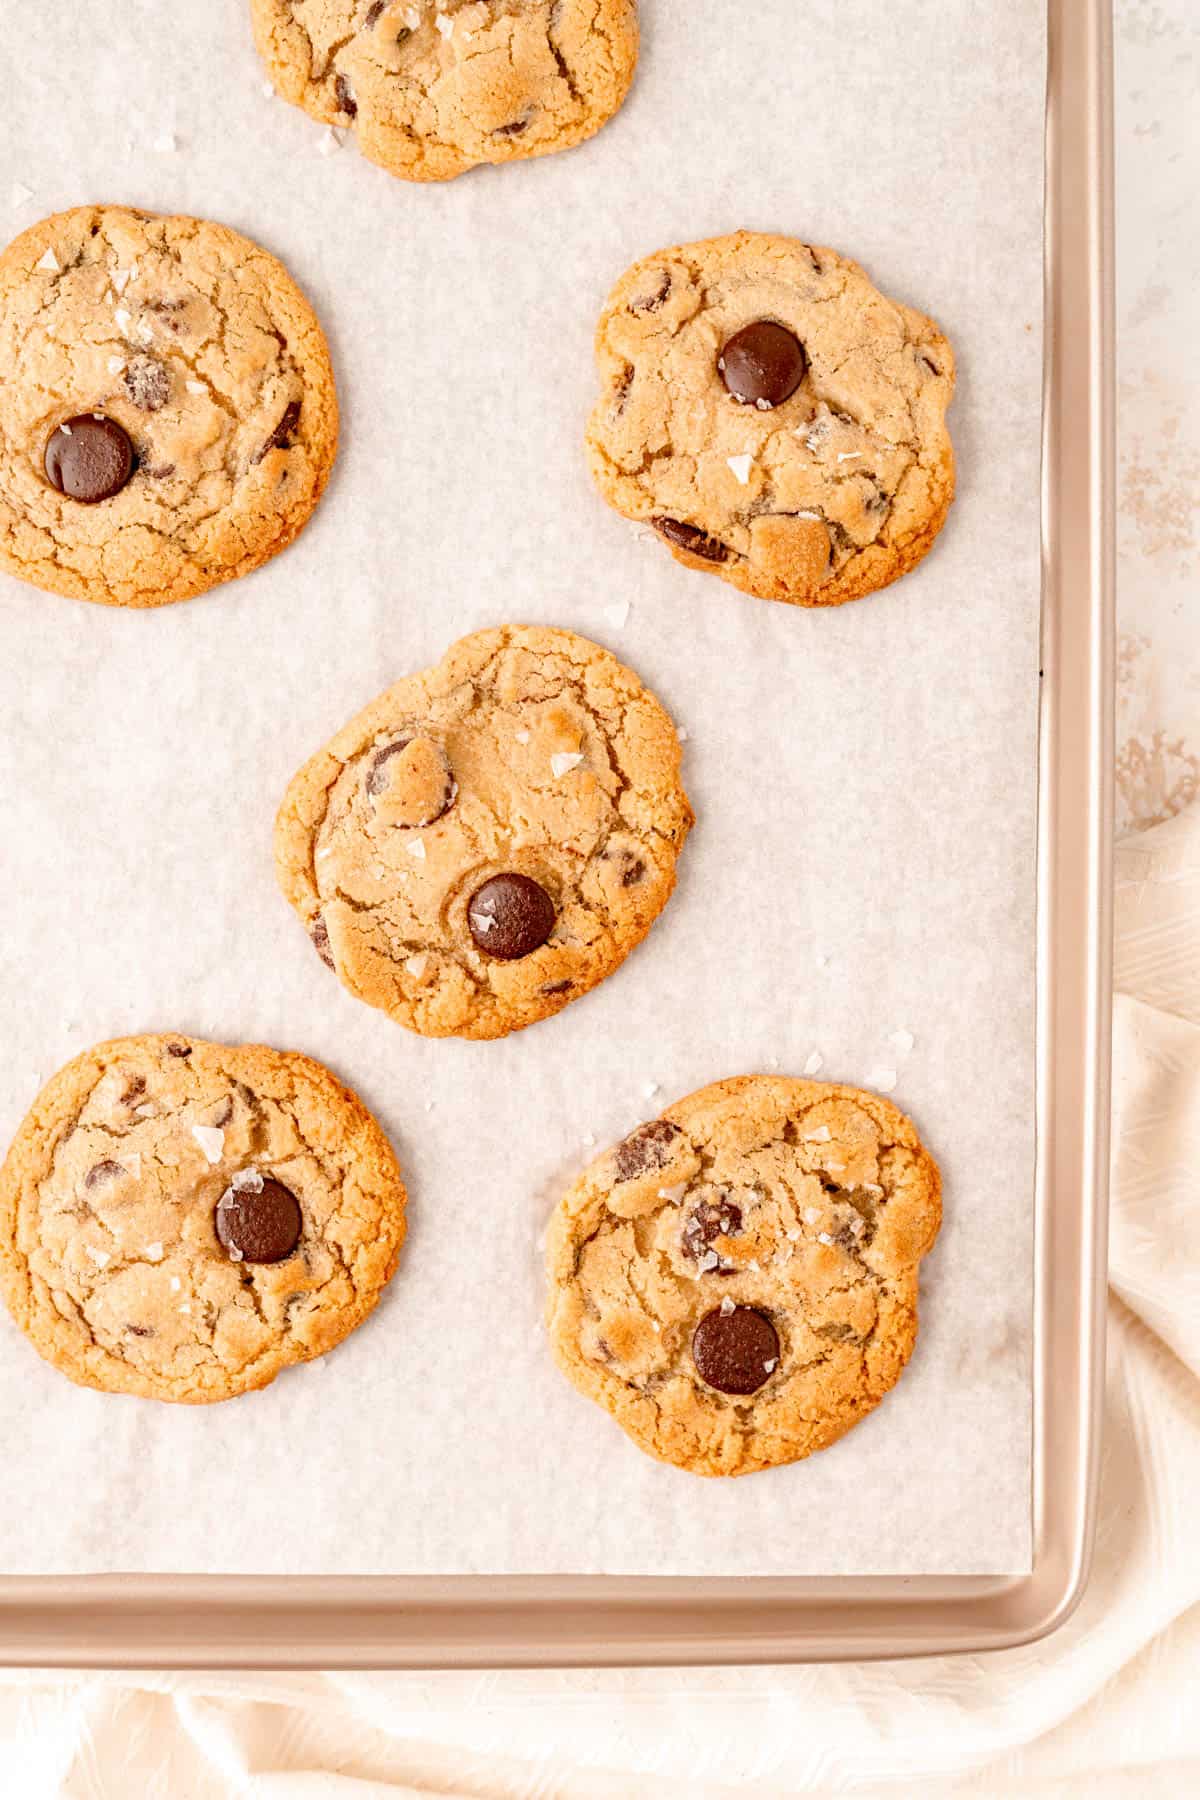
- Bake until edges are golden brown, but the centers are still a little pale.

- As soon as the cookies come out of the oven, knock the tray firmly on the counter to encourage the molten dough to settle.
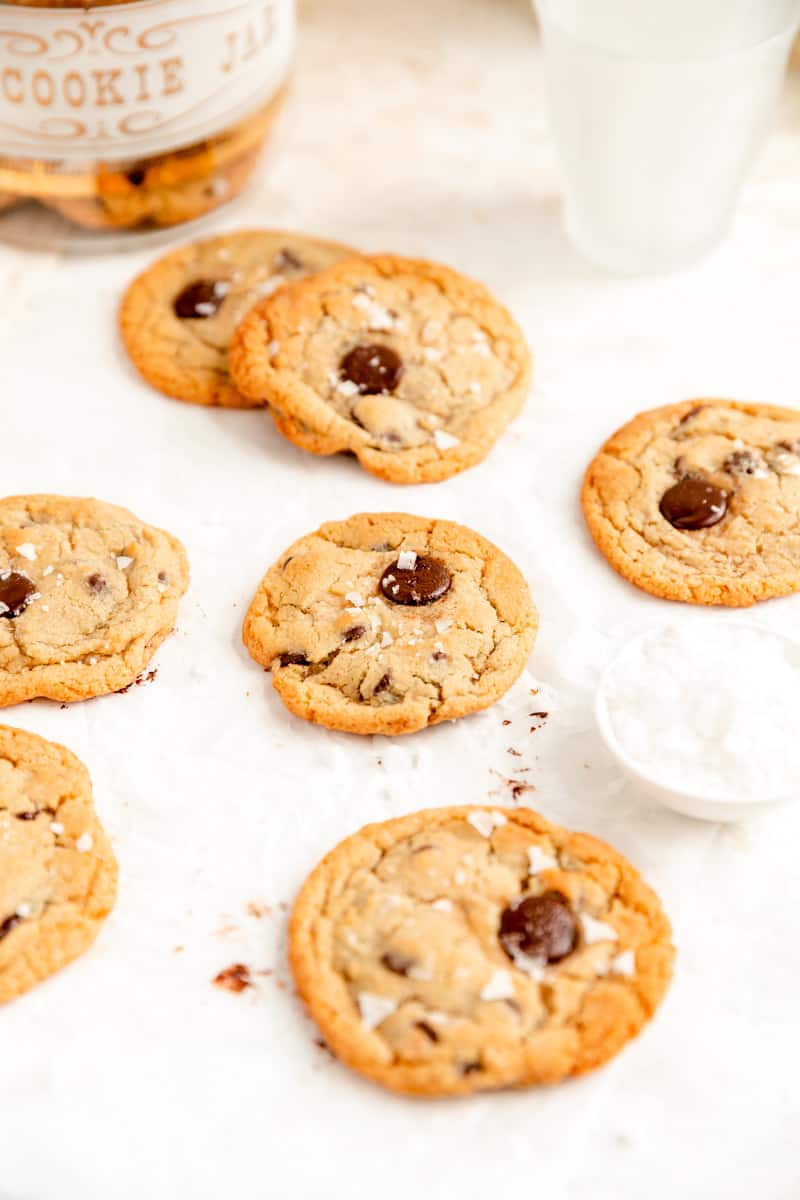
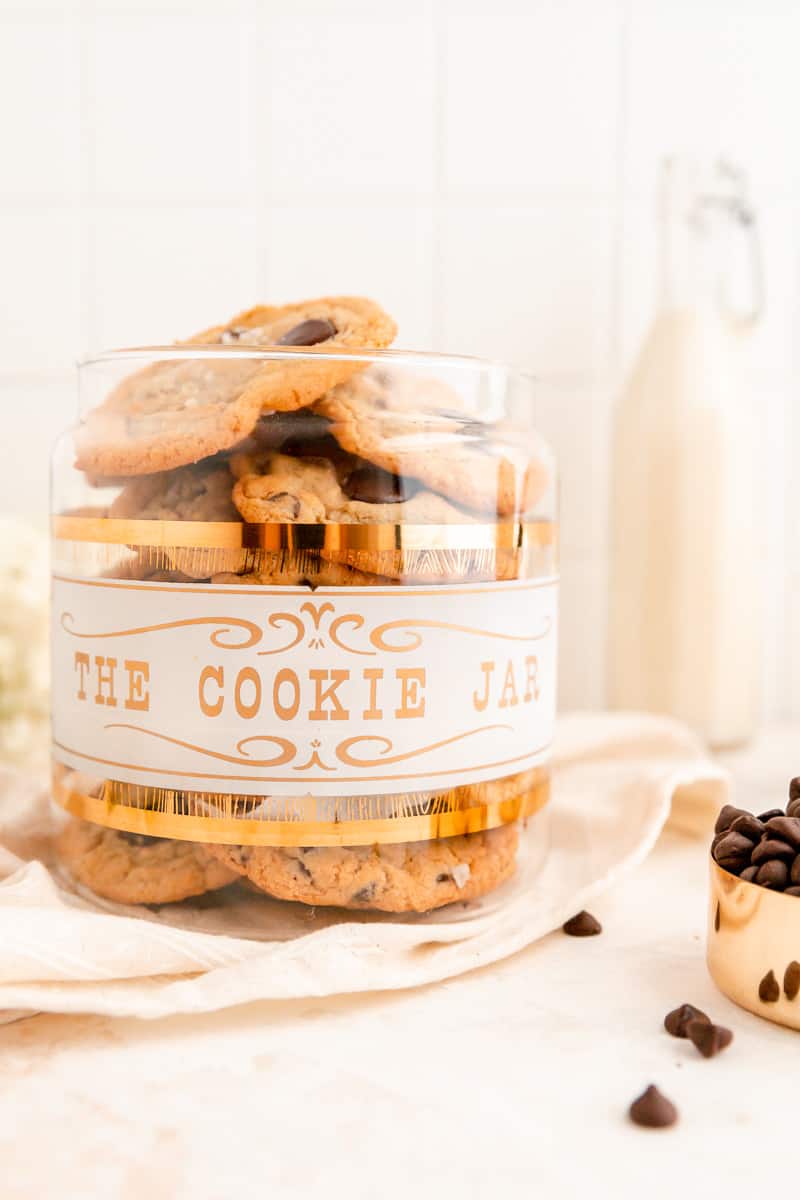
- Cool, share and enjoy the chewy, gooey, chocolatey goodness!
Check out the full RECIPE WEB STORY for a click-through tutorial!
*Expert Tips and Tricks* for Better Baking
What's the TOP TIP for making the best chocolate chip cookies?
To get that perfect fallen crackly look and chewy texture, make sure you whip everything really well at the start of the recipe. Once the flour is in, we want to mix as little as possible so we don't toughen up our cookies.
What about freezing chocolate chip cookie dough?
Chocolate chip cookie dough freezes really well! You'll want to wait to put the salt on right before you bake them, and you can check out the recipe card below for all the details to have chocolate chip cookies on demand.
What's the secret to chewy cookies?
In additional to the magic of brown sugar, the bake time is also super important for making the best chewy cookies.
To keep the centers chewy, you need to have them still a little pale and a hair under-baked when you pull them out of the oven.
The easiest way to do this is just to follow those visual cues of a golden brown edge and comparatively pale middle (although none of the batter should still look molten), and check your cookies frequently so you can pull them out as soon as they're at the perfect bake time.
How do you reheat these in the microwave for fresh-out-of-the-oven taste?
To re-chewy and re-gooey these cookies for that fresh-out-of-the-oven taste any time of day, just microwave in 5-second intervals until the chocolate nice and molten! (They took about 8 seconds in my microwave, reheating one cookie at a time.)
How do you store these cookies?
These cookies will keep for a week in an air-tight container at room temperature (although if they last that long...I'd be super impressed by your award-winning self-restraint *hehe).
Other Recipes You'll Love
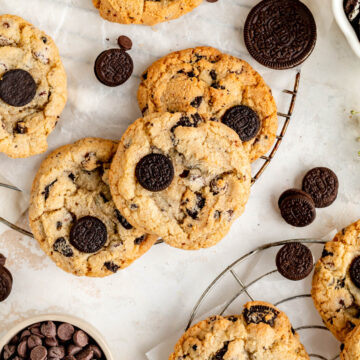
If you're a chocoholic like me, make sure you don't miss out on my Dark Chocolate Sea Salt Cookies, Oreo Chocolate Chip Cookies, or Fudgy Brownies.
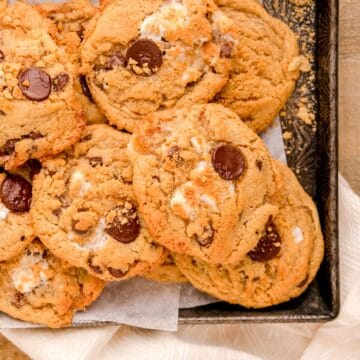
And for everyone in the chewy cookie camp, you'll definitely want to give my Birthday Cake Sugar Cookies, No Chill Sugar Cookies, Biscoff Cookie Butter Cookies, and Chewy Chocolate Chip Marshmallow Cookies a try too!

⭐ If you gave this recipe a try please give it a ⭐ rating and tag me on Instagram @mint.and.mallow.kitchen so I can see what you're baking up! ⭐
📖 Full Recipe

Bakery Style Chocolate Chip Cookies (with sea salt!)
Ingredients
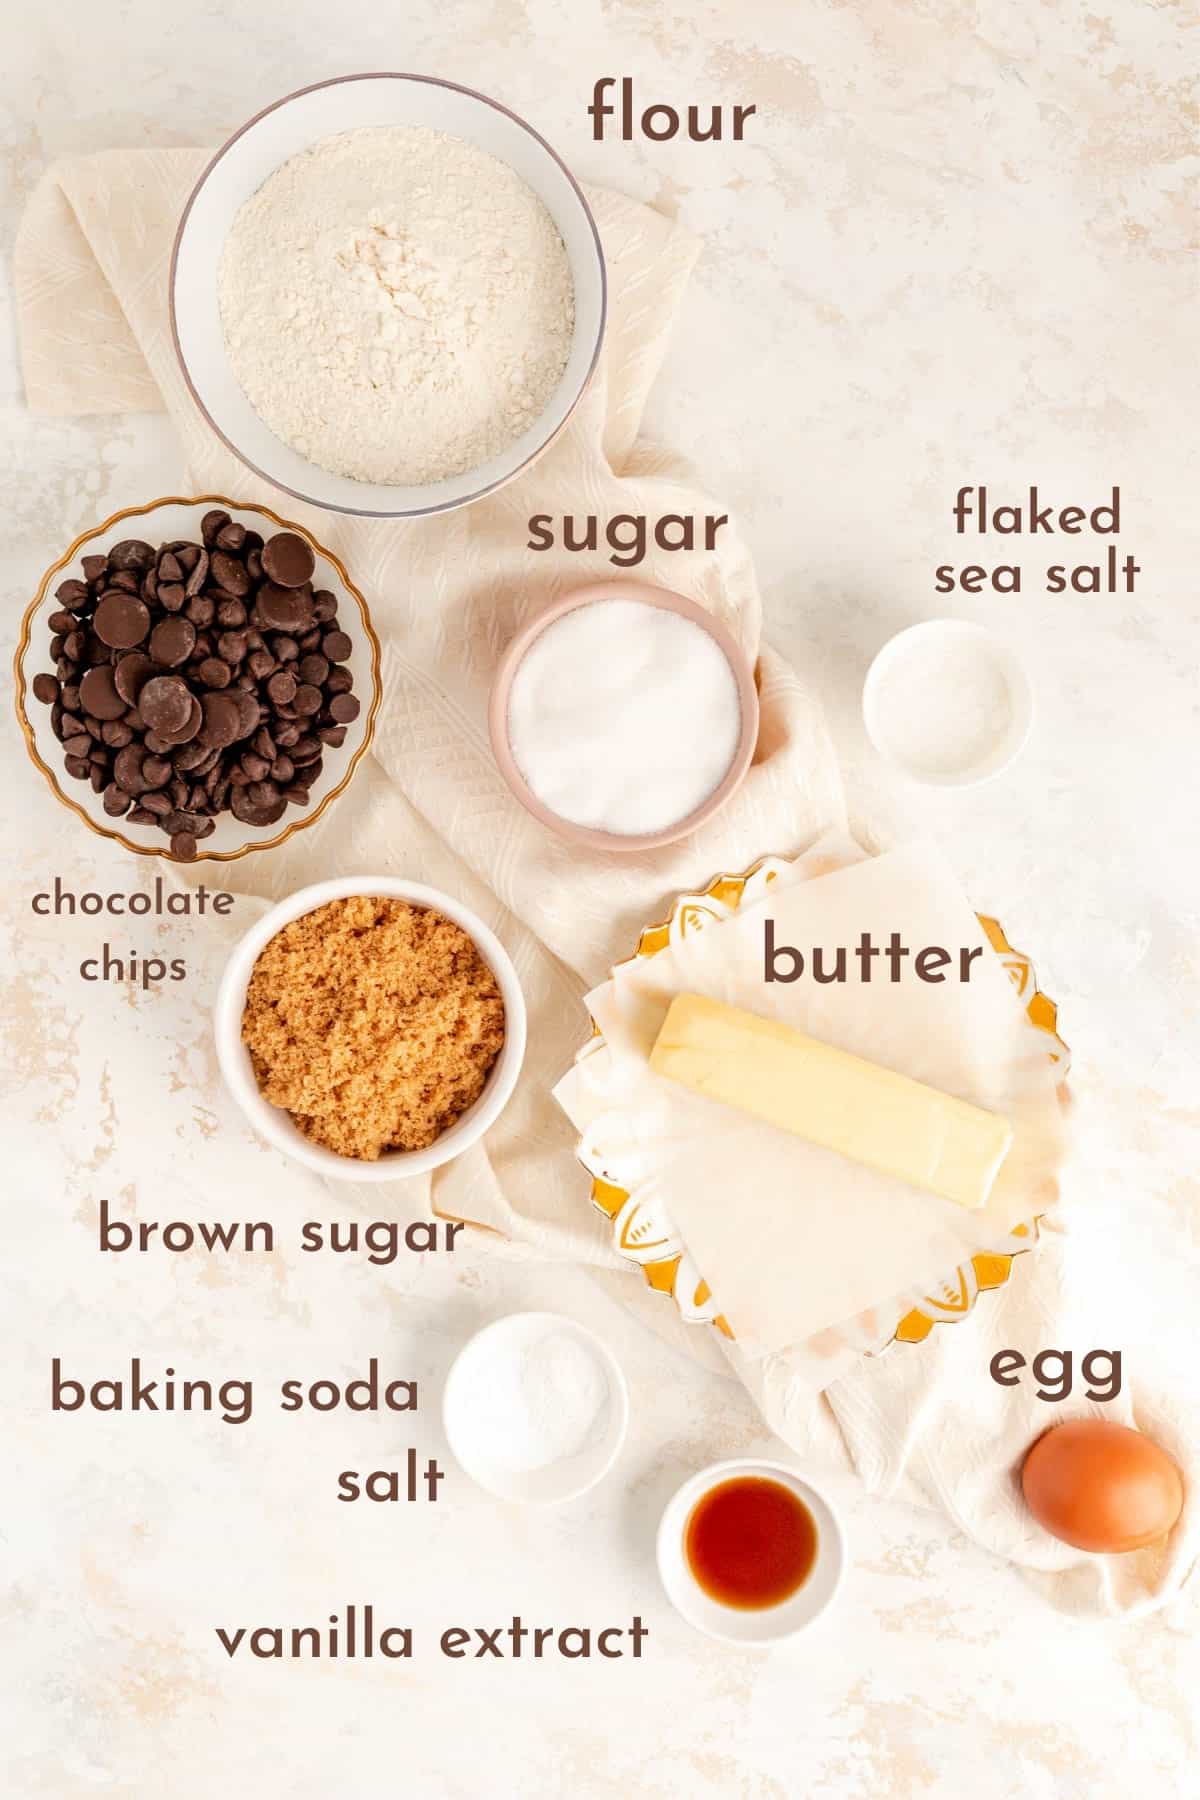
- ½ cup (1 stick) unsalted butter (softened)
- ½ cup light or dark brown sugar (packed)
- ¾ cup sugar
- 2 teaspoons vanilla extract
- 1 large egg
- 1 ⅔ cups all-purpose flour
- ½ teaspoon baking soda
- ½ teaspoon salt
- 1 cup dark chocolate chips, pistoles, or chopped chocolate*1
- Flaked sea salt*2 (for garnish)
Instructions
- Cream butter, sugars, and flavor: preheat your oven to 375°F. Cream the butter, sugars, and vanilla together until light and fluffy (2 minutes on med-high using a mixer).
- Beat in egg: add the egg and beat until it’s fully incorporated and the batter smooths out and looks fluffy again (another minute on med-high using a mixer).
- Add in dries: stir together all the dry ingredients (except the chocolate). Add that dry mixture to the batter and stir just until it’s mostly combined (about 80% of the way mixed).
- Add chocolate chips: add in the chocolate all at once and stir in by hand just until it’s evenly distributed throughout the dough (you can do this using a stand mixer carefully on the lowest setting, but the dough might be too stiff for your hand mixer to work well here).
- Scoop and tray: scoop dough into rounds using a scant ¼ cup of dough per cookie (an ice-cream scoop works well here for easy portioning!).
Bake em' now or later!*3
- Bake immediately: place scooped cookies on parchment-lined baking sheets at least 2” apart. For an extra hand-made touch, gently press a chocolate chip into the top of each dough ball. If using, sprinkle a few crushed flakes of sea salt on top of each cookie as well. Bake for 10-12 minutes, just until there’s a golden-brown ring around the edges, but the centers are still pale.Or...
- Bake from the fridge: line up dough balls on a parchment-lined tray or plate that fits in your fridge. For an extra hand-made touch, gently press a chocolate chip into the top of each dough ball. Chill until dough balls are firm (about 2 hours). Store dough balls either covered in plastic wrap or in an air-tight container for up to 3 days. TO BAKE: preheat your oven to 375°F, and place cookies on parchment-lined baking sheets right from the fridge, at least 2” apart. If using, sprinkle a few crushed flakes of sea salt on top of each cookie as well. Bake for 10-12 minutes, just until there’s a golden-brown ring around the edges, but the centers are still pale.Or...
- Bake from the freezer: line up dough balls on a parchment-lined tray or plate that fits in your freezer. For an extra hand-made touch, gently press a chocolate chip into the top of each dough ball. Chill until dough balls are firm (about 2 hours). Store dough balls in a zip-top bag or in an air-tight container for up to 1 month. TO BAKE: preheat your oven to 350°F, and place cookies on parchment-lined baking sheets right from the freezer at least 2” apart. If using, sprinkle a few crushed flakes of sea salt on top of each cookie as well. Bake for 15-18 minutes, just until there’s a golden-brown ring around the edges, but the centers are still pale.
- Knock ‘em down: as soon as you take the cookies out of the oven, knock the tray firmly on the counter or hit it a few times from underneath (this helps to settle the molten batter while it’s still all gooey and give you that nice crackly look).
- Cool, share and enjoy: cool cookies as long as you can keep away from them (usually about 2 minutes in my kitchen...if even), then pass them around and enjoy the ooey, gooey, chewy goodness!
Test Kitchen Tips
- *1Which chip? I prefer dark chocolate chips in this recipe; the higher the quality, the better in my book, but if Nestle’s semi-sweet chips is what you grew up loving, then definitely stick with those if you like for that extra touch of nostalgia!
- *2To salt, or not to salt? The sea salt flakes are optional in this recipe as they only serve as a garnish, but I highly recommend them for a perfect salt balance to the sweet chocolate cookie base.
- *3Chilled bakes: if you have time, for the chewiest cookies, it’s helpful to let your chilled or frozen dough balls come back to room temperature by setting them on the counter for a few hours before baking. You then can just follow the “bake immediately" instructions. That said, if you just can’t wait that long for a cookie, you’ll find instructions above as well for baking chilled or frozen dough balls without any need to thaw and they will still be delicious - I promise!
- Make 'em kid-friendly! If you're mixing a batch of these up for kiddos, feel free to leave the sea salt off for a classic chocolate chip cookie your little ones will gobble down!
- Storage: these cookies will keep for a week in an air-tight container at room temperature (although if they last that long...I'd be super impressed by your award-winning self-restraint *hehe).

Comments
No Comments