


Welcome bakers! In this series I'm going to break down the most basic of basics in baking - all those pesky little assumptions recipes assume you know, but that you were never actually taught. Whether you're brand new to baking or can whip up a meringue with the best of them, I promise there are some golden nuggets in here that can really make all the difference in your recipes.
Jump to (scroll for more!):
Back to Baking Basics
As a recipe writer myself, I've been guilty on soooo many occasions of writing recipes with countless underlying assumptions that I just excepted my reader to know. Thinking to myself...
Oh everyone knows you only bake with large eggs. Or that you measure the powdered sugar before sifting it. Or that if you keep your house cold, you may need to soften butter in the microwave just to get it to "room temp."
But maybe you don't, and how could you when all us recipe writers never explicitly tell you these things?
It's really on us content creators to supply our bakers with all they need for recipe success. And you shouldn't have to go to any other outside source for background or clarification.
But, we also don't want to have to write a full novel, nor do you want to read one when you're just mixing up a batch of sugar cookies. So what are we to do?
Write a blog series just like this!
This series will uncover all the baking assumptions, big and small, that will help you bake all your recipes better. So let's get to spilling the secrets...
Top 12 Tips to Bake EVERYTHING Better
Ingredient Tips
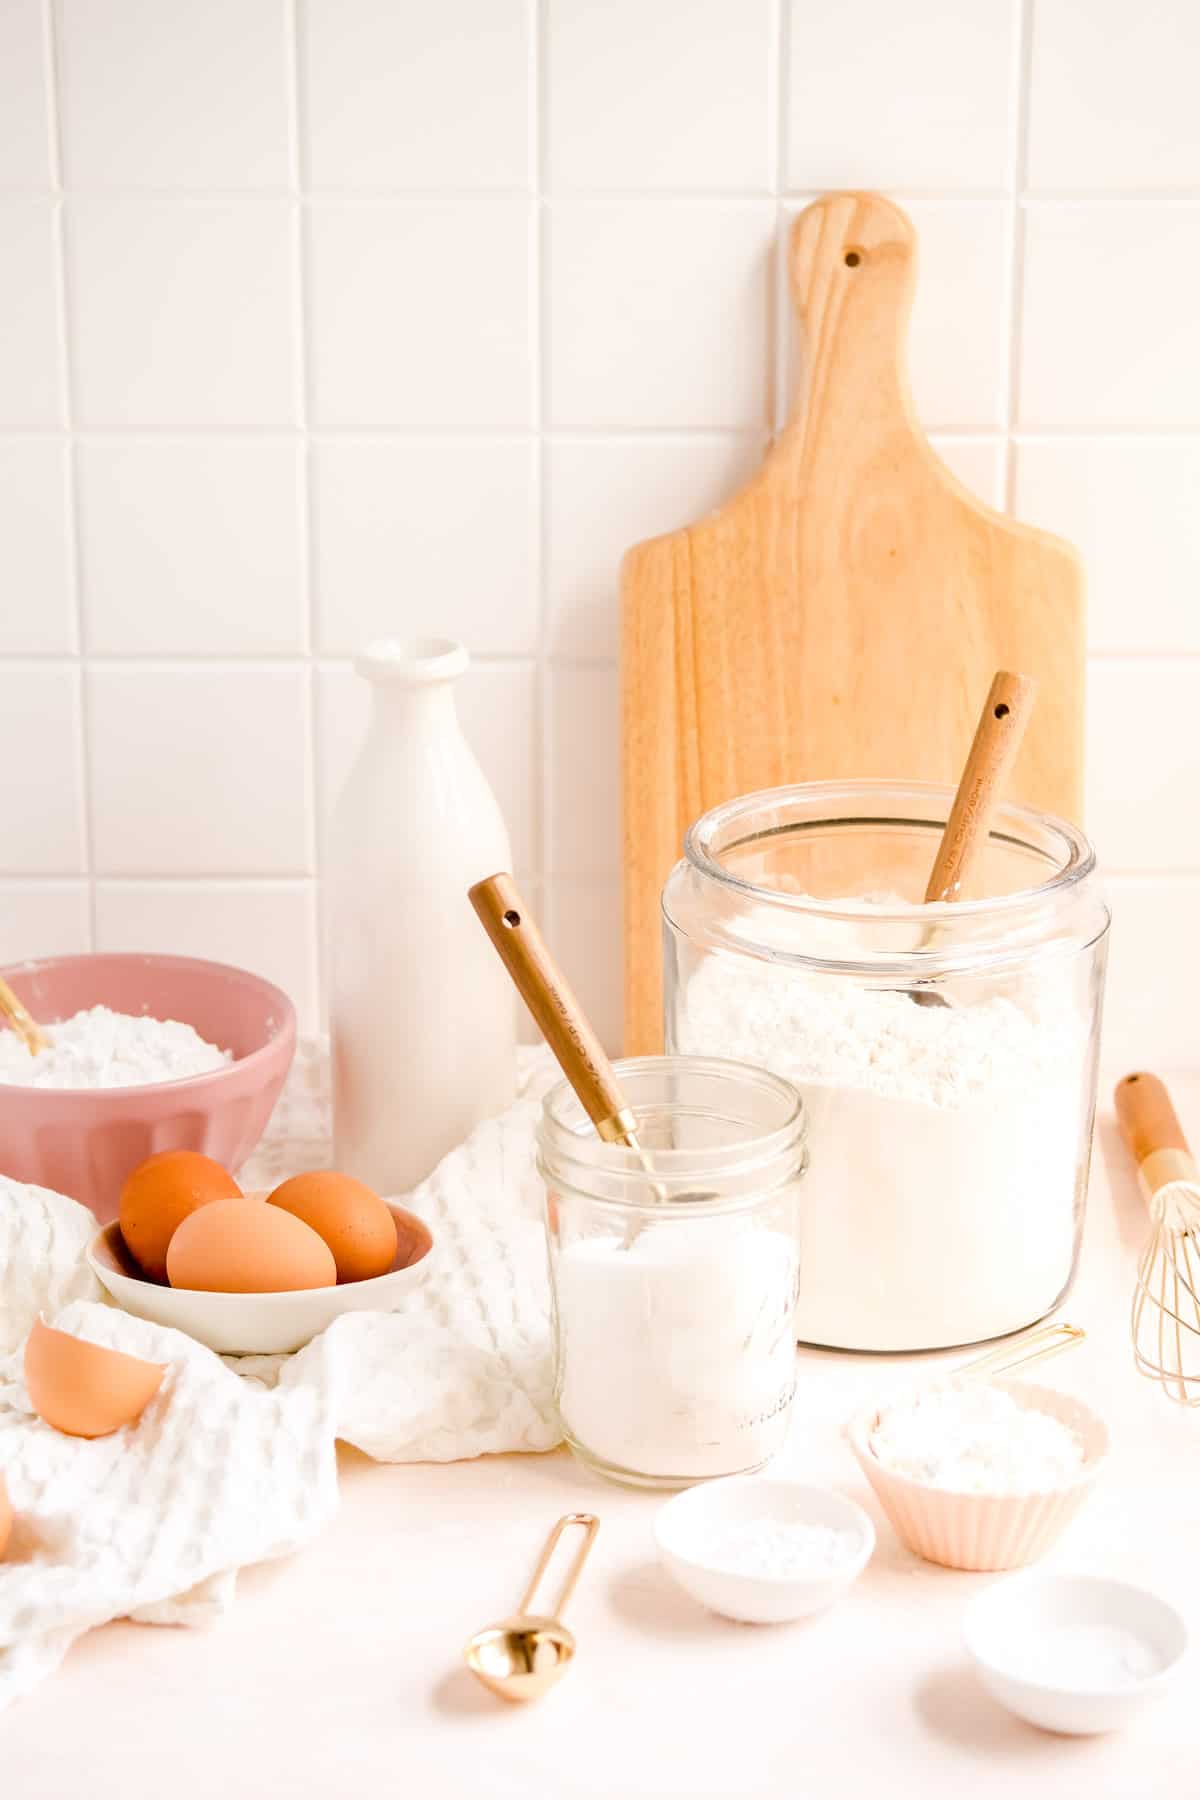
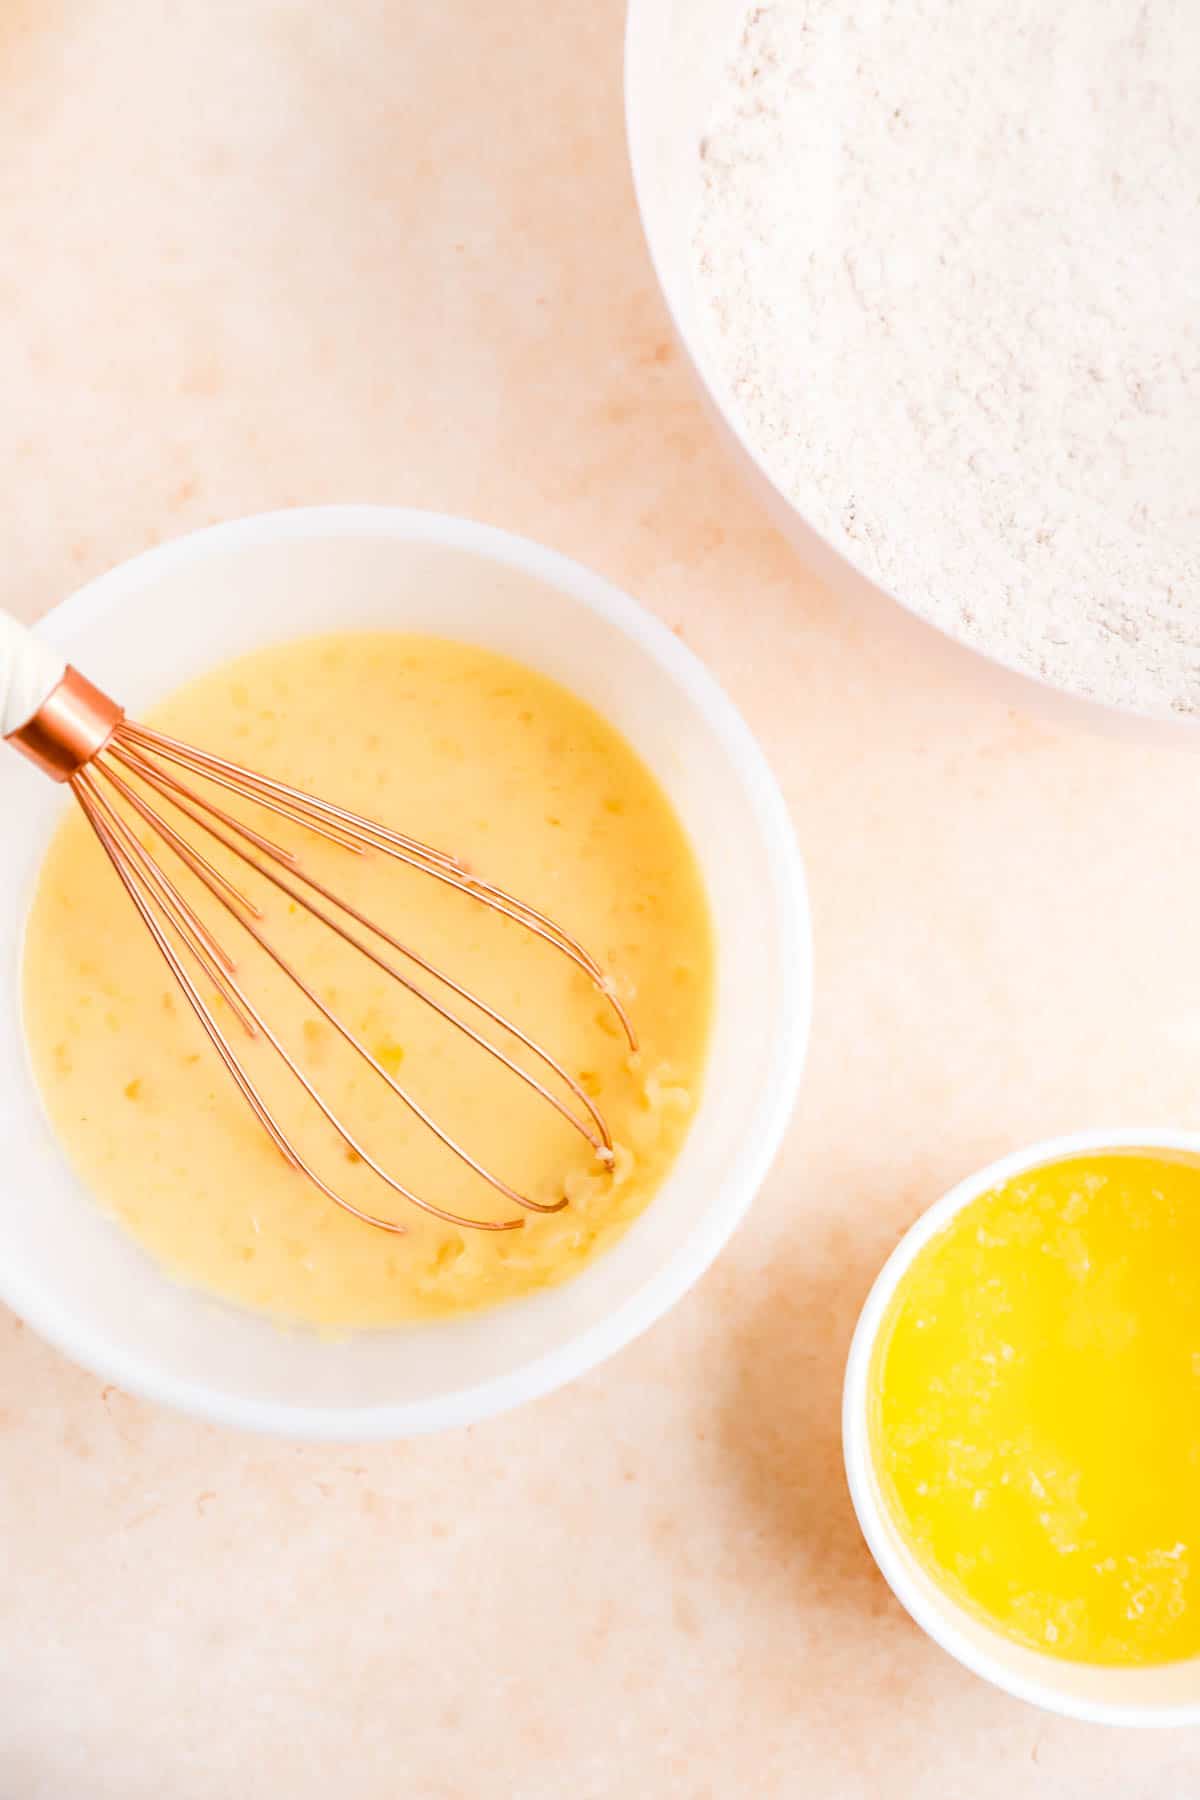
- "Eggs" always means size large eggs, unless otherwise specified. Using larger or smaller eggs will change the recipe ratios and could negatively affect your recipe.
- "Flour" always means all-purpose flour, unless otherwise specified. Substituting cake flour or bread flour, which have different levels of protein in them, will change the outcome of your recipe.
- Butter should always be unsalted butter, unless otherwise specified. Salted butter can range anywhere from 1-3% salt. Using unsalted butter allows you to control your level of salt in your recipe much more precisely.
Equipment Tips
- You should always bake on the "standard" (no-fan) setting, not convection, unless otherwise specified. I know it's tempting to want to use the snazzy convection feature you have on your oven. But, good recipe developers should always be baking and writing to "standard" baking dynamics since that's what everyone has access to. In cases where convection settings may help a particular recipe, the use of convection should be explicitly stated. (I have a great series talking all about standard vs. convection baking if you'd like to learn more!)
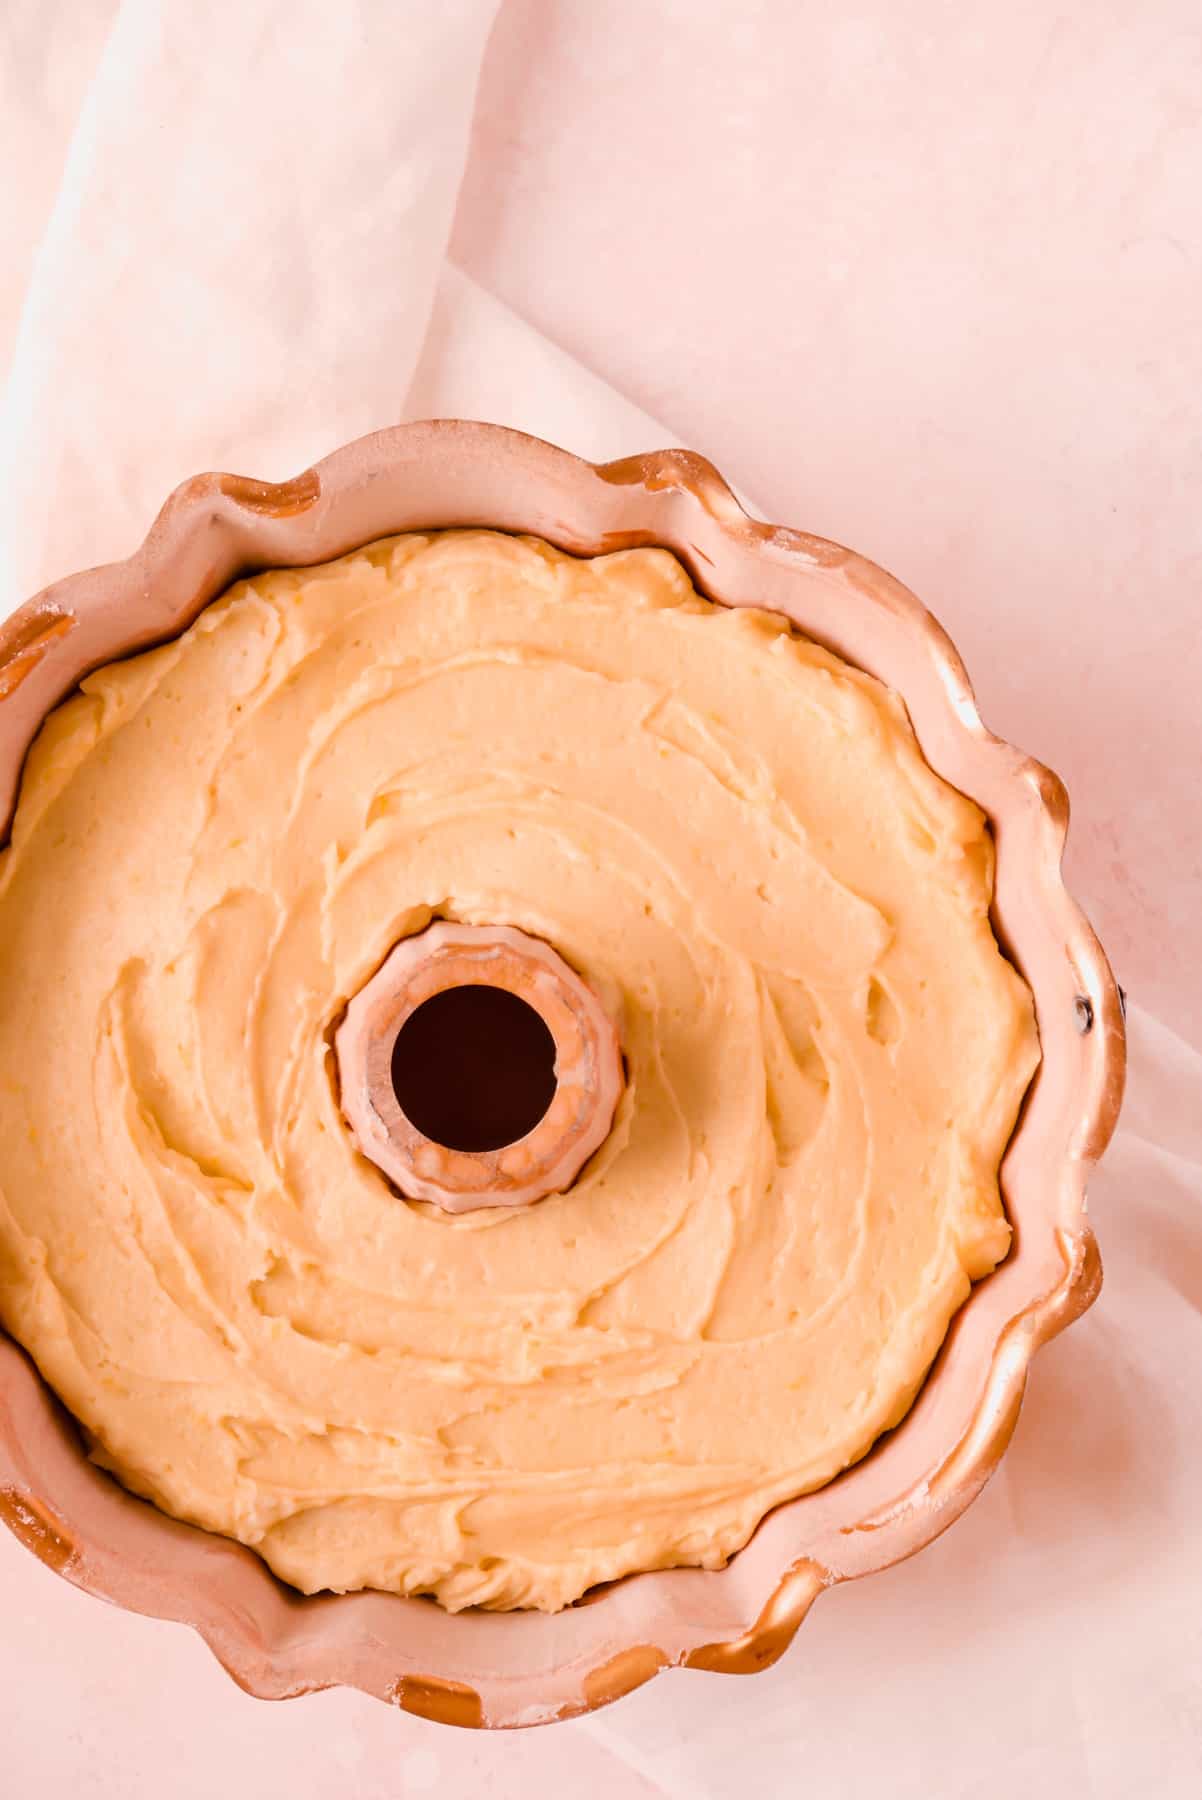
- Oven racks go in the middle of the oven...most of the time. If baking a single pan/sheet this means your rack is on the very middle rung. If baking two pans/sheets at once, you'd evenly divide your oven in thirds, with one rack a third from the bottom and the other a third from the top. If baking a single, very large pan (like a 12-cup bundt), set your rack one rung below middle so the food itself is centered in the oven.
Prep Tips
- Read. The. Full. Recipe. I know this seems obvious, but having worked on a baking hotline for years, you'd be shocked by how many of the questions I got were answered right in the recipe, and how many mistakes could have been prevented by just properly reading the instructions. So save yourself some trouble and fully read the recipe twice before baking.
- Check for all the ingredients before you mix up anything. In that same vein, don't just glance at the ingredients - double check your amounts too! This will save you from getting stuck trying to substitute for milk that you didn't have. It also makes your bakes go more smoothly when all your ingredients are ready to go from the start.
- Make sure your oven is fully preheated before you start. Depending on the leavener used in your recipe (baking powder or baking soda), and even depending on the brand of your leavener, some batters will start to rise as soon as you add a liquid. You don't want to wait 20 minutes for your oven to preheat after your cake batter is fully mixed as you'll be losing 20 minutes of precious leavening power that should be use helping your cake rise in the oven.
Process Tips
- Sift everything with clumps. Clumps of dry ingredients never help our recipes. So even though I've never seen a recipe tell me to sift my baking soda, I always do. Baking powder, baking soda, and cornstarch are the micro ingredients and it is really important to make sure they are evenly distributed in our batters. I use a fine mini sifter/tea strainer for those small measurements. When working with compacted brown, white, or powdered sugar, you always want to break those clumps up by hand or with a sifter, or you risk ending up with a sugar volcano on the top of your cake. (I promise it sounds like more fun than it actually is.)
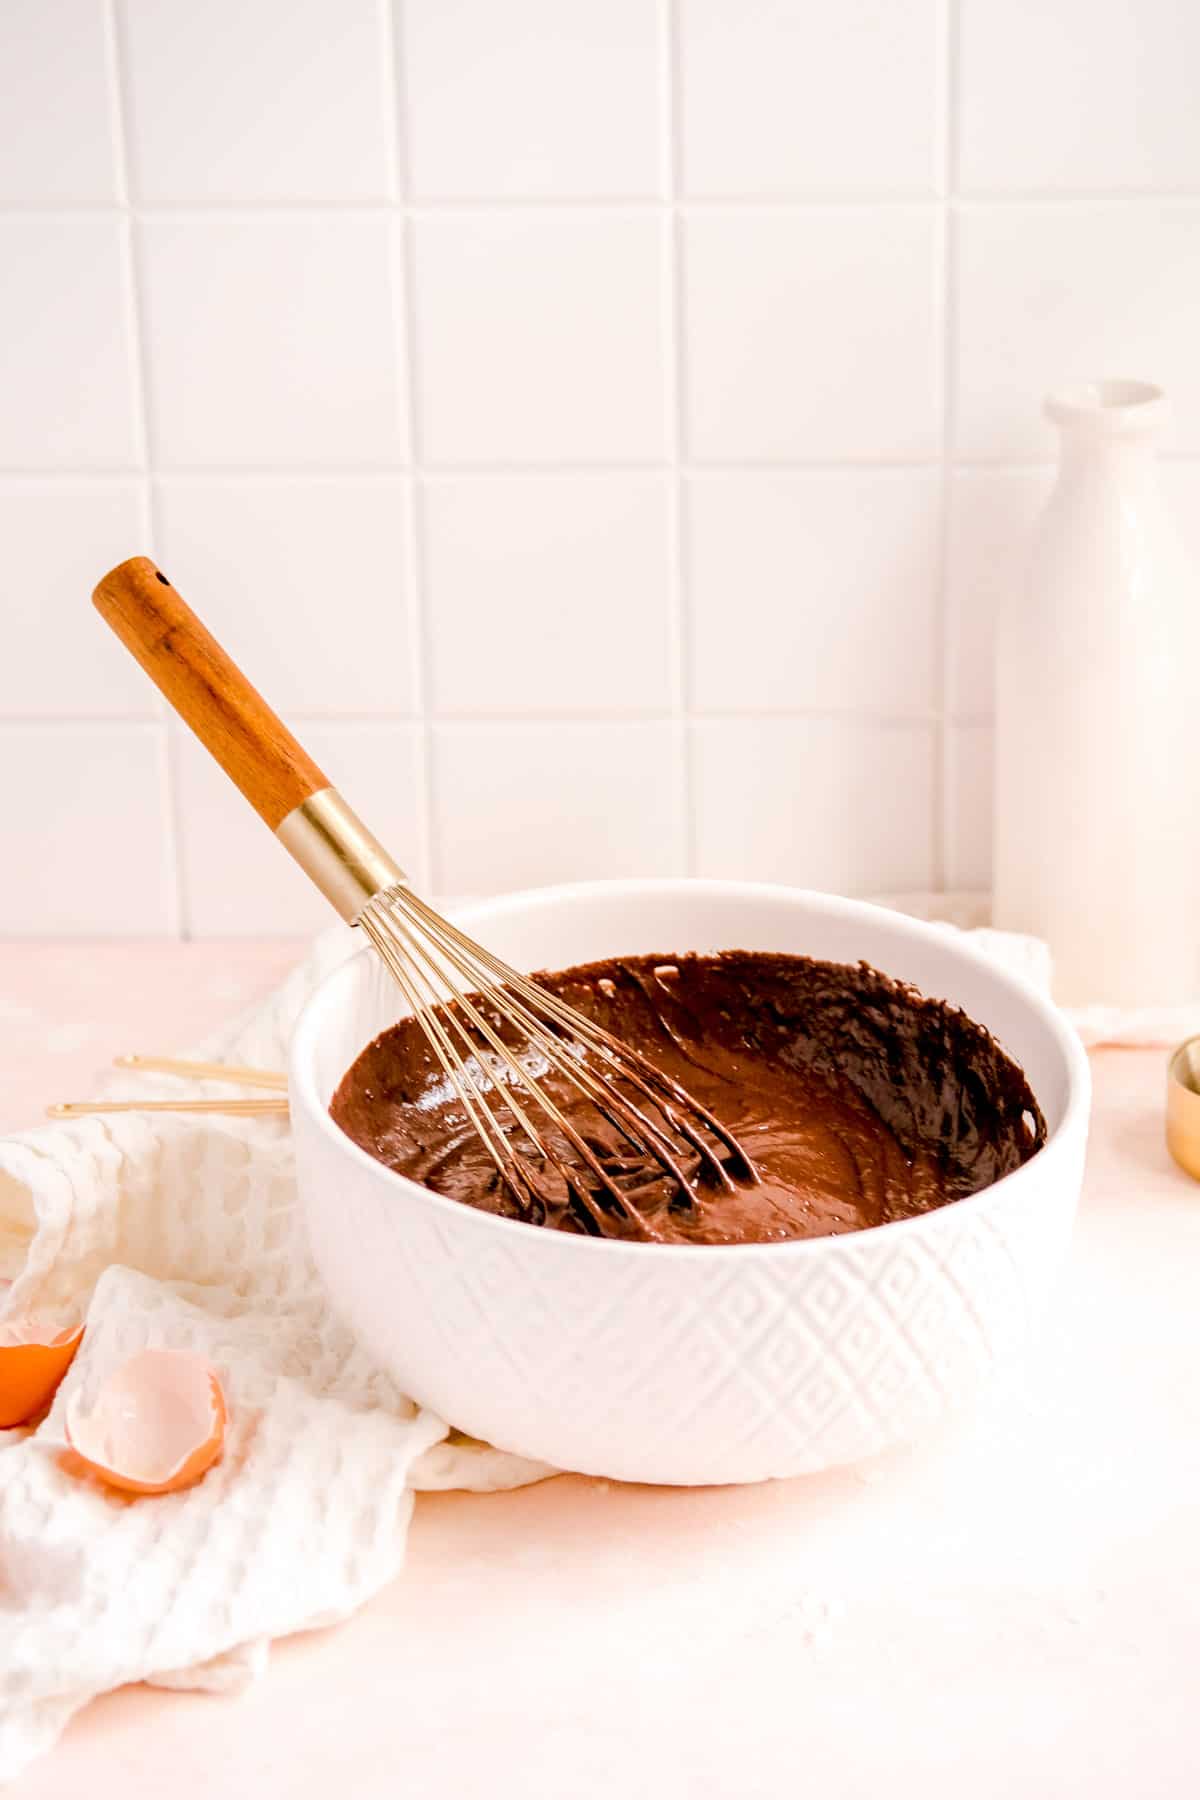
- Always scrape your bowl between each step. I know we writers don't say that every step because it'd be annoying for you all to read. But you should always scrape your bowl well between every step. This ensures the most even mixing throughout your entire batter.
- Always use sensory skills to check doneness over just the bake time. Every oven is very different, both in temperature accuracy and dynamics. Because of this, you always want to go by visual, aromatic, and tactile cues over just setting a timer. Smelling your baked goods when in the oven is usually my first cue that we're just about done baking, and that's true whether my timer went off 5 minutes ago or isn't supposed to go off for another 10 minutes. A good recipe author should give you plenty of cues outside of baking time for you to check your treat's doneness.
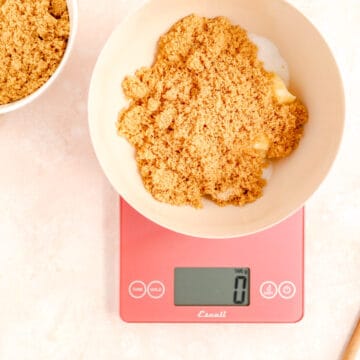
- Baking by weight is always going to be more accurate. I'm sorry to break it to you, but the American measurement system has led you astray with cups and spoons. Baking by weight not only yields much more consistent results, but it saves a lot of dirty dishes too! If you're interested in learning more, check out my whole series discussing the differences between baking by weight and volume.
Baking Recipes for Beginners
So what should a beginner baker bake to practice their skills? (I'm just filling this post with all the tongue twisters - ha!) Here's a few of my favorite simple recipes to get you started:
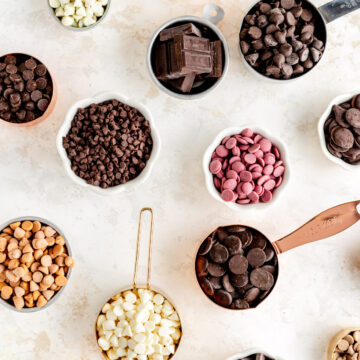
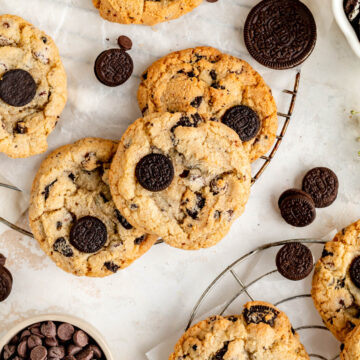
- Double Chocolate Chip Cookies
- Birthday Cake Sugar Cookies
- Fluffy Buttermilk Pancakes
- Easy Vanilla Sheet Cake
- Easy Vanilla Buttercream
- Easy Chocolate Buttercream

Ready to learn more and put all your new skills to good use?
Check out my newest tutorials and recipes below, and get to baking!
This website contains Amazon affiliate program links. This means that I earn a small commission on qualifying purchases at no additional cost to you. I will never provide a link to nor recommend any product or service that I don’t genuinely love or personally use. Thank you for supporting MINT + MALLOW kitchen and the brands that keep this blog running.


Comments
No Comments