This Cookies & Cream Frosting is perfect for cakes, cupcakes, and more, with a luscious Oreo Buttercream flavor, and a cream cheese frosting option as well! It's the perfect combination of Oreo cookies and a smooth vanilla American buttercream base, which means it comes together in under 15 minutes with just a few easy steps!
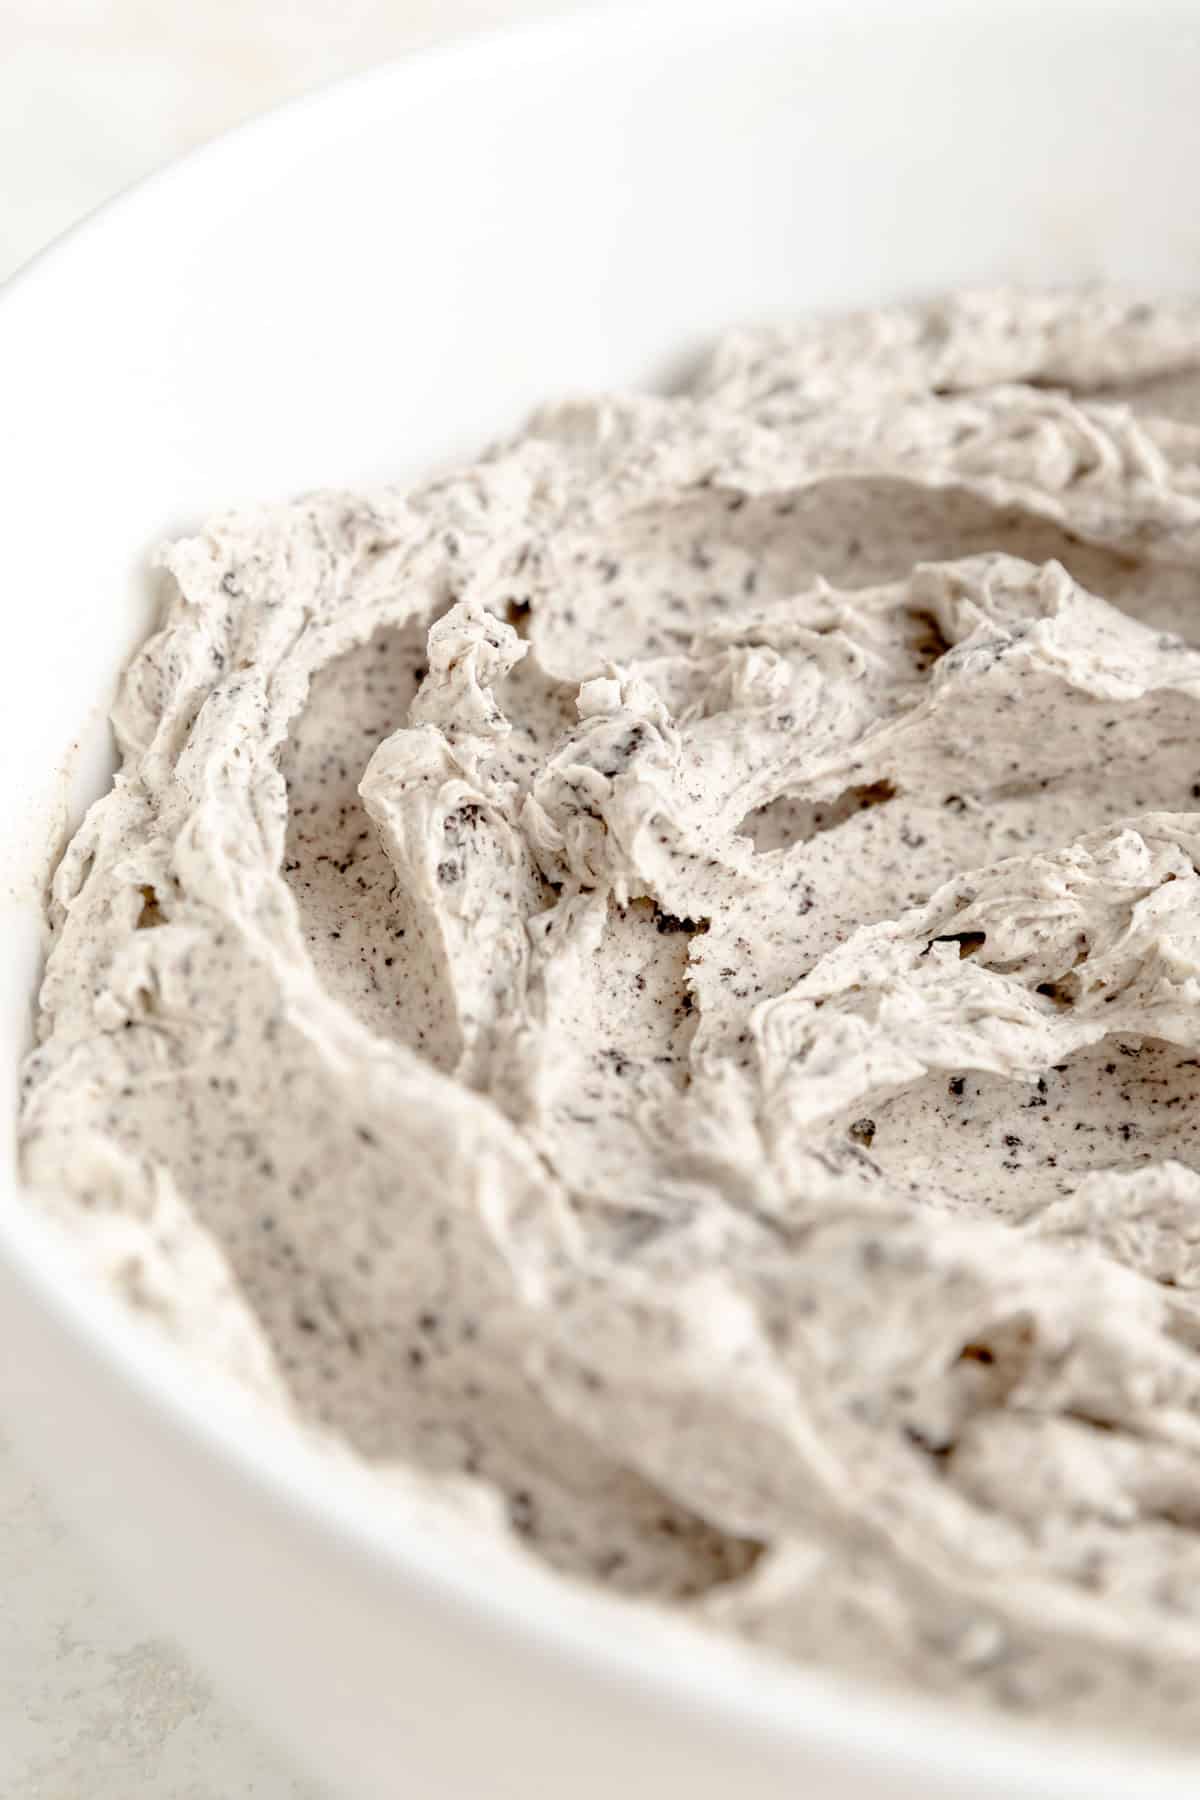
"Cookies & Cream" or "Oreo" - no matter what you call it, this flavor is a classic for a reason. In my book, it's the perfect mix of chocolate and vanilla, with little bursts of that super dark chocolate flavor from the cookies, buried in a heap of delicious vanilla "cream" flavor that you can only find in a layer of Oreo creme filling.
(If you're a big Cookies & Cream fan, also be sure to give my Pillowy Cookies n' Cream Cinnamon Rolls and Oreo Chocolate Chip Cookies a try!)
And if your looking for other tried and true buttercream recipe to take your favorite cakes to the next level check out my Easy Chocolate Buttercream, Quick Vanilla Buttercream, Raspberry Cream Cheese Frosting, and Whipped Peanut Butter Ganache!
Jump to (scroll for more!):
Why You'll Love This Buttercream
- Endless flavor options: the crushed Oreos are added to a vanilla base here and there's no other chocolate ingredients in this recipe. This allows you to use any flavor of Oreos you like and it will give you a custom flavored frosting to perfectly fit your needs!
- Quick and easy: American buttercream is my favorite kind, because it requires no cooking. It comes together in just 15 minutes with a few simple ingredients.
- Cream Cheese option: this recipe works great with all butter or with some cream cheese swapped in too for a Cookies & Cream Cream Cheese Frosting variation as well.
- Pipe-able and spreadable: this frosting has a nice firm consistency that makes it great for piping or filling/coating a cookies and creme cake. Just be sure to use a big enough round tip that the cookie chunks can pass through when piping (the crushed cookies will clog a small piping tip or a star tip too usually). It also makes a delicious filing for macaron and whoopie pies that is stiff enough to not squish out of your sandwich cookies.
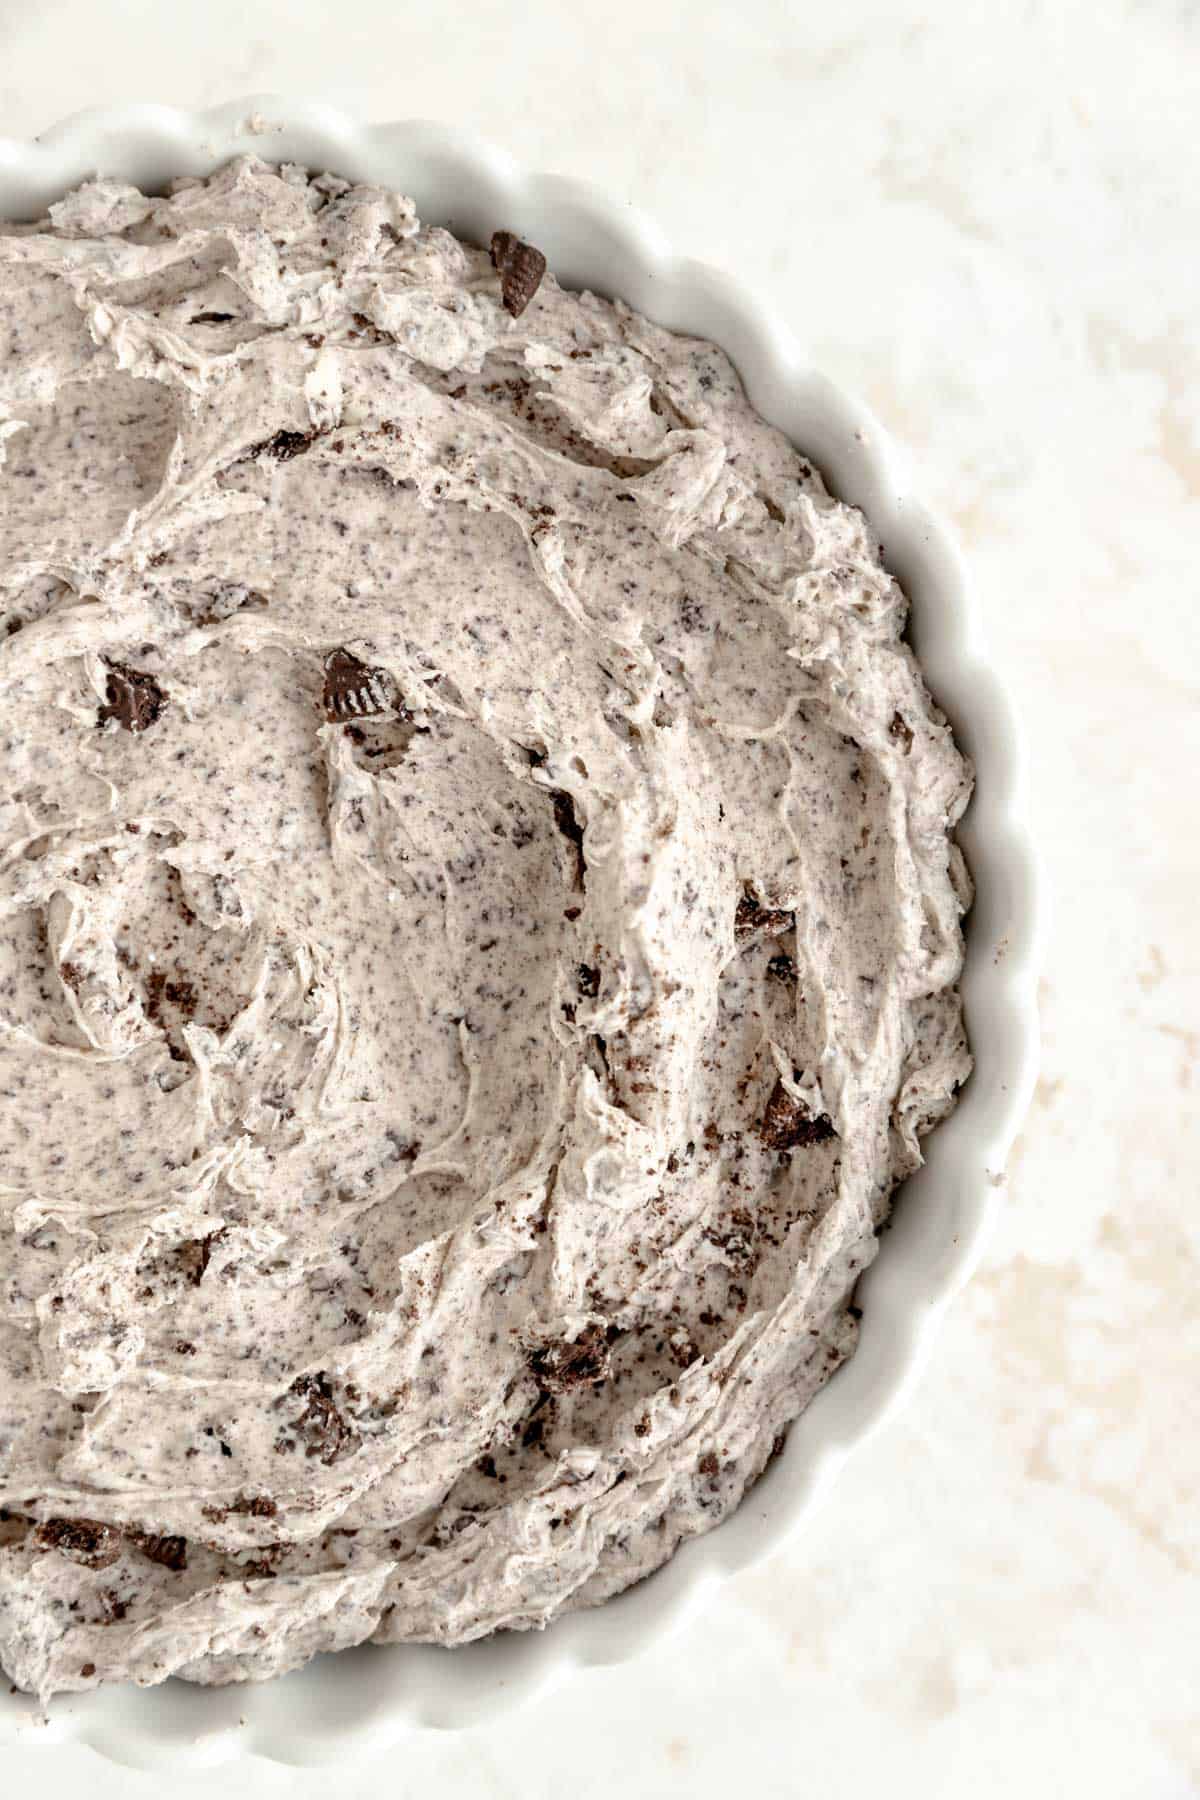
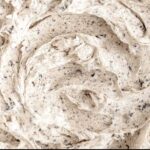
- Two frostings in one: because the cookies soften up when you chill this frosting, you can turn it into a chocolate base with just fine cookie flecks if you chill it and remix it. So you can get two totally different looking frostings with this one recipe. Use it fresh for a vanilla base with bigger cookie pieces, or chilled and remixed for a chocolate base with fine cookie crumbs.
Ingredient Tips + Substitutions
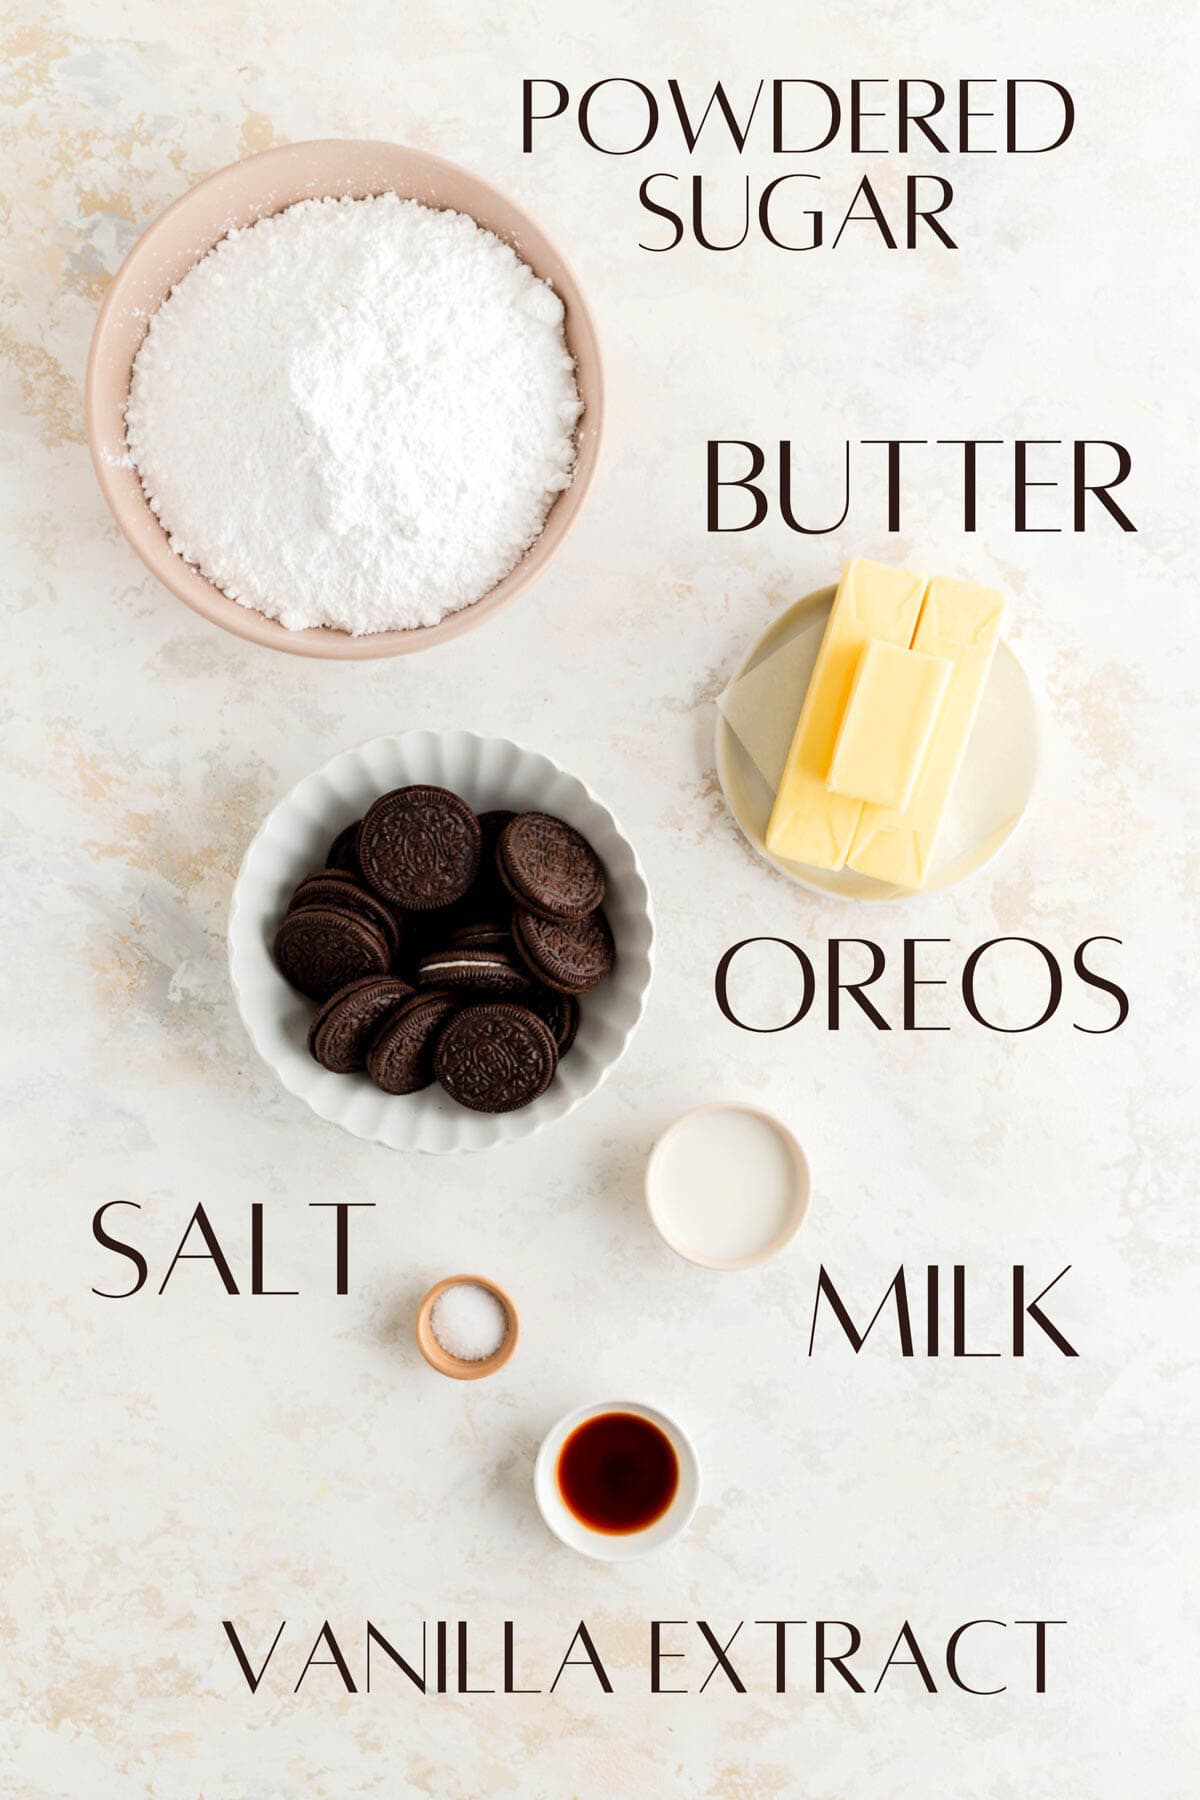
- Unsalted butter: make sure you use unsalted butter so we can control the salt level in the recipe. You can also swap in some cream cheese as detailed in the recipe card below if you like.
- Powdered sugar: sifting is super important to make sure you have a smooth final icing and no sugar lumps.
- Salt: balances the sweetness of the sugar, the rich notes of the butter, and blends all the flavors together. It doesn't like to dissolve once in the mixture so be sure to stir it into the milk ahead of time.
- Vanilla extract: no matter what Oreo flavor you use, keep the vanilla extract in there to help round the flavor out.
- Milk or cream: this allows us to loosen up the frosting for a light and fluffy texture. Milk or cream both work well, so feel free to use whatever you have on hand.
- Oreos: I used the classic, regular-stuffed Oreo cookies here. But, this recipe can be made with any flavor and any level of creme stuffing as well!
For a full detailed list of all ingredients and measurements, just head down to the recipe card below!
How to Make Oreo Frosting
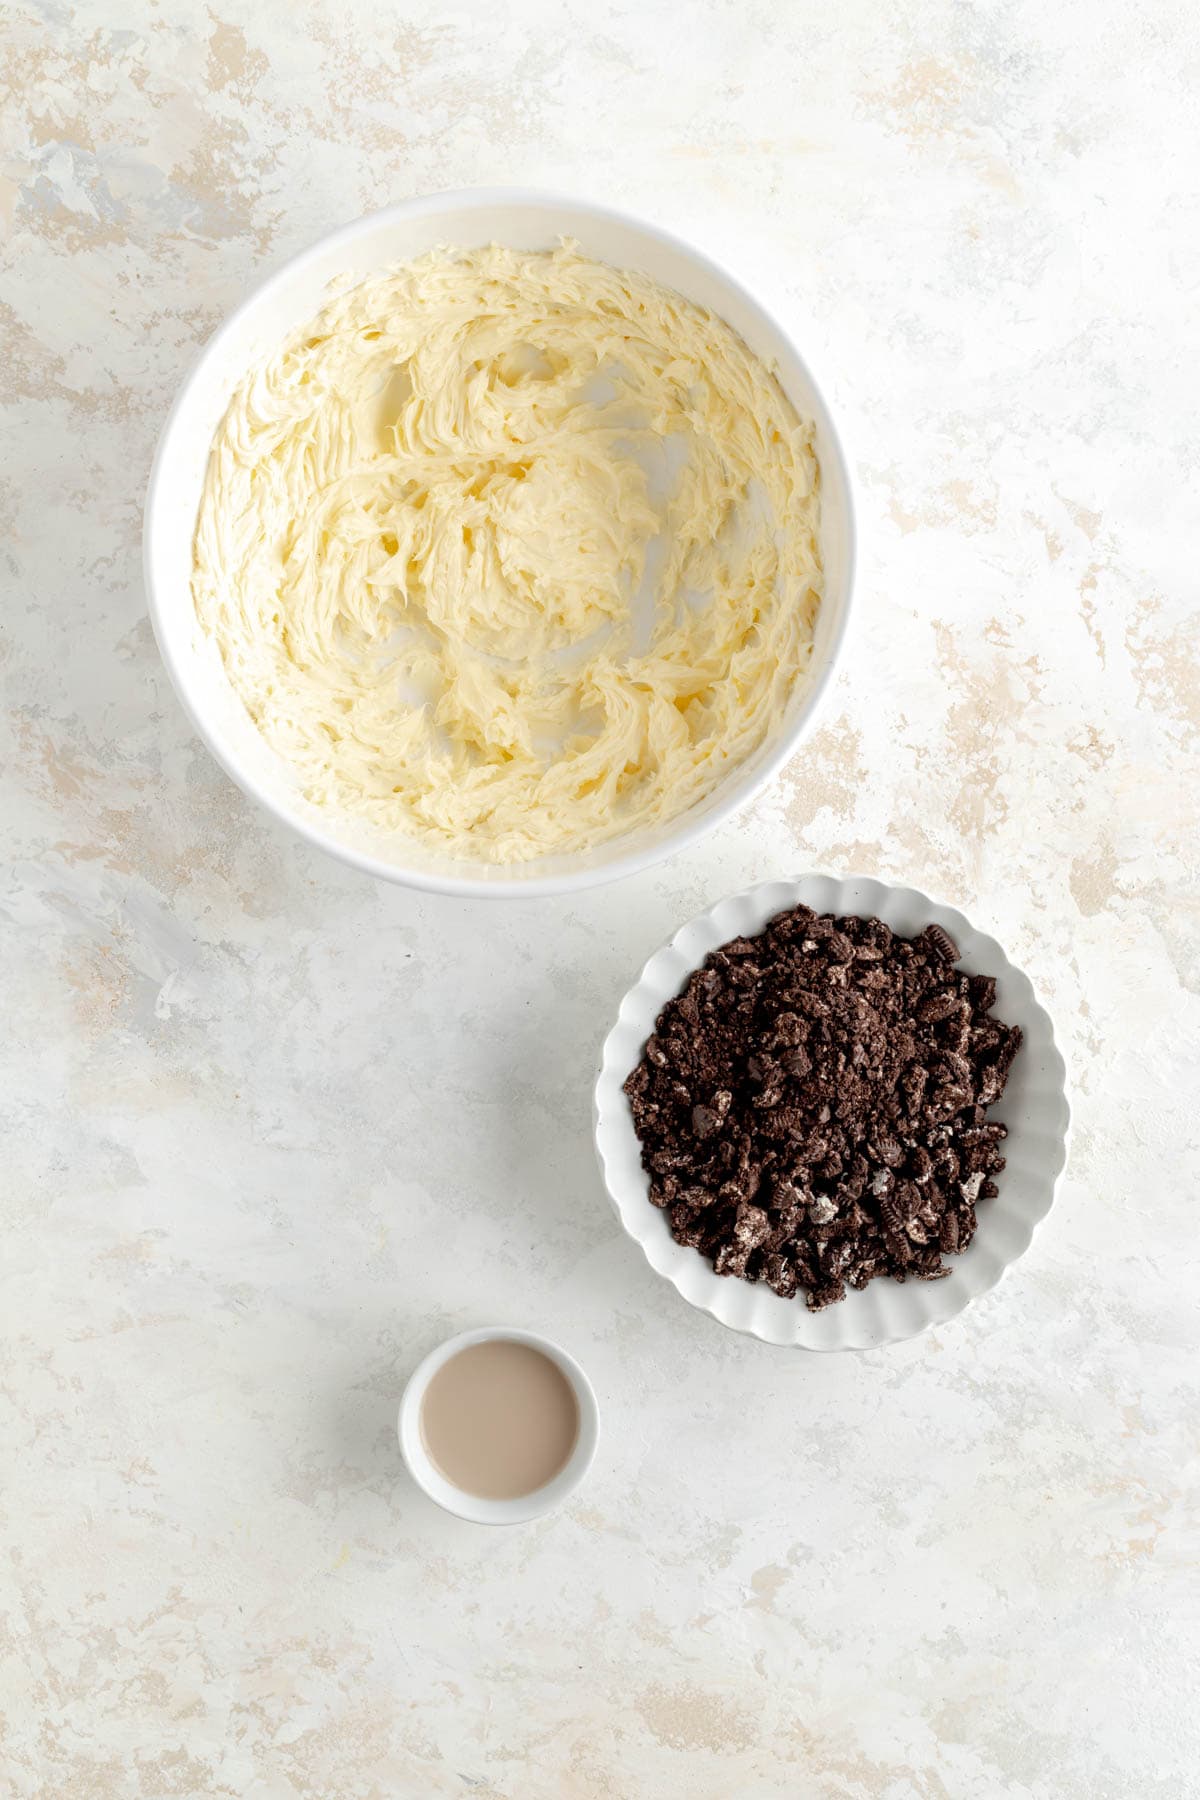
Step 1: Dissolve the salt in the milk and extract. Crush the Oreos. Whip the butter until light and fluffy.
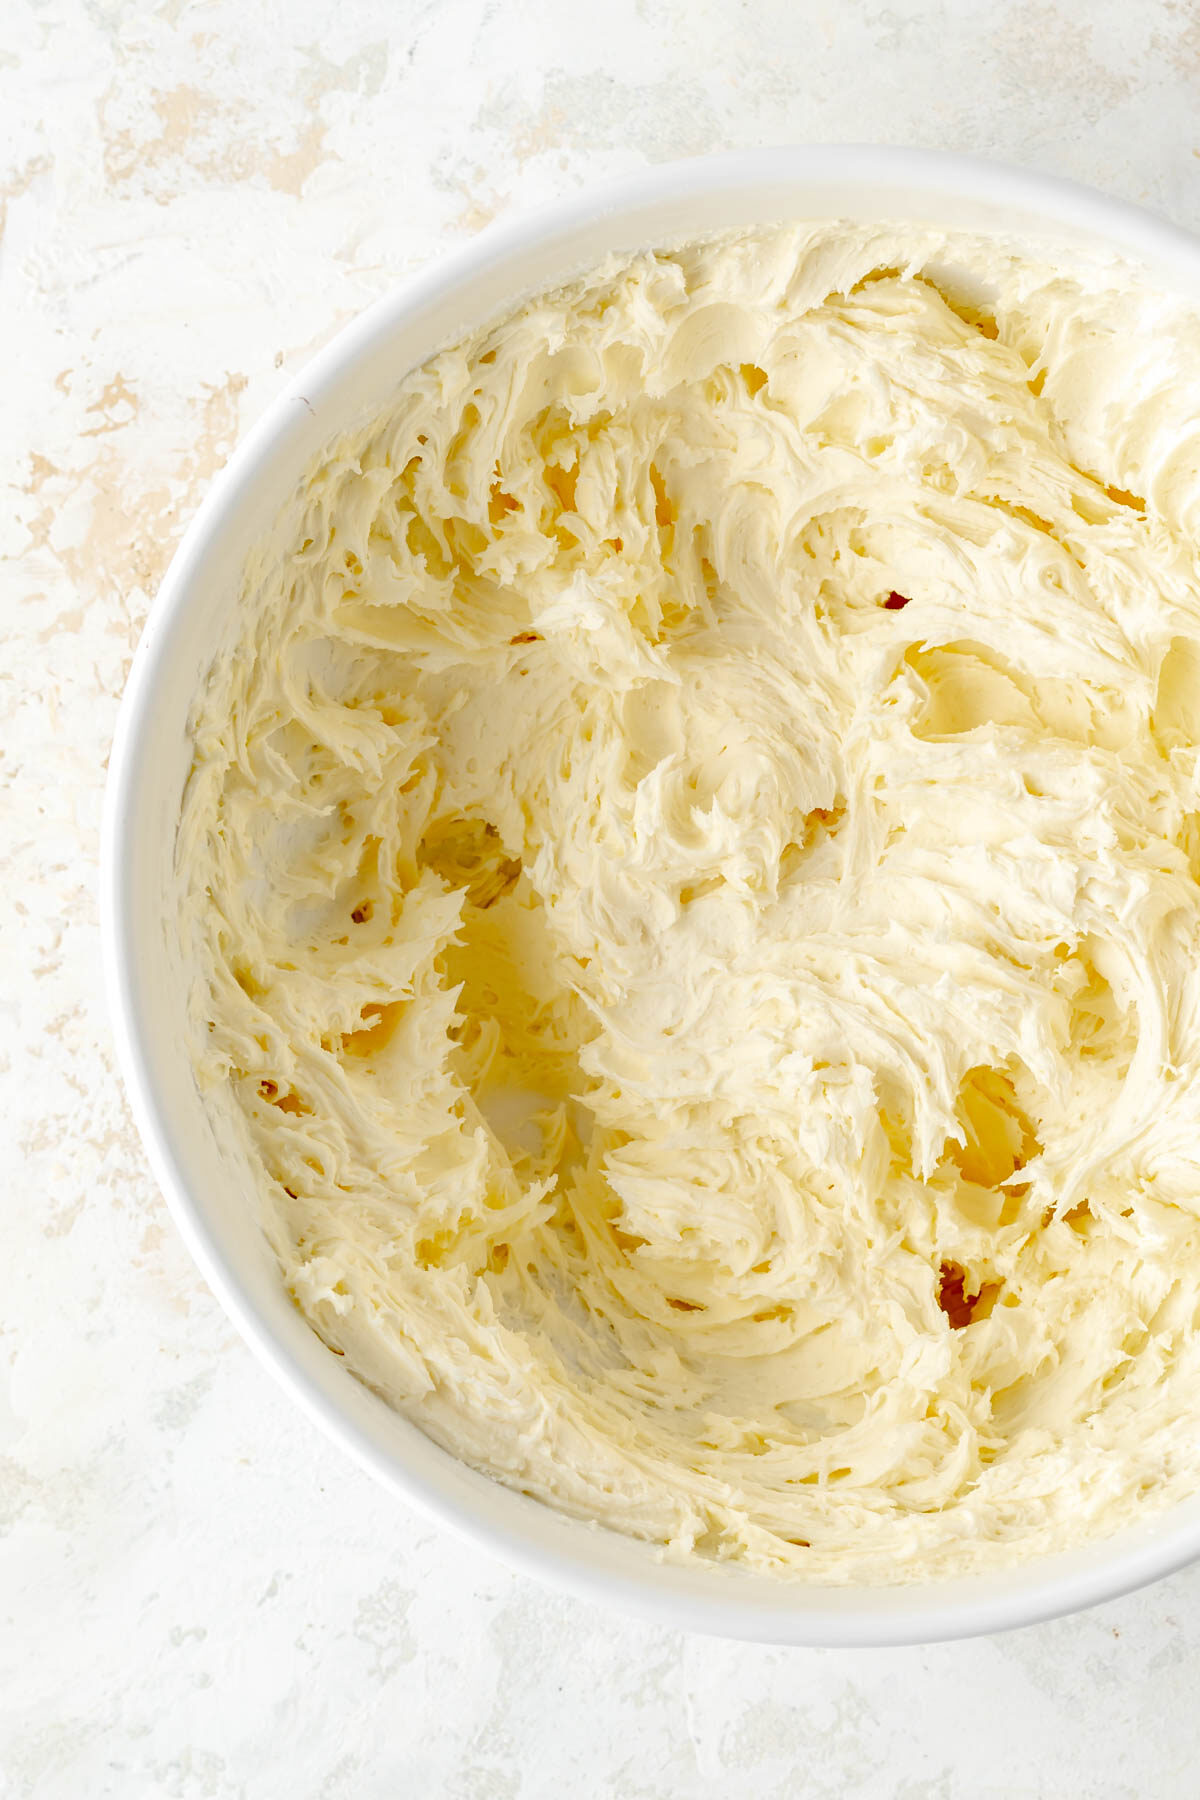
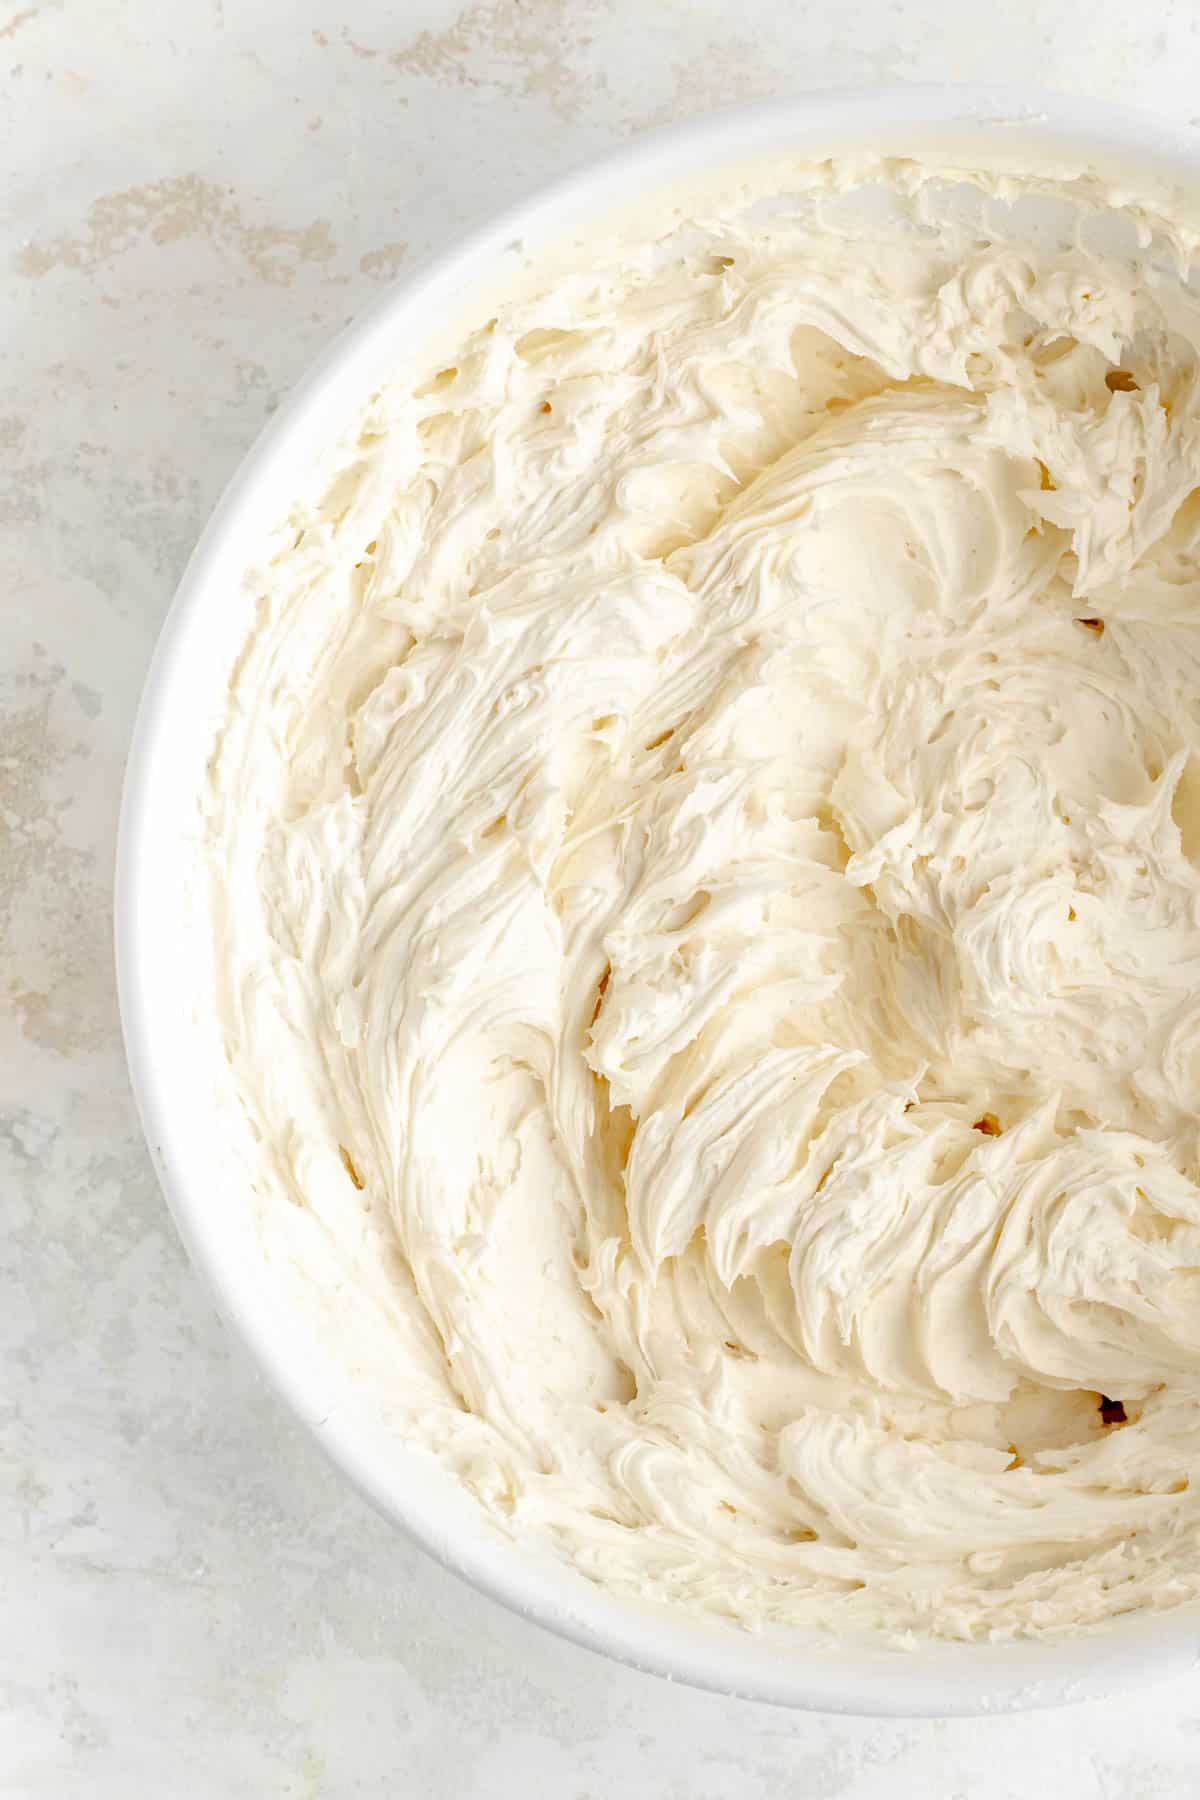
Step 2: Add the powdered sugar in three batches, mixing well after each addition. Once all the sugar is in, mix in the milk, extract, and salt.
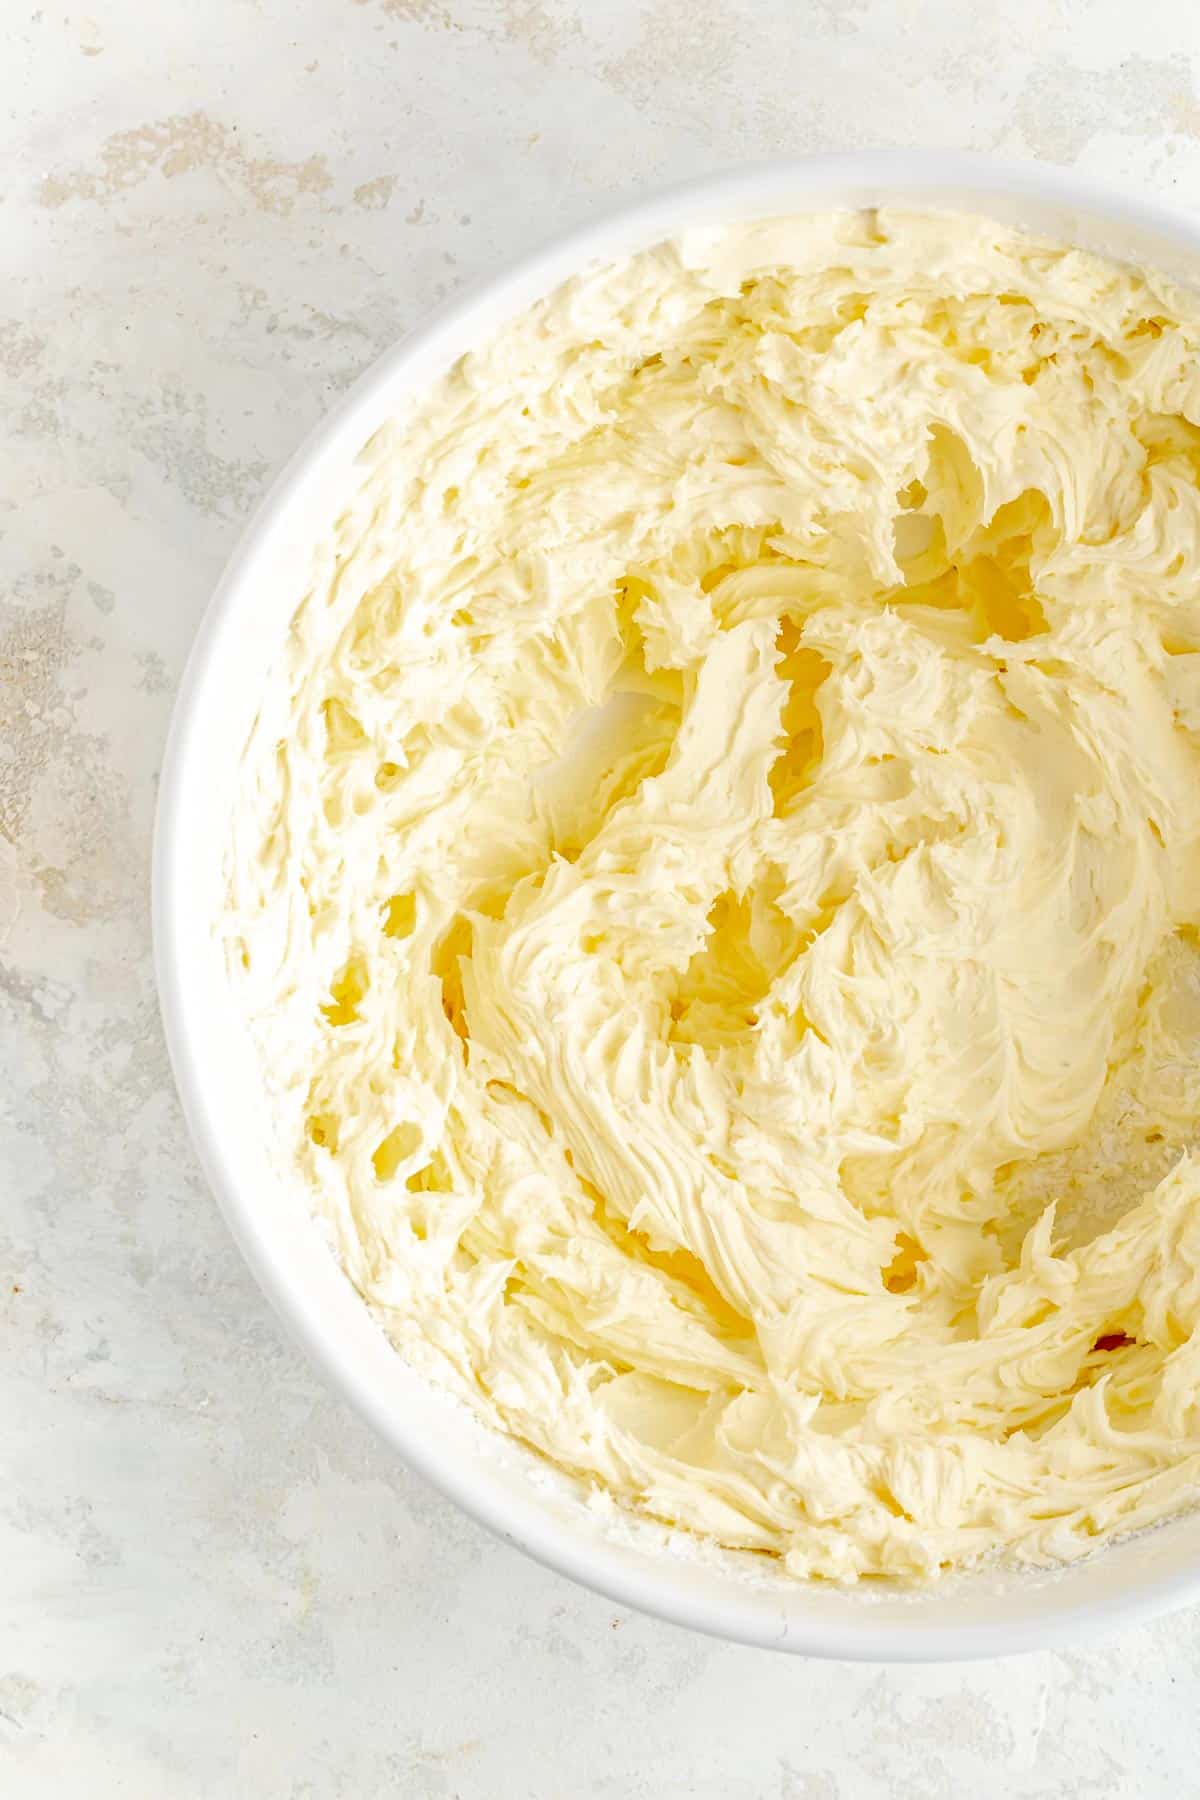
After addition of first third.
After addition of second third.
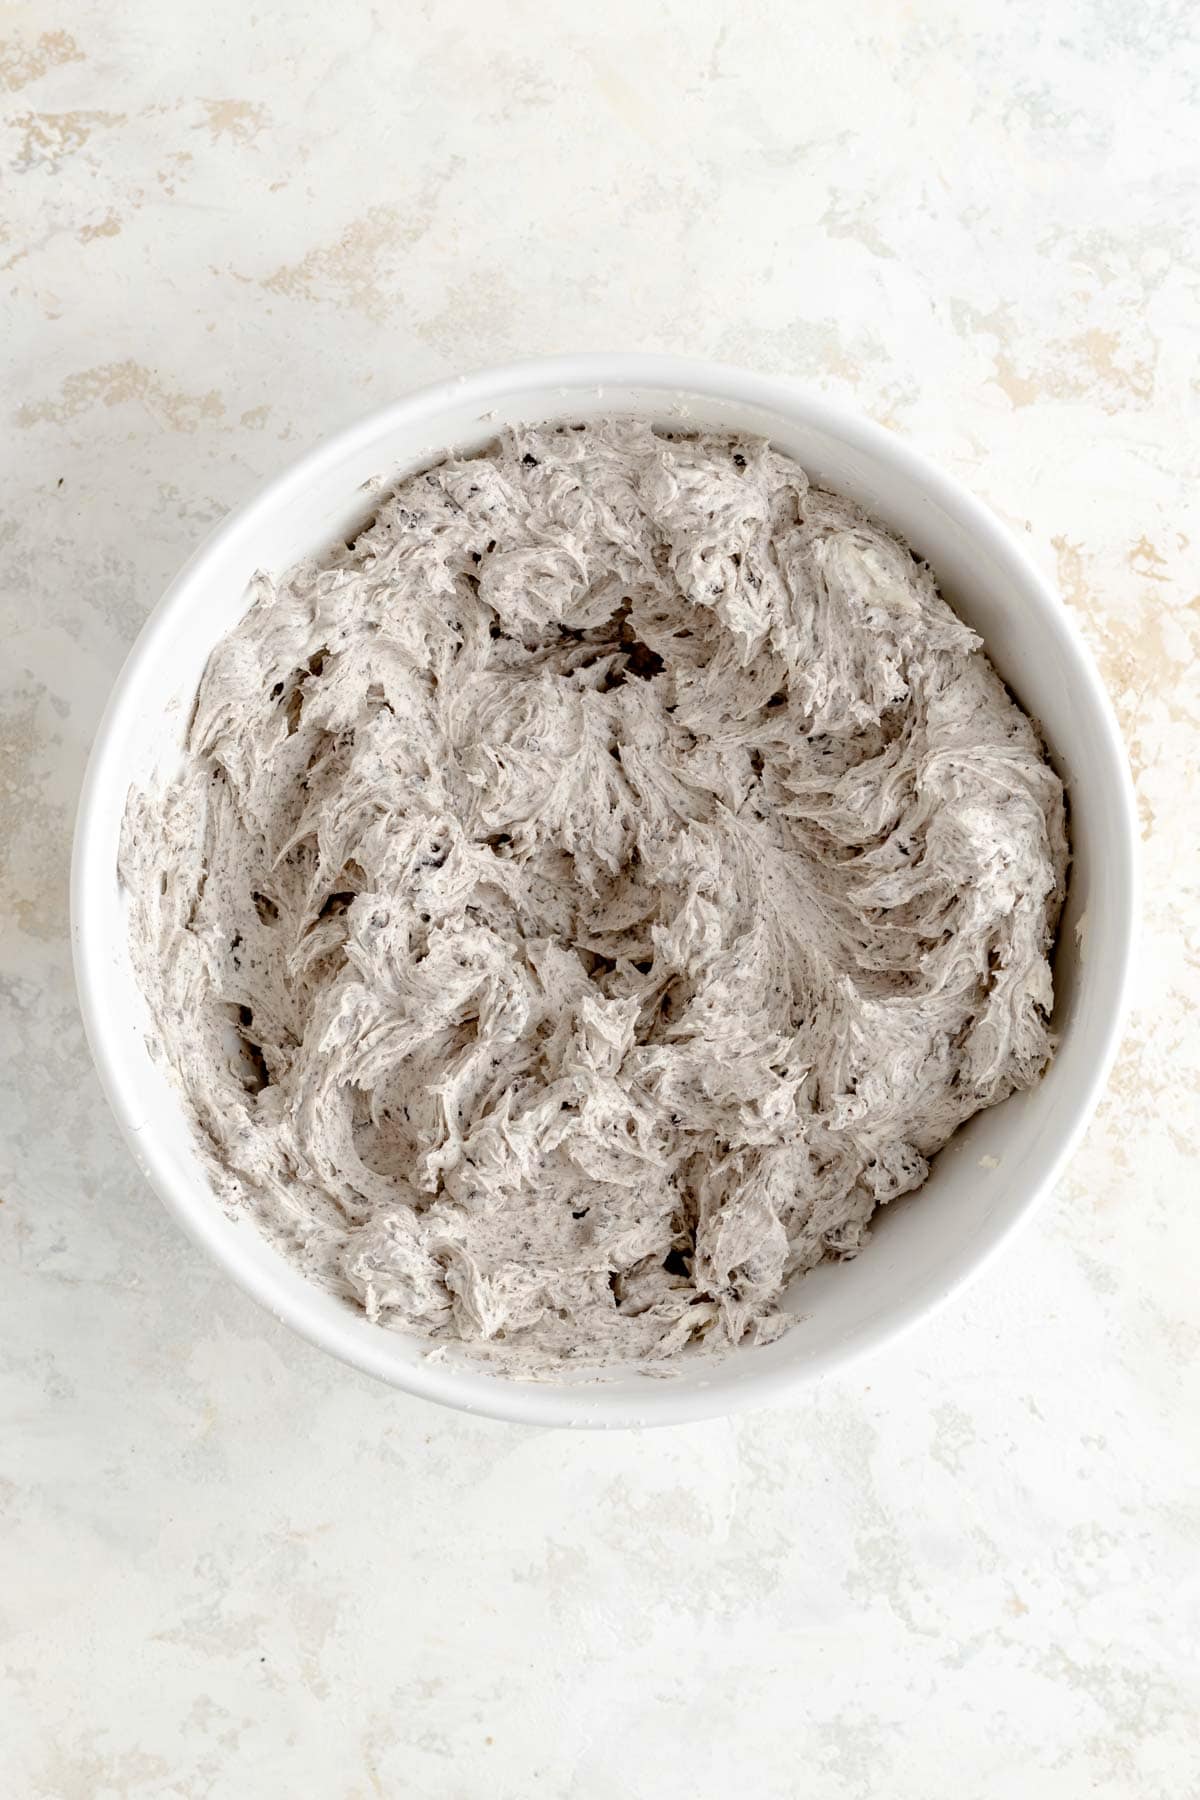
After addition of final third and milk mixture.
Step 3: Gently mix in the crushed Oreos.
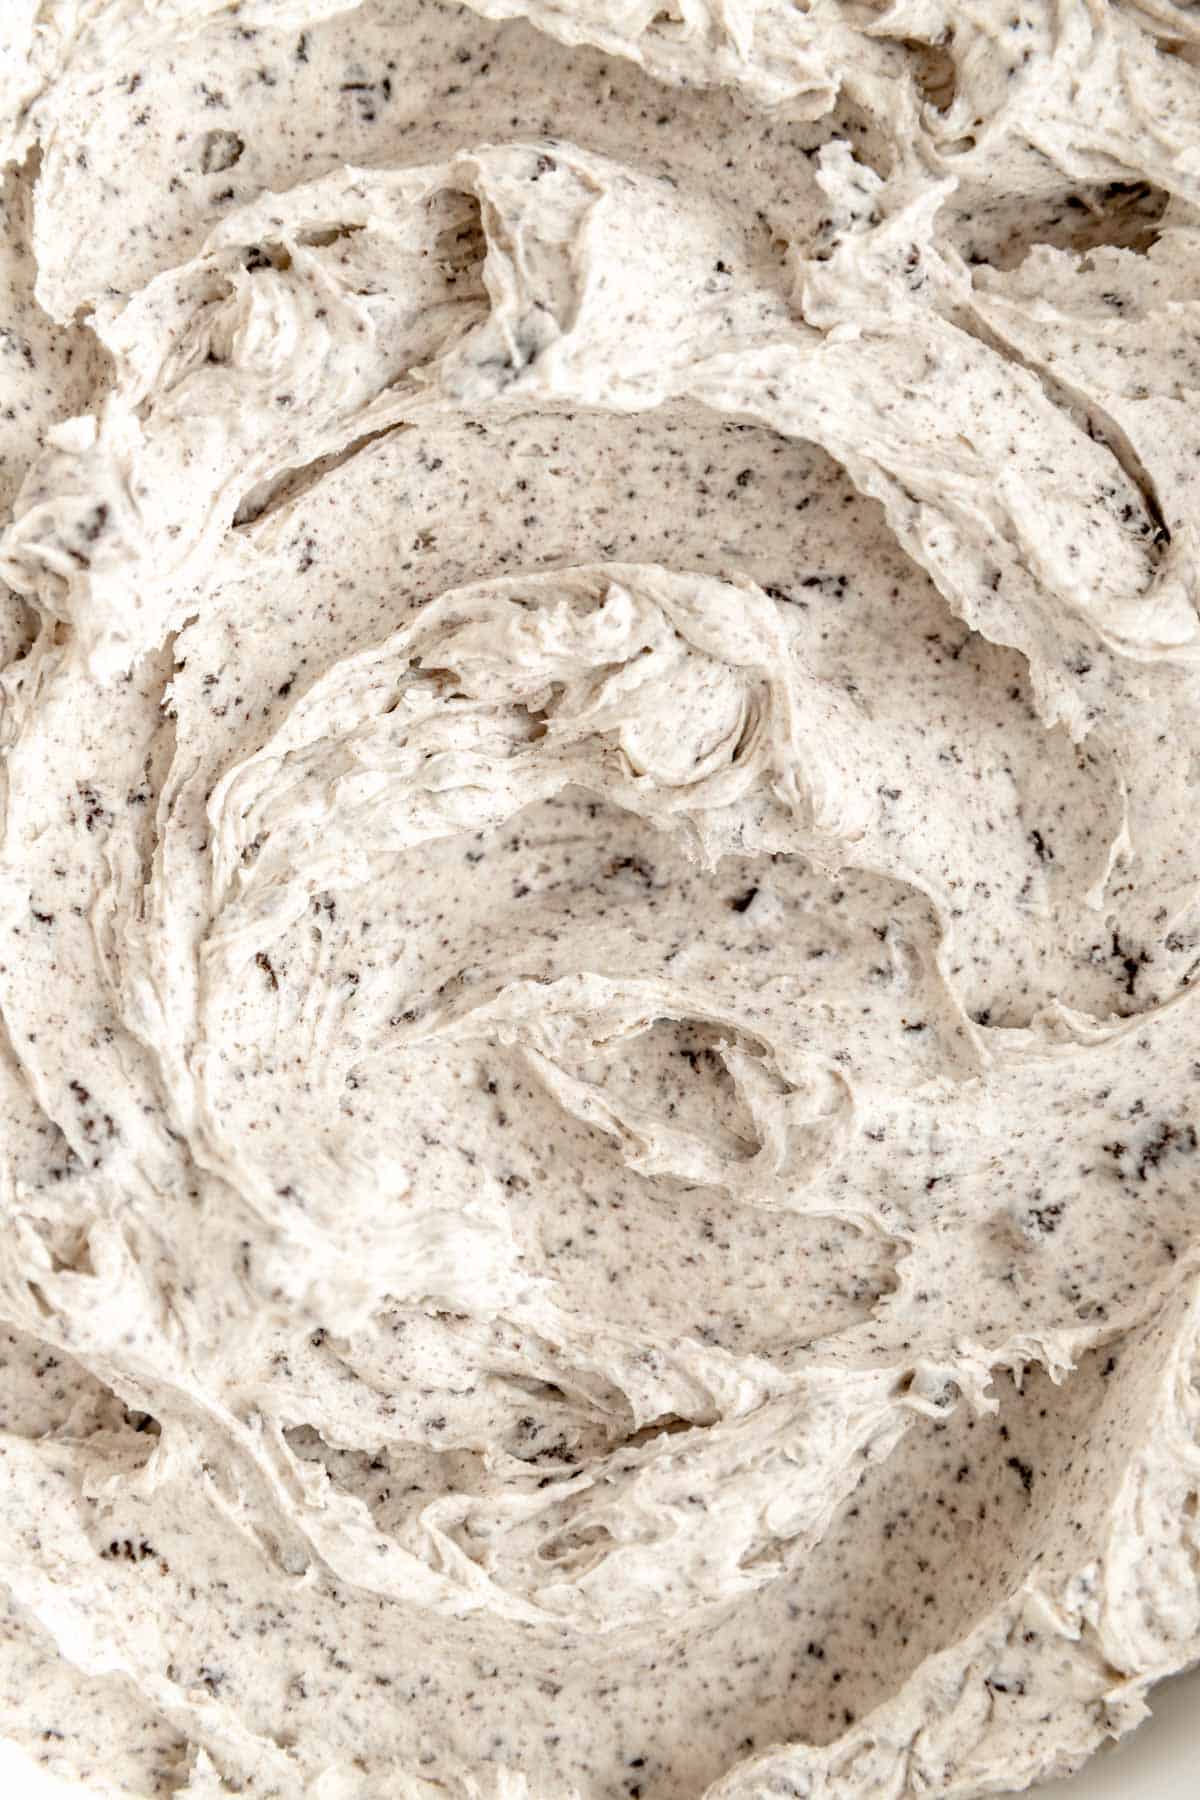
Step 4: Frost, share, and enjoy (or chill until needed)!
For a more detailed list of all these steps, just head down to the recipe card below!
Storage + Freezing
- Making Ahead: This frosting can be made up to 3 days ahead of time, and then re-mixed right before frosting your treats! To do this, allow frosting to come to room temperature on the counter for 2-3 hours, and then briefly remix* right before use to fluff it up.
- Storage: This frosting will keep in the fridge for up to 1 week. It should be stored in the fridge if made before you plan to use it, and then brought back to room temperature and briefly rewhipped* to freshen it up before use.
- Freezing: you can freeze this frosting up to one month and then thaw it in the fridge overnight before rewhipping* it for use.
*Please note that rewhipping this frosting after chilling will change it from a white base with big cookie chunks to a darker base with fine cookie crumbs. See the "Pro Baker Tips" below for more detail.
Pro Baker Tips
- Ingredient prep is key: for quick mix recipes like this one, ingredient prep is super important. You need soft enough butter to not end up with chunks, and you want to sift your powdered sugar well. This will make sure you end up with a nice, smooth frosting.
- Properly dissolving the salt is important! Salt is vital to any recipe to help bring all the other flavors out, and especially to balance what is a naturally very sweet recipe. If it stays in full crystal form, it can't incorporate evenly to balance anything out. Instead, it will be unbalanced itself and you'll noticed unexpected pops of salt next to very sweet frosting. So taking just 20-30 seconds to stir the salt into your liquid will make a huge difference in your final product.
- Whip it good: really taking the time to whip between each stage and having your butter at room temperature. Making sure your fats are soft before whipping will allow them to hold more air, and by mixing well at each stage of this frosting, you'll get a really smooth final product.
- Don't add all the powdered sugar at once: I know it's tempting to skip this step, but you need to add the powdered sugar in batches so it can properly incorporate with the butter. If you add it all at once, it'll clump up instead of smoothing out and result in a less smooth and fluffy frosting.
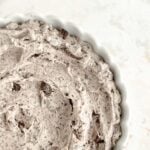
- When vanilla becomes chocolate: when freshly made, this frosting still has a fairly white base, with lots of dark flecking. However, if you chill it and then remix it to smooth it out again, you'll have a chocolate-looking base as the cookies soften up and blend in to darken the color. Both version are delicious and taste great, but if you want a whiter-looking frosting, be sure to make the frosting right when you're going to use it without any chill time.
Recipe FAQs
Well first off, there are actually at least five depending on who you ask. (Although three of them involve cooking eggs, which is usually what people are referring to.)
The Classic Egg-Based Buttercreams:
Italian Buttercream: cooked sugar syrup (water + sugar) is slowly poured into raw whipping egg whites to cook them right in the mixer bowl, with butter added in slowly at the end
Swiss Buttercream: egg whites and sugar are whisked over a double boiler to dissolve the sugar and cook the eggs; then they are whipped on a mixer, with butter slowly added in at the end
French Buttercream: cooked sugar syrup (water + sugar) is slowly poured into raw whipping egg yolks to cook them right in the mixer bowl, with butter added in slowly at the end
The Quick-mix Egg-Free Buttercreams:
American Buttercream: powdered sugar and butter whipped together with a little milk or cream (this recipe for easy chocolate buttercream frosting falls into this category as does our Easy Vanilla Buttercream!)
English Buttercream: powdered sugar and butter whipped together (no liquid)
A 1X batch of this frosting makes about 4 cups when whipped to full volume which is enough to frost one two-layer 8" or 9" round cake, two 9" x 13" sheet cakes, or 36-48 full-sized cupcakes depending on how generous you are with your frosting.
If you need a lot less frosting, feel free to make a half batch!
Yes! Any Oreo flavor and any level of creme stuffing work in this recipe. They will simply change up the flavor to match your selected Oreo as you'd expect.
In theory, it could be, if you use the Gluten-Free Oreos instead of the classic ones.
None of the ingredients in this cookies and cream frosting naturally contain gluten. That said, you'll want to confirm the brands of ingredients you are buying are in fact produced in gluten free facilities as well.
Yes! This frosting has a nice firm consistency that makes it great for piping or filling/coating a cookies and creme cake. (My Quick-Mix Vanilla Sheet Cake would be a great base for this!)
Just be sure to use a big enough round tip that the cookie chunks can pass through when piping (the crushed cookies will clog a small piping tip or a star tip too usually). You can also get around this issue by chilling and remixing the frosting which will much more completely incorporate the cookies into the base, and make it easier to pipe through a tip.
It also makes a delicious filing for macaron and whoopie pies that is stiff enough to not squish out of your sandwich cookies.
Similar Recipes You'll Love

⭐ If you gave this recipe a try please give it a ⭐ rating and tag me on Instagram @mint.and.mallow.kitchen so I can see what you're baking up! ⭐
📖 Full Recipe
Cookies and Cream Frosting
Ingredients
- 2 tablespoons milk or cream
- 1 tablespoon vanilla extract
- ¼ teaspoon salt
- 1 ¼ cups (2 ½ sticks) unsalted butter, softened (see tips)
- 5 cups powdered sugar (sifted)
- 16 well-crushed Oreo cookies (about 1 ½ cups)
Instructions
- Dissolve salt in milk and extract: combine milk and vanilla in a small dish. Stir in salt for 20-30 seconds to dissolve.
- Crush the Oreos: place the Oreos in a well-sealed zip-top bag. Use a rolling pin, wine bottle, or can to roll back and forth over the Oreos until they’re fairly well crushed (pea-sized pieces or smaller). You can alternatively chop the cookies up on a cutting board. Beware, if you have large pieces, it will make it harder to frost your cake/cupcakes.
- Beat butter: beat butter with a stand or hand mixer for 1 minute on medium speed until smooth.
- Add sugar in three batches: add a third of the sifted powdered sugar to the butter and mix briefly on low to incorporate, then beat on medium-high speed for 1 minute until light and fluffy. Repeat that process with the two remaining batches of powdered sugar until all sugar has been added. The frosting should be very light and fluffy, and have significantly increased in volume (see notes).
- Add in milk: add in milk mixture (be sure to scrape in the salt from the bottom of the container), and beat on low just to roughly incorporate ingredients, then medium-high for 1 minute until liquid is fully incorporated and frosting is fluffy again.
- Add Oreos: mix crushed Oreos in on medium speed until evenly distributed.
- Frost or chill: frost cake or cupcakes immediately if desired, or store covered in the fridge (see notes regarding color change of chilled frosting).
Test Kitchen Tips
- Soft butter: make sure your butter is properly soft for this recipe as you'll need soft, creamy butter to properly whip it into a light and fluffy buttercream. I also recommend using a higher quality butter as the flavor is really going to come through in this recipe.
- Powdered Sugar Addition: when adding the last third, if needed, you can add the milk mixture as well from the next step if the final sugar isn't wanting to incorporate easily for you.
- Oreo Cream Cheese Frosting: you can substitute in ½ cup cream cheese for ½ cup butter to make a Cookies and Cream Cream Cheese Frosting. In that case, you'd use ¾ cups (1 ½ stick) butter and ½ cup (half of an 8 oz brick) of cream cheese and proceed with the recipe as written.
- Piping tips: be sure to use a big enough round tip that the cookie chunks can pass through when piping this frosting (the crushed cookies will clog a small piping tip or a star tip too usually). Mixing after a chill will also help more fully incorporate the cookies, create a darker base with finer crumbs, and make piping/smoothing the frosting on a cake a bit easier.
- Don’t chill and remix unless you want it to be chocolate: when freshly made, this frosting still has a fairly white base, with lots of dark, chunky bits. However, if you chill it and then remix it to smooth it out again, you'll have a chocolate looking base as the cookies soften up and blend in to darken the color. Both version are delicious and taste great, but if you want a whiter-looking frosting, be sure to make the frosting right when you're going to use it without any chill time.
- Big batch frosting: this recipe makes a lot of frosting. A 1X batch makes about 4 cups when whipped to full volume which is enough to frost one two-layer 8" or 9" round cake, two 9" x 13" sheet cakes, or 36-48 full-sized cupcakes depending on how generous you are with your frosting.









Comments
No Comments