


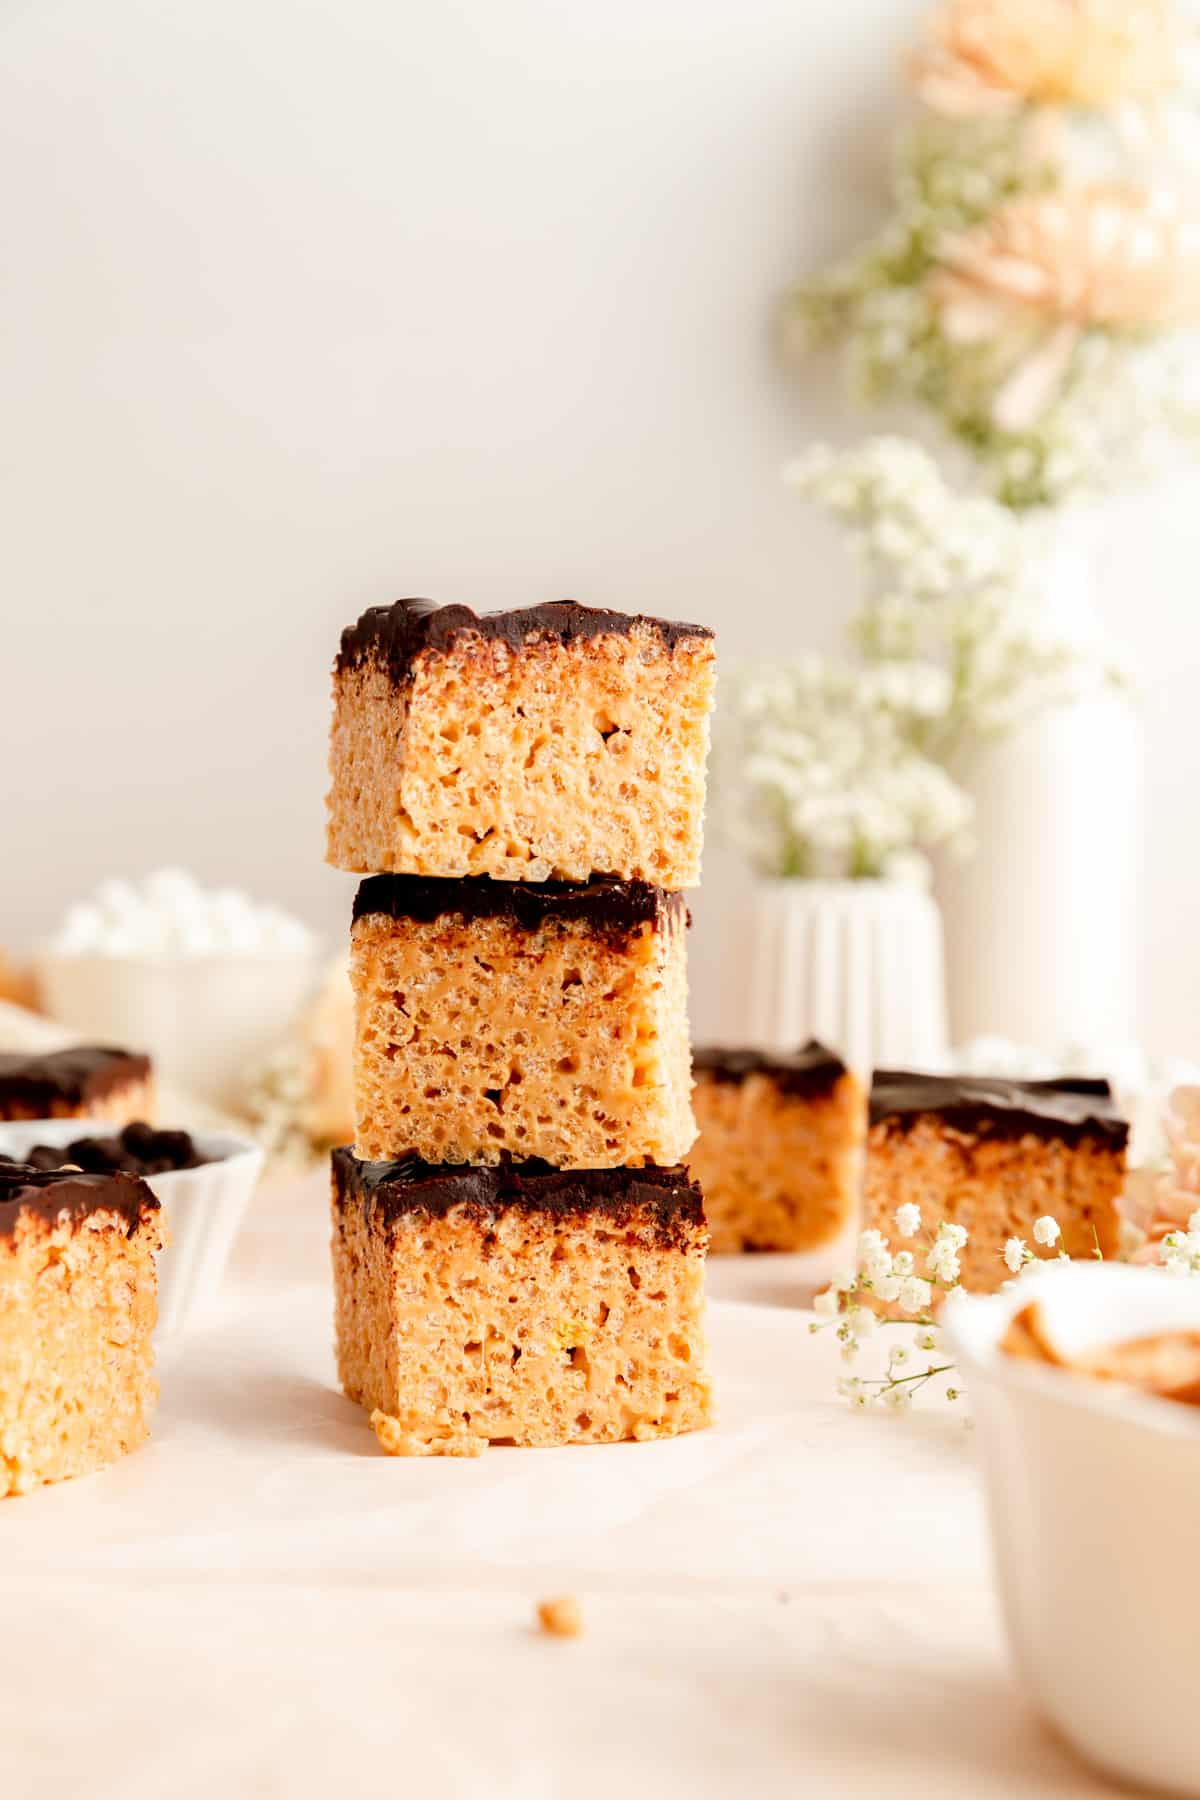
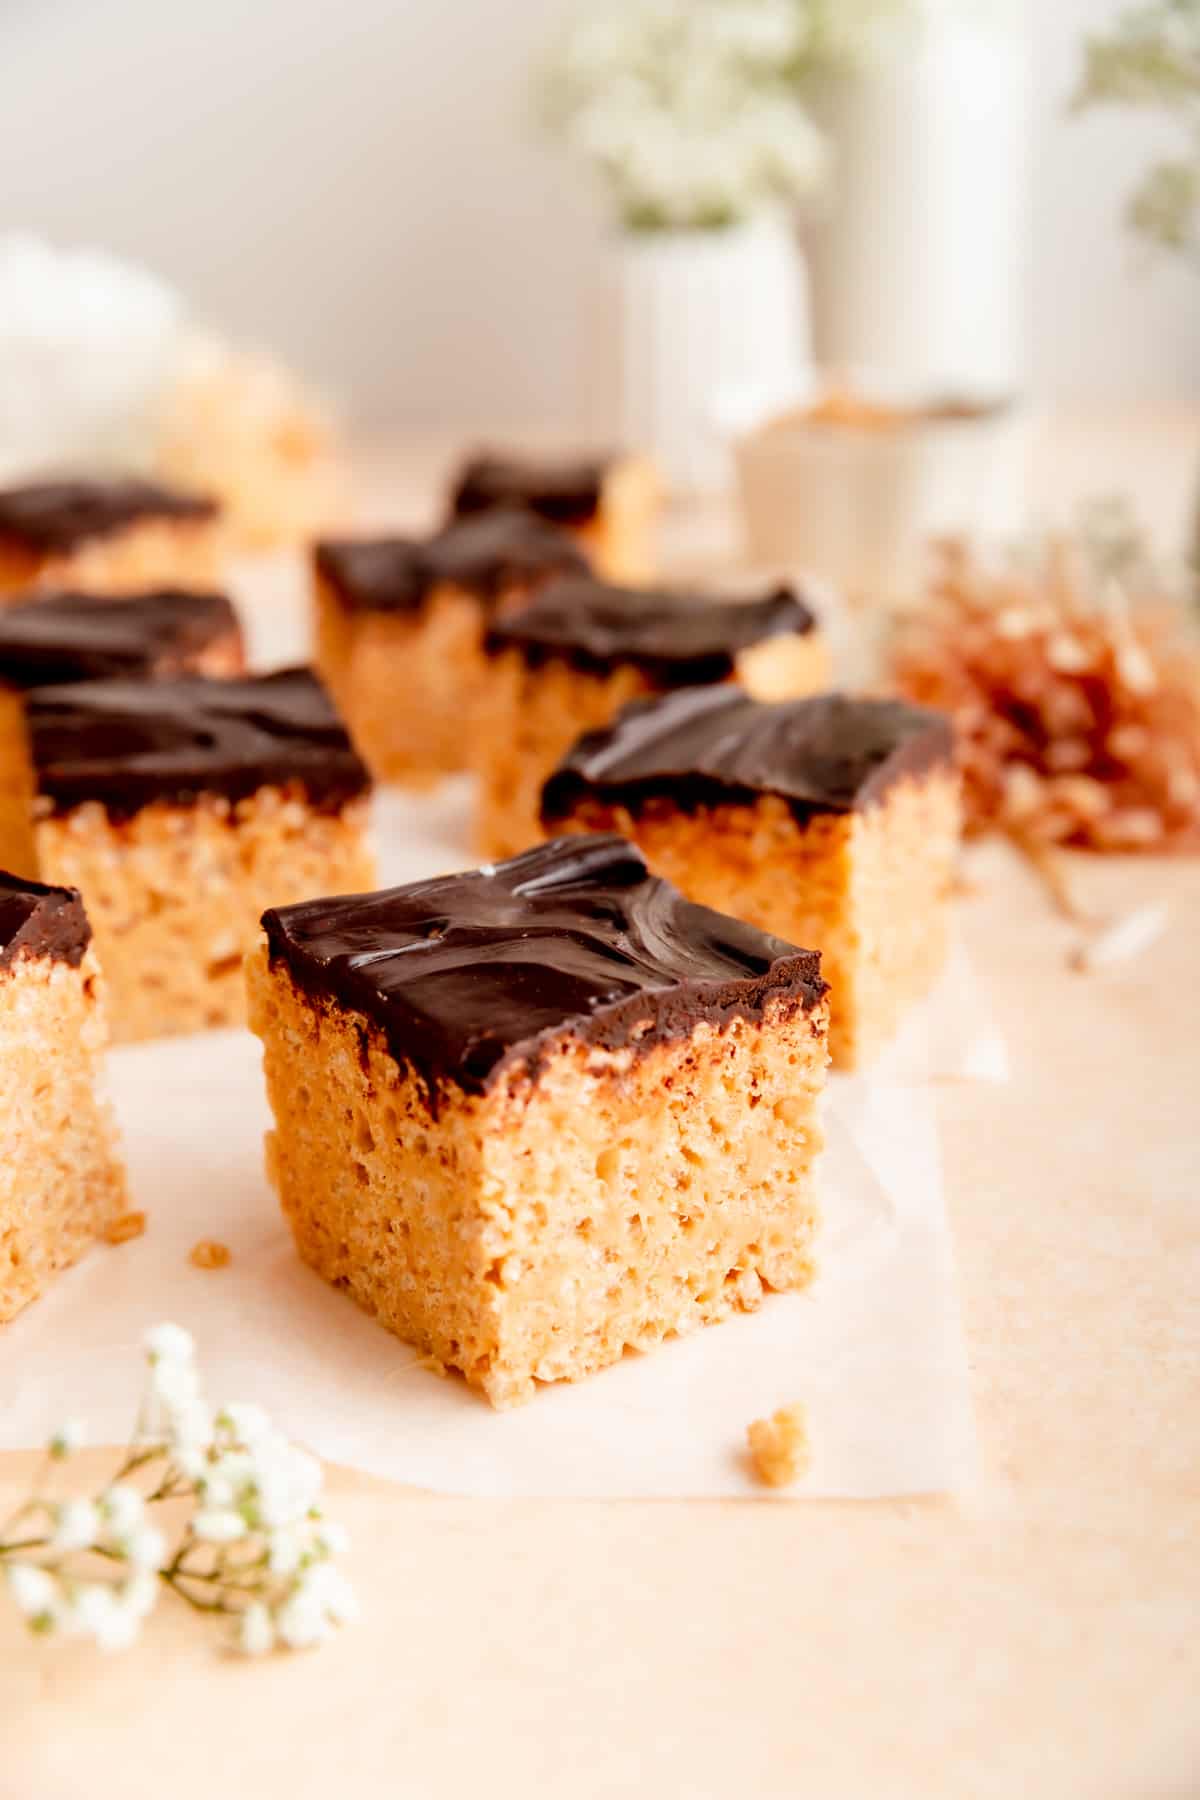
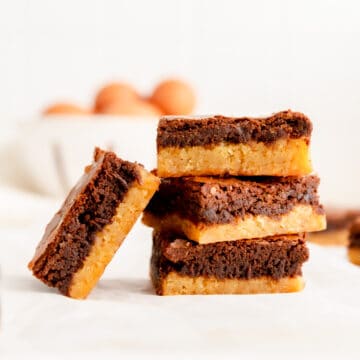
These Rice Krispie Peanut Butter Bars with chocolate ganache frosting on top are no bake, quick to measure, and have everything you love about an old-fashioned rice krispie treat combined with one of the best flavor pairings in history. With a full video tutorial, I'll show you just how to make these easy and delicious chocolate peanut butter rice krispies treats!
Jump to (scroll for more!):
A Decadent Update of an Old-Fashioned Treat
Rice krispie treats were a staple in my household growing up and few desserts carry more nostalgia for me than cereal bars.
My brother in particular didn't have the sweet tooth to match the rest of the family, so he'd often get rice krispie treat "cakes" as one of the only treats he really enjoyed for his birthday.
While I love me a classic rice krispie bar, this particular variation takes things to the next decadent, delicious level. I mean, when peanut butter and chocolate combine forces, you really can't ever go wrong!
That said, if you're a peanut butter purist, you'll love substituting my Quick n' Easy Peanut Butter Ganache as the topping instead for double the peanut butter flavor.
Rice krispie treats really aren't hard to make, but they certainly can make a very sticky mess of your kitchen. So I have written a lot of detail into this recipe (even though it's actually a simple process) to make sure you're set up for sweet success, and that you don't have peanut butter marshmallow goo on every surface in your kitchen when you're finished.
So take some time to read through the tips, check out some of the ingredient notes, and then watch the video to see how it done. After that, get to mixing up these delicious no bake bars for a chocolate peanut butter rice krispy treat extravaganza!
Ingredient Tips for Better Baking
(Pssst…if you're ready to just get baking, get all the details in the recipe card below!)
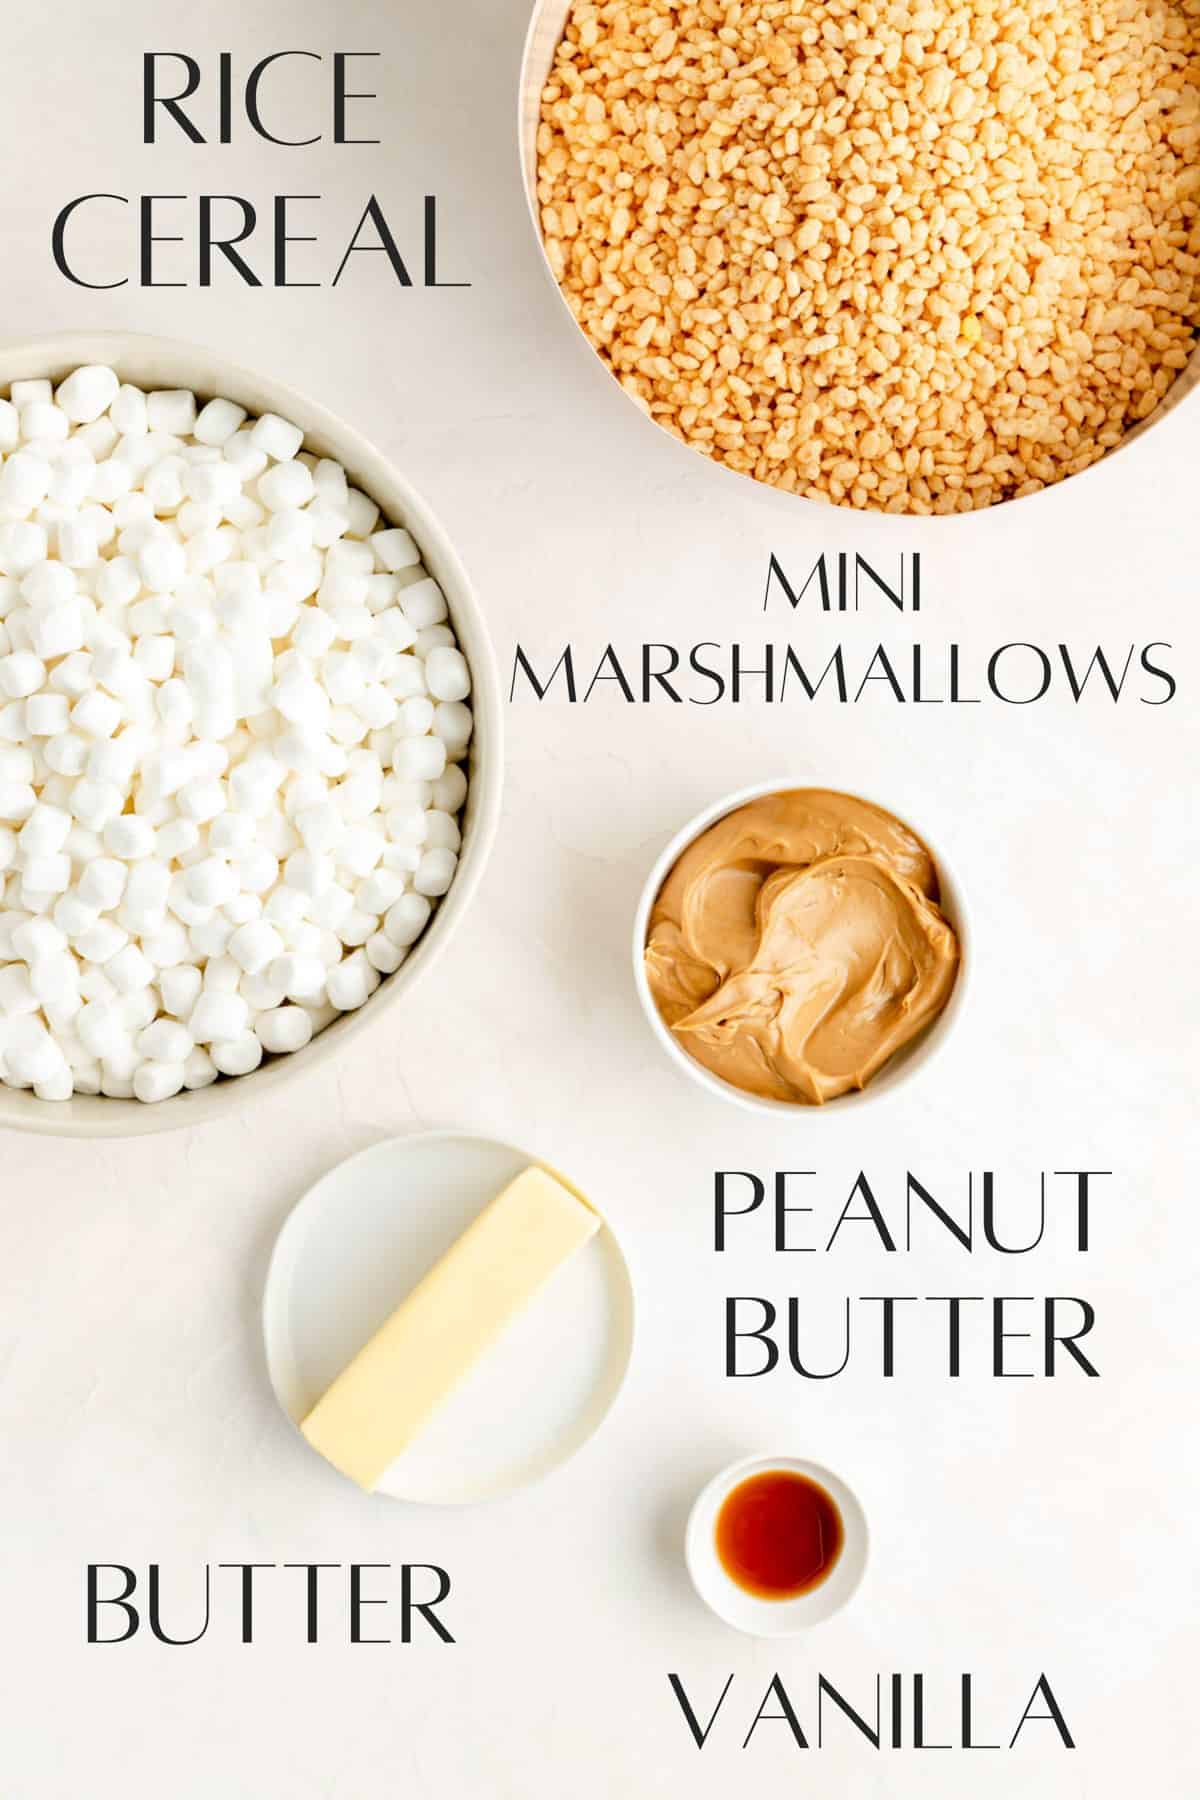
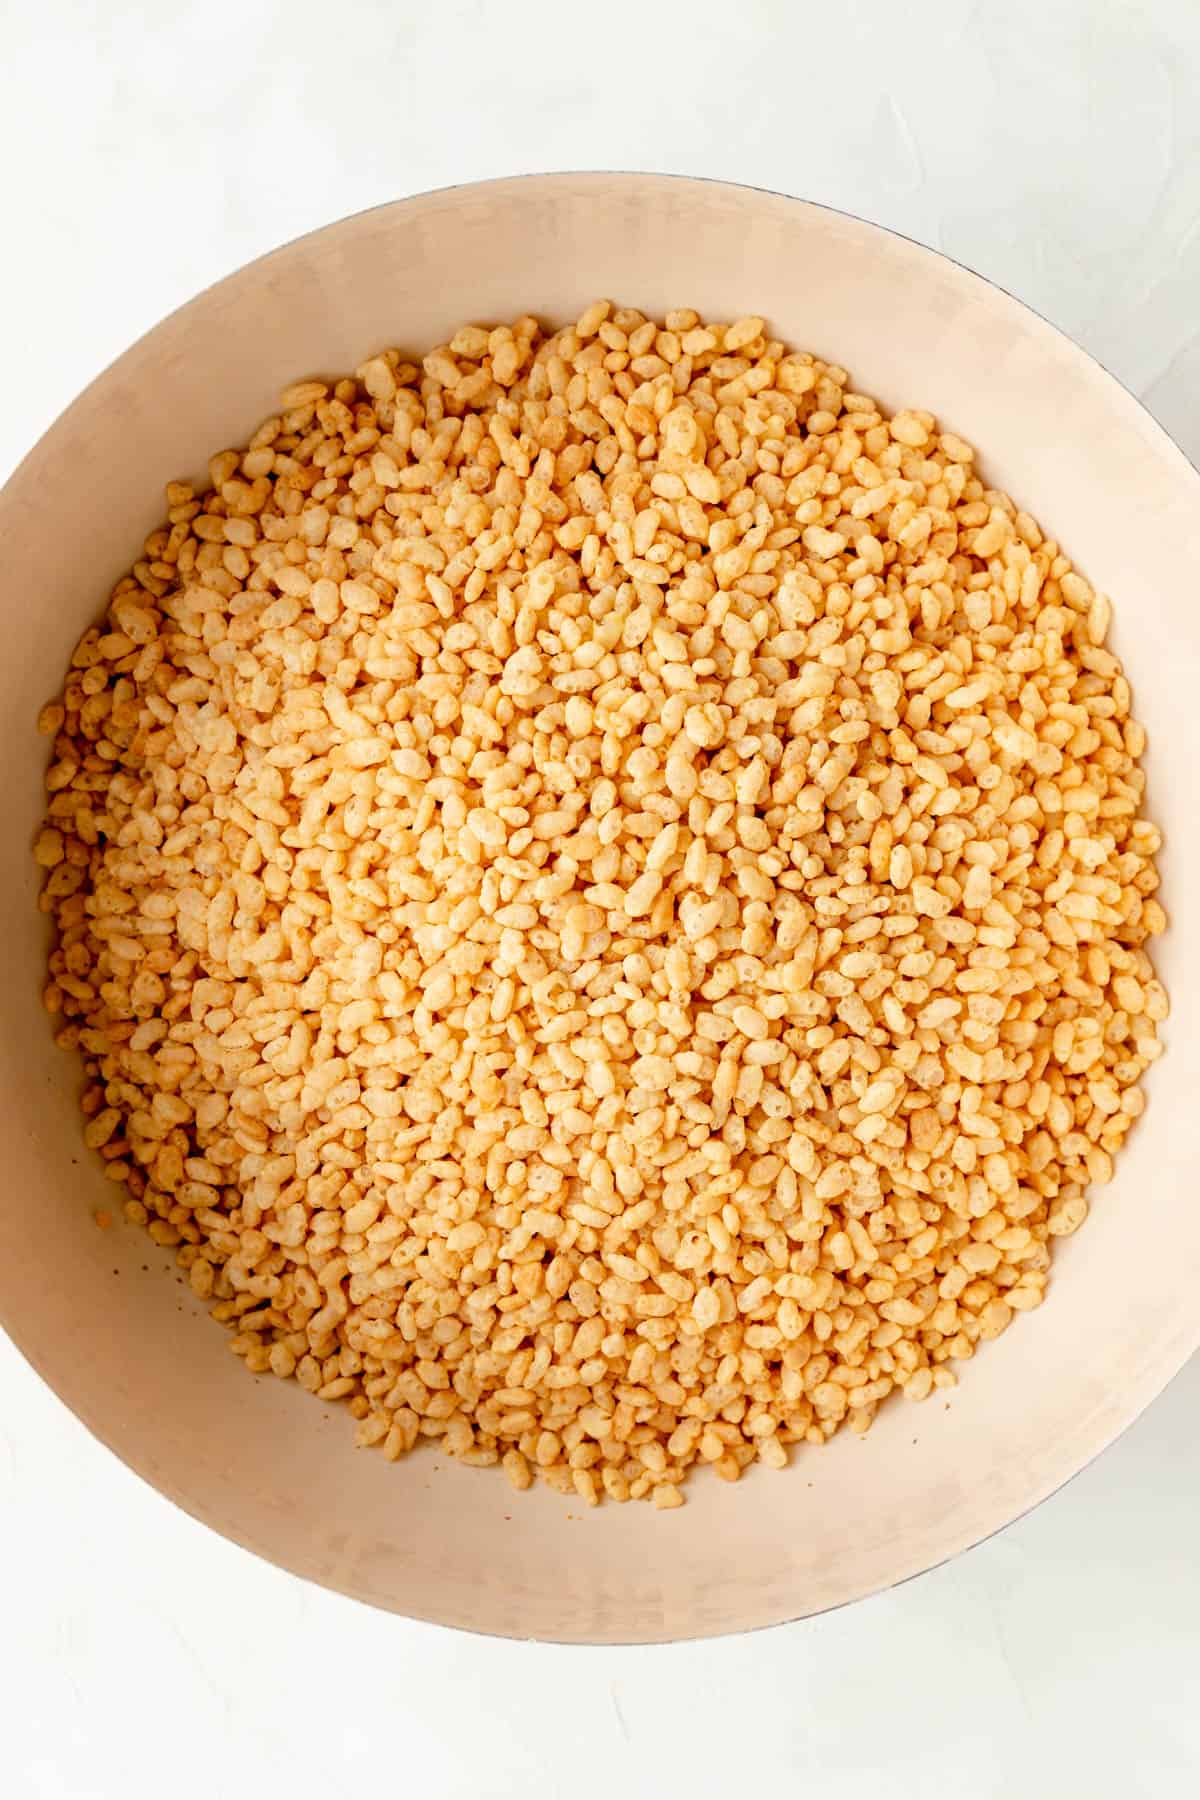
- Rice Krispies Cereal: we're just using the classic cereal here and we're using a full 12 oz box for ease. Make sure you grab that size instead of the "family size" if you'd prefer to not have any leftovers.
- Marshmallows: mini marshmallows are much easier to work with when melting, but in a pinch you can use big ones too; just see the recipe card notes for details on melting differences. We'll use exactly three 10 oz. bags, so make sure to purchase that size so you don't even have to do any measuring. You can just cut open the bags and dump them in!
- Peanut butter: you'll want to go for the classic "creamy" peanut butter for this recipe. I don't recommend freshly or chunky peanut butter because they won't melt as well. If you like the idea of having peanuts in the bars, feel free to toss 1 cup of chopped peanuts into the marshmallow goo right after taking it off the heat, so it'll still seam like you use "chunky" PB, but you won't have to worry about the nuts making the melting process trickier or burning.
- Vanilla extract: the vanilla extract isn't technically required if you don't have it on hand, but it helps round everything out so I highly recommend it.
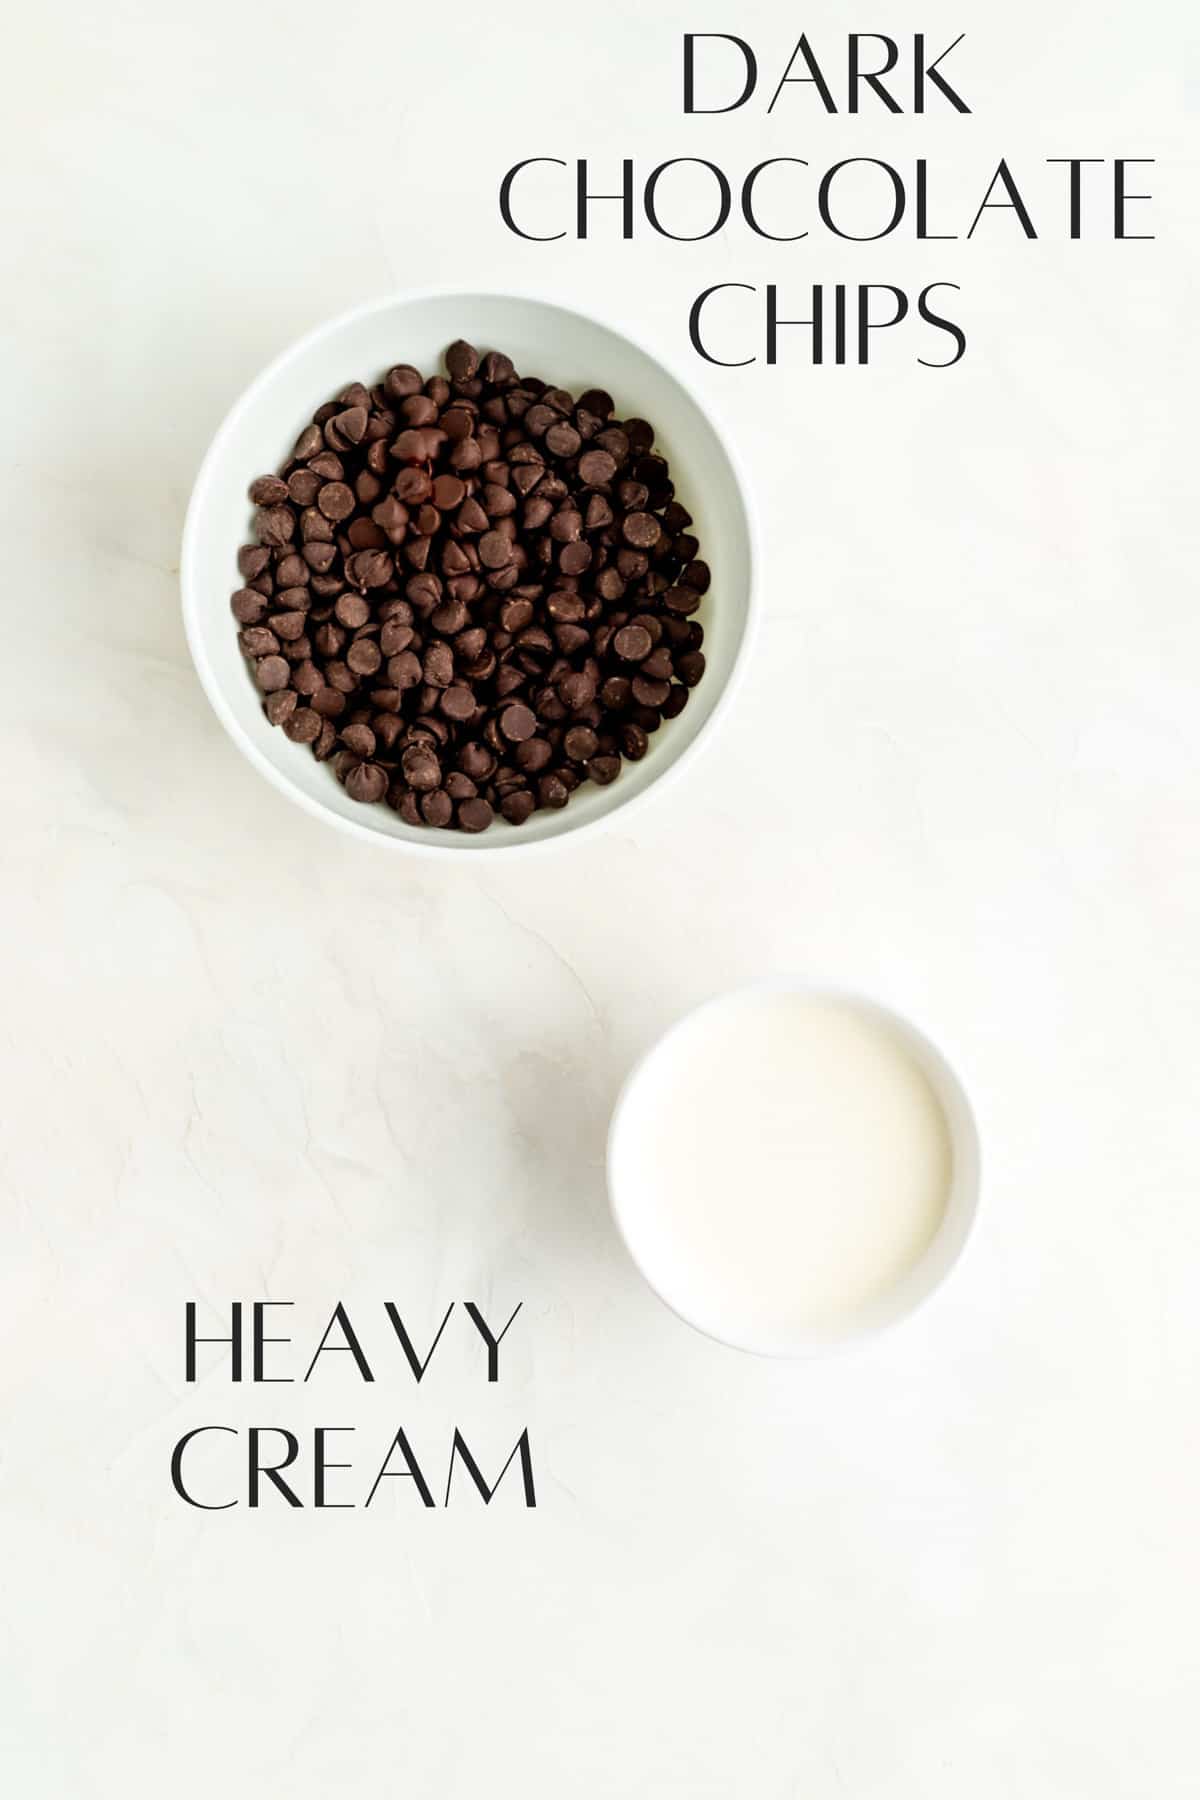
- Dark chocolate: I really like a bittersweet dark chocolate in this recipe because the peanut butter bars themself are quite sweet. However if you'd like to use a different type of chocolate or no ganache at all, see the FAQs section below for tips on how to do that.
- Heavy Cream: because fat content varies between all the creams, you want to make sure you get "heavy" cream, not "light," "whipping," or "half-and-half." While those other creams will probably still produce a ganache, they all have a different amount of fat which will change the texture of the final product. Using the heavy cream, you'll find it's spreadable after a quick chill, and thickens to be easily sliced.
(p.s. for all the basic tips that no one ever taught you, that are super important to help you bake your best, check out my Baking 101 series!)
Special Tools You'll Need
While there's no "special" equipment, using the proper equipment for this recipe is extra important to not end up with a gooey mess! Make sure you have a really big bowl and a good-sized pot. The bowl needs to be reasonably heat-safe too.
If you only have smaller mixing bowls, you can even mix in a roasting pan or extra-large pot for the cereal + marshmallow goo mixing step. Or even just pick up one of the disposable aluminum turkey-roaster pans as a last resort to mix your recipe in.
Whatever you need to do to whip up these treats soon, I promise will be worth it!
How to Make Peanut Butter Rice Krispie Treats
(Pssst…if you're ready to just get baking, get all the details in the recipe card below!)
TO MAKE THE GANACHE:
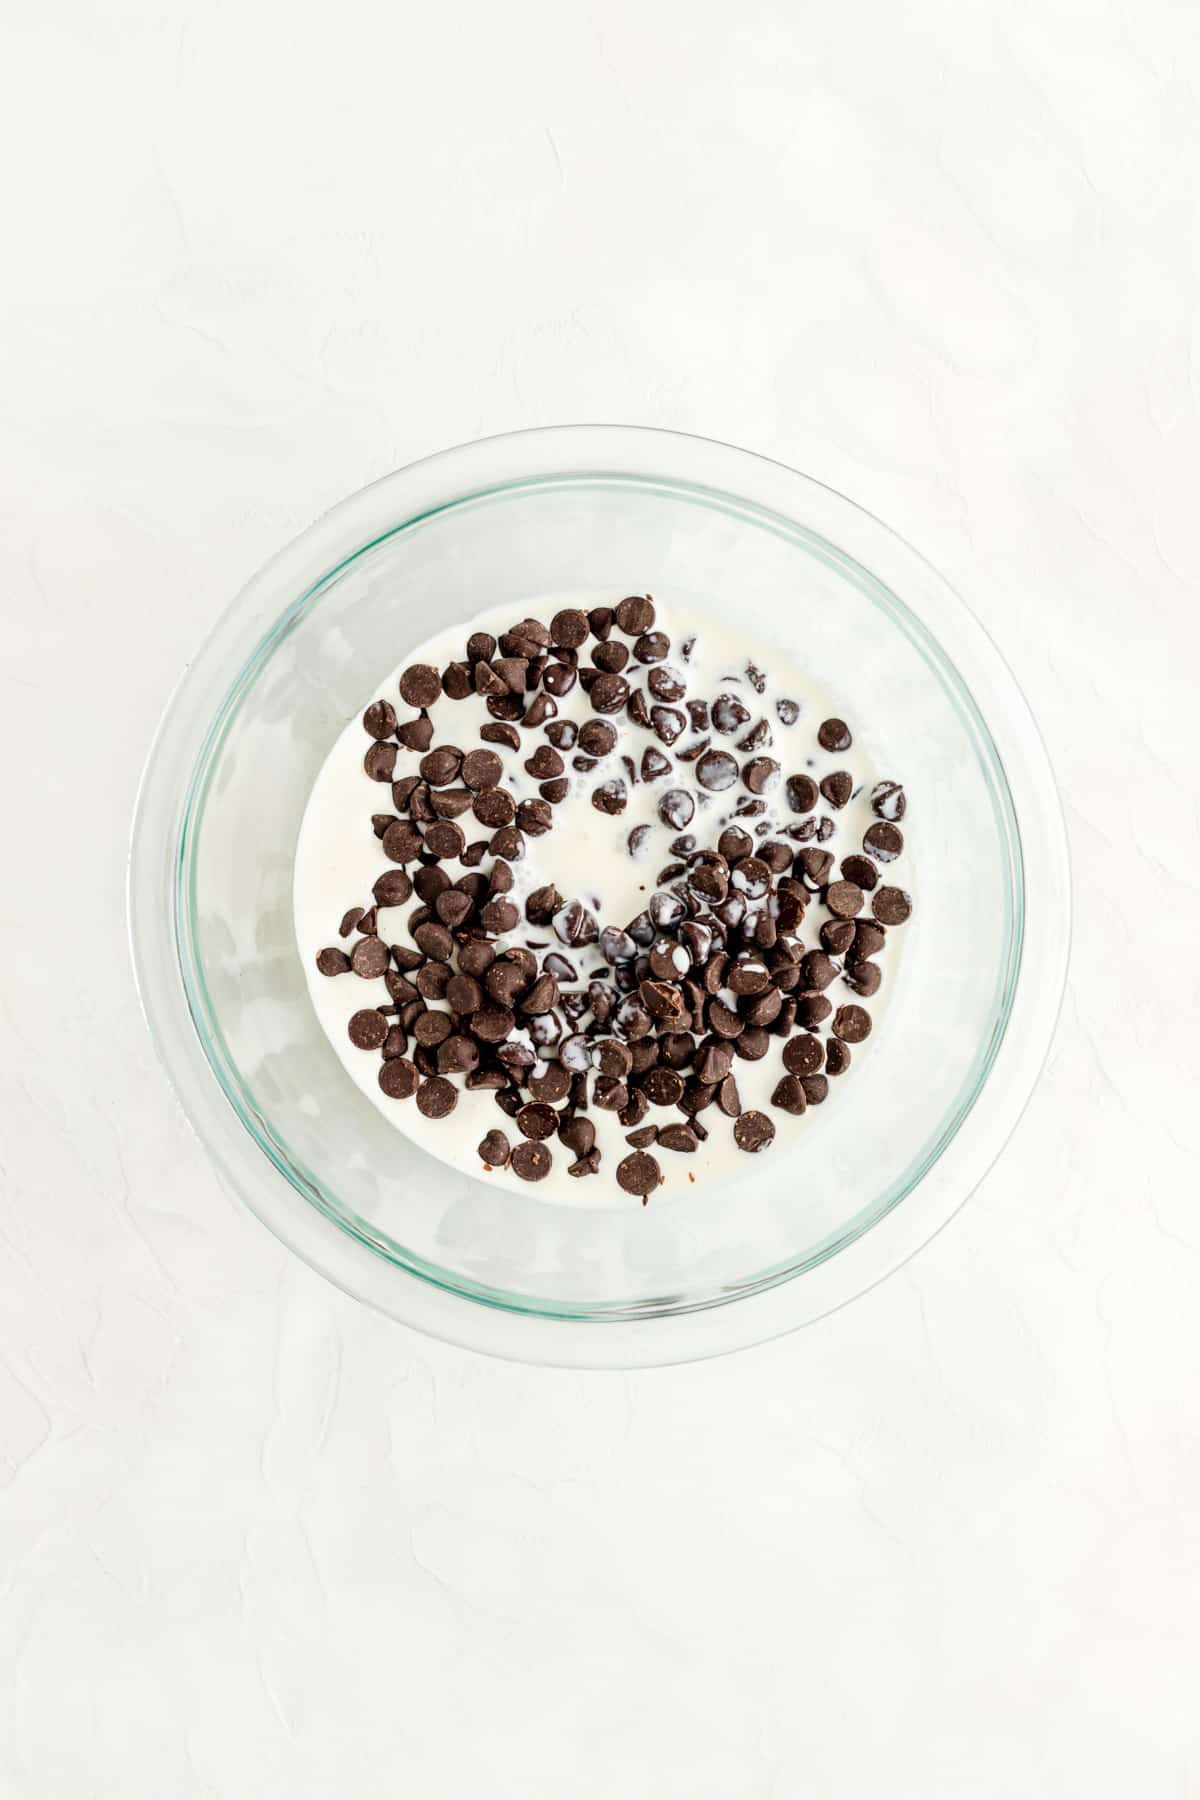
- Add chocolate and cream to a microwave-safe glass pitcher or bowl with plenty of room to stir.
- Melt the chocolate in the cream in several rounds in the microwave and stir to fully blend.
- Place ganache in the fridge to thicken slightly for 15-20 minutes until it reaches a spreadable texture while you work on making the peanut butter bars.
TO MAKE THE BARS:
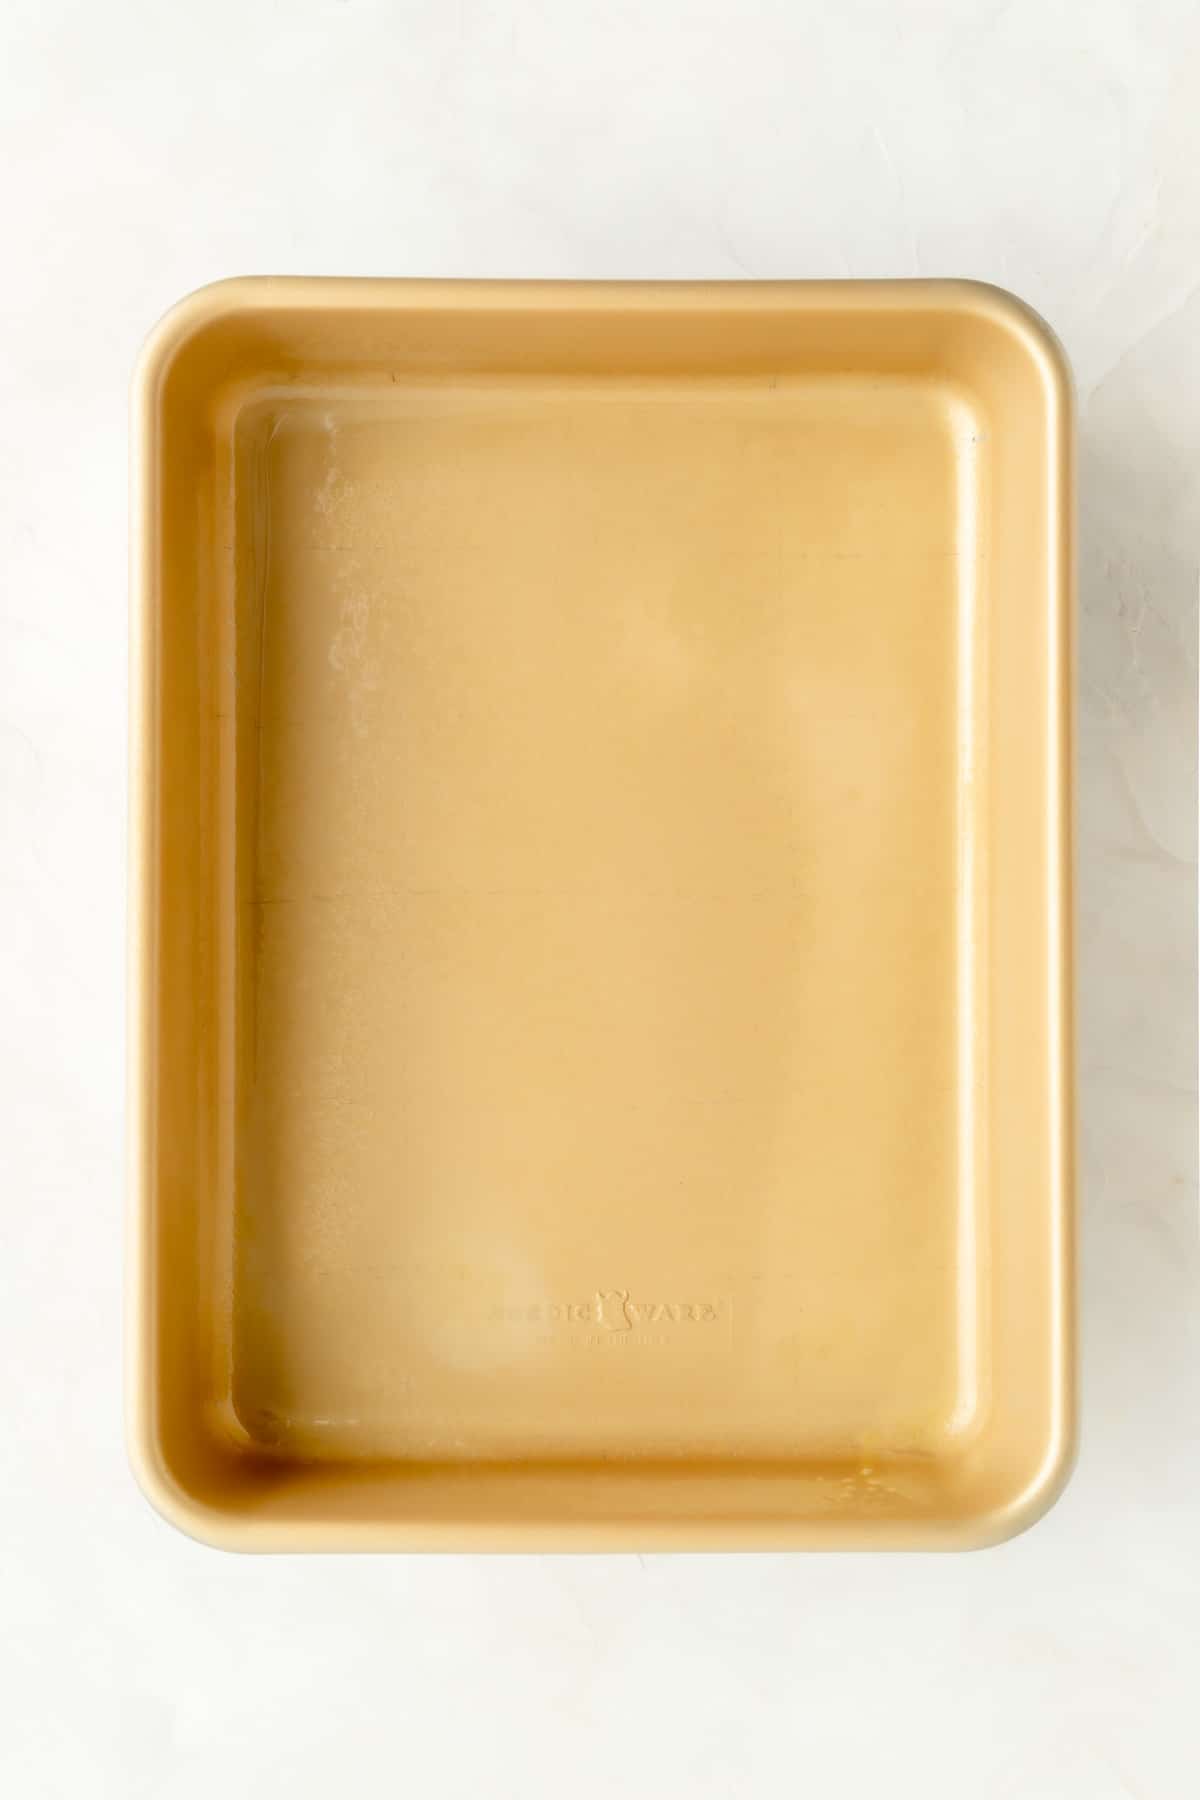
- Heavily grease your largest mixing bowl, your largest spatula, and a 9" by 13" pan. (see FAQs for pan resizing tips)
- Set up your workspace with everything you need once the peanut butter marshmallows are ready: the mixing bowl, spatula, pan, and a hot pad or cooling rack for hot marshmallow pan on.
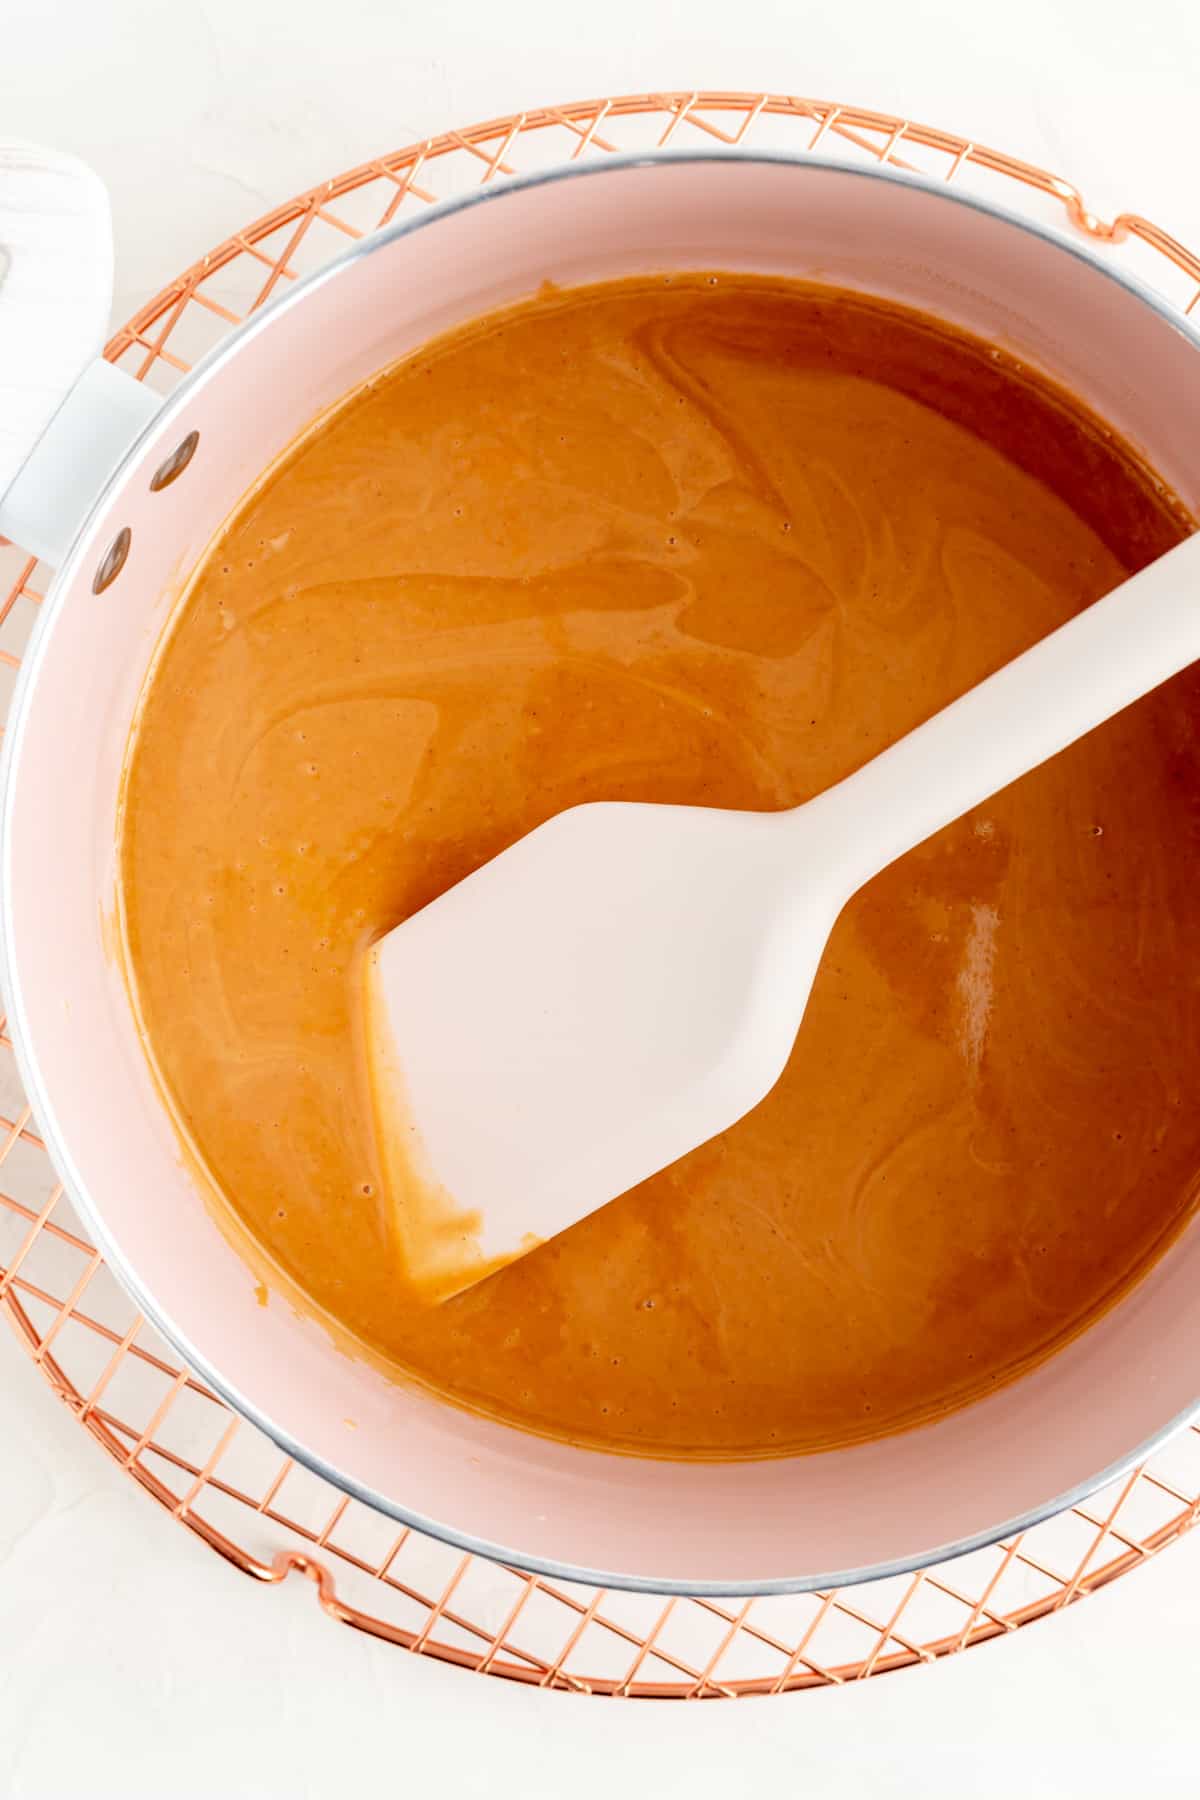
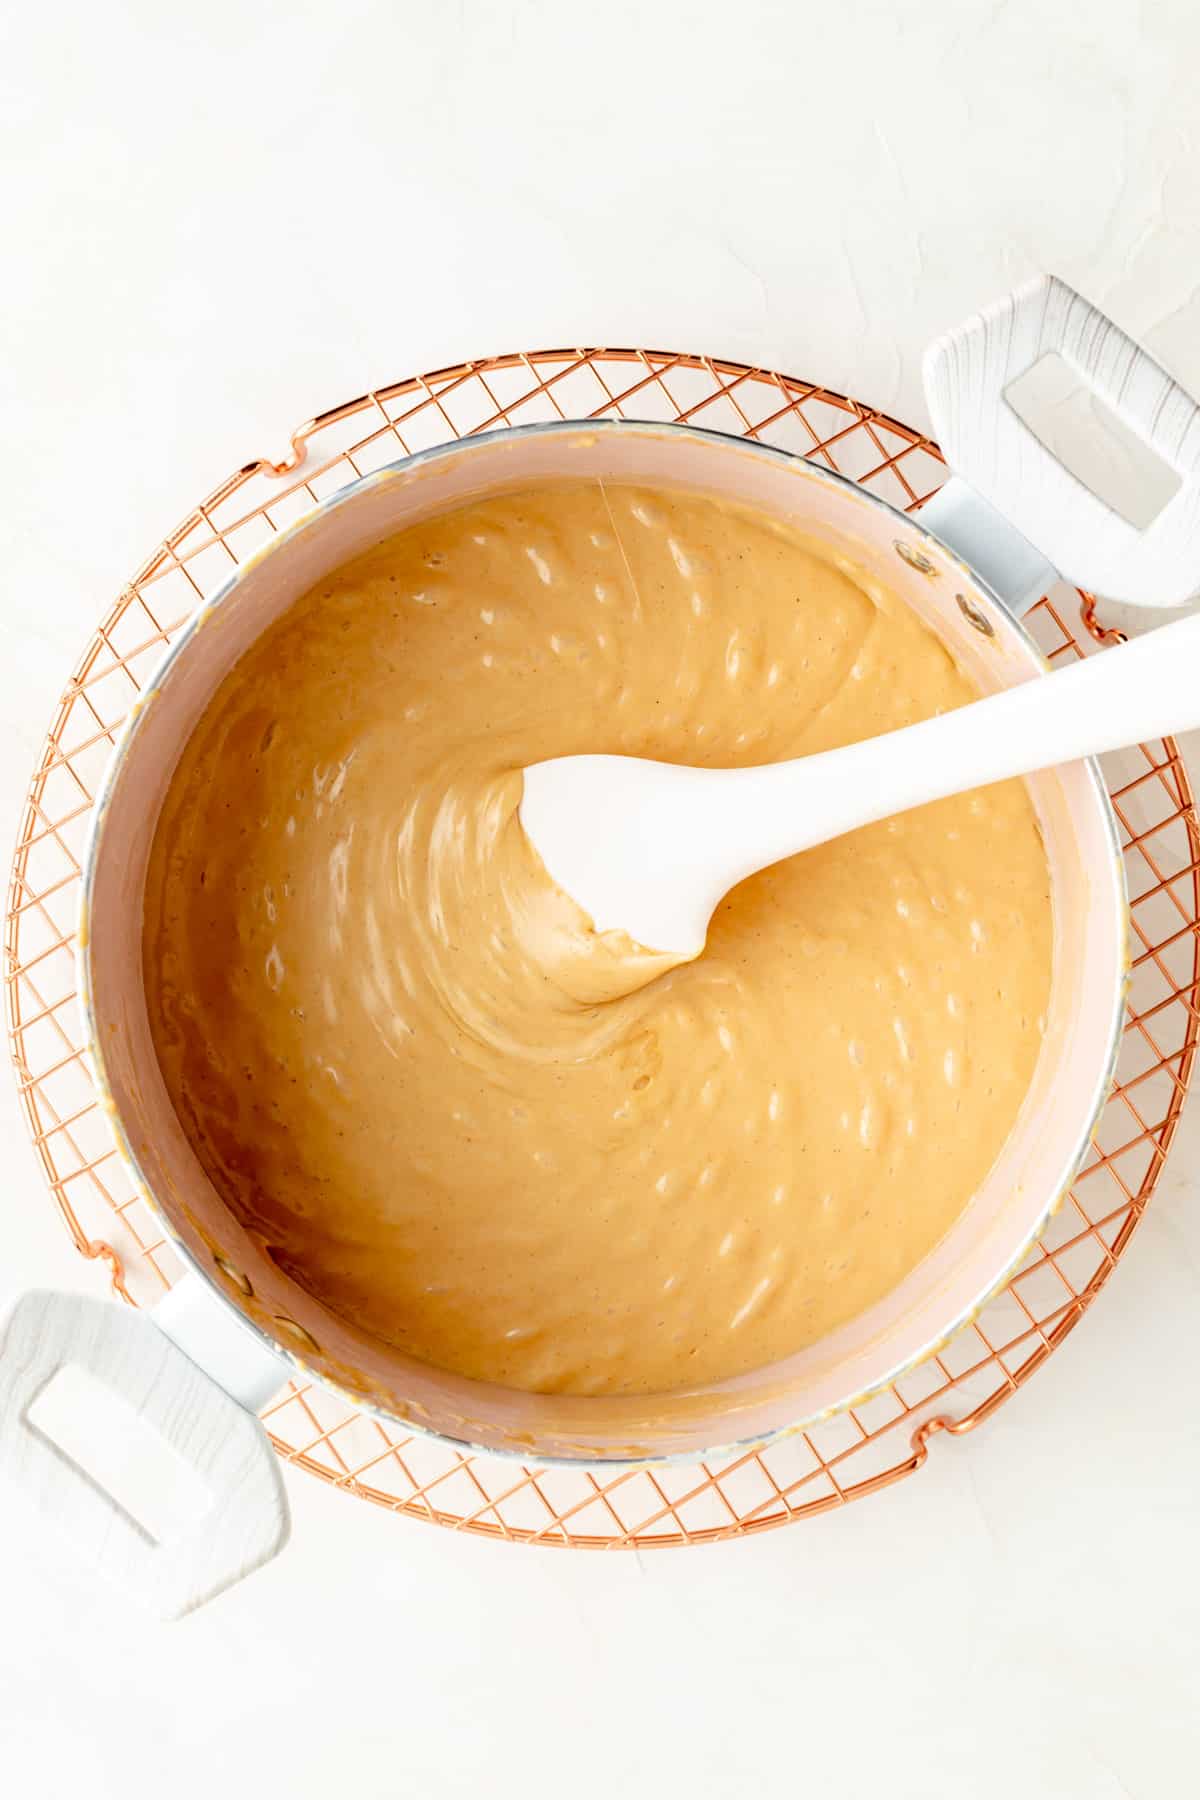
- Melt butter and peanut butter together in a large pan over medium heat.
- Once the butter and peanut butter are melted, stir in the vanilla extract.
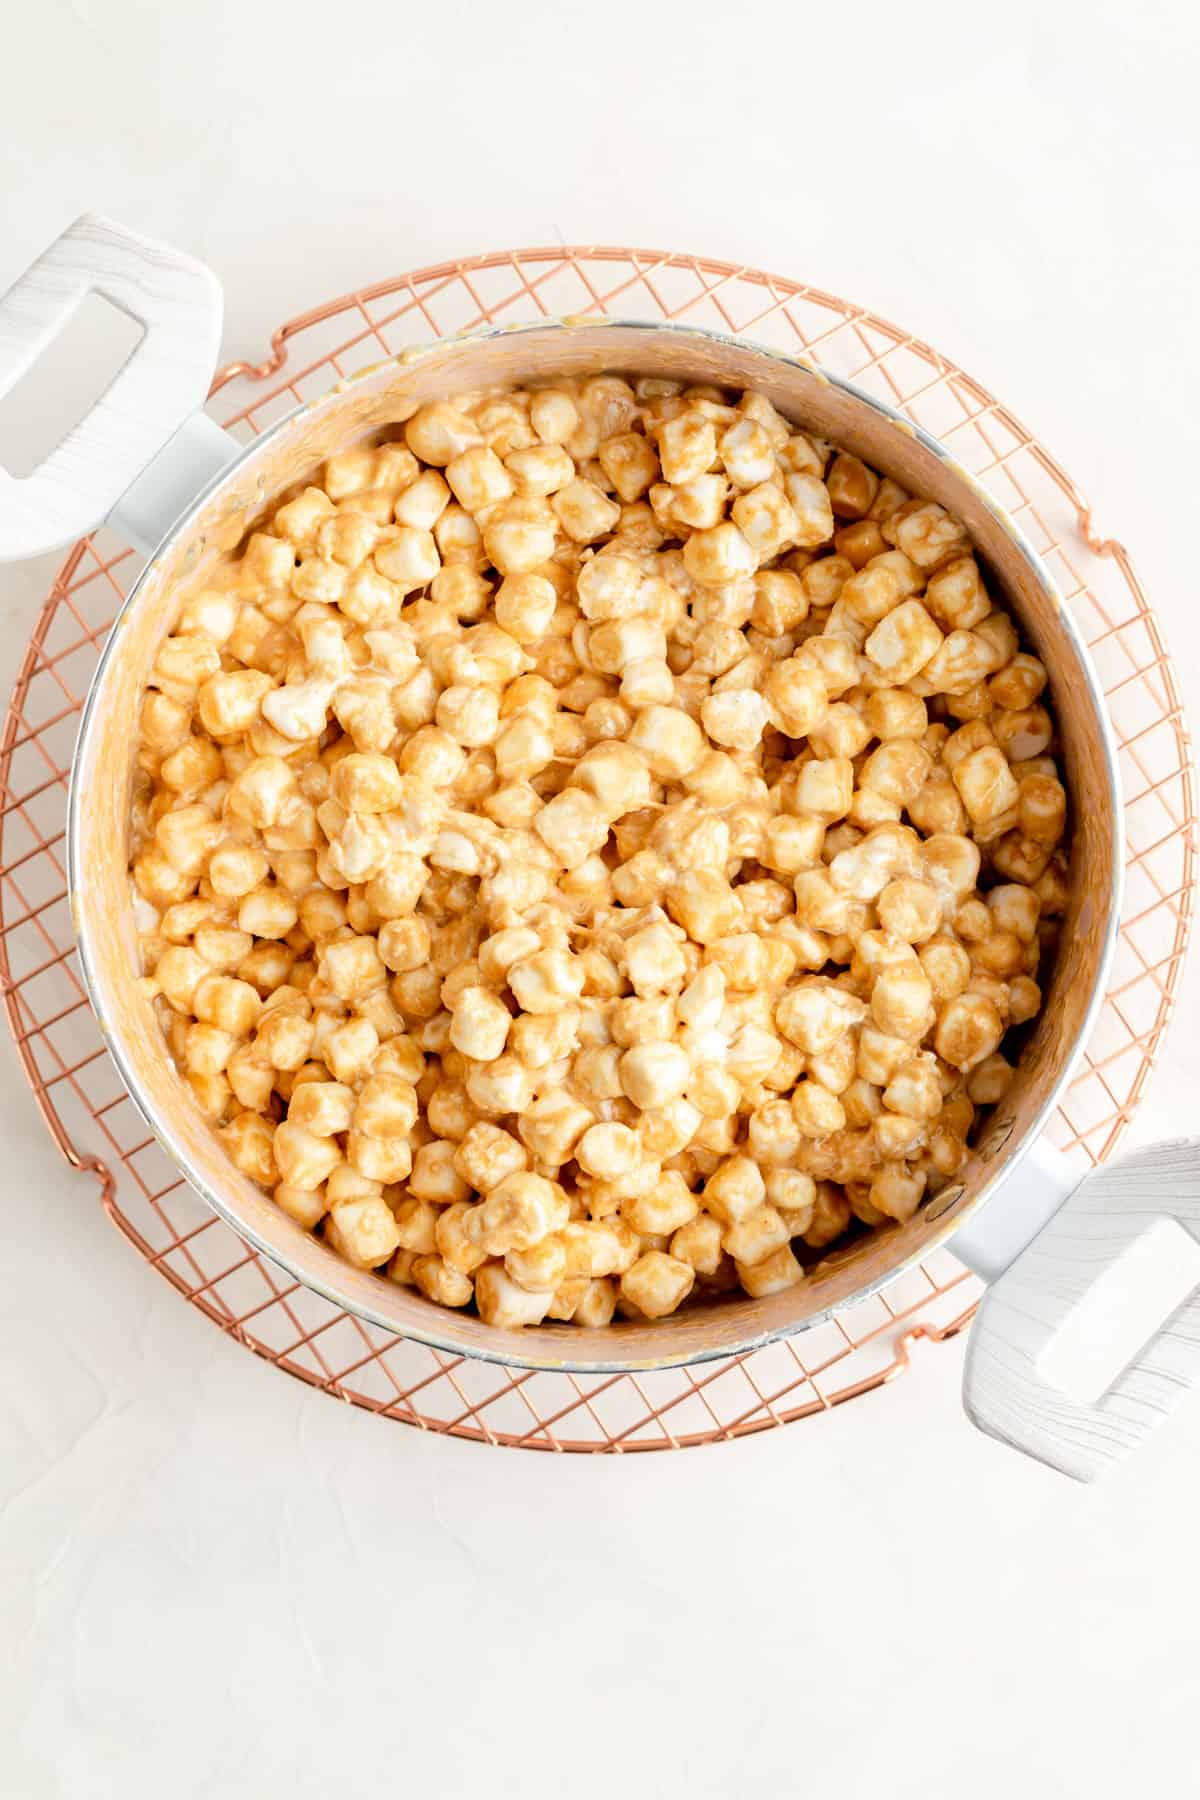
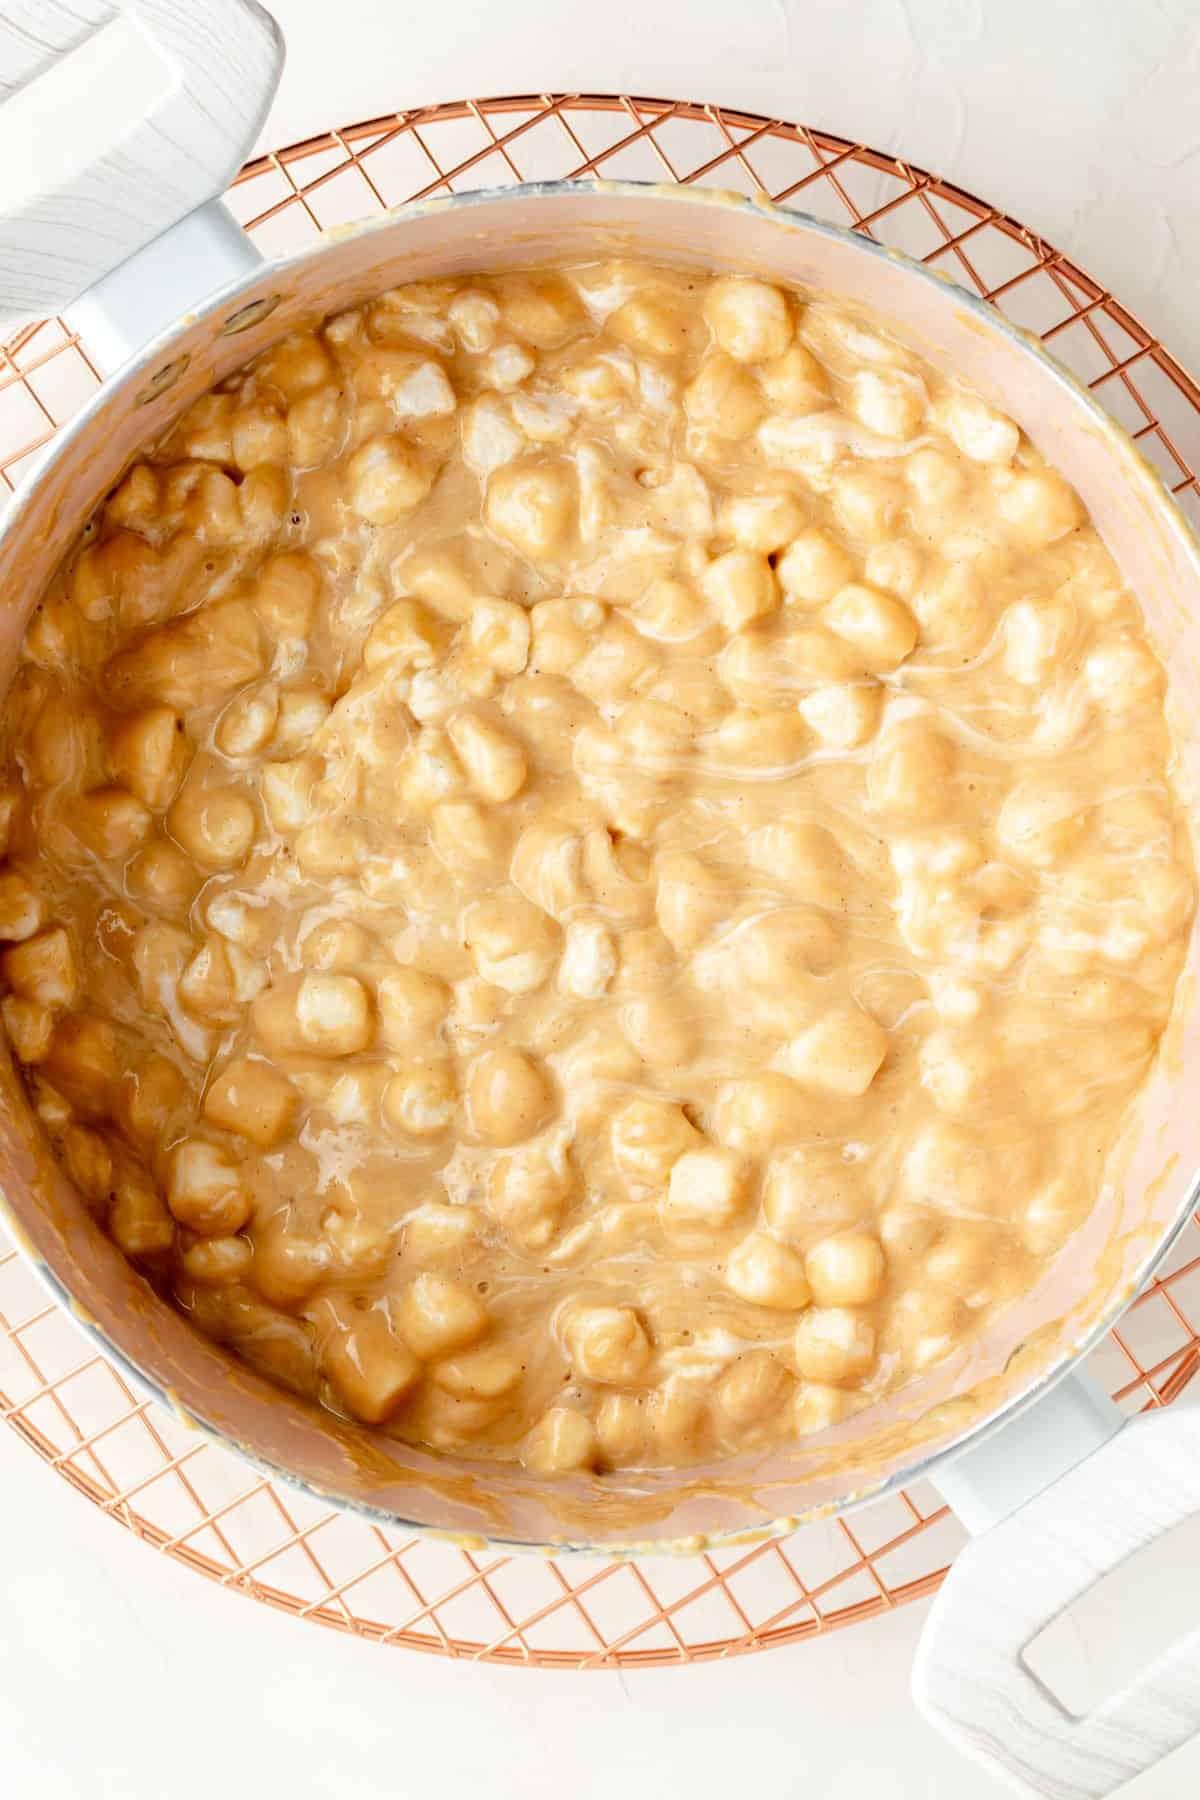
- Add the marshmallows and stir constantly until the mixture is completely smooth.
- Take your pot over to your pot holder or cooling rack and switch out your cooking utensil for the greased spatula.
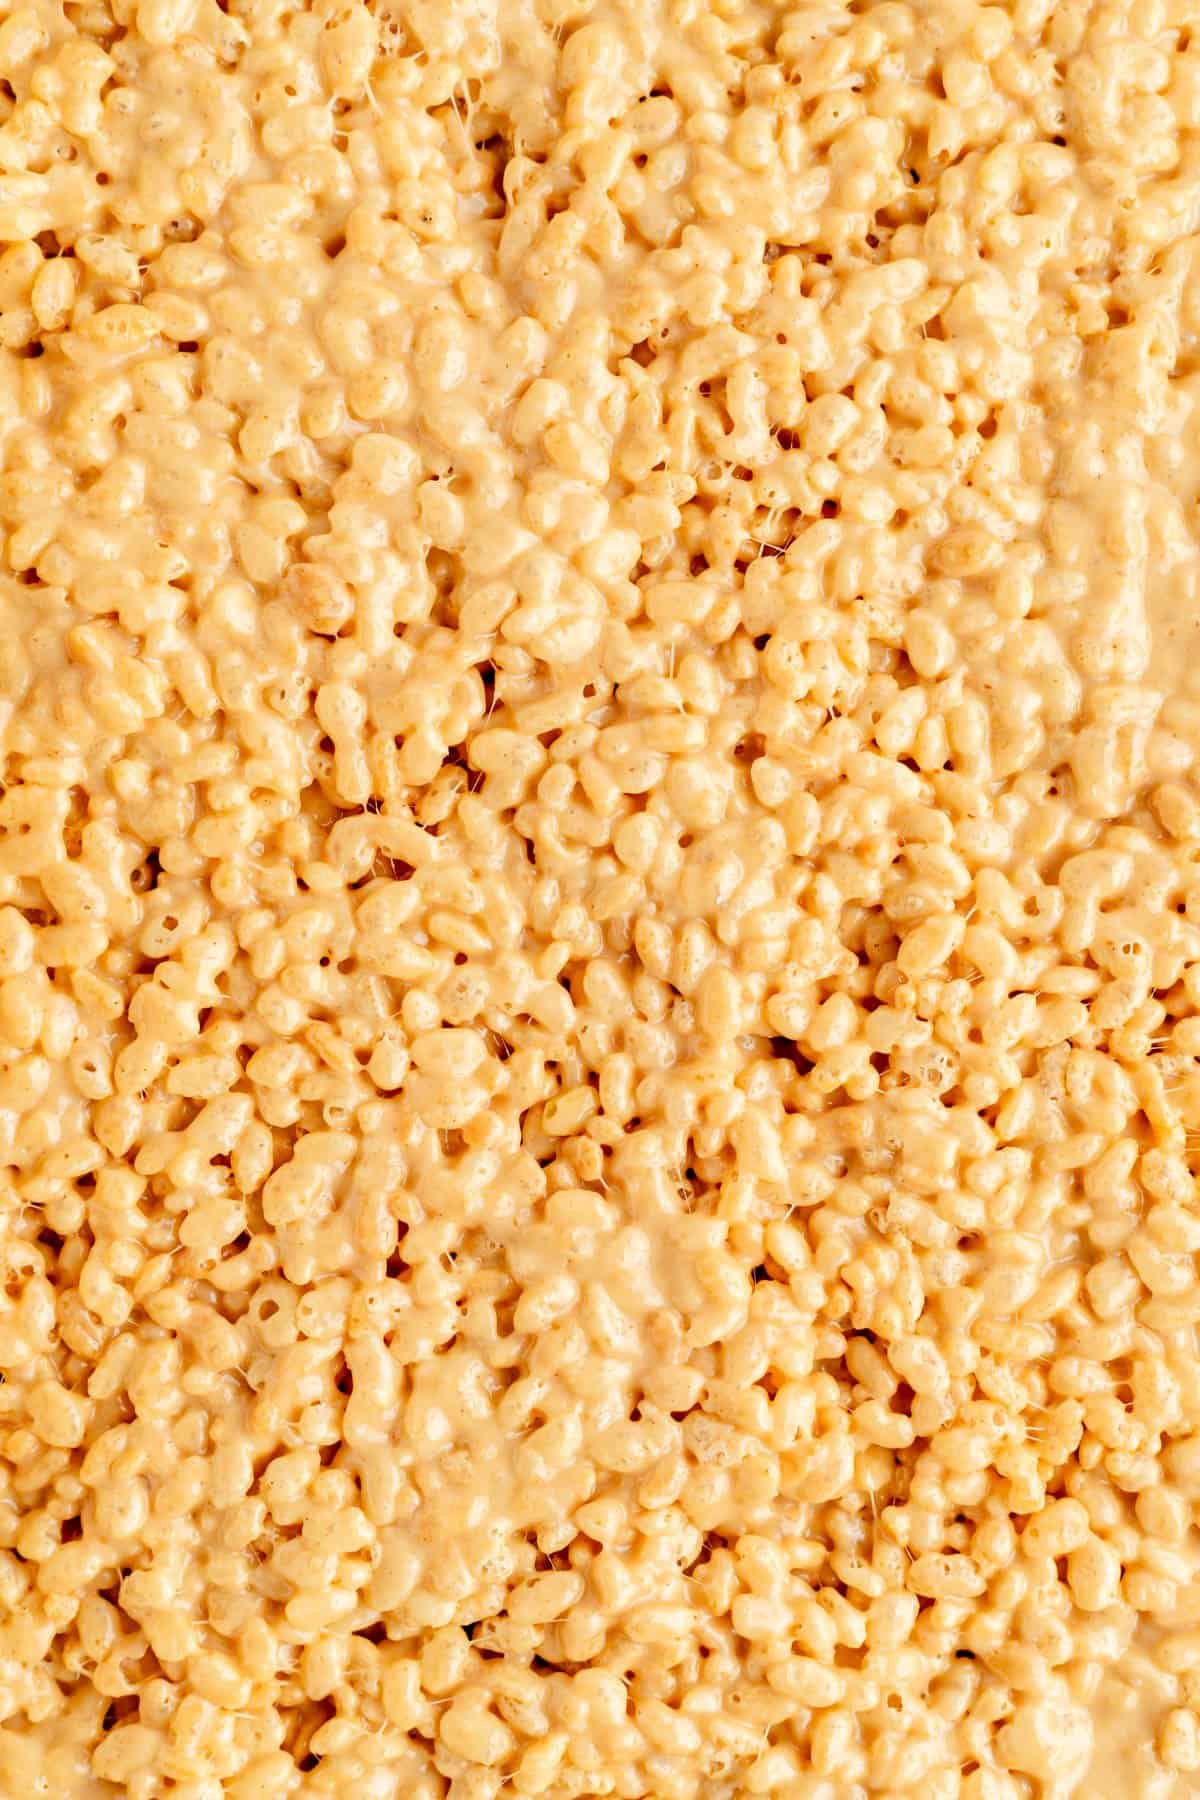
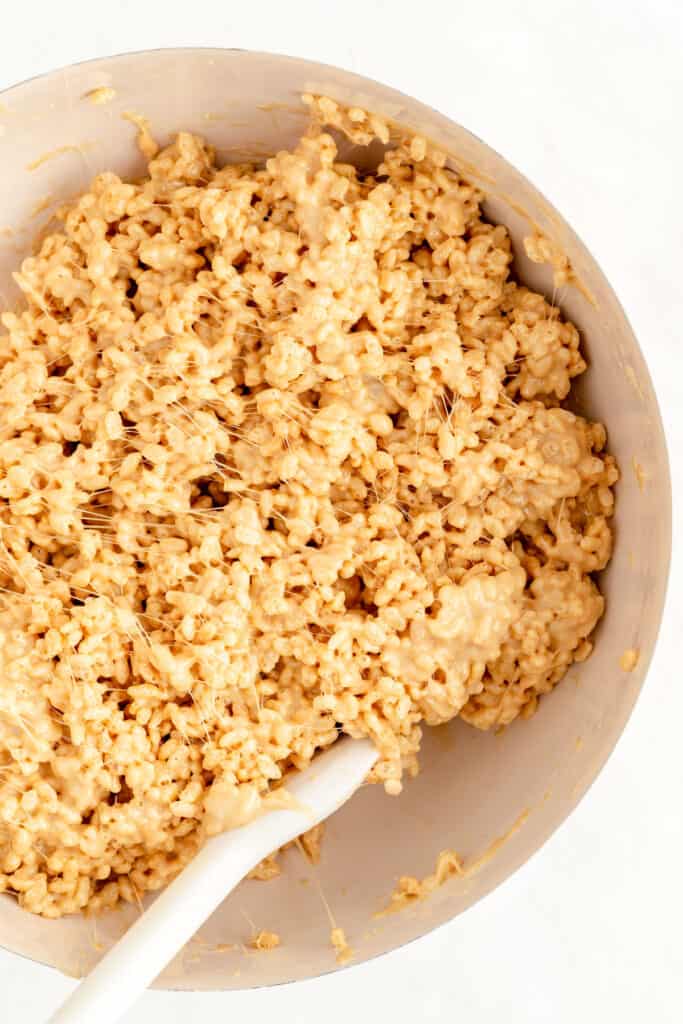
- Pour melted peanut butter marshmallow goo over the rice cereal and use the greased spatula to fold them together quickly, until no dry pockets of rice cereal remain. (Be careful - the marshmallows are really hot!)
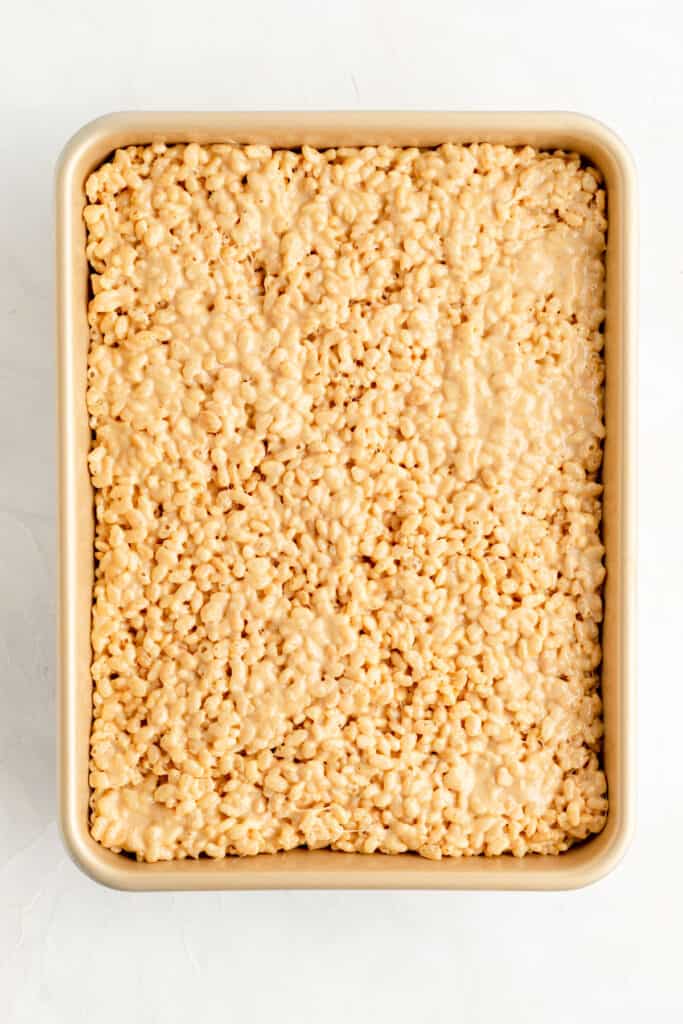
- Immediately scrape all of the rice cereal mixture into the prepared pan. Gently press it down into all the corners and flatten the top.
- Allow Krispies to cool to room temp (about 30 minutes), and remove ganache from the fridge after it's been in there for 20 minutes and just leave it at room temp until needed.
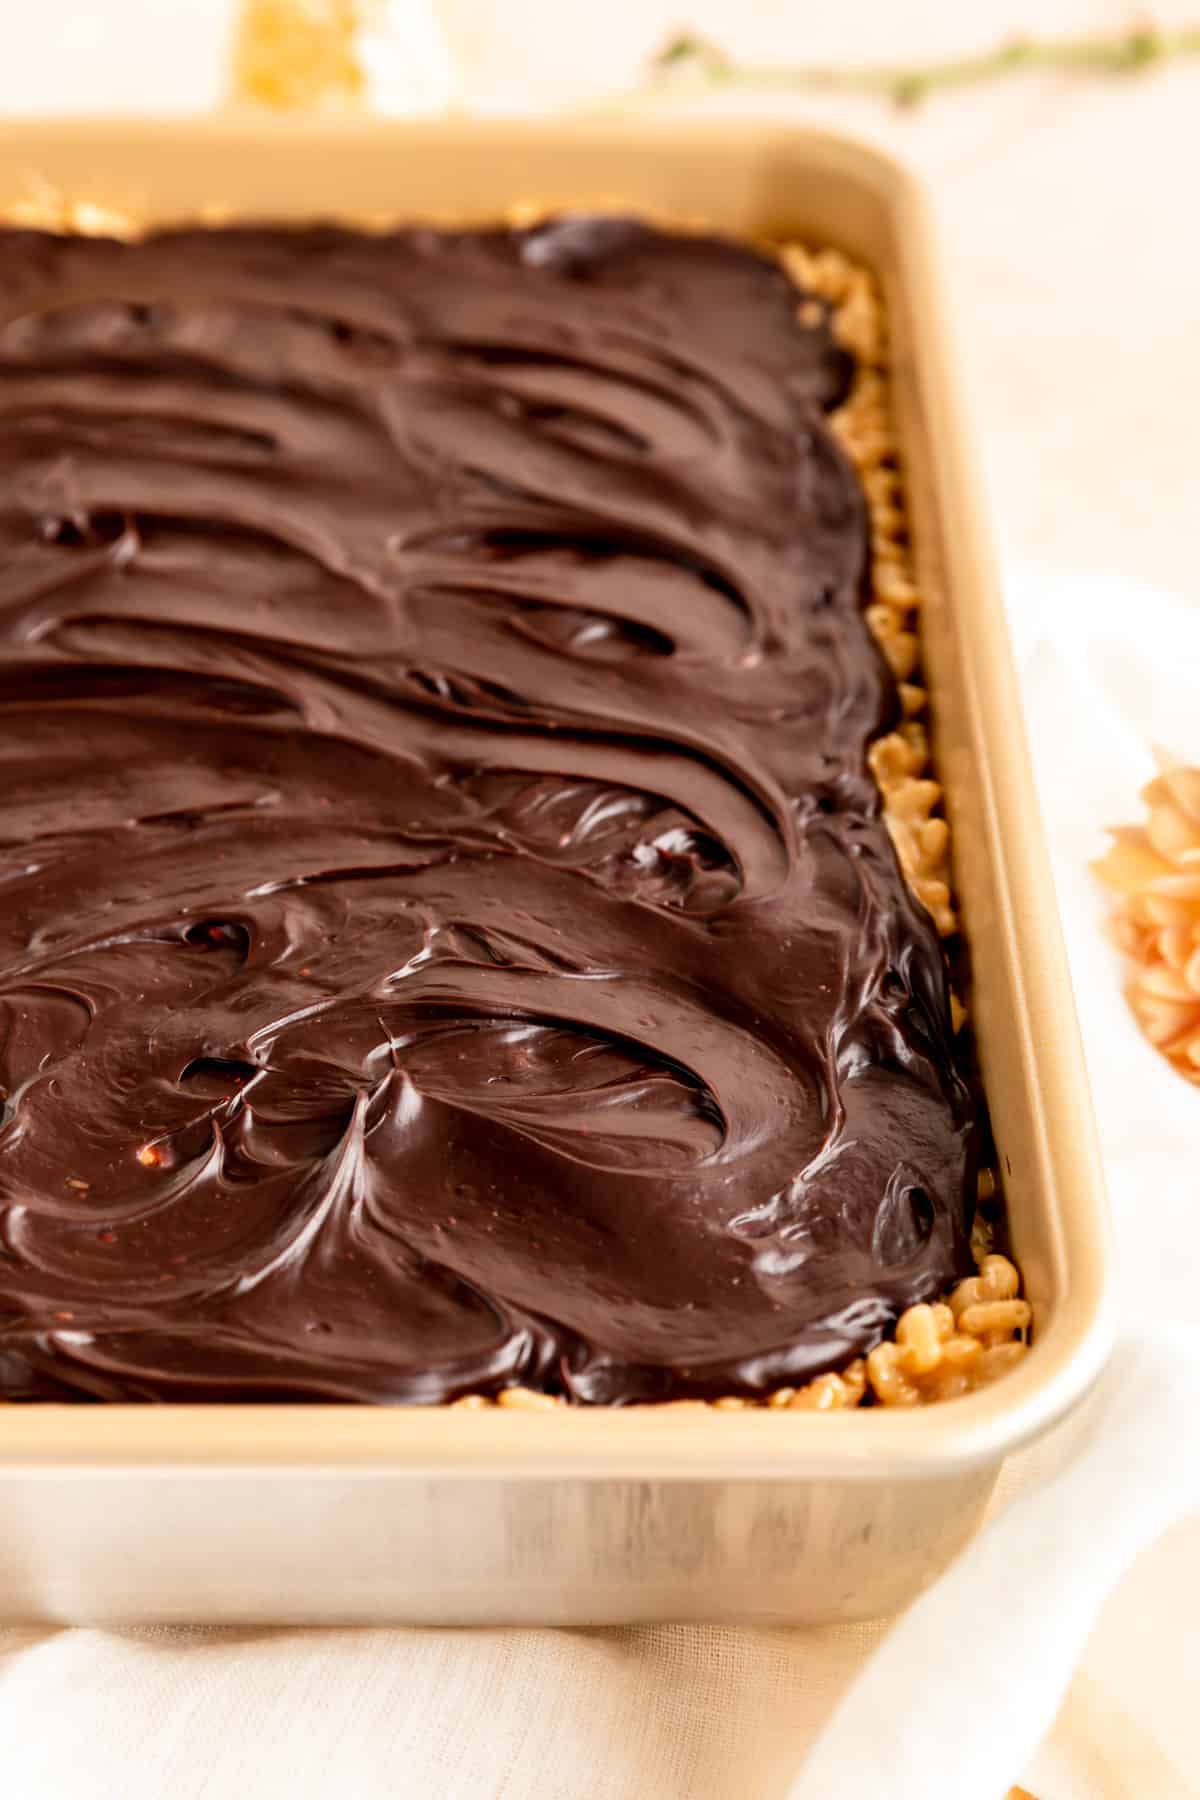
- Once the bars have cooled a bit, pour ganache overtop of your treats and spread it into an even layer.
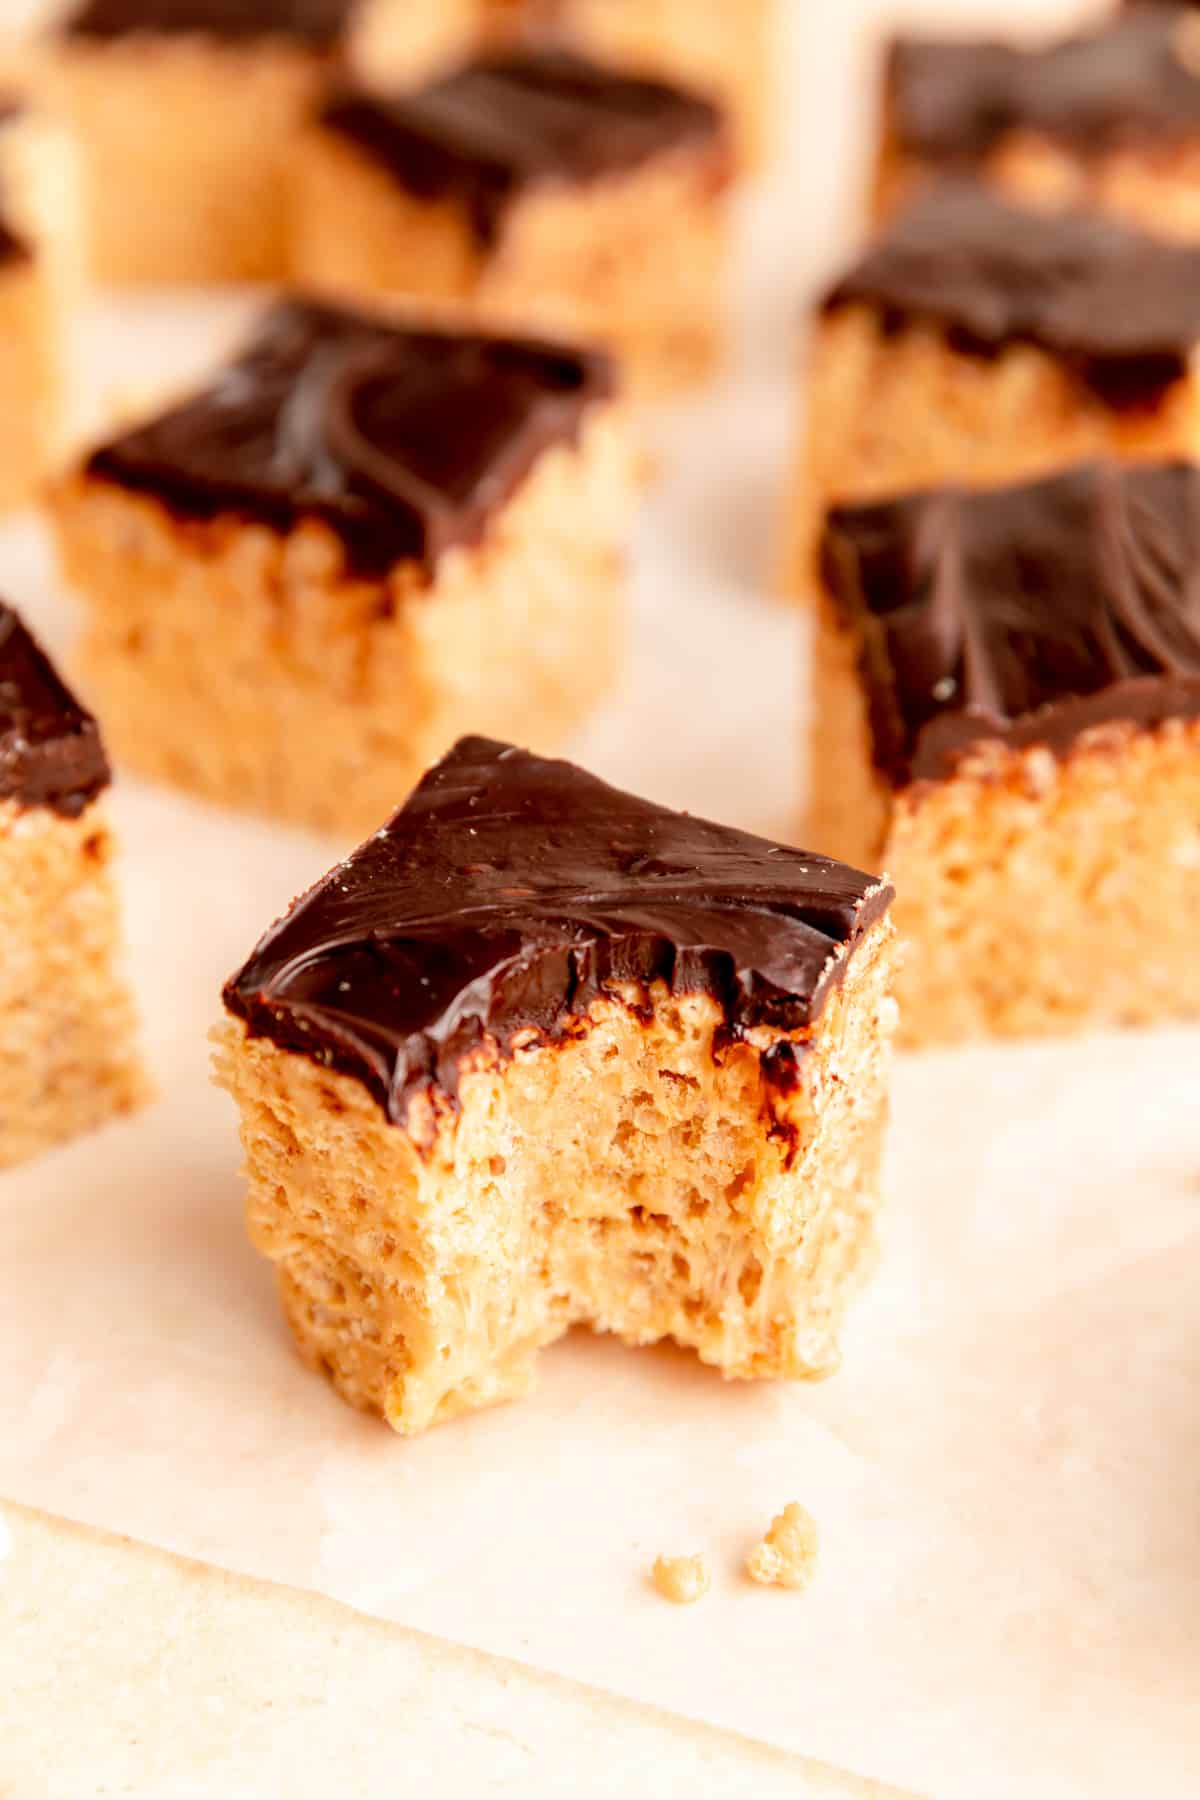
- Allow ganache to set up for at least an hour, then slice up your bars and take a deliciously *krispie* bite of the chocolate + peanut butter goodness!
Full video tutorial!
So that's the steps in a nutshell, but let's check out the full video tutorial below to see it all in action...
And check out the full RECIPE WEB STORY for a click-through tutorial!
Test Kitchen Tips for Sweet Success
- Preparation is everything: make sure all your ingredients and equipment are 100% ready to go before you start cooking. The marshmallows set up quickly, so you will save yourself a big headache by making sure everything is right where you need it. Also...do not be shy with the grease! It will be your best friend and weapon against sticky marshmallow goo!
- Grease it up good: it's important to grease the full bottom and the sides of the pan, and if you don't think you have a bowl big enough to mix in (you need to fit the full cereal box and 3 bags of marshmallows in it), you can use a roasting pan or even a large pot - whatever you have on hand that's big and can safely hold that hot marshmallow goo!
- Don't overcook the ganache: I know it's tempting to just add all the times together for the few microwave rounds, but you must resist! If you blast your chocolate for too long in one round, the chocolate will burn and then you'll have to trash that batch and start over.
- Use a high quality chocolate for the ganache: because cheaper chocolates have waxy stabilizers (this is what helps chocolate chips keep their shape when baked), they don't blend in as smoothly with the cream. So do yourself a favor and use a nice quality dark chocolate (Guittard is my favorite brand available at standard grocery stores, with Ghirardelli being my second favorite) for the best flavor and texture in your final frosting.
More Tips + FAQs
Can you freeze peanut butter rice krispies bars?
I find the texture isn't quite as good once thawed, but in a pinch, you can certainly freeze these treats. I recommend thawing in the fridge overnight, before setting them on the counter to come to room temperature for service.
How do you store leftover treats?
These treats will store and keep best before they're cut. So if you don't think you're going eat them all in a day or two, I would recommend cutting half of them into bars for enjoying first, then wrapping the other half really well in a single brick. You can then cut that one up once the first half is gone.
Keep the bars pressed right up next to each other (almost like they were back in the pan) to prevent dry out. Make sure they're airtight either with plastic wrap or in a well-sealed container. These bars should keep up to 2 weeks at room temperature.
Can I resize this recipe?
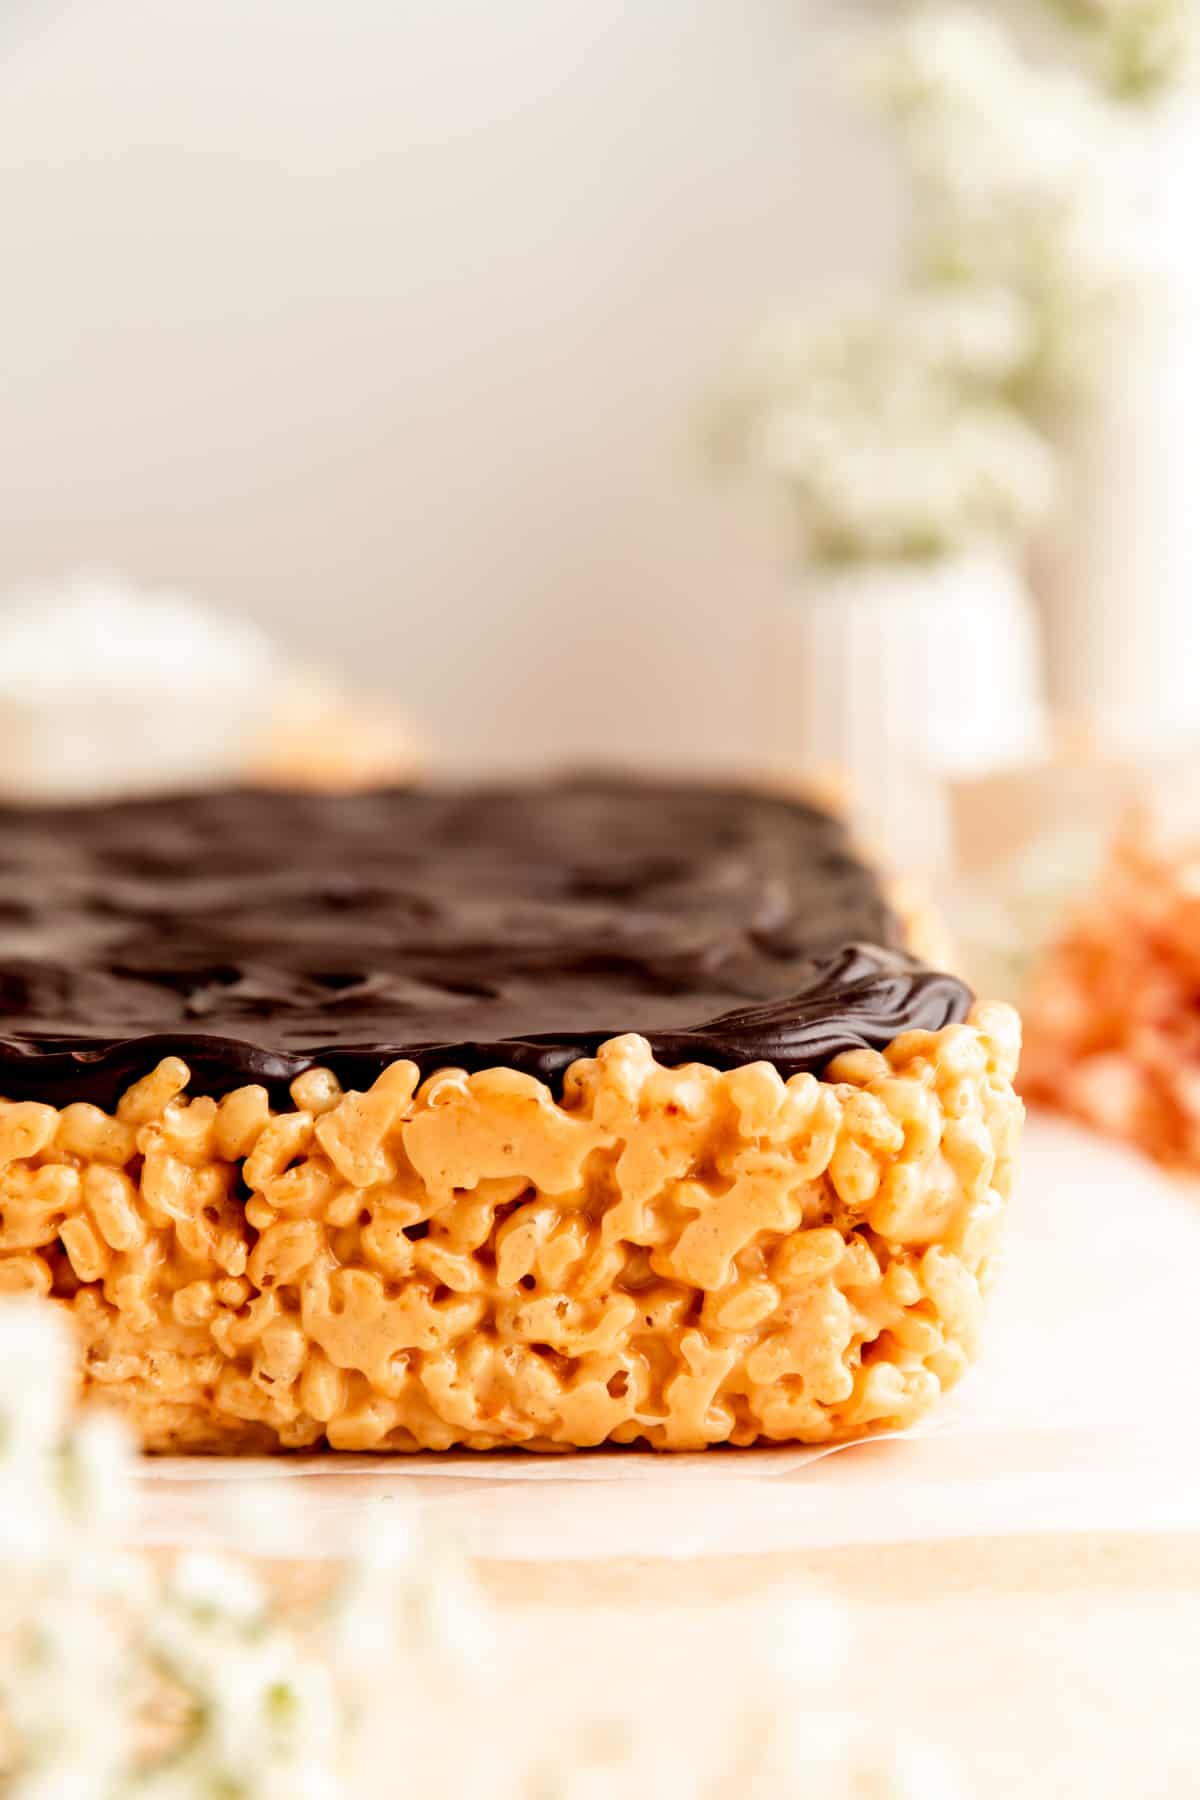
These bars are designed to be very tall and thick because there's something about that oversize nature that makes me feel like they’re an extra special treat.
However, if you'd like to make your Krispie treats thinner, you could make a half batch and put it in the same 9-inch x 13-inch pan. Your other choice would be to use a bigger pan (like a 10-inch x 15-inch) and still make the full recipe.
If you're happy to have those nice thick bars, but just want a smaller batch size, then you're welcome to use an 8-inch or 9-inch square pan instead for a half recipe of these bars.
Do you have to include the ganache? Can I use a different chocolate?
You absolutely don't have to include the ganache for this recipe. If you want to go for just a classic old-fashioned peanut butter krispie treat, just skip the ganache recipe altogether and finish the treats however you like.
You could do a drizzle of chocolate on top, you could add a few extra marshmallows sprinkled on while the top is still sticky, or even just some white sprinkles for decoration.
In terms of using another chocolate, you're welcome to use a white or milk chocolate if you're okay with these bars being a little extra sweet. Know that you will have a different texture of ganache when using chocolate of different flavor and quality, so just follow the tips for either chilling your ganache more or less depending on what your texture looks like with the chocolate you choose.
Can I make these without marshmallows using fluff instead?
I've heard and seen this question a lot, so I wanted to test this out for you all.
I have tried substituting fluff for the marshmallows, but the texture just isn't quite right. So I recommend sticking to the classic marshmallows. Minis or big ones both work, the minis are just easier to melt.
Are rice krispie treats gluten free?
While there are no classic gluten-containing ingredients in rice krispie treats, the official Rice Krispies Cereal is not certified gluten free.
That said, if you'd like to make these treats gluten-free, there are gluten-free rice cereals you could substitute for the name brand cereal while also ensuring your other ingredients are gluten-free as well.
Why are my rice krispies bars really hard?
There's two major possibilities here:
1. If you're asking about another recipe, frequently it may have too little marshmallow goo to the amount of cereal. My recipe has almost 3 times! the goo of the original cereal box recipe to makes these bars extra soft and flavorful.
2. You could also be over-cooking the marshmallow goo. To prevent this, just make sure that you keep your heat at medium or lower, and stir constantly, scraping the bottom of your pot. Also make sure as soon as everything is melted you take the pot off the stove instead of leaving it on there to continue to cook with residual heat.
Can I use milk instead of cream?
I don't recommend this, as the fat and liquid ratios between milk and cream are very different and will lead to a less-than-ideal texture in your final ganache. Check out the ingredient tips above for more on this topic!
Other Classic Recipes You'll Love
Here are a few of my other favorite classic recipes:
- Easy Chewy Peanut Butter Cookies
- Sea Salt Chocolate Chip Cookies
- Double Chocolate Chip Cookies
- Old-Fashioned Carrot Cake
- Soft and Chewy Sugar Cookies
- All-Butter Pie Crust
- Homemade French Raspberry Jam
- Cakey Snickerdoodle Cookies (without cream of tartar!)

⭐ If you gave this recipe a try please give it a ⭐ rating and tag me on Instagram @mint.and.mallow.kitchen so I can see what you're baking up! ⭐
P.S. I know this recipe card can make rice krispies look very complicated and scary, but I promise they're not! I just wanted to give you super thorough instructions. That way I can make sure you end up with the best rice krispie treats everrrr, and don't end up with a gooey mess instead! (Not that I'm speaking from experience *wink*wink)
📖 Full Recipe

Rice Krispie Peanut Butter Bars (with chocolate ganache!)
Ingredients
FOR THE GANACHE:
- ½ cup heavy cream
- 1 ⅓ cups dark chocolate chips*1
FOR THE PEANUT BUTTER BARS:
- 12 ounces Rice Krispies Cereal (1 box)
- 30 ounces mini marshmallows (3 bags)
- ½ cup (1 stick) unsalted butter
- 1 cup smooth peanut butter
- 1 tablespoon vanilla extract
Instructions
TO MAKE THE GANACHE:
- Add ingredients to a microwave-safe bowl: add chocolate and cream to a microwave-safe glass pitcher or bowl with plenty of room to stir.
- Microwave Round 1: microwave bowl for 45 seconds on 50% power. Stir briefly to blend with a fork or whisk (chocolate will only be a little melted).
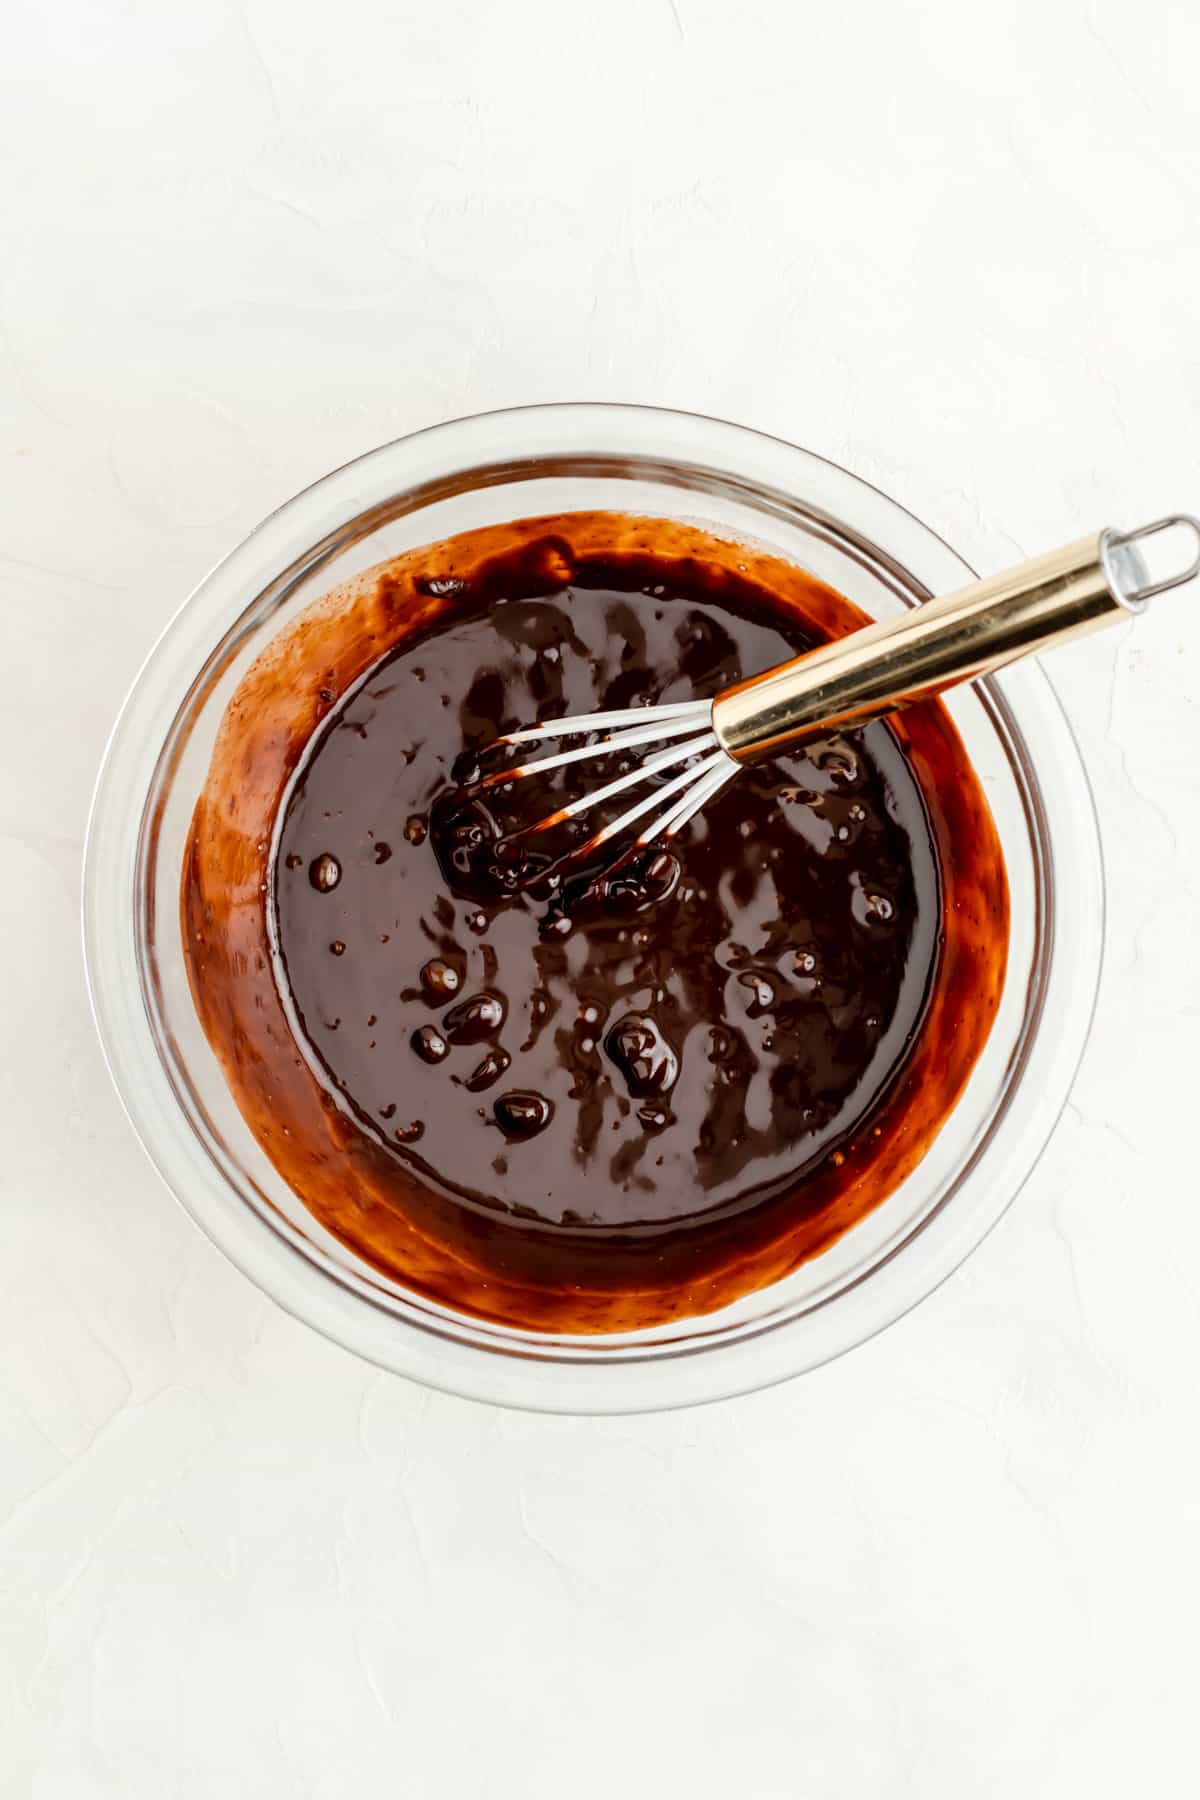
- Microwave Round 2: microwave for 30 seconds at 50% power. Stir vigorously for at least 30 seconds until liquid and chocolate come together into a smooth, shiny, uniform glaze. (It works best to start stirring only in the center of the bowl, and then as you see the ingredients combining, start widening your stirs out to the edge of the bowl.)
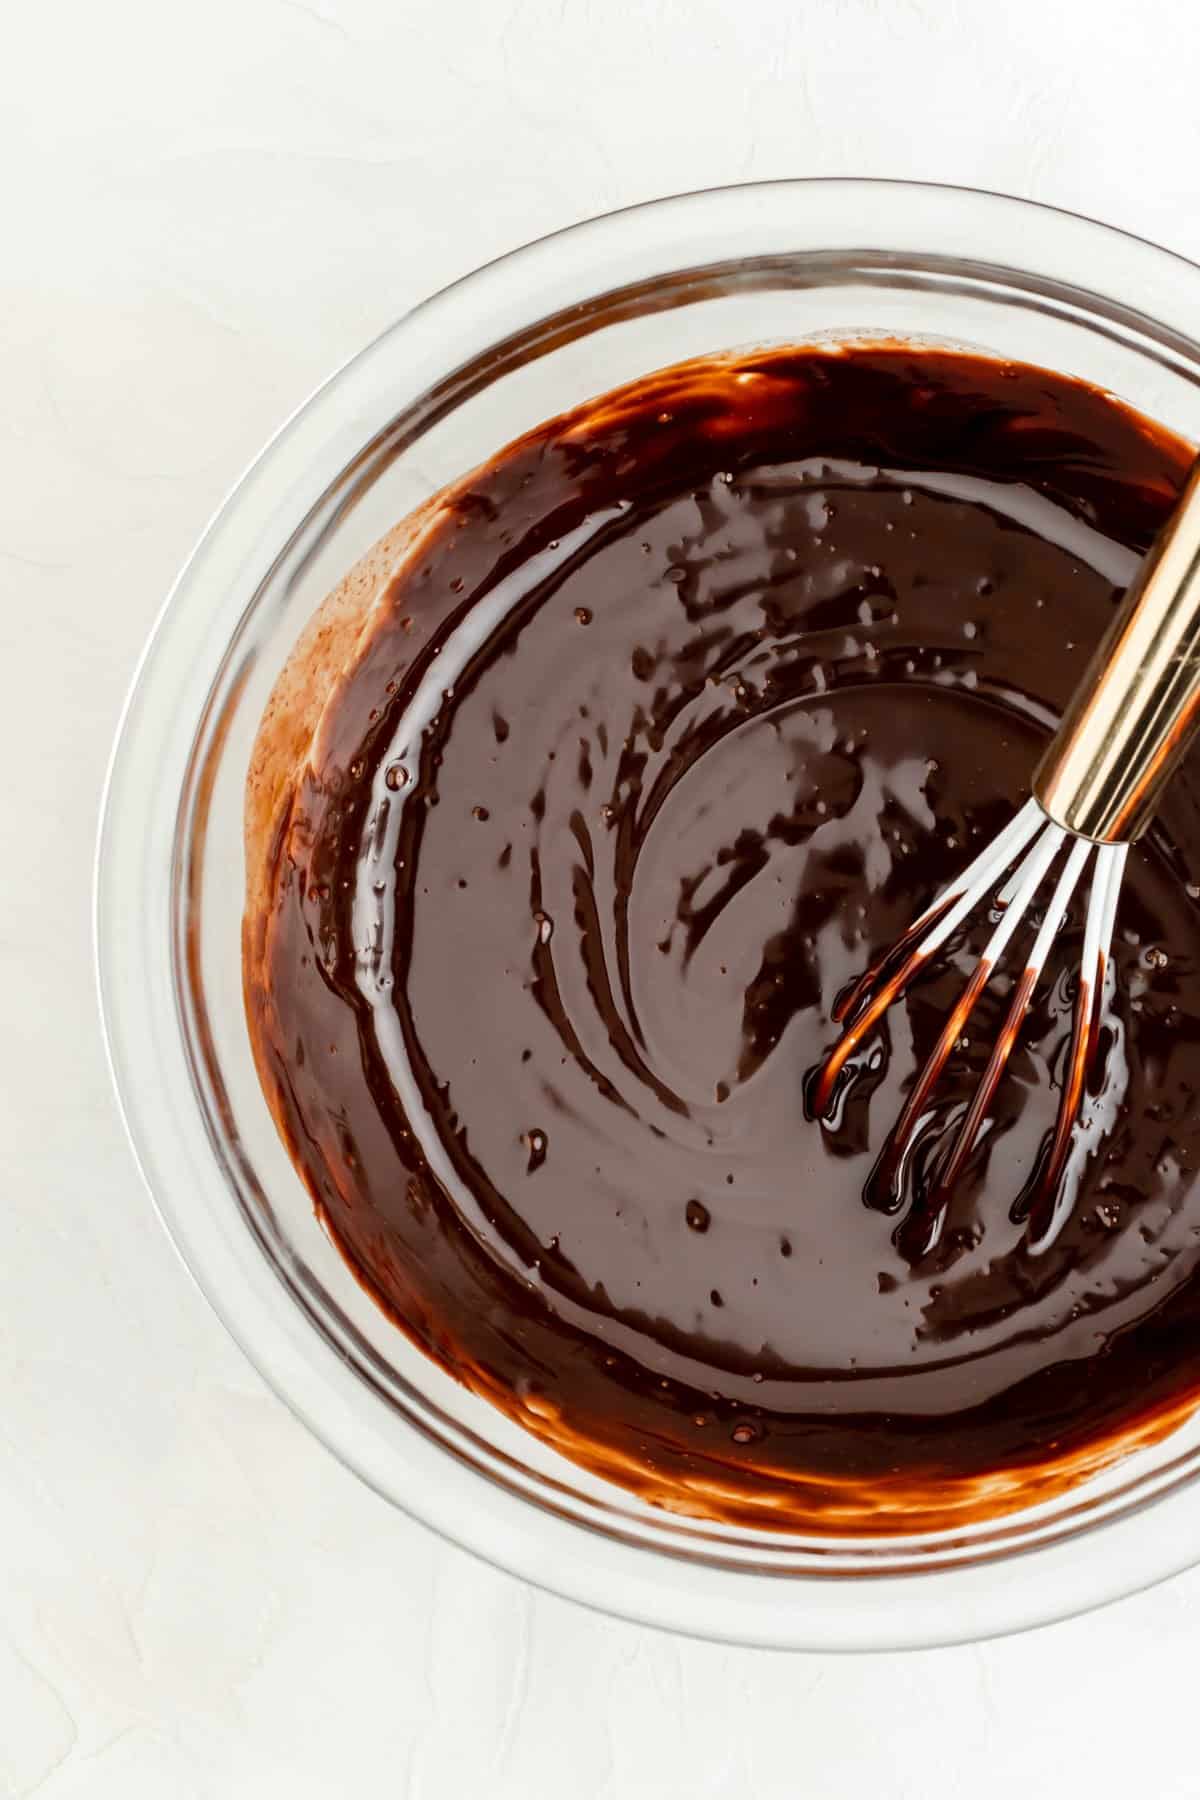
- Microwave Round 3 (optional): if any chocolate chunks still remain after a really good mixing, continue microwaving in 15-second intervals at 50% power, stirring well after each round until all chocolate has fully melted.
- Chill: place ganache in the fridge to thicken slightly for 15-20 minutes until it reaches a spreadable texture while you work on making the Krispies. (Be careful you don’t leave it in the fridge for too long or it will really thicken up in which case you can use 15 second, 50% power microwave rounds to thin it back out).
TO MAKE THE BARS:
- Prep everything: using baking spray, grease your largest mixing bowl, your largest spatula, and a 9" by 13" pan very thoroughly.*2
- Set up your workspace: pour the rice krispies into the large greased bowl. Set your greased spatula with your bowl, have your 9"x13" greased pan within reach, and set a hot pad or cooling rack next to your bowl that you can set your hot marshmallow pan on. (Once the marshmallows melt, everything will set quickly so you want to make sure all your tools are ready to go!)
- Melt butter and peanut butter: over medium heat, melt the butter and peanut butter together in a large pan (big enough to fit all the marshmallows), stirring frequently to blend.
- Stir in vanilla: once the butter and peanut butter are melted, stir in the vanilla extract.
- Melt marshmallows: right after adding the vanilla, dump in the half the marshmallows and stir/fold them into the peanut butter mix. Add the second half and fold them into the peanut butter goo as well until all the marshmallow are evenly coated. Continue stirring constantly until all the marshmallows are fully melted and the mixture is smooth. If the marshmallows on the bottom of the pot start to brown at any point, just turn the heat down.
- Move to your work station: once smooth, take your pot over to your pot holder or cooling rack and switch out your cooking utensil for the greased spatula.
- Mix marshmallows with krispies: pour melted marshmallows over rice cereal and use the greased spatula to fold them together quickly, until no dry pockets of cereal remain. (Be sure to get to the bottom of the bowl where the marshmallow puddles and you can smear the clumps back and forth to mix them if needed. And be careful - the marshmallows are really hot!)
- Transfer quickly to pan: immediately scrape all of the krispie mixture into the prepared pan. Gently press it down into all the corners and flatten the top (you don't need to press down too firmly though or it'll make your krispies a little tough). You can do this with a spatula, or I even put a good deal of baking spray right on my hands and then use my hands to press the bars down into the pan and up against all the sides and corners too.
- Cool, then add ganache: allow Krispies to cool to room temp (about 30 minutes), and remove ganache from the fridge and just leave it at room temp as well to make sure it doesn’t get too stiff. Once Krispies are cooled, give ganache a brief stir, then pour it overtop of your treats and spread it into an even layer.
- Allow ganache to set then enjoy! Allow ganache to set up for at least an hour, then cut bars to your desired size right in the pan, and take a deliciously *krispie* bite of the chocolate + peanut butter goodness!
Video
Test Kitchen Tips
- 1Dark or milk chocolate? Thick or Thin?: because these Krispies are pretty sweet, I like to use dark chocolate to bring a bittersweet note to these bars. That said, you’re welcome to use semi-sweet or milk chocolate, but just know that the thickness of your ganache will vary depending on the chocolate you choose (it even differs between various qualities of dark chocolate). If you would like your ganache to be thicker before adding it to your bars, feel free to chill it longer. If you feel like the texture is thick enough right after mixing it up, feel free to skip the chill altogether.
- *2Grease it up good: it's important to grease the full bottom and the sides of the pan, and if you don't think you have a bowl big enough to mix in (you need to fit the full cereal box and 3 bags of marshmallows in it), you can use a roasting pan or even a large pot - whatever you have on hand that's big and can safely hold that hot marshmallow goo!
- Microwave strength: the times listed in this recipe were what worked for my microwave, which is 1150 watts. If your microwave has a higher wattage, your ganache may be fully melted faster, and if it has lower wattage, you may need a few extra 15 second intervals to fully melt everything.
- Don’t combine cook times! I know it's tempting to just add all the times together for the few microwave rounds, but you must resist! If you blast your chocolate for too long in one round, or use it at full power, the chocolate will burn, and then you'll have to throw away that batch and start over.
- Big marshmallows: if you only have big marshmallows, cut them into at least halves if not quarters (I find just snipping them into pieces with kitchen scissors works well). Know it'll take a while for the bigger marshmallows to melt (but they will!) so just be patient, and keep stirring over low heat throughout the melting process to prevent burning.
- Pan resizing: these bars are designed to be very tall and thick, because there's something about that oversize nature that makes me feel like they’re an extra special treat. However, if you'd like to make your Krispie treats thinner, you could make a half batch and put it in the same 9” x 13” pan. Your other choice would be to use a bigger pan (like a 10” x 15”) and still make the full recipe. If you're happy to have those nice thick bars, but just want a smaller batch size, then you're welcome to use an 8” or 9” square pan instead for a half recipe of these bars.
Comments
No Comments