


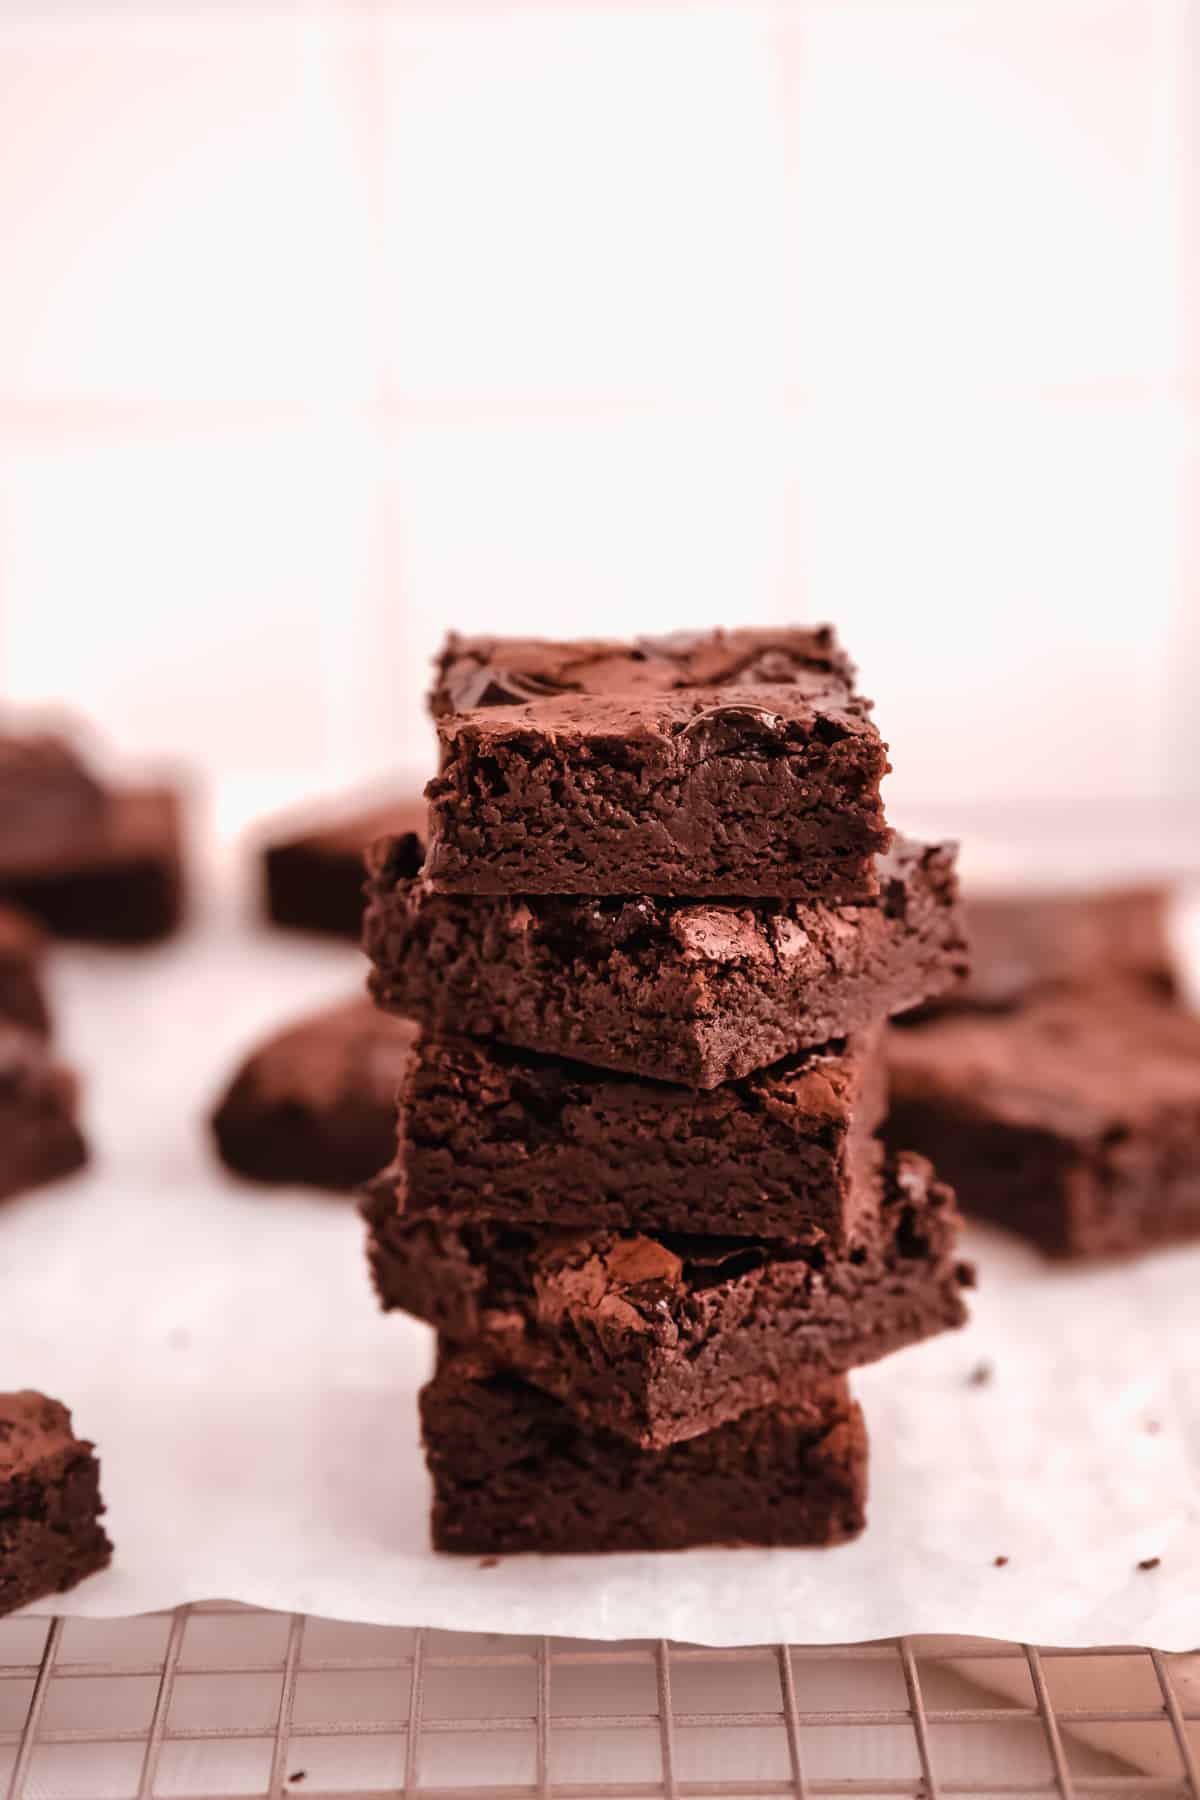
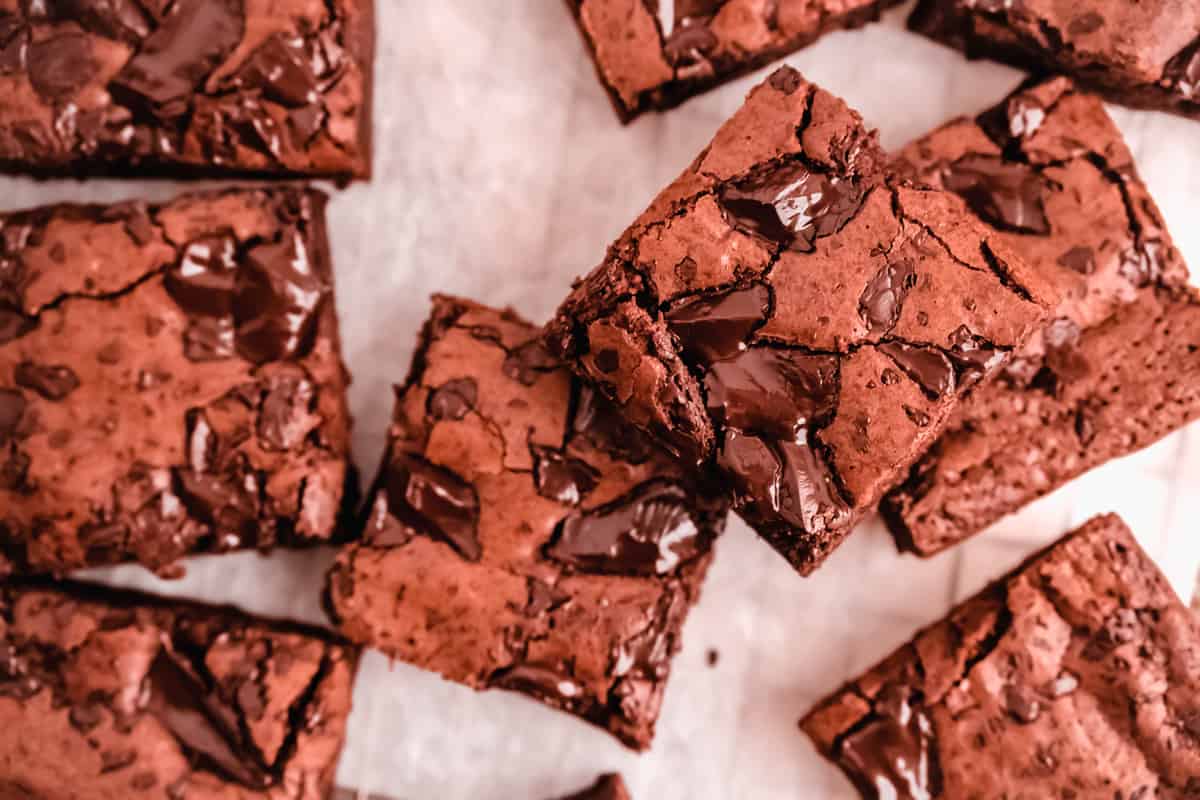
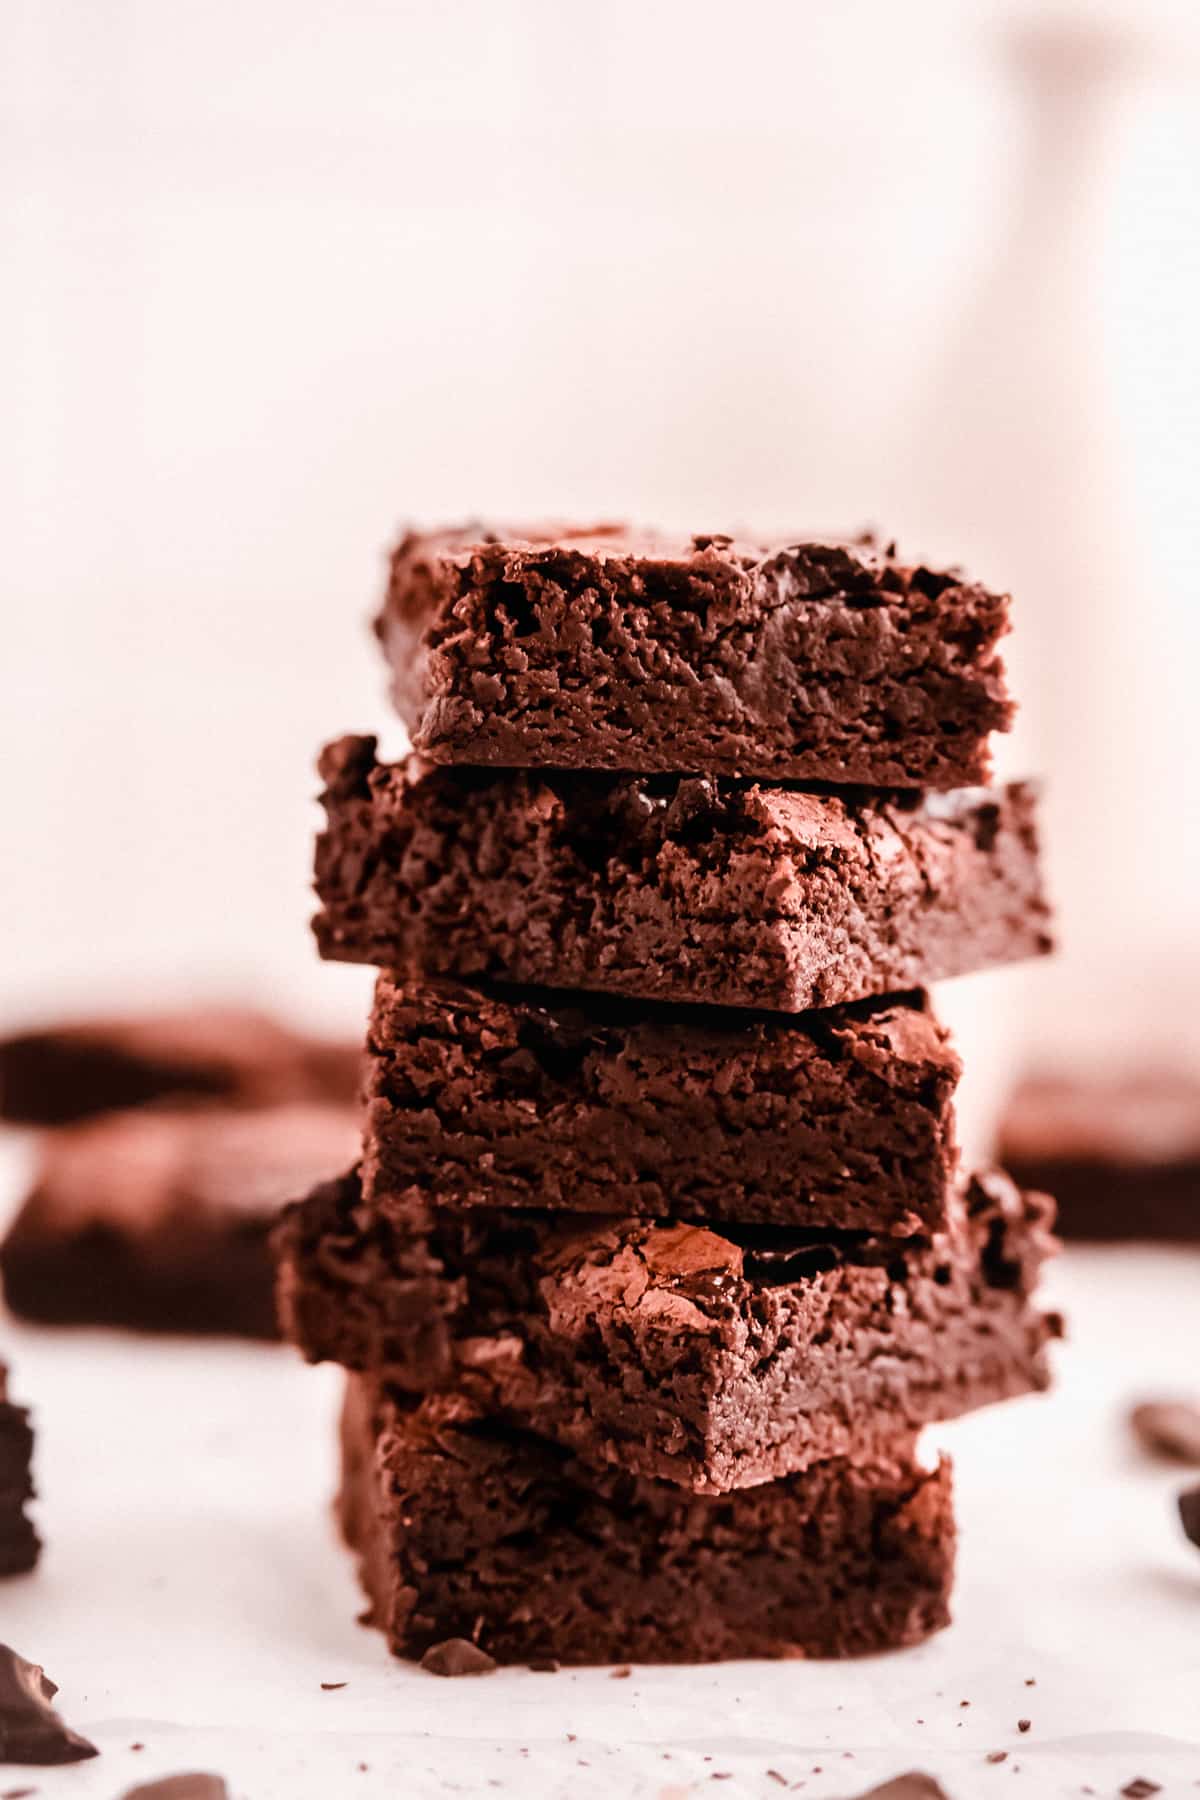
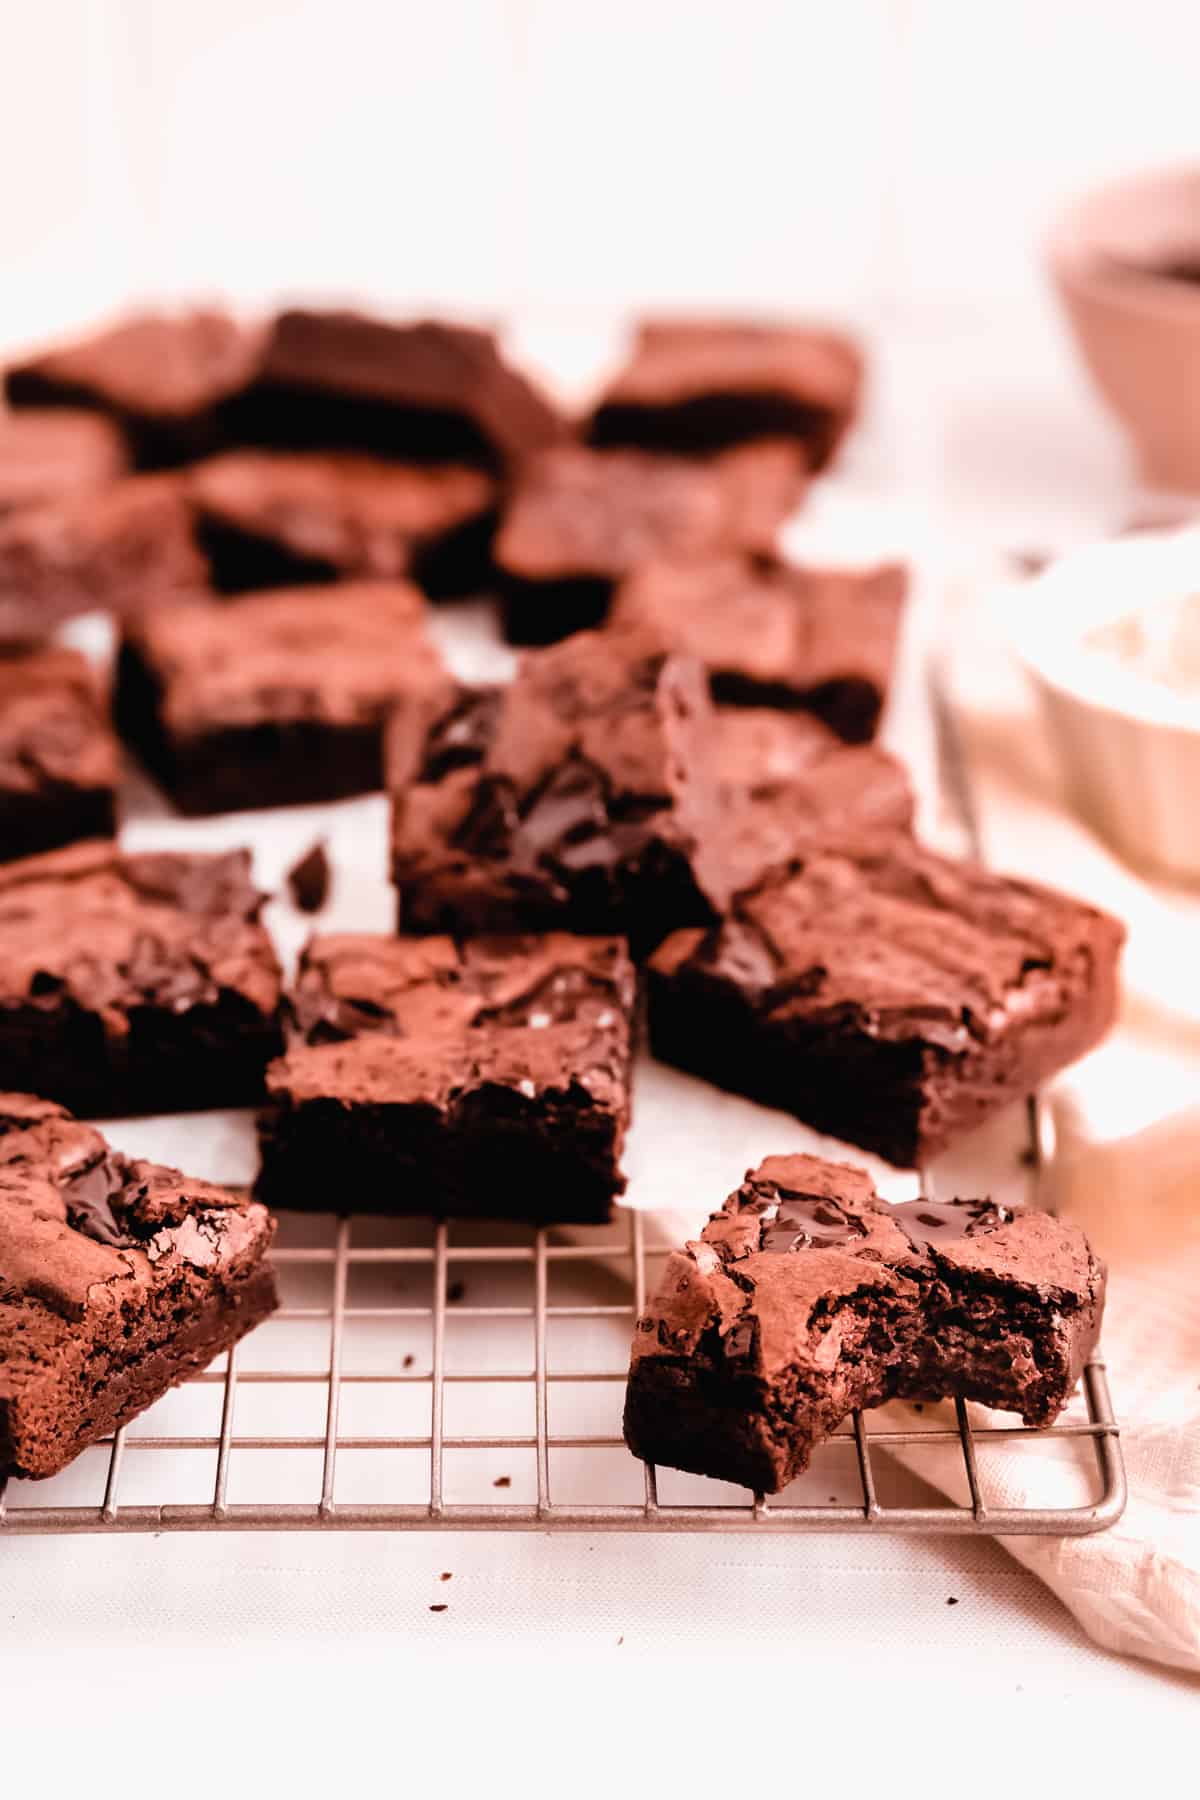
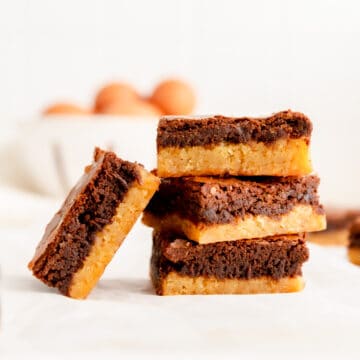
Bordering on an almost chocolate fudge candy texture, these super fudgy oat flour brownies hold on to just enough cakiness from that oat flour to properly earn their title as the most irresistibly fudgy gluten free brownies you've ever had.
Jump to (scroll for more!):
- My discovery of the British brownies...
- Why gluten free?
- Why you should use chocolate instead of cocoa powder...
- Ingredients you'll need to make these fudgy gluten free brownies…
- Special tools or equipment you'll need…
- How to make these easy brownies from scratch…
- Why use oat flour?
- What about almond flour or coconut flour?
- Does that mean you can't use those in this recipe?
- Can you make these ahead of time?
- How do you store these?
- Top tip for making the best fudgy gluten free brownies…
- What’s happening behind the recipe…
- Other recipes that fans of these fudgy will love…
- 📖 Full Recipe
- Comments
I may be a little biased here, so take it from the oodles of testimony from gluten-loving bakery customers who could not get enough of these at the farmer's markets during M+M Bakery days, these truly are the most deliciously rich and chocolatey gluten free brownies you've ever had.
My discovery of the British brownies...
The original brownies (and recipe) that inspired these indulgent bars hails from across the pond, where our British friends have beautifully embraced the fudgy and dense style of brownie, in the best way possible. Borough Market is one of my favorite places in London (which is probably my favorite city in the world). It was there I first had one of these almost fudge-like brownies, and my pastry life forever changed.
Needless to say, I fell in love with the uber-rich, slightly bitter dark chocolate bars. From then on, there was no going back for me.
Why gluten free?
As you all know I'm not one to frequently develop gluten free recipes. That said, when I was opening the bakery, I knew that there were certainly going to be folks looking for gluten free treats. So, I tried to work with sweets that you could make gluten free without even missing the flour. M+M Bakery also offered "Afternoon Tea Tins" filled with mini treats, so there was a strong British influence there as well.
So - naturally - these brownies were at the top of my development list.
With their fudgy texture, I knew the flour was being used in a very minimal way. My best guess was it could easily be swapped out for a gluten free alternative without compromising quality. I found a great recipe to work with in one of my favorite British cookbooks - Bread, Cake, Doughnut, Pudding by Justin Gellatly. (I highly recommend his book for anyone interested in British pastries and beautiful breads).
His recipes have been very reliable (which is unfortunately not the case with so many cookbooks these days) and very true to what I tasted during my time in England.
Why you should use chocolate instead of cocoa powder...
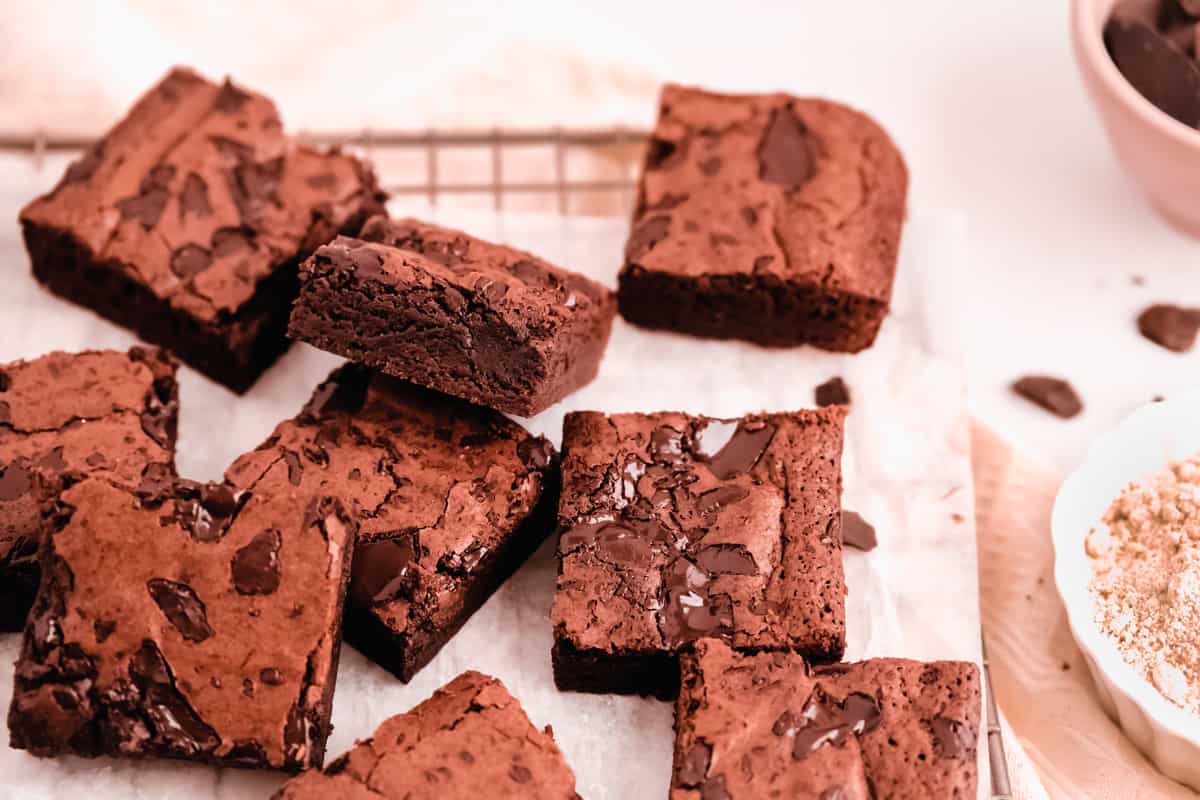
As mentioned above, these were super popular on my bakery menu. You'd truly never know they’re gluten free bronwies - they just taste like the best fudgy brownie you’ve ever had. They are made entirely using melted chocolate so the flavor is extra rich and you don’t need any cocoa.
They are also great with different cocoa percentage levels of chocolate, based on your preference. Mine always leans to the dark side, and 70% cocoa is definitely the sweet spot for me in these fudgy, gluten free brownies.
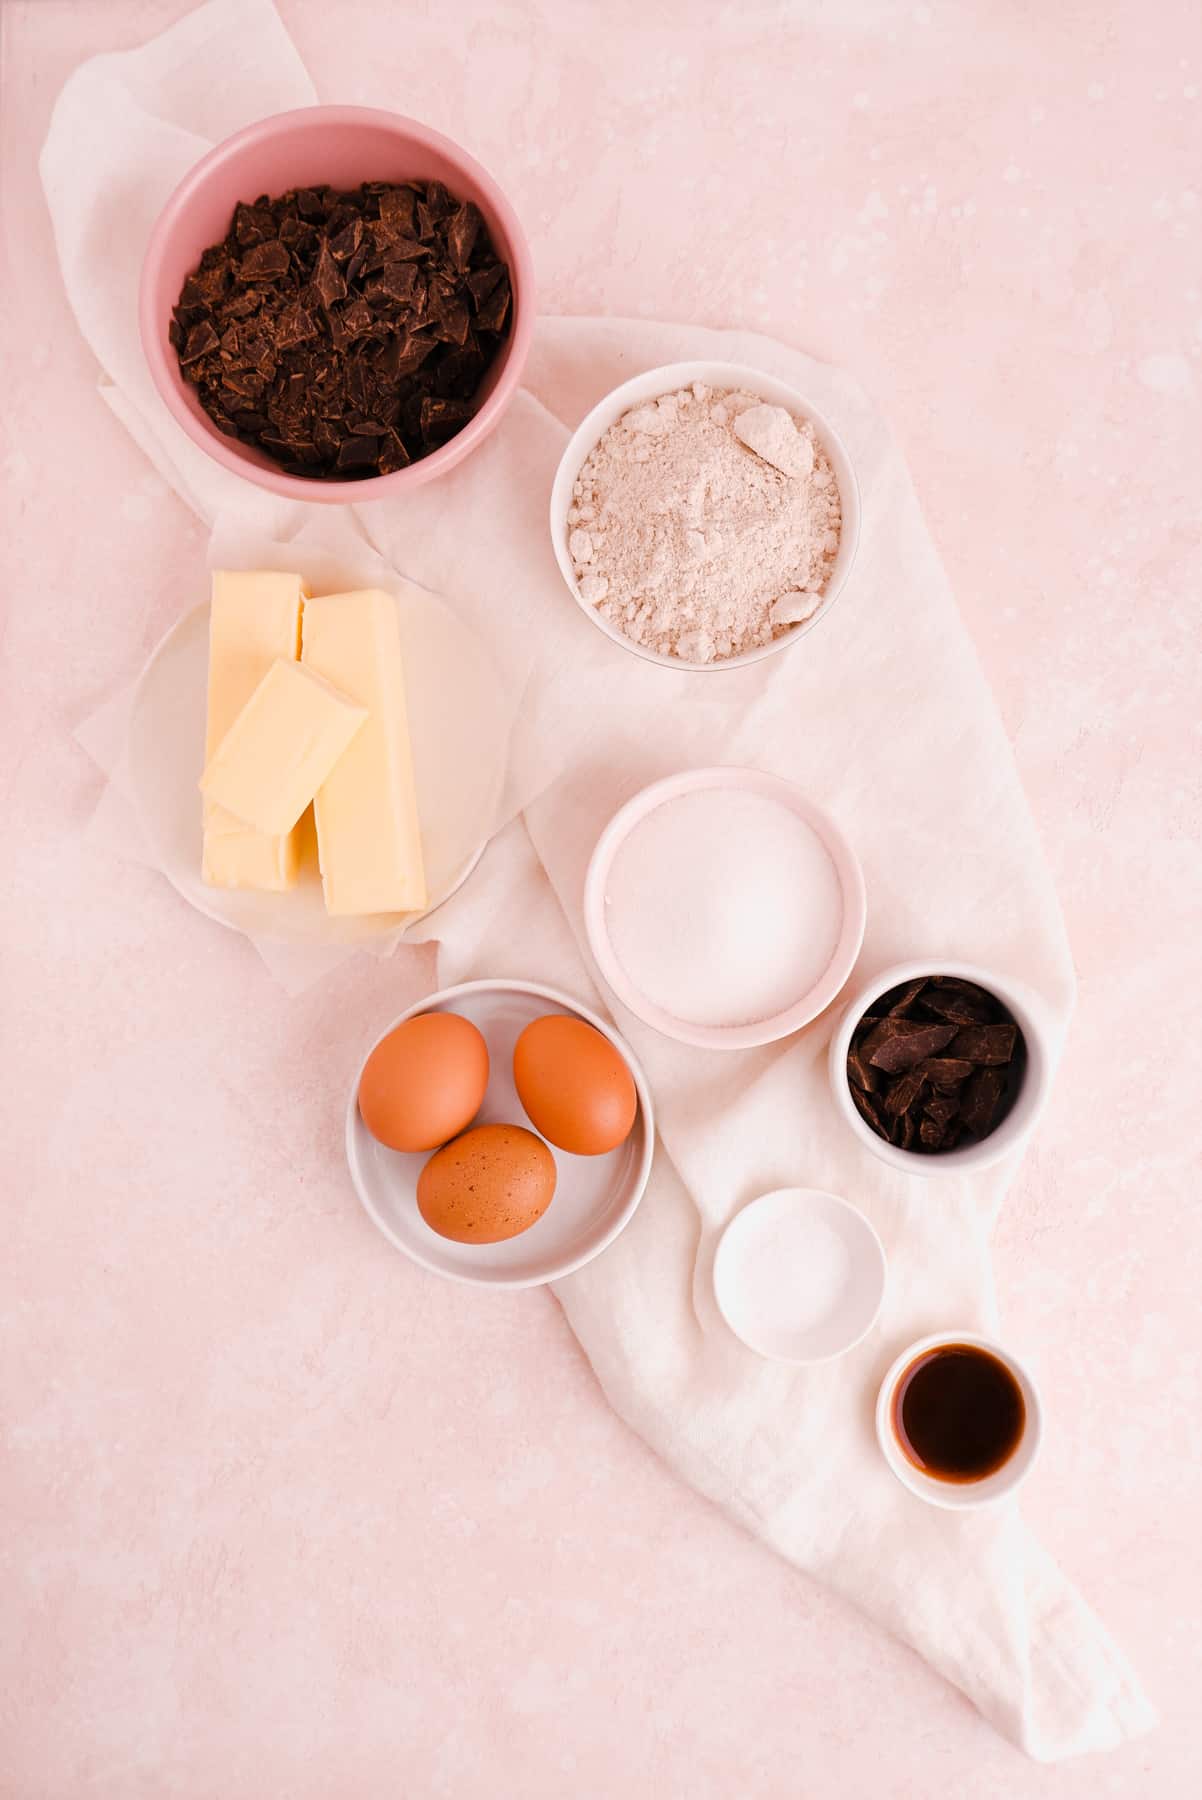
Ingredients you'll need to make these fudgy gluten free brownies…
(Pssst…if you're ready to just get baking, get all the details in the recipe card below!)
- unsalted butter: you definitely want to use a good quality butter here; with only a few ingredients, the quality is extra important
- dark chocolate bars or chips: I like to use at least 70% chocolate in these brownies since this recipe is quite sweet and naturally rich due to its uber-fudgy texture. The bitterness of a darker chocolate does a great job of offsetting the sweet notes in these brownies. I also love the rustic look of the chopped bars, but chips or pistoles work great as well.
- sugar: to add in all the sweetness, and I like to use white sugar, for a pure chocolate flavor, instead of brown sugar which would add in a hint of molasses.
- salt: you definitely need a little salt to balance and enhance all the delicious flavors in these bars
- vanilla extract: vanilla extract actually makes chocolate taste more chocolatey, so it's extra important in this recipe
- eggs: eggs are both a binder here and contribute to the texture of these bars as well; they are one of the biggest differences between this brownie recipe and a classic fudge candy (check out Eggs 101 and Eggs 102 for more on their function in all our recipes!)
- whole-grain oat flour: my tried-and-true go to for any gluten free recipe; it's important to sift it, as oat flour loves to clump up on you. In this recipe, the oat flour helps to add just enough cakiness to make sure you know these are still a brownie
Special tools or equipment you'll need…
Nothing fancy here! You'll need a pan, spatula, and whisk, and then just a few bowls (one microwave-safe), or a double boiler to melt your chocolate and butter. Despite their amazingness, these are actually pretty easy gluten free brownies to make!
How to make these easy brownies from scratch…
(Pssst…if you're ready to just get baking, get all the details in the recipe card below!)
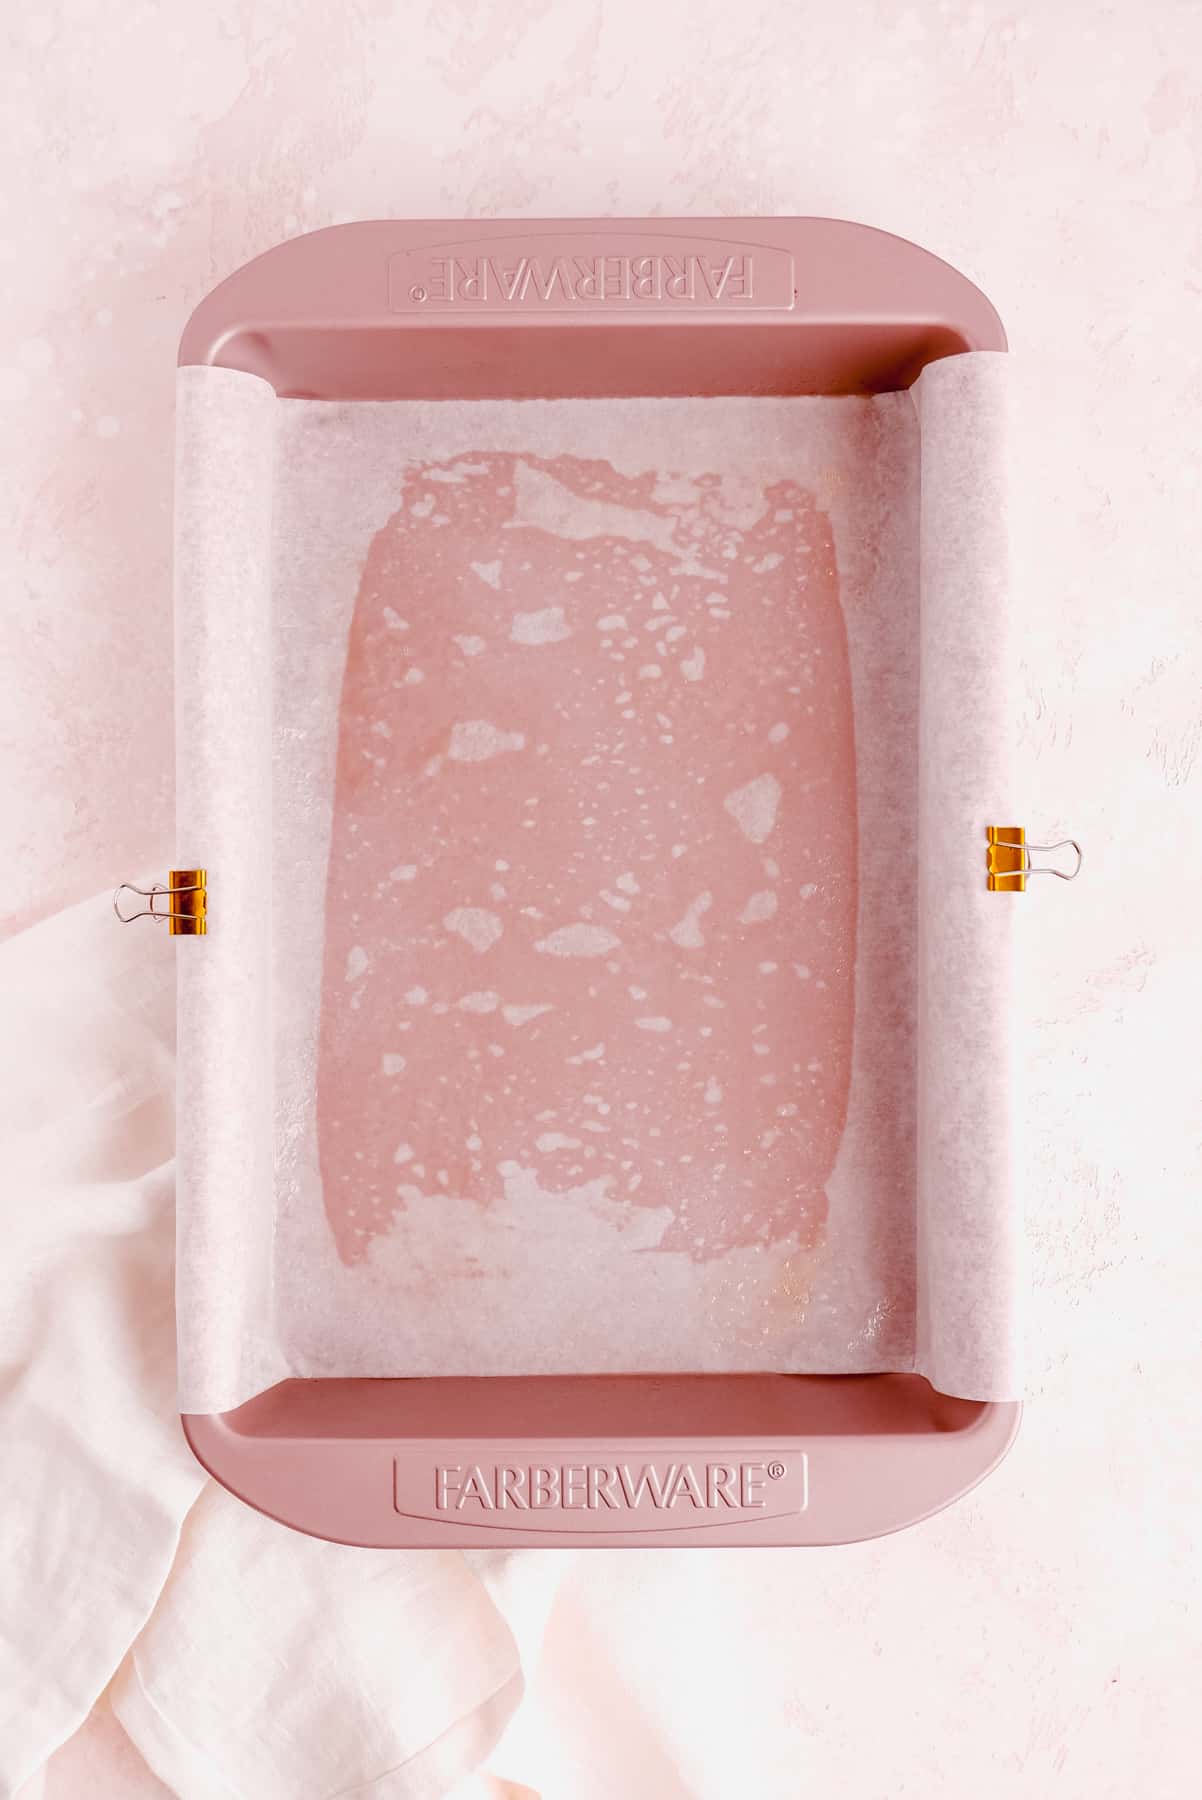
- Prep your pan and pre-heat your oven.
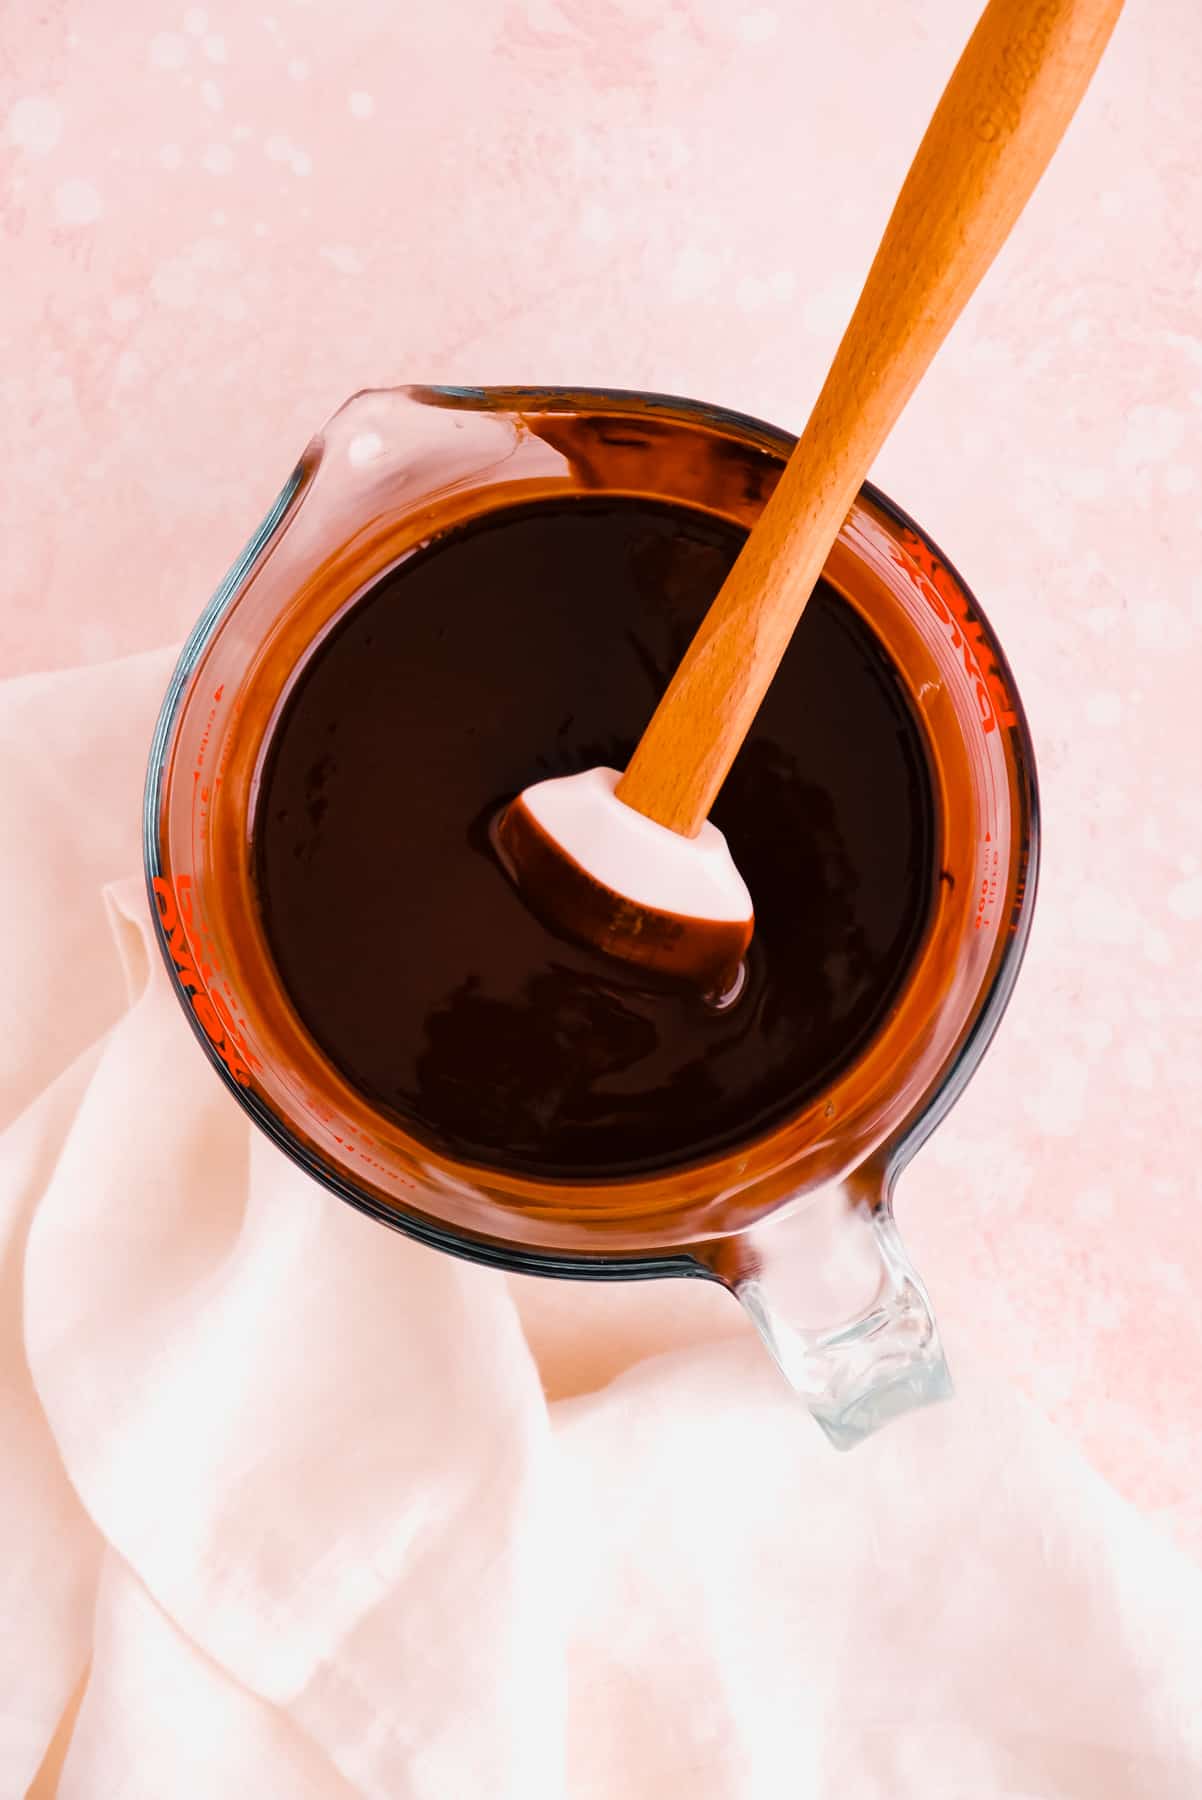
- Melt the butter and chocolate together, mixing until smooth and shiny. (So pretty and satisfying when they come together!)
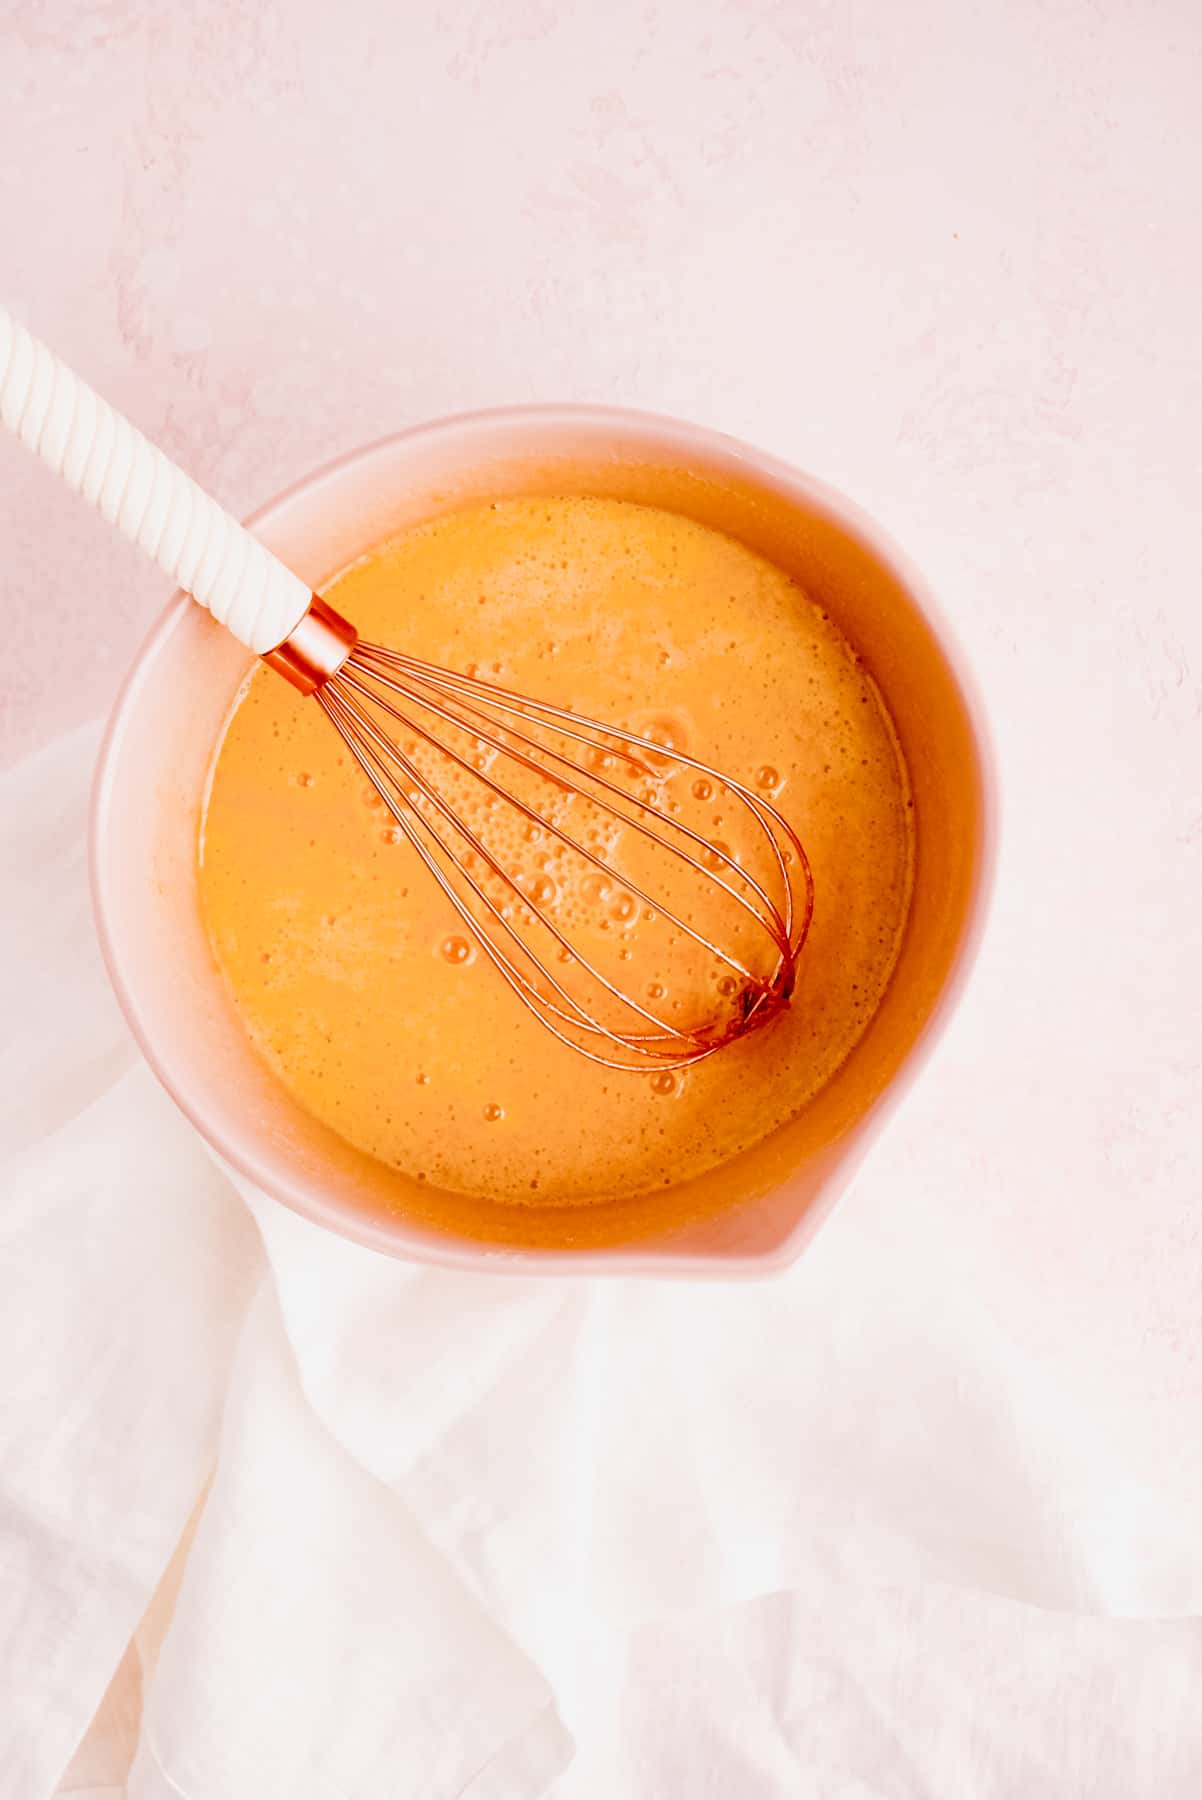
- Blend together all other ingredients except flour in a separate bowl.
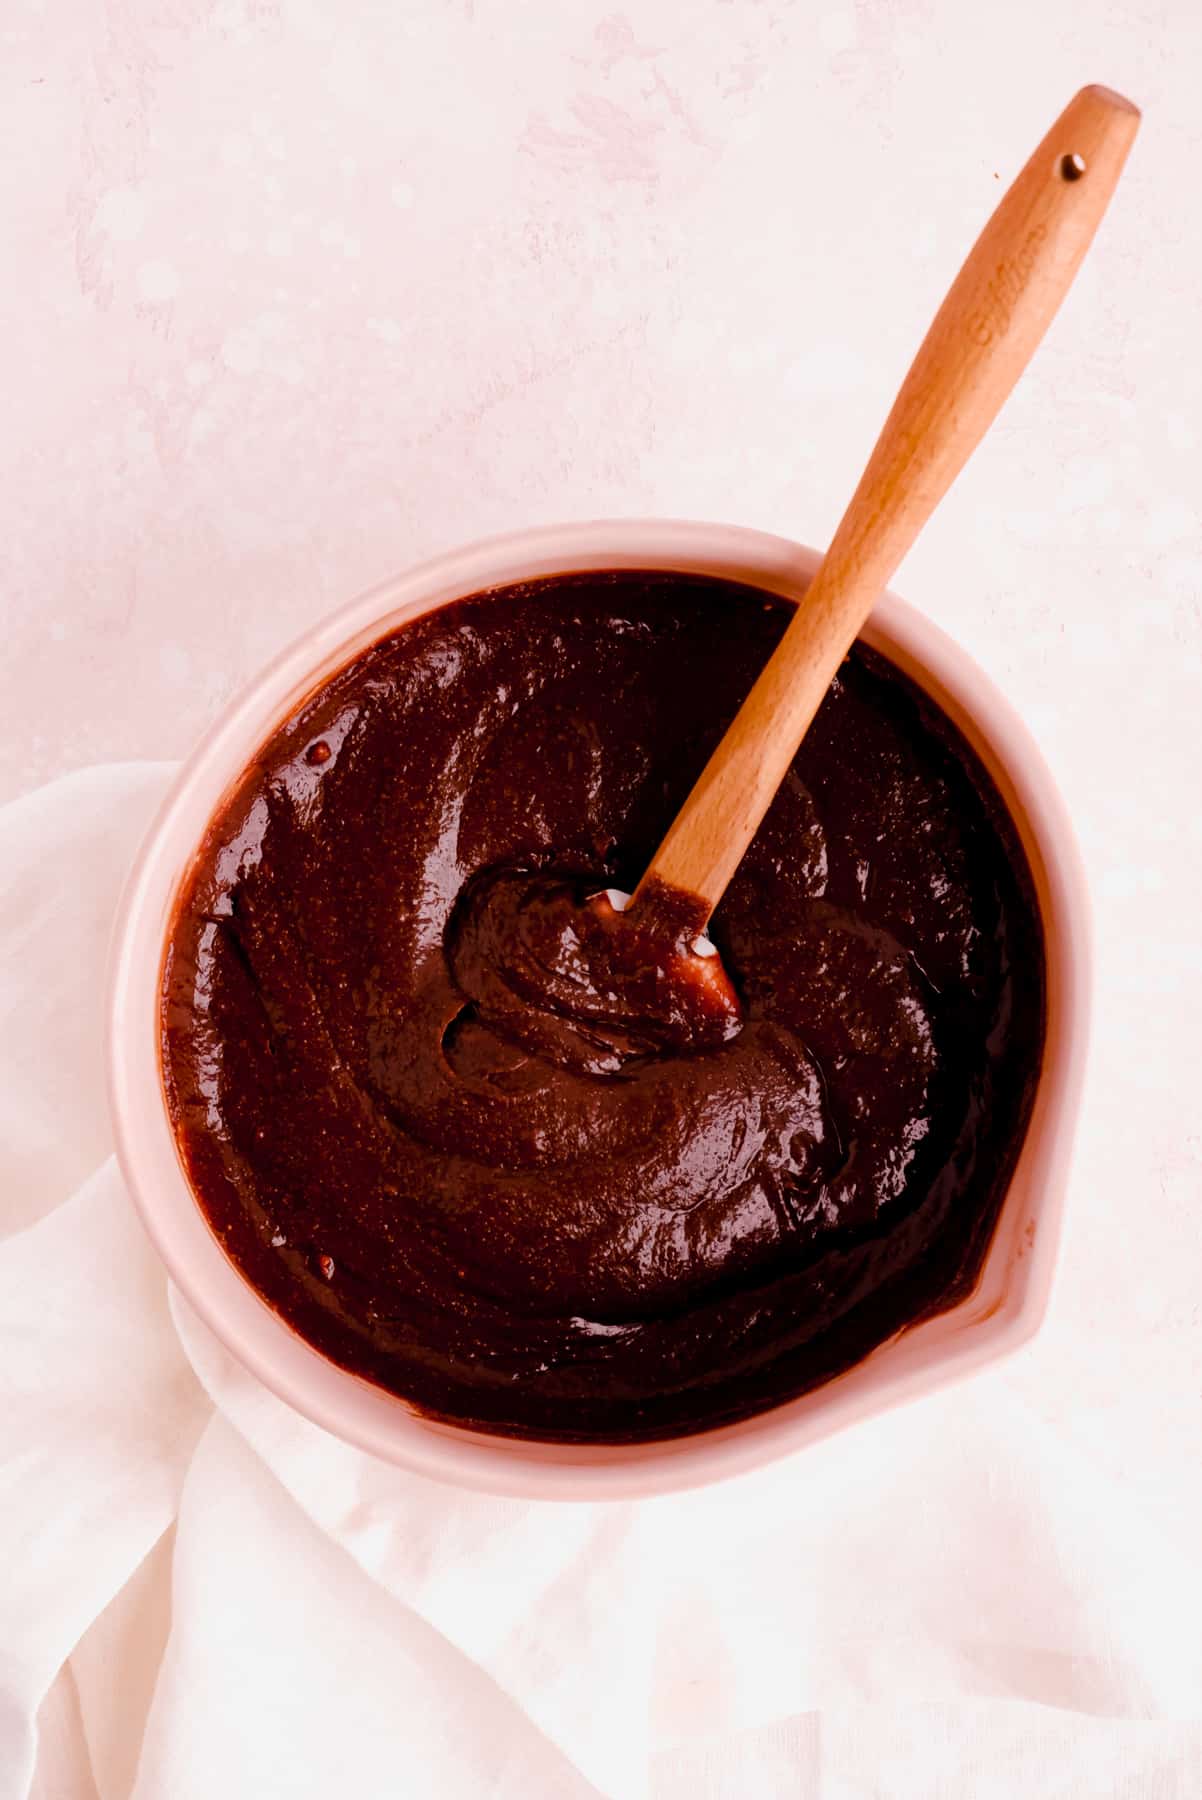
- Combine the chocolate/butter mixture with the egg/sugar mixture.
- Sift and mix in the oat flour.
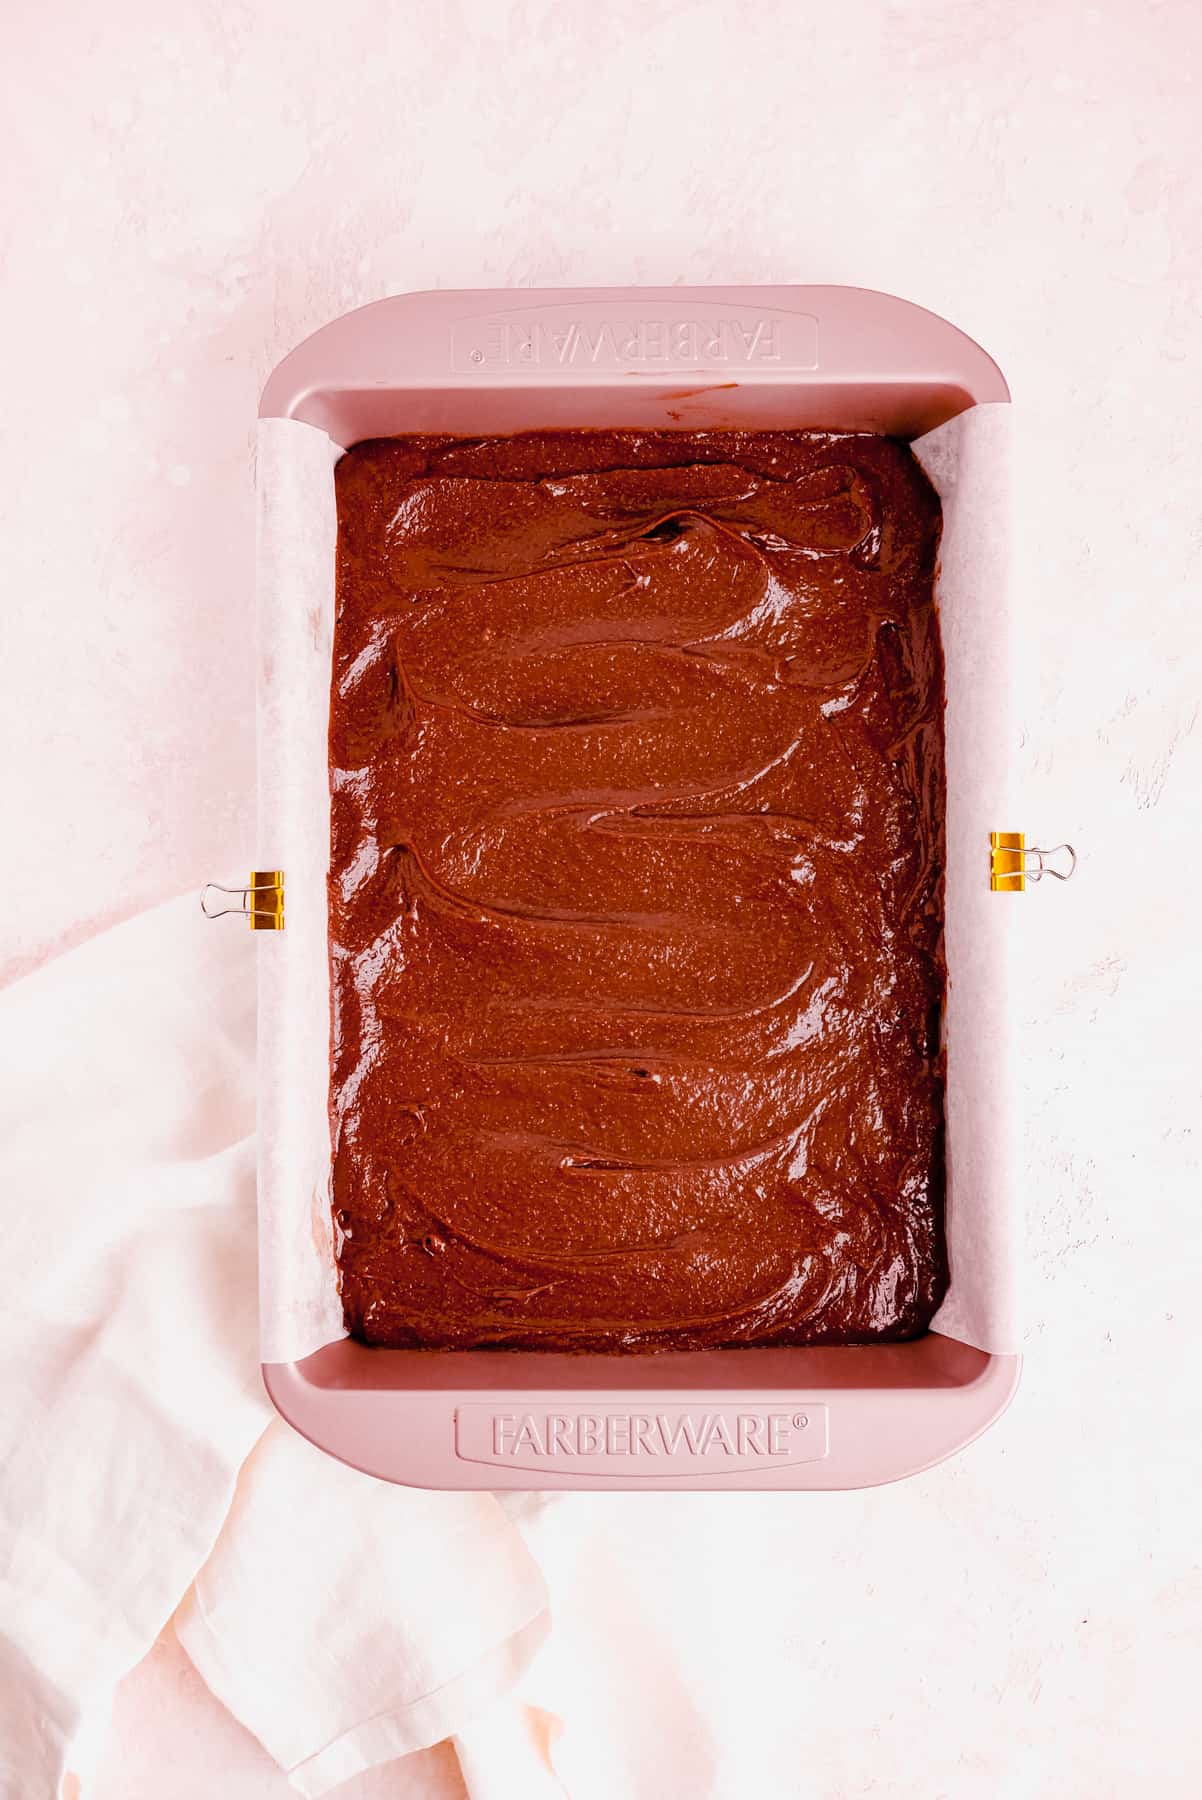
- Pour you batter into the prepared pan and bake.
- Cool bars fully before cutting. (they need time to firm up!)
- Cut, share, and enjoy!
Why use oat flour?
This is a great questions that you can learn a lot more about in my lessons on the best practices when baking and developing gluten free recipes, in Flour 101 and Flour 102. In short, whole grain oat flour is my favorite gluten free flour based on both texture and flavor.
Unlike the classically gritty rice flour (which I find overly noticeable and unpleasant in many gluten free recipes), oat flour has a very mild taste and subtle texture. It absorbs a lot of water without drying out your batter. It also provides cakiness in a traditional wheat-flour-like way that I really love.
So, ever since I discovered it when developing gluten free mixes, it's always my go to for gluten free recipes. Here's a link to my favorite brand of whole grain oat flour too!
What about almond flour or coconut flour?
The coarseness of almond flour (and its lower water absorption) would leave these bars grittier and also possibly too moist. I also wanted a nice clean chocolate flavor, and almond flour can contribute additional flavor notes to some recipes.
Coconut flour does absorb a lot of water, but also leaves a finer, but still present mealiness that I'm just not a big fan of in many recipes. It also can have a noticeable coconut flavor depending on your brand.
Does that mean you can't use those in this recipe?
Of course not! I haven't tested this recipe with any alternative gluten free flours, but I always encourage you to play in the kitchen and learn what works and doesn't work for you and your preferences. Since the flour amount is pretty low in these recipes, I would guess you'll still get a brownie with those other flours. Just know that they will likely significantly change both the flavor and texture.
If you try another flour, be sure to leave a comment below - I'd love to know how it goes!
(As a side-note, you can make these brownies with all-purpose wheat flour as well).
Can you make these ahead of time?
These bars freeze really well for up to a month. Just be sure if you freeze them as a full pan and thaw them to room temperature before cutting. Always store well-wrapped in an airtight container.
How do you store these?
These bars will keep well for up to 10 days at room temperature in an airtight container. After you cut them, you'll notice the edges tend to dry out a bit, but I actually love that part of this recipe! It gives you a crisp edge while the centers still stay super fudgy.
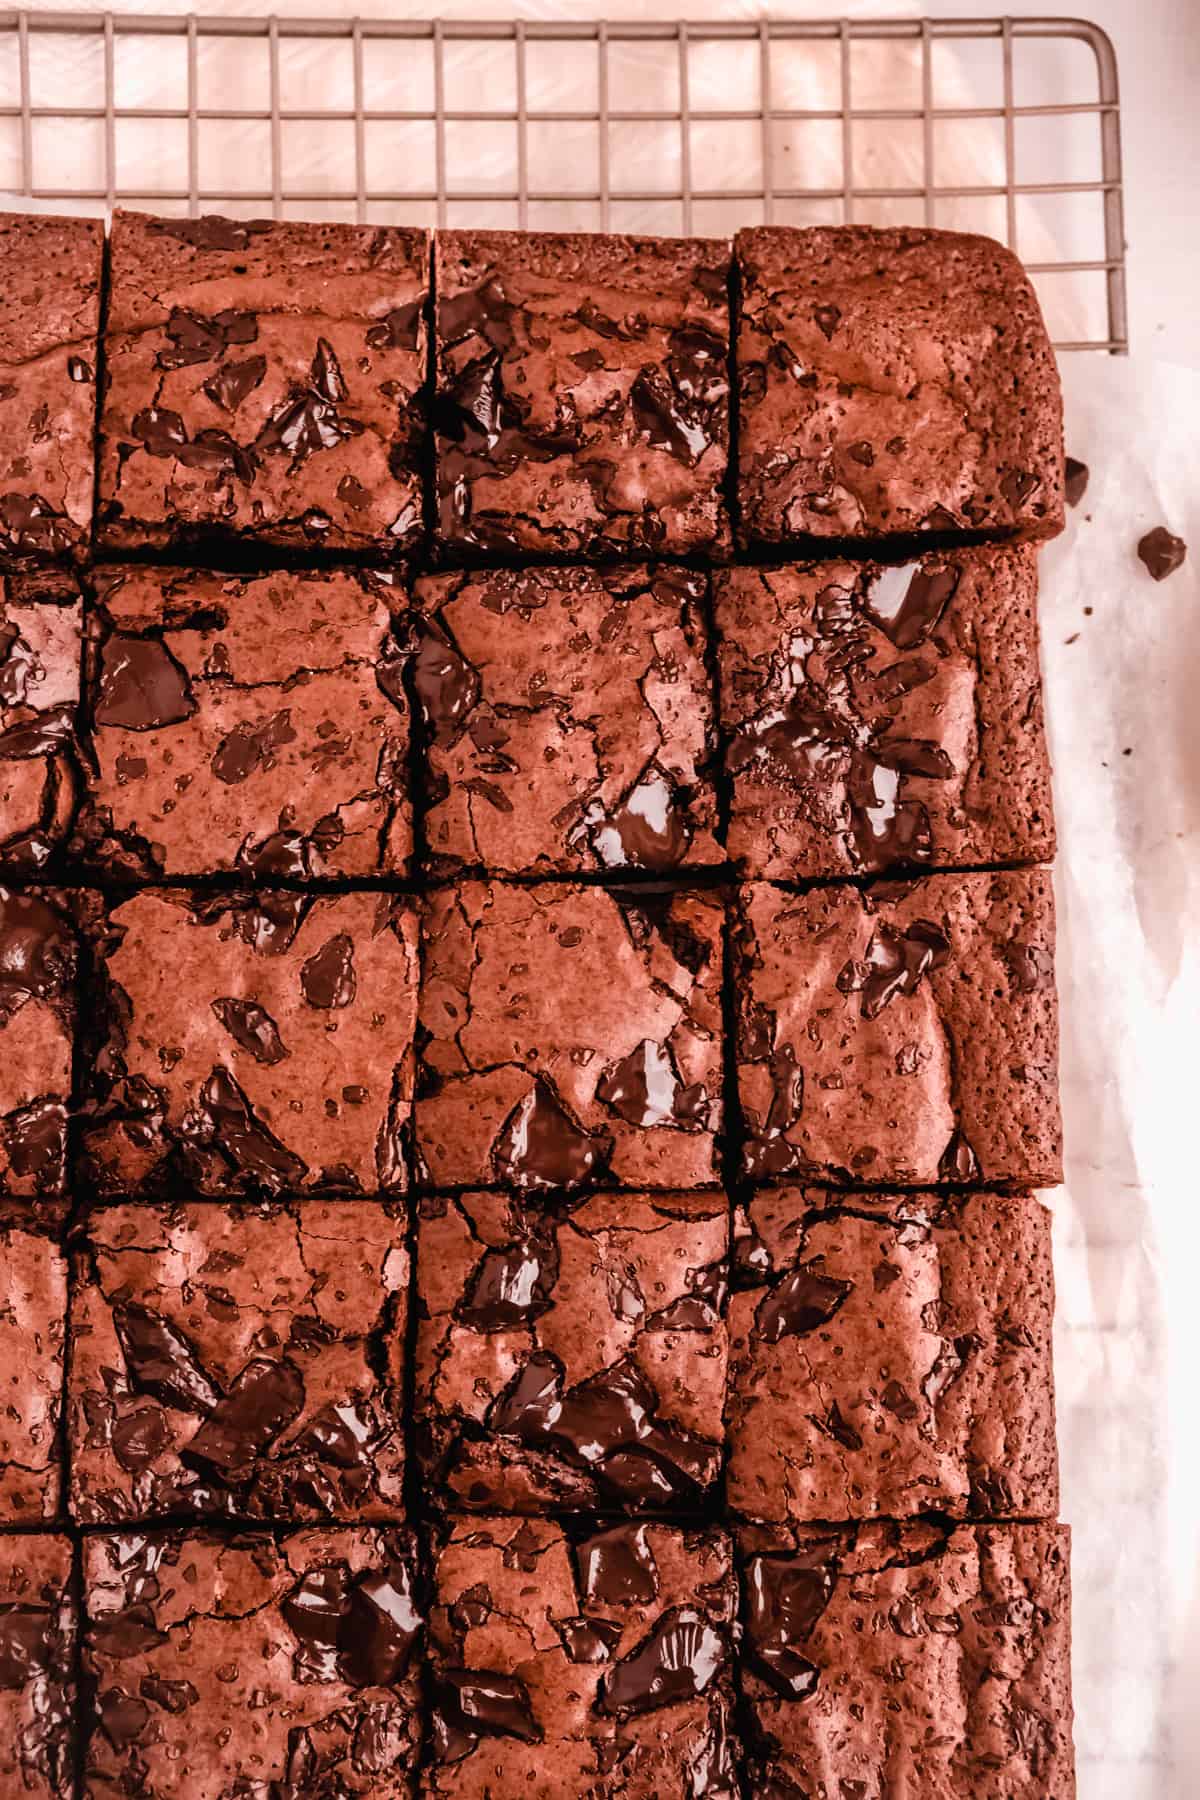
Top tip for making the best fudgy gluten free brownies…
The most important tip for these brownies is do not over-mix them! If you do, they will still taste great, of course, but the tops will get a dull and bumpy look instead of the beautifully crackled sheen of a just-barely mixed batter.
You want to mix this whole recipe by hand (no stand or electric mixer needed here). You also don't have to worry about over-mixing the butter + chocolate or the sugar + egg mixture. Those both need to be mixed very well actually.
But once you combine them, and especially once you add the flour, be sure to mix by hand. Using a whisk is ideal to more efficiently incorporate the ingredients, and stop mixing as soon as everything has come together and no streaks remain.
What’s happening behind the recipe…
We've covered a lot of what's going on behind the bubbling brownie batter here already, but to recap:
- We have a whole bunch of butter that provides us with a rich texture and also amplifies all our flavors (learn more about this in Butter 101: Fat is Flavor)
- Because these fudgy brownies are made with chocolate bars and not cocoa powder, the flavor is extra rich and much more complex. (And who doesn't love more chocolate yum in their chocolate brownies?!)
- Our eggs are really the crux of this recipe, keeping it in the brownie world and holding that insane amount of fat and chocolate and butter all together for us
- vanilla is enhancing the chocolatey-ness of these oat flour brownies (counter intuitive I know, but I swear it's true!)
- the oat flour is allowing these delicious and easy brownies to be gluten free while still totally lovable by gluten-ful sweet fiends like myself; it provides a little structure by drying out the batter and a little cakiness from it's light and fluffy texture. Plus, since it's whole grain, that makes these deliciously fudgy brownies healthy…right? wink*wink*
Other recipes that fans of these fudgy will love…
For all my ice cream sundae lovers out there, these brownies, paired with our rich Dark Chocolate Homemade Hot Fudge sauce are an ice cream scoop's best friends!

⭐ If you gave this recipe a try please give it a ⭐ rating and tag me on Instagram @mint.and.mallow.kitchen so I can see what you're baking up! ⭐
📖 Full Recipe
Fudgy Gluten Free Brownies
Ingredients
- 1 ¼ cups (2 ½ sticks) unsalted butter
- 1 ½ cups roughly chopped dark chocolate bars (70%) or chips (see tips)
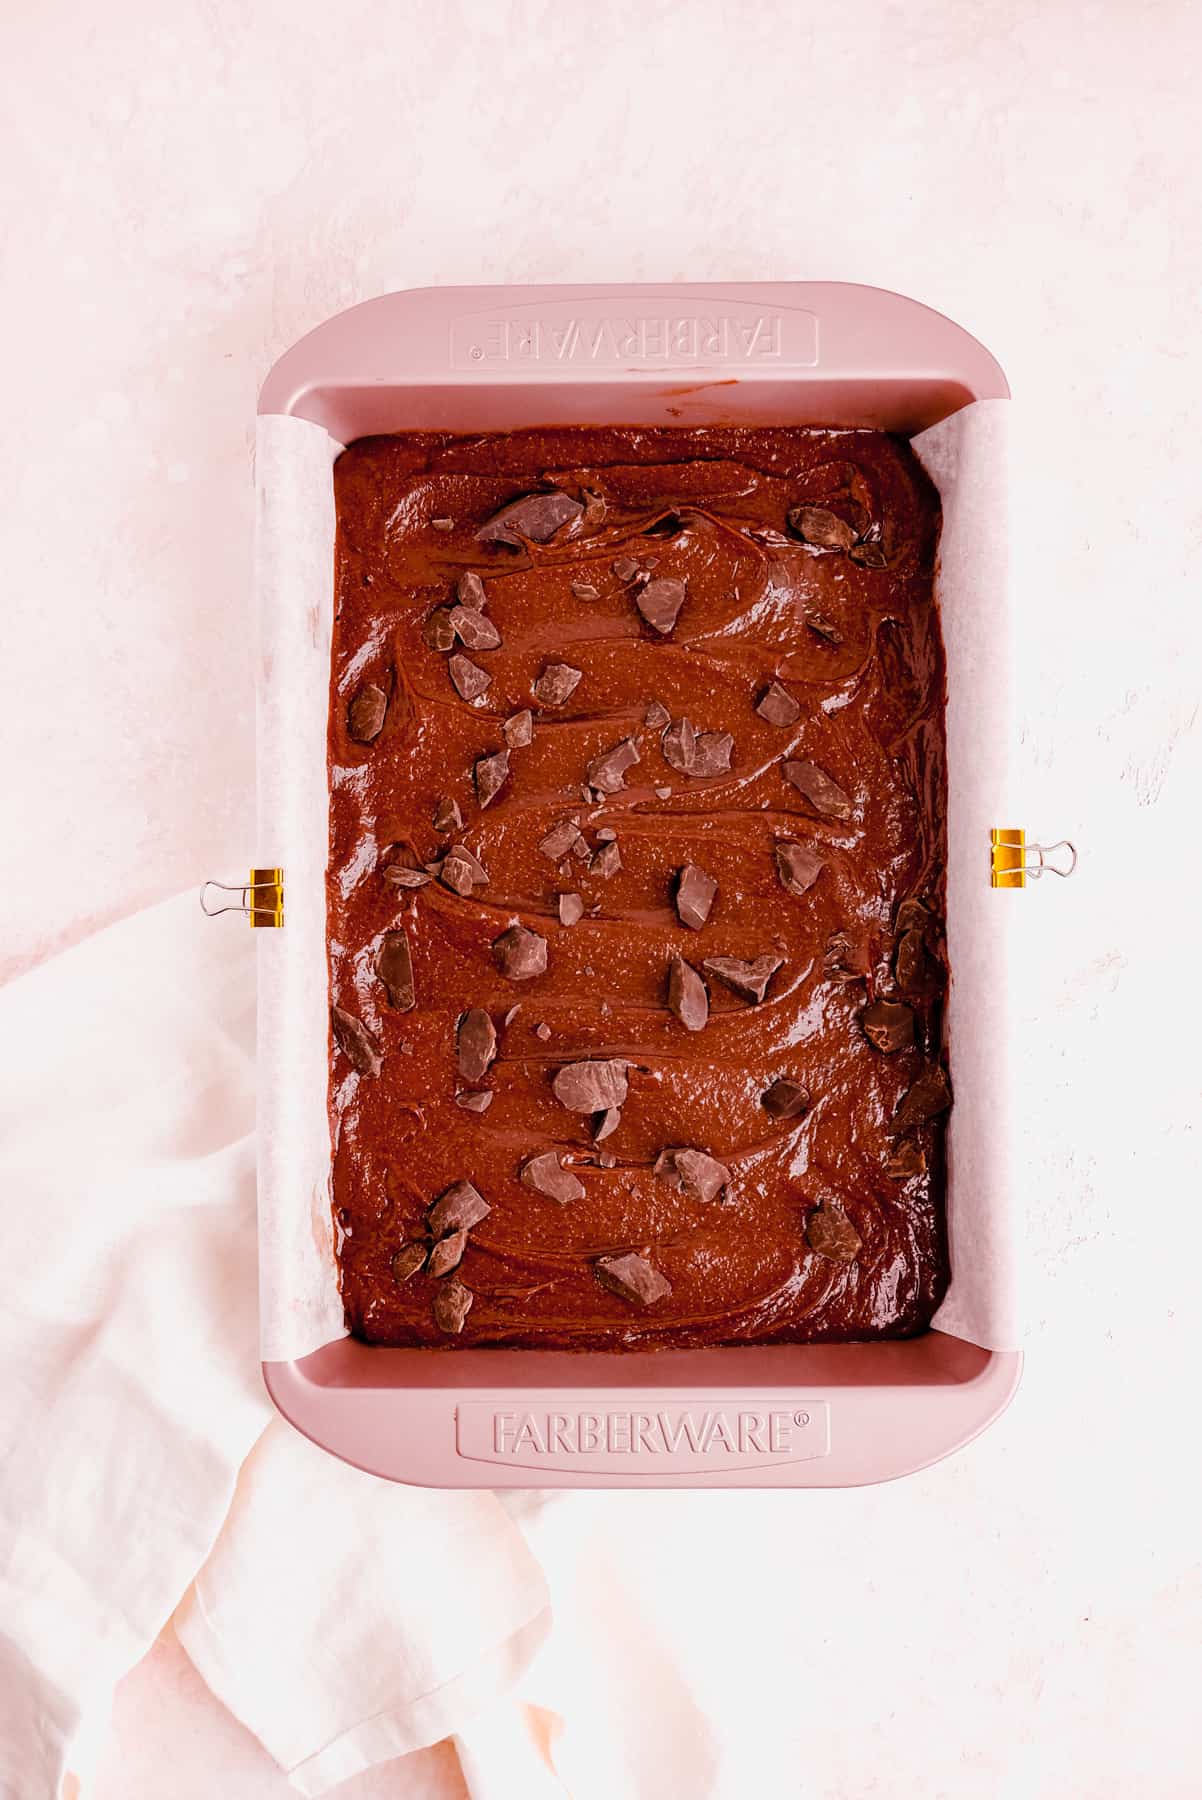
- ⅓ cup roughly chopped dark chocolate bars (70%) or chips (for topping)
- 1 ½ cups sugar
- ¾ teaspoon salt
- 1 ½ teaspoons vanilla extract
- 3 large eggs
- 1 cup whole grain oat flour
Instructions
- Prep and pre-heat: preheat your oven to 350°F. Line a 9" x 13" pan with parchment paper, leaving a 1" overhang on each side, and lightly grease with baking spray.
- Melt butter and chocolate: melt butter and 1 ½ cups (225g) chopped chocolate together, mixing until shiny and smooth, over a double boiler or in the microwave (if using the microwave, use 50% power or less in 30 second intervals, stirring well between each to prevent burning the chocolate).
- Blend other ingredients except flour: in a large bowl, whisk together sugar, salt, vanilla extract, and eggs until combined (be sure not to let your eggs sit with your sugar or salt for any significant amount of time without mixing as the they can "burn" the yolks by sucking the liquid out of them which can't be undone).
- Add in the chocolate: add melted chocolate/butter mixture to the sugar/egg mixture and stir until thoroughly combined, with no streaks remaining.
- Sift and mix flour: sift the oat flour over the top of your batter then gently mix it into the batter, just until everything is fully blended (don’t over mix or you’ll lose your shiny top!).
- Pour and bake: pour batter into prepared pan, spread to level it in the pan as needed, then sprinkle evenly with the remaining ⅓ cup of chopped chocolate on top. Bake for 40-42 minutes. The surface should look dry and fully set with some crackling and the batter shouldn't move at all when you gently shake the pan.
- Cool: cool brownies fully to room temperature (or even better, overnight) before trying to cut them (you can even chill in the fridge for an hour or two before cutting if you'd like an easier time at dividing up these fudgy bars).
- Cut, share, and enjoy: loosen the ends of the brownies from the pan, and then gently lift the brownies out using the parchment sling to place them on a cutting board. If fully cooled or chilled, they should release as a solid layer when gently lifted with the sling, but you can also cut them right in the pan if they seem too soft to transfer to as a whole. Share and enjoy the rich, uber-fudgy deliciousness!(fair warning, these brownies have been known to cause chocolate-induced food comas)
Comments
No Comments