


In the last post of this series we chatted about why writing a good recipe is so important. But now, it's time to dive into the nitty gritty details of our recipe style guide, and today's focus is all about the ingredients list organization and naming!
Jump to (scroll for more!):
Anatomy of an Ingredient List
As I mentioned above, the last post in this series talks all about the importance of writing a good recipe (and why you should listen to me on this topic in the first place!). So be sure to check that out if you'd like more background on why I created this guide, because with this post, we're jumping *write* in to the recipe card itself!
Today we're starting with the ingredients because honestly, if you don't get the right ingredients into the bowl, the rest really doesn't matter.
So here's how we're going to break down the first major, very important section of any recipe card:
- How to organize your ingredient lists (what's at the top and the bottom)
- How to name your ingredients (milk vs. whole milk, and substitution options)
List Organization
The single lesson I find myself recalling the most from pastry school (and there were many many amazing lessons I learned there), is...messy table, messy mind, messy results.
Organization is the arch-enemy of mistakes in my book, especially in the kitchen. So the more organized your recipe card is, the more organized your reader can be, and the more likely they are to not make mistakes while working through your recipe.
In case you'd like to see any of the details in action aside from the provided examples, I've linked a recipe that follows each convention for you to see a more complete example.
So let's break down the do's and don'ts of list organization...
Multiple Components or Ingredient Lists
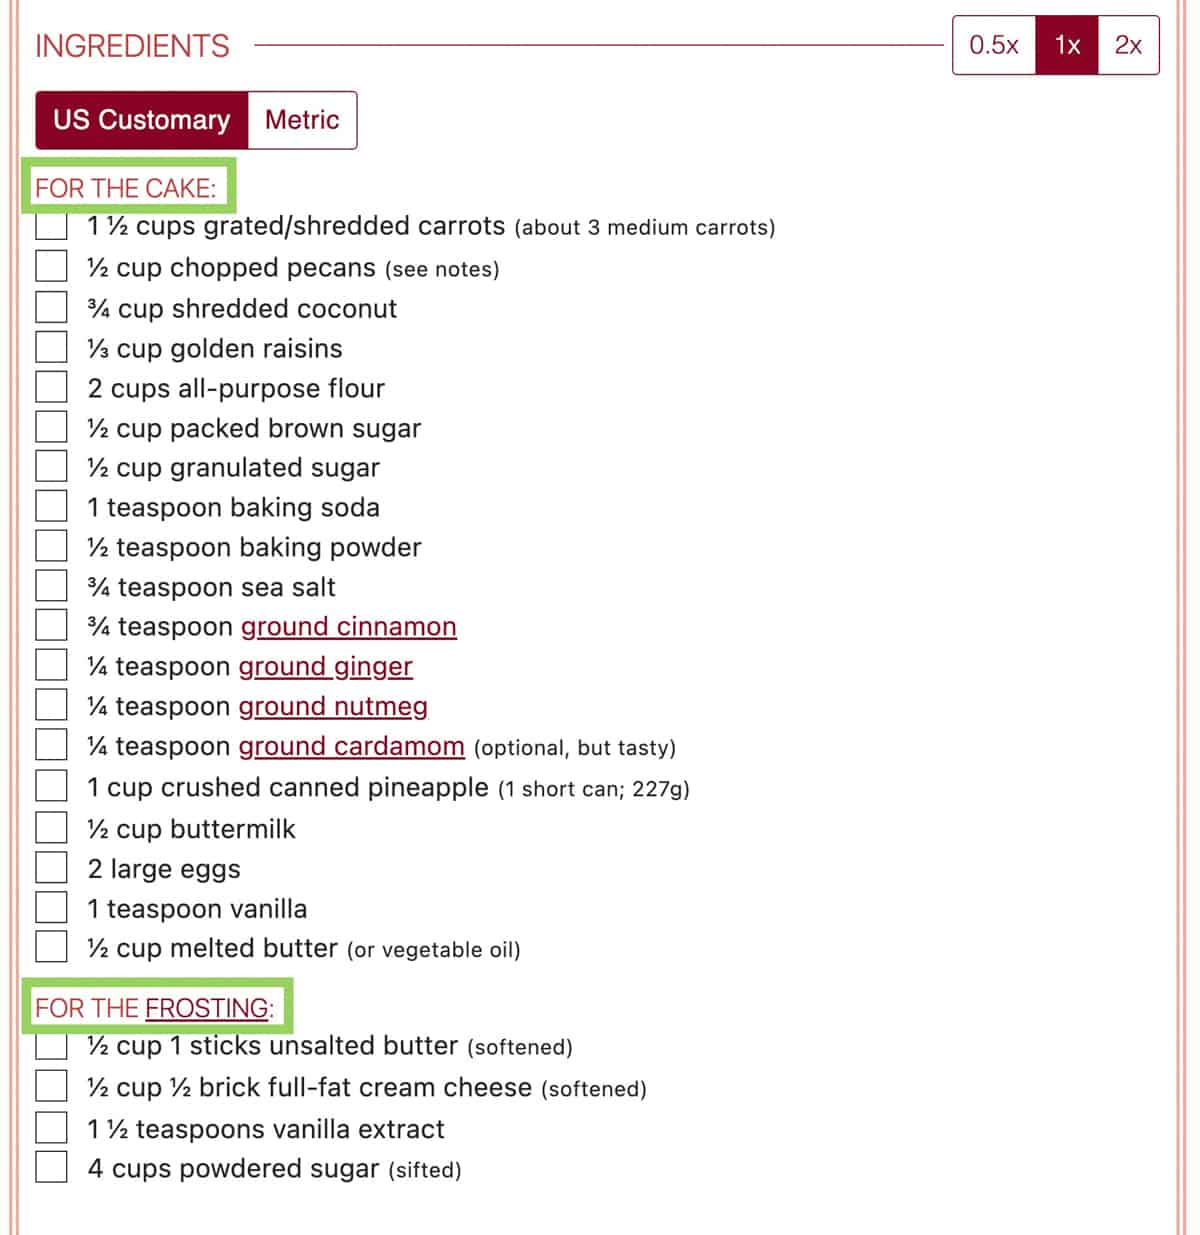
- If your recipe has multiple components, like a cake batter and a frosting, separate those ingredient lists with simple, clear headers.
- Example: "For the cake:" and "For the frosting:"
- Why? Separating these lists allows your reader to stay more organizing when preparing and adding ingredients throughout the recipe.
- See it in action: Old-Fashioned Carrot Cake with Cream Cheese Frosting
- Example: "For the cake:" and "For the frosting:"
- If using multiple ingredient lists separated by headers, list them in order of preparation.
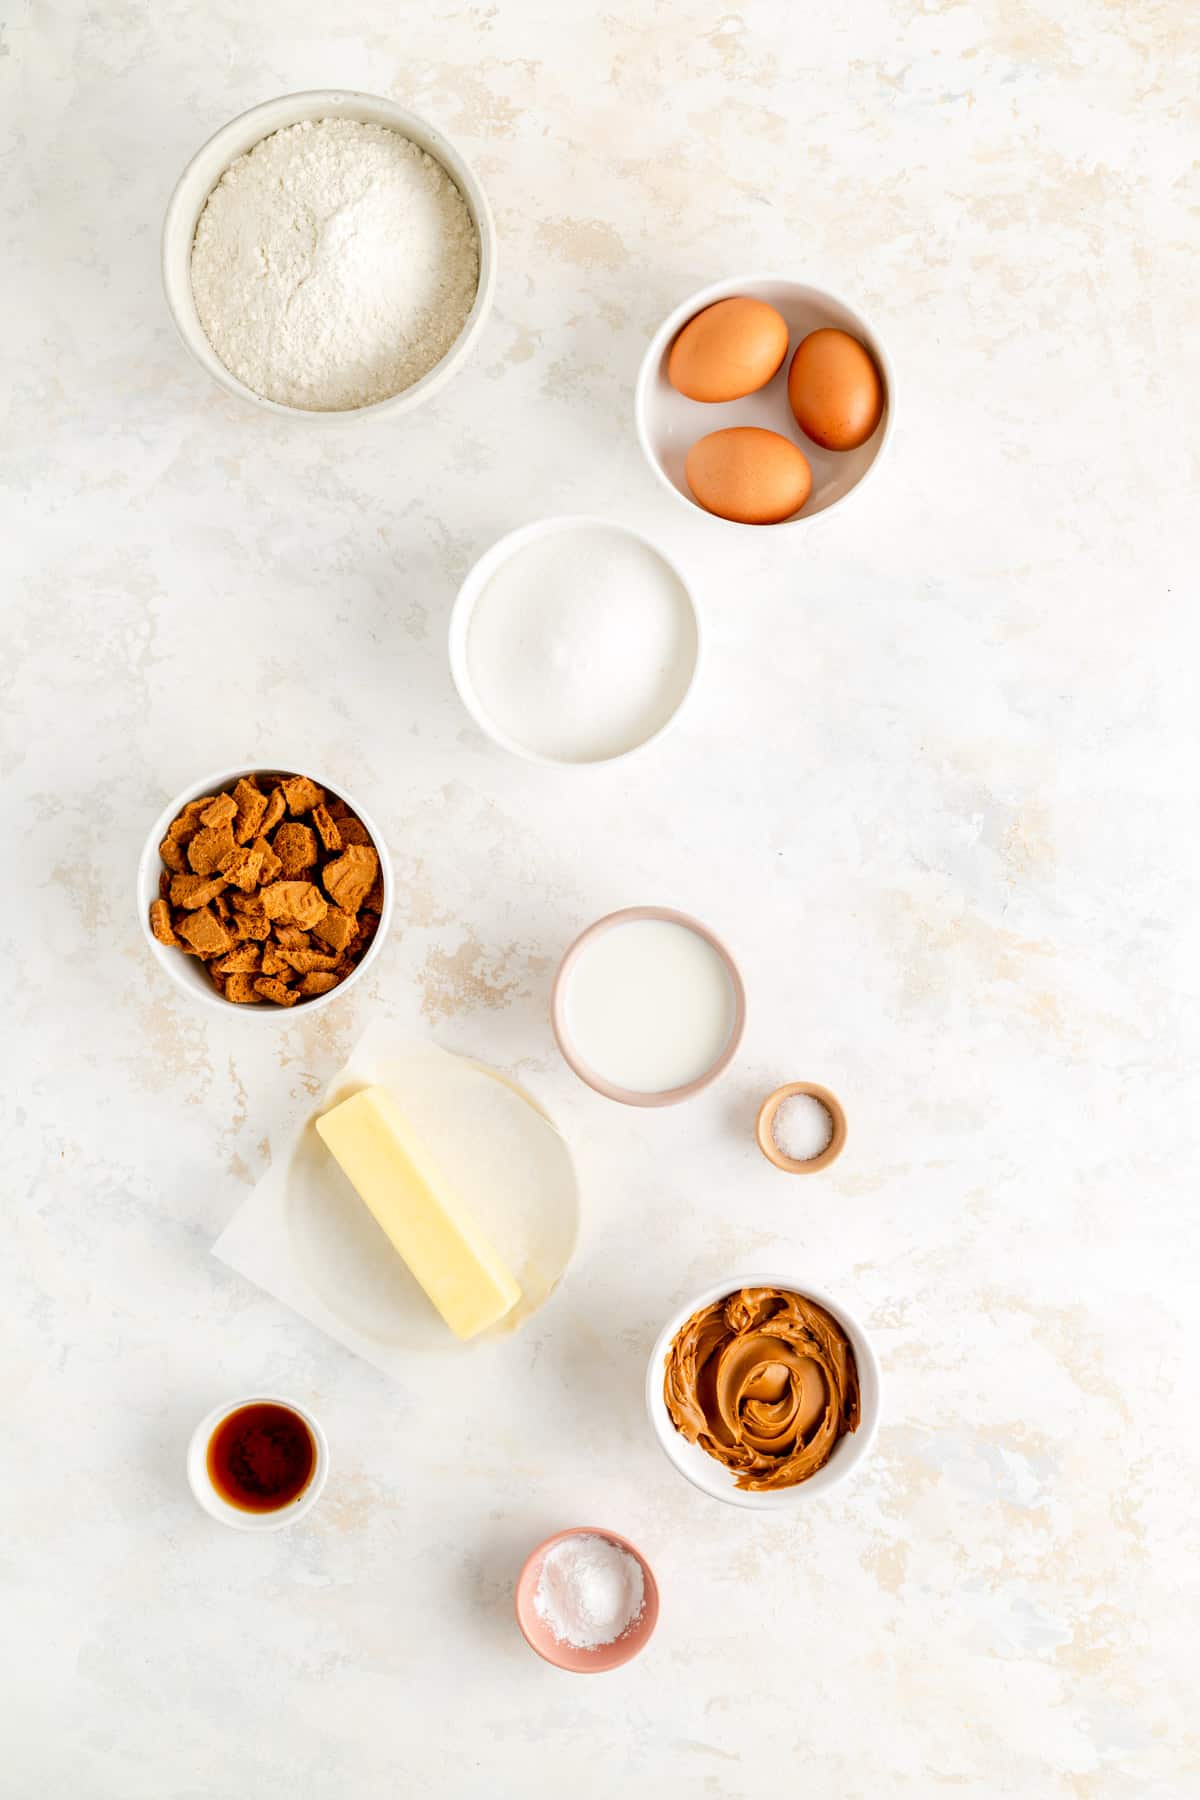
- Example: if you have them mix up the frosting, then set it aside while mixing up the cake batter, the frosting ingredient list would come first. Alternatively, if they're mixing up the cake, then making the frosting while it's in the oven, you'd list the cake ingredients first (as shown in the Cookie Butter Cake example here).
- Why? Listing the ingredients in the order of use allows the reader to focus on only what they need for the first component before moving on. Plus, we naturally read from top to bottom. Less to focus on, and no need to jump from top to bottom throughout the mixing process means a lower likelihood of mistakes and a better chance of success!
- See it in action: Biscoff Cookie Butter Cake with Biscoff Buttercream
- Example: if you have them mix up the frosting, then set it aside while mixing up the cake batter, the frosting ingredient list would come first. Alternatively, if they're mixing up the cake, then making the frosting while it's in the oven, you'd list the cake ingredients first (as shown in the Cookie Butter Cake example here).

Ingredient Order
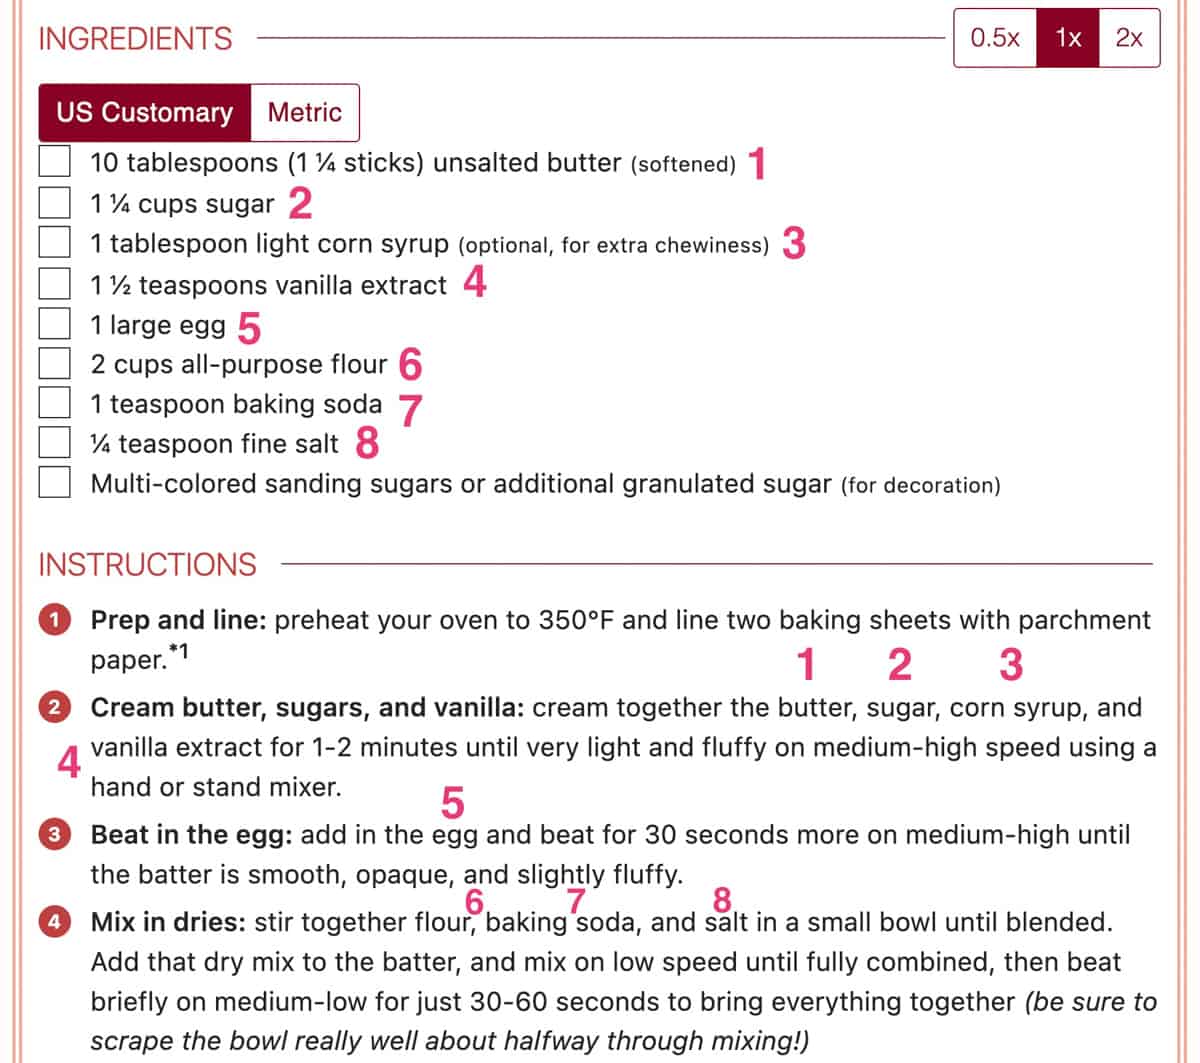
- List ingredients in order of use: in short, this means the order they are mentioned in the instructions should perfectly match the order they are listed in the ingredient list.
- Example: if the flour is added last to your dough, but you list "combine the dry ingredients" as the first step, your flour should be listed first in your ingredient list so your reader isn't searching for it down at the bottom.
- Why? Listing the ingredients in order of use helps the reader to follow along in a natural top to bottom flow. It also helps make sure they don't skip an ingredient as they are likely to do if they're jumping around the list between steps while actively cooking/baking.
- See it in action: Soft & Chewy Sugar Cookies (no baking powder!)
- Example: if the flour is added last to your dough, but you list "combine the dry ingredients" as the first step, your flour should be listed first in your ingredient list so your reader isn't searching for it down at the bottom.
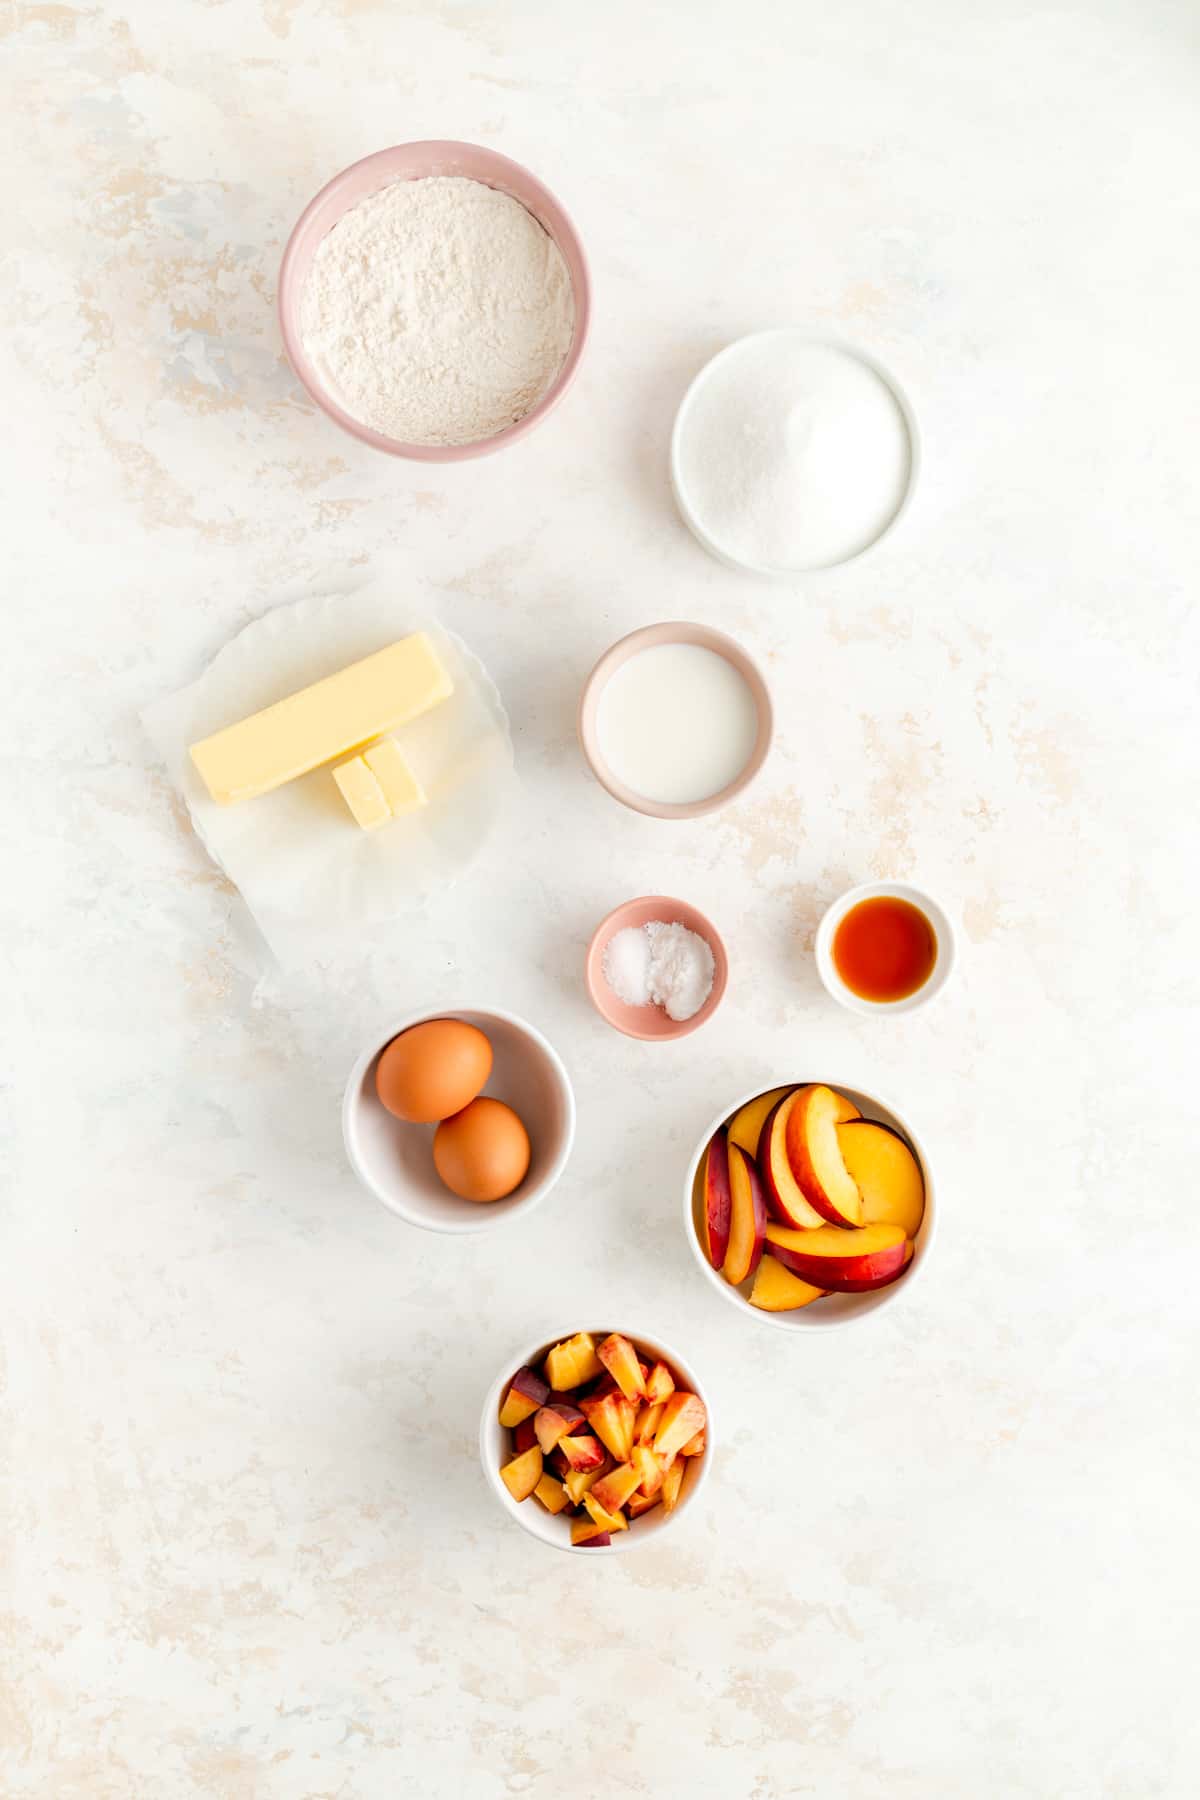
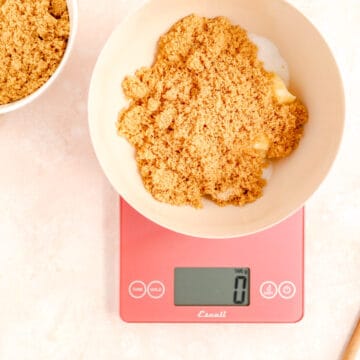
- If ingredients are used at the same time, list them in order of measurement: biggest on top, smallest on bottom, grouping by type as needed.
- By Volume or Weight? If you provide both volumetric and weight measurements (as I do), list the values according to your primary method. For example, my recipe cards all show volume measurements (with an option to toggle to weight measurements), so I would decide "biggest to smallest" according to volume to match my primary card display.
- Example 1: if you say "combine the dry ingredients," meaning 2 cups flour, 1 teaspoon baking soda, and ½ teaspoon salt, you would list them in that order (in the ingredients and instructions), from biggest to smallest measurement.
- Why? It's easiest for the reader to use their measuring utensils in order 1) for ease with matching measurements 2) for organization which leads to fewer mistakes and omissions, and 3) to ensure micro-ingredients, like salt, aren't added under large volumes, like flour, in which case they don't get mixed in very well.
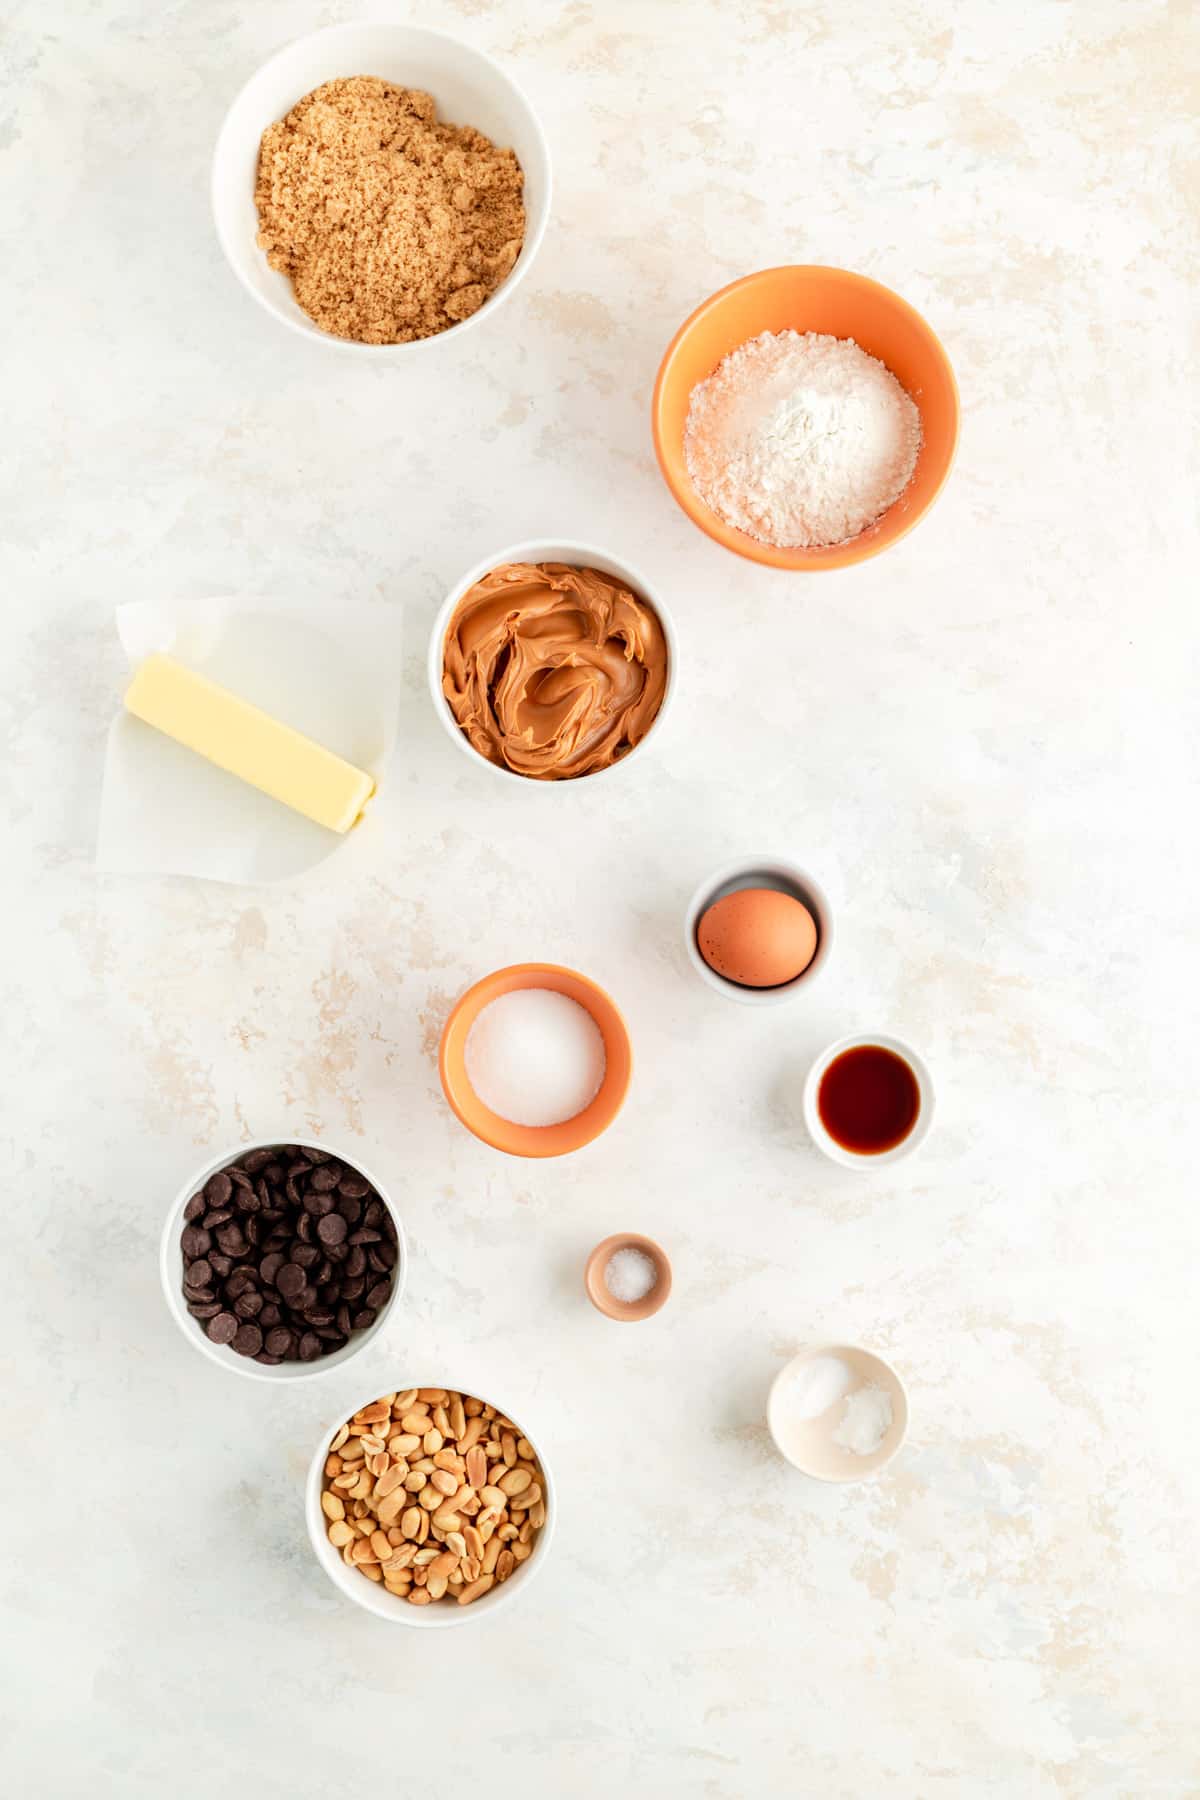
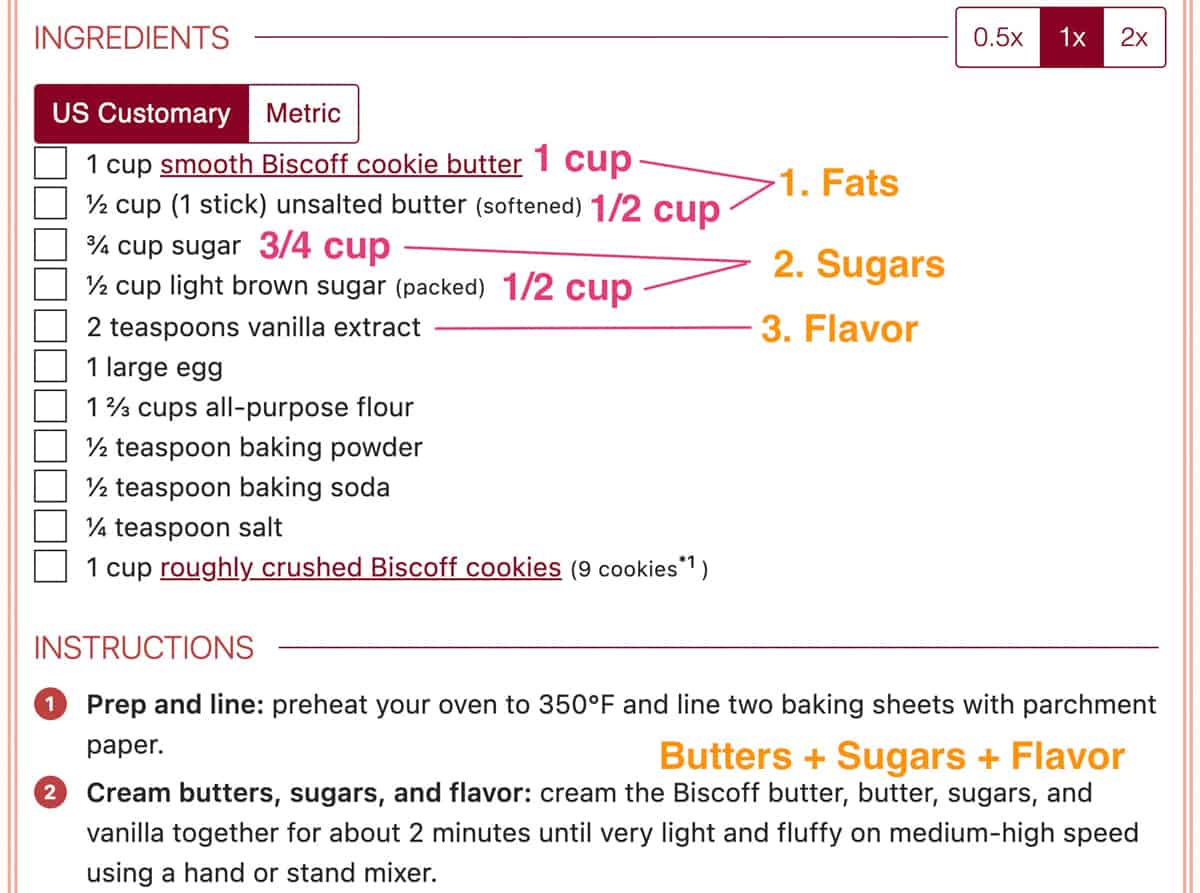
- Example 2: If you have various types of ingredients being added at once (ex. fats, sugars, and flavorings), you can keep similar ingredients grouped (ex. sugar and brown sugar). Within the group, list them in descending order of amount as shown in the example below.
- Why? In the case of fats, sugars and flavors going in together, while we could list them all just in order of amounts, it's generally easier for people to measure similar ingredients in succession, which is why we would group like ingredients within that bunch.
- See it in action: Easy Biscoff Butter Cookies
Naming + Substitutions
While it's super important to have our ingredients in the right order to prevent any unwanted mix-ups or omissions, it's equally important to make sure our readers are using the right ingredient, in the right condition, and in the right amount.
Ingredient Names
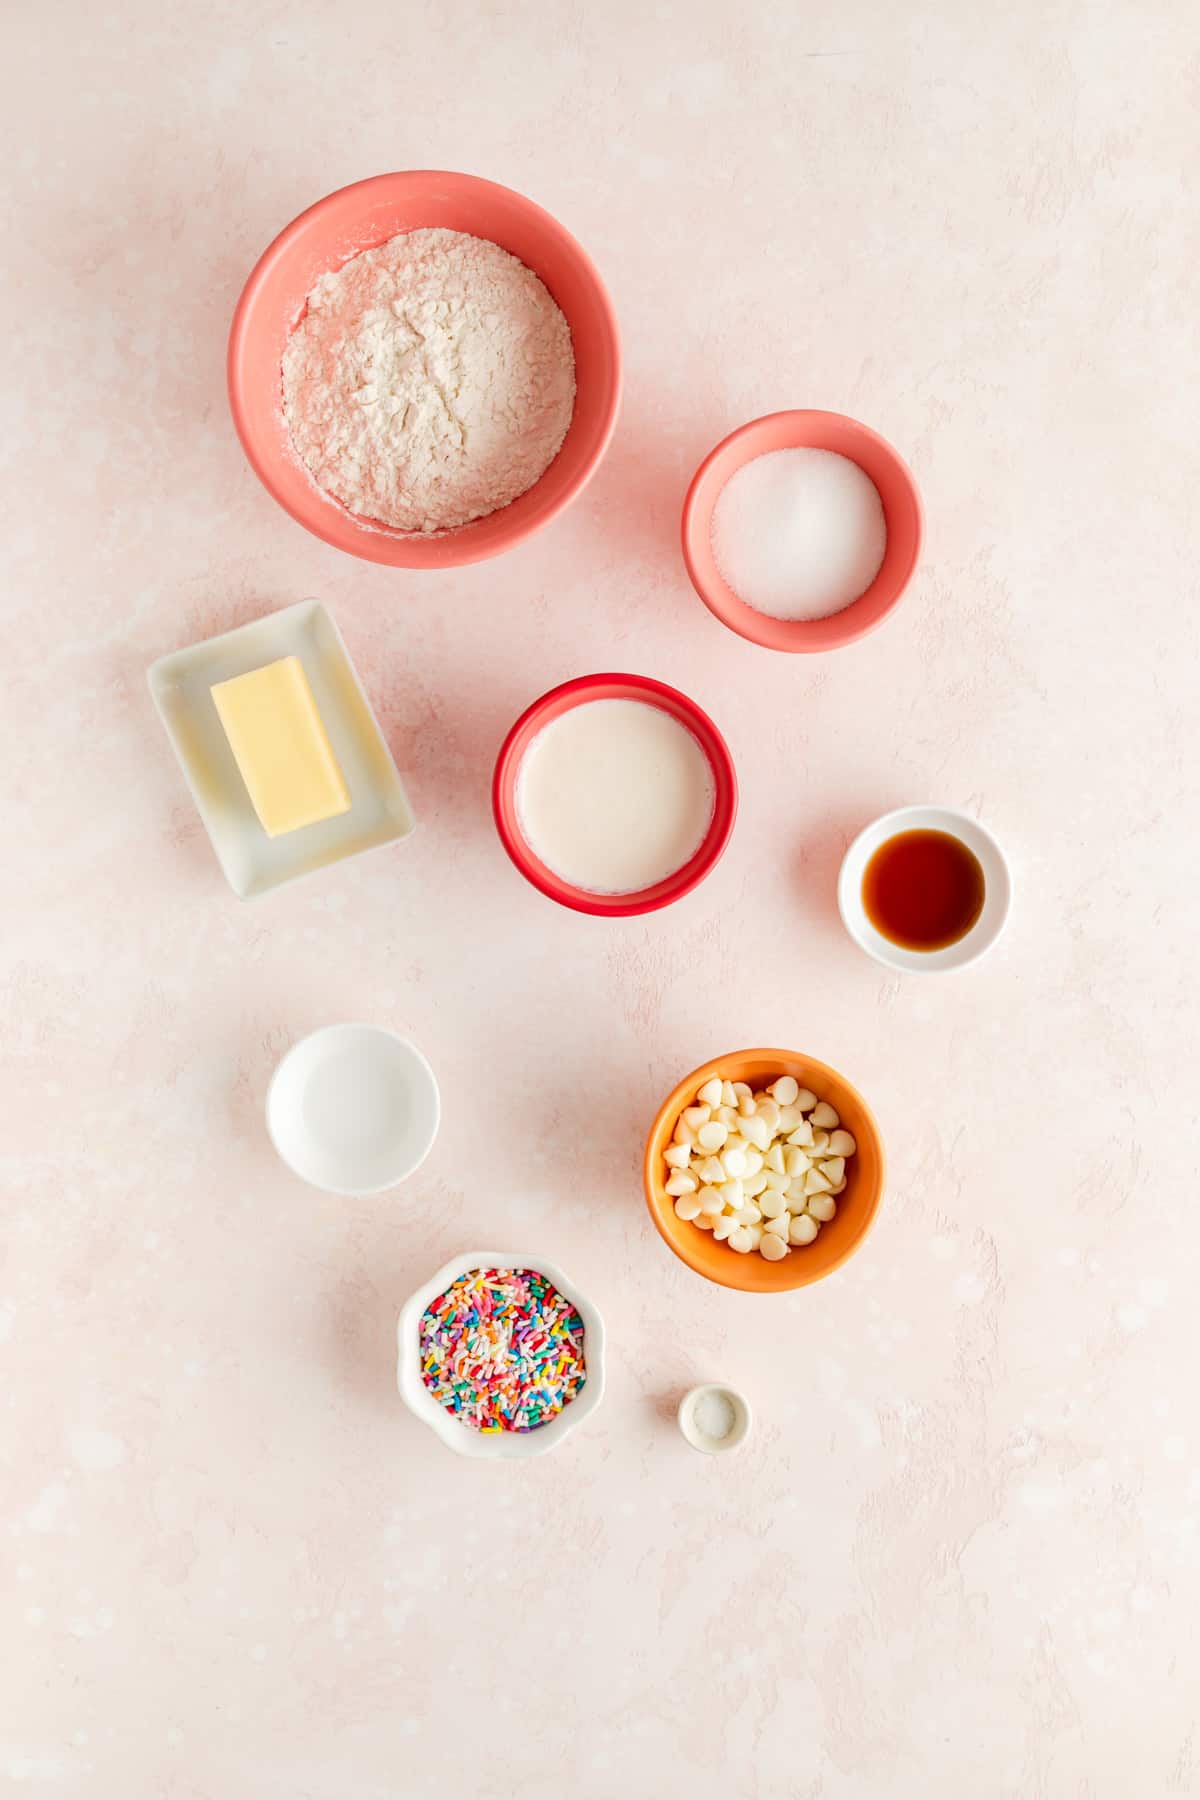
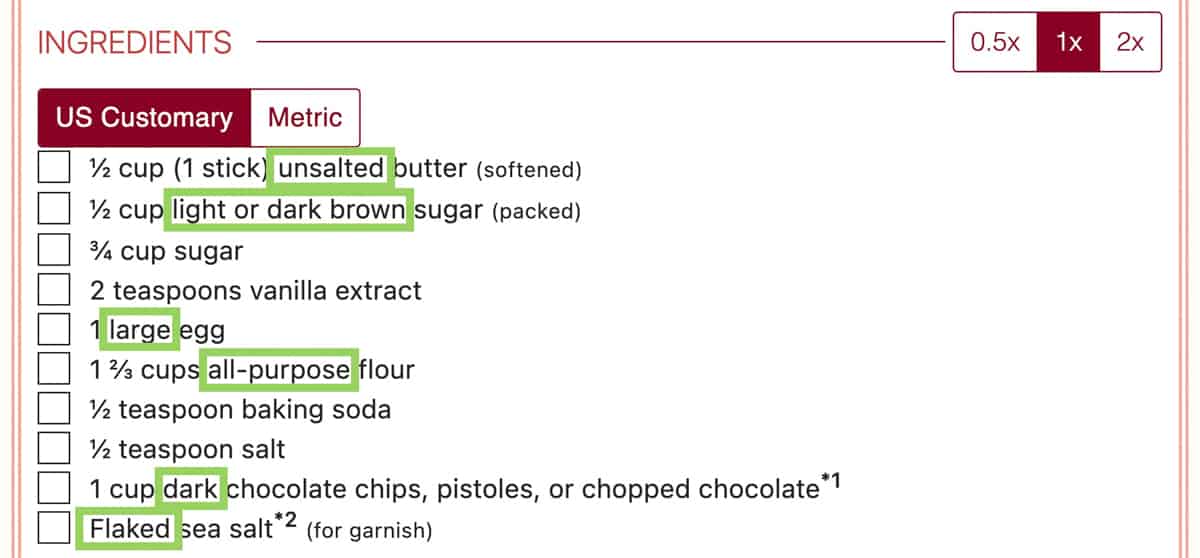
- For any ingredient that has multiple types or versions, list the exact name of your preferred choice.
- Example 1: "unsalted butter" instead of just "butter"
- Example 2: "whole milk" instead of just "milk"
- If multiple options are okay, then just list them all: "whole, 2% or skim milk"
- Why? Your readers are coming to you as the expert on your recipes and in your more general area of expertise (i.e. baking for me). Not only can it cause confusion if you leave them to pick the type of flour or butter or milk at random, but it can significantly change the quality of your product. Giving them enough information to know exactly what ingredient they should be using to replicate your results makes them feel confident in what they're doing and leads to greater success.
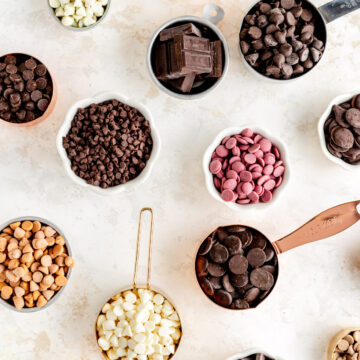
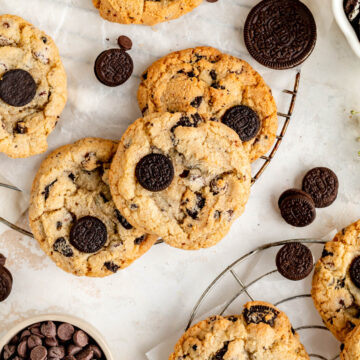
- See it in action: Bakery Style Chocolate Chip Cookies with Sea Salt
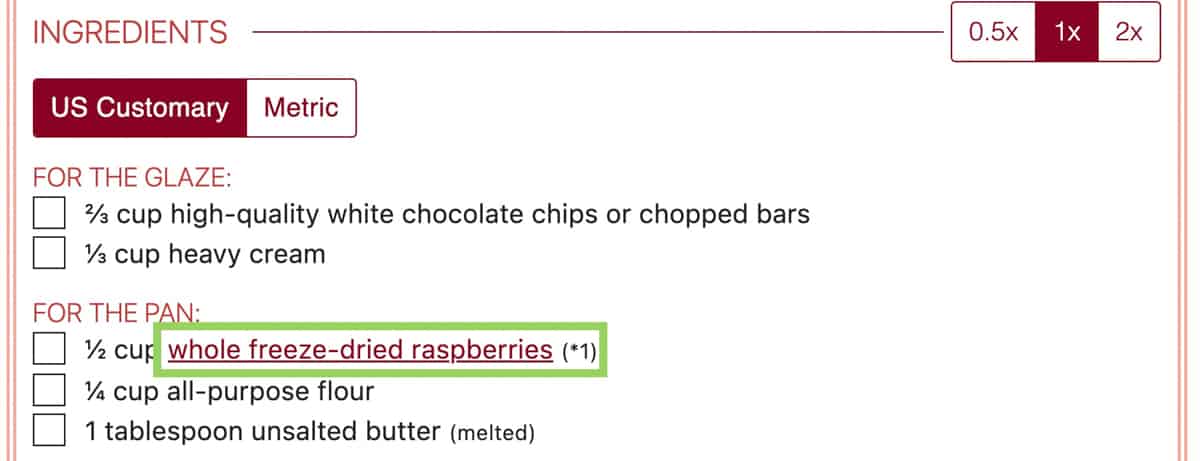
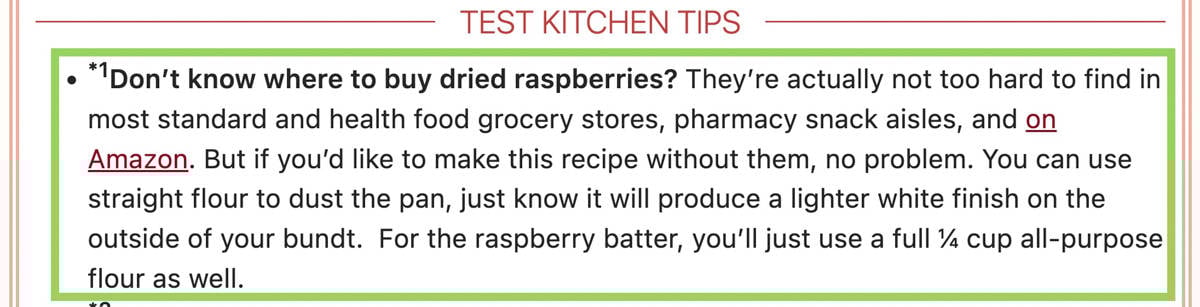
- Provide sources and links for ingredients that your readers may not know how to find.
- Example: freeze-dried fruits/fruit powders are becoming a somewhat common ingredient in baking these days. However, the average reader may not know where to find freeze-dried anything. You can help them by listing in your recipe notes (or at least the main post) the types of stores and specific aisles where they might find that item (i.e. "next to the regular dried fruits or in the snacks section"). Or, if you think your readers would be happy to purchase online, you can simply link to that ingredient on a major retailer that would be easy for your readers to access.
- Why? We don't want someone not making our recipe, simply because it has a new ingredient or one they haven't seen at the average store. One of the best things about creating new content is being able to introduce people to new ingredients and flavors they may not have tried before. So let's make it as easy as possible for them to do that by telling them right where to get what they need.
- Disclaimer: please DO NOT fill your ingredient list with a link on every item. It's certainly not reader-friendly and really mucks up the aesthetics as well. No reader needs you to tell them where to find sugar just so you can make a 2 cent commission fee. In short - think of your reader's experience first!
- Why? We don't want someone not making our recipe, simply because it has a new ingredient or one they haven't seen at the average store. One of the best things about creating new content is being able to introduce people to new ingredients and flavors they may not have tried before. So let's make it as easy as possible for them to do that by telling them right where to get what they need.
- See it in action: White Chocolate Raspberry Bundt Cake
- Example: freeze-dried fruits/fruit powders are becoming a somewhat common ingredient in baking these days. However, the average reader may not know where to find freeze-dried anything. You can help them by listing in your recipe notes (or at least the main post) the types of stores and specific aisles where they might find that item (i.e. "next to the regular dried fruits or in the snacks section"). Or, if you think your readers would be happy to purchase online, you can simply link to that ingredient on a major retailer that would be easy for your readers to access.
Substitution Options
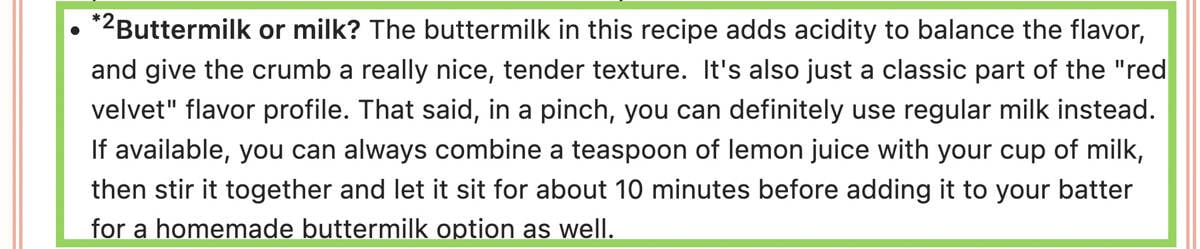
- For difficult to find or less common, non-crucial ingredients, list alternatives right in the ingredient list when possible.
- Example: if your reader is looking for a pancake recipe, and a recipe only lists buttermilk (which they don't have), they may just walk away and find another recipe they can make with the whole milk in their fridge. However, if you have tested your recipe and know it works with regular milk and buttermilk, you could list it as "1 cup buttermilk or whole milk" right in the ingredient list so that the same reader knows this recipe can still work for them, even if there's no buttermilk in the house. Then, in the blog post copy or notes, you can always clarify if you think it's important to use buttermilk when possible, and why, so the reader understands how the swap may affect their results.
- Why? I know we often list substitutions and alternatives in the notes. But many people never read that far down, and could be put off by an ingredient they don't recognize, or don't have on hand, when just skimming in the list at the very top of your recipe card.
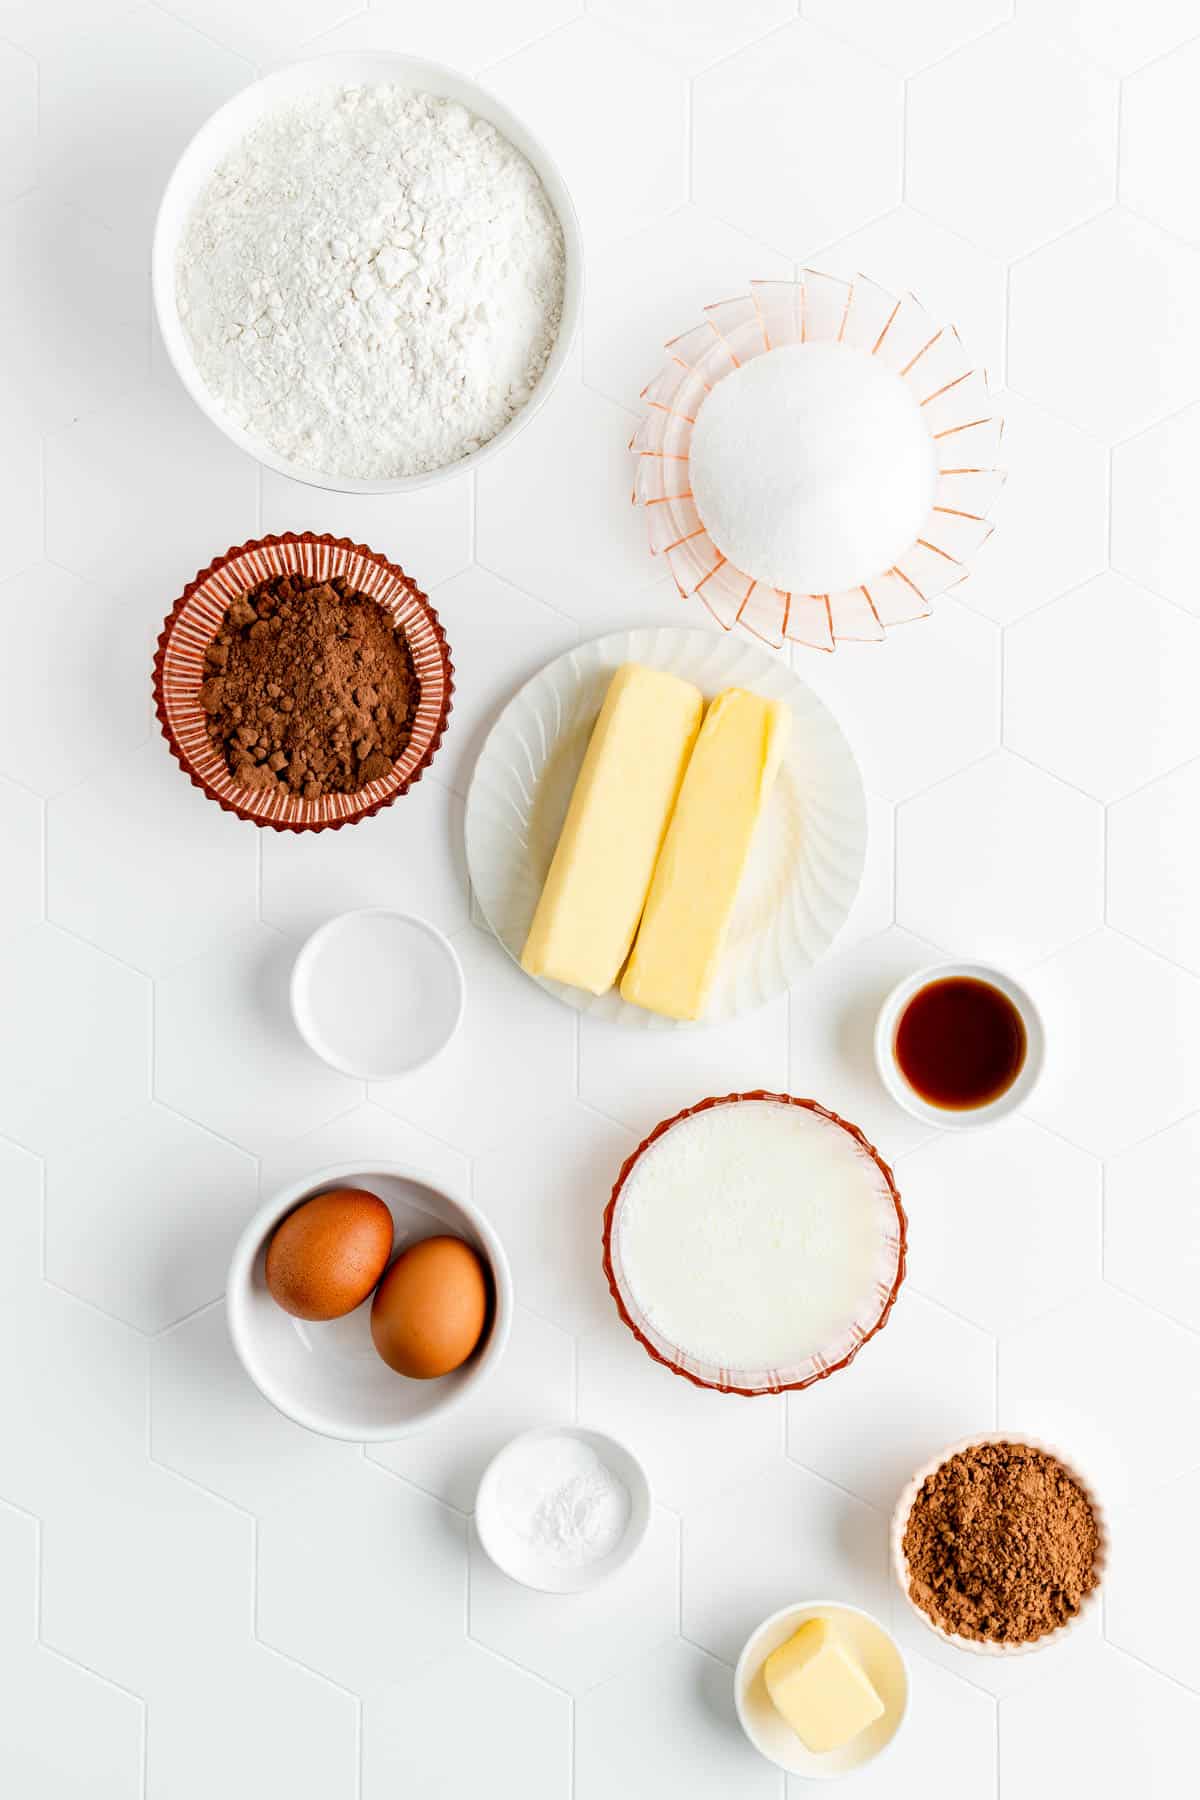
- See it in action: Red Velvet Bundt Cake with Cream Cheese Glaze
- Example: if your reader is looking for a pancake recipe, and a recipe only lists buttermilk (which they don't have), they may just walk away and find another recipe they can make with the whole milk in their fridge. However, if you have tested your recipe and know it works with regular milk and buttermilk, you could list it as "1 cup buttermilk or whole milk" right in the ingredient list so that the same reader knows this recipe can still work for them, even if there's no buttermilk in the house. Then, in the blog post copy or notes, you can always clarify if you think it's important to use buttermilk when possible, and why, so the reader understands how the swap may affect their results.

What other questions do you have?
So that's all the nitty-gritty I have for you on organizing your ingredient list, but there is SO much more to chat about around all the yummy things that go into baking up a successful recipe.
If you have any questions about organization or naming, feel free to let me know in the comments below and I'll be happy to help!
Next time we'll be chatting all about how to write out measurements, how to deal with ingredient modifications (i.e. "softened," "cubed," etc.), and also what to do with those garnish items - so stay tuned and happy writing!

Ready to learn more and put all your new skills to good use?
Check out my newest tutorials and recipes below, and get to baking!

This website contains Amazon affiliate program links. This means that I earn a small commission on qualifying purchases at no additional cost to you. I will never provide a link to nor recommend any product or service that I don’t genuinely love or personally use. Thank you for supporting MINT + MALLOW kitchen and the brands that keep this blog running.


Comments
No Comments