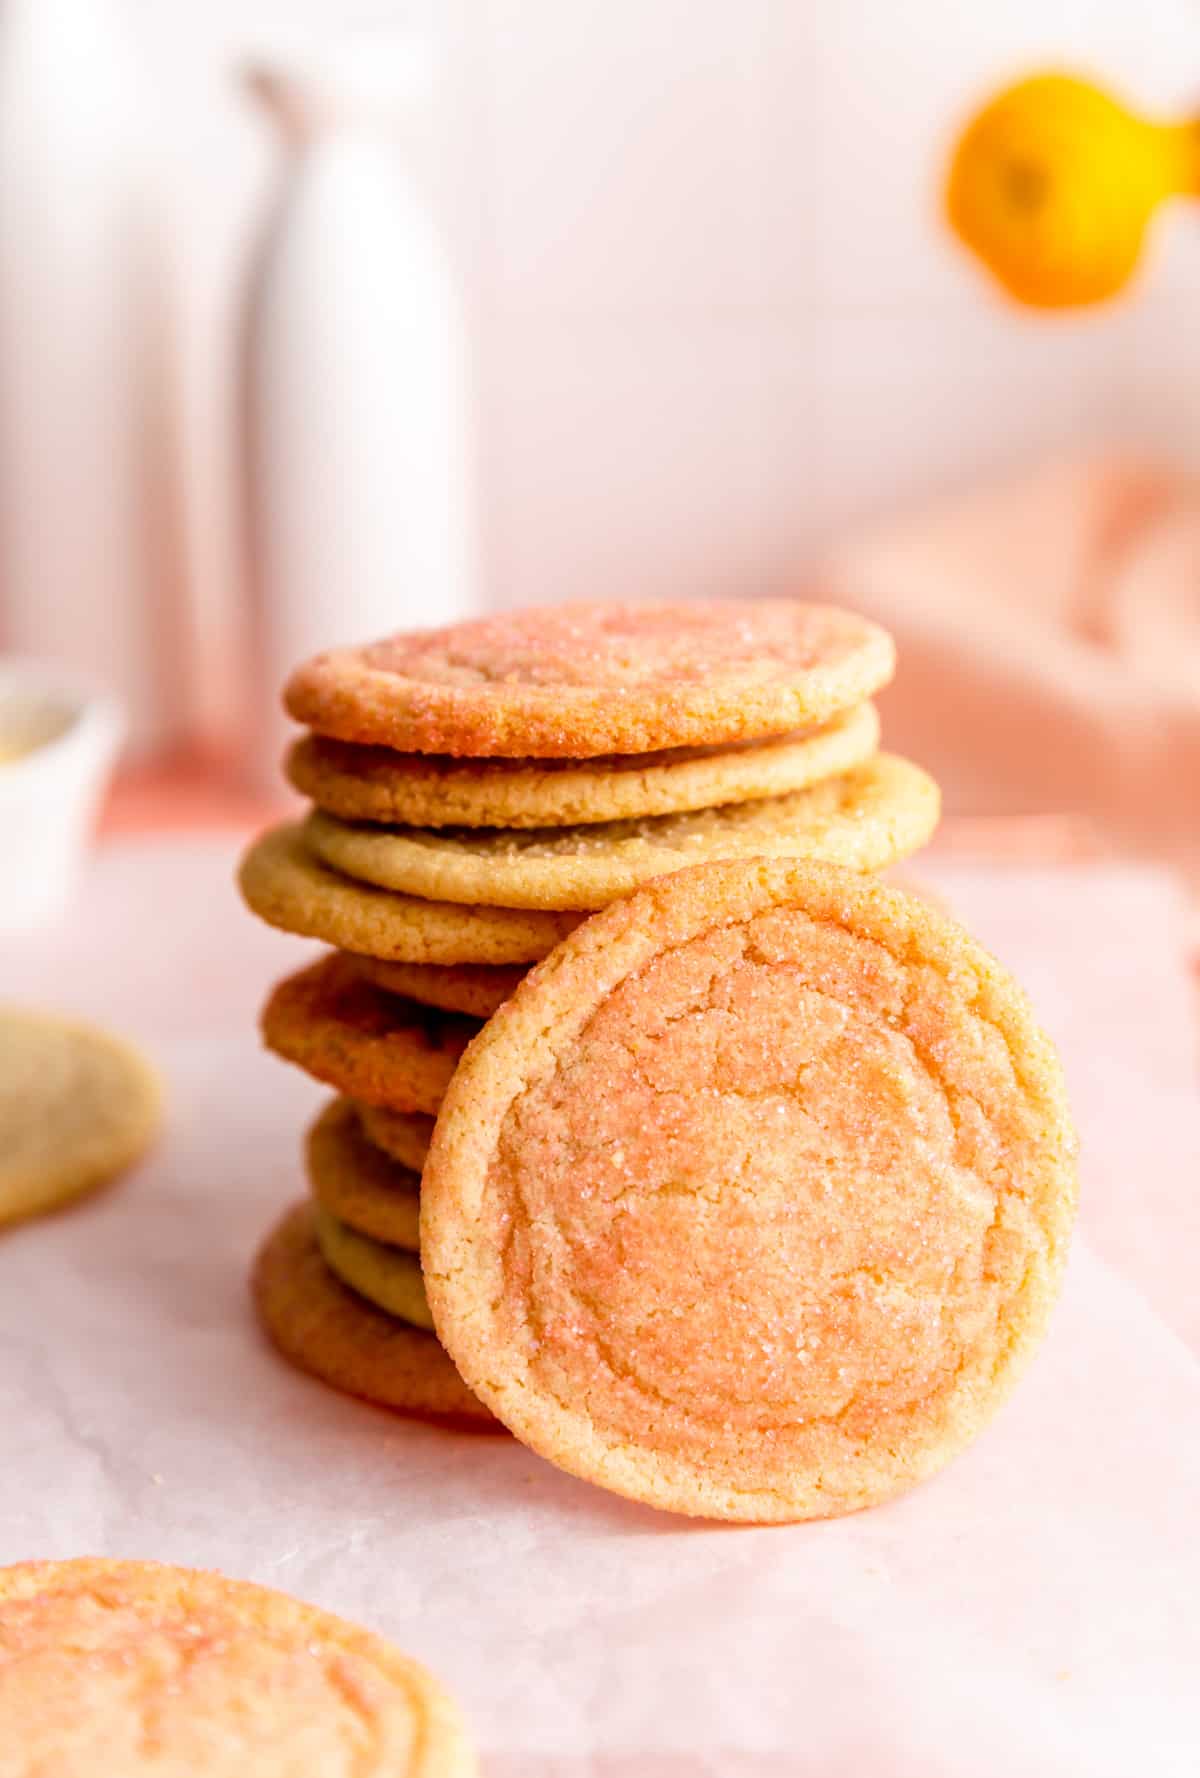
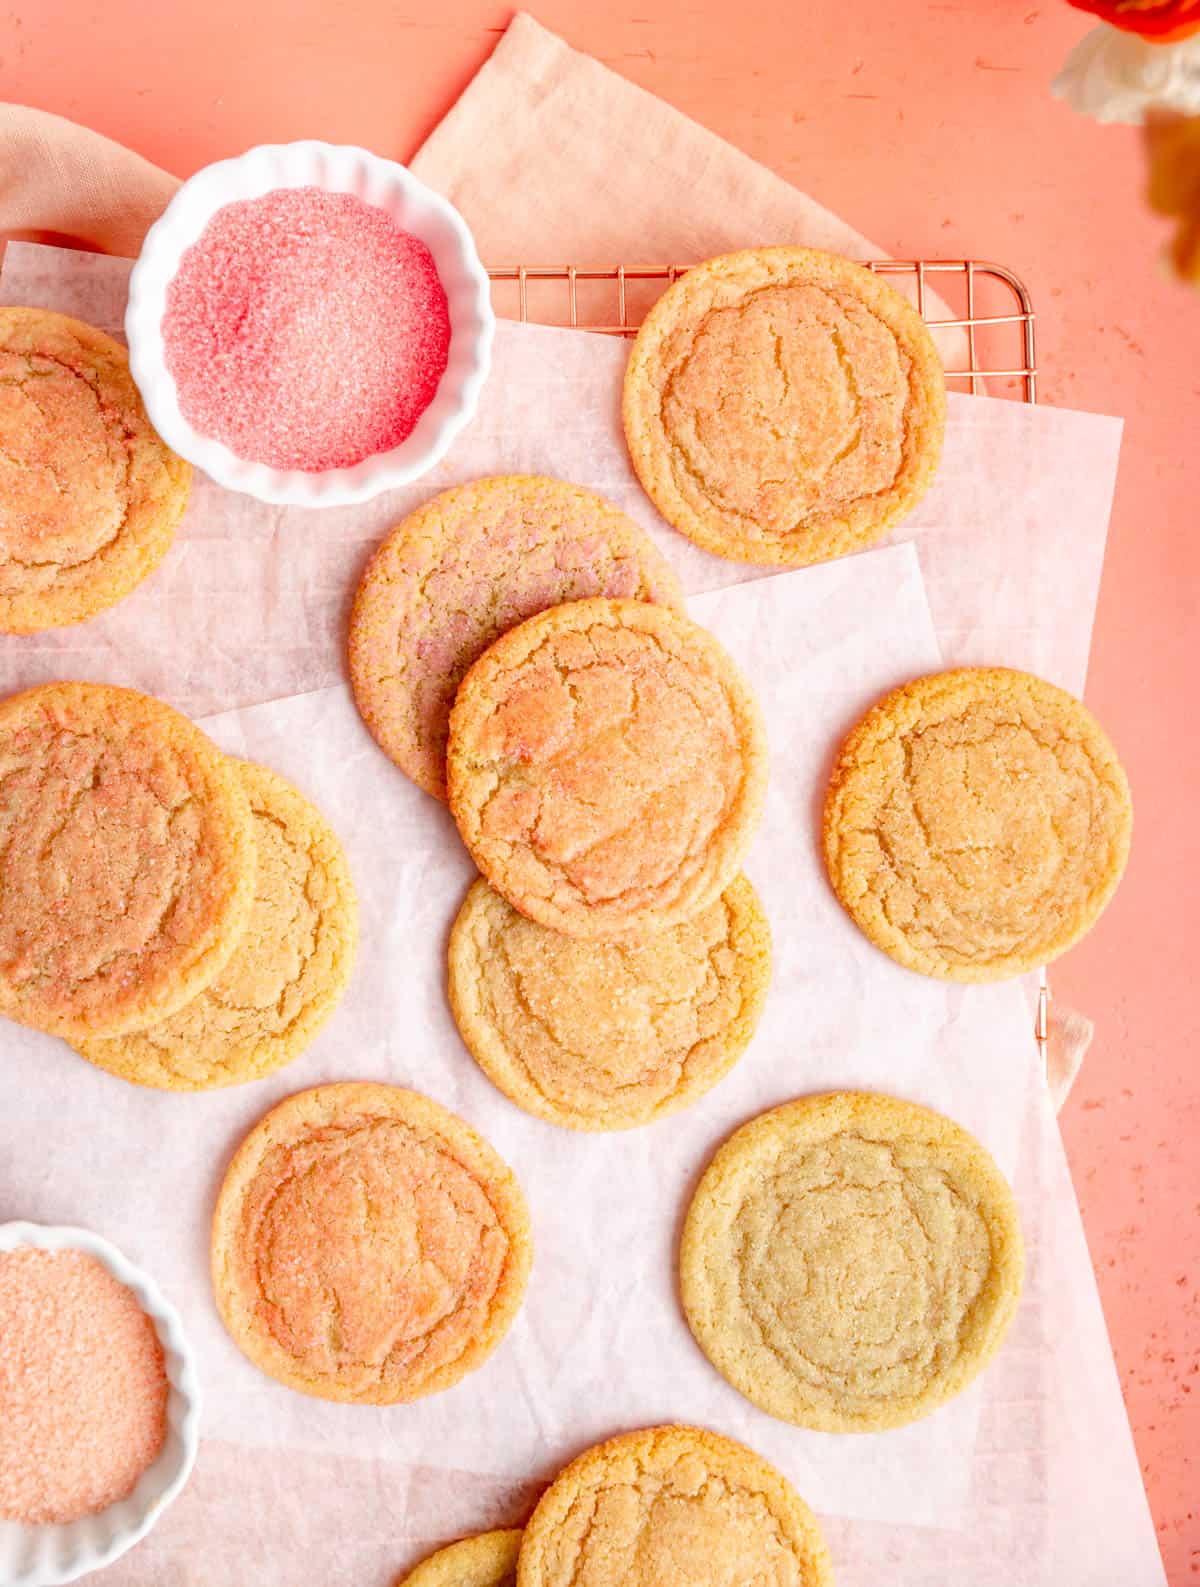
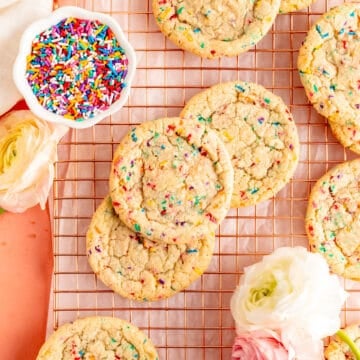
These classic sugar cookies without baking powder, are not only quick and easy to make, but can be decorated with colorful sugars to celebrate any occasion in style! With this no-chill dough, you can have soft and chewy sugar cookies ready in just an hour!
Jump to (scroll for more!):
- So what is baking powder exactly?
- Do you need to chill sugar cookie dough?
- Ingredient Tips for Better Baking
- Special Tools You'll Need
- How to Make Sugar Cookies Without Baking Powder
- Full video tutorial!
- Make This Recipe Your Own
- Test Kitchen Tips for Sweet Success
- More Tips + FAQs
- Other Recipes You'll Love
- 📖 Full Recipe
- Comments
So what is baking powder exactly?
There are probably about as many different sugar cookie recipes as there are clouds in the sky (here's another birthday cake sugar cookie recipe of mine!). But this particular recipe keeps it simple, classic, extra chewy, and extra festive.
As you might have guessed, baking powder is not nearly as common as baking soda in the average home. So what are you to do when that sugar cookie craving hits, and you don't have any baking powder around? Luckily, you can actually use baking soda to make equally, if not more-so delicious sugar cookies than recipes that use the more traditional baking powder.
Baking powder is actually comprised of baking soda, an acid, and a filler (typically cornstarch), so we're really just using a reduced version of baking powder when we use baking soda in our cookies. Baking soda tends to make cookies spread out whereas baking powder makes them puff up. So in the case of that soft, chewy, almost pancake-style crackly sugar cookie, baking soda is actually our new best friend.
Do you need to chill sugar cookie dough?
Sometimes yes and sometimes no. But in our case, I wanted to keep this recipe quick and easy (because who wants to have to wait for cookies?!). So for this recipe, you also don't have to refrigerate the dough.
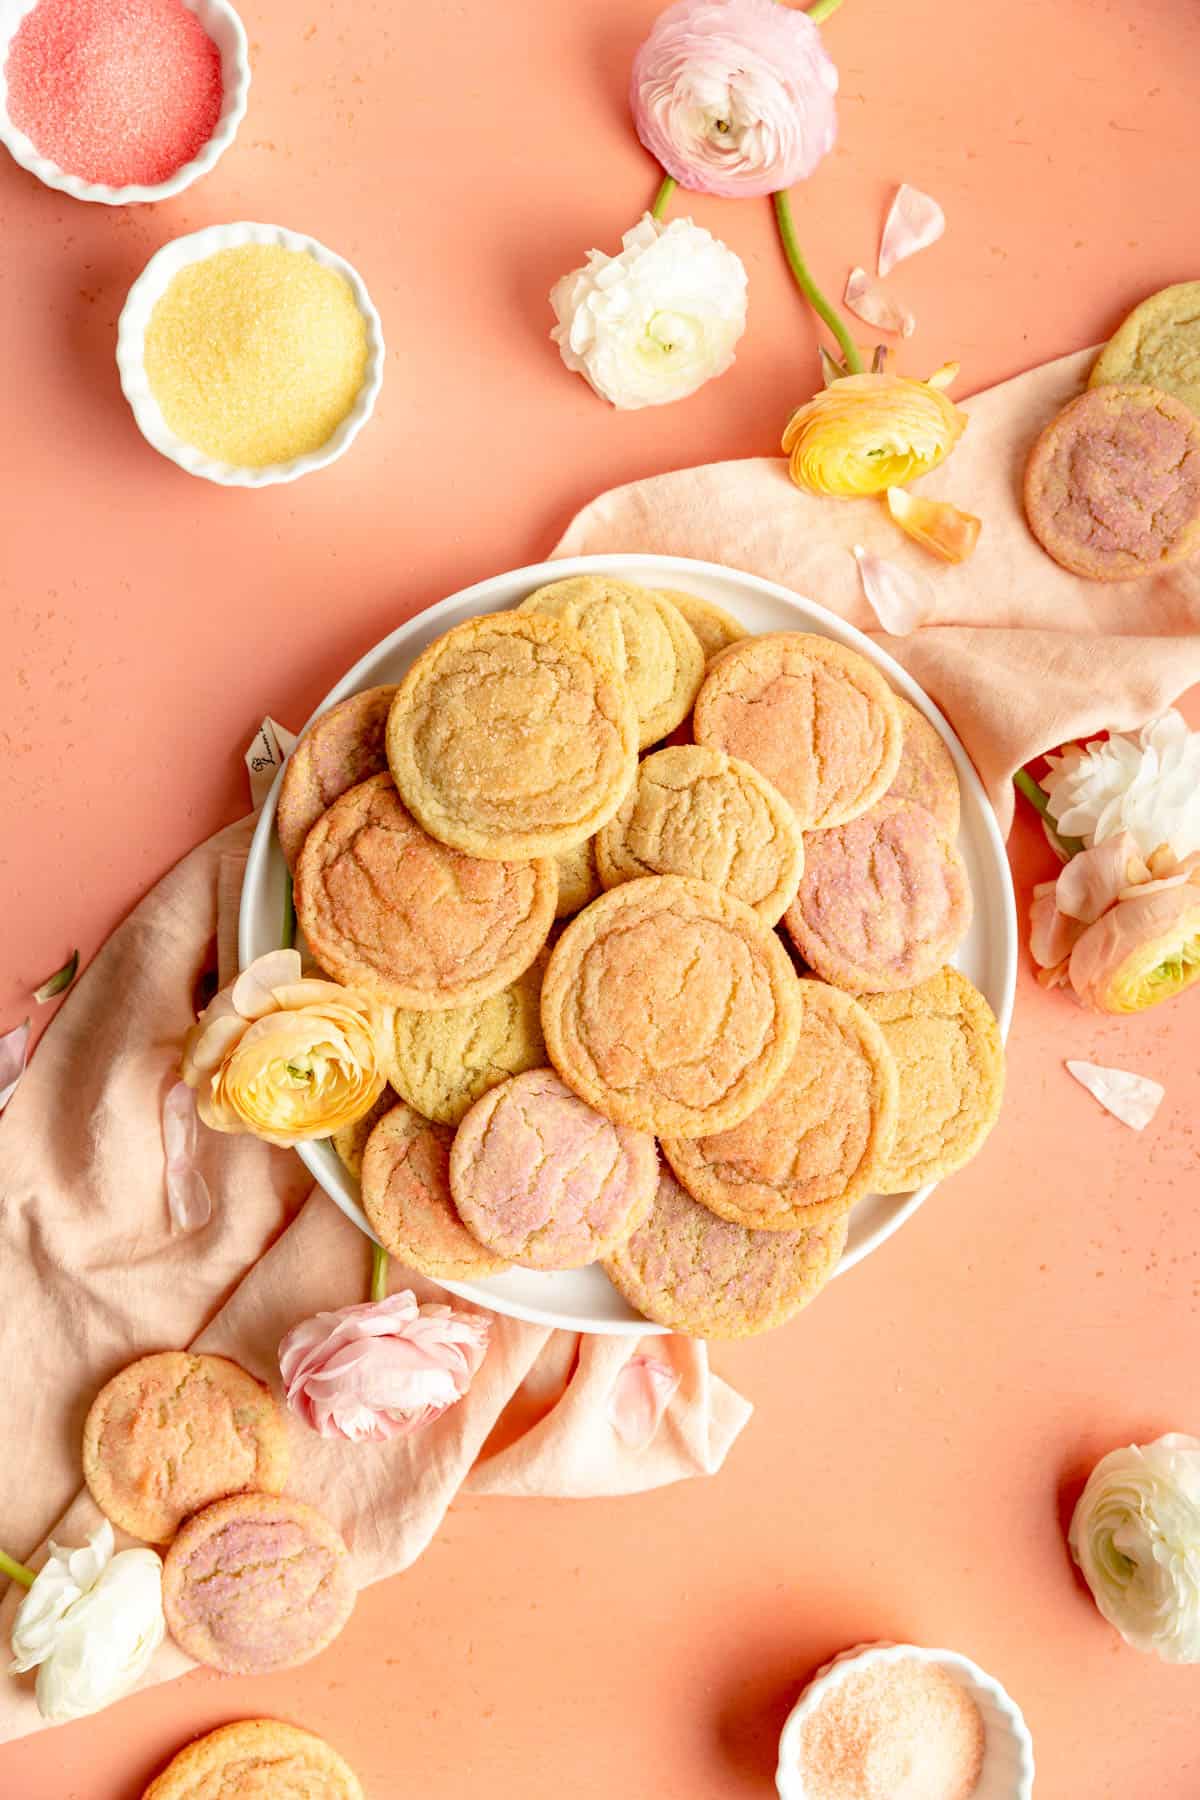
Whether you mix it up in grams or by volume, it's a quick, 3-step mix that results in a perfectly simple, soft, chewy sugar cookie, with an extra festive sugar coating you can customize to any special occasion as you like!
Ingredient Tips for Better Baking
(Pssst…if you're ready to just get baking, get all the details in the recipe card below!)
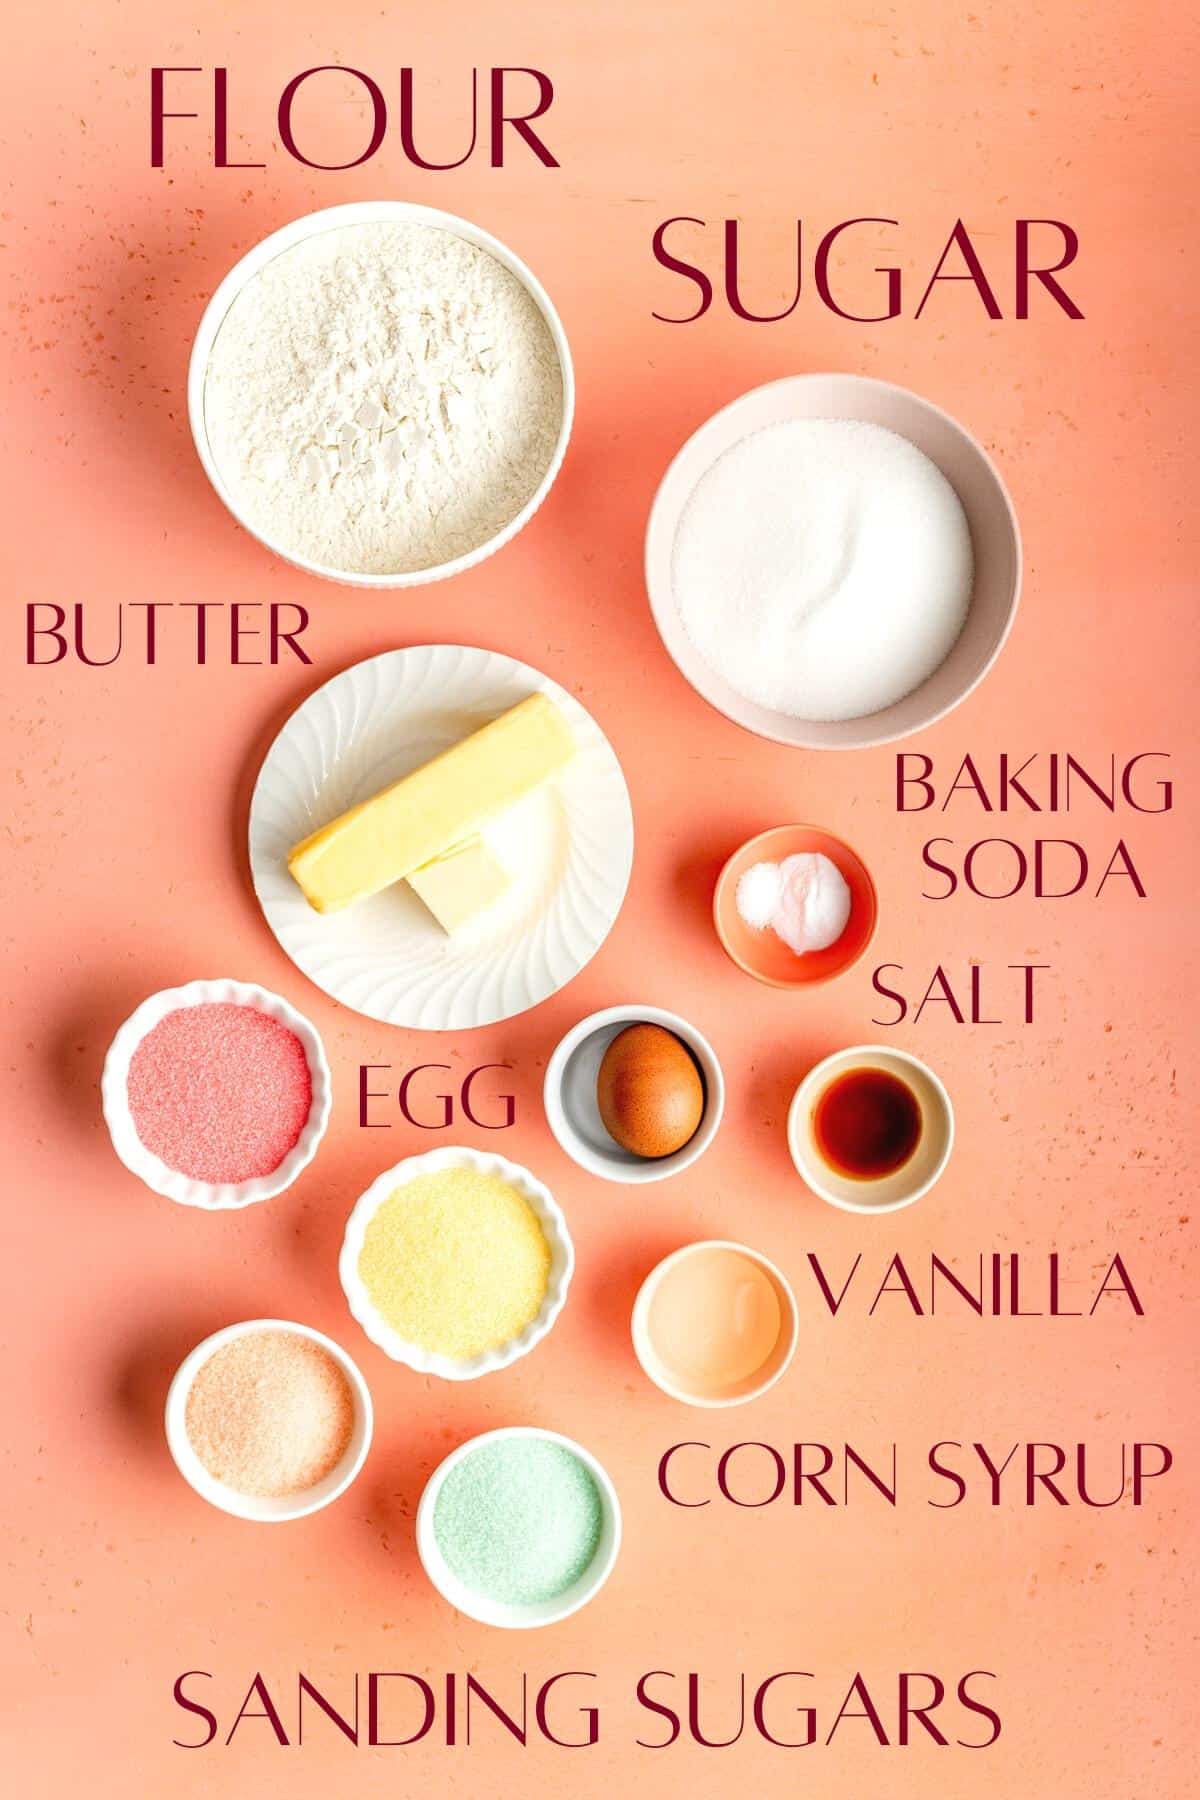
- Butter: we're using a good deal of butter in this recipe so make sure it's unsalted.
- Corn Syrup (optional): corn syrup has a unique ability to really bring an extra chewiness to cookies which we definitely want here and makes them spread just a touch more. However, if you don't have any on hand you can just leave it out, and you'll still get delicious cookies on the other end.
- Baking Soda: baking soda helps these cookies spread out, not up like baking powder would. This keeps us in the "chewy" instead of "cakey" world.
- Decorative sugars (optional): I love using multiple single colors of sanding sugars for multi-colored cookies, but you're welcome to use classic granulated white sugar, or even coarse colored sugars for a festive finish that has a little extra crunch.
(p.s. for all the basic tips that no one ever taught you, that are super important to help you bake your best, check out my Baking 101 series!)
Special Tools You'll Need
- Hand or stand mixer: to get your butter and sugars light and fluffy
- 1.5" ice cream scoop: optional, but helpful for quick and even cookie portioning
How to Make Sugar Cookies Without Baking Powder
(Pssst…if you're ready to just get baking, get all the details in the recipe card below!)
- Preheat your oven and line your baking pans.
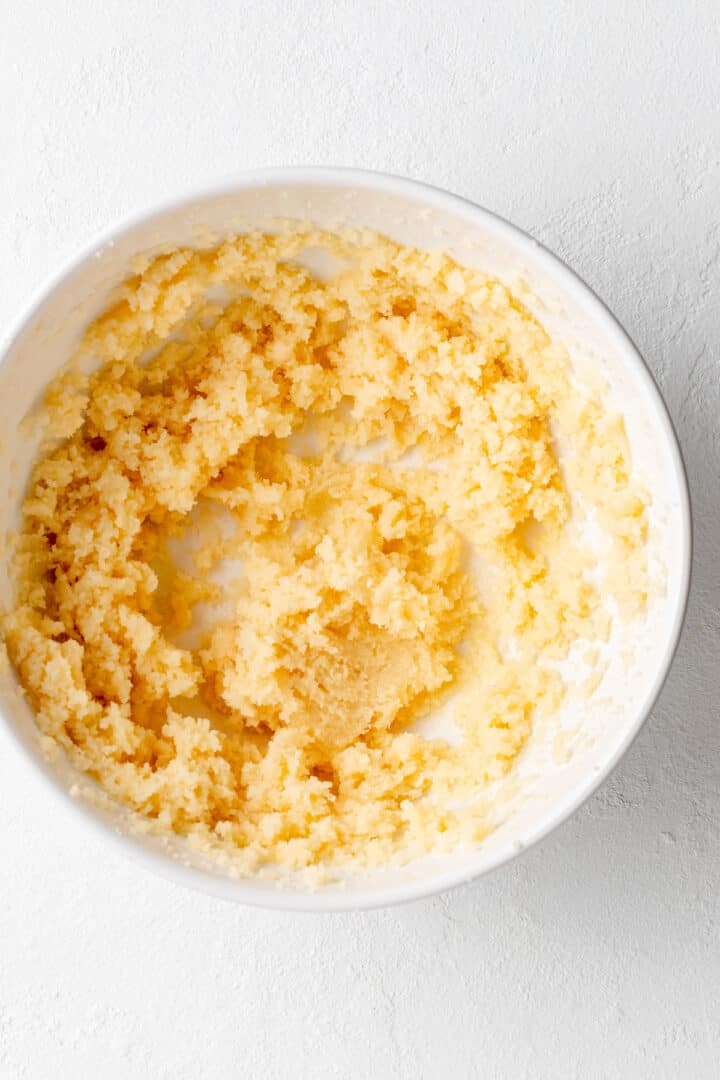
- Cream together the butter, sugar, corn syrup and vanilla extract. (More on why you want to add the vanilla early in this lesson on butterfat!)
- Beat in the egg.
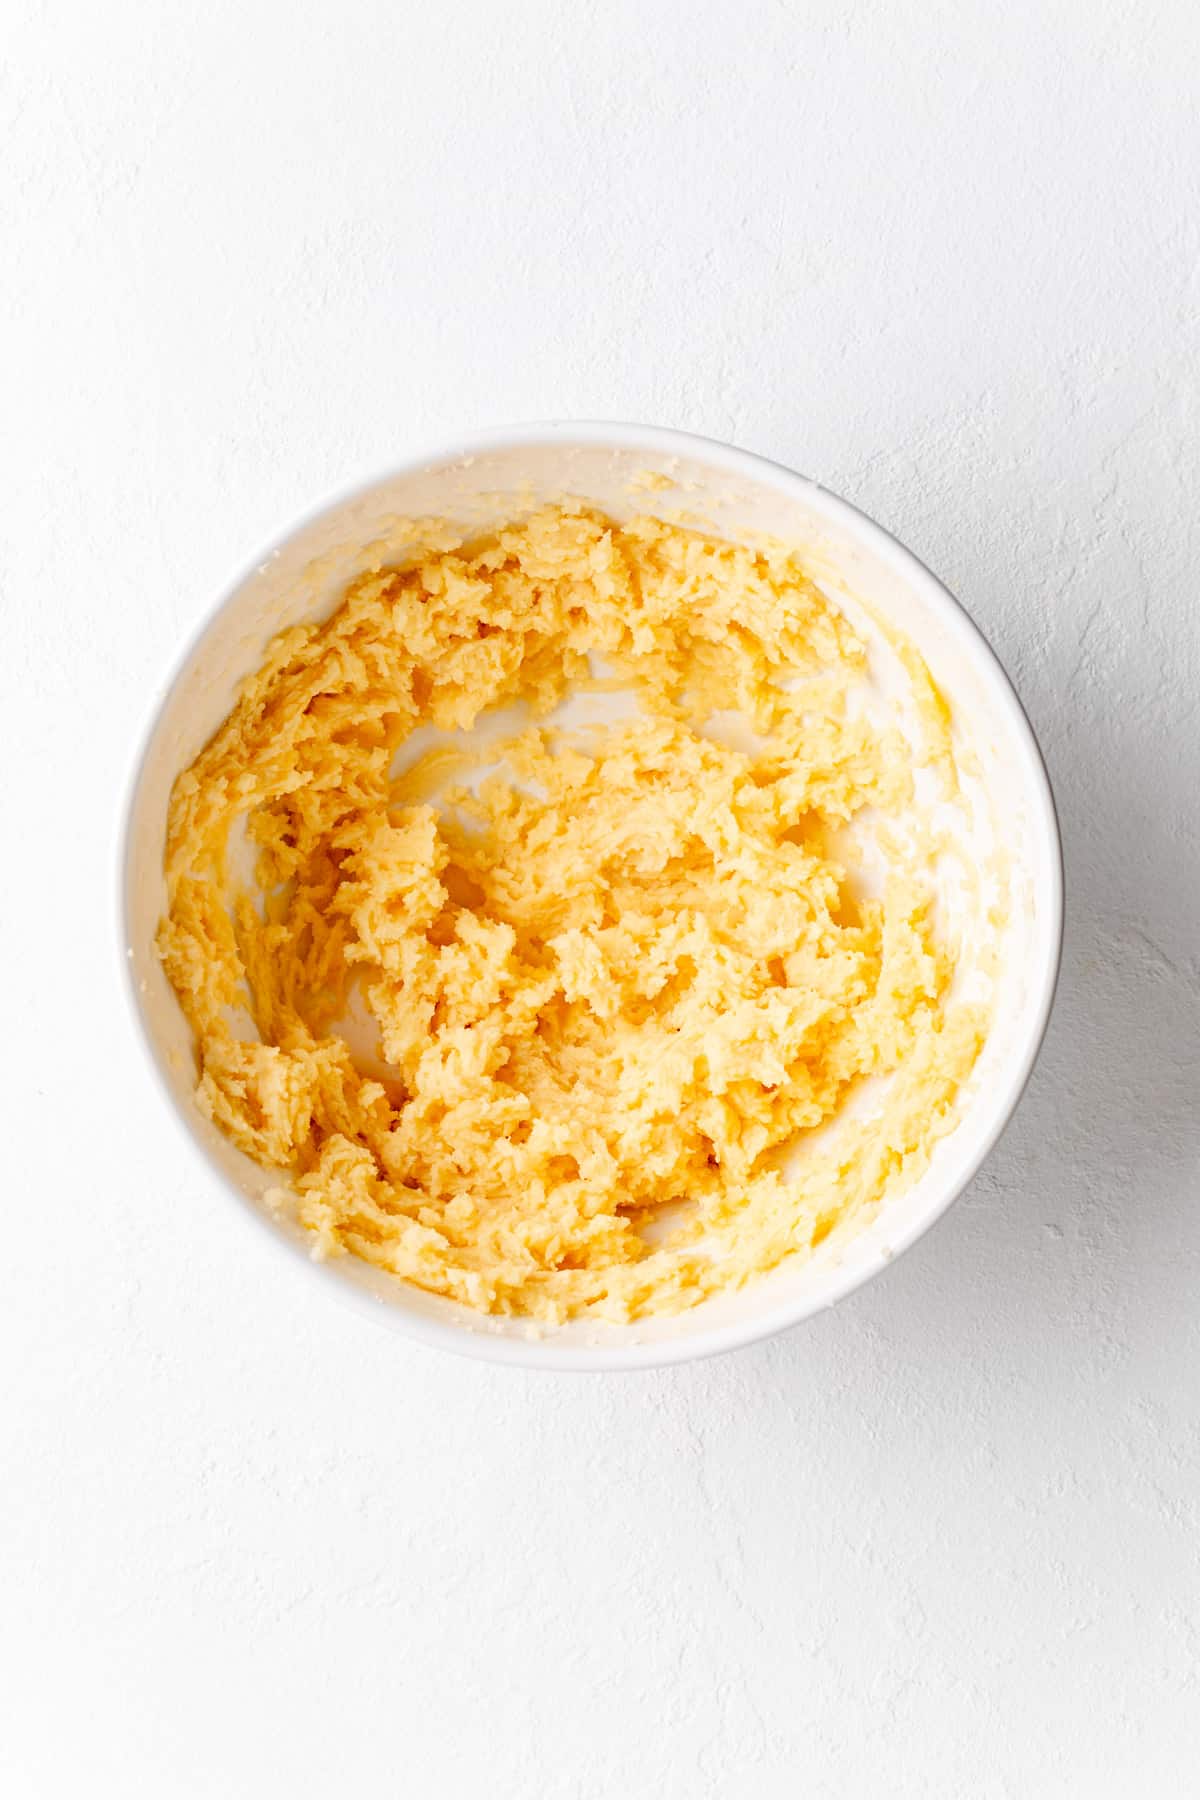
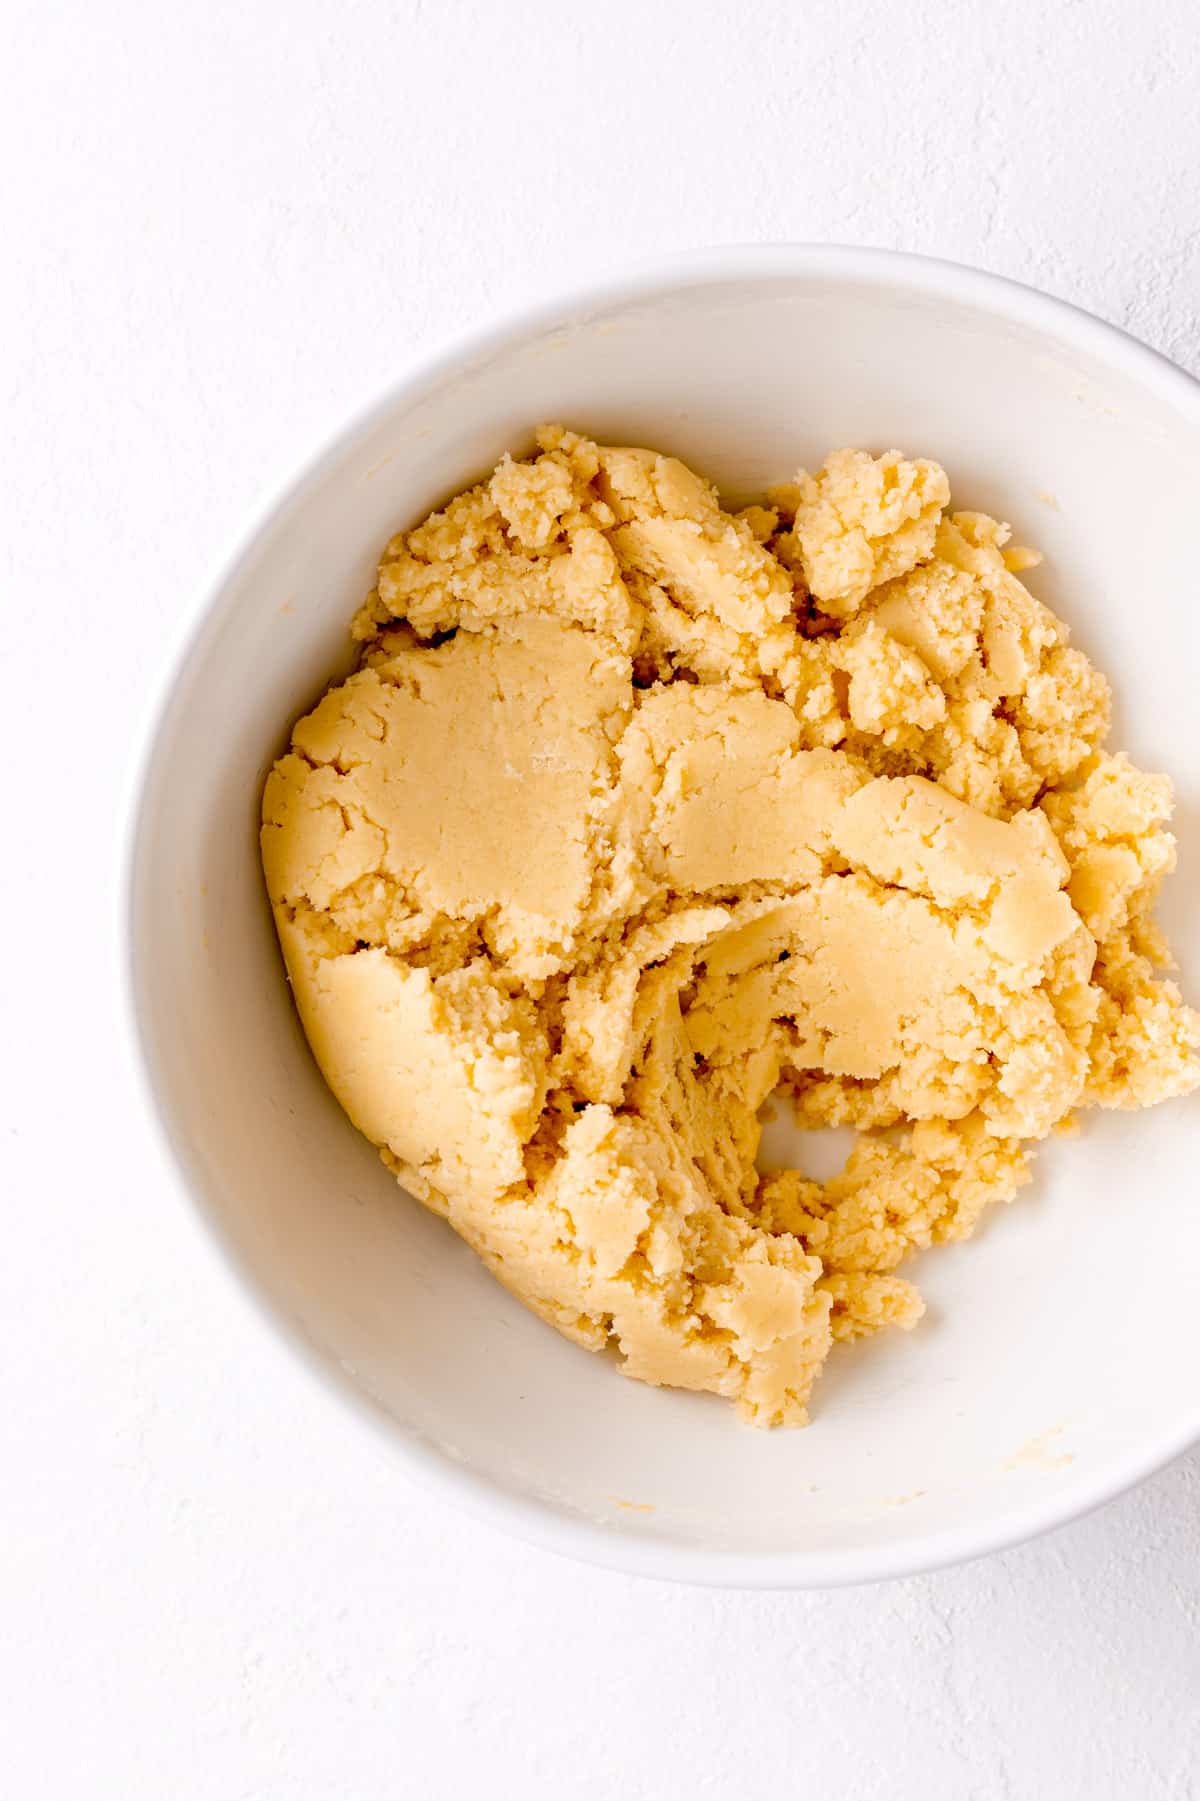
- Mix in the dry ingredients, just until combined.
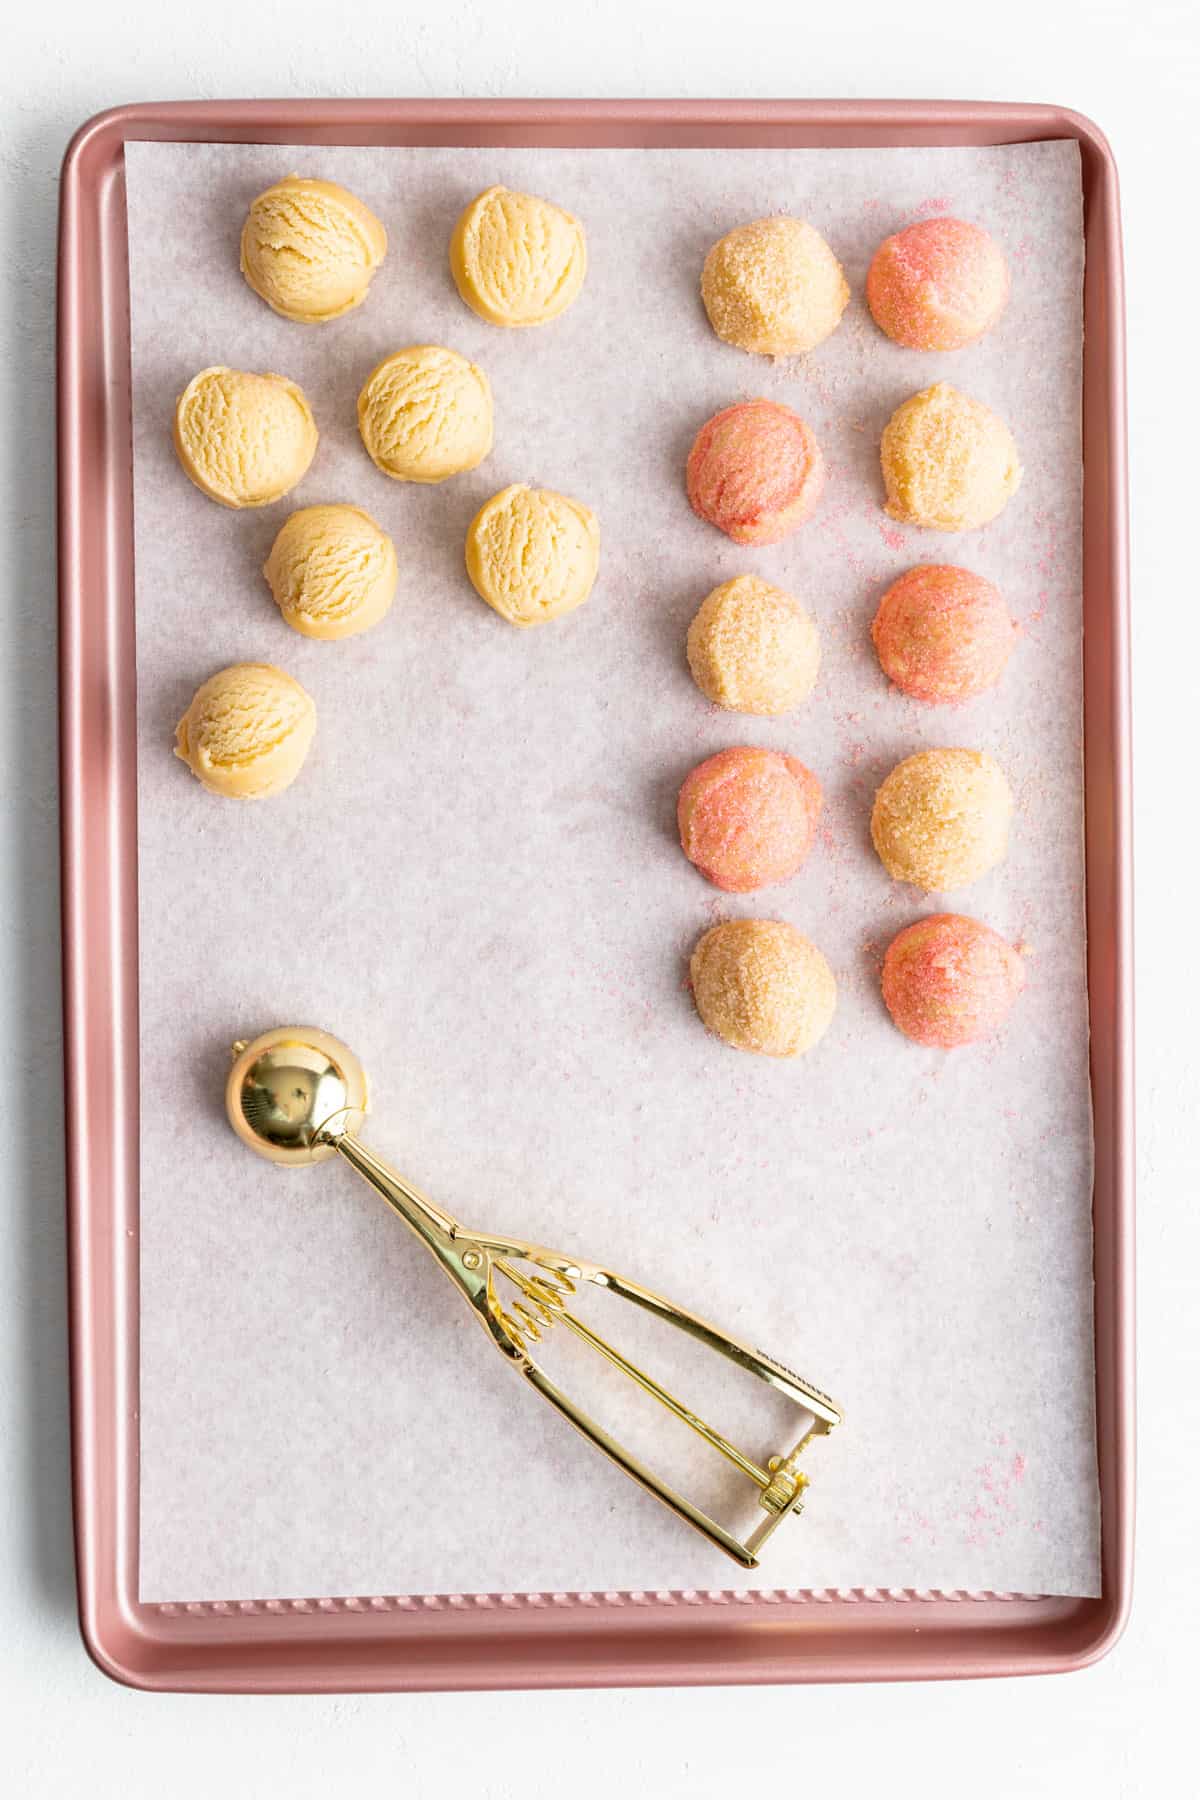
- Scoop your cookies into 1.5" dough balls. Roll if needed, then coat in granulated sugar.
- Tray on prepared pans and bake until almost-set (with very little color). We want these cookies a little underbaked for that nice chewy texture.
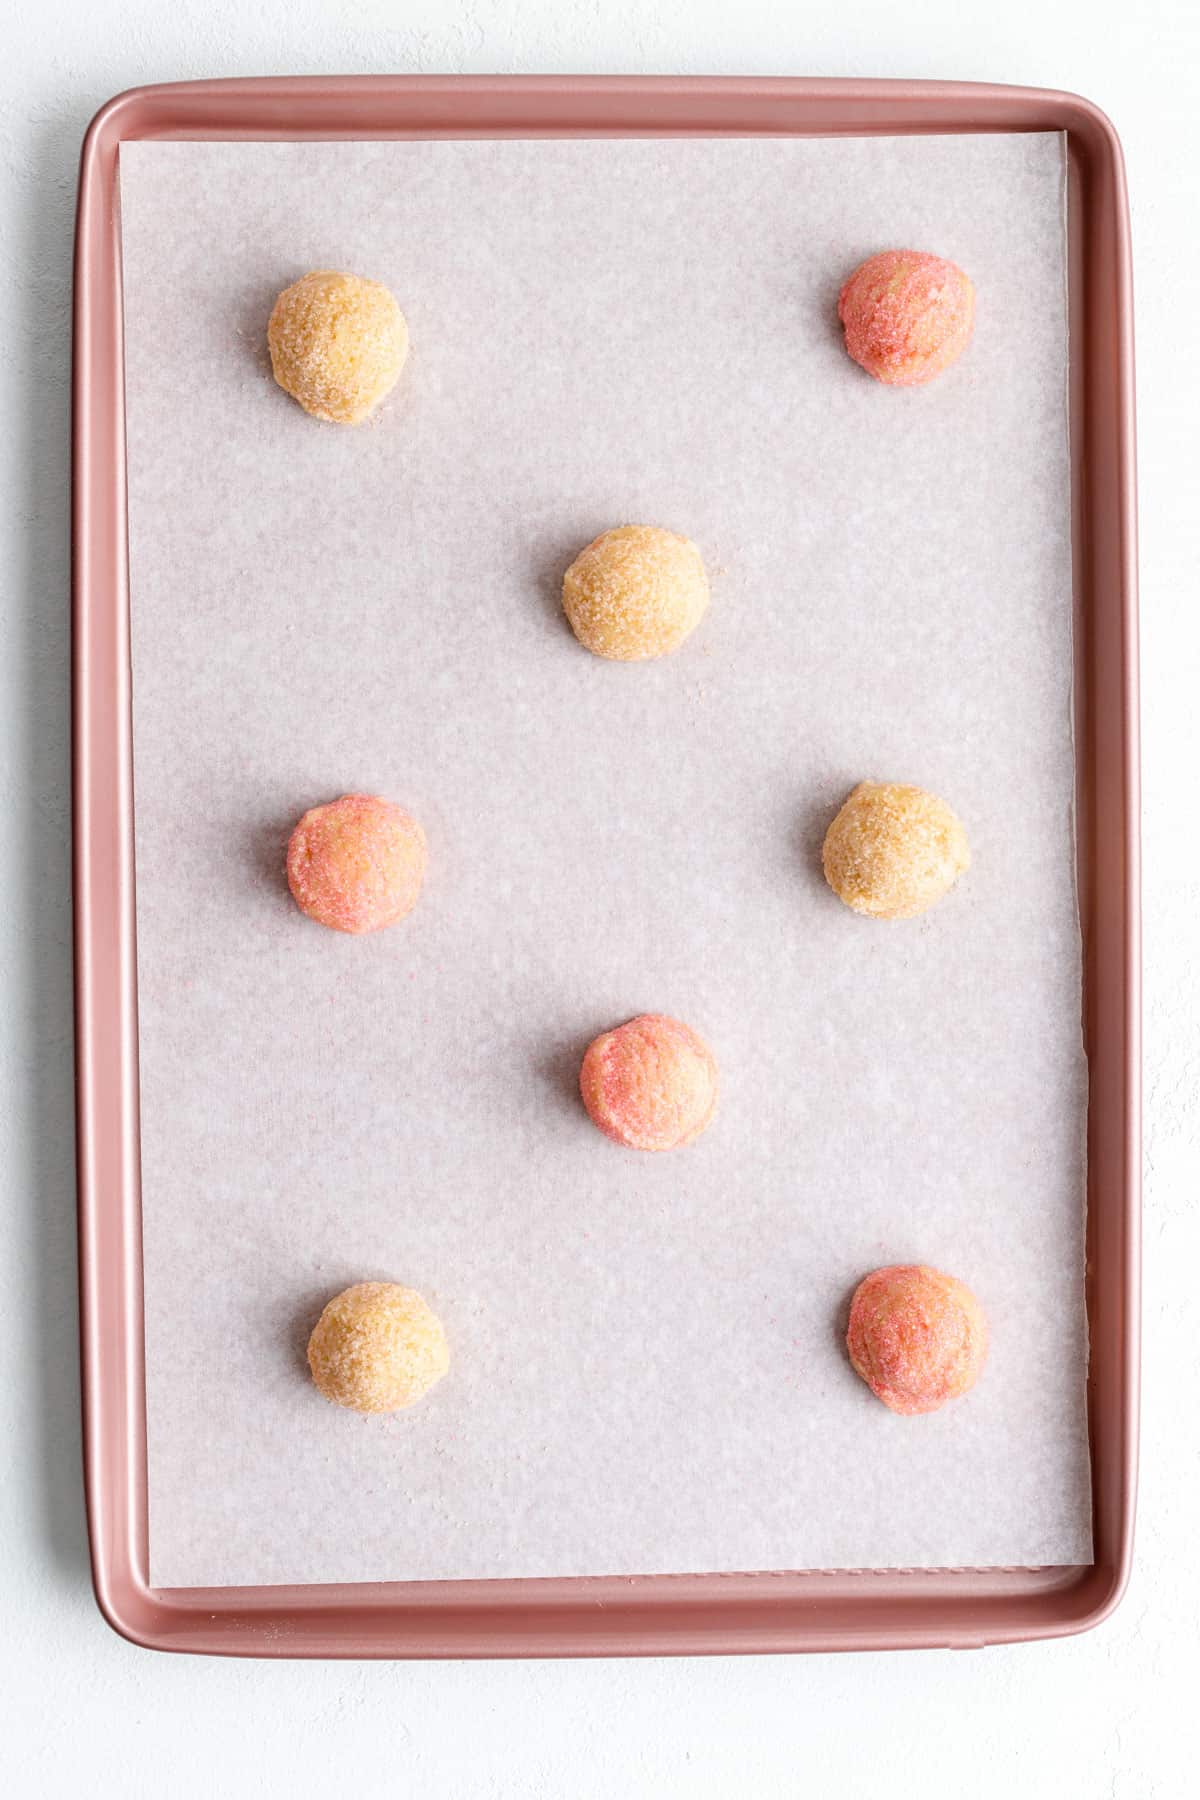
- Knock cookies on the counter to settle them right out of the oven.
- Cool, share, and enjoy these colorfully delicious treats!
Full video tutorial!
So that's the steps in a nutshell, but let's check out the full video tutorial below to see it all in action...
And check out the full RECIPE WEB STORY for a click-through tutorial!
Make This Recipe Your Own
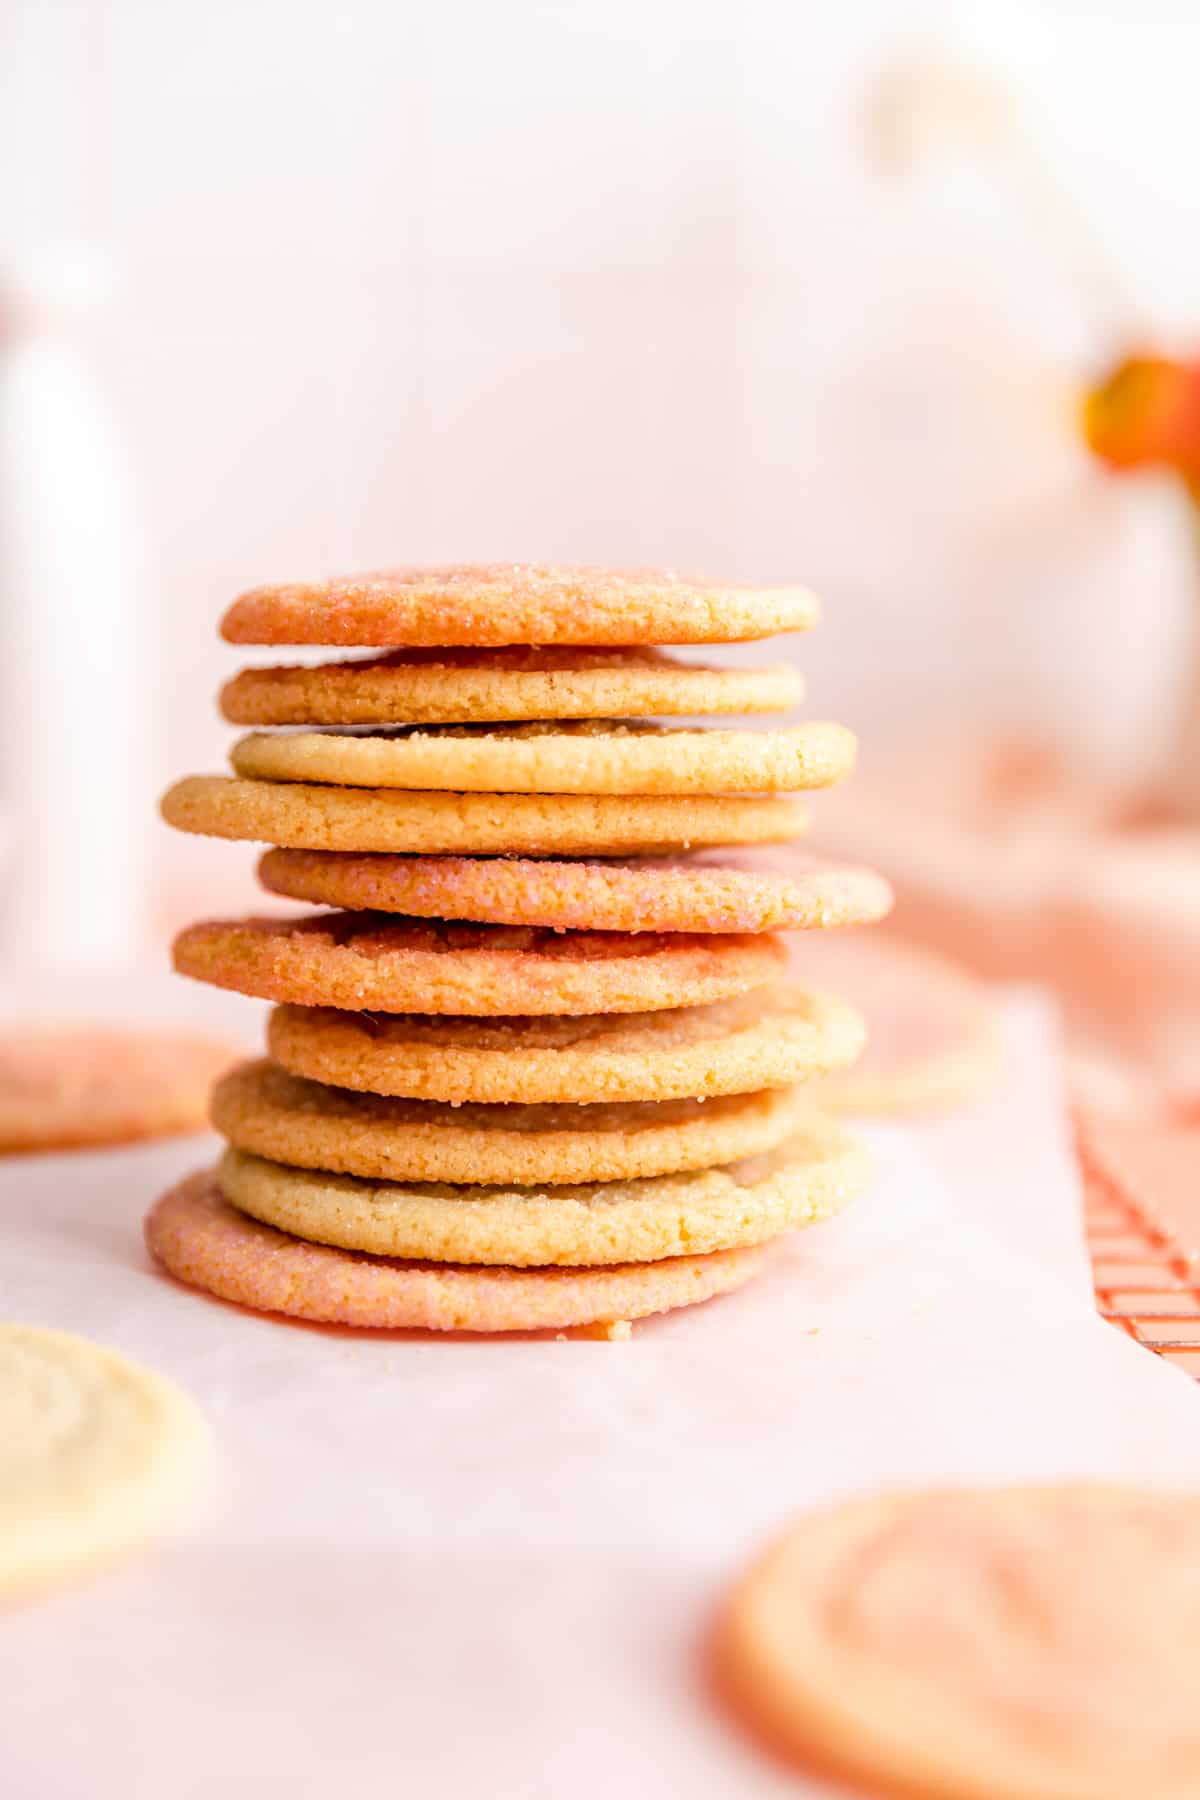
- Color to your occasion: feel free to switch up the sugar colors or use a single multi-colored sugar for ease. Whether you're matching the birthday boy or girl's favorite color, or going with an on-theme pallette for your holiday party, the sky is the limit for these colorful cookies!
- Add a lemon twist: for a fresh lemony note in these cookies, simply add the zest of one lemon to your butter in the first step.
- Add an almond twist: for a hint of almond which is commonly found in sugar cookie recipes, add a ¼ teaspoon almond extract in the first step.
Test Kitchen Tips for Sweet Success
- Get the butter fluffy: we want to really beat these cookies well before adding the dry ingredients. Whipping this batter well at the early stages traps air bubbles in your dough that heat up and expand in the oven to help the baking soda, and give you that crackly top.
- Roll in sugar immediately: because this is a stiff dough to give our cookies their nice texture, you may find it's not super sticky. I highly recommend rolling your dough balls immediately after you scoop one. If you scoop all the dough, then go back to coat it, the surface can dry out a little bit which makes the sugar less likely to stick.
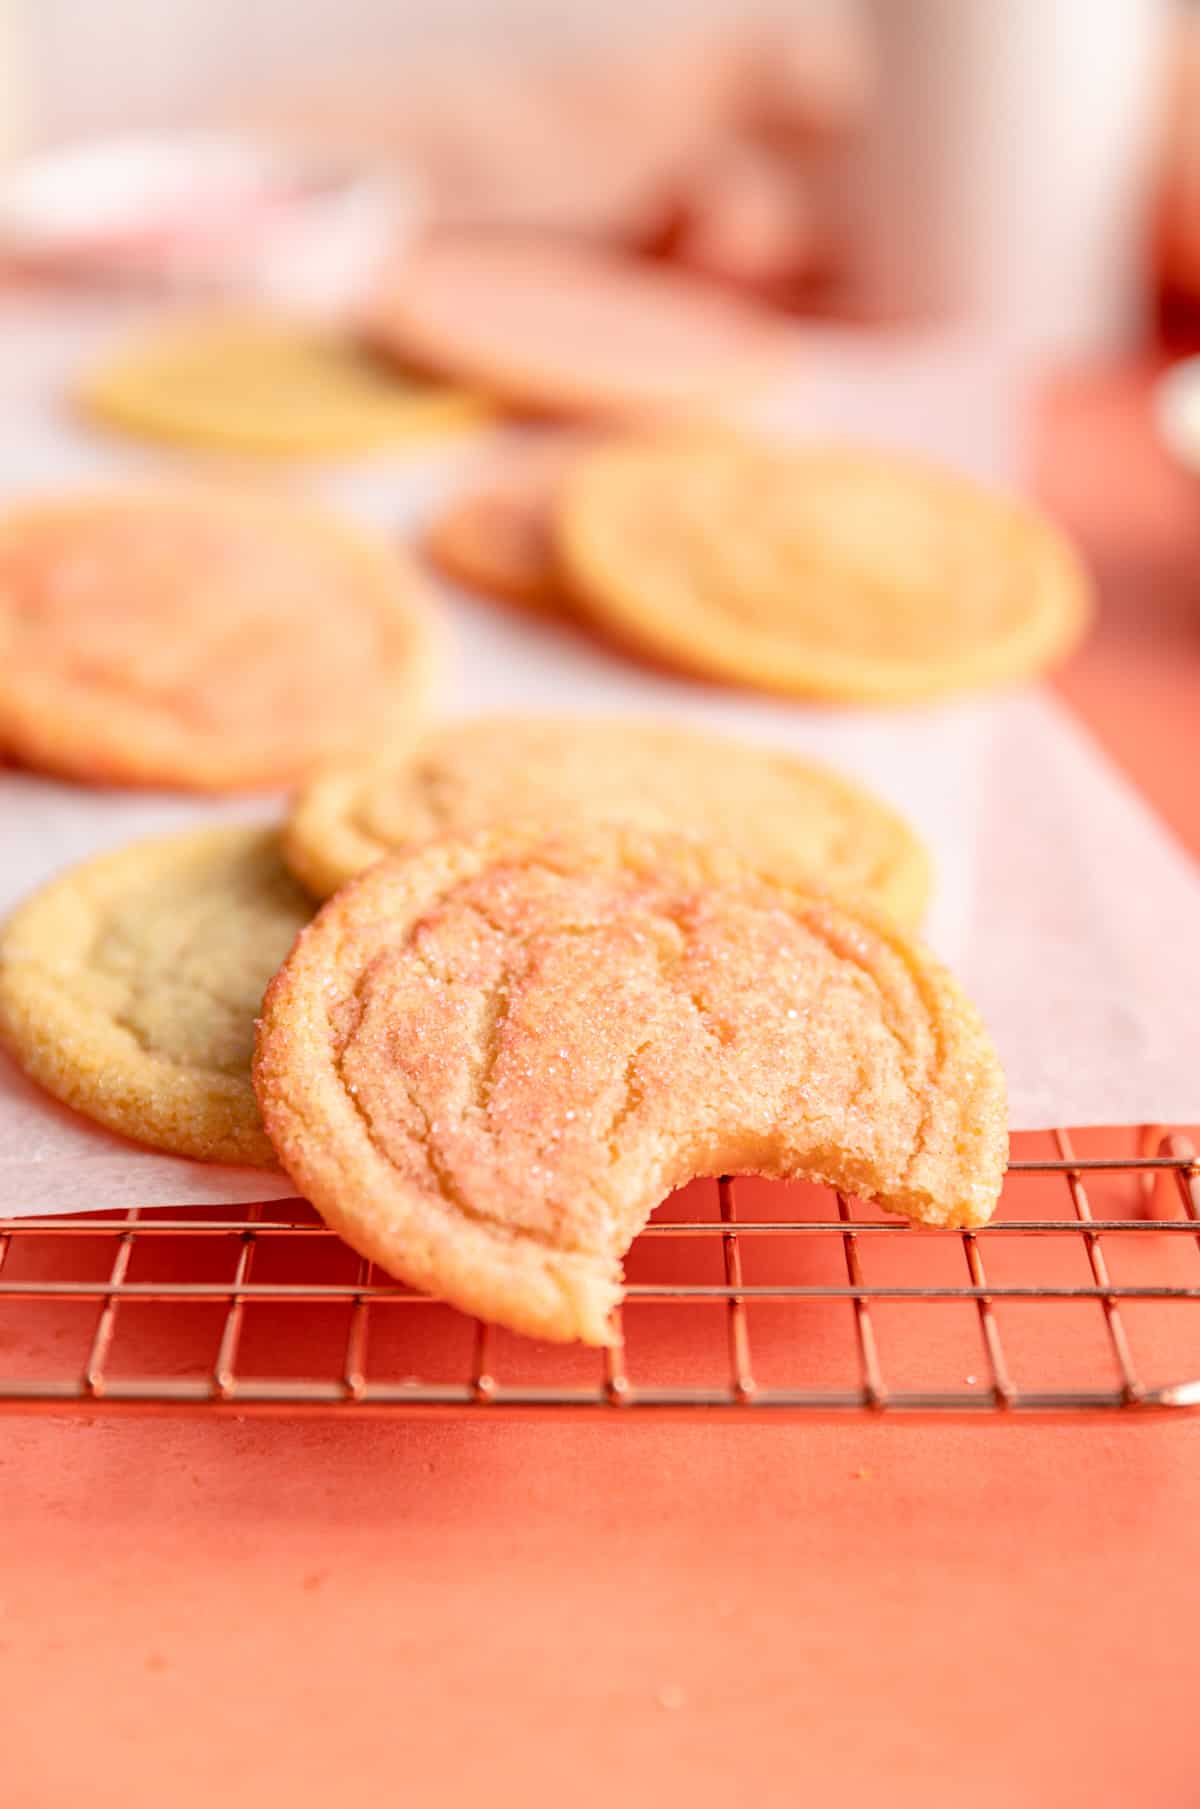
- Knock it when it's hot: hitting the cookies on the counter fresh out of the oven helps collapse their puffy domes and settle the molten batter to give you that nice chewy texture in the centers.
- Don't overbake! We want these cookies to have just a hint of color on the edge so they keep a little doughy-ness that ultimately translates to chewiness in the final cooled cookies.
More Tips + FAQs
Can you make these cookies ahead of time? What about freezing them?
My personal favorite version of these cookies is mixed and baked fresh, as I find that chewy center and crips edge combo is optimized with a fresh bake.
However, if the timing just doesn't work out, you can make these cookies ahead of time. The scooped dough balls will keep for 1 month in the freezer or 3 days in the fridge. They do bake straight from the fridge or freezer, but the texture will be a little different due to the chill/freeze of the dough (the cookies stay a little taller and be a little less chewy). For best results, thaw the dough to room temperature before baking.
Whether baking from the fridge or freezer, you can still bake them at 350°F. They may just take an extra minute or two to bake starting from a chilled temperature.
Pull them out whenever you see that hint of golden brown on the edges. They also may stay a bit more domed and not crackle as much as the freshly mixed cookies would (but they'll still be super delicious!).
How do you store leftover cookies?
These cookies rarely survive more than a day or two in our house (lolz). But, if you do need to store them, keep them at room temperature in an air-tight container for up to a week.
Because of their slightly under-baked centers, these cookies actually keep better than most over a few days which is an added bonus of this recipe!
Can you leave baking powder out of any sugar cookie recipe?
I definitely wouldn't recommend it. Baking powder is a crucial ingredient wherever it is used. If you just decide to leave it out, you would likely end up with an un-risen, un-crackled, very dense, and heavy final product.
Can I substitute baking powder for baking soda in this recipe?
As discussed above baking powder has additional components to baking soda, so they are not interchangeable.
Baking powder tends to go up while baking soda tends to go out. As such, I don't recommend using it here, but instead looking for a recipe designed to use baking powder from the start.
Are butter cookies and sugar cookies the same?
Butter cookies and sugar cookies are talked about interchangeably sometimes, but in my case I consider them to be very different.
A butter cookie is usually unleavened or only lightly leavened, and more like a shortbread cookie with a tender and crumbly texture. Sometimes, butter cookies can also have a firm, almost snappy texture too.
Drop sugar cookies, on the other hand, have a bunch of different styles. But in this case of a chewy sugar cookie, we're thinking of a well-leavened, bendy, chewy, and soft texture.
Butter cookies generally have a higher ratio of butter as you might guess whereas a sugar cookie tends to have a higher ratio of sugar. (Funny how that works, huh? lol)
Other Recipes You'll Love
If you are a fan of sugar cookies, be sure to check out the other 3 sugar cookie styles I have on the site:
For some chewy cookies, be sure not to miss my...
- Chewy-Gooey Sea Salt Chocolate Chunk Cookies
- One Bowl Double Dark Chocolate Chip Cookie Recipe
- Easy Chewy Peanut Butter Cookies (with or without chocolate chips!)
- Double Biscoff Butter Cookies
- Easy Cakey Snickerdoodles (without cream of tartar!)

⭐ If you gave this recipe a try please give it a ⭐ rating and tag me on Instagram @mint.and.mallow.kitchen so I can see what you're baking up! ⭐
📖 Full Recipe
Soft and Chewy Sugar Cookies (without baking powder!)
Ingredients
- 10 tablespoons (1 ¼ sticks) unsalted butter (softened)
- 1 ¼ cups sugar
- 1 tablespoon light corn syrup (optional, for extra chewiness)
- 1 ½ teaspoons vanilla extract
- 1 large egg
- 2 cups all-purpose flour
- 1 teaspoon baking soda
- ¼ teaspoon fine salt
- Multi-colored sanding sugars or additional granulated sugar (for decoration)
Instructions
- Prep and line: preheat your oven to 350°F and line two baking sheets with parchment paper.*1
- Cream butter, sugars, and vanilla: cream together the butter, sugar, corn syrup, and vanilla extract for 1-2 minutes until very light and fluffy on medium-high speed using a hand or stand mixer.
- Beat in the egg: add in the egg and beat for 30 seconds more on medium-high until the batter is smooth, opaque, and slightly fluffy.
- Mix in dries: stir together flour, baking soda, and salt in a small bowl until blended. Add that dry mix to the batter, and mix on low speed until fully combined, then beat briefly on medium-low for just 30-60 seconds to bring everything together (be sure to scrape the bowl really well about halfway through mixing!)
- Scoop and decorate: place at least a ¼ cup of each colored sugar in its own small, wide bowl (or alternatively 1 cup of granulated sugar in a bowl). Scoop dough into about 1 ½” round balls, using about 2 tablespoons of dough per cookie (an ice cream scoop works well for easy portioning). Roll dough balls between your hands to fully round (if not using an ice cream scoop), then roll in the sugar until fully coated.*2
- Tray and bake: place cookies on prepared trays, at least 2” apart. Bake for 8-10 minutes for doughy centers, just until the edges have a hint of golden-brown, the bottoms have browned and the tops are puffed and crackled, but not fully set on top. (You do want these cookies to be a little under-baked for the tastiest texture and brightest colors.)
- Knock em' down: knock each tray firmly on the counter or stovetop several times immediately after removal from the oven to collapse the dome and get that perfect cookie crackle.
- Cool, share, and enjoy: allow cookies to cool as long as you can (so those doughy middles can set up to a perfectly chewy center, and the edges can get deliciously crisp). Then pass around these colorfully delicious treats that will put a smile on any kiddo's face!
Video
Test Kitchen Tips
- *1Bake them to your preference! The 350°F bake for 8-10 minutes will result in a pretty doughy cookie (which is my personal favorite where you still have that almost "cookie-dough-like" flavor). However, if you'd like your cookies to be more on the crispy side, you can just bake until they are golden brown on the full surface (an extra 2-3 minutes).
- *2A not-so-sticky situation: this dough has to be stiff enough to keep its shape and give you that beautifully crackled look, but also sticky enough to hold the sugar coating. If your dough isn't quite sticky enough when you roll it in your sugar bowl, you can use your hands to gently press the sugar into your dough balls and patch any naked spots while they’re in the sugar bowl, and don’t worry if the coverage isn’t perfect! Making sure you roll the dough balls immediately after scooping will help to make the sugar stick as well (the dough will dry out if you let it sit for even a minute or two after scooping, making it harder to get the sugar to stick).
- Coarse sugar for crunch: if you’d like an extra crunch, you can also use a coarse colored sugar on the outside of your cookies instead.
- Color to your occasion: feel free to switch up the sugar colors or use a single multi-colored sugar for ease.
- Add an almond twist: for a hint of almond which is not uncommon in sugar cookie recipes, add a ¼ teaspoon almond extract in the first step.
- Add a lemon twist: for a fresh lemony note in these cookies, simply add the zest of one lemon to your butter in the first step.
- Storage: store these cookies at room temperature in an air-tight container for up to a week.
- Chilled/Frozen Dough: you can chill the dough balls for up to 3 days or freeze them for up to a month. For best results, thaw the dough to room temperature before baking. To bake from the freezer, fridge, or once rethawed, follow recipe instructions, but just know you may need a minute or two extra on your bake time, and your cookies will be a little taller and a little less chewy than fresh mixed ones.






Avi Francis says
has potential. my batch tasted like flour, not enough sugar. tasted like handmade tortillas, just very doughy. maybe adding more sugar to the recipe?
Jocelyn at M+M says
Thanks for your feedback Avi! There is quite a lot of sugar in this recipe already, plus the sugar coating, and it definitely shouldn't have a flavor anywhere near a tortilla so I'm sorry to hear that was your experience. I would guess some of that extra flour flavor may be because you had a little too much flour in there depending on how you measure your flour. Weighing it is always best, but if you are using a volume cup measure, make sure to fluff the flour up really well in its container, and then sprinkle it into your cup. Finally, use a knife to level it off. It may seem like it wouldn't make much of a difference, but it can keep an extra 1/4-1/2 cup of flour from being added to the batter. Hope that helps and I'm sorry this recipe didn't go well for you the first time around!
Lauren says
Best sugar cookie recipie without baking powder! Goey, cracked at the top by knocking the pan on counter. I made my cookies a little big, made 12 cookies. i couldve baked for 15-17 mins. But still good! First time baker from scratch. Thank you. 🙂
Jocelyn at M+M says
I'm so happy to hear you loved these cookies and definitely depending on your oven and the pan you use, a few less or extra minutes is totally normal. The good news is, it should be the same anytime you bake them in that oven, so you can scribble down a note for next time and you'll be all set to go. Thank you so much for taking the time to come back and share your kind review - happy baking!
MC says
This recipe worked great! I added coconut flakes to the dough and it made a nice coconut cookie. My brothers love them and I'm planning on making them again 🙂
Jocelyn at M+M says
Sounds delicious! I'm so happy you loved this recipe and that you made it your own. Thanks for taking the time to come back and share!
Adela Shuttleworth says
I loved this recipe so much! I made them for my grandma for Valentine's day and she loved them as well! My grandma is 63 and she's not very much into sweets so it's surprising she actually liked these cookies! Your recipe doesn't leave a weird after taste like the other cookies from other recipes! These helped us with Valentine's day so much! Thank you for sharing this recipe with us! Have a good morning / day / afternoon / night!
Jocelyn at M+M says
Thank you so much for your sweet message, Adela! Helping you share moments like these with family is 1000% why I do what I do, and I really appreciate you taking the time to come back here and share your experience. I hope there are many more wonderful baking adventures with your grandma to come - happy baking and thank you again!
Valerie says
These turned out delicious! Thanks for the recipe.
Jocelyn at M+M says
You're so welcome, Valerie, and thank you for the kind review! Happy holidays!
Niq says
my dough was really sticky to the point I couldnt roll it, what could i have done differently?
Jocelyn at M+M says
I'm so sorry to hear that Niq! The dough should be workable with just enough tackiness to grab that sugar coating. If you had a little extra corn syrup in there, really soft butter, or if you over mix the dough in the final step, it can make it extra sticky. My tips would be to make sure you're sticking to the exact measurements (using the weight measurements is more accurate if possible) and also using an ice cream scoop to handle the dough and keep you from having to roll it by hand. With these high-butter doughs, you can also throw them in the fridge for 30 minutes or so and that'll stiffen the dough up and make it a little easier to work with. I hope that helps!