


Whether you're a beginning baker or have just been a thrifty pro doing a lot of tricky hand mixing, this list will walk you through all my must-have kitchen tools. Not only that, but I'll tell you exactly how to use these tools to not only bake everything better, but make your time in the kitchen easier as well!
Jump to (scroll for more!):
This post contains Amazon affiliate program links. This means that I earn a small commission on qualifying purchases at no additional cost to you. I will never provide a link to, nor recommend any product or service that I don’t genuinely love or personally use. Thank you for supporting MINT + MALLOW Kitchen and the brands and products that help keep this blog running.
Why Having The Right Tools is Important
Now, it's absolutely true you do not need a kitchen full of fancy tools to be an amazing baker.
That said, I've realized over the years that certain tools will not only vastly improve the quality of your bakes and the consistency of your baking, but they will also make your life much much easier in the kitchen.
In this post, I'm going to walk you through my top 10 must-have tools. I'll not only show you the tools, but also tell you why I love them so much, and how to use them to reach your maximum baking potential So let's get equipped!
p.s. when I started writing down all I wanted to share about these tools, the post was soooo long. So I decided to split it 2 two parts. We'll cover 5 tools here today, and then the other 5 in the next post!
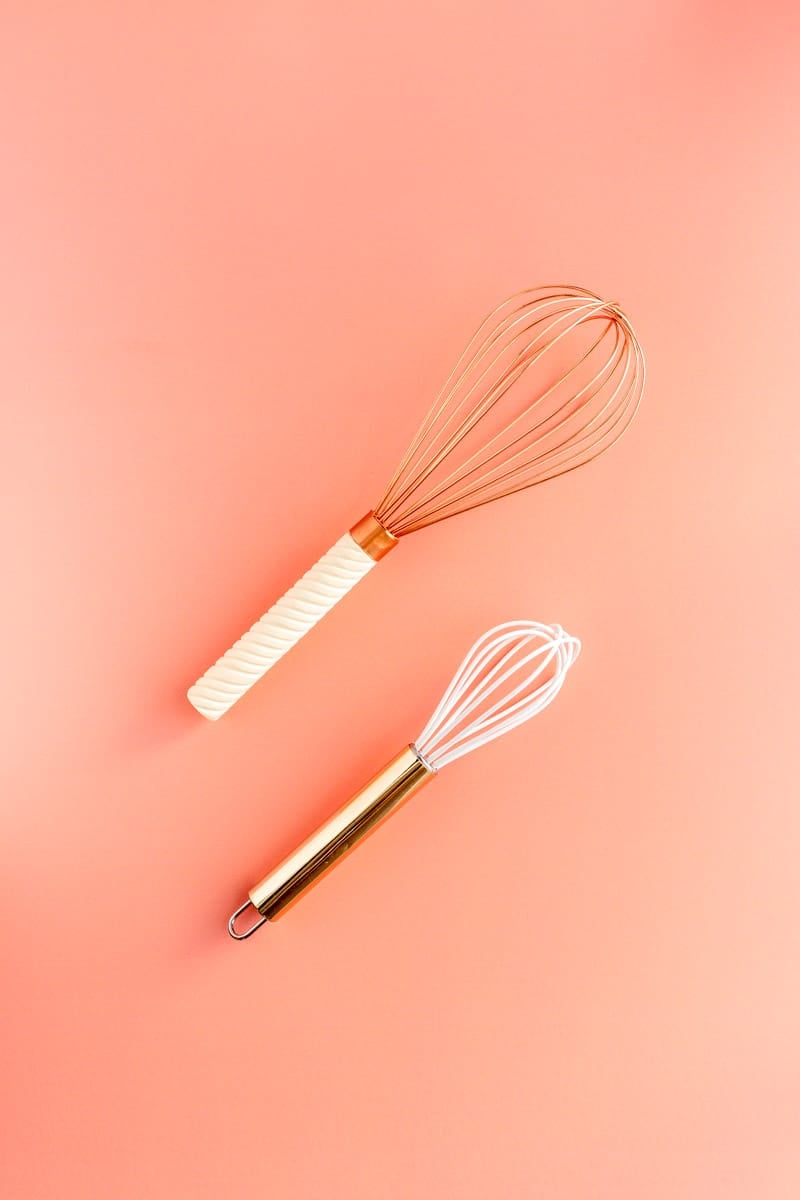
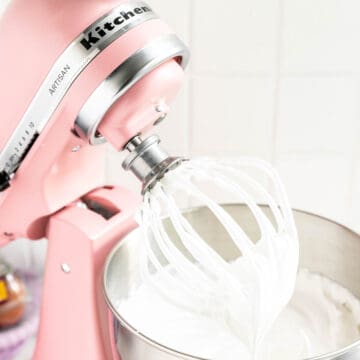
1. Whisks - One Big, One Small
Buy the whisk set I love here!
Traditional use:
- Classic mixing: now I think we all know how to use a basic whisk. There are a lot of different batters that need to be blended with a whisk, as a whisks more fully incorporates ingredients together compared to a spatula, particularly in a looser batter.
- Blending dries: a whisk is probably your best option for stirring together dry ingredients (like your flour, leaveners, and salt before adding them to your batter). It will more fully blend everything together than a spoon or fork. This then produces a better distribution of your ingredients in the batter.
Pro tips:
- Whisk folding: one of my favorite ways to use a whisk which I would definitely consider a pro technique is to "whisk fold." It's exactly what it sounds like: essentially folding as you would with a large spatula to incorporate a dry ingredient into a lightened or even particularly tough batter, but using a whisk to do it. This will allow you to incorporate the added ingredient faster, with fewer strokes, and thus less deflating of your batter. Or, if your battery is particularly thick, it can also help you to quickly incorporate the final ingredient without over mixing (I use this all the time for the last step when making my fudgy brownies).
- Dough whisks: if you make a lot of scones or thick muffin batters, a dough whisk is a really helpful tool to have too! With a large central opening, it'll allow you to blend those gloppy batters better than a solid spoon, but not get all gunked up with thick batter like a finer whisk would either.
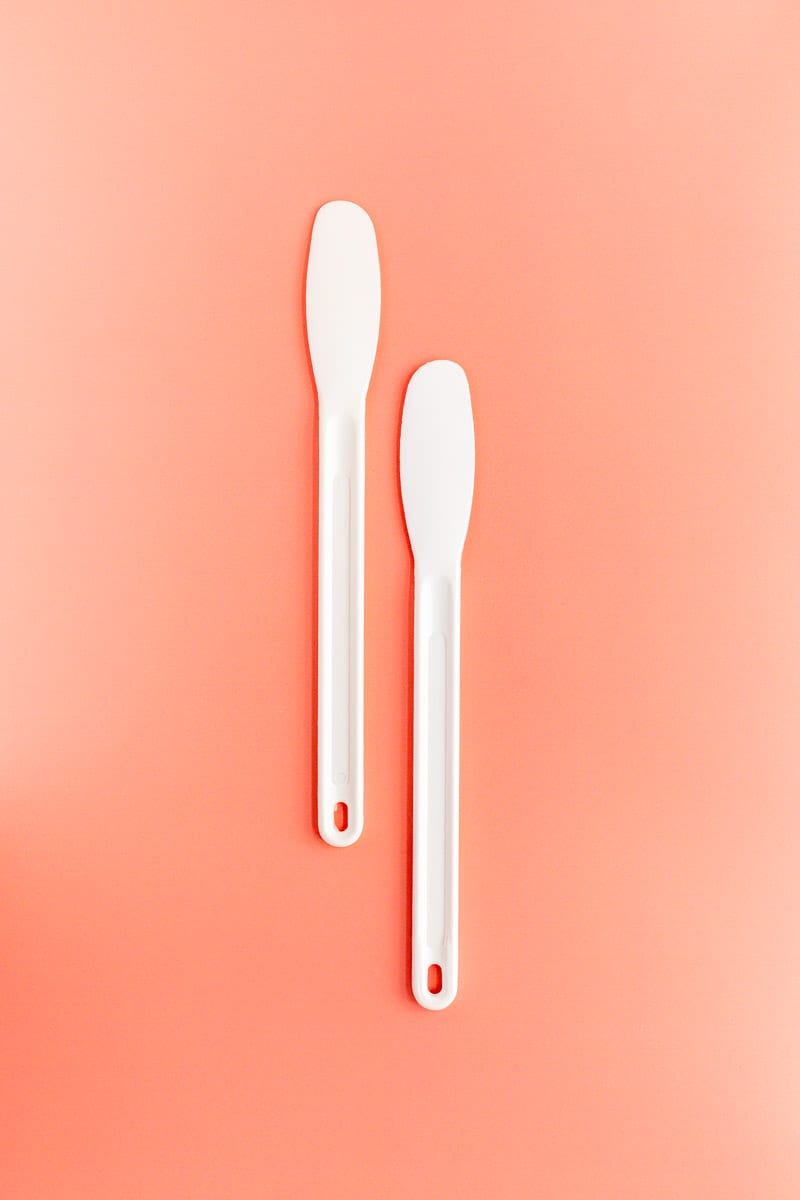
2. Spreader Spatulas
Buy the spreader spatula pair I love here!
Traditional use:
- Peanut butter and jelly time: as the name suggests, the traditional use for one of these tools is to spread ingredients onto something. Think slathering peanut butter onto your PB&J sandwich. However I have another critical use for it.
Pro tips:
- Pan release: this is actually my #1 tool for removing things from pans. I love it because it's very stiff and has the force of a metal offset spatula or knife, but it doesn't risk damaging your pans, or accidentally cutting into your cake with a sharp edge. That said, it does still have a very thin edge, which is best when trying to not damage on anything that's really adhered to the pan.
- Cake pan cleaning: it's also a great tool for cleaning your cake pans. I use it to scrape the inside edge of the pan really well, which will remove 90%+ of the cake residue, and keep your sponge from getting gunked up when you clean out what's left.
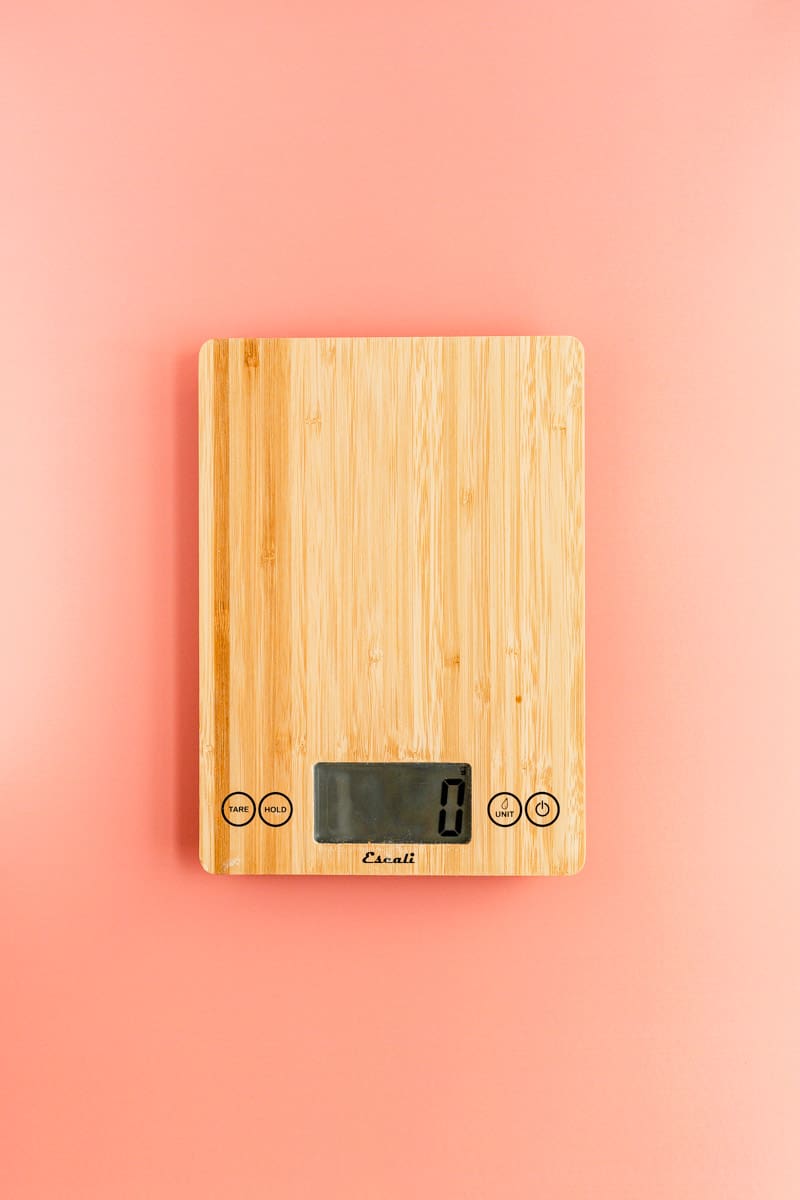
3. Kitchen Scale
Buy the basic kitchen scale I love here!
Traditional use:
- Ease, accuracy, and fewer dirty dishes: the traditional use of a baking scale is to scale your ingredients. I am a huge proponent of baking by weight for accuracy, for ease, and for minimal dirty dishes. You can learn a whole lot more about this in my lesson series all about baking by weight versus volume and the pros and cons of each .
Pro tip:
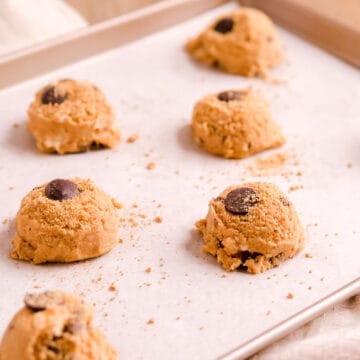
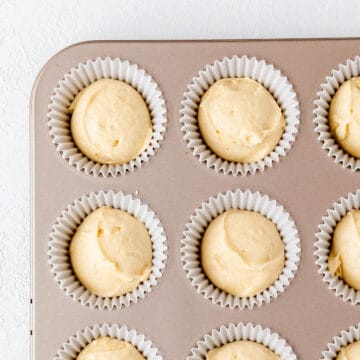
- Perfect portioning: an almost equally important function in my book of a kitchen scale is equal portioning of product. This could mean dividing your cake batter evenly between 3 6" pans, or could mean estimating how many cookies will get out of the batter by weighing just one scoop. Honestly, the options are endless in terms of helping you to equally portion and divide your products for an overall more consistent product.
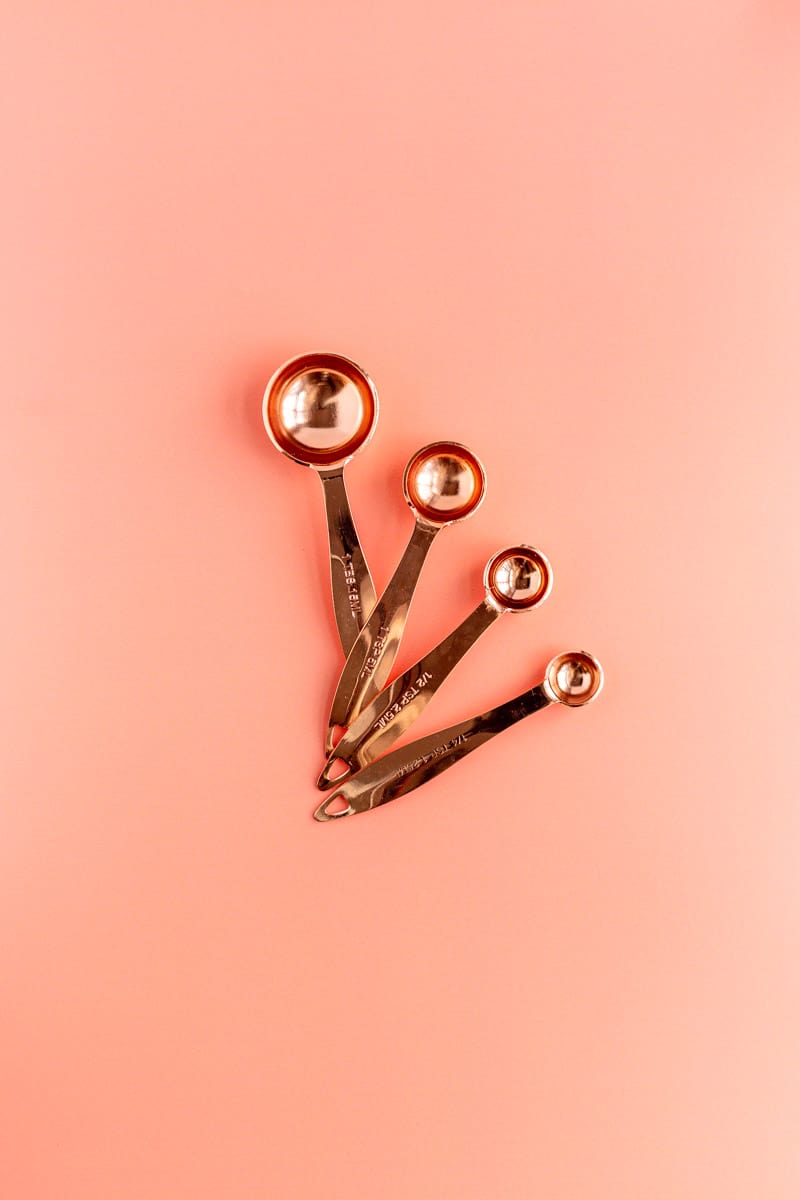
4. Measuring Spoons - a Full Set
Buy the measuring spoons I love here (the square ones are helpful for squeezing into jars)!
Traditional use:
- Measure those micro ingredients: we all know we use measuring spoons to measure our small ingredients. So of course, traditionally we're using these spoons to get our leaveners, salt, maybe some spices into our ingredient bowl in the right amounts.
Pro tips:
- Level your spoons: whenever you use a measuring spoon, always level it off. Shaking or heaping teaspoons are not very accurate and could lead to over-levening of your sweets. Many ingredient containers have an edge you can scape against to level, and I often just use the edge of another measuring spoon handle to level off my powdered ingredients.
- Use the right spoon: for example, if you use four quarter teaspoon portions to create a teaspoon, it'll actually give you a different amount by weight then if you just use the teaspoon (this is true for larger measuring cups too). So you'll find you get the most accurate amount of ingredients into your bowl if you use the largest spoon possible (i.e. the spoon that can do it in one scoop or two at the most). Because this is our goal, we want to have as many options as possible so that you can make sure to get what you need in one portion (which is why I love the teaspoon set linked above). That will allow the most accurate measuring and most consistent results. Plus, getting there in one scoop is easier for you too!
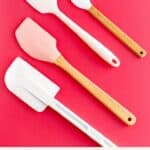
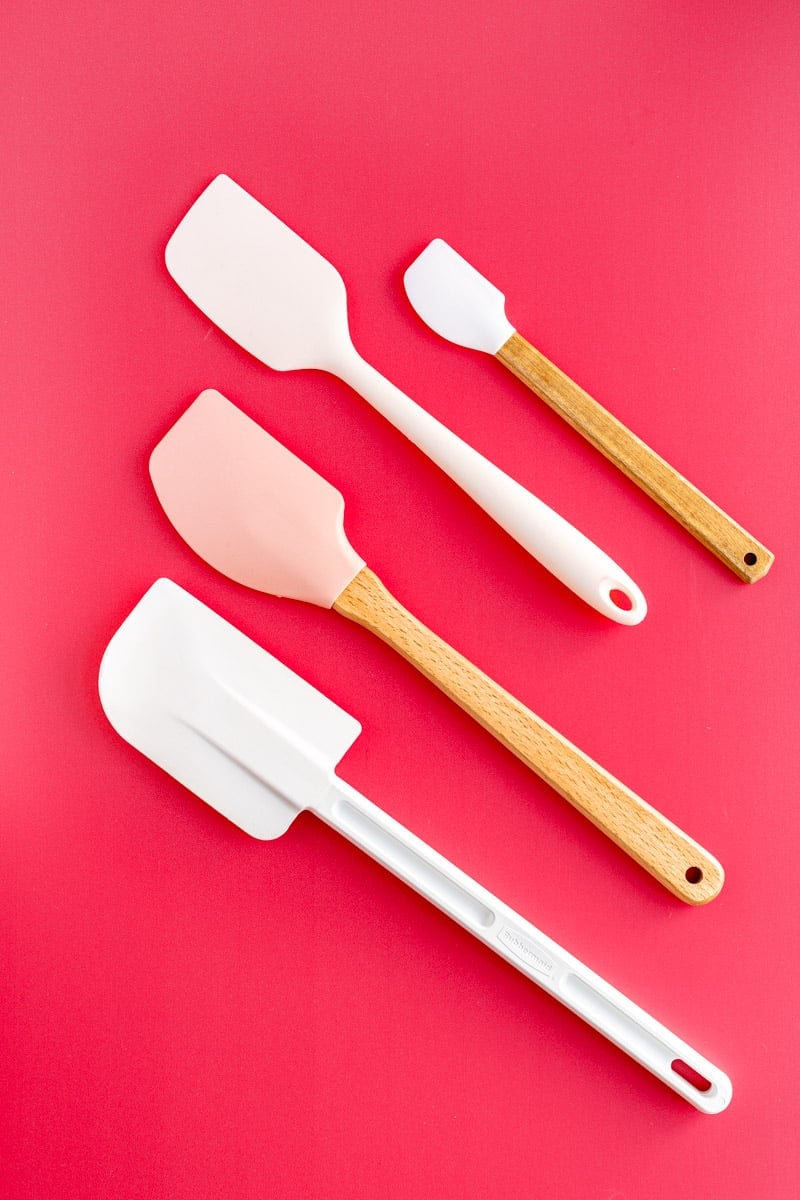
5. Classic Spatulas - Everyday, Mini, Folding, and Heat-Safe
Buy the regular spatula + heat-safe spatula, mini spatula, and folding spatula I love here!
Traditional use:
- Scrape it like you mean it: no fancy tricks here, spatulas are for scraping, and scraping our bowls thoroughly throughout the mixing process is crucial to making a great final product. Because there are different reasons we're scraping the bowl, and different sizes of spatulas we might need, I'll walk you through the four basic spatulas I think every Baker should have and what I use each one for.
Pro tips:
- The everyday spatula: everybody needs a regular spatula to scrape their bowl when mixing up pretty much anything. You'll want it to have an average size, and have a somewhat stiff face, but a slightly flexible edge. I like to have a round edge and a straight edge, so no matter what shape of bowl I'm mixing in, I can get into the corners and around the edges of the fully.
- The mini spatula: the mini is great for getting things out of smaller containers. Trying to shove a large spatula into a peanut butter jar to make sure you don't waste any ingredients isn't exactly fun. Also, anytime you're, say, melting butter in a small ramekin or melting chocolate in a deeper pitcher, you'll want to have a small spatula that can get really in there and make sure you're fully transferring all your ingredients to your primary mixing bowl, especially if it's already measured for accuracy. It'll also help ensure you don't waste ingredients, and add any additional unneccesary cost to your recipe.
- The folding spatula: anytime you're folding, you want a really big surface spatula blade that's fairly (but not 100%) stiff. This is important because we want to incorporate our dry ingredients into our likely whipped and airy batter in as few mixes as possible. The larger the surface of the spatula, the more of the ingredient you can move through the batter with each fold, the faster you can incorporate that ingredient, and the fluffier your batter will stay.
- The heat-safe spatula: last, but not least, you'll want to make sure you have a spatula that heat safe. Now this could double as your classic spatula (like the one linked above), or your folding, or one of your other spatulas. I also always keep separate spatuals for my cooking and baking to make sure there's no unwanted flavor transfer between the two. While many spatulas are fine with low, short periods of heat, for something like stove-top caramels, you'll need a very heat-safe spatula (any sales page should list what degree it's safe to) to stand up to those extended high temperatures. You'll want something that's at least safe to 450°F, but if you have one safe to 600°F that's even better.

Check out Part 2 for more tool recs!
There were too many tips for one post, so check out my other recommendations that made the Top 10 list in Part 2 and get to outfitting your kitchen like a pro!
(And please let me know what tool questions, recs, or woes I can help you with in the comments below!)

Ready to learn more and put all your new skills to good use?
Check out my newest tutorials and recipes below, and get to baking!
This website contains Amazon affiliate program links. This means that I earn a small commission on qualifying purchases at no additional cost to you. I will never provide a link to nor recommend any product or service that I don’t genuinely love or personally use. Thank you for supporting MINT + MALLOW kitchen and the brands that keep this blog running.
Comments
No Comments