


I know it can be tempting to go ahead and press that snazzy convection button you just discovered on your oven. But, there are some best practices for using a convection oven for baking you should always follow to ensure your treats have the ideal oven conditions for a proper bake.
Jump to (scroll for more!):
Why do you need to even out the heat?
While you may find that some ovens turn their fans on briefly during standard bake cycles (mine actually does this, which means I can’t technically bake with the fan fully off), in general, the effect of those brief fan bursts is minimal.
So in a standard bake, your heat source is fairly concentrated around your heating element. This means products close to those elements (usually on the top and/or bottom rack depending on your oven) will bake significantly faster than those in middle of the oven.
Multi-Pan Baking: Use Convection
This is especially apparent when baking with 3 trays of cookies in the same oven. You’ll notice that the top and bottom trays often block heat from getting to the middle tray. This usually results in the middle tray of cookies looking like they were baked in an oven that wasn't quite hot enough.
So when baking a full oven, with multiple pans, I find the convection setting to be really helpful. Using a convection fan helps even out the heat flow and allow every tray to bake on the same schedule.
Quick and Fast Bakes: Use Convection
As mentioned before, convection baking is harsher than standard radiant baking. This leads to faster, stronger browning in less baking time. This can result in the center of your product remaining raw, even if the surface looks done. But the beauty of this (sometimes) problem is that we can use it to our advantage!
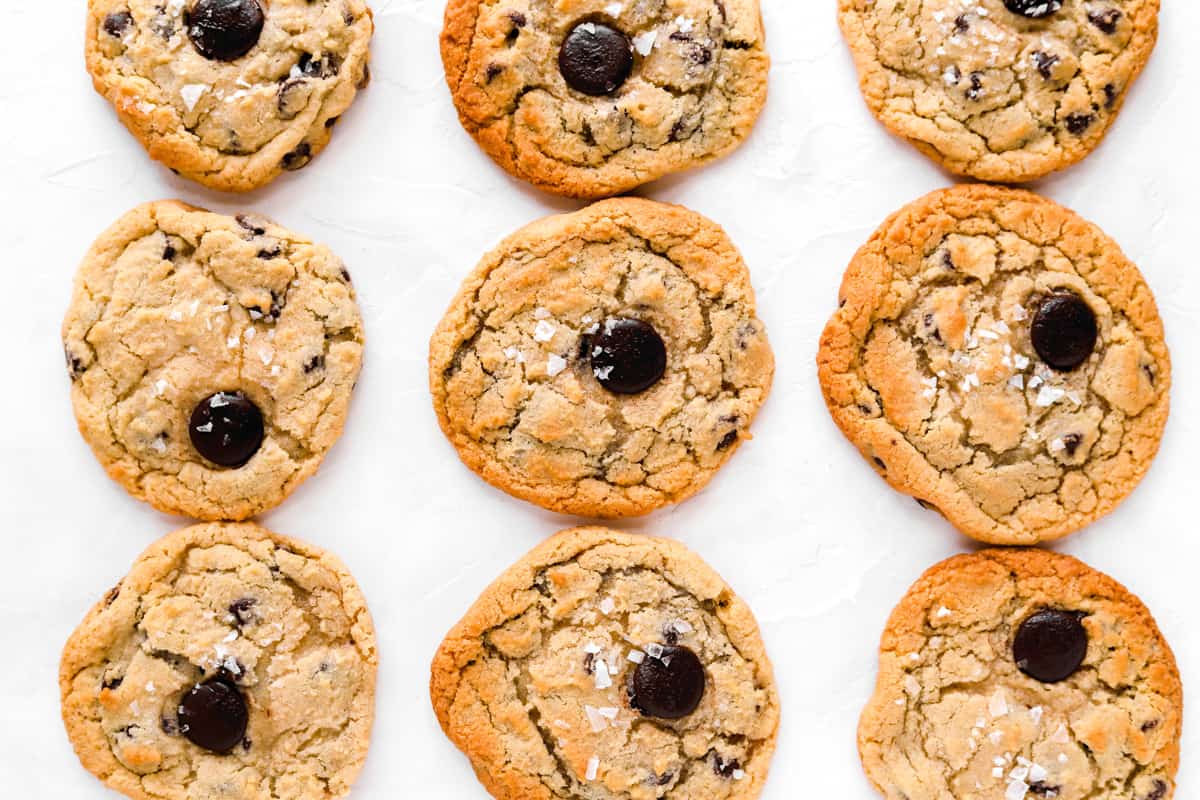
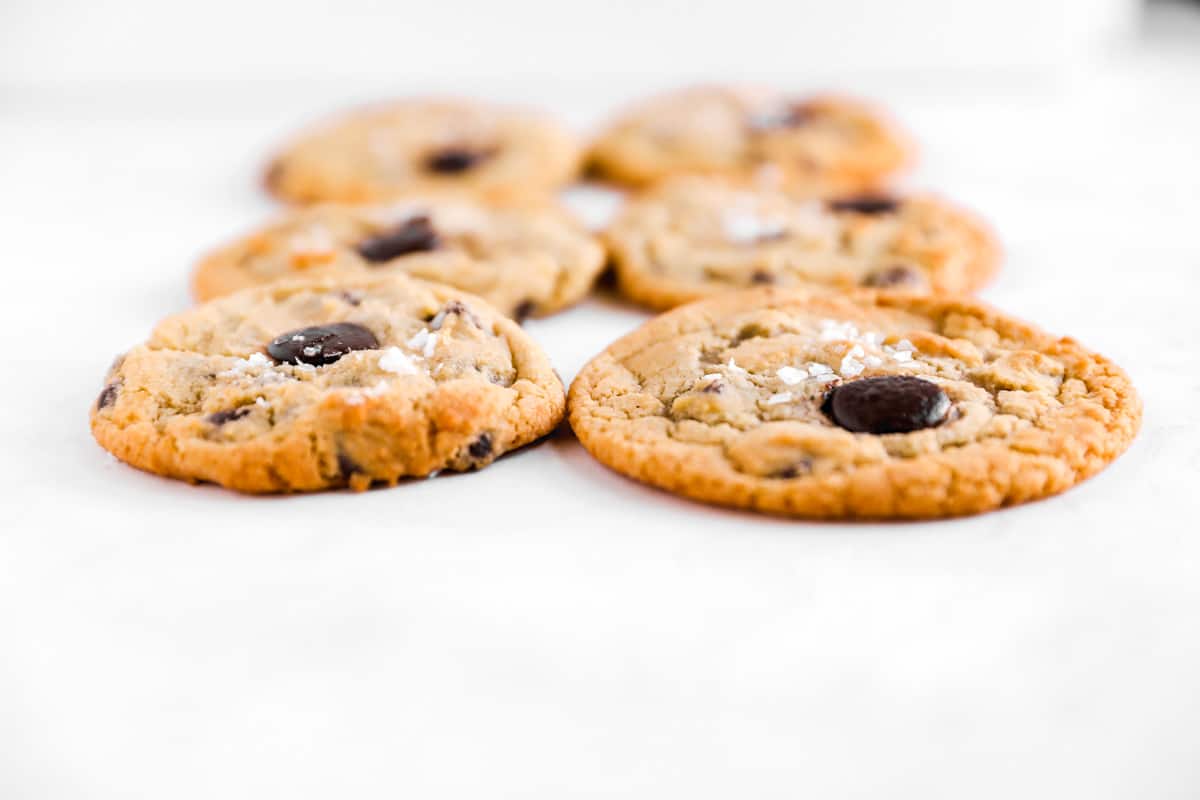
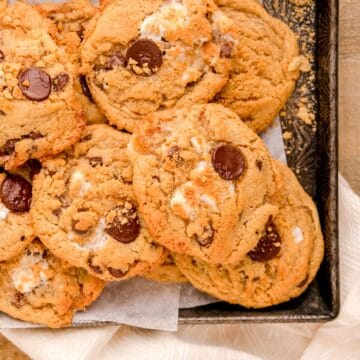
Convection Baked Cookies
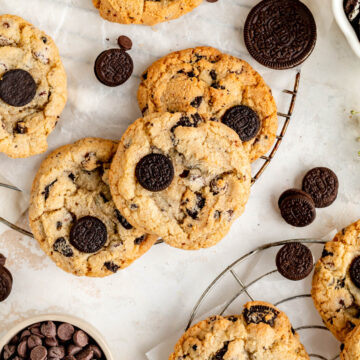
You’ll probably notice me using cookies as an example a lot. That’s because I have a serious addiction to convection-baked cookies.
There’s nothing better in my book than a convection-baked chocolate chip cookie with a beautiful golden brown edge. Those edges crisp perfectly upon cooling, contrasting beautifully with the doughy and molten center.
This is all thanks to the quick and harsher bake of the convection setting.
If you’re into this type of half-baked, crisp and chewy cookie, convection baking is your new best friend. I highly recommend playing around with convection bakes to see if you can bring out those deliciously contrasting textures even more in your favorite cookie recipes like our Chewy Chocolate Chip Cookies, Double Chocolate Chip Cookies, and Campfire S'mores Cookies.
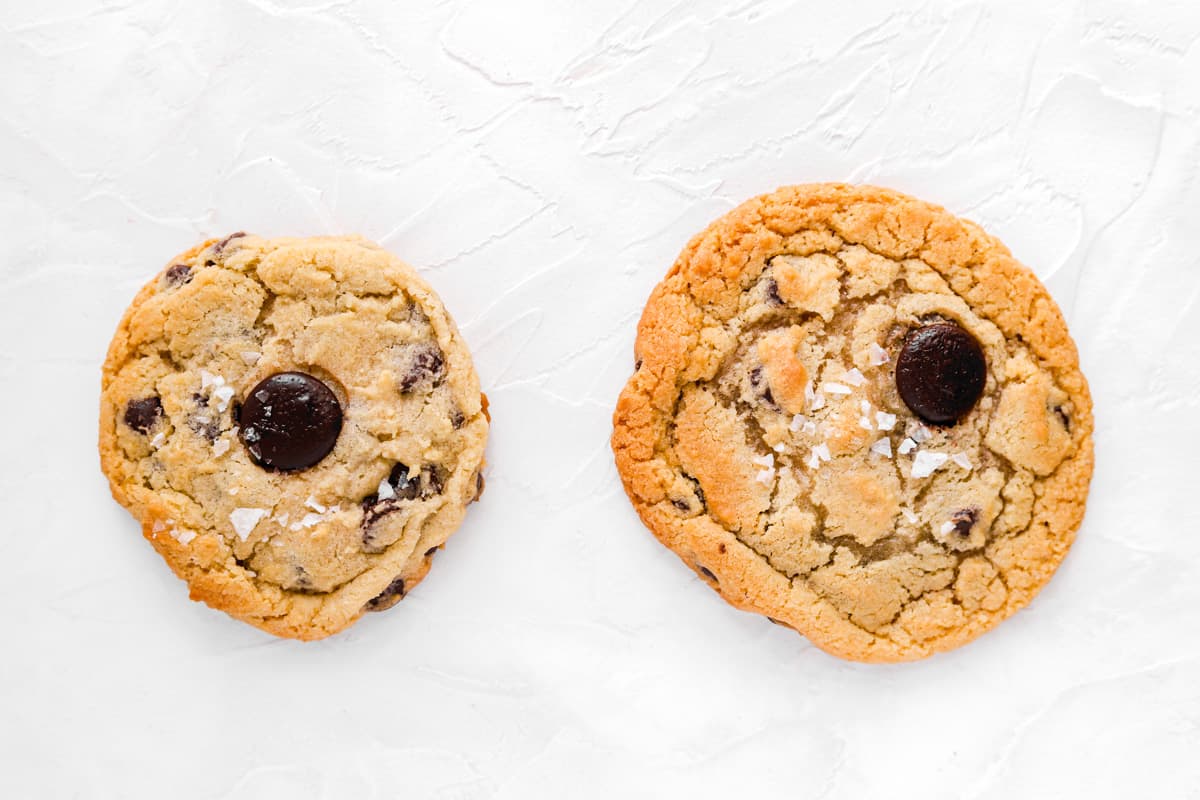
Let's see this difference in action: the two cookies below were baked at 350°F with convection (left) and 375°F without convection (right). Quick note: you always bake 25°F lower for convection to compensate for the harsher bake and keep your bake times accurate.
The convection forced hot air through the oven and set the crust of the left cookie faster, reducing the spread. However, even though the temperature was set lower in that convection oven, you still get similar browning from the hasher forced-air bake of the convection fan.
Cakes, Loaves, and Breads: Better on Standard
Convection baking is sounding pretty cool at this point, right? So you should use it for everything, right? Naaaah....unfortunately it’s not quite that easy.
The recipes where standard baking really shines through tend to involve delicate batters and products requiring a low and slow bake. So let's chat about all those!
Layer Cakes
Cake batter is generally pretty thin, and often very delicate until the eggs are fully set.
If you’ve ever relocated a cake mid-bake, you’ve probably seen its rising dome is quick to fall if disturbed. Needless to say, a constant wind tunnel in the oven box is far more disturbing than your delicate shifting of the pan.
So if you do use convection (aka a mini wind tunnel), you’ll likely find at the very least, your cake dome is off-centered. At the worst, your cake won’t rise to its full potential, or will rise and quickly fall.
You also may have a cake that’s overly browned on top by the time the center is cooked through.
Needless to say, you’re better off baking your cakes on the standard baking setting.
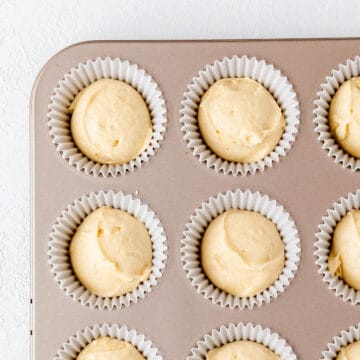
Cupcakes
On occasion, I’ll use the convection setting for cupcakes (particularly minis, which are meant to bake quickly). I'm even more likely to use convection for cupcakes if I’m baking multiple large pans at the same time.
But for standard-sized cupcakes or baking just one pan at a time, I’d recommend sticking with a standard bake.
That said, it can be fun to experiment with convection options here. On some occasions, I’ve found convection can help to get a really quick and pretty “pop” out of mini cupcakes, which makes for a beautiful dome. There are exceptions to every rule, and that’s why there’s always more to learn in baking!
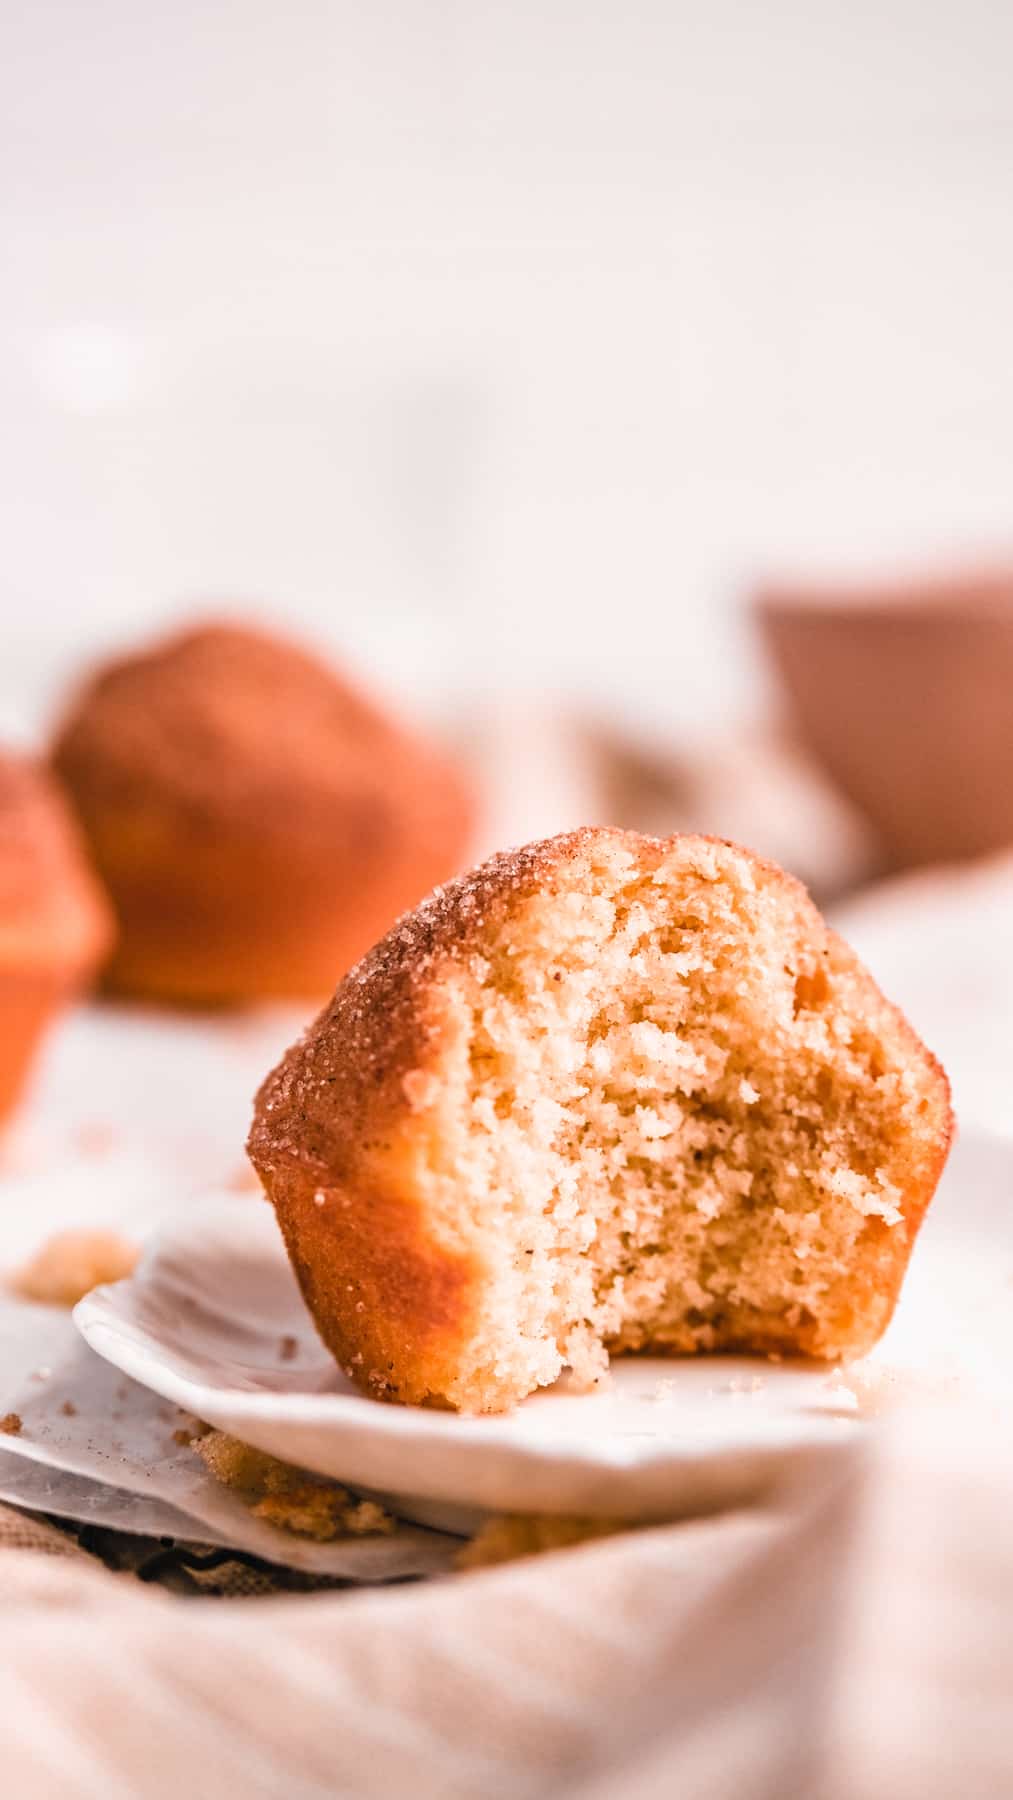
Quick Breads, Muffins, and Loaf Cakes
Quick breads (including muffins) and heavy loaf cakes (like a classic pound cake) are another great example of recipes that bake best on a standard setting.
The batter in a loaf pan is obviously very dense compared to a cupcake, for example. With so much in one pan, only a small portion of the batter directly contacts the hot surface (either the pan or the air) during the entire bake.
This basically means it'll take the heat a long time to fully penetrate the batter and cook your product all the way through.
Baking these treats on convection would stunt the rise by creating a crust too soon. Your loaf would also be over-browned on top by the time the heat finally cooks the loaf's center.
As a rule of thumb, the slow and steady bake of standard radiant heat is the way to go for these types of products. Standard settings ensures that the outside and inside of your products will both be ready at the same time.
Yeasted Breads
Last but not least, we must discuss the yeasted products. Yeast-raised products are typically meant to bake low and slow, either to develop flavor or to slowly solidify their structure. And we now know "low and slow," means "standard and radiant" heat only.
This of course includes enriched sweet breads like cinnamon rolls, brioche, and challah. But, it also includes standard bread loaves that need a lot of time to rise before their crust sets, stunting any further growth.
Convection baking will not only stunt the rise of these types of products, but it can cause the loaf to rip open during baking. This is caused by expanding gases from the raw center trying to make their escape from a prematurely set crust.
So where yeast is involved, it's always best to stick with standard settings.
The Short + The Sweet
Convection baking has many benefits, but it isn't always the best choice for the best bake.
It can give you a faster bake, and a quicker “pop” for certain products. It can even add a beautifully caramelized surface to a cookie while maintaining that deliciously gooey center.
BUT, you must be wary of the harsh and fast bake, which can cause issues for delicate products or those requiring more time in the oven. Cakes can get blown and dome off-center. Quick bread loaves can be burnt on top by the time their centers set. Yeasted doughs can rip through their prematurely browned crusts.
For these types of recipes - delicate batters/structures, super dense and large single products, or yeasted breads - you'll want to stick with standard baking methods.
For more on convection, check out our Ovens 101 lesson, all about what the differences actually are between standard and convection baking.

Ready to learn more and put all your new skills to good use?
Check out my newest tutorials and recipes below, and get to baking!
This website contains Amazon affiliate program links. This means that I earn a small commission on qualifying purchases at no additional cost to you. I will never provide a link to nor recommend any product or service that I don’t genuinely love or personally use. Thank you for supporting MINT + MALLOW kitchen and the brands that keep this blog running.

Pattie L. says
So everything I read here in Oven 101 and Oven 102 indicates using traditional baking method. When then is convection baking preferred? Thank you.
Jocelyn at M+M says
Honestly, not very often, Pattie! Convection baking is commonly used by professionals who are particularly skilled at baking more by sight/smell than by using a timer, but the VAST majority of home baking recipes are best done on standard baking, especially because that's what those recipe were developed for. The convection baked cookies I talked about in Ovens 102 are really the only time I use convection for a home baker recipe, and that's to get a really soft doughy center with a crisp edge from the harsher, faster bake. I hope that answers your question and thanks so much for reaching out - happy baking!
Ada Circosta says
Thank you for the tutorial. I'm starting the holiday season by baking sugar cookies with my granddaughter this morning. I will take your advice to heart. Happy thanksgiving day this Thursday to my American neighbours.
Jocelyn at M+M says
You're so welcome, Ada, and thanks for sharing your kind thoughts! My mom and I were just starting to gear up for our holiday baking yesterday as well, and I hope you and your granddaughter can create many many happy baking memories this year and for many more to come. Happy Thanksgiving!