• Skip to primary navigation
  • Skip to main content
  • Skip to primary sidebar
Mint + Mallow Kitchen logo
  • Recipes
  • Tutorials
  • About
  • Nav Social Menu

    • Email
    • Facebook
    • Instagram
    • Pinterest
menu icon
go to homepage
  • Easter Recipes
  • Recipes
  • Tutorials
  • About Jocelyn
  • Work With Me
    • Facebook
    • Instagram
    • Pinterest
  • subscribe
    search icon
    Homepage link
    • Easter Recipes
    • Recipes
    • Tutorials
    • About Jocelyn
    • Work With Me
    • Facebook
    • Instagram
    • Pinterest
  • ×

    Home » Baking Tutorials » Baking Technique Tutorials

    How to "Fold" in Baking: a "Folding" Tutorial

    Published: Jul 11, 2021 · Modified: Jul 19, 2021 by Jocelyn at M+M · This post may contain affiliate links · Leave a Comment

    Jump to Recipe Print Recipe
    how to fold in baking pinterest pin.

    In this tutorial, I'll teach you not only how to fold in baking, but why it is so important to do it properly and not just "stir" or "mix" when a recipe calls for us to use the folding method.

    a hand holding a spatula folding flour into a fluffy batter with a bowl of melted butter on the side.
    Jump to:
    • "Folding" in baking defined...
    • Why "folding" instead of "stirring?"
    • Equipment you'll need...
    • The 4 steps of folding...
    • Let's watch the full video tutorial!
    • *Expert Tips and Tricks* to help you fold like a pro...
    • Recipes for practice...

    "Folding" in baking defined...

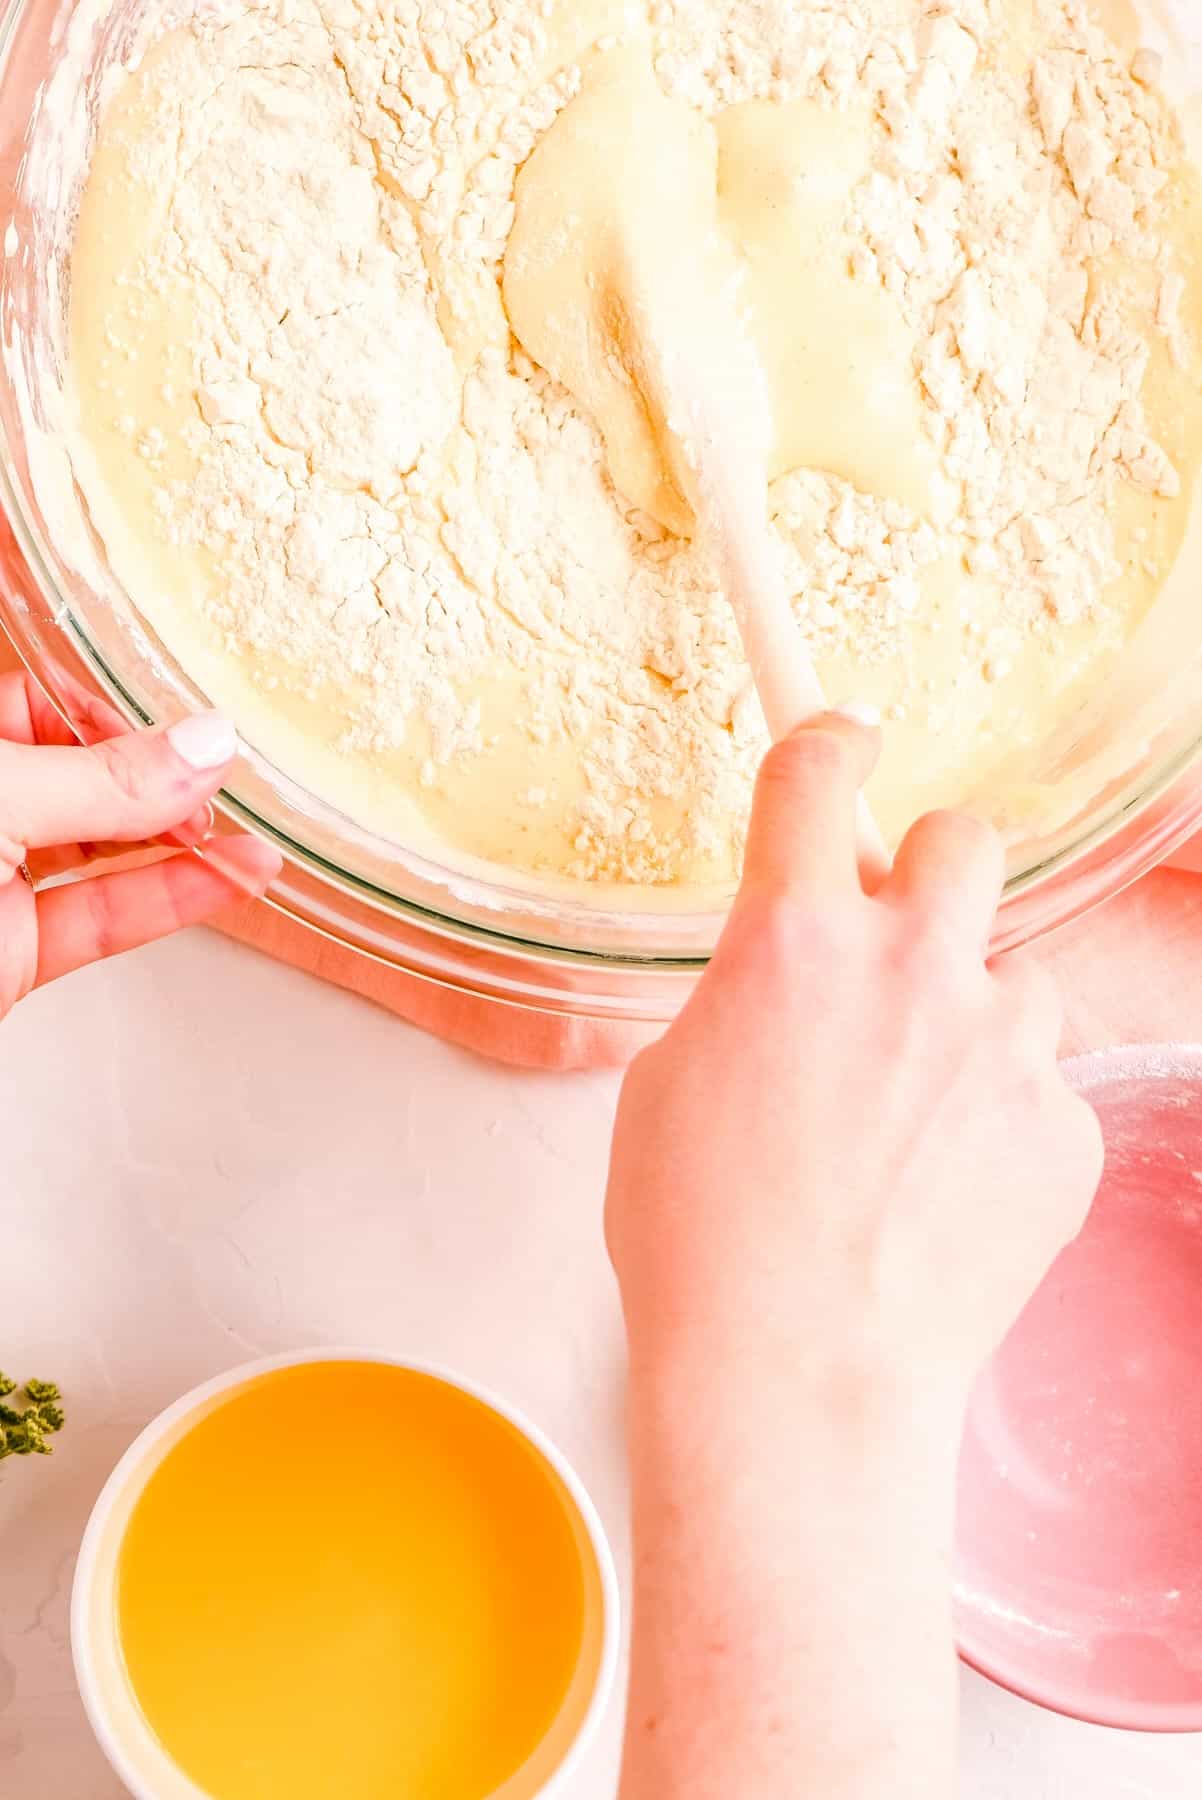
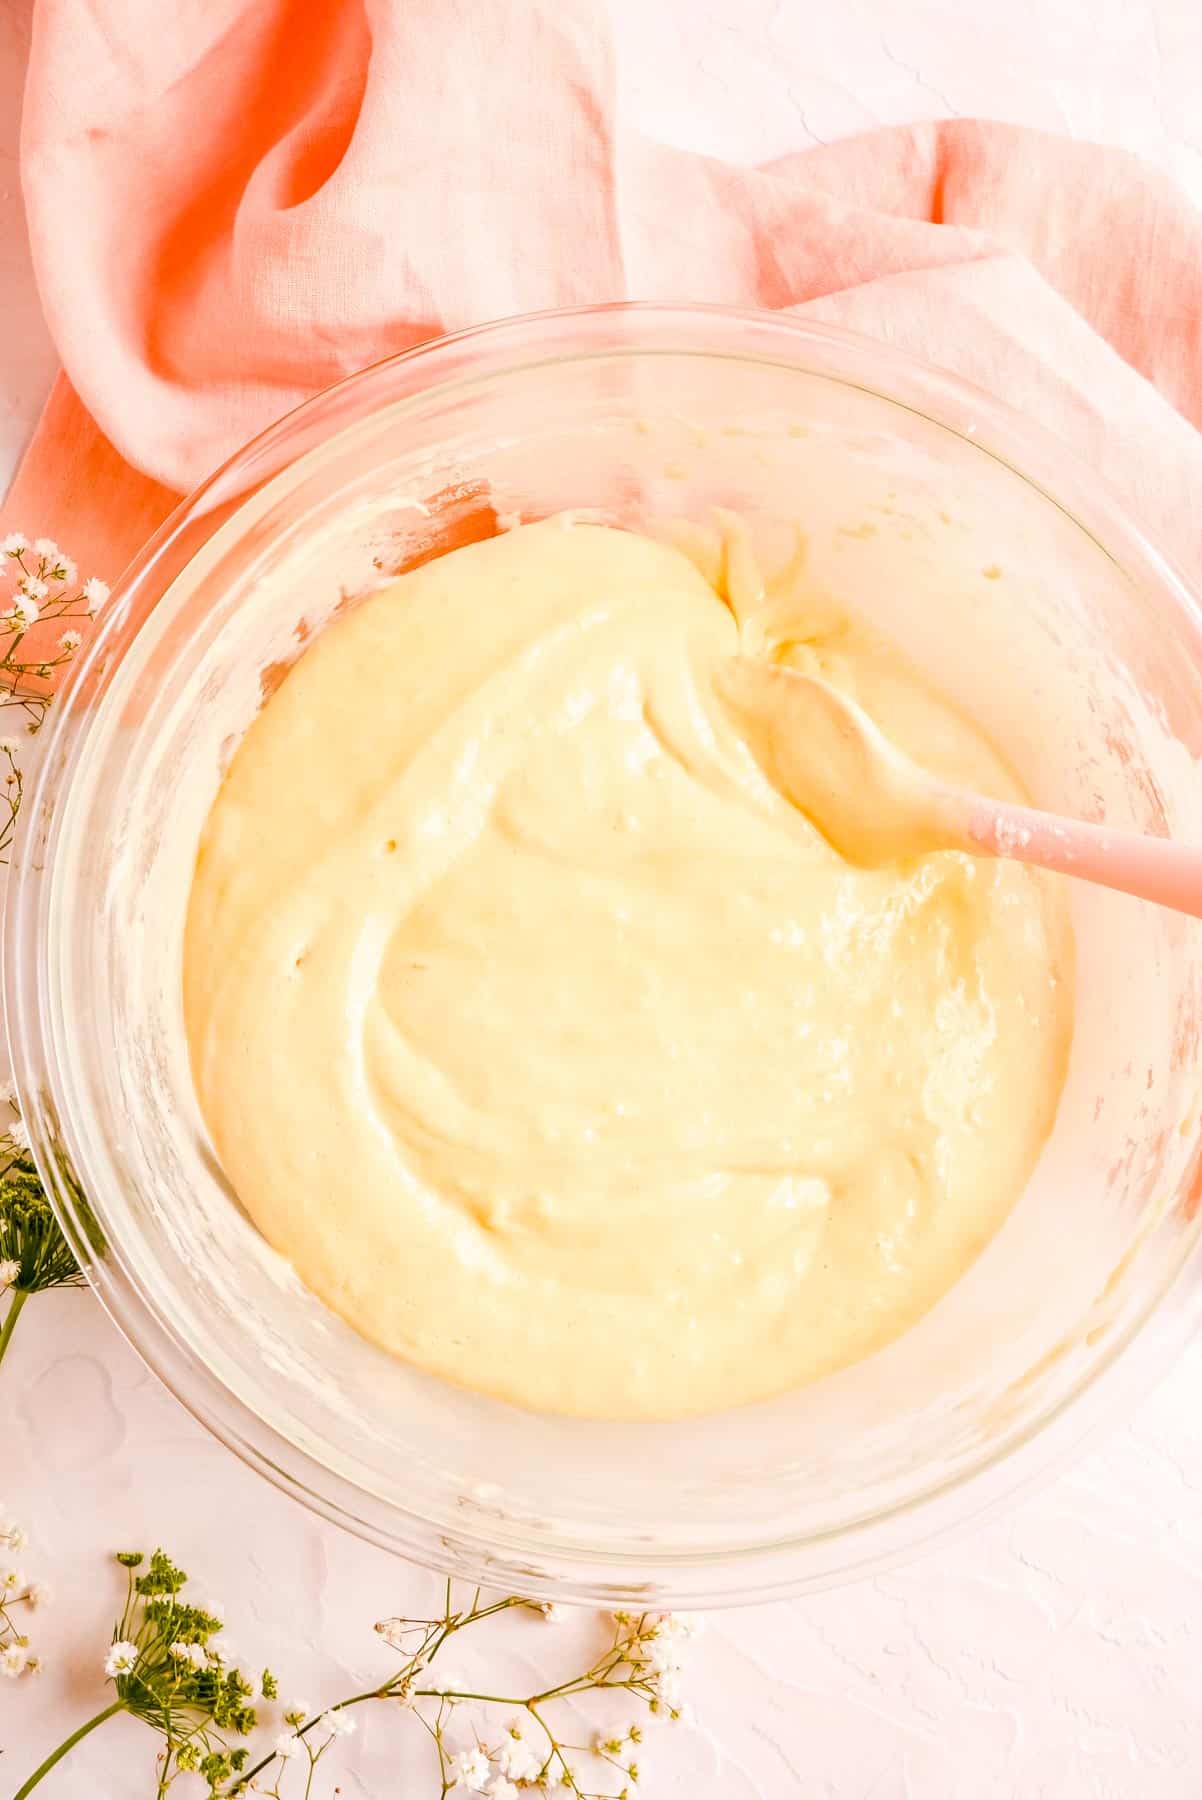
    The "folding" technique actually gets it's name from...you guessed it...the action you perform when doing this technique properly of "folding" the batter over itself. This technique is used to incorporate a particular ingredient evenly into your batter. But in this case, the recipe author wants the mixing done in a more gentle manner than your typical "stirring" technique would allow.

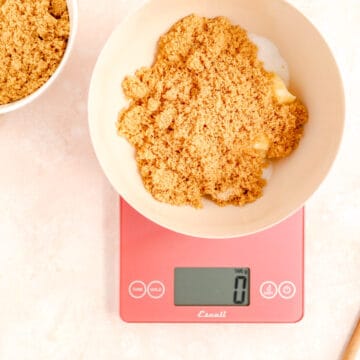
    The most common ingredients you fold into your batters are whipped egg whites and flour.

    The most common types of batters you fold those ingredients into are anything that has been whipped and is holding a lot of air, or something that we want to be really careful not to over-mix.

    Why "folding" instead of "stirring?"

    The "cut, scrape, flip, and fold" action that is "folding" in a nutshell, allows us to fully and properly incorporate an ingredient into our batter, without deflating it's cloud-like texture any more than we have to.

    There are endless recipes types that commonly use the folding technique. Some of the most common are sponges (like the sponge cake in our Strawberry Trifle), meringues, and even Belgian waffles made with whipped egg whites for an extra light and fluffy texture.

    finished genoise sponge cake batter in a clear bowl on a pink towel with a pink spatula in it.

    Equipment you'll need...

    (Pssst…if you're ready to just get folding, get all the details in the recipe card below!)

    Jump to Recipe
    • A big, wide, shallow bowl: this is the ideal shape of bowl for folding as deeper mixing bowls can make executing this technique properly a little tricky.
    • A big spatula: the larger the surface area of your spatula, the better it will be for folding. It's helpful if it has a little flex to it as well.

    The 4 steps of folding...

    I like to break folding down into four simple actions that ultimately lead to a smooth fold and overall circular motion you'll repeat as many times as needed to blend in your ingredients. Those 4 stages actions are cut, scrape, flip, and of course, fold! So let's get to it...

    1. Cut: use your spatula to cut through the center of the batter like a knife.
    2. Scrape: flatten your spatula (parallel to your countertop) then scrape it up the bottom and side of the bowl to the top lip.
    3. Flip: start to flip the spatula over so the broad face towards the inside of the bowl becomes the bottom.
    4. Fold: while flipping, move your spatula back over top the center of the bowl, "folding" that batter you pulled up the side of the bowl, over the top of the mixture.
    5. Repeat: rotate your bowl a few inches and repeat until everything is thoroughly combined.

    Let's watch the full video tutorial!

    So that's the steps in a nutshell (I promise...it sounds more complicated then it is and you'll have the hang of it in no time)! But let's check out the video tutorial below to see it all in action...

    *Expert Tips and Tricks* to help you fold like a pro...


    What's the TOP TIP for perfecting the folding technique?

    This one's easy - patience! Mixing by folding frequently takes longer than if you just stirred in that same ingredient. But that's what we have to do to produce the best final product. So even if you feel like it's taking a while for the ingredient to fully blend in, stay calm and fold on, and you will be rewarded!


    What happens if I just stir in the ingredient instead?

    While it will depend a little on your specific recipe, stirring instead of folding will lead to two likely outcomes. Firstly, your product will probably not rise as high, and secondly, you product's texture will likely be denser as well.


    Do you have to fold with a spatula?

    Technically no, but 99% of the time, a flat spatula with a little bend and large surface area will definitely be the way to go. On a very rare occasion, I will actually use a whisk fold technique, which follows exactly the same motion as a traditional spatula fold, but you just do it while holding a large whisk. This is something I often do when adding the flour into my Fudge Brownies, as it allows quick, thorough mixing, while preventing over-mixing of this very thick batter that needs a bit more oomph than a traditional spatula fold offers.

    Recipes for practice...

    A great recipe to start practicing your folding technique on is a sponge cake like you'll find in our Fresh Mint Strawberry Trifle recipe, so get to baking!


    happy baking graphic font.

    ⭐ If you gave this recipe a try please give it a ⭐ rating and tag me on Instagram @mint.and.mallow.kitchen so I can see what you're baking up! ⭐

    a hand holding a spatula folding flour into a fluffy batter with a bowl of melted butter on the side.
    Print Tutorial

    How to "Fold" in Baking

    By Jocelyn Salvatoriello
    In this tutorial, I'll teach you not only how to fold in baking, but why it is so important to do it properly and not just "stir" or "mix" when a recipe calls for us to use the folding method.
    Prep Time2 mins
    Total Time2 mins
    Category: Basics
    Difficulty: ♥♥♡♡♡

    Equipment

    • A big, wide, shallow bowl
    • A big spatula

    Materials

    • 1 batch of your batter
    • ingredients to be folded in, fully prepped (melted, sifted, etc.)

    Instructions

    • Cut: holding your spatula so its broad face is to the left and the right (it looks like a skinny line from the top), cut down into the middle of your batter to the bottom of the bowl, using the spatula almost like a knife.
    • Scrape: turn your hand towards the bottom of the bowl and rotate the spatula so it's flat (under the batter), and laying on the bottom of the bowl essentially. Then scrape up the side of the bowl from the bottom to the top lip.
    • Flip: start to flip the spatula over so the broad face on the inside of the bowl becomes the bottom.
    • Fold: while flipping, move your spatula back over top the center of the bowl, so the flipping and re-center motions essentially "folds" that batter you pulled up the side of the bowl, over the top of the mixture.
    • Repeat: rotate your bowl a few inches so your next pass is shifted over from your first, and repeat this process as many times as needed (making sure you scrape the bottom of the bowl well on each pass), until everything is thoroughly combined.

    More Tasty Baking Technique Tutorials

    • eggs, cream cheese, butter, orange zest, lemon zest, vanilla, salt, and milk in individual bowls.
      Recipe Style Guide: Ingredients Naming + Organization
    • measuring cups filled with different colors and flavors of chocolate chips, pistoles, chunks, and bars.
      How to Melt Chocolate Chips (microwave or double boiler method!)
    • heart cookie cutter self portrait of jocelyn the baker
      Recipe Style Guide: Why Good Recipes Matter
    • a table filled with baking ingredients, eggs and measuring utensils.
      Baking 101: Baking Tips for Beginners

    Share a little sweetness!

    • Facebook
    • Twitter

    About Jocelyn at M+M

    Since 2011, Jocelyn has worked as a pastry professional in restaurants and test kitchens across the country, before creating M+M Kitchen to share all her knowledge with you. She'll help fuel your creative baking fire by showing you how to take all your bakes to the next level, so you can join her mission of bringing people together through the universal language of sweets.

    Reader Interactions

    Leave a Reply Cancel reply

    Your email address will not be published. Required fields are marked *

    Recipe Rating


    Primary Sidebar

    headshot of Jocelyn in front of flower wall with meringue-covered whist.
    Hiya love, I'm Jocelyn!
    ...the professional baker turned blogger here to help you live your best life through baking. I'll teach you how to bake everything better, and give you the confidence in the kitchen to know your food will not only taste incredible, but look beautiful as well. So let's get baking and spread some love and light in my favorite way - through the universal language of sweets!

    More about me →


    Easter Brunch Treats

    • 45° shot of lemon pancakes stacked up with whip cream and lemons in bowl in back.
      Fluffy Lemon Pancakes
    • a peach cobbler pound cake sliced on a white marble board and pink background.
      Fresh Peach Cobbler Pound Cake Loaf
    • side angled shot of brioche french toast casserole in white ceramic pan with blueberries and vases.
      Brioche French Toast Casserole (with blueberries!)
    • Woven basket filled with cinnamon streusel muffins on white towel with eggs in background.
      Quick & Easy Cinnamon Streusel Muffins
    • close up of sliced glazed citrus cream cheese pound cake.
      Citrus Cream Cheese Pound Cake (with lemon soak and orange glaze)
    • Side view of six pancakes stack with corner cut out and syrup dripping down.
      Cinnamon French Toast Pancakes (quick n' easy!)

    Featured in...

    publication logos that jocelyn at mint and mallow was featured in

    Tried + True Treats

    • white plate piled with multi-colored sugar cookies on coral background with ranunculus on table.
      Soft & Chewy Sugar Cookies (without baking powder!)
    • Overhead of golden vanilla sheet cake in gold pan on pink background.
      Easy Vanilla Sheet Cake (in a 9x13 pan!)
    • Overhead of raspberry cream cheese frosting swirled on vanilla sheet cake surrounded by flowers.
      Raspberry Cream Cheese Frosting (made with jam!)
    • close up of a glazed maple blueberry scone on torn out recipe pages
      Better Than Starbucks Blueberry Scones (easy drop scones style!)
    • carrot cake with pineapple slices on plates stacked up with ranunculus flowers for decoration.
      Old-Fashioned Carrot Cake with Pineapple and Whipped Cream Cheese Frosting
    • Hand holding spoon with white chocolate sauce dripping off into clear glass container.
      Easy White Chocolate Sauce (2-ingredient ganache!)

    Footer

    ↑ back to top

    RECIPES + TUTORIALS

    • the recipe book
    • ingredient tutorials
    • equipment tutorials
    • technique tutorials

    ABOUT

    • about jocelyn
    • privacy policy + disclaimer
    • terms of use
    • accessibility policy

    CONTACT

    • get in touch
    • work with me
    • newsletter

    This website contains Amazon affiliate program links. This means that I earn a small commission on qualifying purchases at no additional cost to you. I will never provide a link to nor recommend any product or service that I don’t genuinely love or personally use. Thank you for supporting MINT + MALLOW kitchen and the brands and companies that keep this blog running.

    Copyright © 2022 MINT + MALLOW