


Our step-by-step instructions and video tutorial walk you through how to line a loaf pan with parchment paper (or a 9" x 13" pan too!) for an easy release every. single. time.

Jump to (scroll for more!):
That awful "it's stuck in the pan" moment.
There's nothing worse than putting your time, blood, sweat and tears into a delicious recipe (not to mention some high quality and costly ingredients as well), to finally try to take it out of the pan and find...
...it's stuck in the pan.
(...insert me sobbing and probably angrily dumping it in the trash when I give up any efforts of an edible final product by the time I get it all out.)
Now, we're all used to lining pans like a cookie sheet or even a cake pan. But what about loaf pans and 9" x 13" pans? Honestly, in my extensive baking experience, I often find it can be even more important to line these square and rectangular pans.
So today, I'm going to show you just how easy it is. You will never have to worry about your beautiful bakes being stuck to the pan again!
Equipment you'll need for the "sling" method...
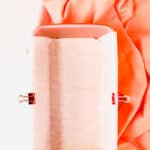
When lining any square or rectangular pan, I like to use something I call the "sling method."
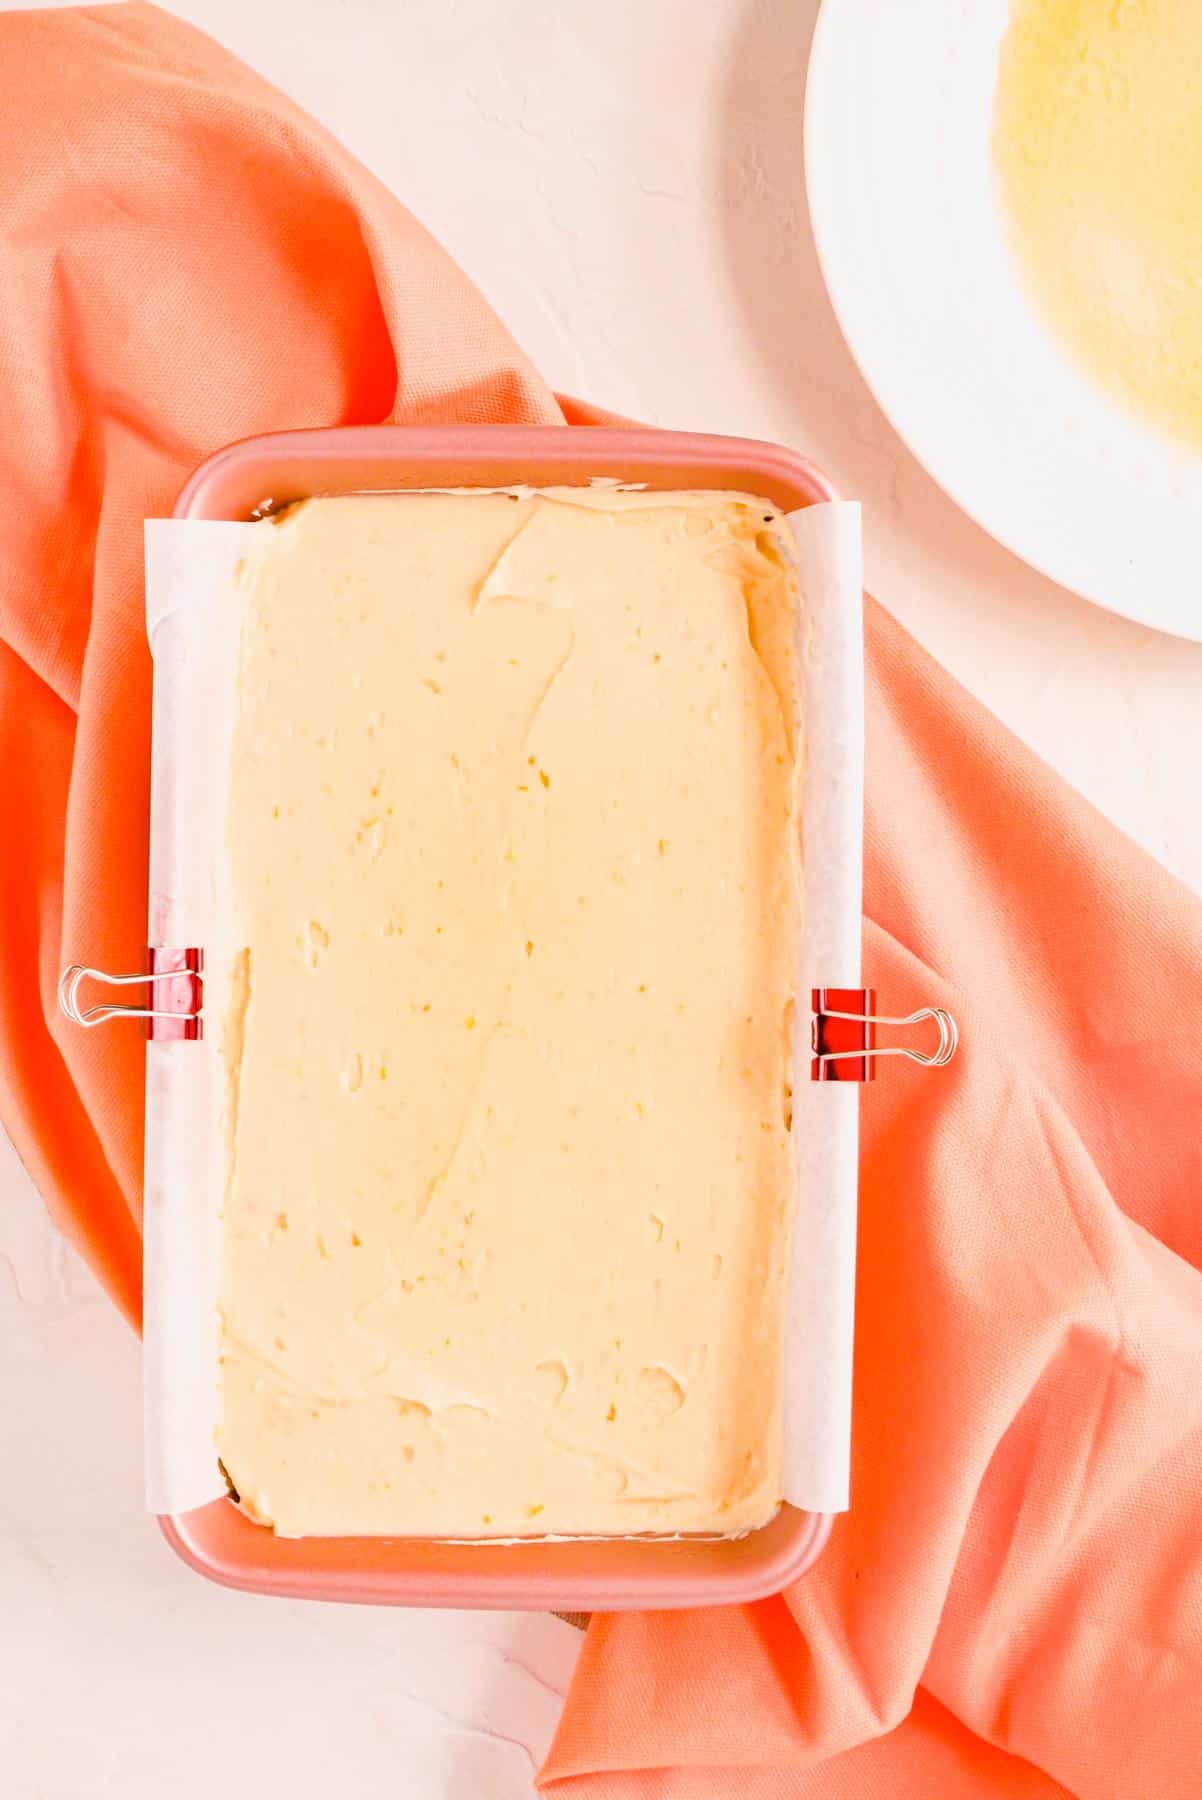
This is because we're going to place parchment on the bottom and sides of the pan. This not only guarantees a clean release, but also creates a sling we can use to easily transfer our loaves and bars to a cutting board.
You will need...
- Your pan: this technique works with any rectangular loaf pan, pullman loaf pan, square pan, or larger rectangular pan like a 7" x 11" pan or the classic 9" x 13" pan
- A piece of parchment: this should be cut the fit your pan with two flaps on the side (details on how to do this in the recipe card below!).
- For a 9" x 5" loaf pan, we'd want our parchment 9" wide and about 12"-15" long (depending on your specific pan). A little extra length won't hurt you!
- Two small metal binder clips: these are available pretty much anywhere office supplies are sold. Just make sure they're all-metal without plastic or paint so they're oven-safe, and the size you need will depend on how thick your particular pan is.
How to create a parchment sling...
(Pssst…if you're ready to just get baking, get all the details in the recipe card below!)
- Cut the parchment to the proper width/length for your pan.
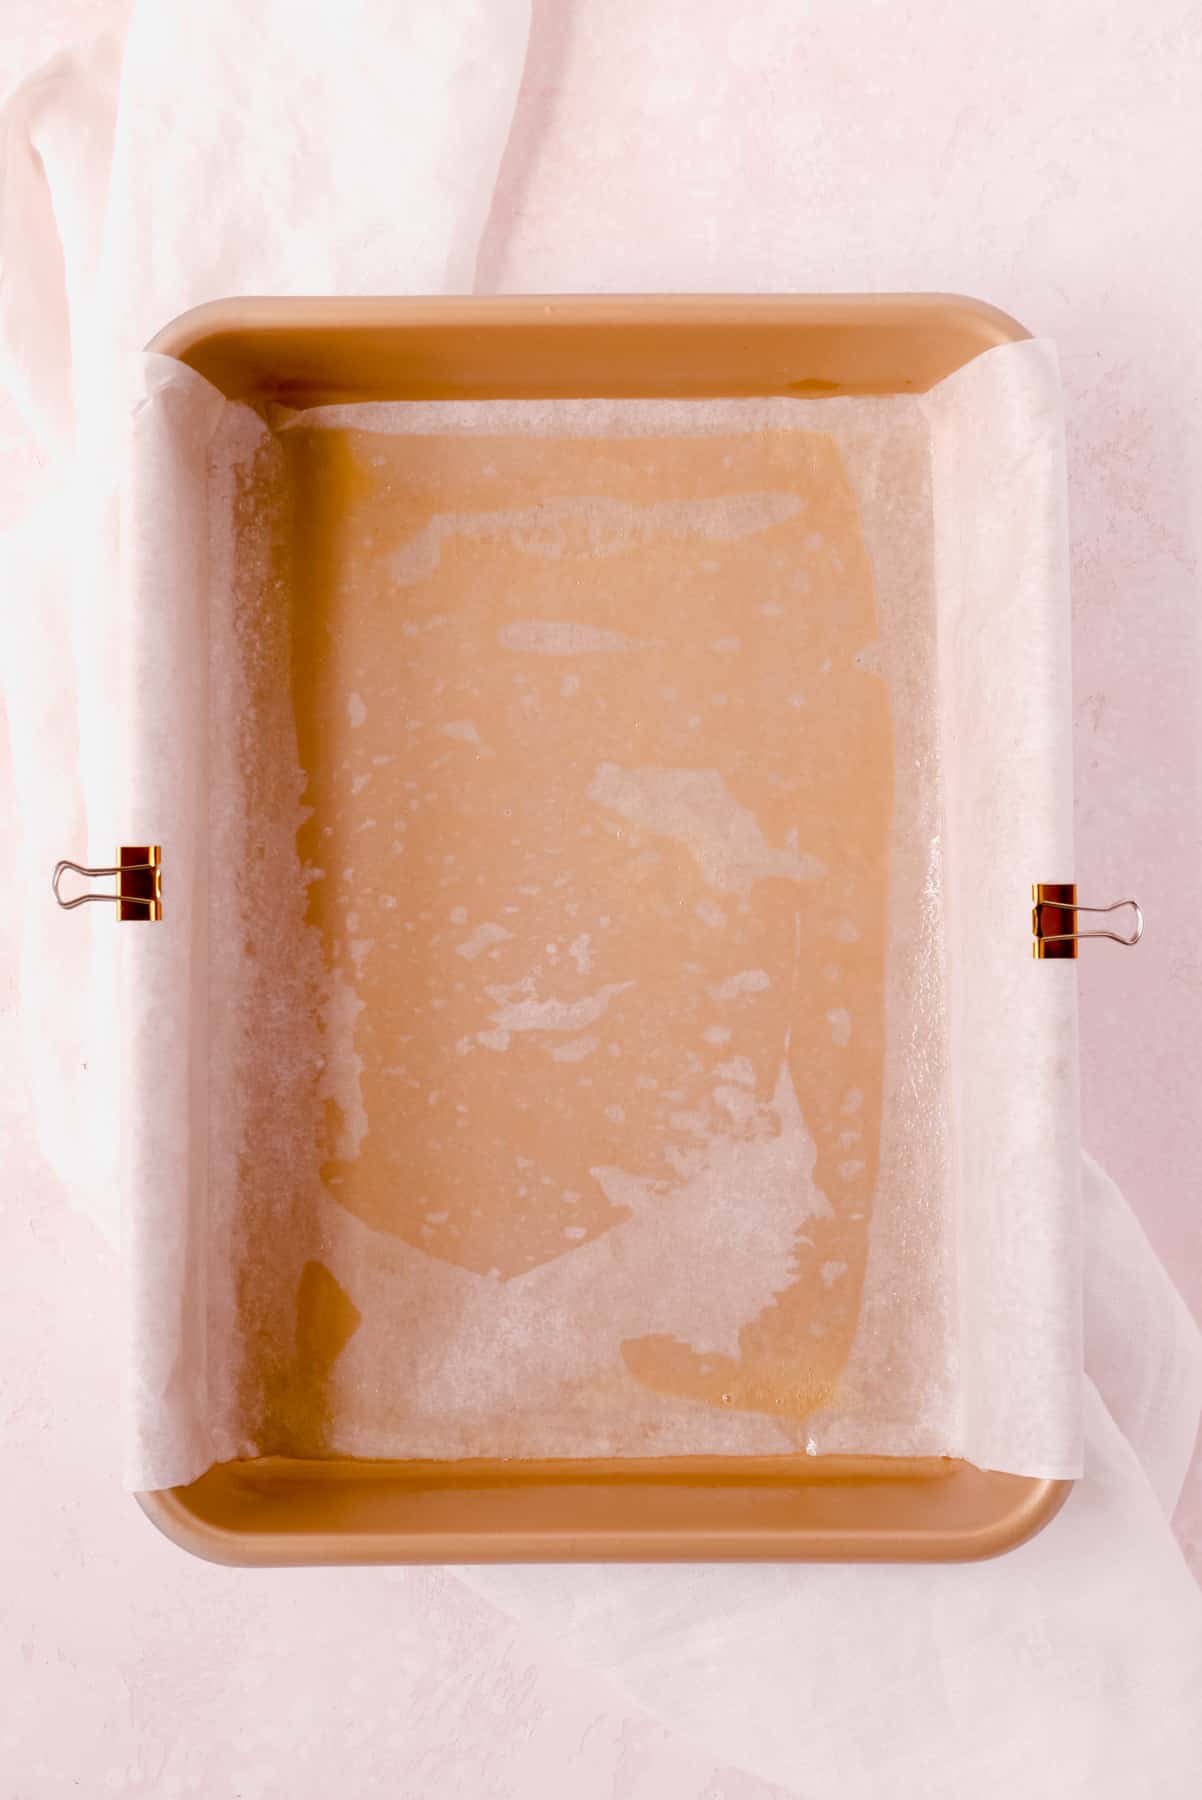
- Grease the bottom of your pan with baking spray, a little butter, or a few drops of oil.
- Center your parchment strip over your pan. Press it into the bottom of the pan to adhere and remove big air bubbles.
- Loosely crease the parchment along the bottom corner edges and over the top edges.
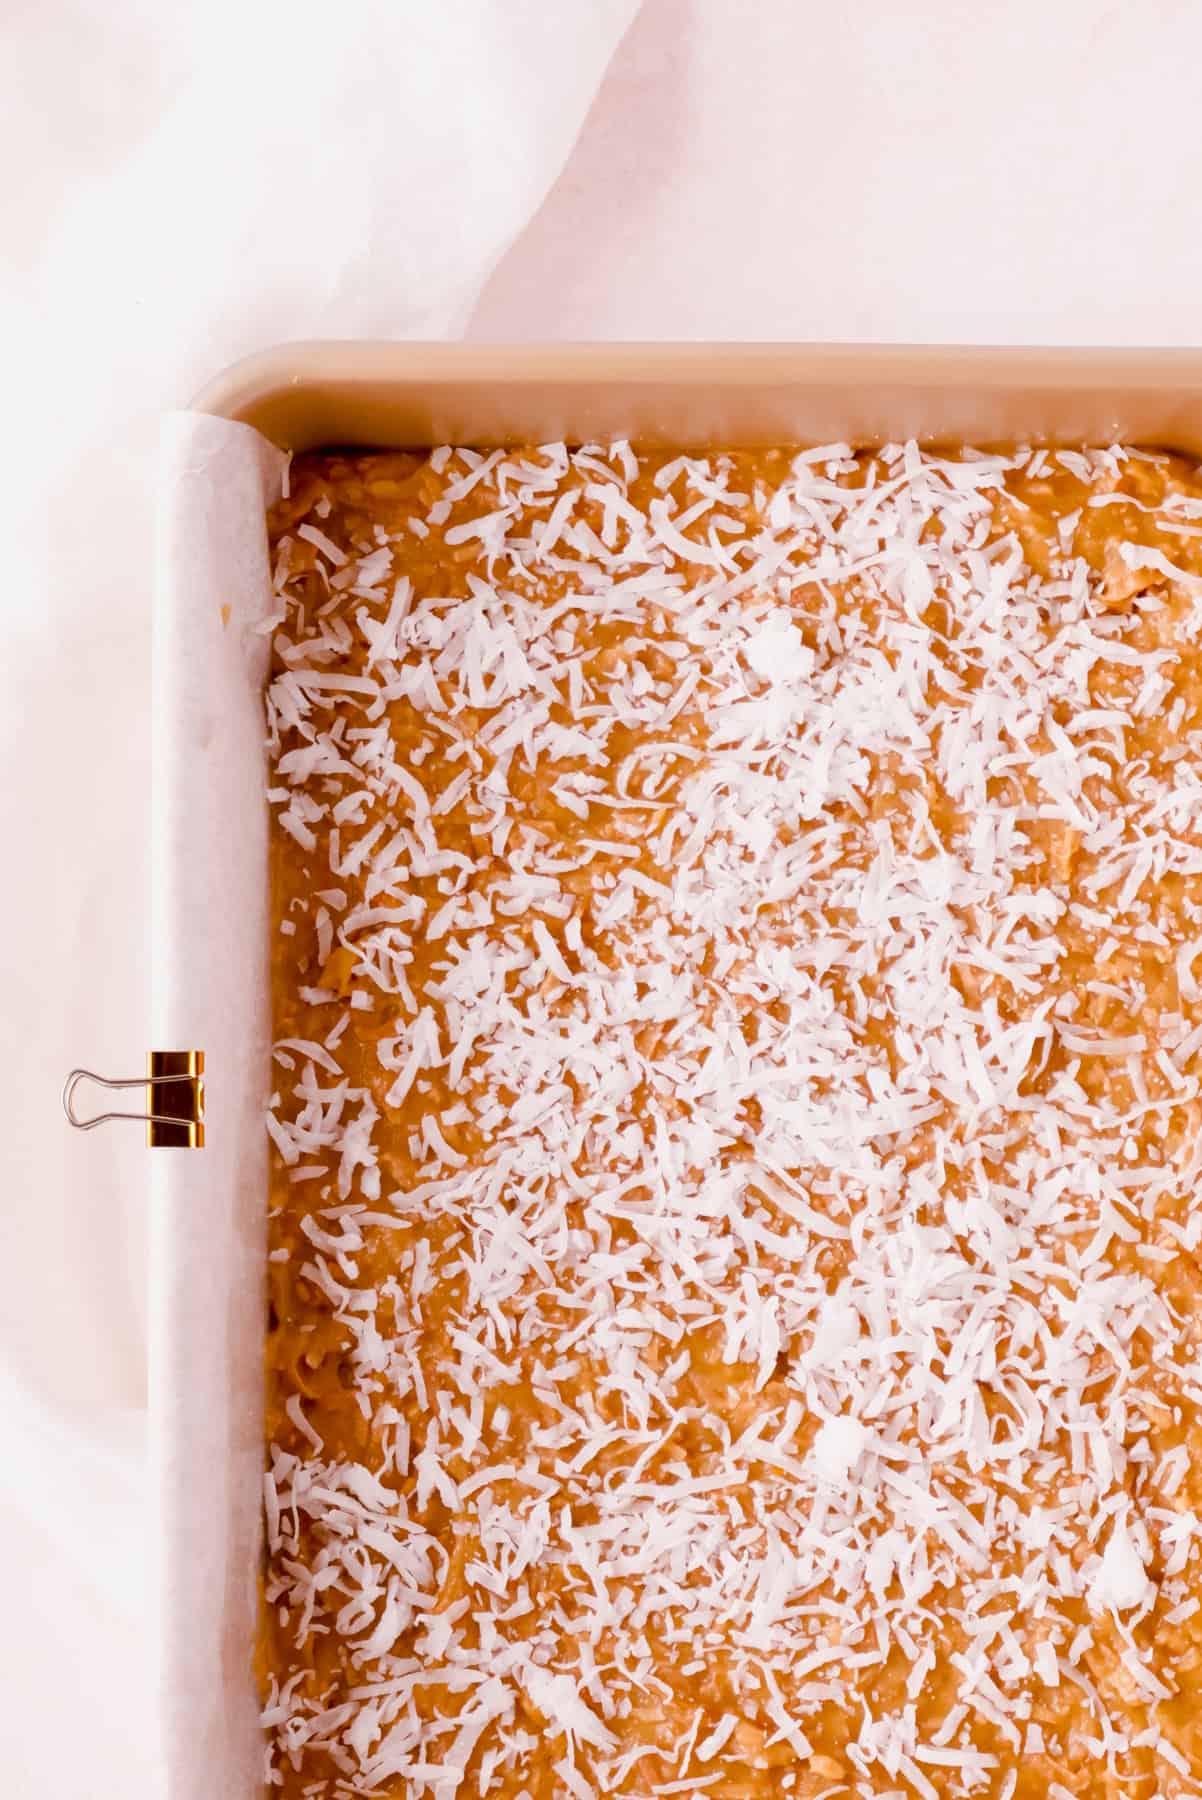
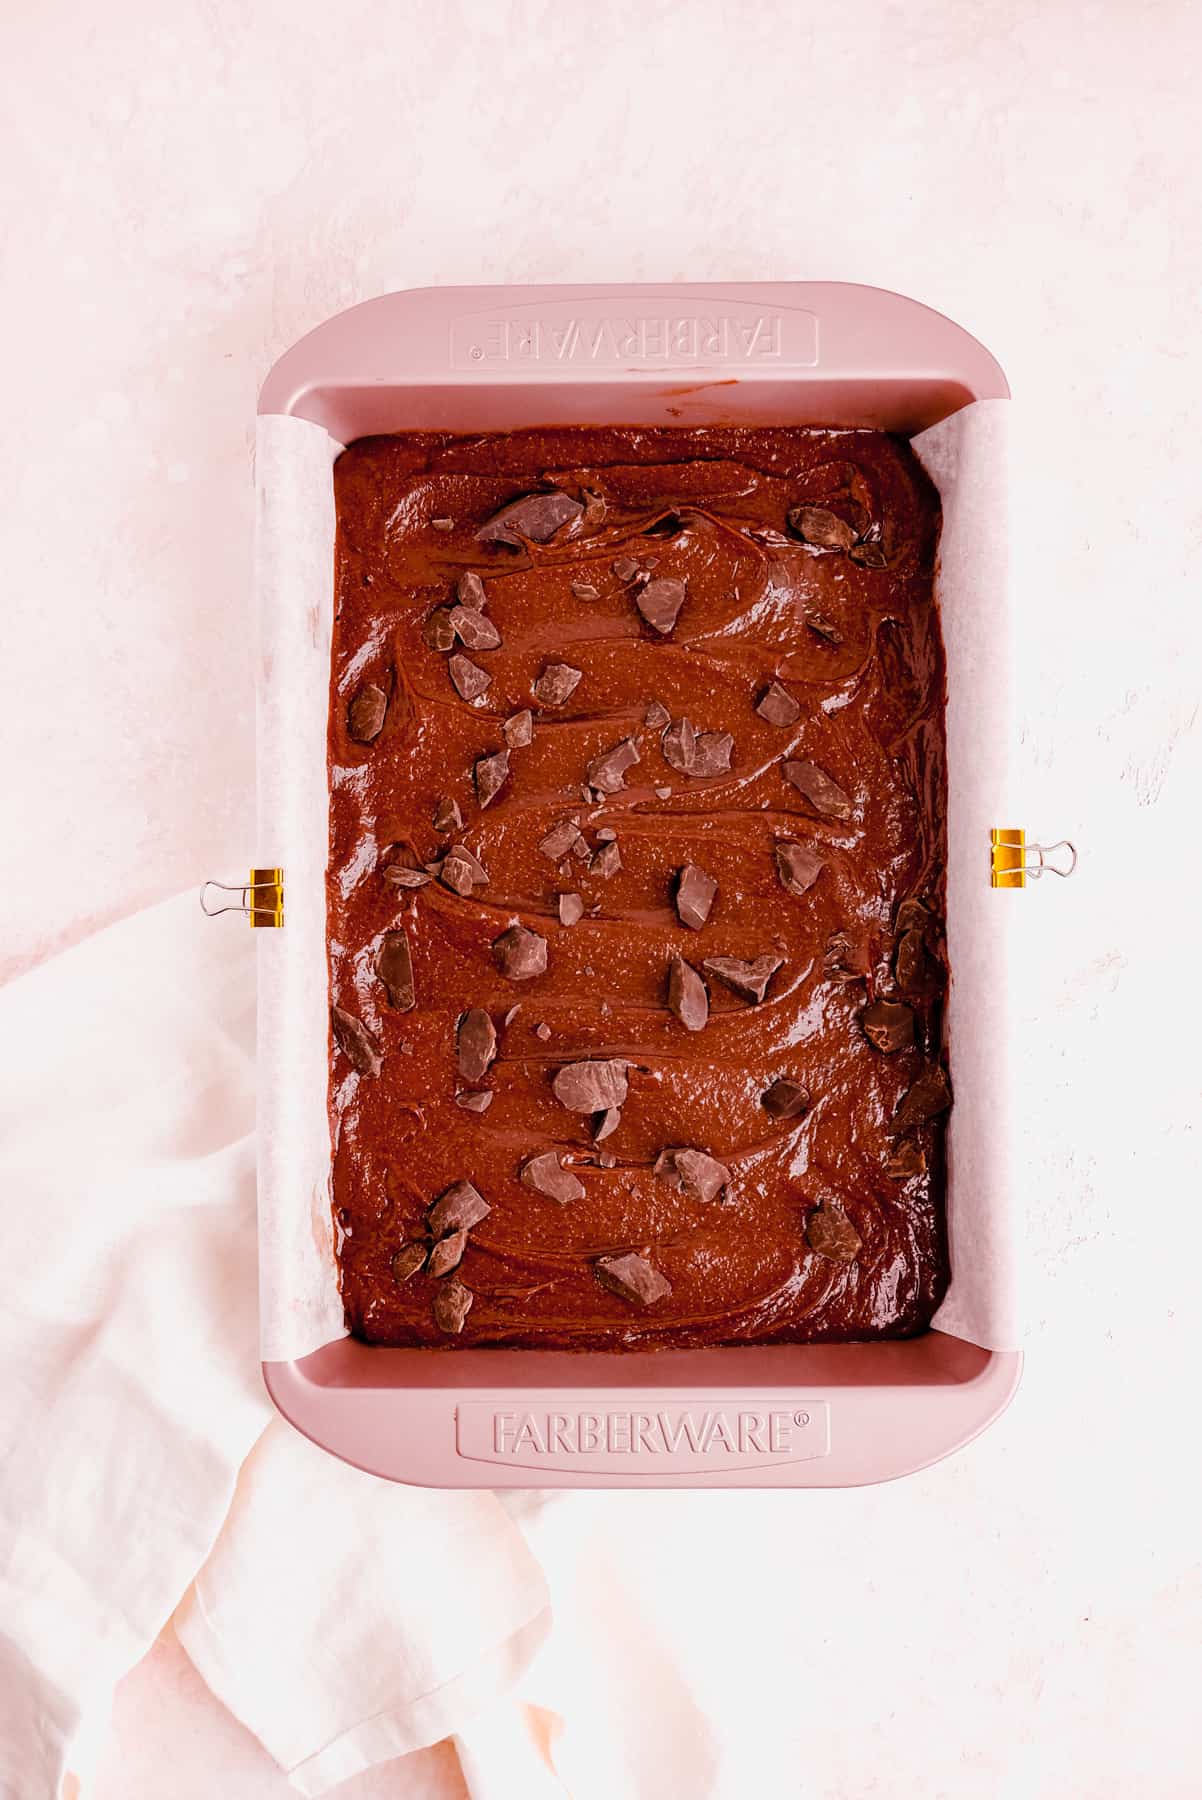
- Make sure the parchment is fully in contact with the bottom and full side walls of the pan. Then, clip the excess overhang down onto each side of the pan to prevent the edges from flopping into your batter during the bake.
Let's watch the full video tutorial!
Now that you know how it's done, check out the full recipe card and video to see it in action! (This video shows a 9" x 13" pan as it's easier to see what's going on. But the process is identical for any other square/rectangle pan - you'd just cut the parchment to the right size for that pan.)
*Expert Tips and Tricks*
What's the TOP TIP for making successfully lining your pan?
The binder clips are key! This is a step I often see people skip, but trust me - when you pull your pound cake out of the oven to find the edge of your parchment paper baked into the loaf, you'll understand when this little tip is SO important!
What's the best pan grease to use?
I personally just use PAM baking spray as I find the sprays give the most even, but still very light coverage. But, if you prefer to use butter or vegetable oil, that's fine too. Just make sure you're only using enough for a thin coat.
How do I use the sling to get the loaf out of the pan?
This step is so east, and so satisfying too. Firstly, if you're worried about the two unlined ends of your loaf sticking, use an offset spatula or thin knife to gently release the loaf/bars from the ends of the pan. Then remove the clips, grab the two parchment flaps that hang over the edge of the pan, and simple pull directly up on the parchment sling while gently pushing straight down on the pan. Et voilà - a perfect release every time!
IMPORTANT NOTE! Make sure your product is fully cooled before doing this, and some delicate products may not lift as a single piece well and will still be best cut right in their pan.
Can't the parchment create air bubbles that'll mess up my loaf?
Great question! While it can, we're going to prevent that in two ways:
1. We use the grease to adhere the parchment to the pan so it stays in place when we load in the batter.
2. When we first put the parchment in, we begin pressing down in the middle and then work towards the sides to manually push out any air bubbles we see forming.
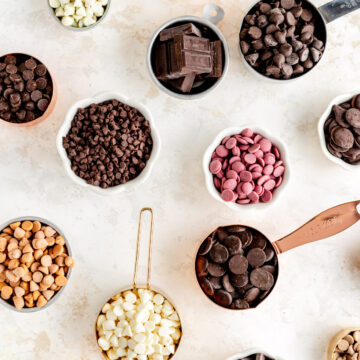
Recipes that this parchment lining works really for:

⭐ If you gave this recipe a try please give it a ⭐ rating and tag me on Instagram @mint.and.mallow.kitchen so I can see what you're baking up! ⭐
How to Line a Loaf Pan with Parchment Paper
Equipment
- Your Pan (any loaf, square, or rectangular pan works)
- Parchment paper
- Two all-metal binder clips
Materials
- 1 batch of batter
Instructions
- Cut parchment to size: cut the parchment to the proper width for your pan. This is the longer dimension of your pan, so 13" for a 9" x 13" pan, 9" for a 9" x 5" pan and so on. The length should be long enough to contact and cover the inner sides and the bottom of your pan, with at least a 1" overhang out the top of each side (see video for a visual example).
- Grease your pan: grease the bottom of your pan with baking spray, a little butter, or a few drops of vegetable oil.
- Smooth the parchment: center your parchment strip over your pan, and press it into the bottom of the pan to adhere and remove big air bubbles. Start by pressing the parchment to contact the pan in the center, and then work your way towards the edges to push the air bubbles out through the corners.
- Crease at the edges: loosely crease the parchment along the bottom corner edges and over the top edges of your pan.
- Clip the overhang down: make sure the parchment is fully in contact with the bottom and side walls of the pan (no air gap below the paper in the bottom corners), then clip the excess overhang onto each side of the pan. (This secures the parchments edges, so they don't flop into your batter during the bake and ruin all your hard work!)
- Remove with the sling: once your loaf/bars are ready to un-pan, use an offset spatula or thin knife to gently release the loaf from the ends of the pan. Then remove the clips, grab the two parchment flaps that hang over the edges of the pan, and simple pull directly up on the parchment sling while gently pushing straight down on the pan (see notes). Et voilà - a perfect release every time!

Comments
No Comments