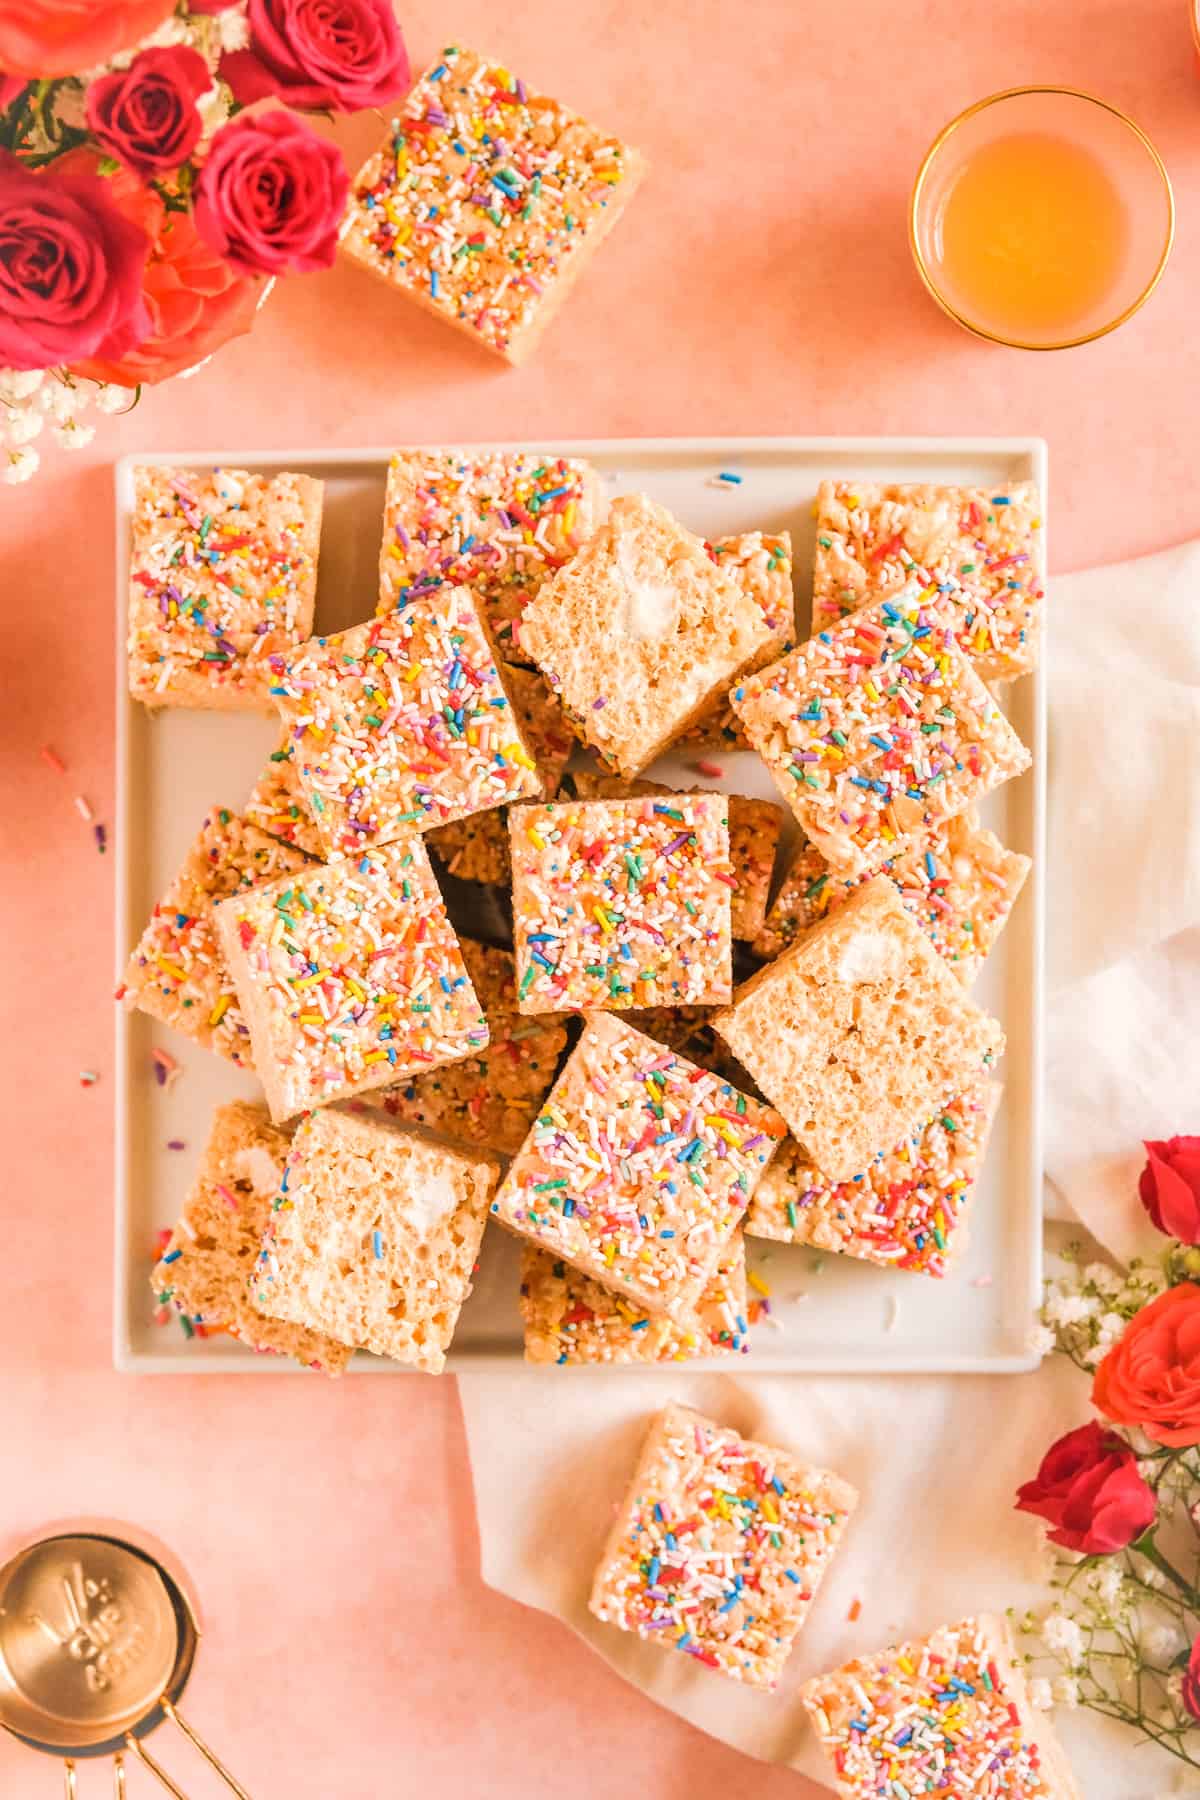
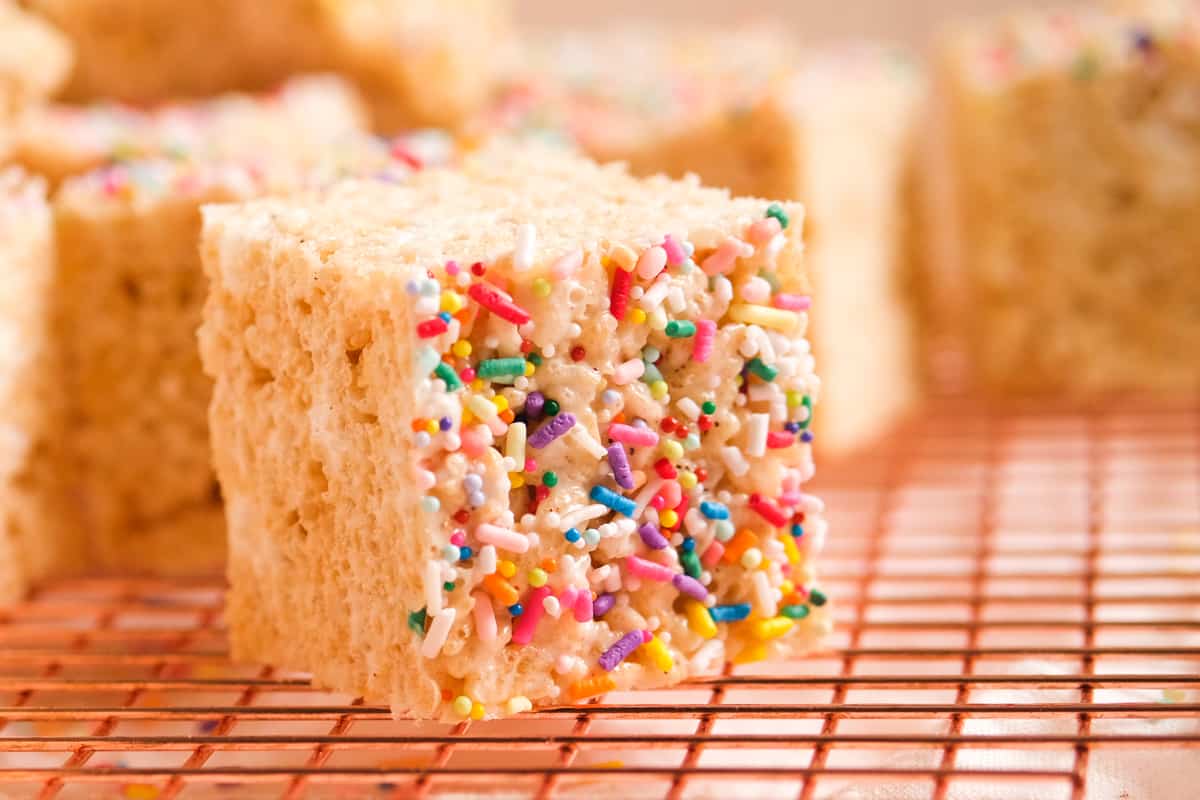
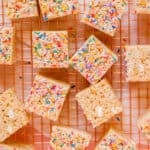
This M+M take on the original rice krispies treats recipe starts with nutty brown butter, then adds in vanilla extract for extra flavor and even some unmelted marshmallows for soft pillowy pockets in these chewy treats. We finish it all off with a party of rainbow sprinkles for a festive topping on what you will quickly learn is the best rice krispie treat you have EVER had!
Jump to (scroll for more!):
- Our namesake mallow bar treat...
- An M+M Bakery customer favorite...
- Ingredient list and lessons for recipe success...
- Special tools and equipment you'll need…
- How to make rice krispie treats from scratch…
- All about brown butter...
- How to make this recipe your own!
- *Expert Tips and Tricks* for making the BEST rice krispie treat recipe…
- Other recipes fans of these treats will love:
- 📖 Full Recipe
- Comments
Our namesake mallow bar treat...
When I think of classic all-American desserts, rice krispie treats are one of the first sweets that come to mind. They are even a major piece of the puzzle that inspired my namesake, MINT + MALLOW.
Although MINT + MALLOW was originally the name for my bakery, it's perfectly fitted in meaning for this blog as well.
I was inspired to pay homage to marshmallows as the perfect ingredient to bring to mind so many nostalgic treats from my childhood that brought back wonderful memories for me. Now with the blog, I'm here to help you create those same kind of happy memories with those you love through providing you with recipes and treats that are so good, they create those occassions and memories all on their own.
An M+M Bakery customer favorite...
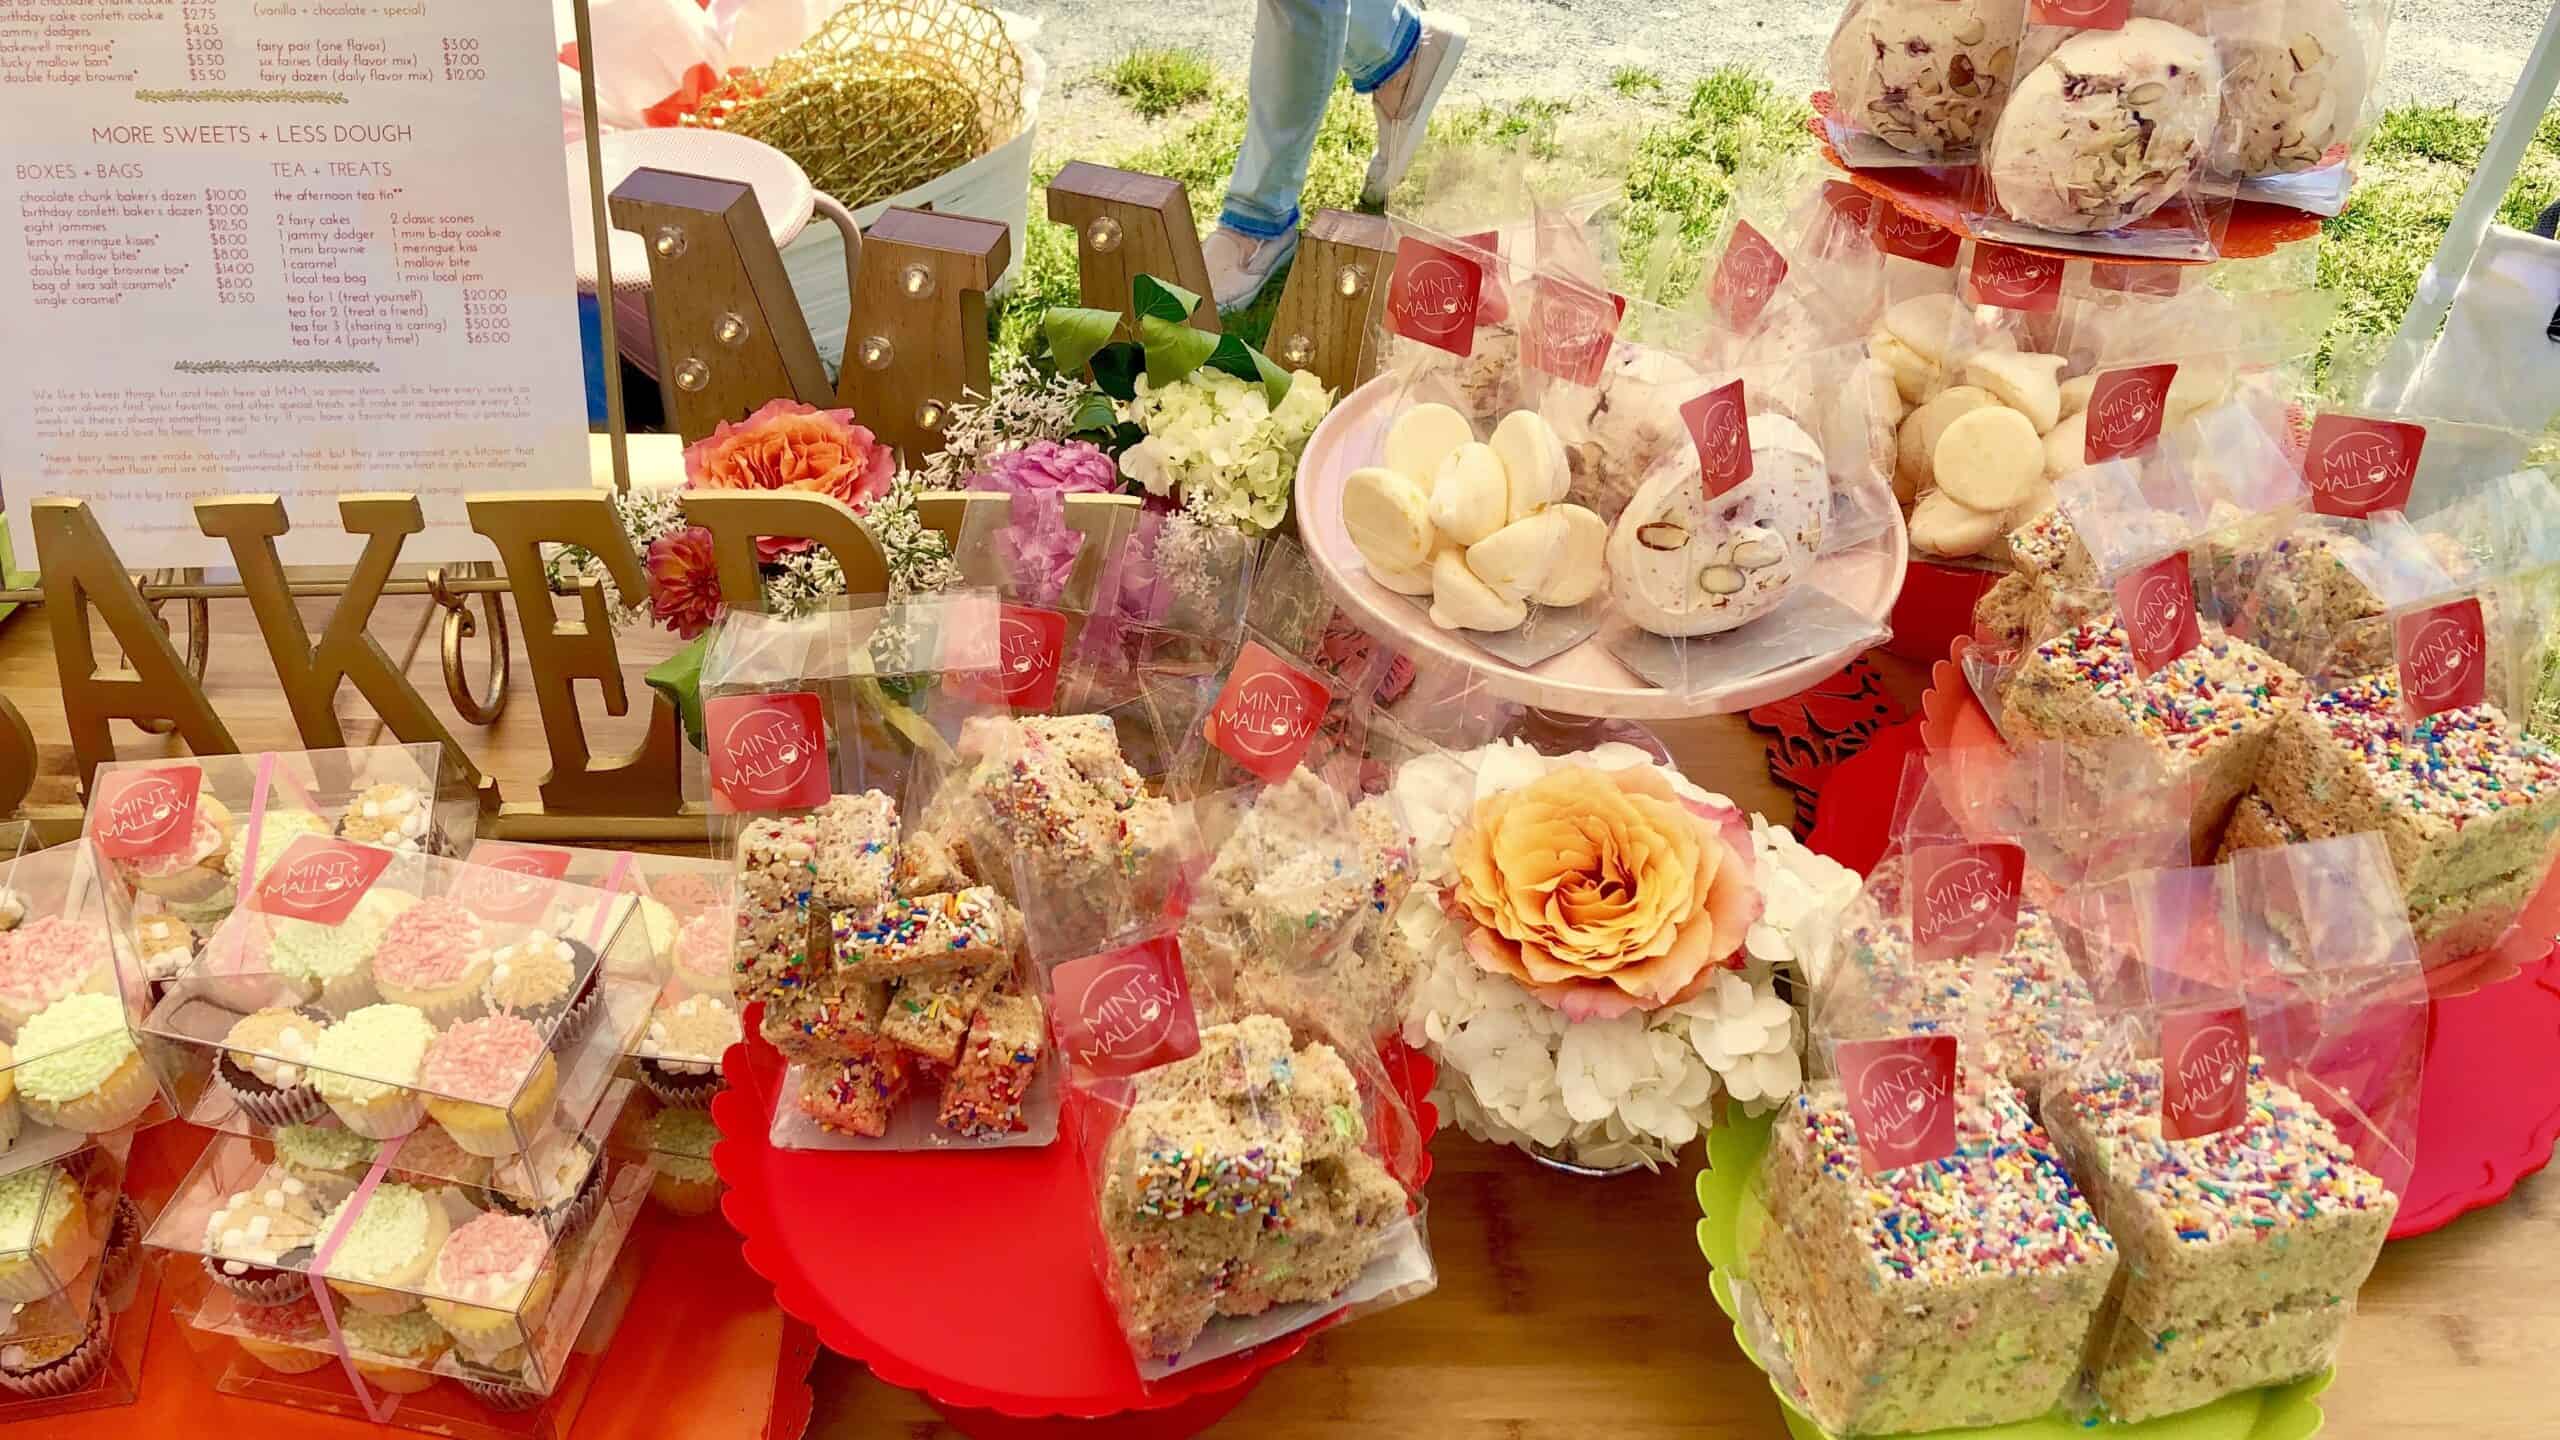
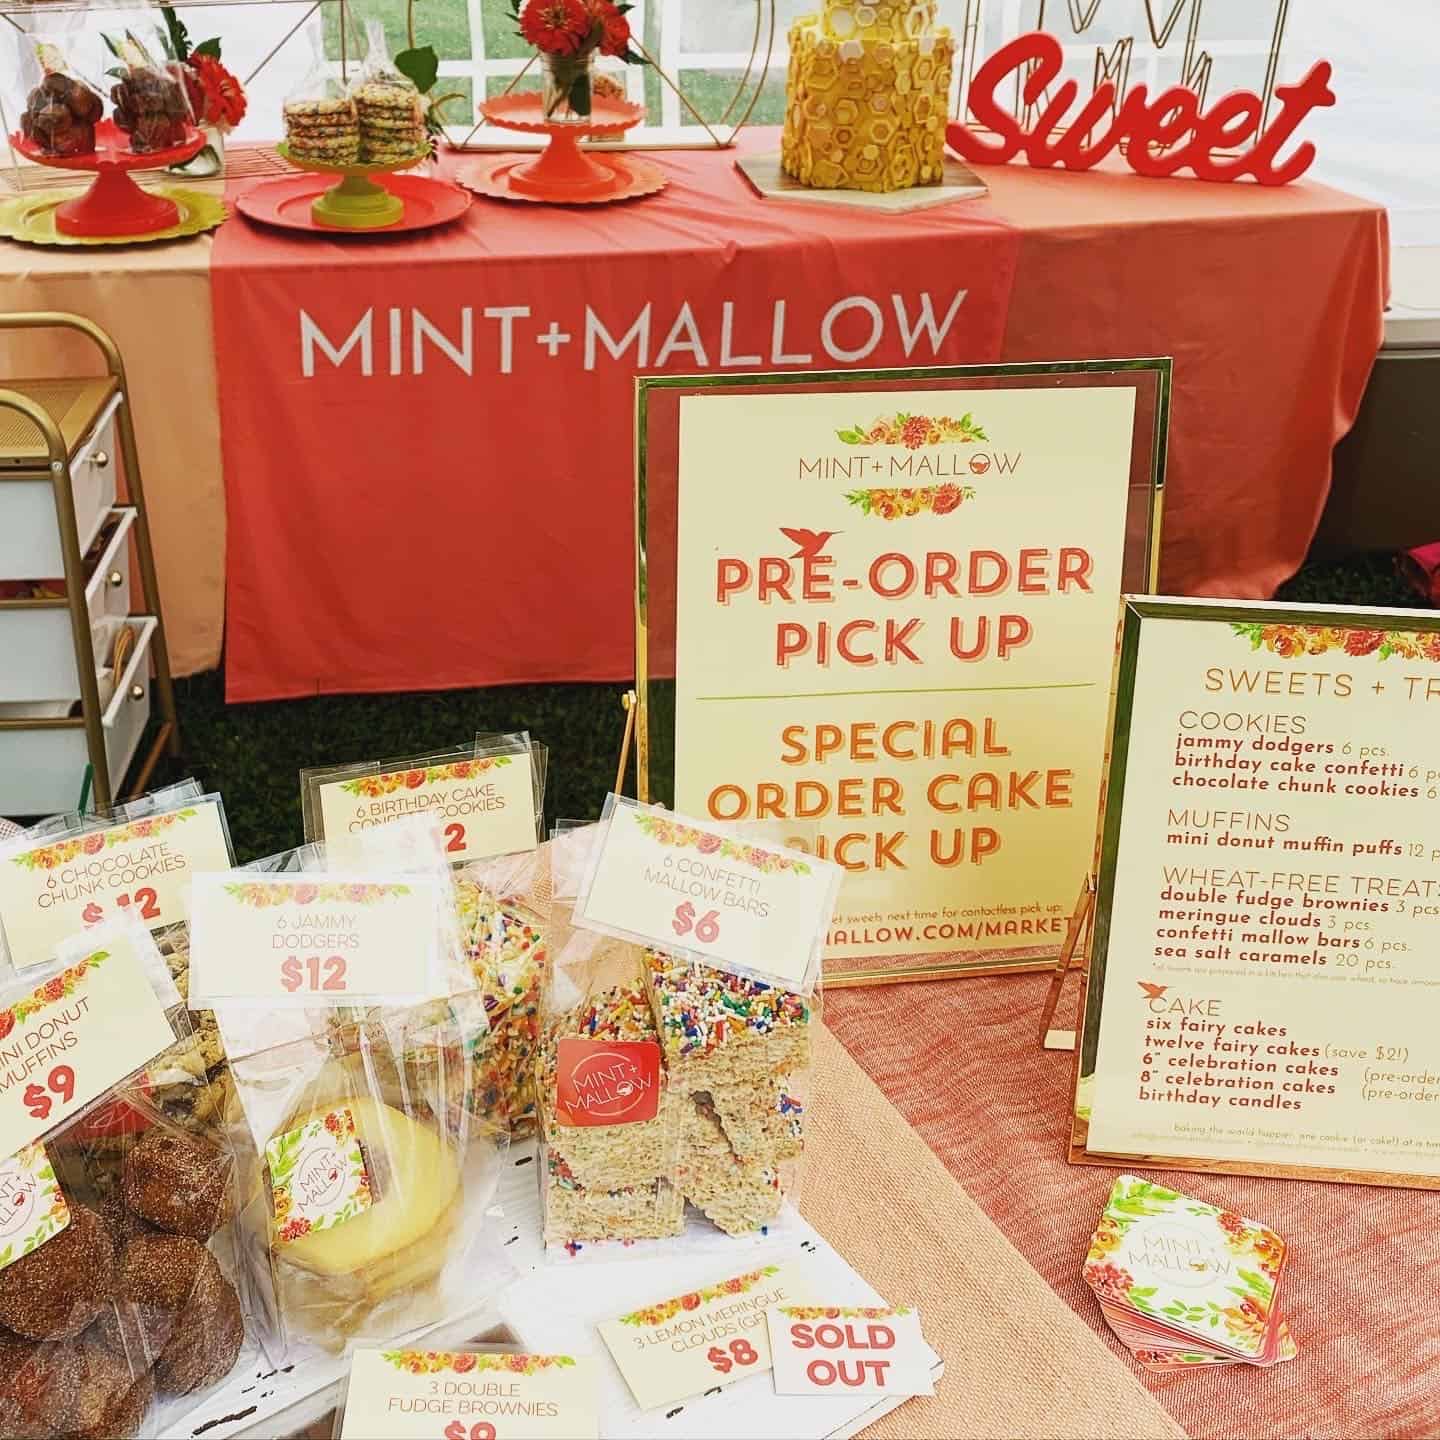
Both farmer's market and special order clients alike RAVED about these bars. I'm so excited to share the (now not so) secret recipe with you all. Not to mention, teaching you how to make rice krispie treats (and hopefully some sweet, sweet memories too) in your very own home!
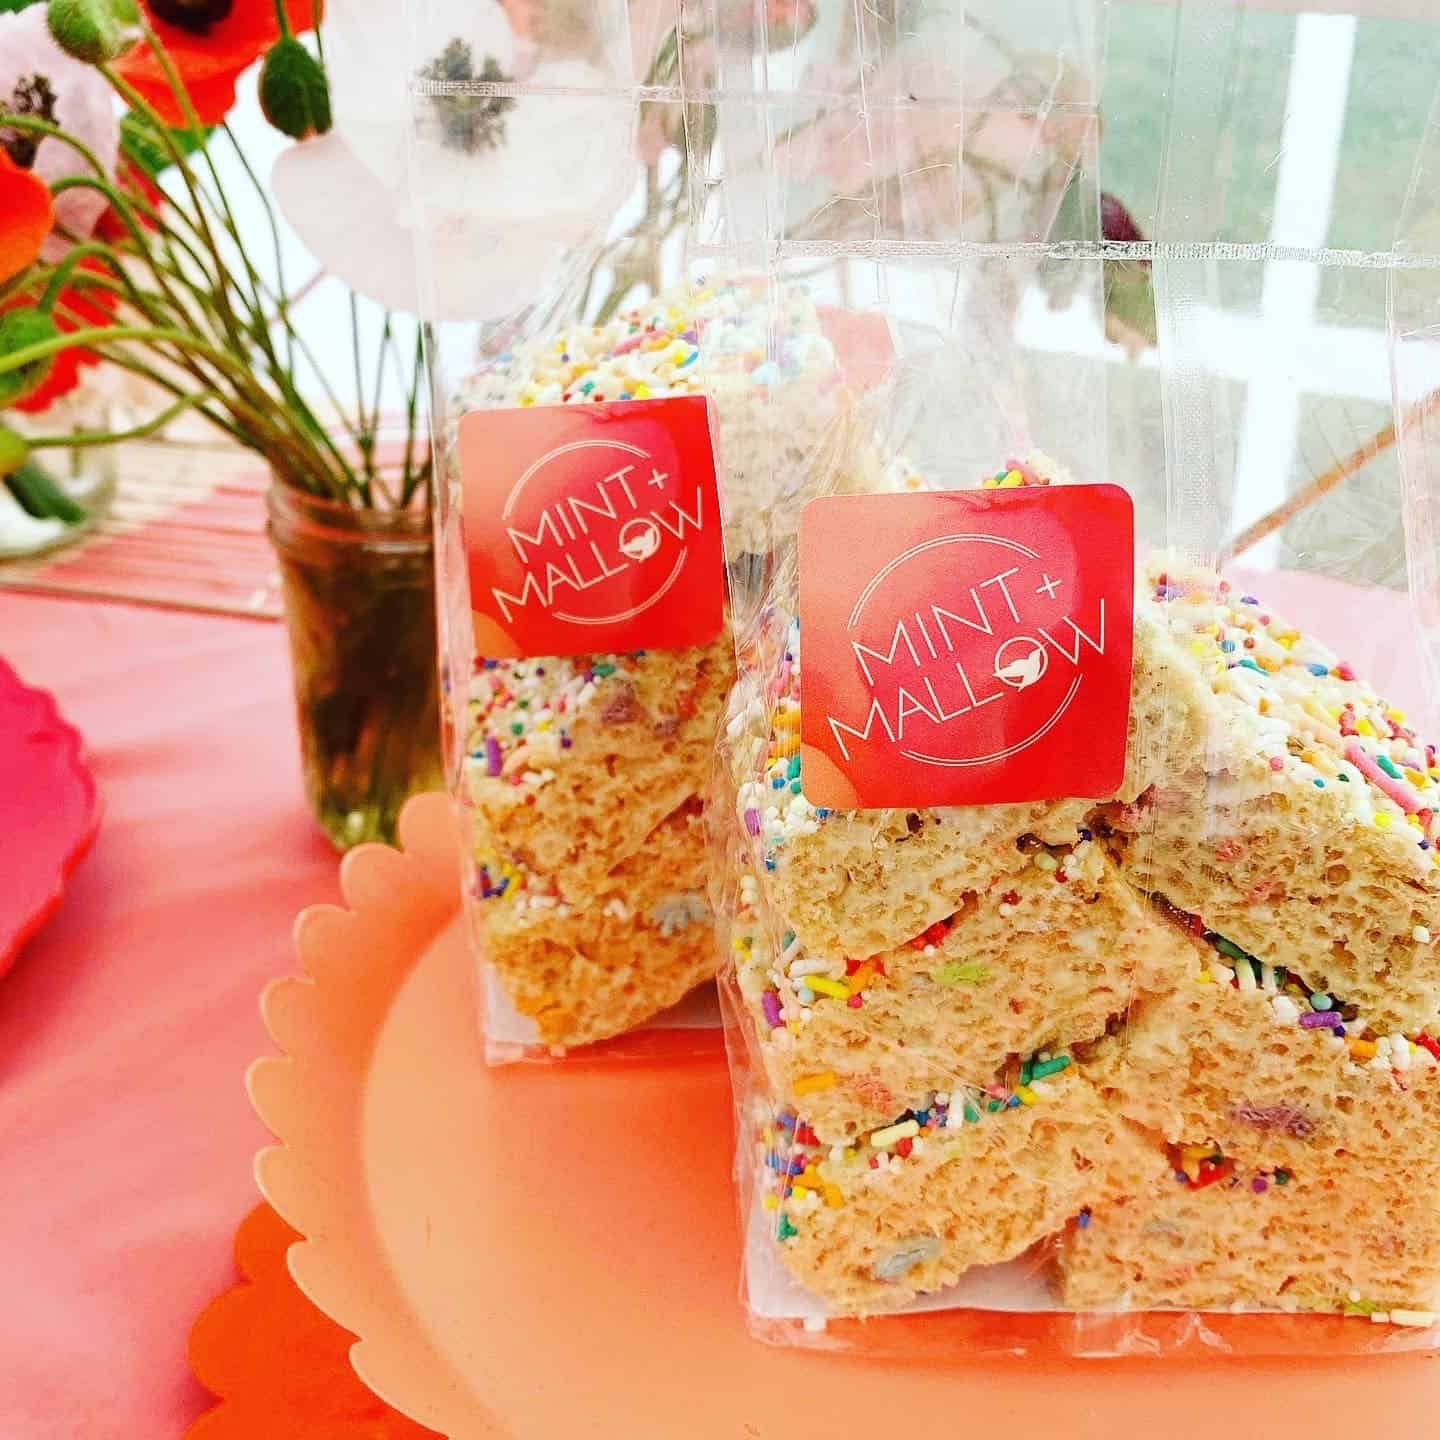
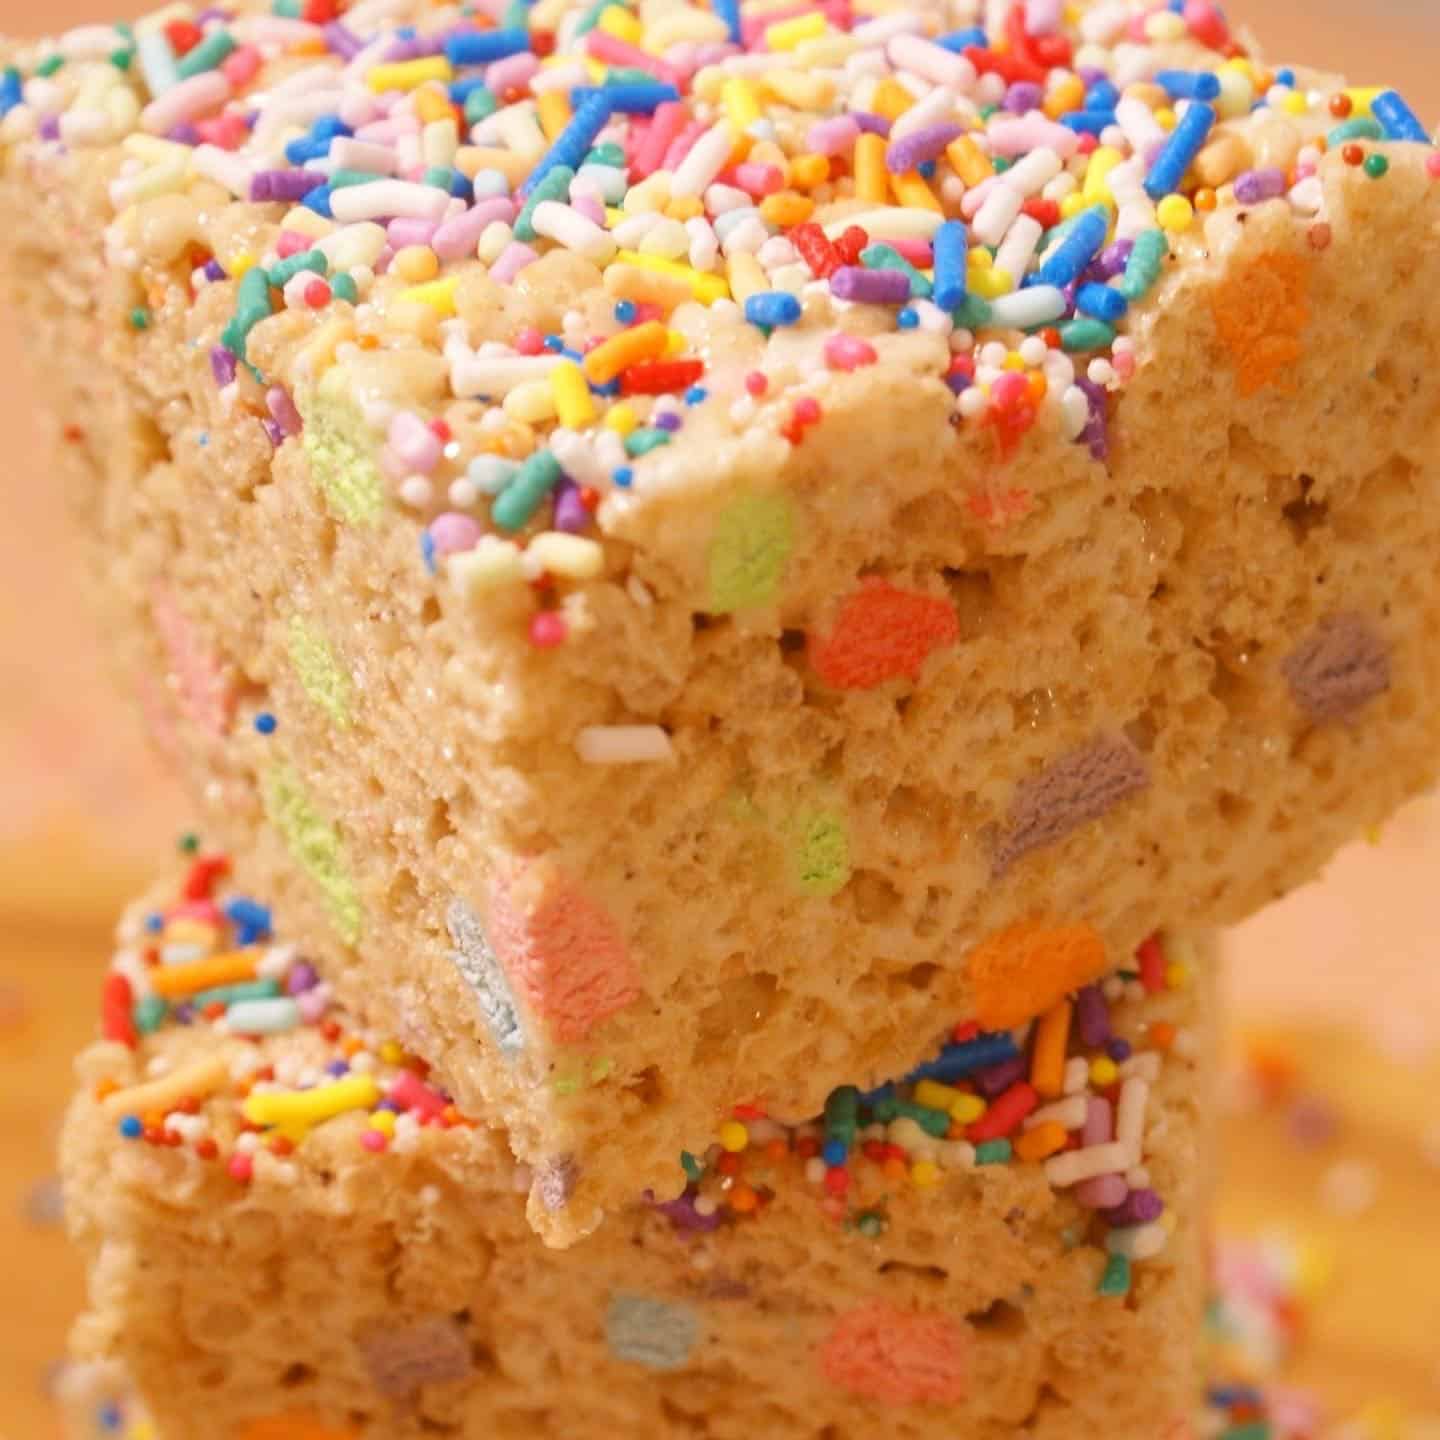
This recipe is a slight variation on my mother's take on the Original Rice Krispies Treats Recipe. But the M+M take on rice krispie treats takes everything up a notch...
...the butter is browned and we added a little vanilla for a more flavorful treat
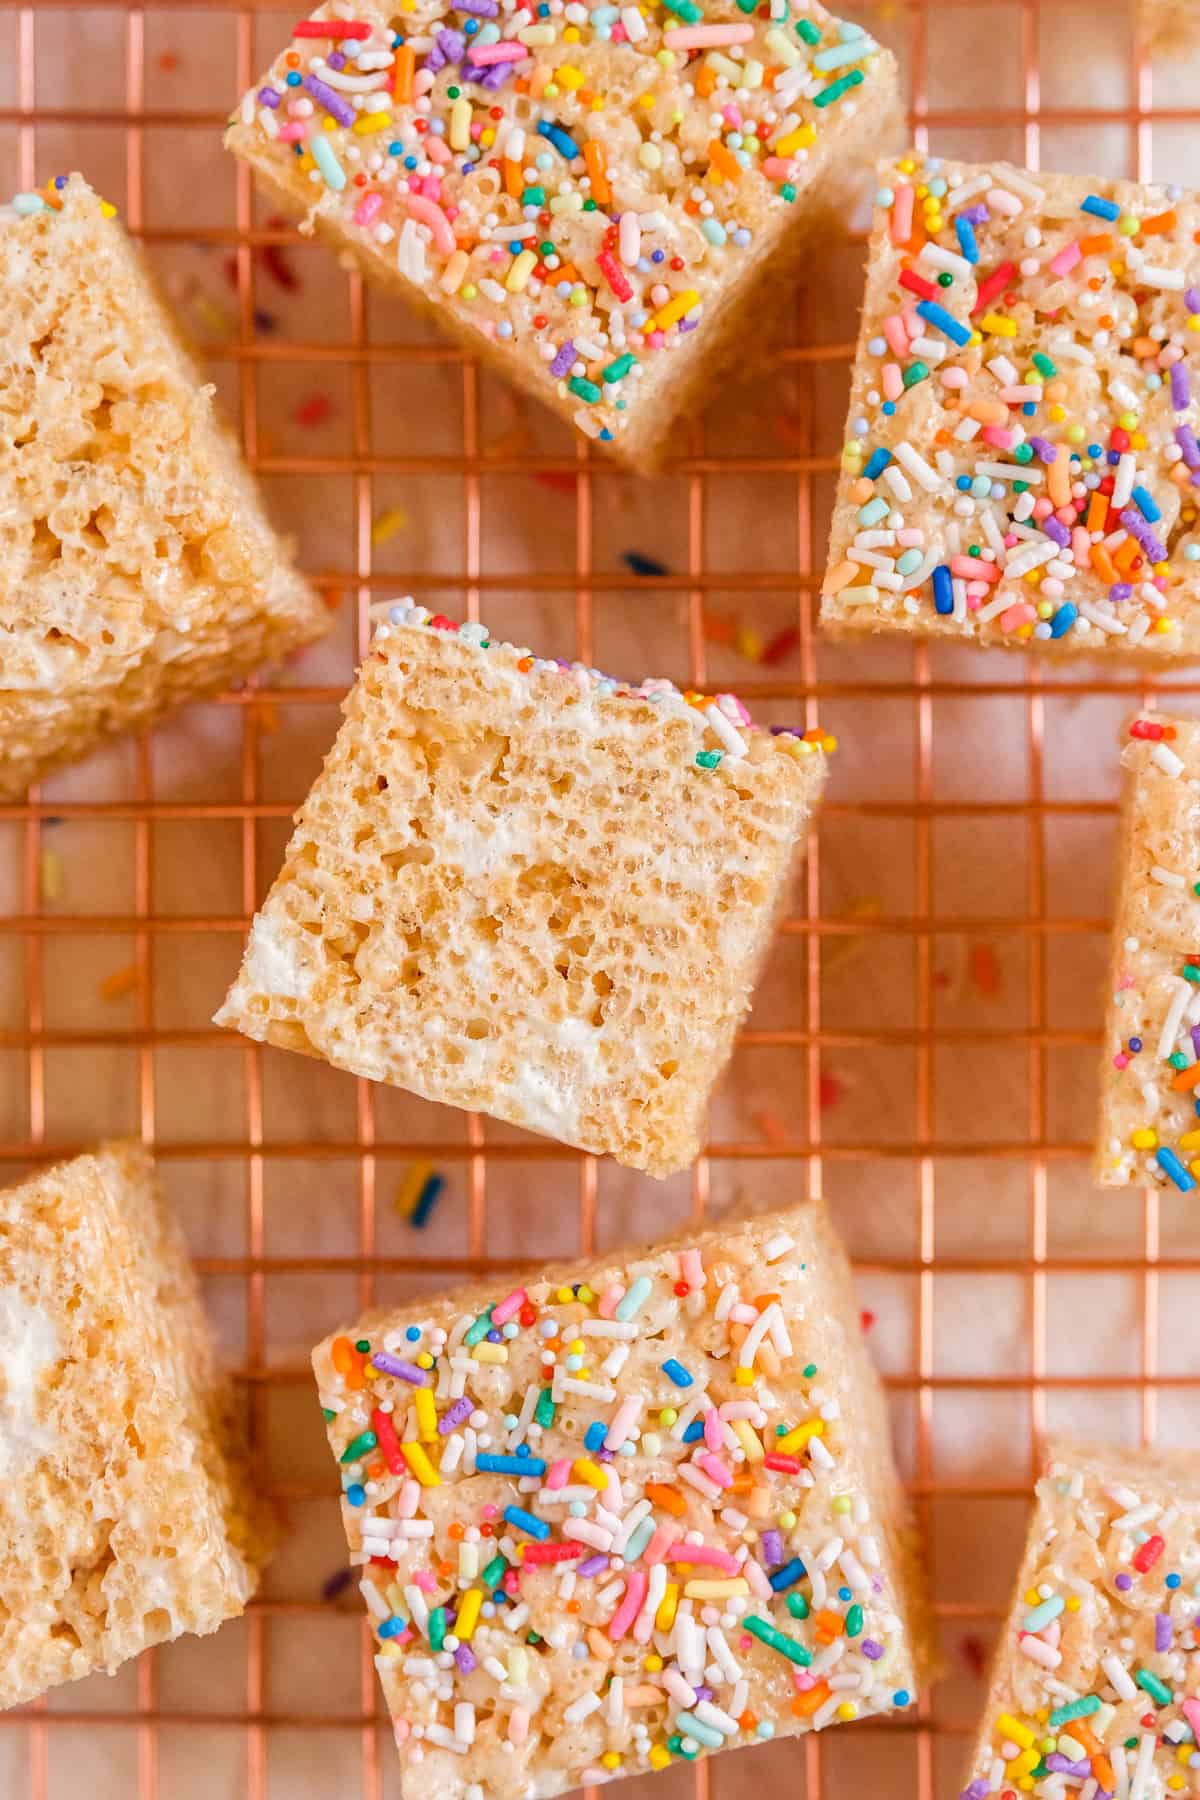
...there's more marshmallow goo for a perfectly chewy treat
...there are some unmelted marshmallow, for pillowy pockets of fluffy marshmallows
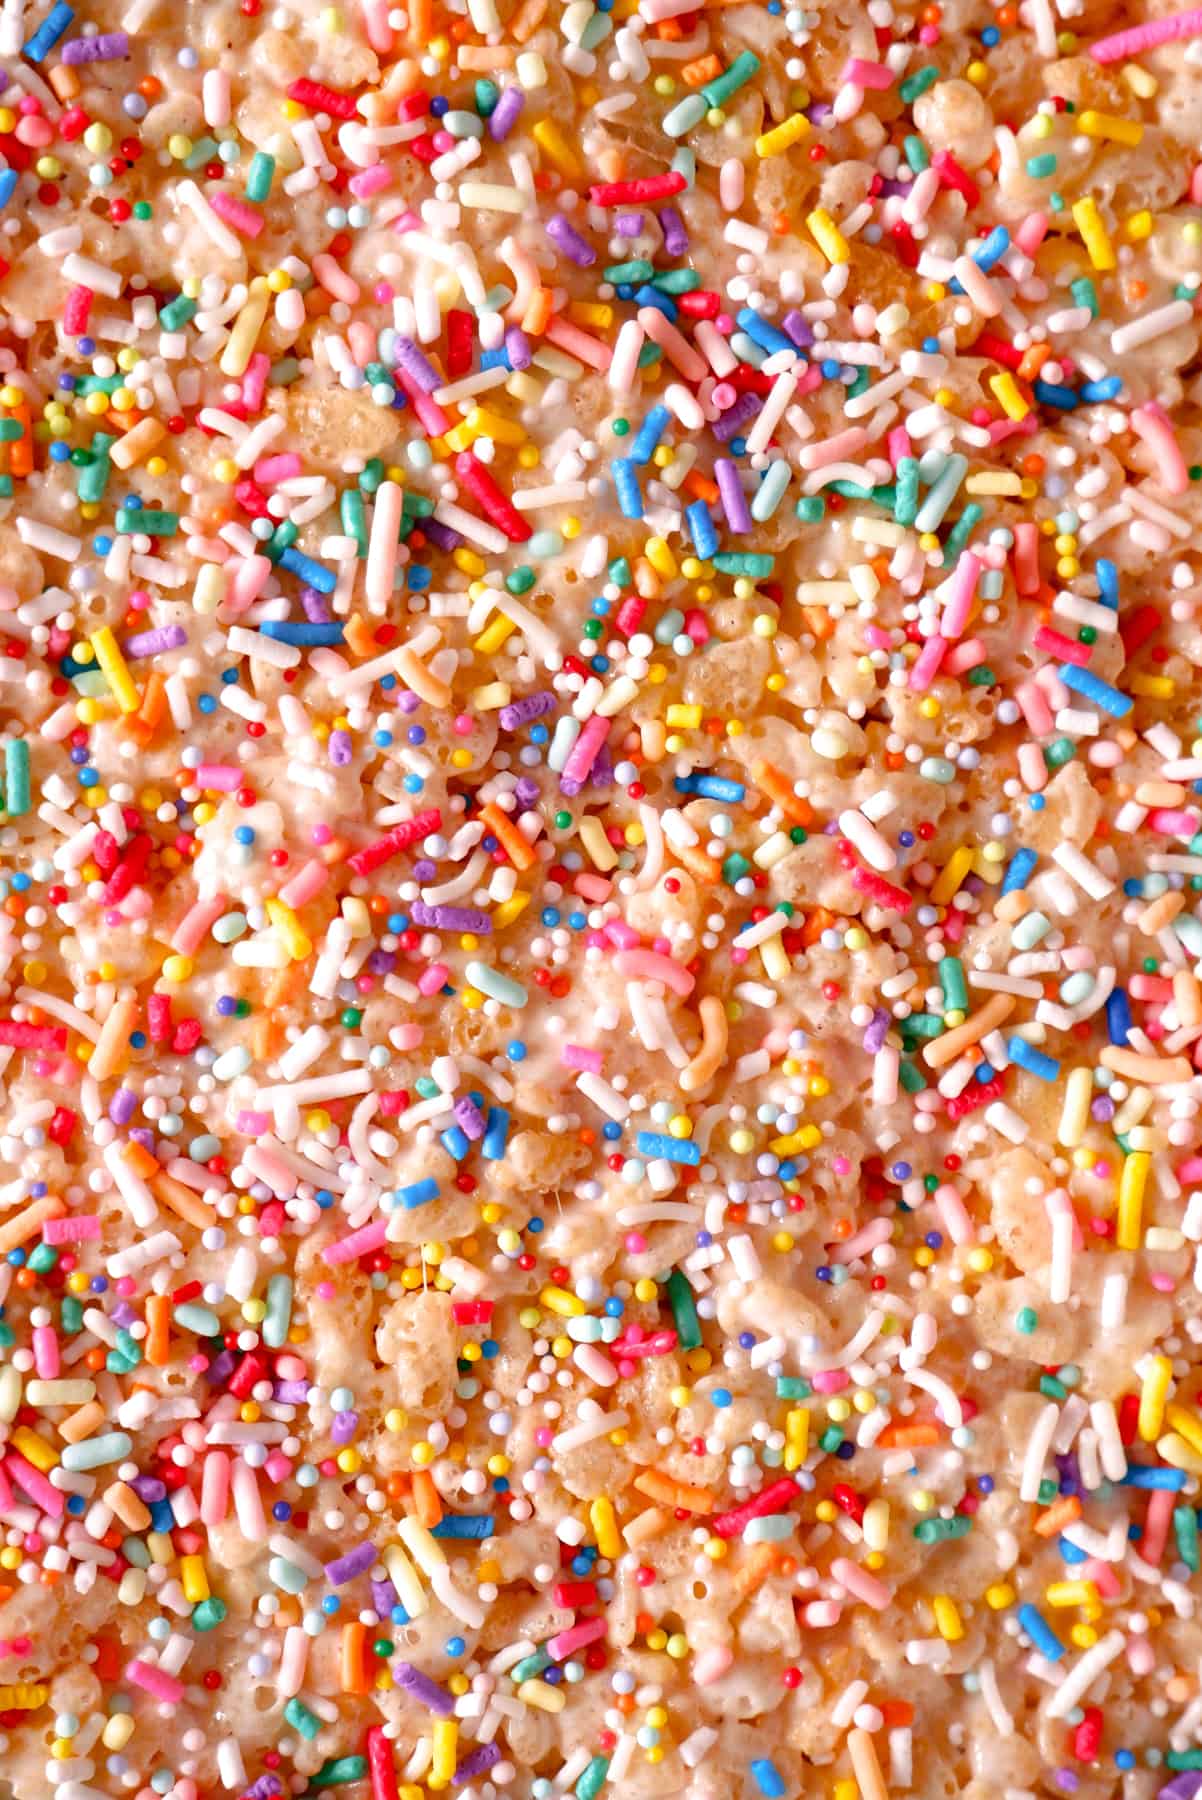
...and last but not least, there are lots and lots of sprinkles to make these bars worthy of an occasion all on their own!
And all the above works in perfect harmony to make this the best rice krispie treat recipe you've ever had!
Ingredient list and lessons for recipe success...
(Pssst…if you're ready to just get baking, get all the details in the recipe card below!)
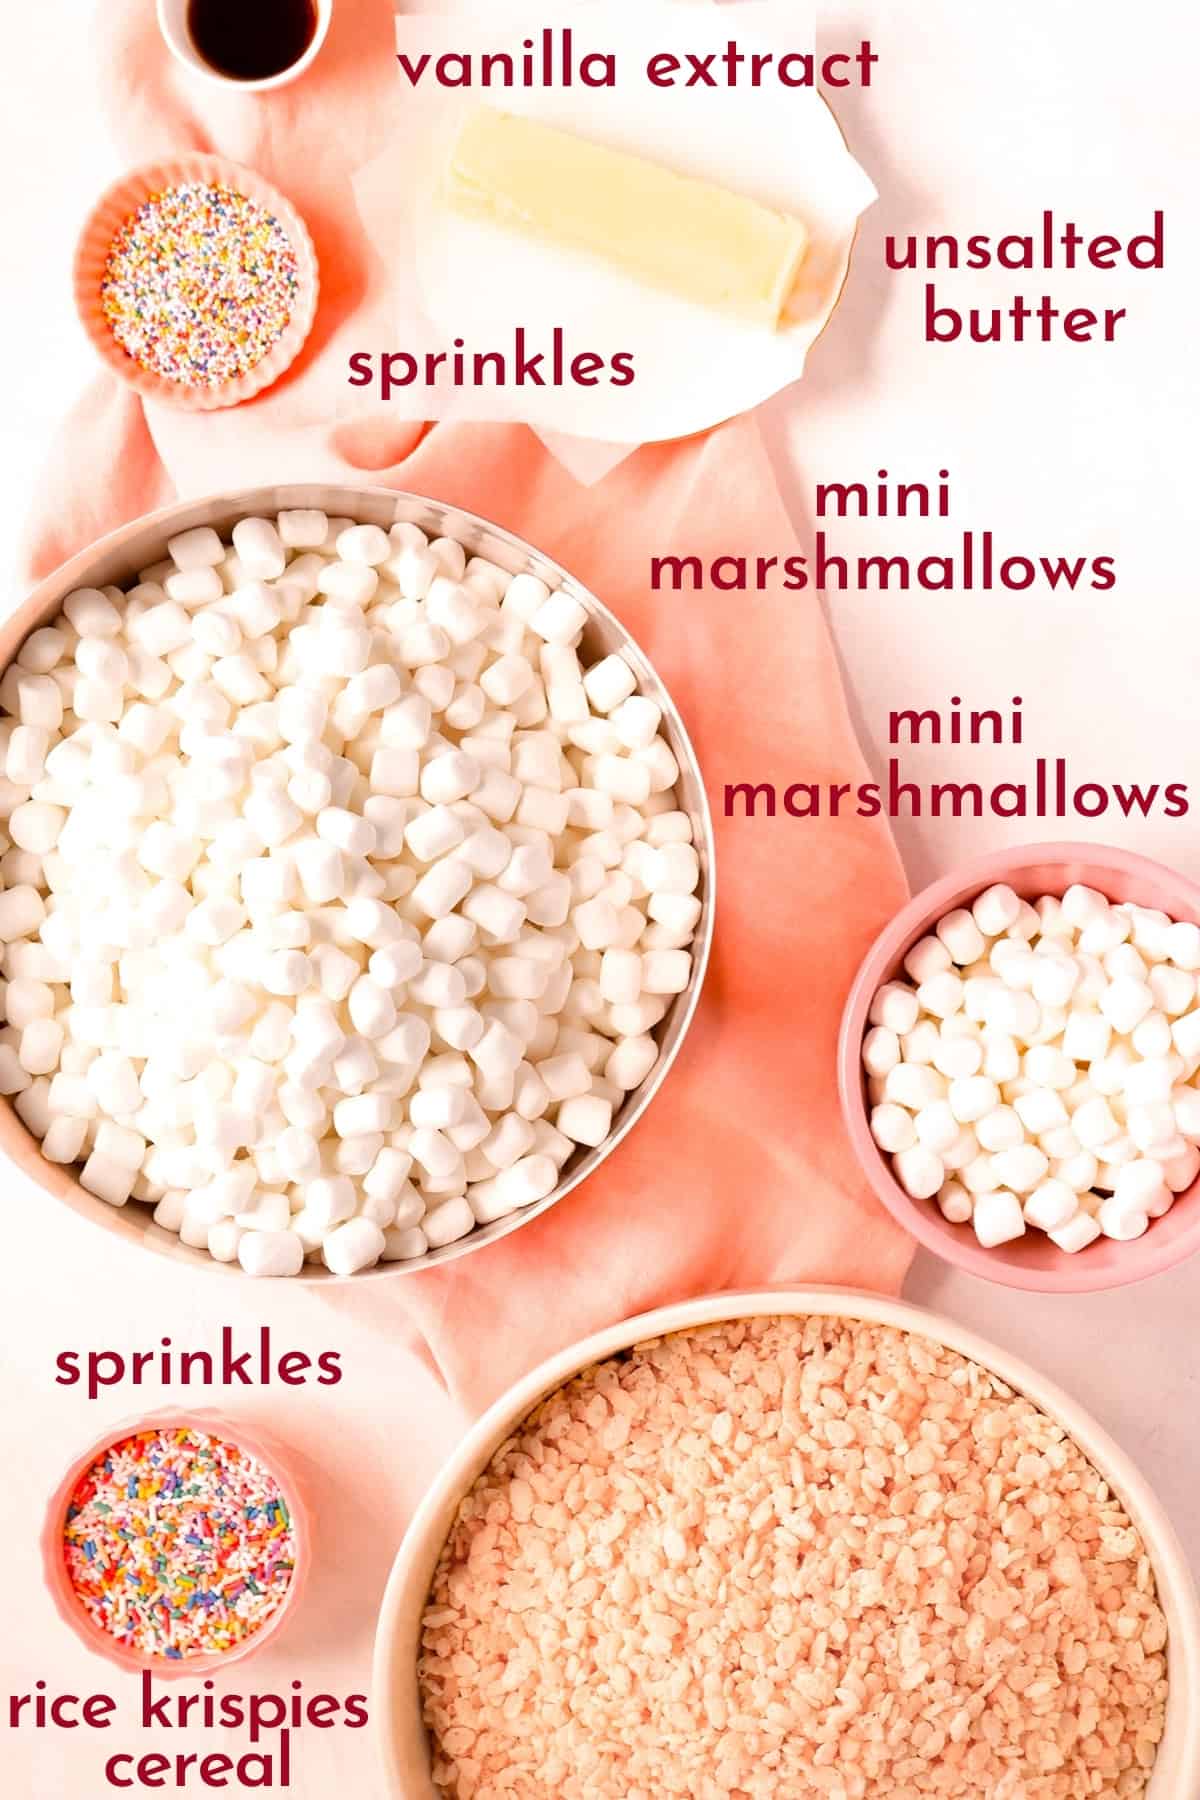
- One 12 ounce box Rice Krispies Cereal
- Three 10 ounce bags mini marshmallows: mini marshmallows are best, but big one's can work; just see the recipe card notes for details on melting differences
- 1 stick unsalted butter: high quality butter with a rich flavor will yield the tastiest brown butter for this recipe
- 1 tablespoon vanilla extract: use a good high quality vanilla with robust flavor for the tastiest treats
- 2-4 tablespoons sprinkles (for topping, optional)
Special tools and equipment you'll need…
The equipment for this recipe is extra important to not end up with a gooey mess! Make sure you have a really big bowl and a good-sized pot. The bowl needs to be reasonably heat-safe too.
If you only have smaller mixing bowls, you can even mix in a roasting pan or extra-large pot. Or even just pick up one of the disposable aluminum turkey-roaster pans as a last resort to mix your recipe in. Whatever you need to do to whip up these treats soon, I promise will be worth it!
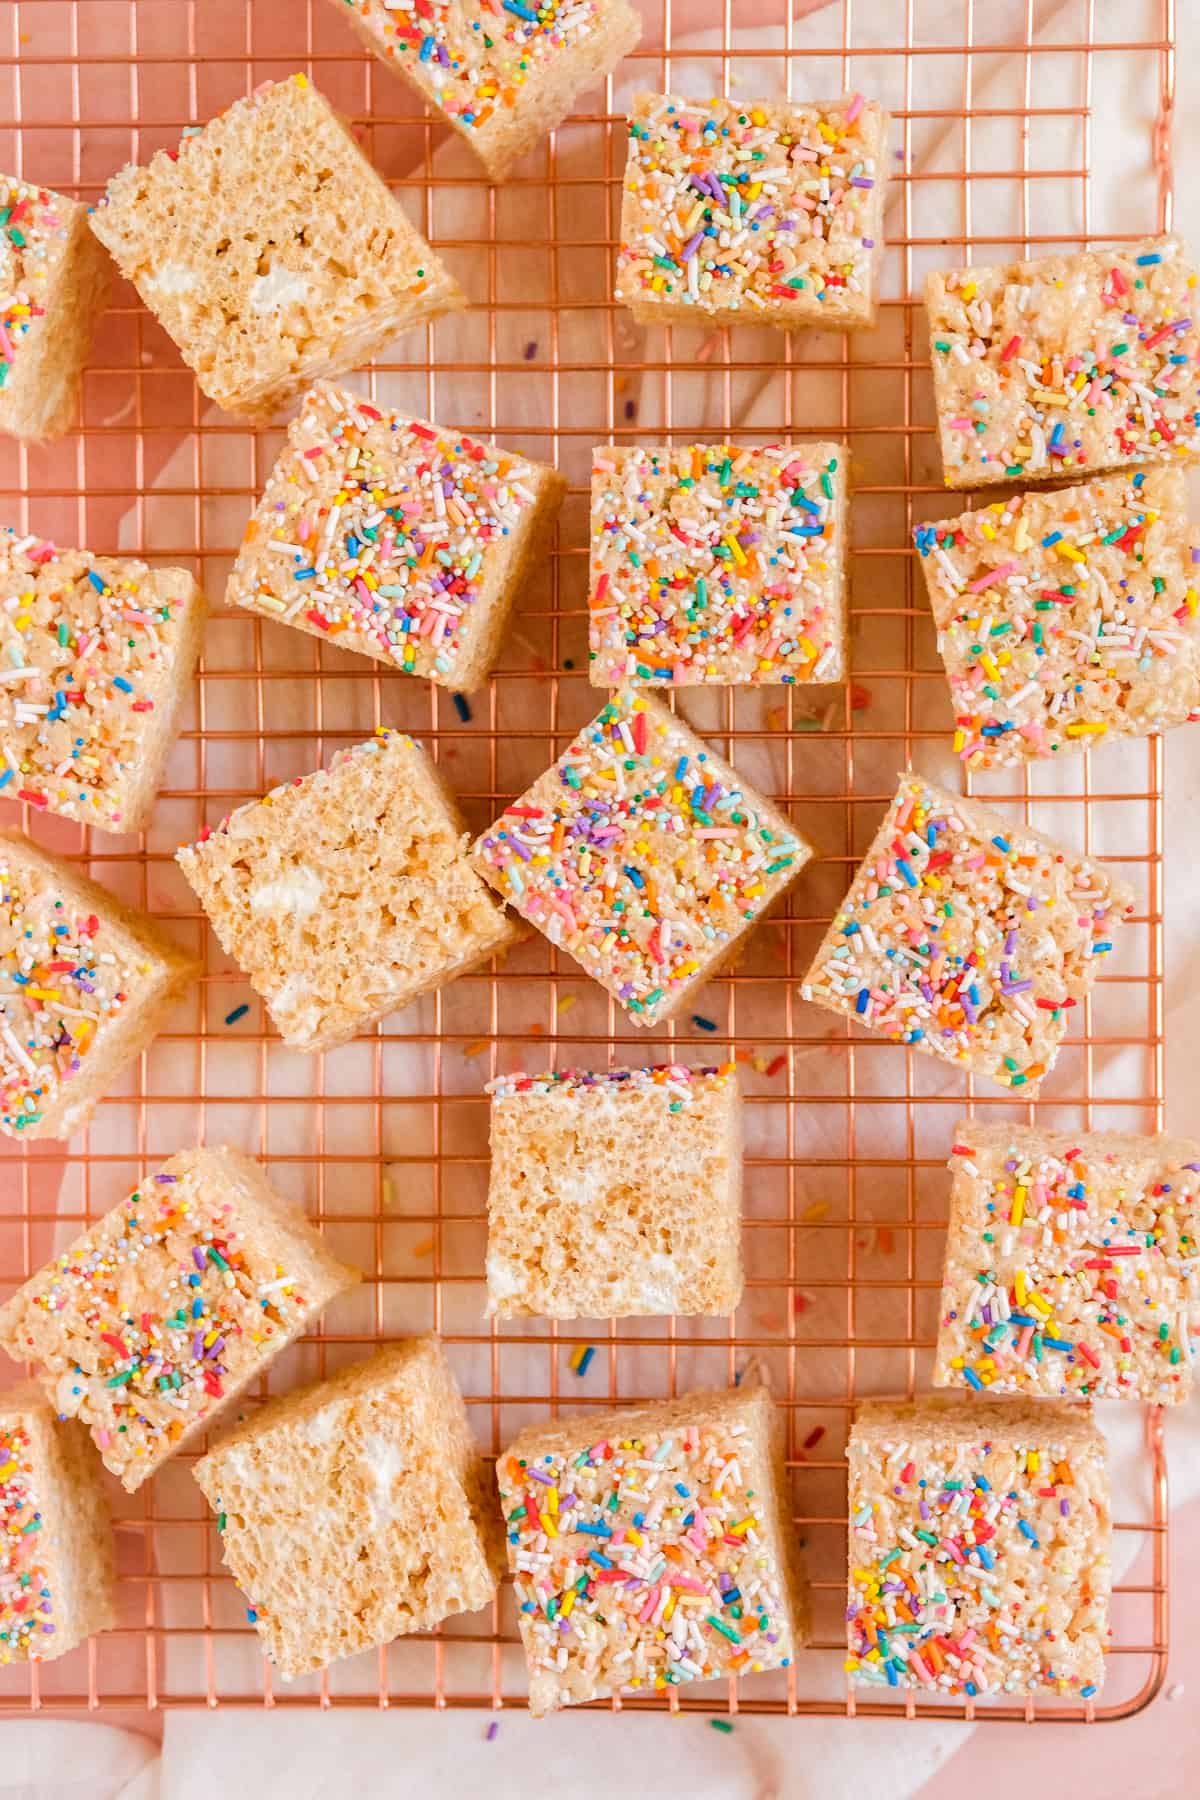
How to make rice krispie treats from scratch…
(Pssst…if you're ready to just get baking, get all the details in the recipe card below, and you can check out our click-through web story tutorial as well to see how it's done!)
- Prep everything and set up your workspace: things move fast once the marshmallows are melted so make sure you have everything for the later steps ready to go before you start cooking! (Especially a cooling rack or hot pad you can put your pan on at your mixing work station.)
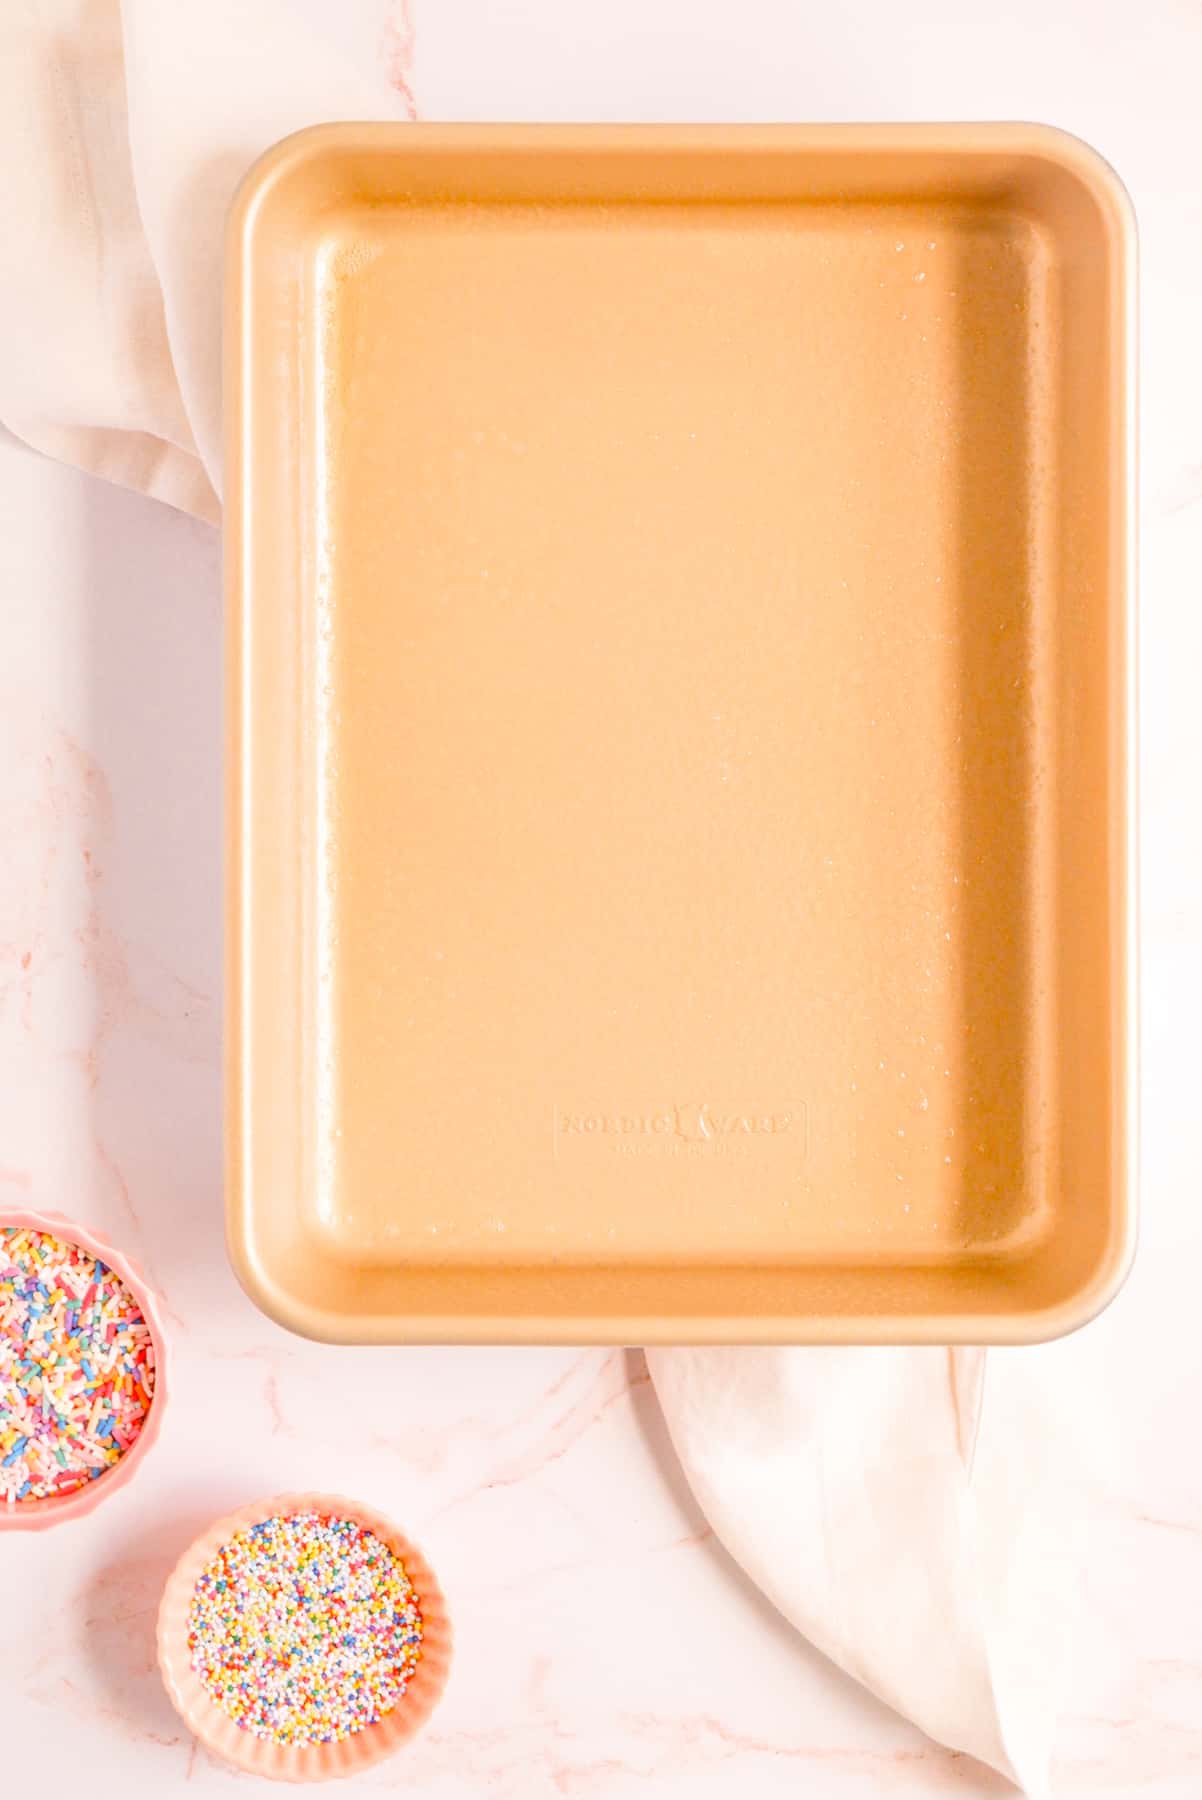
- Brown the butter. (Check out the full lesson on this process and the video tutorial below!)
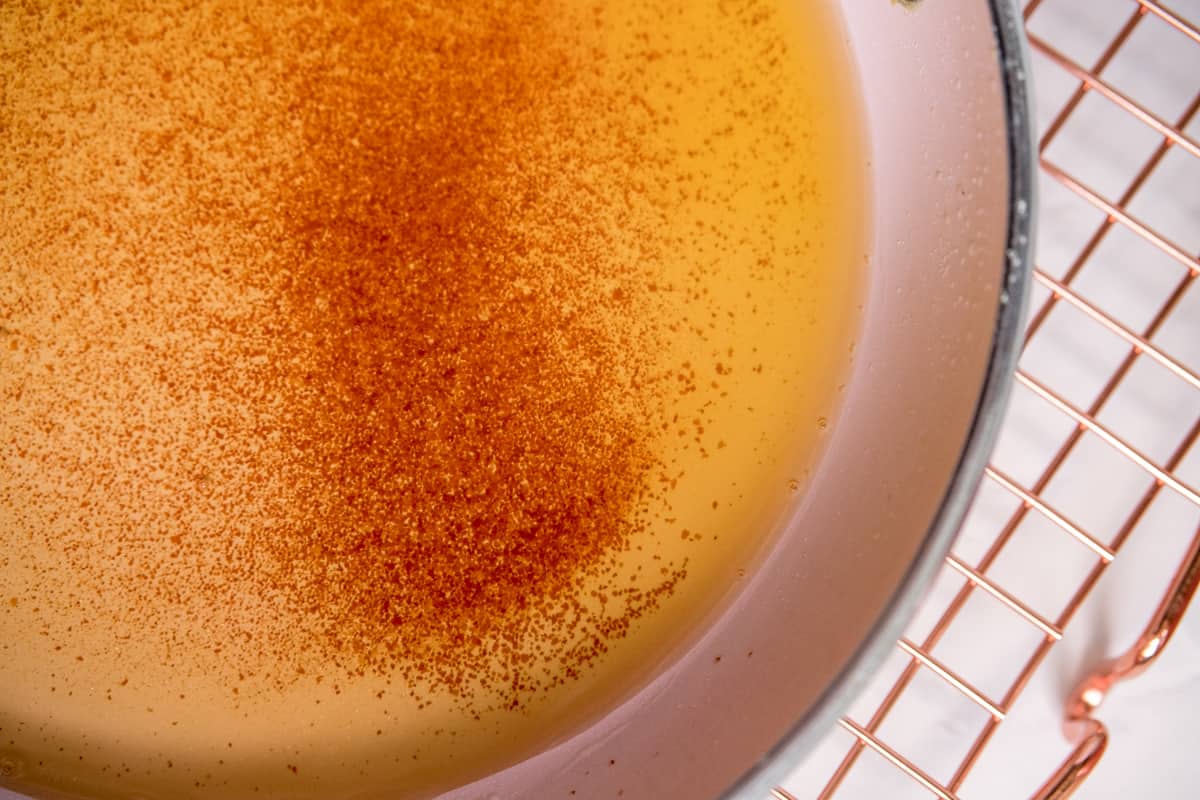
- Melt the marshmallows fully.
- Stir in vanilla extract.
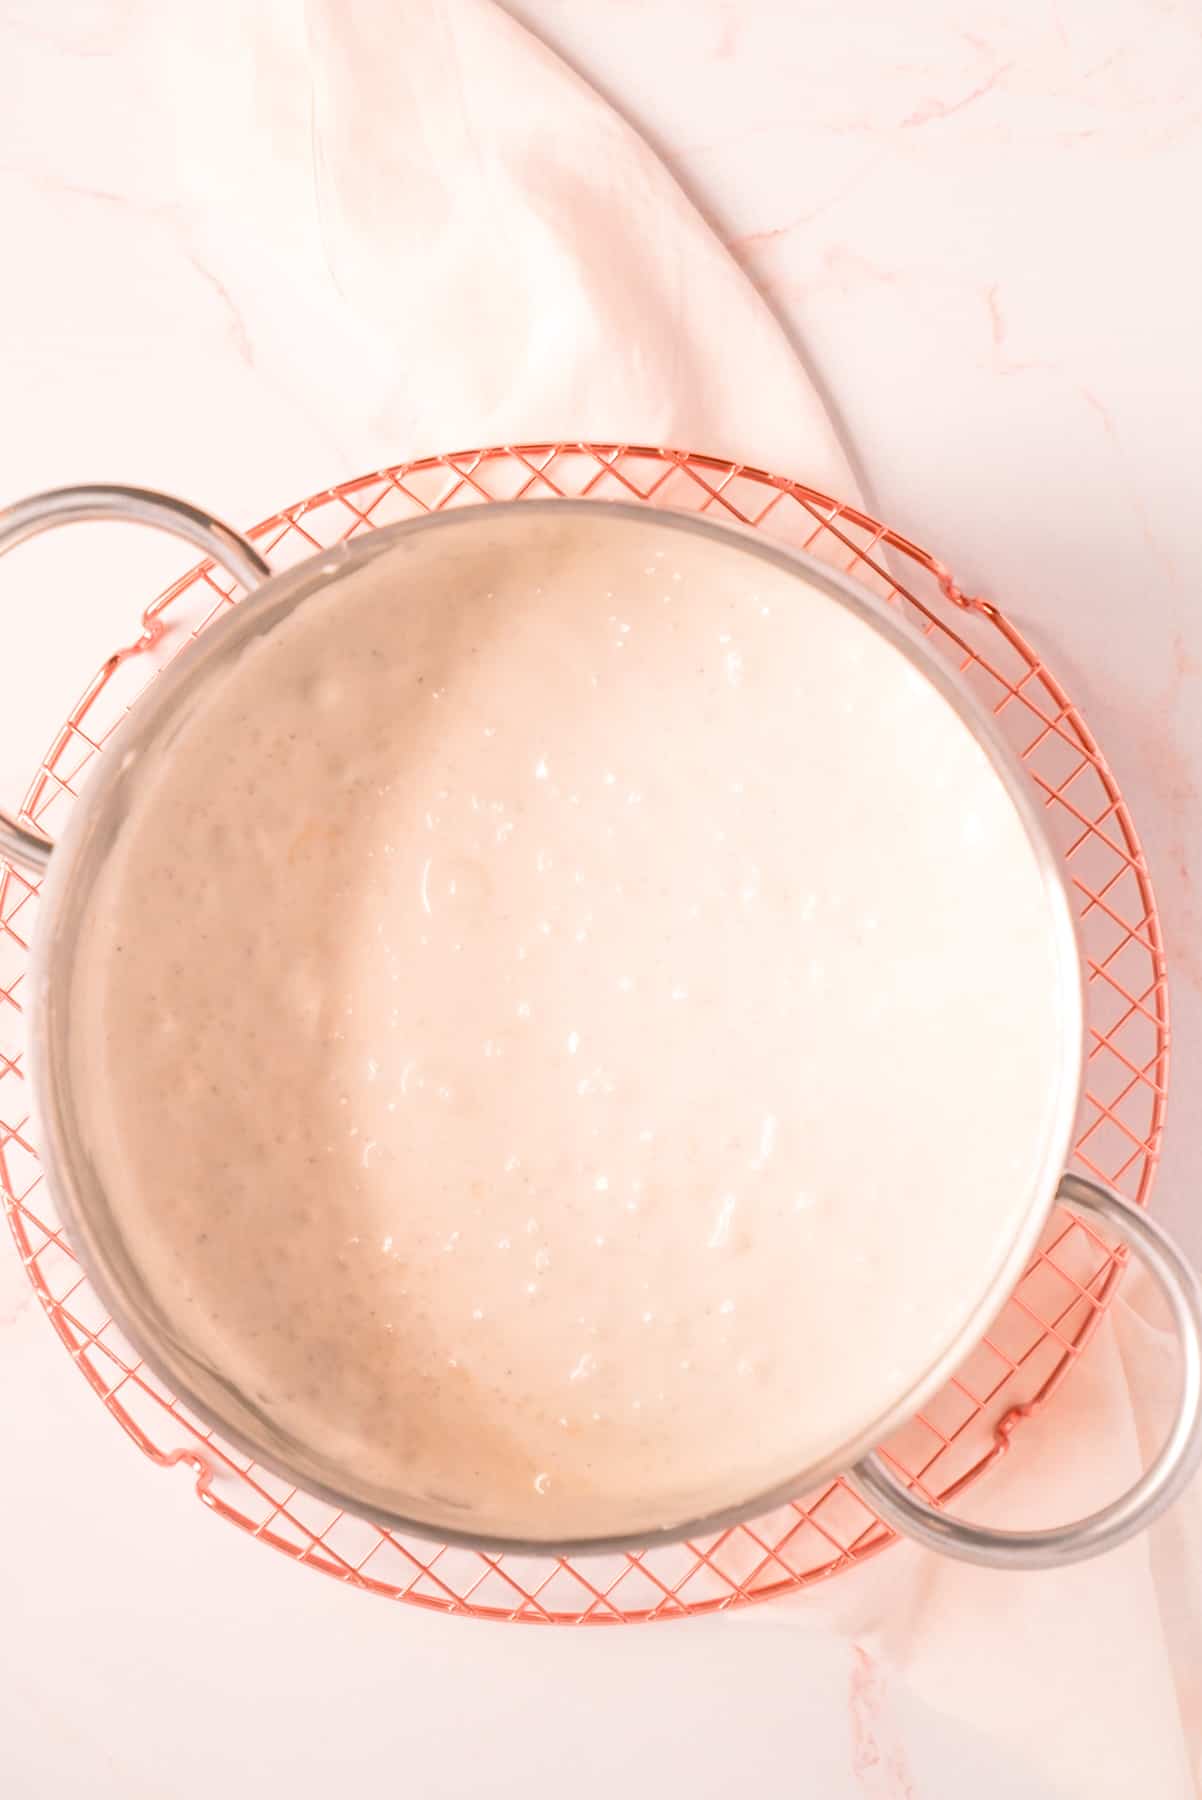
- Move everything to your work station.
- Quickly mix marshmallow goo with the krispies. (Be careful - the goo is very hot!)
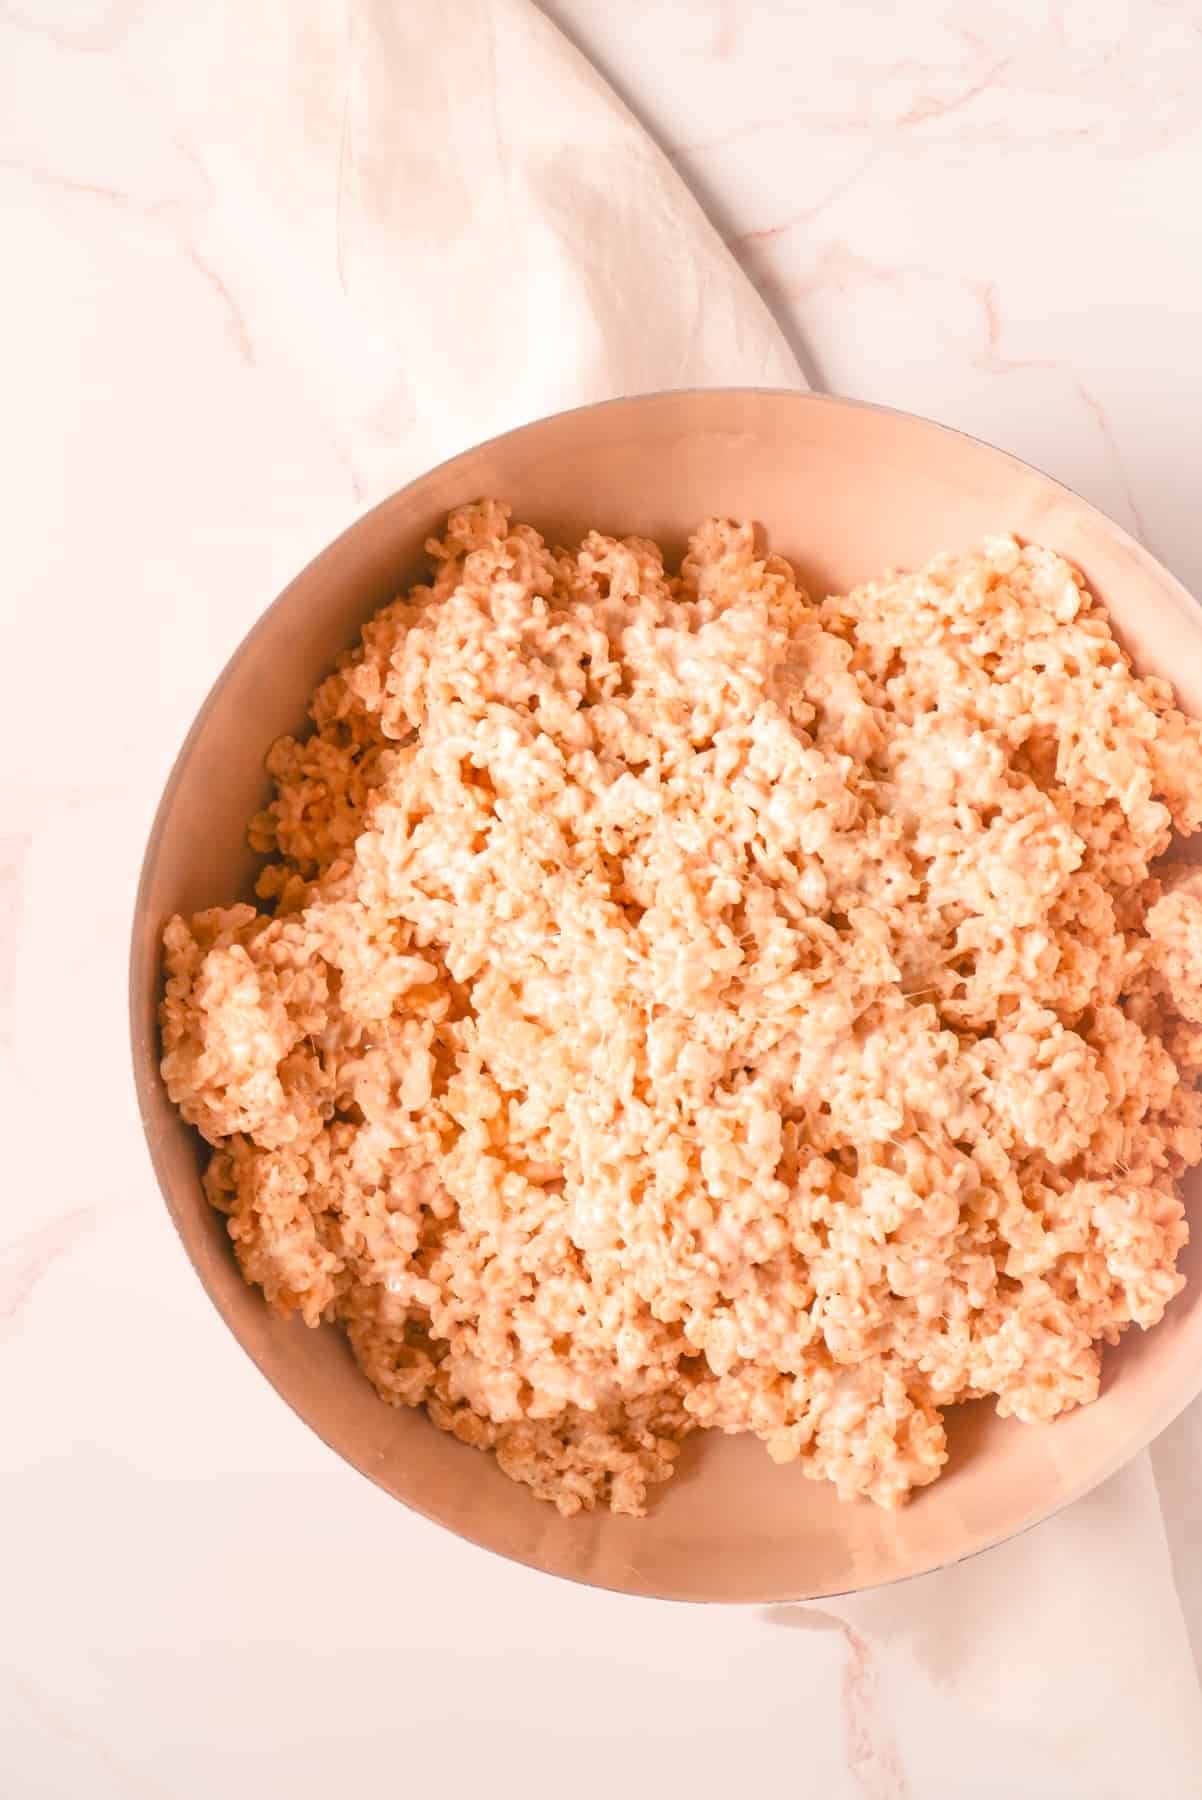
- Transfer quickly to the pan.
- Add the sprinkles to your heart's content.
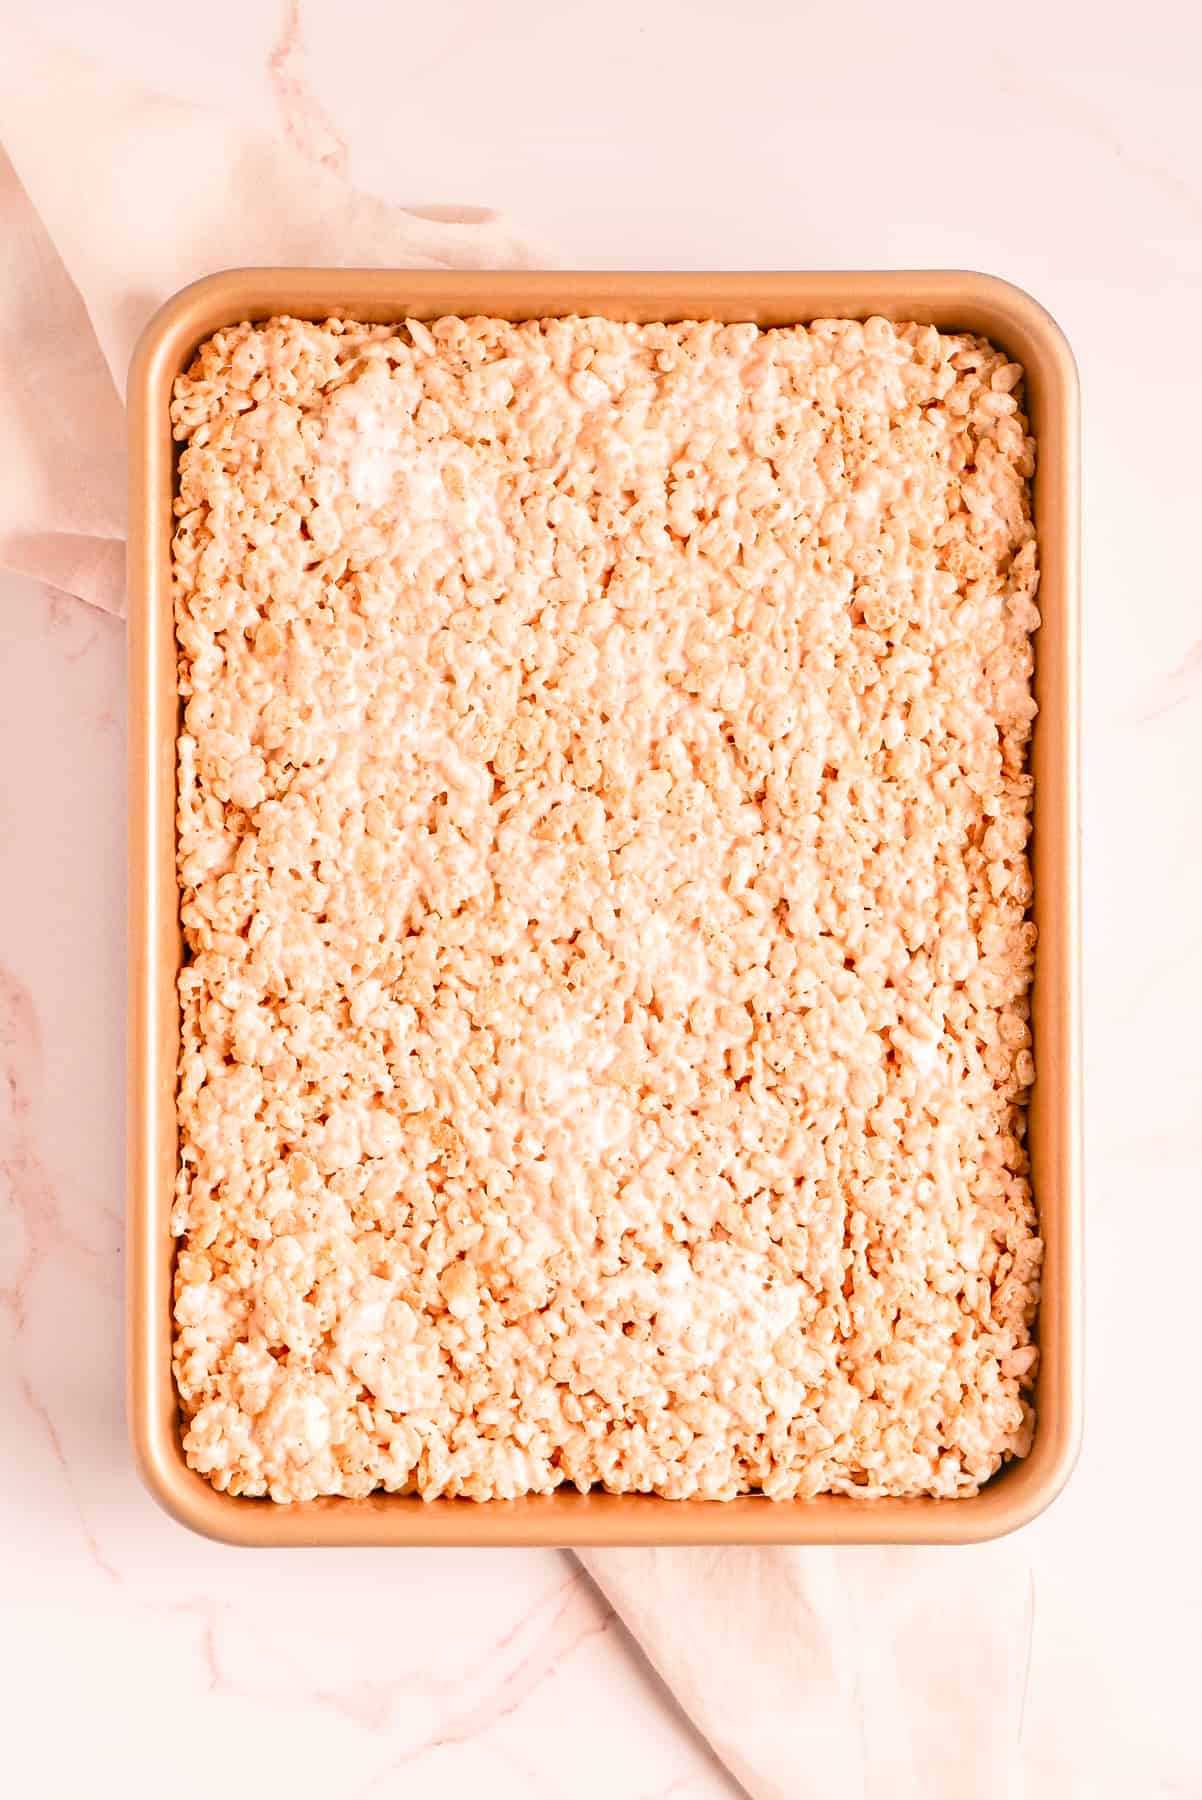
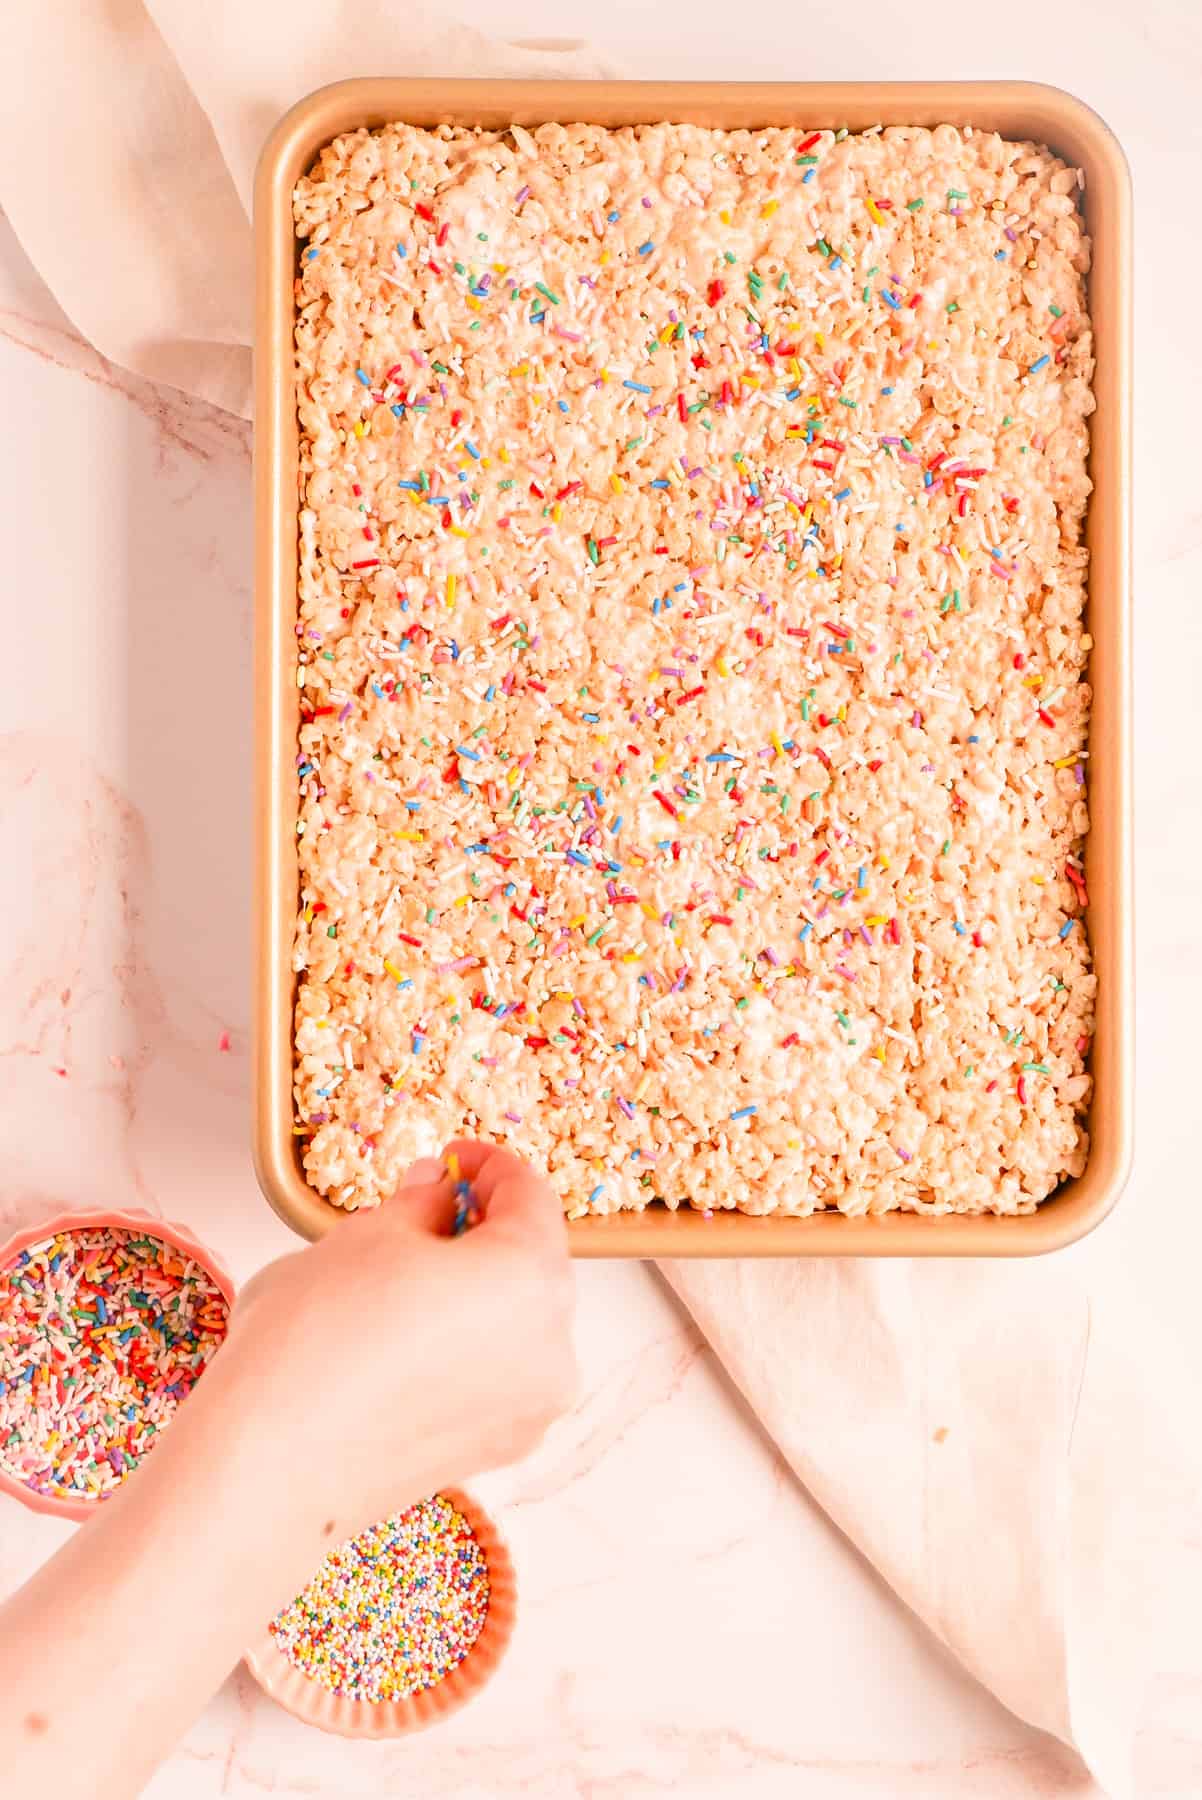
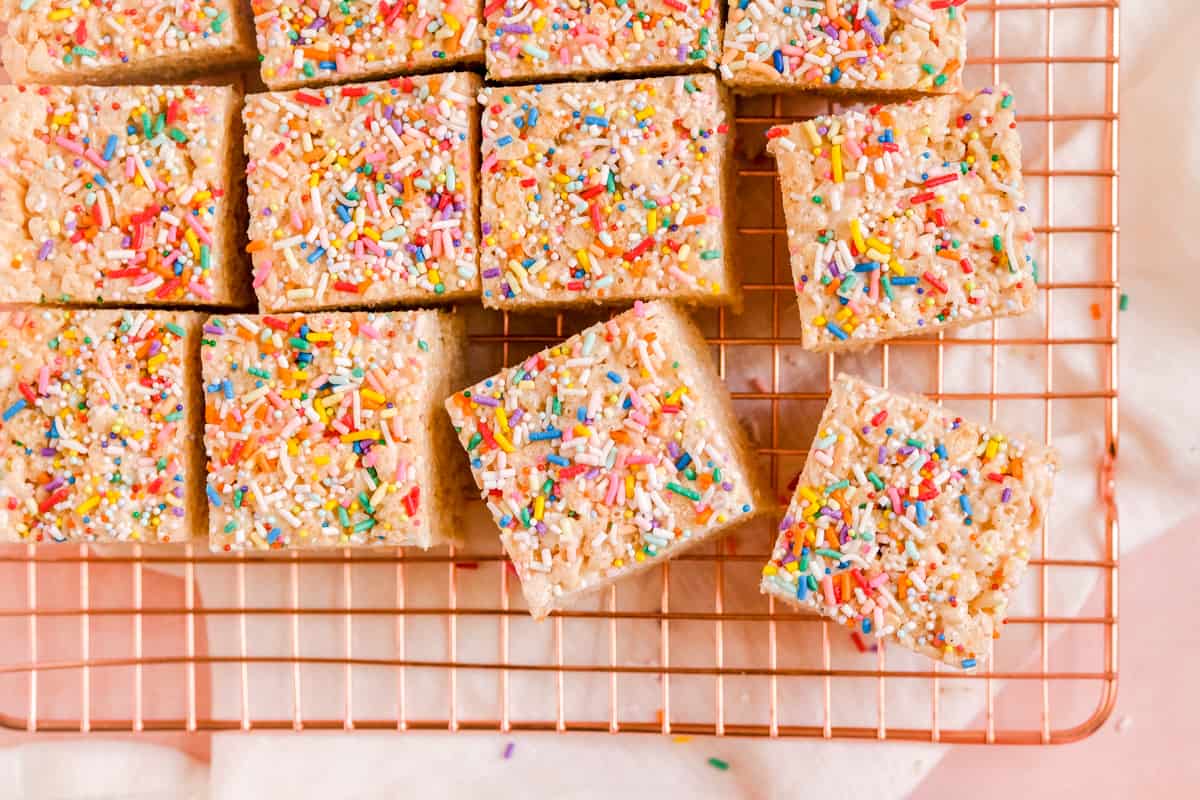
- Cool (2-3 hours minimum), cut and enjoy!
All about brown butter...
Browning butter is the first big step in this delicious rice krispie treat recipe.
To learn all about how to brown butter and exactly what's happening behind the process of making that deliciously nutty treat, check out the full lesson in the Baker's Manual, with a start to finish video tutorial.
(You'll find all the process details in the recipe card below too.)
How to make this recipe your own!
- I love adding crunchy mini marshmallows as a decoration on top of this recipe which you can get here!
- During my bakery days, I also swapped out the chewy mini marshmallows for crunchy rainbow shaped marshmallows (à la another delicious and *lucky* breakfast cereal). You can purchase them here if you'd like an extra hit of nostalgia to make the best rice krispie treat recipe even better!
- If you prefer a classic krispies-only treat, you can leave those extra cups of unmelted marshmallows out altogether.
- Feel free to change up the sprinkle topping for a chocolate drizzle if that sounds tasty to you.
- I've swapped the classic krispies cereal our for other flavors too with great results. (The Strawberry Rice Krispies Cereal was one of my favorite twists!)
*Expert Tips and Tricks* for making the BEST rice krispie treat recipe…
What's the TOP TIP for making the best krispie treats?
Making sure all your ingredients and equipment are 100% ready to go before you start cooking. The marshmallows set up quickly so you will save yourself a big headache by making sure everything is right where you need it.
Also...do not be shy with the grease! It will be your best friend and weapon against sticky marshmallow goo!
Can I make rice krispie treats the night before?
Yes! Unlike most recipes which I really recommend enjoying fresh, these tasty treats (especially thanks to the extra goo), stay deliciously chewy for a whole week in an air tight container at room temperature.
How long do rice krispie treats last?
Technically...you could keep these brown butter squares for up to two weeks, but I'll be shocked if they last that long!
Can you freeze rice krispie treats?
I find the texture isn't quite as good once thawed, but in a pinch, you can certainly freeze these treats. I recommend thawing in the fridge overnight, before setting them on the counter to come to room temperature for service.
Are rice krispie treats gluten free?
While there are no classic gluten-containing ingredients in rice krispie treats, the official Rice Krispies Cereal is not certified gluten free.
That said, if you'd like to make these treats gluten-free, there are gluten-free rice cereals you could substitute for the classic version while also ensuring your other ingredients are gluten-free as well.
Can I skip browning the butter?
Technically yes, but I STRONGLY encourage you to give it a try. I promise browning butter is really not that hard, and it will take this recipe (and so many others) to a whole new level of yum. And don't forget to check out the video above to see the process step-by-step!
Can you make these rice krispie treats with fluff?
I've heard and seen this question a lot, so I wanted to test this out for you all.
I have tried substituting fluff for the marshmallows, but the texture just isn't quite right. So I recommend sticking to the classic marshmallows. Minis or big ones both work, the minis are just a little easier to melt.
Other recipes fans of these treats will love:
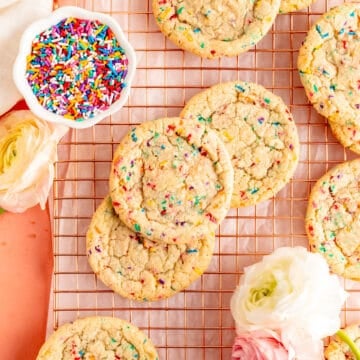
- Funfetti Sugar Cookie Dough
- Birthday Cake Sugar Cookies
- Chocolate Peanut Butter Rice Krisipies
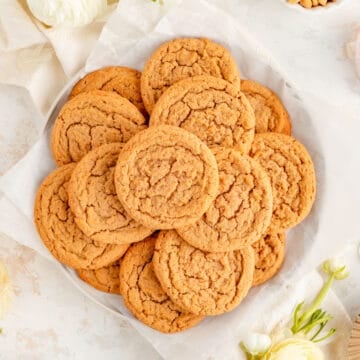
- Classic Chewy Sugar Cookies

⭐ If you gave this recipe a try please give it a ⭐ rating and tag me on Instagram @mint.and.mallow.kitchen so I can see what you're baking up! ⭐
P.S. I know this recipe card can make learning how to make rice krispie treats look very complicated and scary, but I promise it's not! I just wanted to give you super thorough instructions. That way I can make sure you end up with the best rice krispie treats everrrr, and don't end up with a gooey mess instead! (Not that I'm speaking from experience...*wink*wink)
📖 Full Recipe
Brown Butter Rice Krispie Treats
Ingredients
- 12 ounce Rice Krispies Cereal (1 small box) ( 1 small box)
- 30 ounce mini marshmallows (3 small bags) (divided, see notes)
- ½ cup (1 stick) unsalted butter
- 1 tablespoon vanilla extract
- 2-4 tablespoons sprinkles (for topping, optional)
Instructions
- Prep everything: using baking spray, grease your largest mixing bowl, your largest spatula, and a 9" by 13" pan very thoroughly (see notes). Set aside two cups of the mini marshmallows.
- Set up your workspace: add the rice krispies and toss with 2 cups of marshmallows in the large greased bowl. Set your greased spatula with your bowl, have your 9"x13" greased pan within reach, and set a hot pad or cooling rack next to your bowl that you can set your hot marshmallow pan on. (Once the marshmallows melt, everything will set quickly so you want to make sure all your tools are ready to go!)
- Brown the butter: over medium heat, melt the butter in a large pan (big enough to fit all the marshmallow) until it starts to sizzle. Continue to stir butter until sizzling stops and the milk solids (little specs in the bottom of the pan) start to brown. Continue stirring until all the specs have a deep amber color. (It's important to stir continuously to make sure your butter browns evenly!)
- Melt marshmallows: once the butter is browned, dump in the 2 ½ bags of marshmallows and stir/fold them into the brown butter. Continue stirring constantly until all the marshmallows are fully melted and the mixture is smooth (no lumps remaining).
- Stir in vanilla: About half-way through melting the marshmallows (or as soon as they're melted), stir in the vanilla extract.
- Move to your work station: take your pot over to your pot holder or cooling rack and switch your cooking utensil for the greased spatula.
- Mix marshmallows with krispies: pour melted marshmallows over rice krispies and use the greased spatula to fold them together quickly, until no dry pockets of rice krispies remain. (Be sure to get to the bottom of the bowl where the marshmallow puddles and you can smear the clumps back and forth to mix them if needed. And be careful - the marshmallows are really hot!)
- Transfer quickly to pan: immediately scrape all of the krispie mixture into the prepared pan. Gently press it down into all the corners and flatten the top (you don't need to press down too firmly though or it'll make your krispies a little tough). You can do this with a spatula, or I even put a good deal of baking spray right on my hands and then use my hands to press the bars down into the pan and into all the sides and corners too.
- Add the sprinkles: sprinkle the top immediately with sprinkles while the marshmallow is still sticky.
- Cool, cut and enjoy! Allow the krispies to cool to room temperature, cut them to your desired size right in the pan, then serve to anyone and everyone to put a smile on their face!
Test Kitchen Tips
- Big marshmallows: If you only have big marshmallows, those will work with two caveats: firstly, cut up the 2 cups that are going to be mixed with the cereal into at least four pieces each or more; secondly, just know it'll take a while for the bigger marshmallows to melt (but they will!) so just be patient and keep stirring throughout the melting process to prevent burning.
- Grease it up good: It's important to grease the full bottom and the sides of the pan, and if you don't think you have a bowl big enough to mix in, you can use a roasting pan or even a large pot - whatever you have on hand that's big and can hold that really hot marshmallow goo!
- Recipe adapted from the Original Rice Krispie Treats Recipe. It was first adapted by my mama, and then a little more by me!










Comments
No Comments