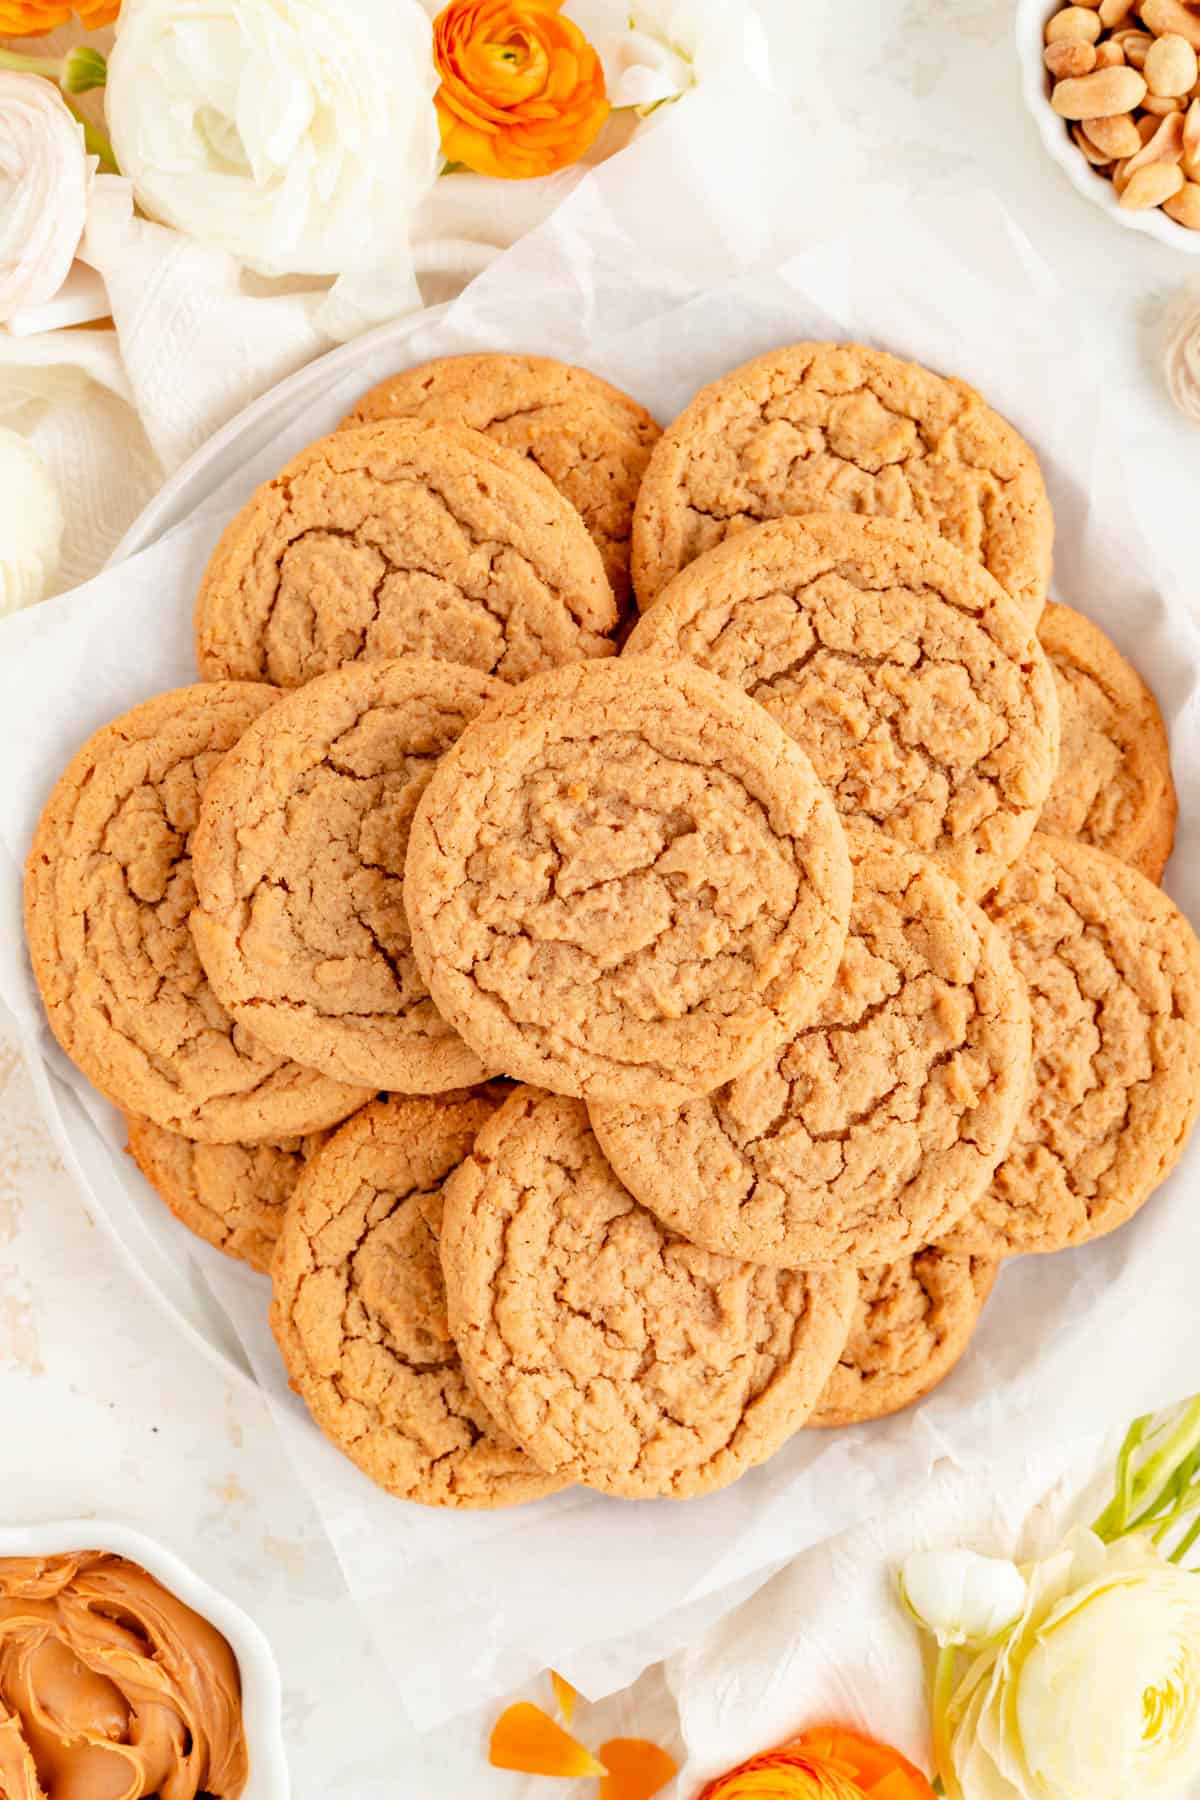
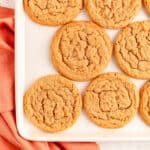
Not only are these the best soft and chewy peanut butter cookies you will ever have, but they have an easy mix up too. Then just scoop and bake - no chill needed. You can add chocolate chips, crunchy peanut butter, or even make them gluten free if you like!
Jump to (scroll for more!):
Peanut Butter Cookies for All
Now I love an old-fashioned, crunchy, sugar-coated, cross-hatched peanut butter cookie as much as the next girl. (My favorite recipe for this type of PB cookie is actually from a vintage Betty Crocker Cookbook I use all the time.)
But I am a sucker for any chewy homemade cookie from chewy sugar cookies to chocolate chip to peanut butter and beyond! So, I decided to create a soft and chewy peanut butter cookie recipe for when I just need a little more of that doughy cookie center in my life.
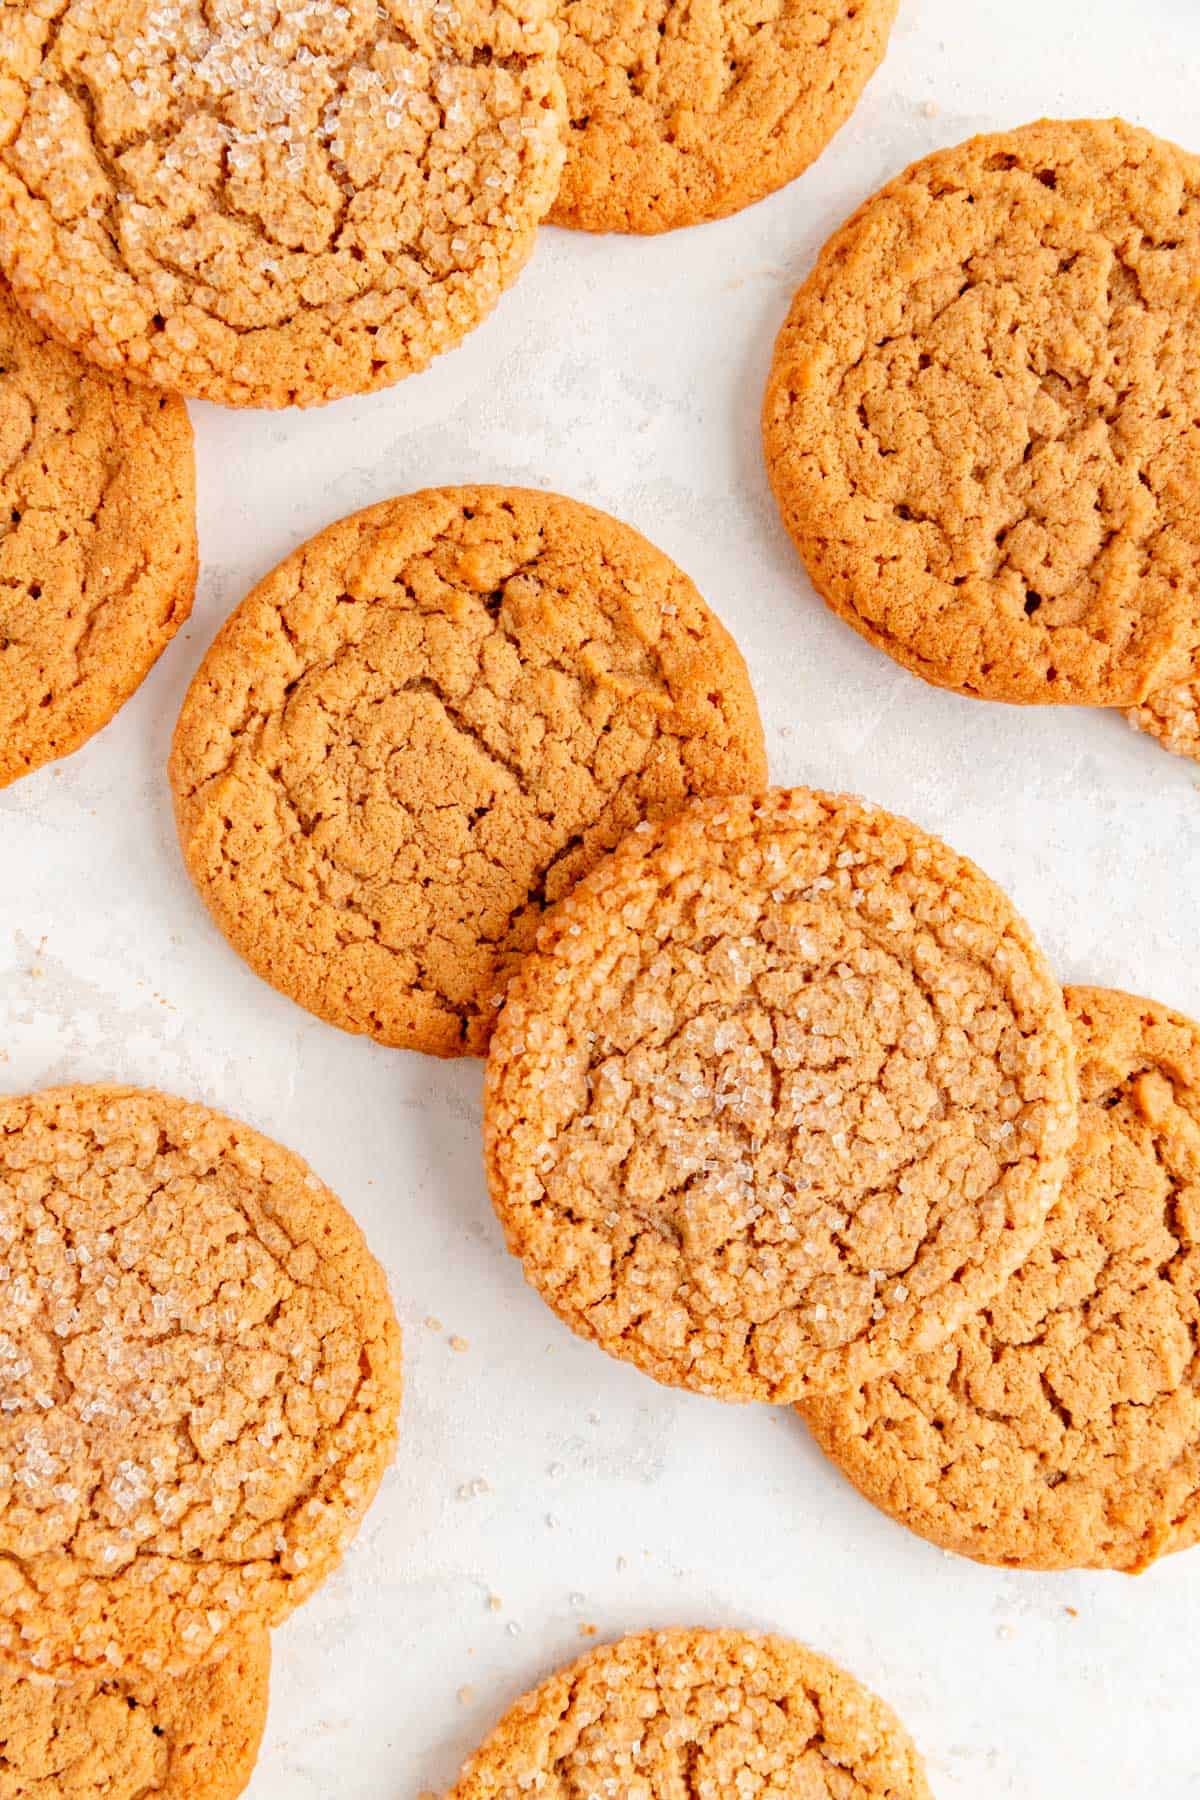
This recipe is easy to make, yielding a beautifully crackled top, and packed with brown sugar for that classic big chewy cookie bend. It's not only delicious as a simple peanut butter cookie, but can also be customized into a chocolate chip cookie as well!
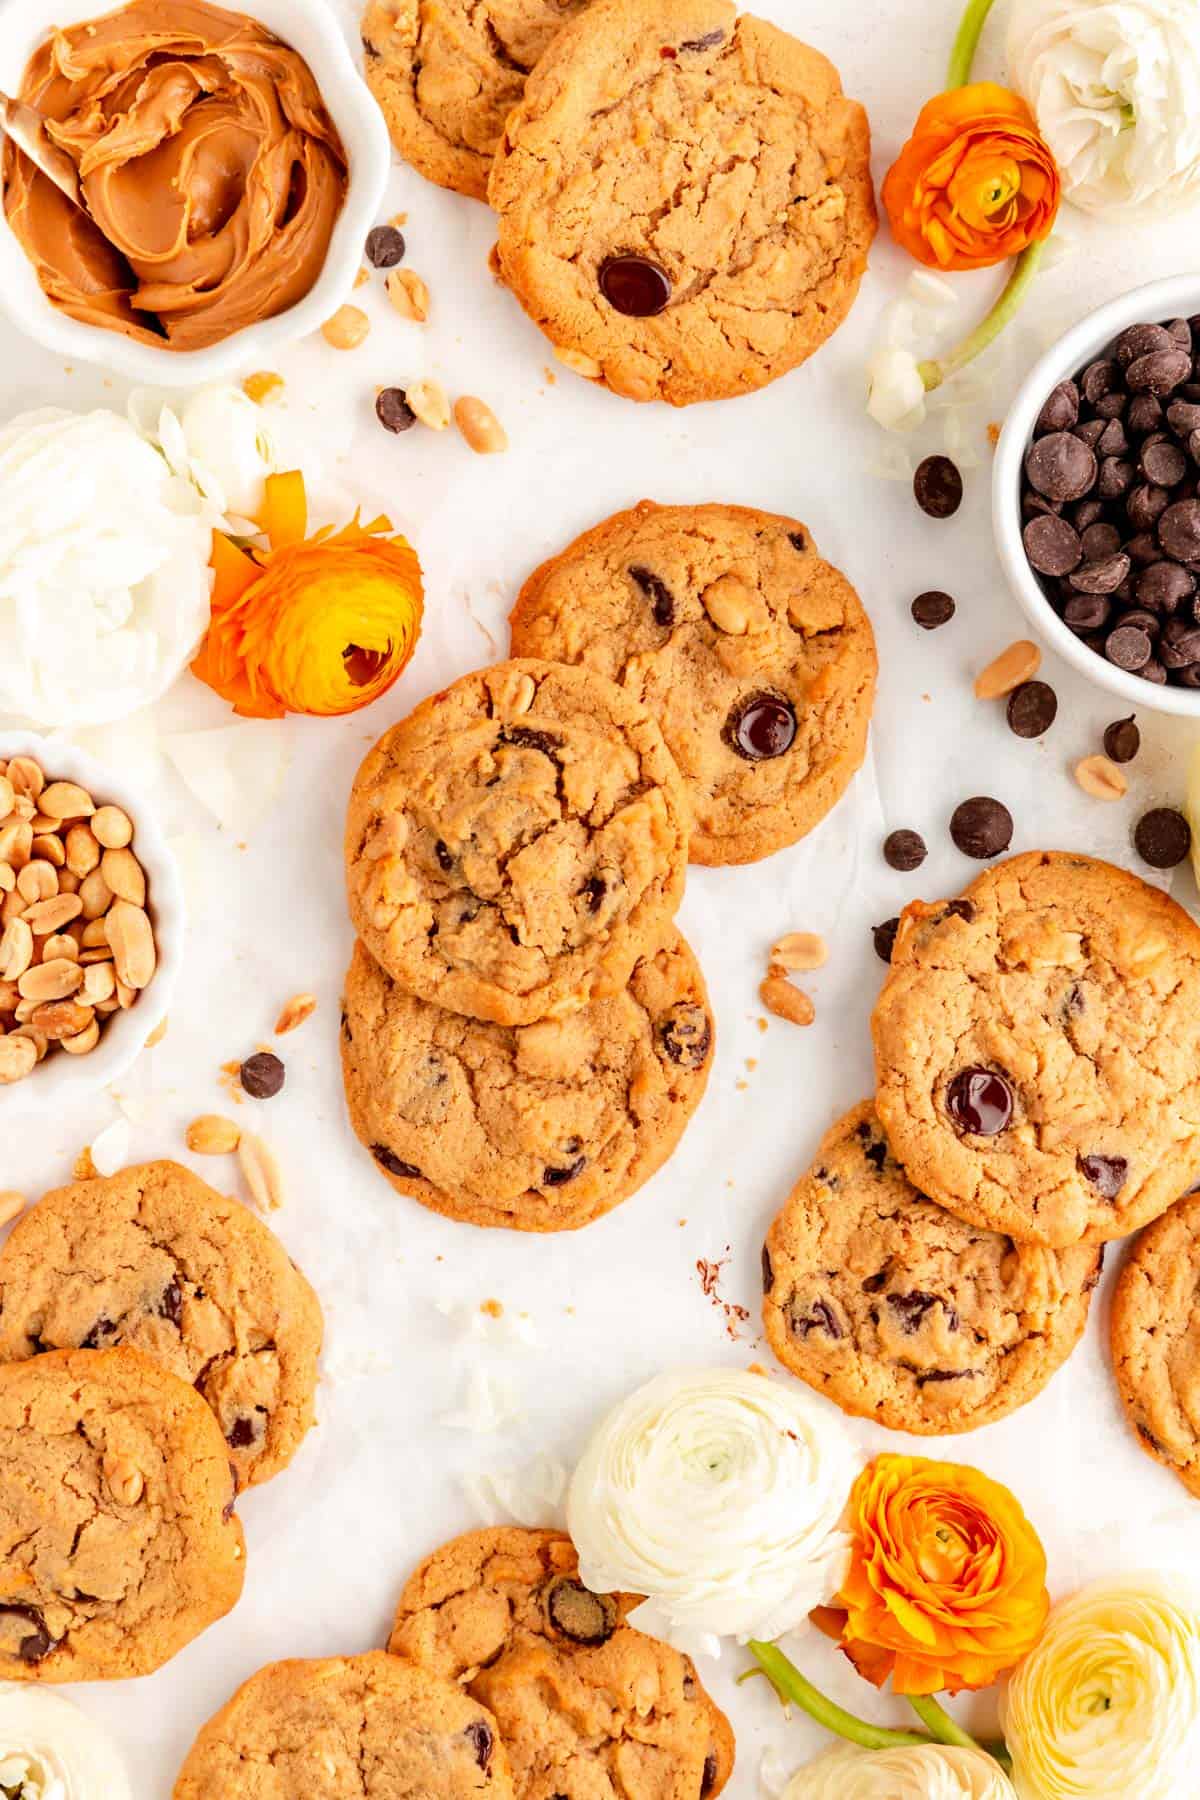
Add chocolate chips and cocktail peanuts, or switch it up with crunchy peanut butter to make this recipe your own. Or if you're looking for a gluten free variation, just swap in some whole grain oat flour and you're good to go.
So let's grab a jar of JIF and get to baking! (And if you're looking for something to do with that left over peanut butter, my Simple Chocolate Peanut Butter Ganache is a perfect topping for all sorts of treats!)
Ingredient Tips for Better Baking
(Pssst…if you're ready to just get baking, get all the details in the recipe card below!)
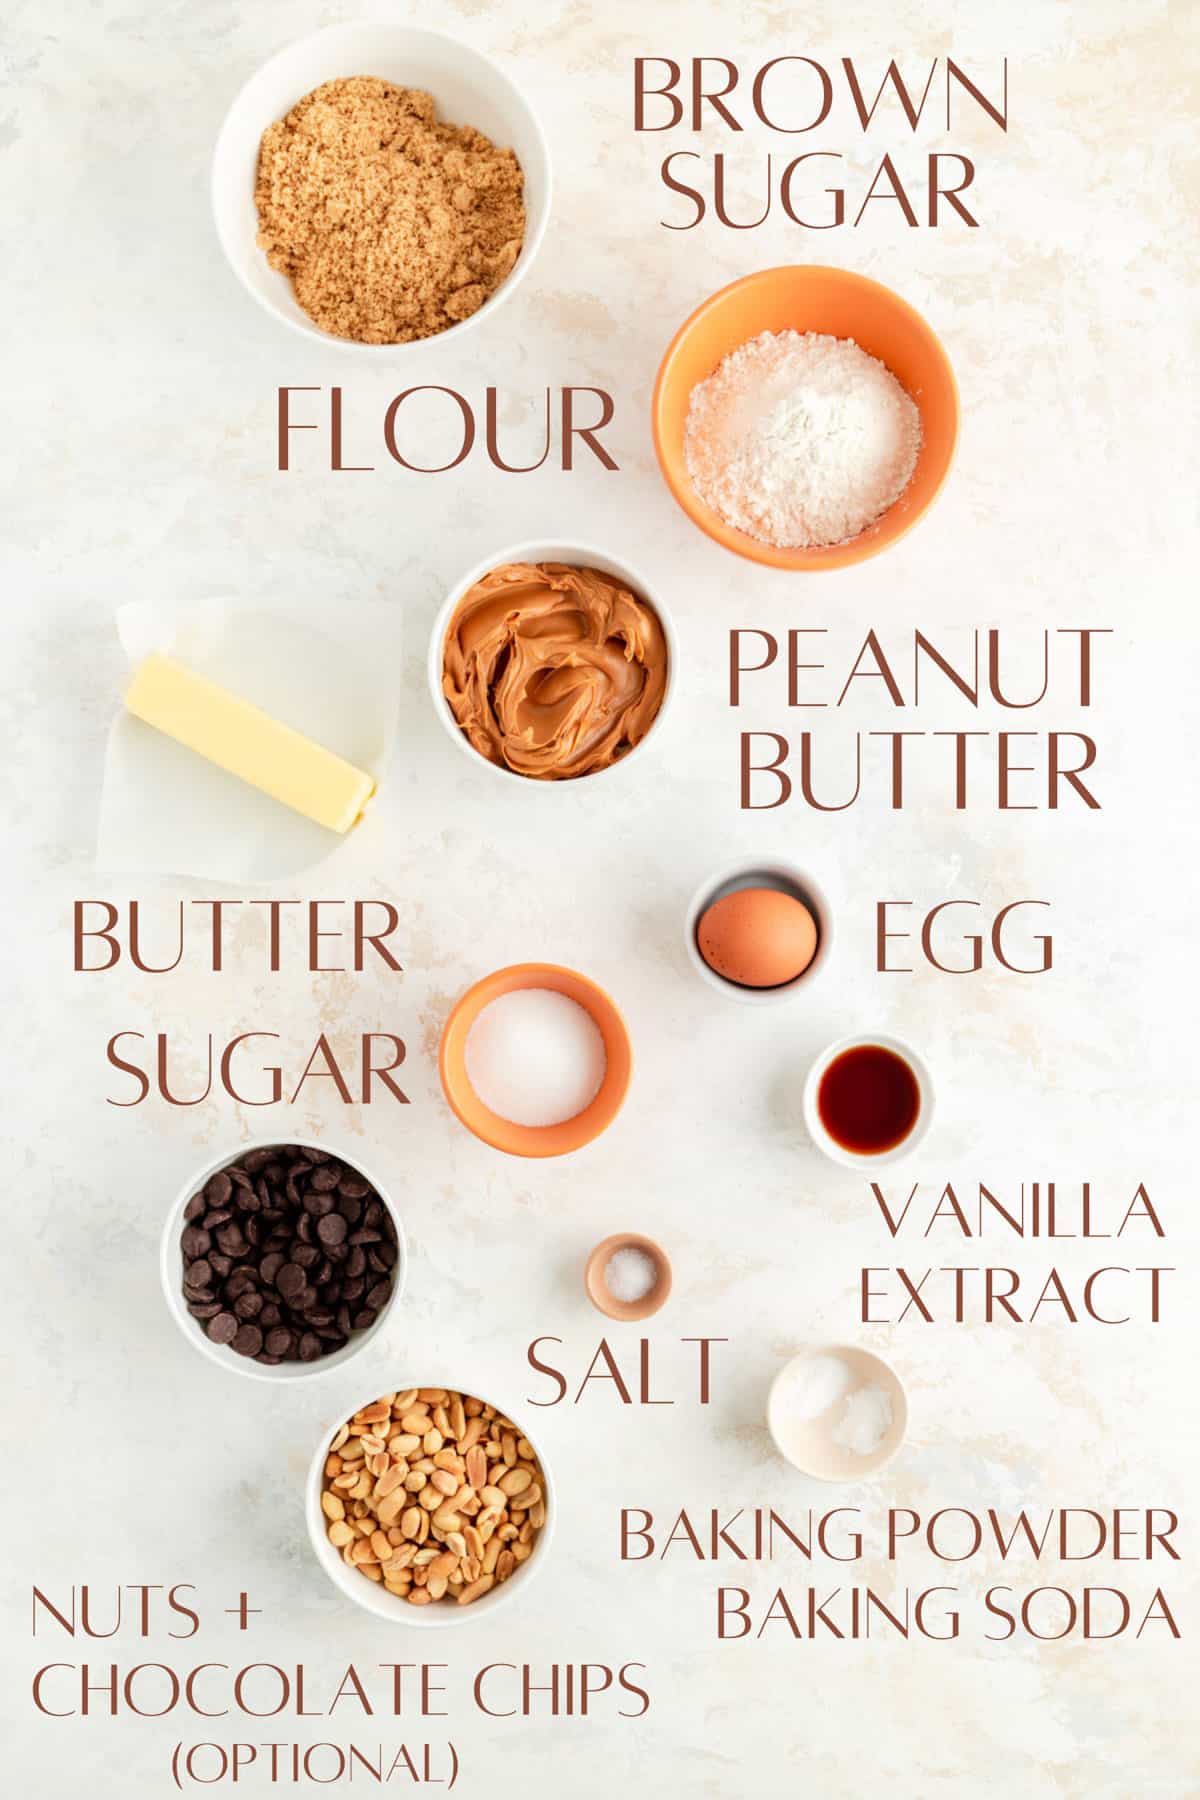
- Smooth Peanut Butter: for me there's only one peanut butter in the world and that's JIF peanut butter. That said, you're welcome to use any other brand of classic peanut butter, but stay away from anything listed as "natural." The texture and oil separation of natural peanut butters doesn't work well in this recipe. While I like to use smooth peanut butter and add whole peanut for texture, you're welcome to use chunky peanut butter and just skip that addition of the nuts altogether.
- Light Brown Sugar: I prefer light brown sugar so the caramel notes are in a more supporting role in this cookie, but if you love that brown sugar molasses flavor, feel free to use dark brown sugar.
- All-Purpose or Oat Flour: all the cookies shown in this post use classic all-purpose flour and that will give you the best chewy peanut butter cookie. However, if you need a gluten free alternative, whole grain oat flour is a close second. It will make the cookies a little cakier, but they'll still be delicious.
- Baking Powder + Baking Soda: using both is important here as one helps our cookies puff up (baking powder) and one helps them spread out (baking soda).
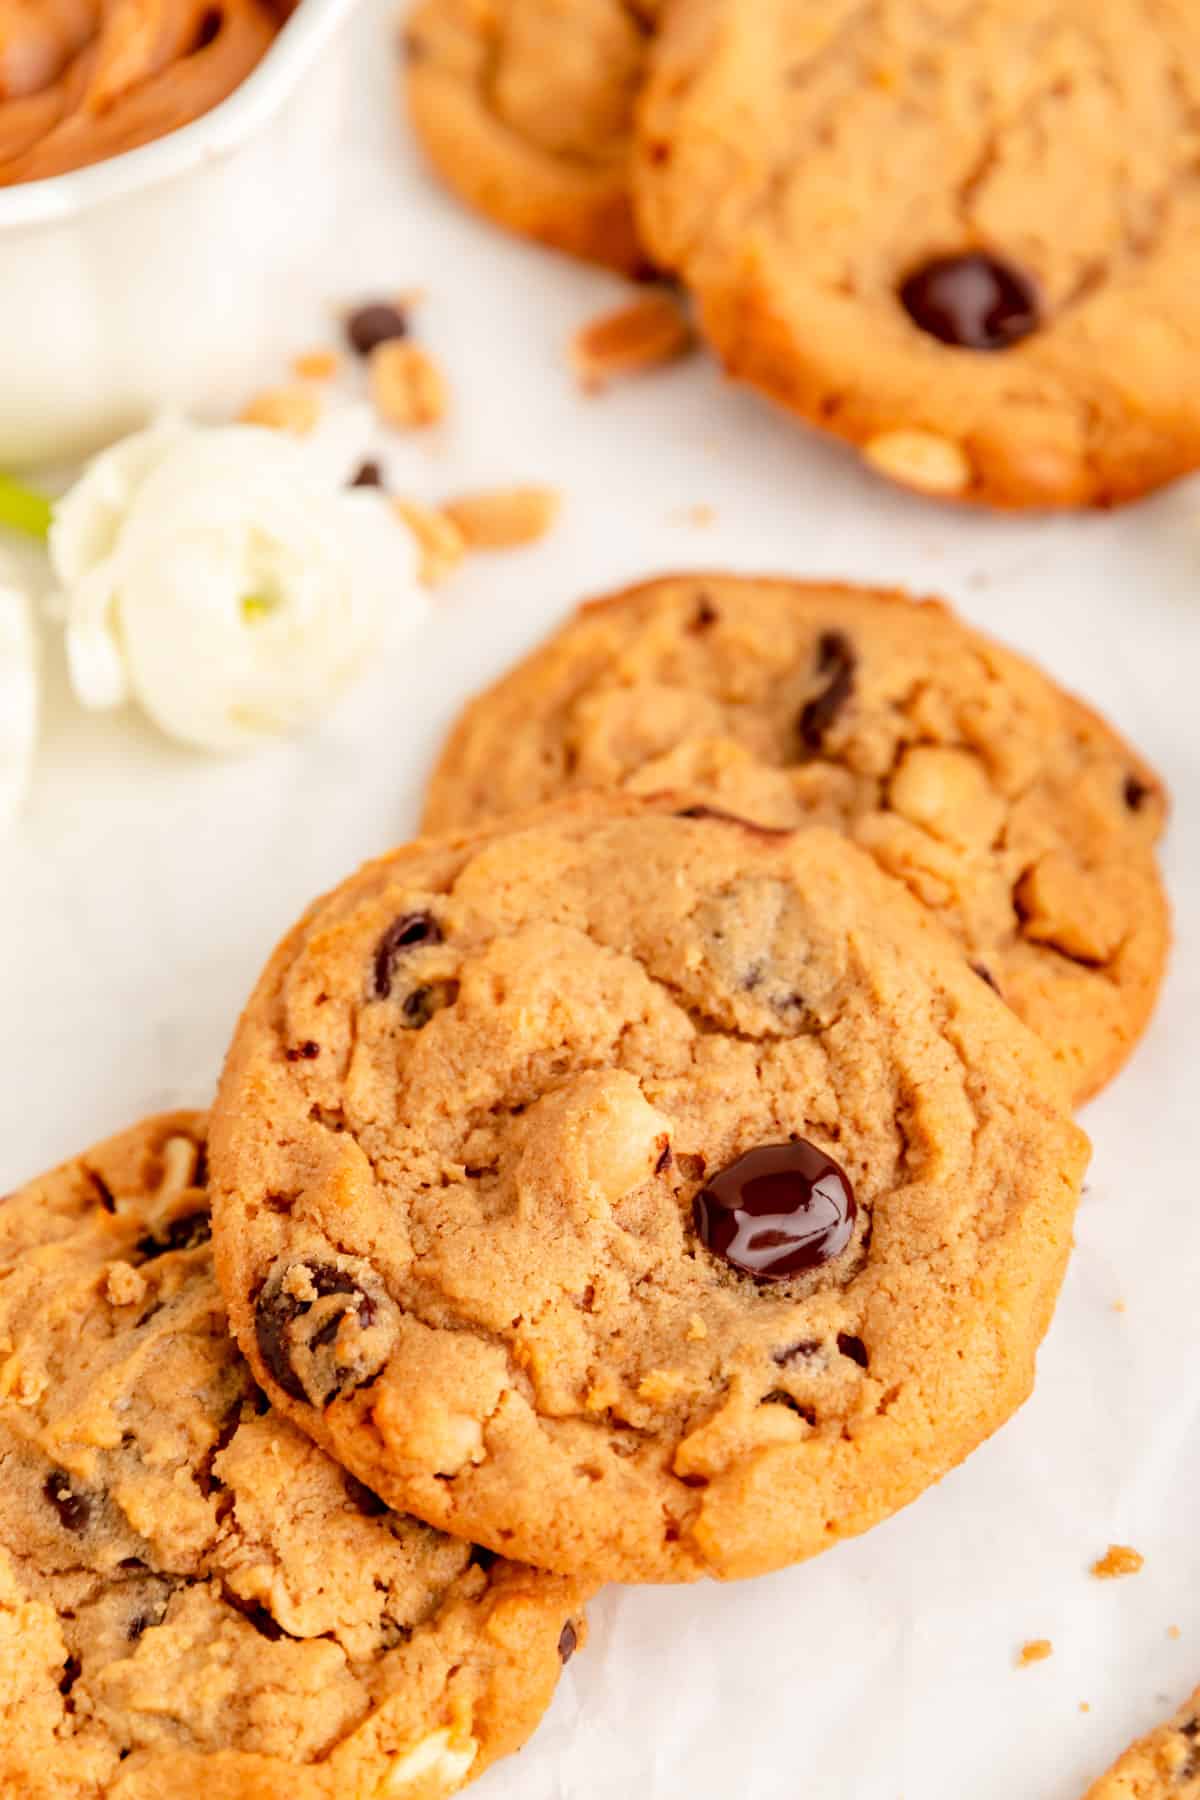
- Chocolate Chip + Nuts: you can use any combo of chips and nuts you like in these cookie, just make sure the total amount is 1 ½ cups. I love dark chocolate chips and dry roasted peanuts, but feel free to make this recipe your own by adding your favorite inclusion!
(p.s. for all the basic tips that no one ever taught you, that are super important to help you bake your best, check out my Baking 101 series!)
Special Tools You'll Need
- Hand or stand mixer: you'll need a mixer to get your butters and sugars light and fluffy, and to fully incorporate the eggs.
- 2" ice cream scoop: a scoop is optional, but very helpful for quick, even cookie portioning, especially because this is a softer dough.
How to Make Peanut Butter Cookies
(Pssst…if you're ready to just get baking, get all the details in the recipe card below!)
- Cream the butter, peanut butter, sugars, and vanilla together until very light and fluffy.
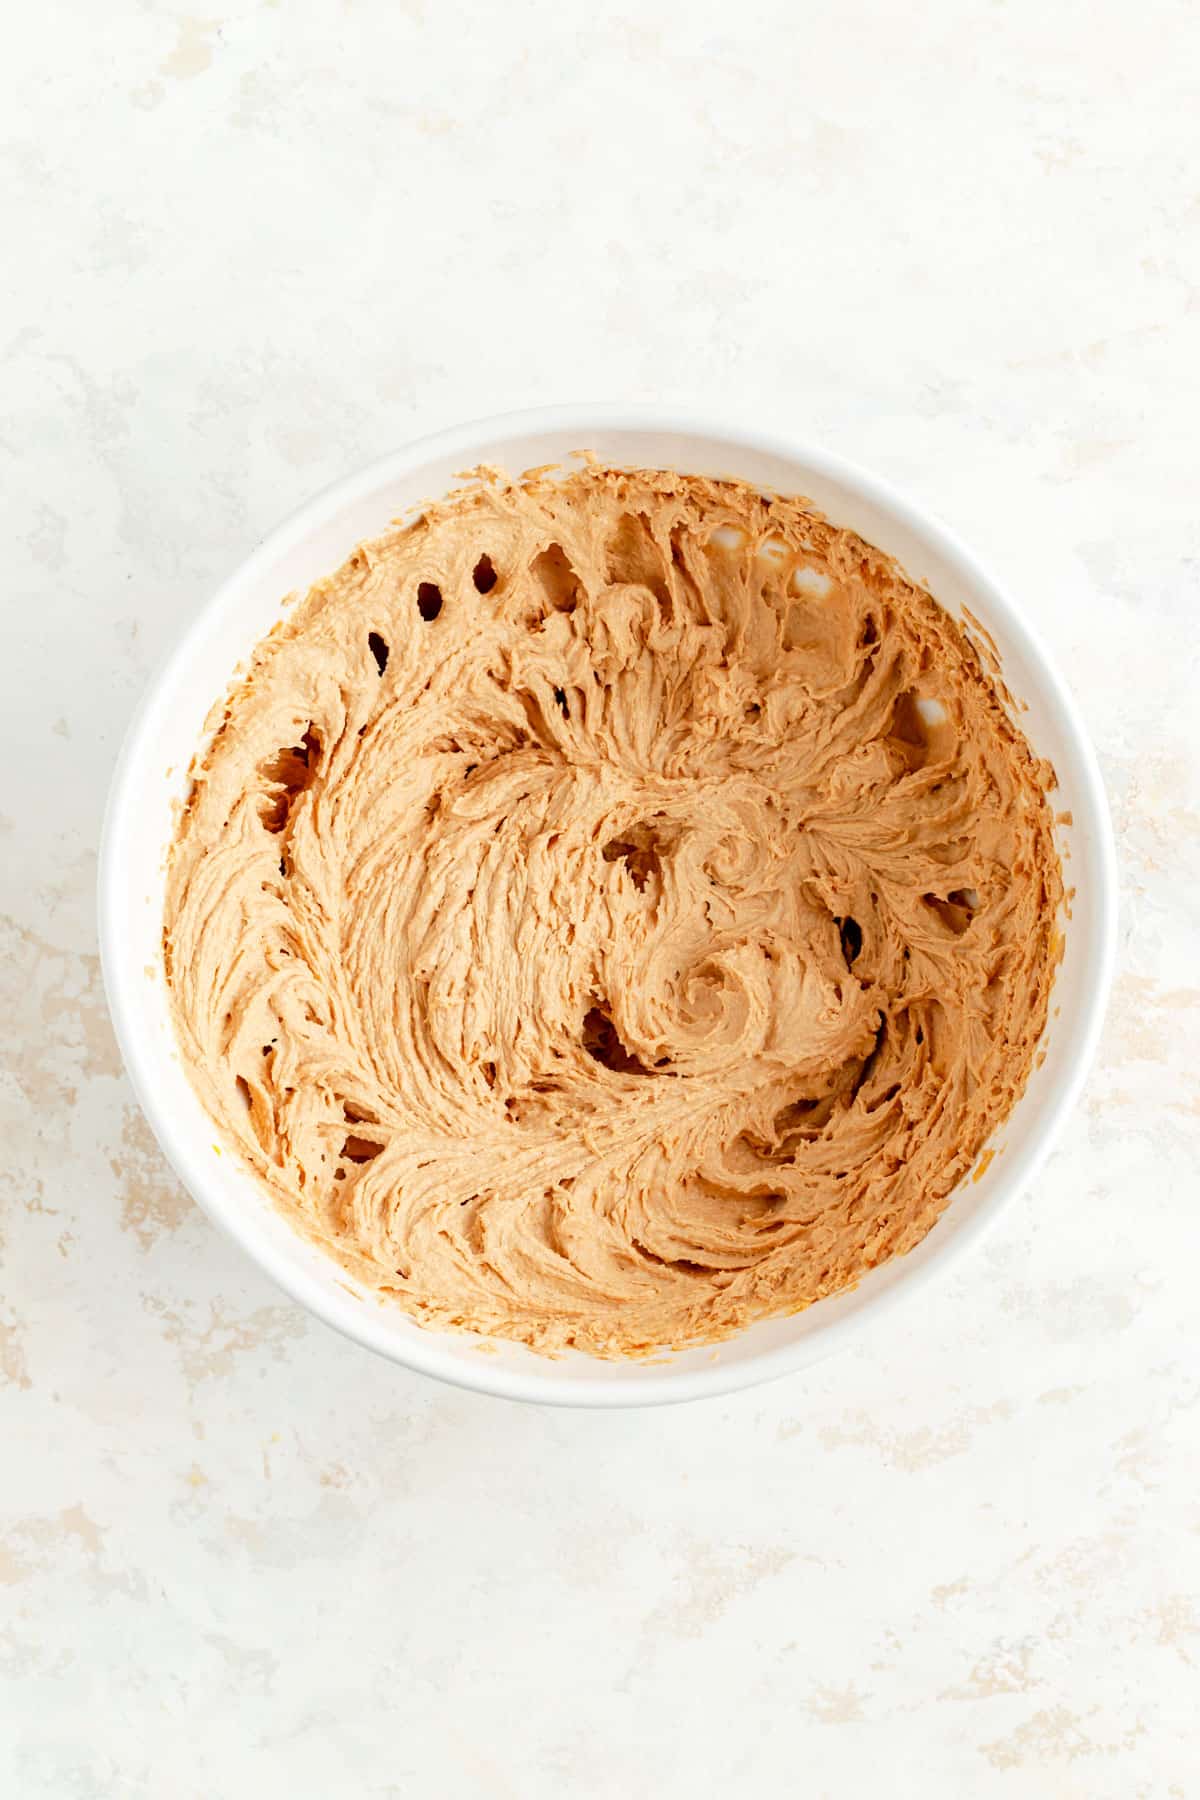
- Add in the egg and beat until the batter is smooth and fluffy again.
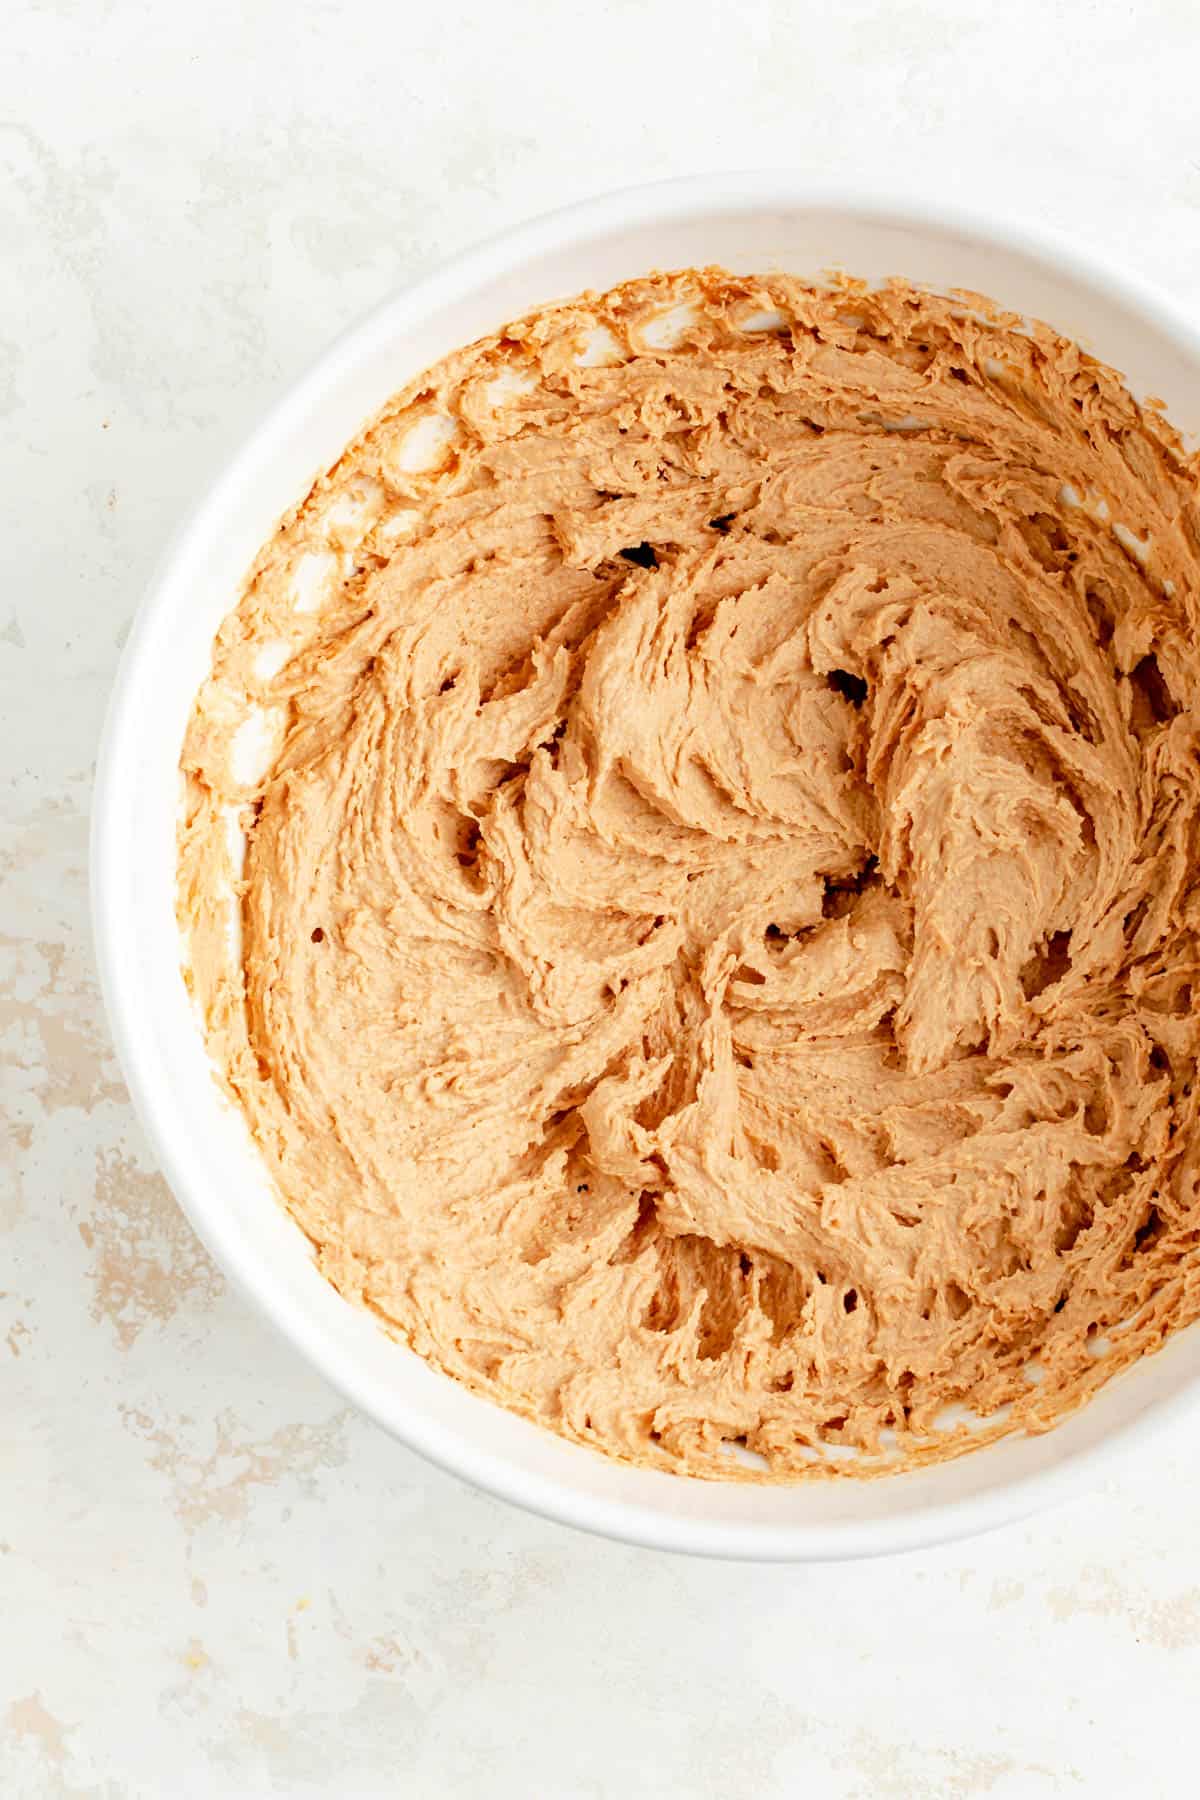
- Stir together flour, baking powder, baking soda, and salt in a small bowl. Add them to the batter, and mix just until the flour is incorporated.
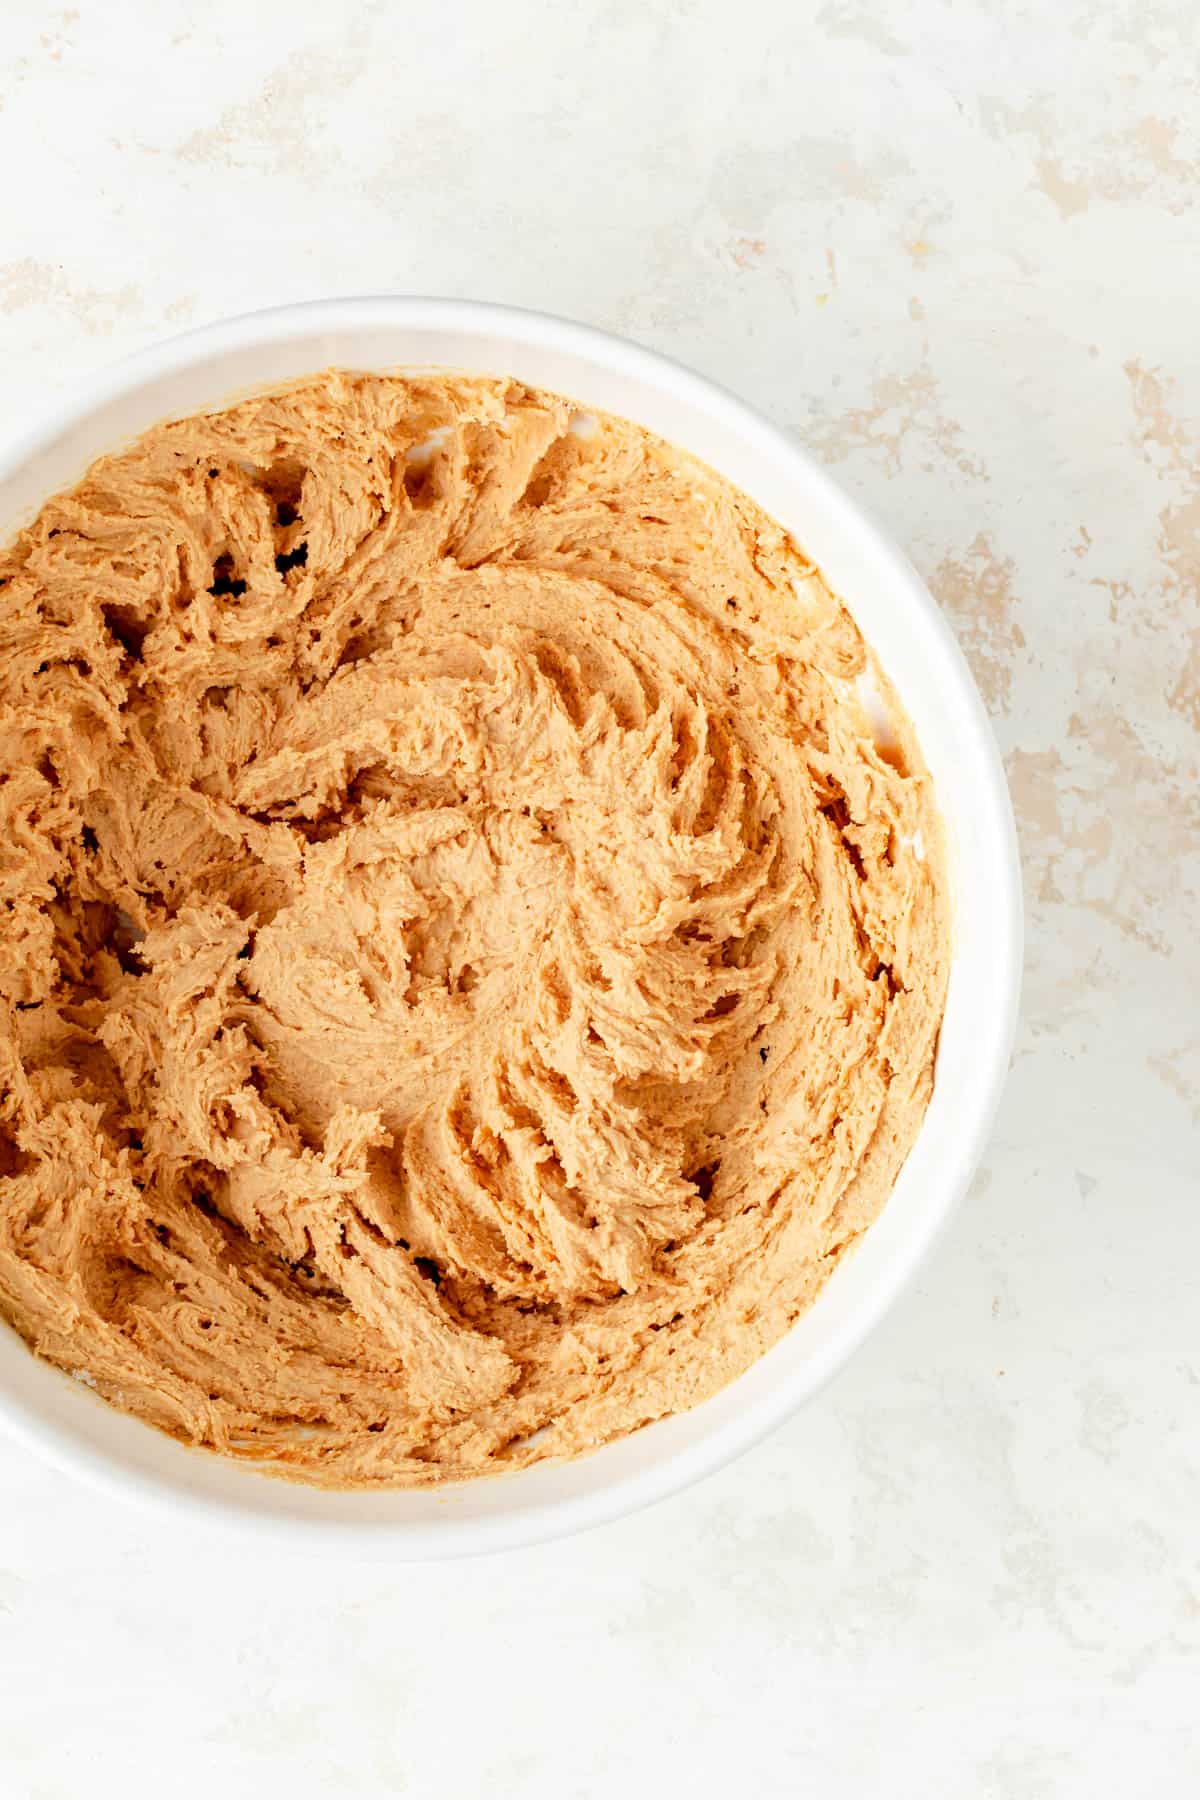
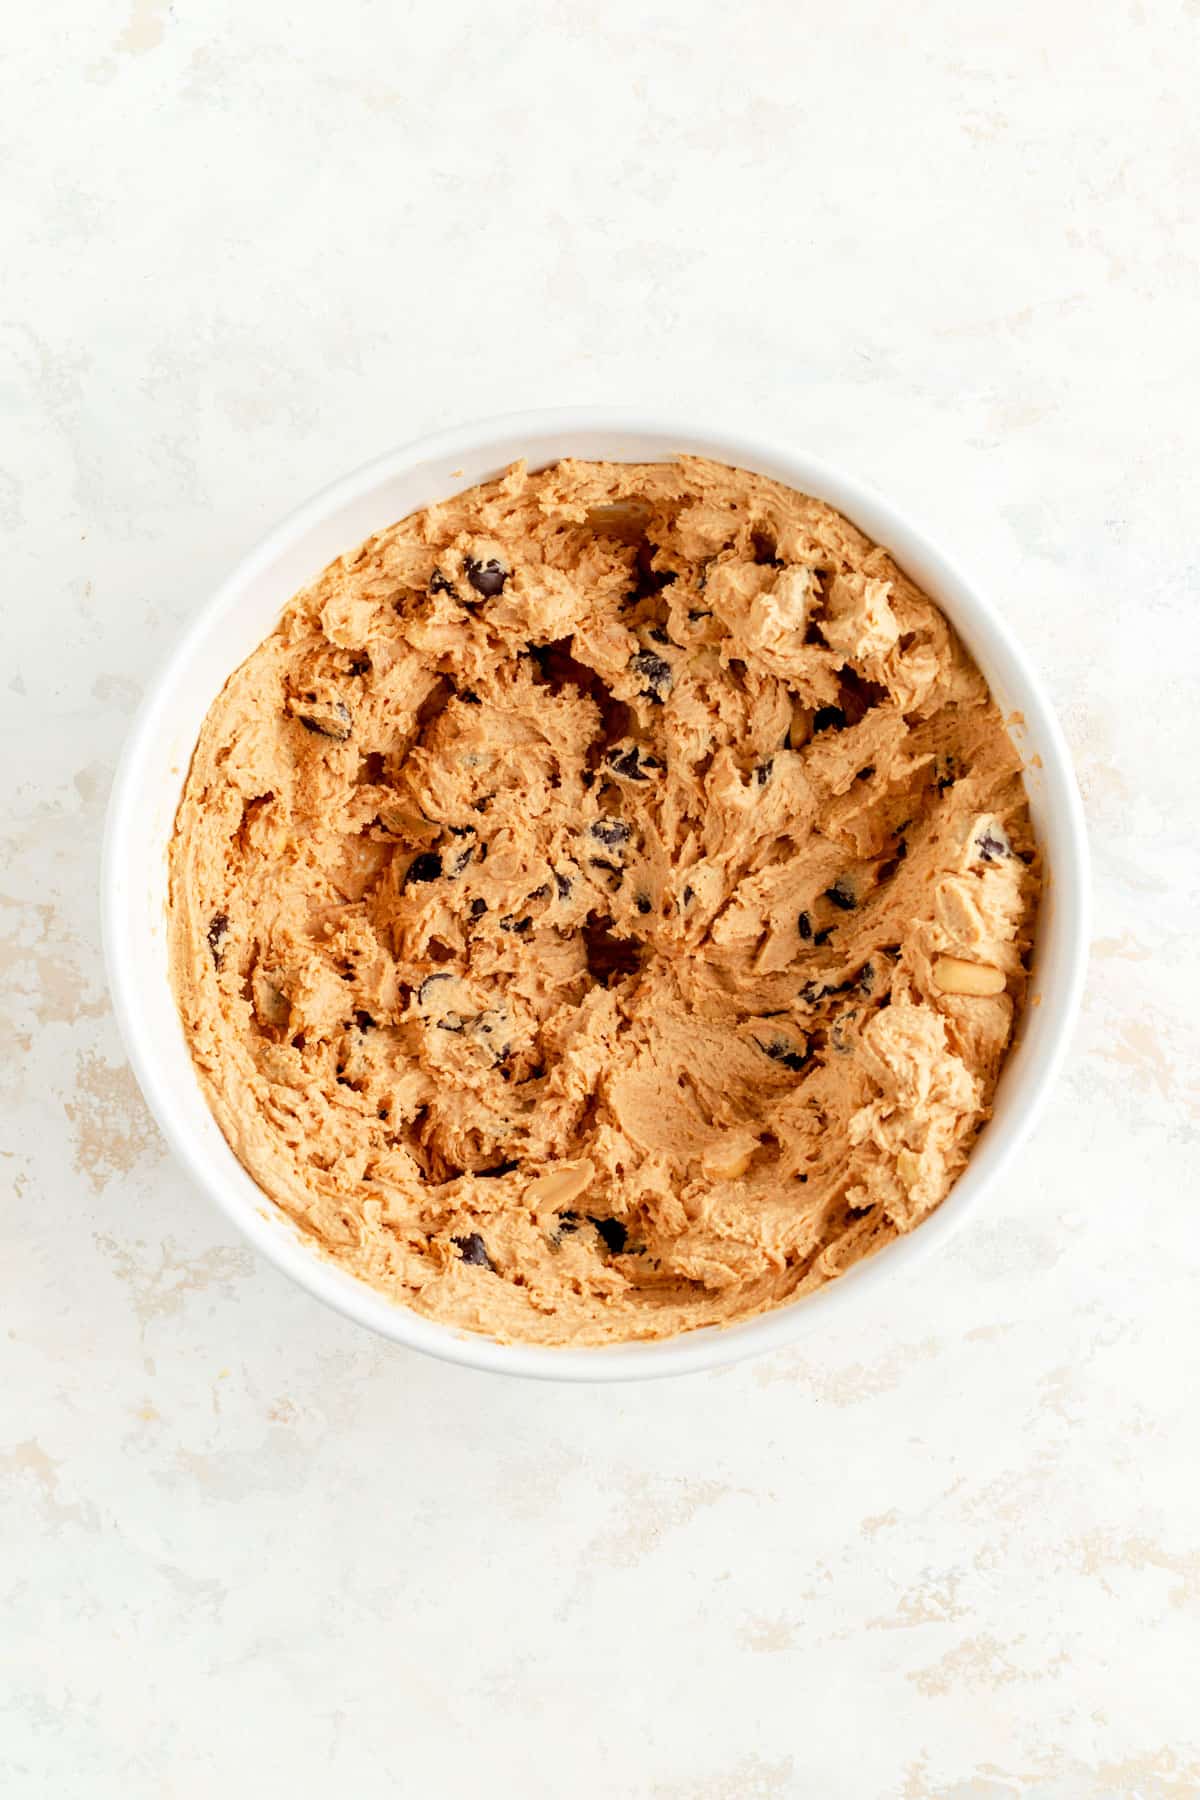
- If using, mix in the chocolate chips and/or peanuts, just until they’re evenly distributed in the dough.
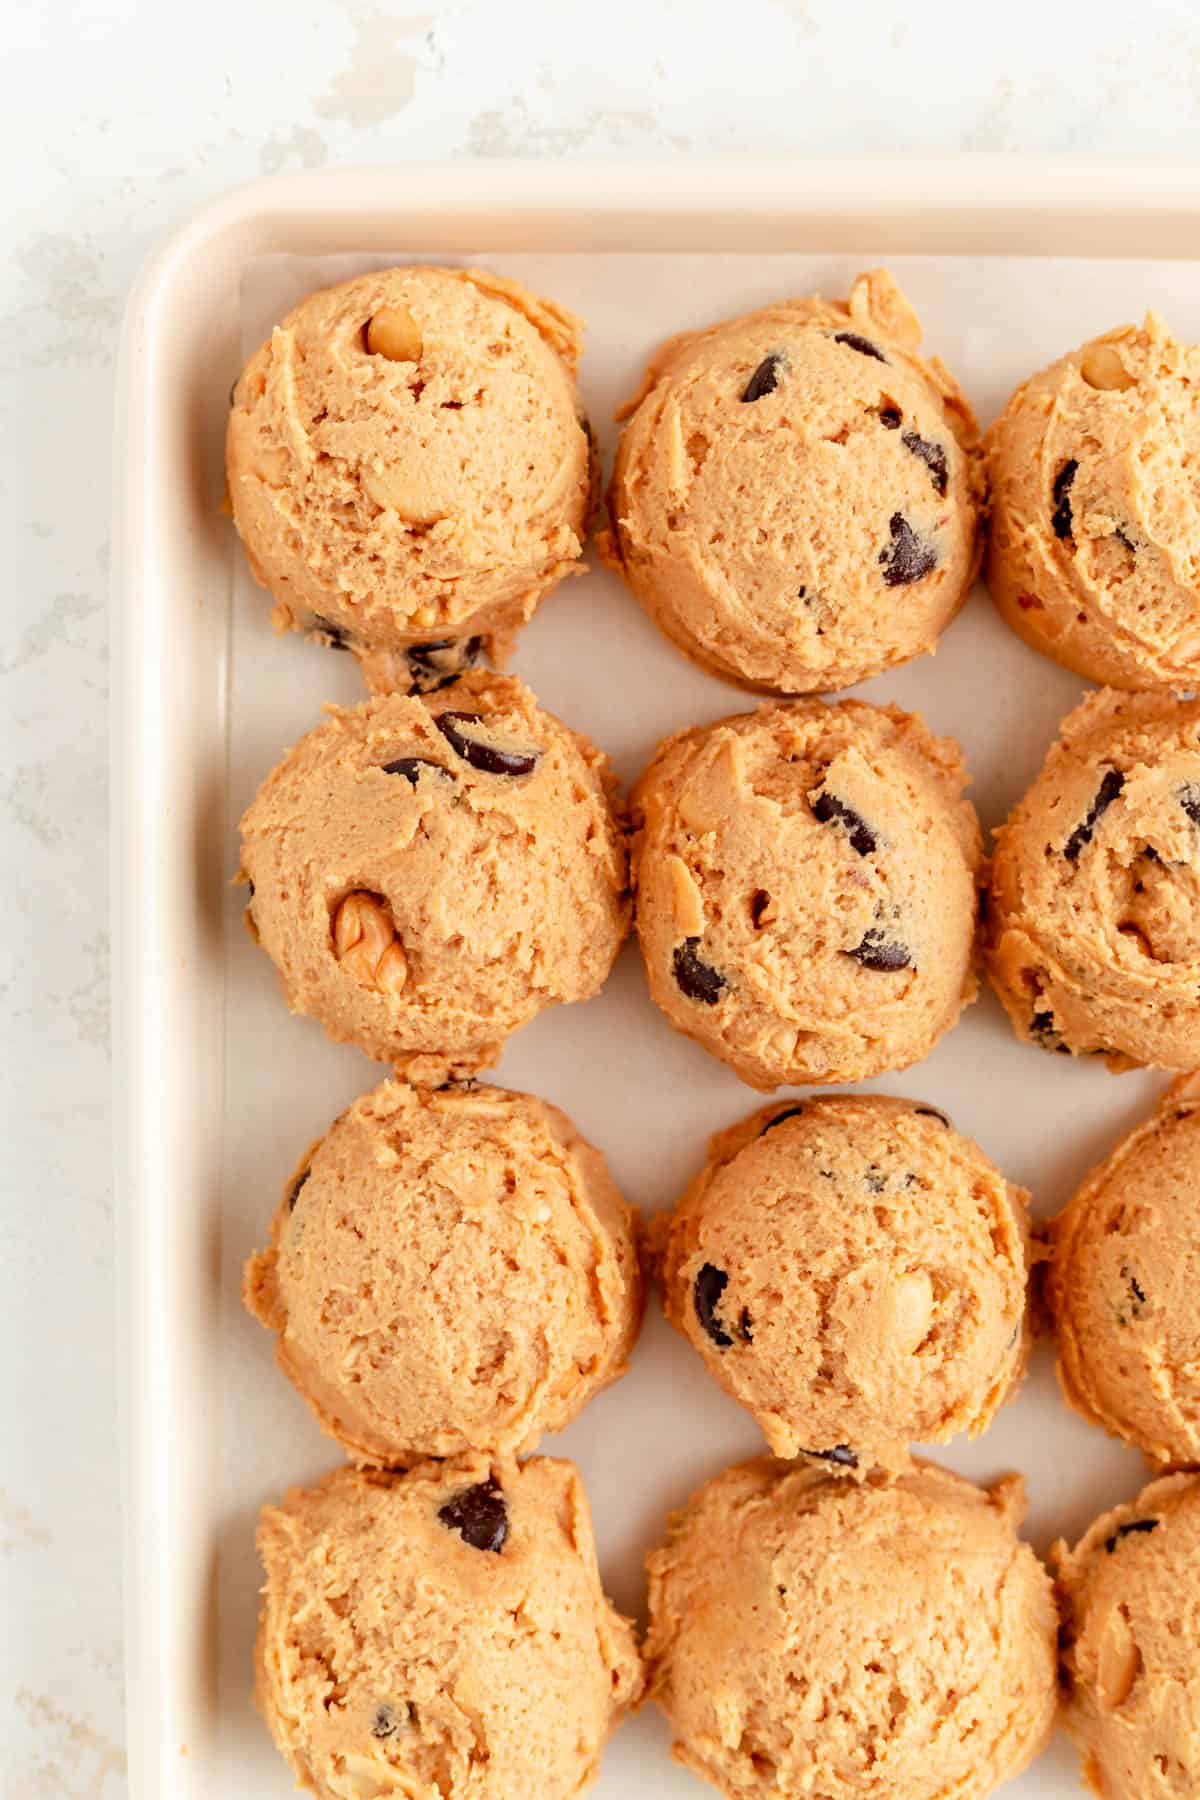
- Scoop dough into 2” rounds and drop onto a lined baking sheets at least 2” apart.
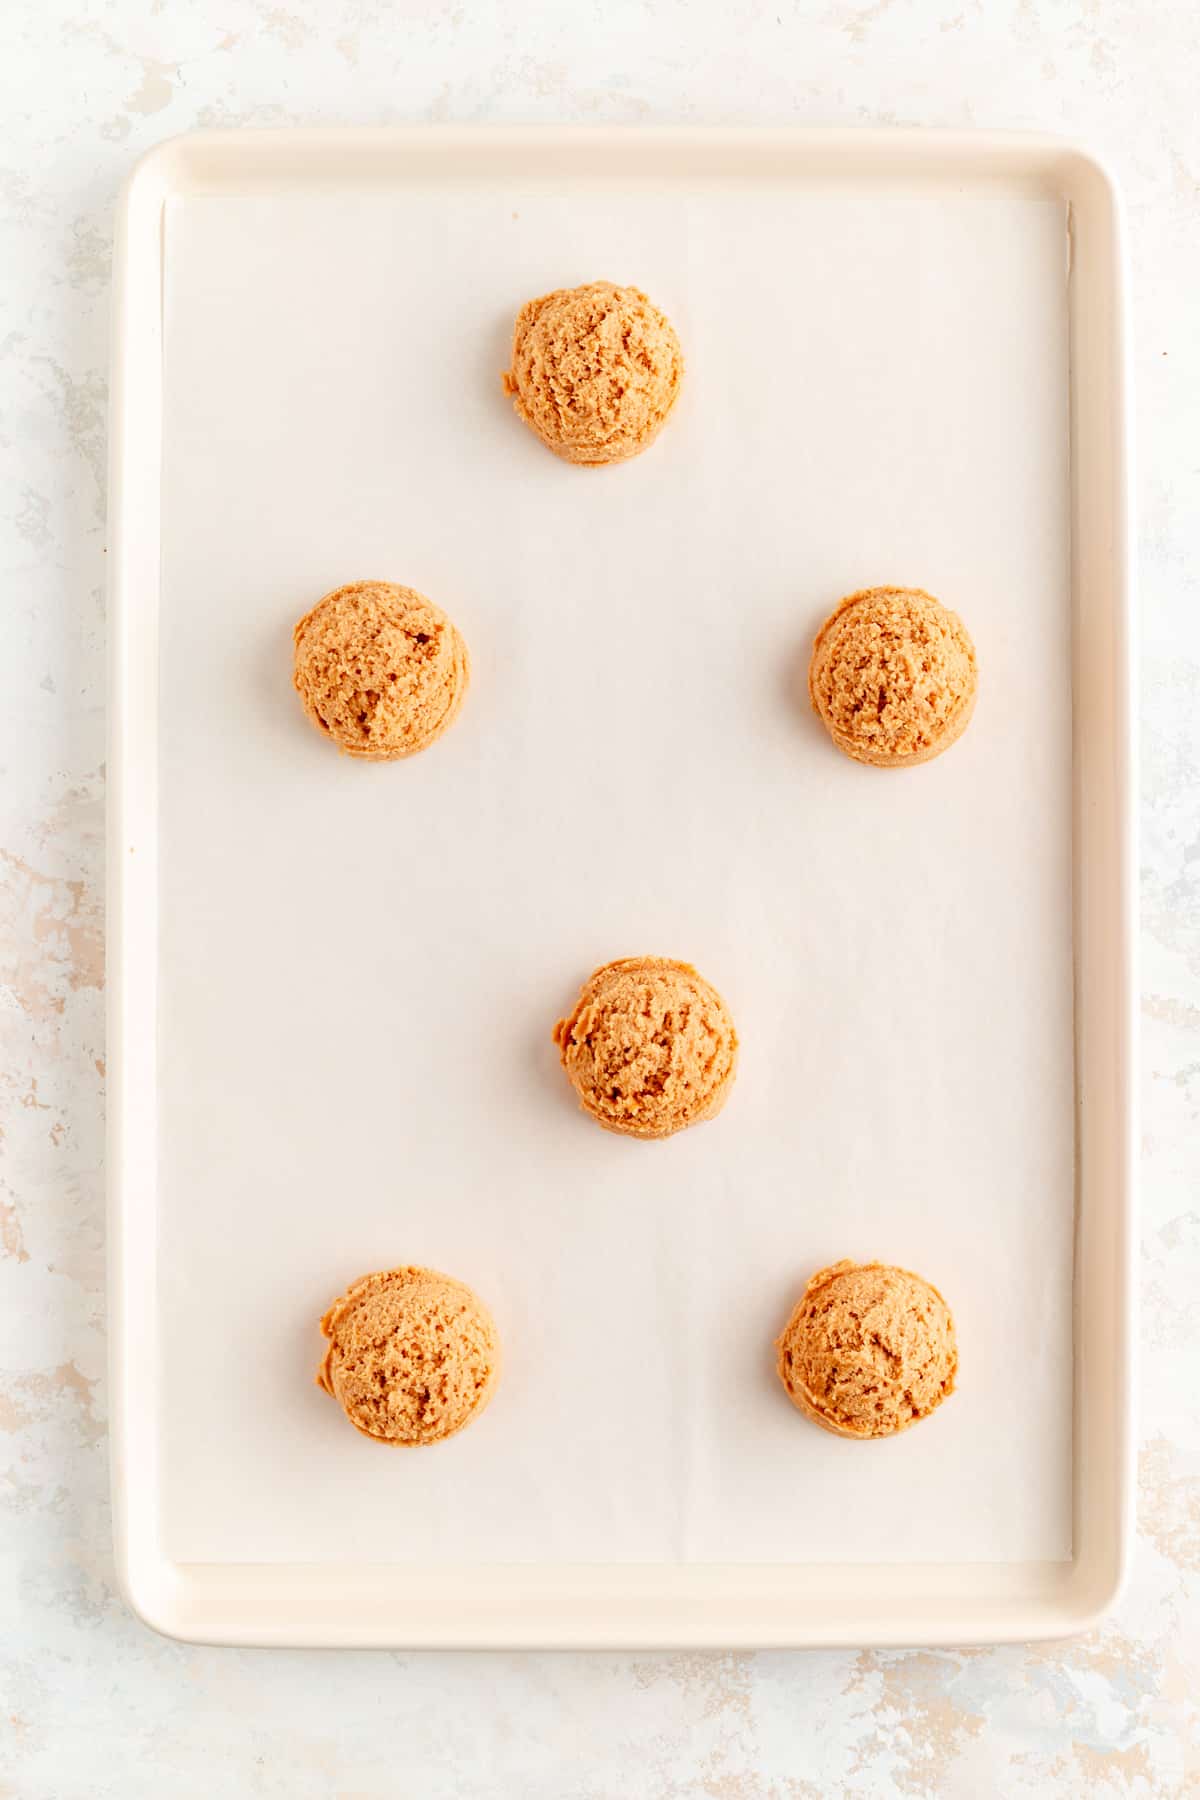
- Bake for 15-17 minutes, just until the bottoms are a medium golden brown, tops are crackly and look dry. As soon as you take the cookies out of the oven, knock the tray firmly on the counter to help create those crackly tops.
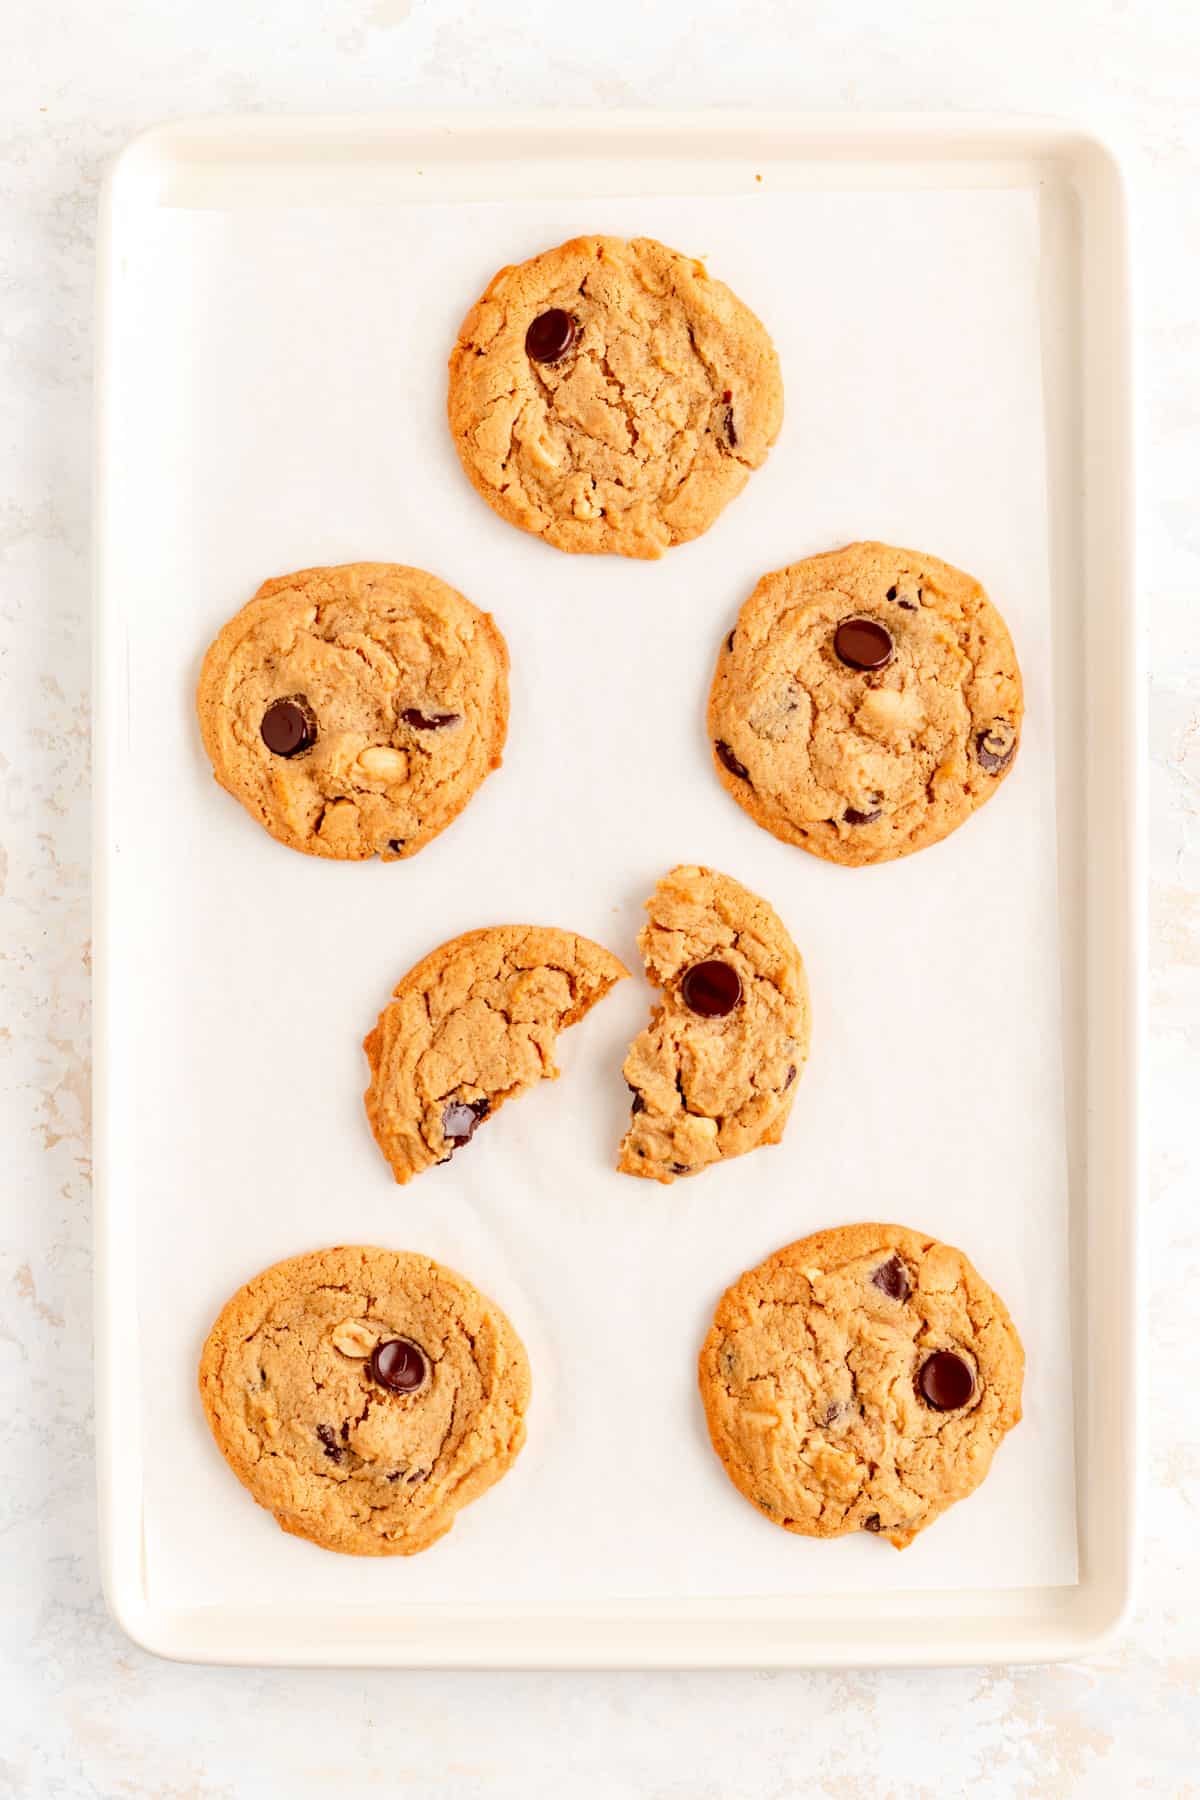
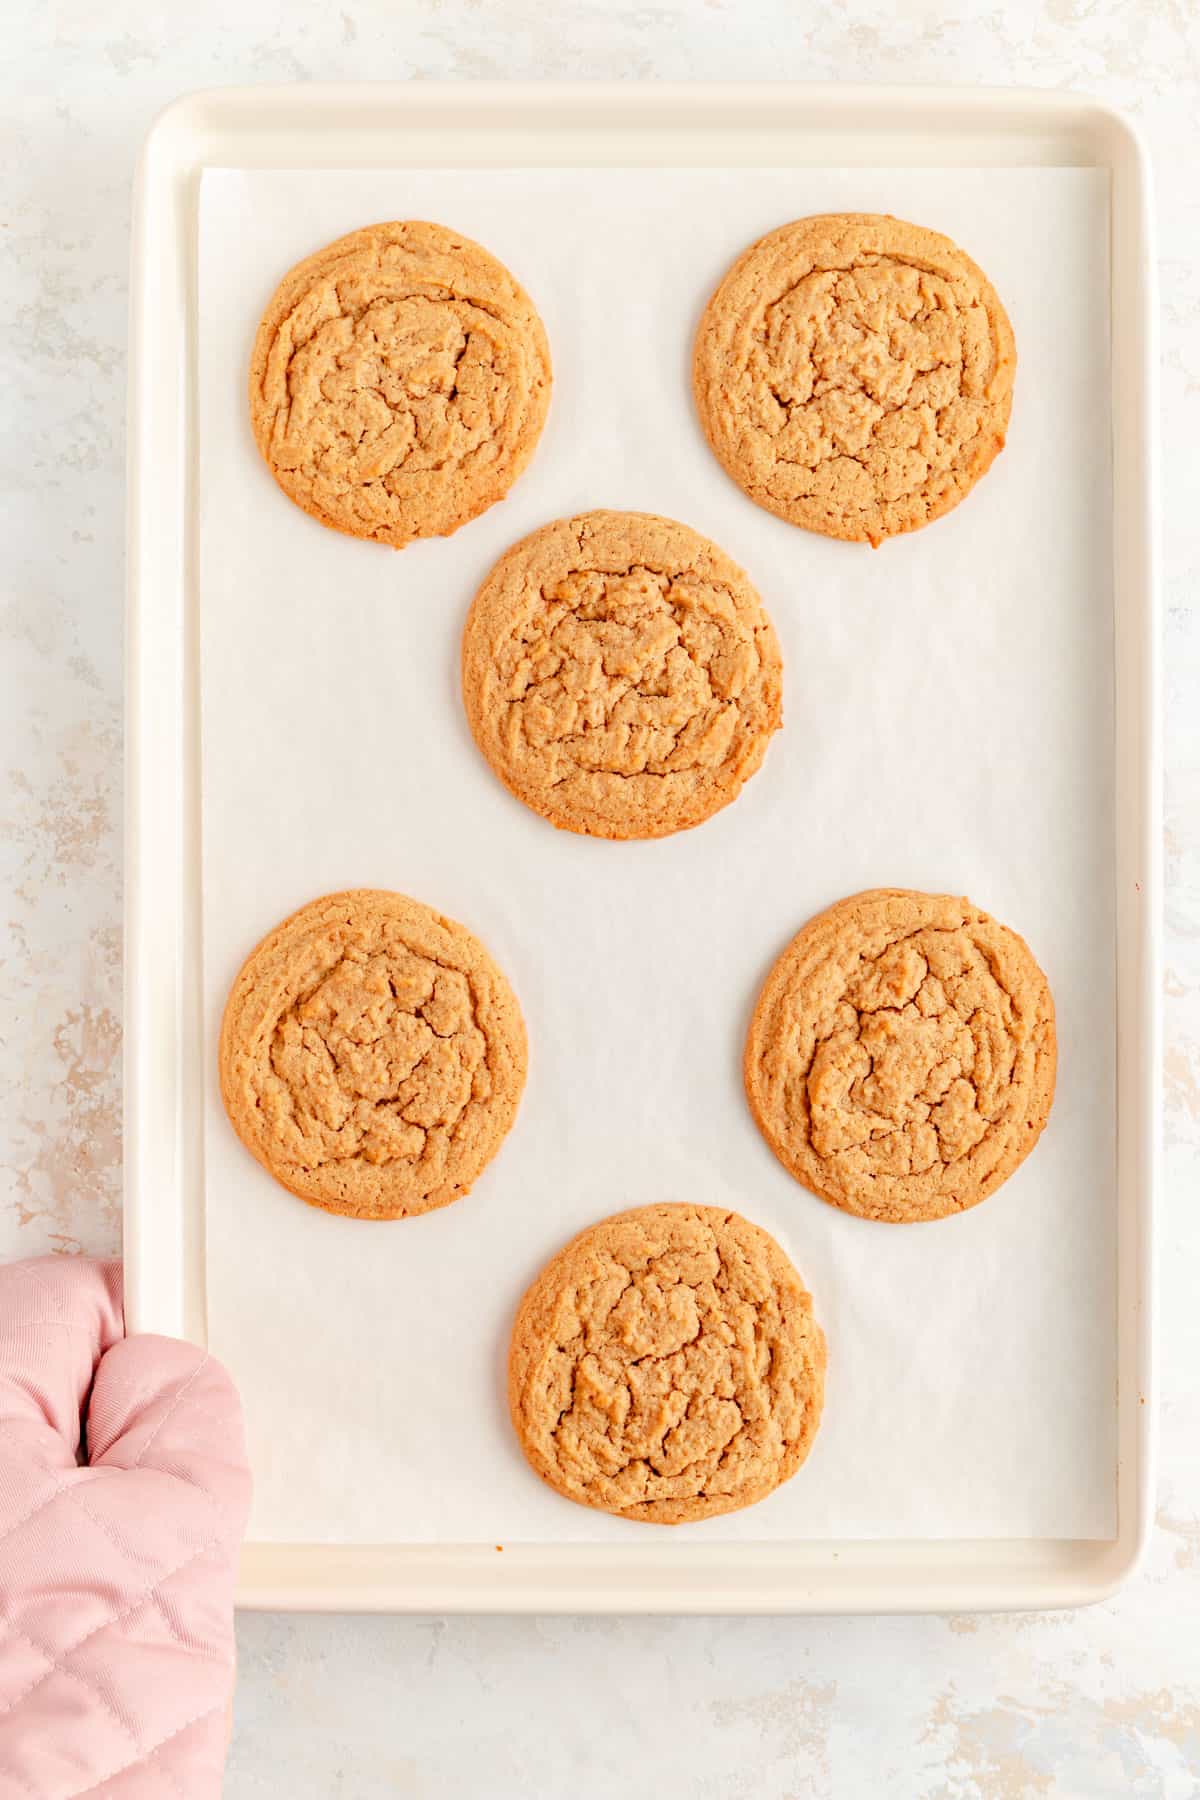
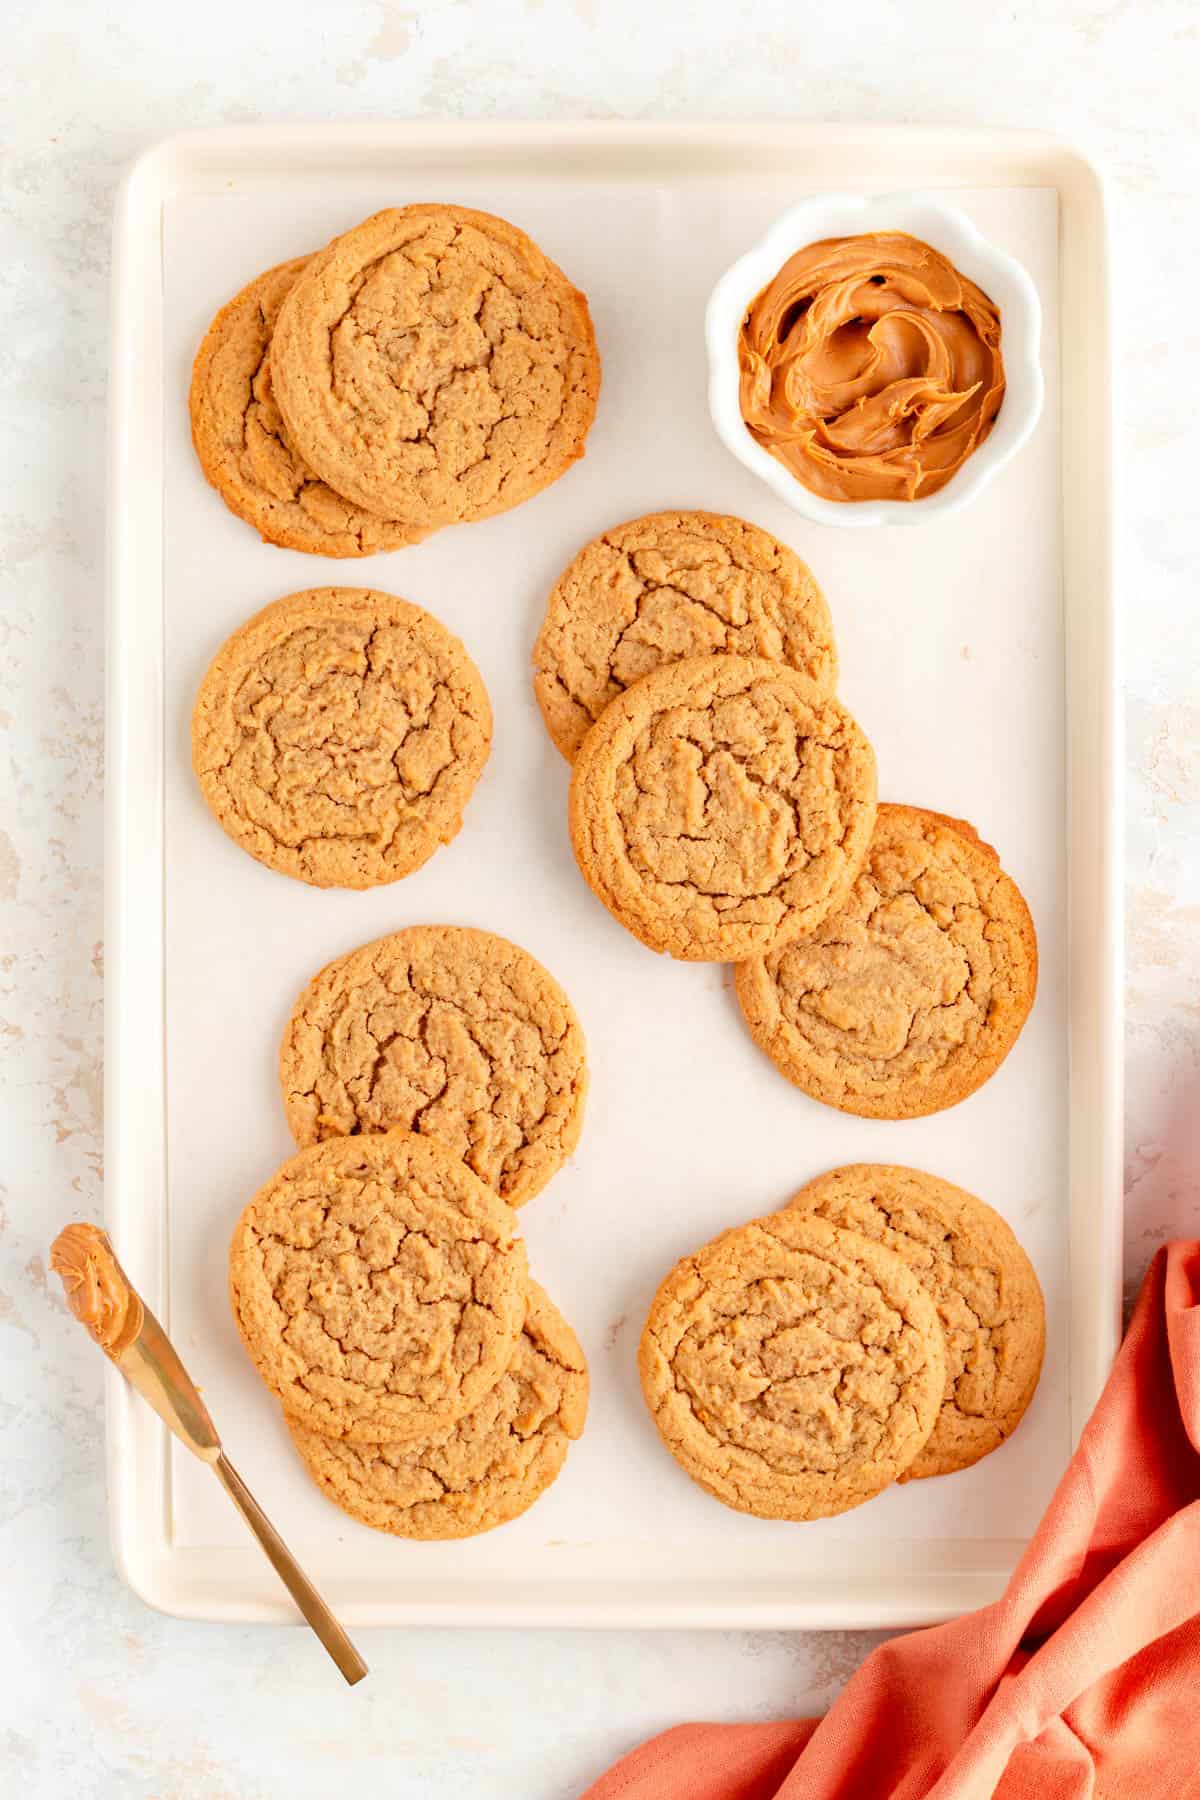
- Cool cookies as long as you can wait (usually 2 minutes or so in my kitchen lol), then pass around these nutty delights and enjoy!
Full video tutorial!
So that's the steps in a nutshell, but let's check out the full video tutorial below to see it all in action...
And check out the full RECIPE WEB STORY for a click-through tutorial!
Make This Recipe Your Own
- Change up the inclusions: because so many different chocolate chips pair deliciously with peanut butter, you can feel free to change up the inclusions each time you make this recipe to fit whatever sounds extra tasty to you that day.
- Add sea salt on top: if you love a good sweet and salty combo, feel free to add a sprinkle of flaked sea salt on top of your cookies right before they go in the oven. This is especially delicious if you added chocolate chips and peanuts.
- Roll in sparkling sugar: especially for the gluten free variation of these cookies, I love rolling them in a chunky sparkly sugar for extra crunch on the outside. To do this, just chill the dough for about an hour after mixing so it's easier to handle when sugar coating, then continue with the recipe as written.
- Make it with chunky peanut butter: if you only have chunky peanut butter around, feel free to use it and just skip adding peanuts. If you'd like, you could still add up to 1 cup of chocolate chips though!
Test Kitchen Tips for Sweet Success
- Get the butters fluffy: we want to really beat these cookies well before adding the eggs and dry ingredients. Whipping our batter well at the early stages traps air bubbles in the dough and lightens up what can be a denser cookie thanks to all the fat in there (this is why it's important to use a mixer!). When your dough heats up in the oven, those air bubbles expand to help the baking powder and baking soda give you that risen, crackly top.
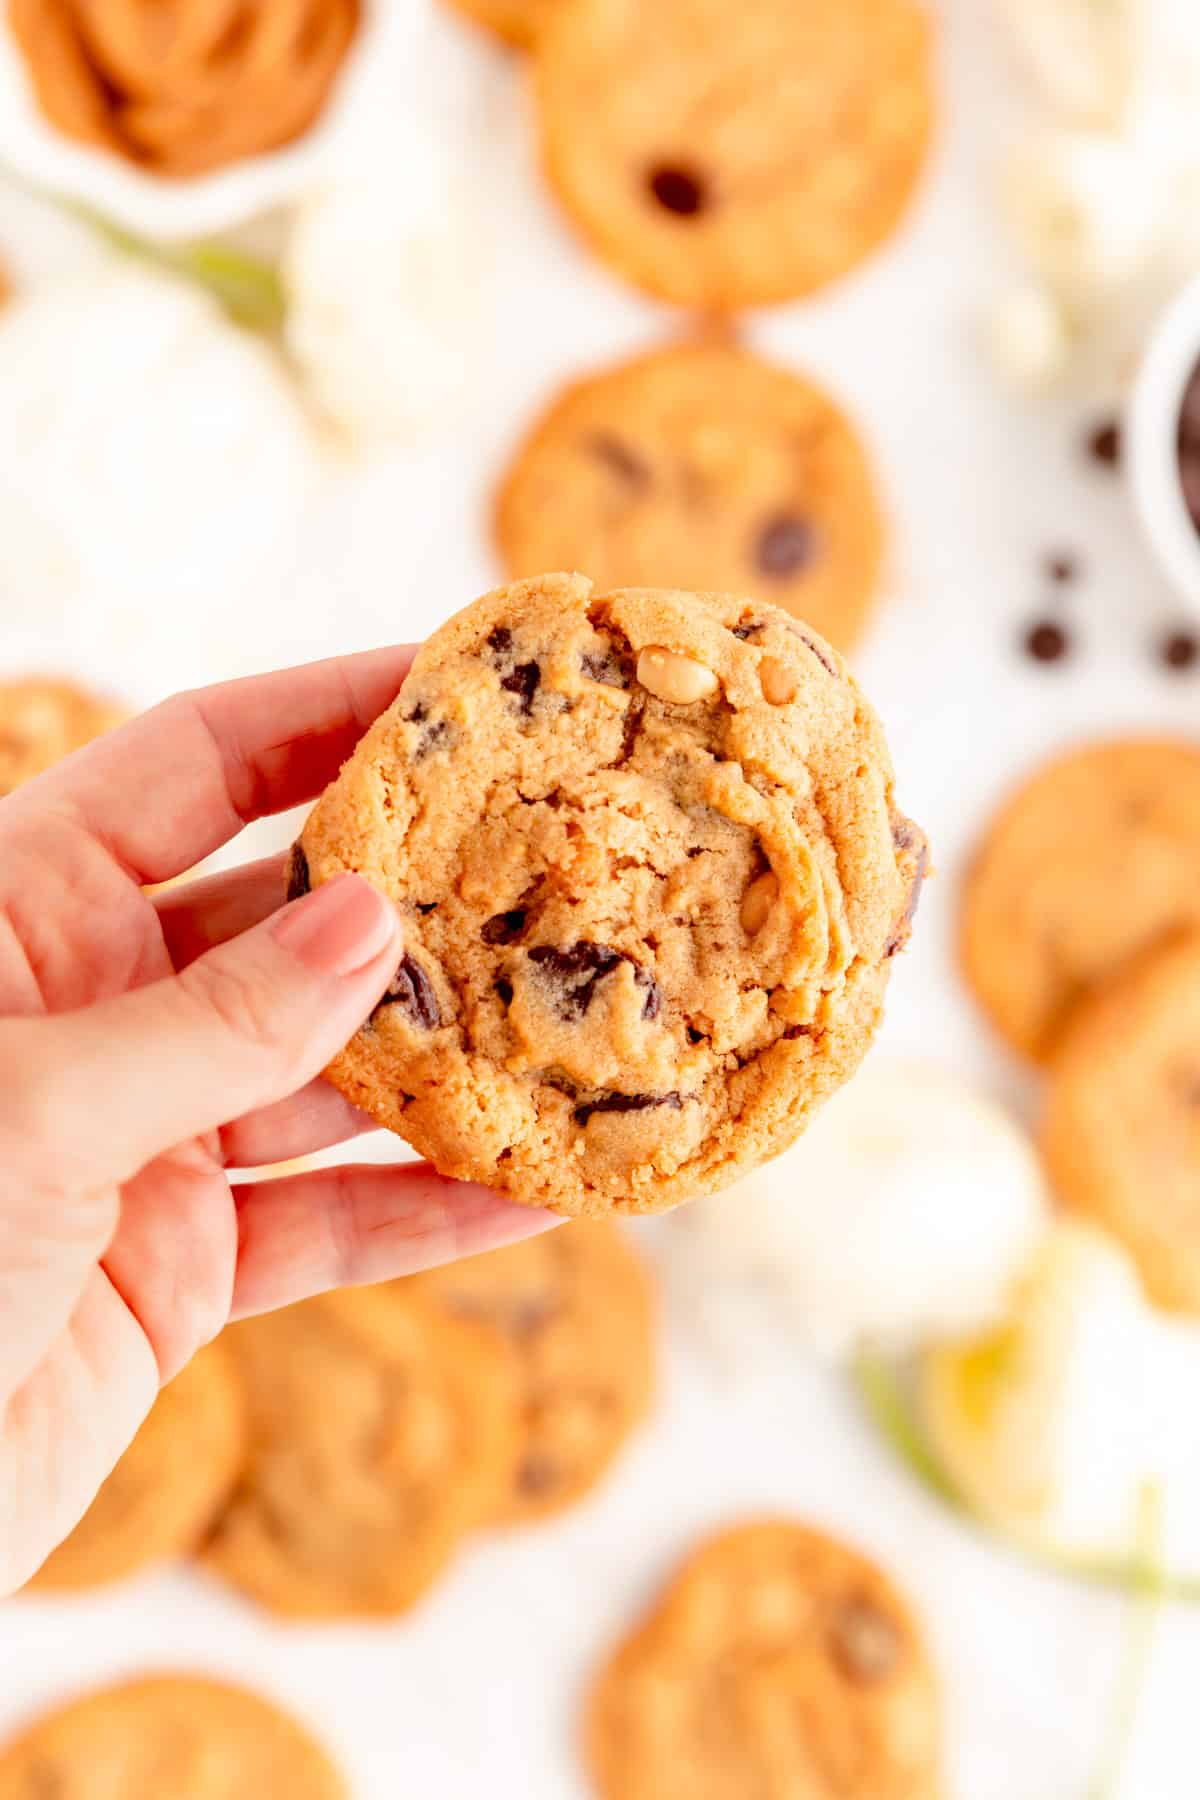
- Knock it when it's hot: hitting the cookies on the counter fresh out of the oven helps collapse their lofty domes and settle the molten batter to give you that nice chewy texture in the centers so be sure to not forget that step!
- Use a scoop: while not required, you’ll find an ice cream scoop to be very helpful for these cookies as the dough is quite soft. It will allow you to quickly and evenly portion and form your dough balls, let you skip rounding the dough balls by hand, and produce much more uniform cookies than scooping with a dinner spoon as well.
- Don't overbake! Because these cookies are supposed to be bendy and chewy, we want to make sure we don't over-bake them or they can turn into crunchy cookies quite quickly. This is why we want to look for set tops and brown bottoms, but also a slightly soft top and a little molten dough still peaking out through those cracks.
More Tips + FAQs
Can you make these cookies ahead of time?
While these cookies are best baked just after mixing at room temperature, you can bake them directly from the fridge or freezer in a pinch. Just know that doing so will make the cookies spread less and will yield taller cookies as well.
You can chill scooped dough balls for 1 month in the freezer or 3 days in the fridge. When baking chilled or frozen dough balls, you'll need to set your oven to 325°F, and increase your bake time to 16-19 minutes.
If you have time, I highly recommend you pull your chilled dough out 2-3 hours before baking and leave it on the counter to thaw to room temperature. That will get you closer to the original, just-mixed texture, in which case you’d bake your cookies at 350°F for the original 15-17 minutes.
How do you store leftover cookies?
These cookies rarely last more than a few days in our house (seriously). But, if you do need to store them, keep them at room temperature in an air-tight container for up to 7 days.
If your cookies get too dried out after a few days for your taste, just crumble them over some ice cream with hot fudge sauce for a delicious new take on a sundae!
Can you freeze peanut butter cookies?
Yep! While I always recommend baking cookies right after mixing for the best experience 99% of the time, you can absolutely keep these guys in a freezer to bake off in a pinch.
For details, check out the Can you make theses cookies ahead of time? FAQ above.
How do I make Gluten Free Peanut Butter Cookies?
This recipes is super easy to make gluten free as the only ingredient that naturally contains gluten is the all-purpose flour. You can replace the AP flour with whole grain oat flour, 1:1 by volume (please note the weight will be different), and just follow the instructions in the recipe card notes section for more details.
Please not that oat flour will make the cookies a little cakier, but they'll still be delicious.
What makes these peanut butter cookies chewy?
Brown sugar (which we have a lot of in this recipe) is one of the best ways to make a chewy cookie. It this recipe it was also really important to not overdo it with the peanut butter as all that fat leads to a typically crunchier cookie.
Last but not least, the bake time is also crucial for making the best chewy cookies.
To keep the centers chewy, you need to have them still a little pale and a hair under-baked when you pull them out of the oven. The easiest way to do this is just to follow those visual cues of a golden brown bottom and dry, yet just-barely set top.
Be sure to check your cookies frequently near their bake time so you can pull them out as soon as they're at the perfect doneness.
Other Cookie Recipes You'll Love
Craving more delicious treats? Here are a few of my other favorite cookie recipes:
- Raspberry Filled Shortbread Cookie Sandwiches (aka Jammy Dodgers)
- Bakery Style Chocolate Chip Cookies
- Oreo Chocolate Chip Cookies
- Easy Snickerdoodles (without cream of tartar)
- Classic Chewy Sugar Cookies
- Double Dark Chocolate Chip Cookies
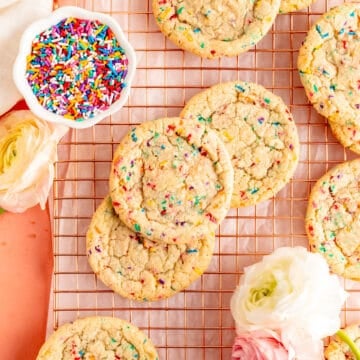
- Birthday Cake Sugar Cookies
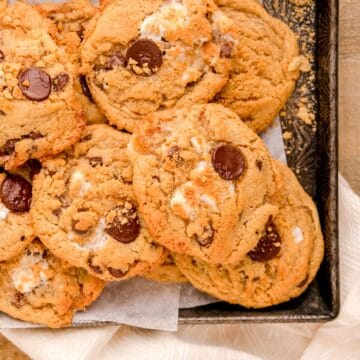
- Chewy S'mores Cookies
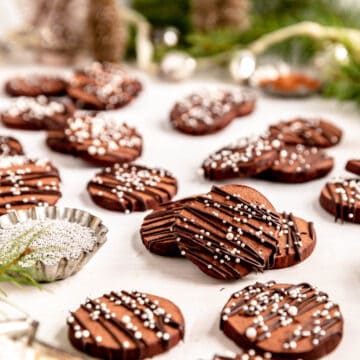
- Slice and Bake Chocolate Butter Cookies

⭐ If you gave this recipe a try please give it a ⭐ rating and tag me on Instagram @mint.and.mallow.kitchen so I can see what you're baking up! ⭐
📖 Full Recipe
Chewy Peanut Butter Cookies
Ingredients
- ½ cup 1 stick unsalted butter (softened)
- ¾ cup smooth peanut butter
- 1 cup light brown sugar (packed)
- ¼ cup sugar
- 2 teaspoons vanilla extract
- 1 large egg
- 1 cup all-purpose flour*1
- ½ teaspoon baking powder
- ½ teaspoon baking soda
- ¼ teaspoon salt
- 1 ½ cups chocolate chips peanut butter chip, and/or cocktail peanuts ( optional)
Instructions
- Prep and line: preheat your oven to 350°F and line two baking sheets with parchment paper.
- Cream butters, sugars, and flavor: cream the butter, peanut butter, sugars, and vanilla together until very light and fluffy for about 2 minutes on medium-high speed using a hand or stand mixer.
- Beat in the egg: add in the egg and beat for 30 seconds more on medium-high until the batter is smooth and fluffy again.
- Add in dries: stir together flour, baking powder, baking soda, and salt in a small bowl until blended. Add that dry mix to the batter, and mix on low speed just until the flour is incorporated (p.s. be sure to scrape the bowl really well about halfway through mixing!).
- Add chips and/or nuts, if using: add in the chocolate chips and/or peanuts all at once, and mix in on low speed, just until they’re evenly distributed throughout the dough.
- Scoop and tray: scoop dough into 2” rounds (using a scant ¼ cup of dough per cookie) and drop onto a baking sheets at least 2” apart. (An ice-cream scoop works really well for easy portioning here as the dough is very soft, but you can use just s spoon as well if needed!)
- Bake: bake for 15-17 minutes, just until the bottoms are a medium golden brown. The tops should be crackly and look dry, but the dough peeking through the cracks may still look a little molten which is good (a touch underbaked is actually good for these cookies as they’ll crisp up when they cool).
- Knock ‘em down: as soon as you take the cookies out of the oven, knock the tray firmly on the counter, or hit it a few times from underneath with an oven mitt on (this helps to settle the molten batter while it’s still all gooey and give you that nice crackly finish).
- Cool, share and enjoy: cool cookies as long as you can resist the toasty scents wafting through your kitchen, then pass around these nutty delights and enjoy!
Video
Test Kitchen Tips
- *1Gluten Free Peanut Butter Cookies: if you’d like make these cookies gluten free, you can use 1 cup certified gluten free whole grain oat flour (105g) in place of the all-purpose flour, and ensure all your other ingredients are certified gluten-free as well. The gluten free version of these cookies will be a bit cakier instead of chewy, but they will still be a delicious wheat-free alternative!
- Sweet n’ Salty: if you love a good sweet and salty combo, feel free to add a sprinkle of Maldon salt on top of your cookies right before they go in the oven. This is especially delicious if you added chocolate chips and peanuts.
- Storage: while of cookies are always best when freshly baked, you can store these cookies at room temperature in an air-tight container for up to 7 days.
- Fridge or freezer bake: while I prefer these cookies when baked fresh just after mixing, you can chill this dough for up to 3 days or freeze it for up to a month. To bake from chilled or freezer, set oven at 325°F, and know that your bake time will be a little longer (16-19 minutes). Cookies baked from the fridge or freezer, and cookies with added chips or nuts will be a little taller, a little doughier, and spread a little less than those that have no add-ins or are baked immediately after mixing.







Hope says
I want to subscribe to your recipes.
Jocelyn at M+M says
I'm so happy to hear that hope! You can just follow the "Subscribe" button on the top of my site to enter your info if you're on a mobile device, or if you're on a desktop web browser, you can scroll to the bottom and click on "newsletter" under the "contact" section. If you'd prefer, I can also sign you up on my end, so just let me know if that's what you'd like me to do. Thanks so much for your interest in joining our sweet little community here at MINT+MALLOW!