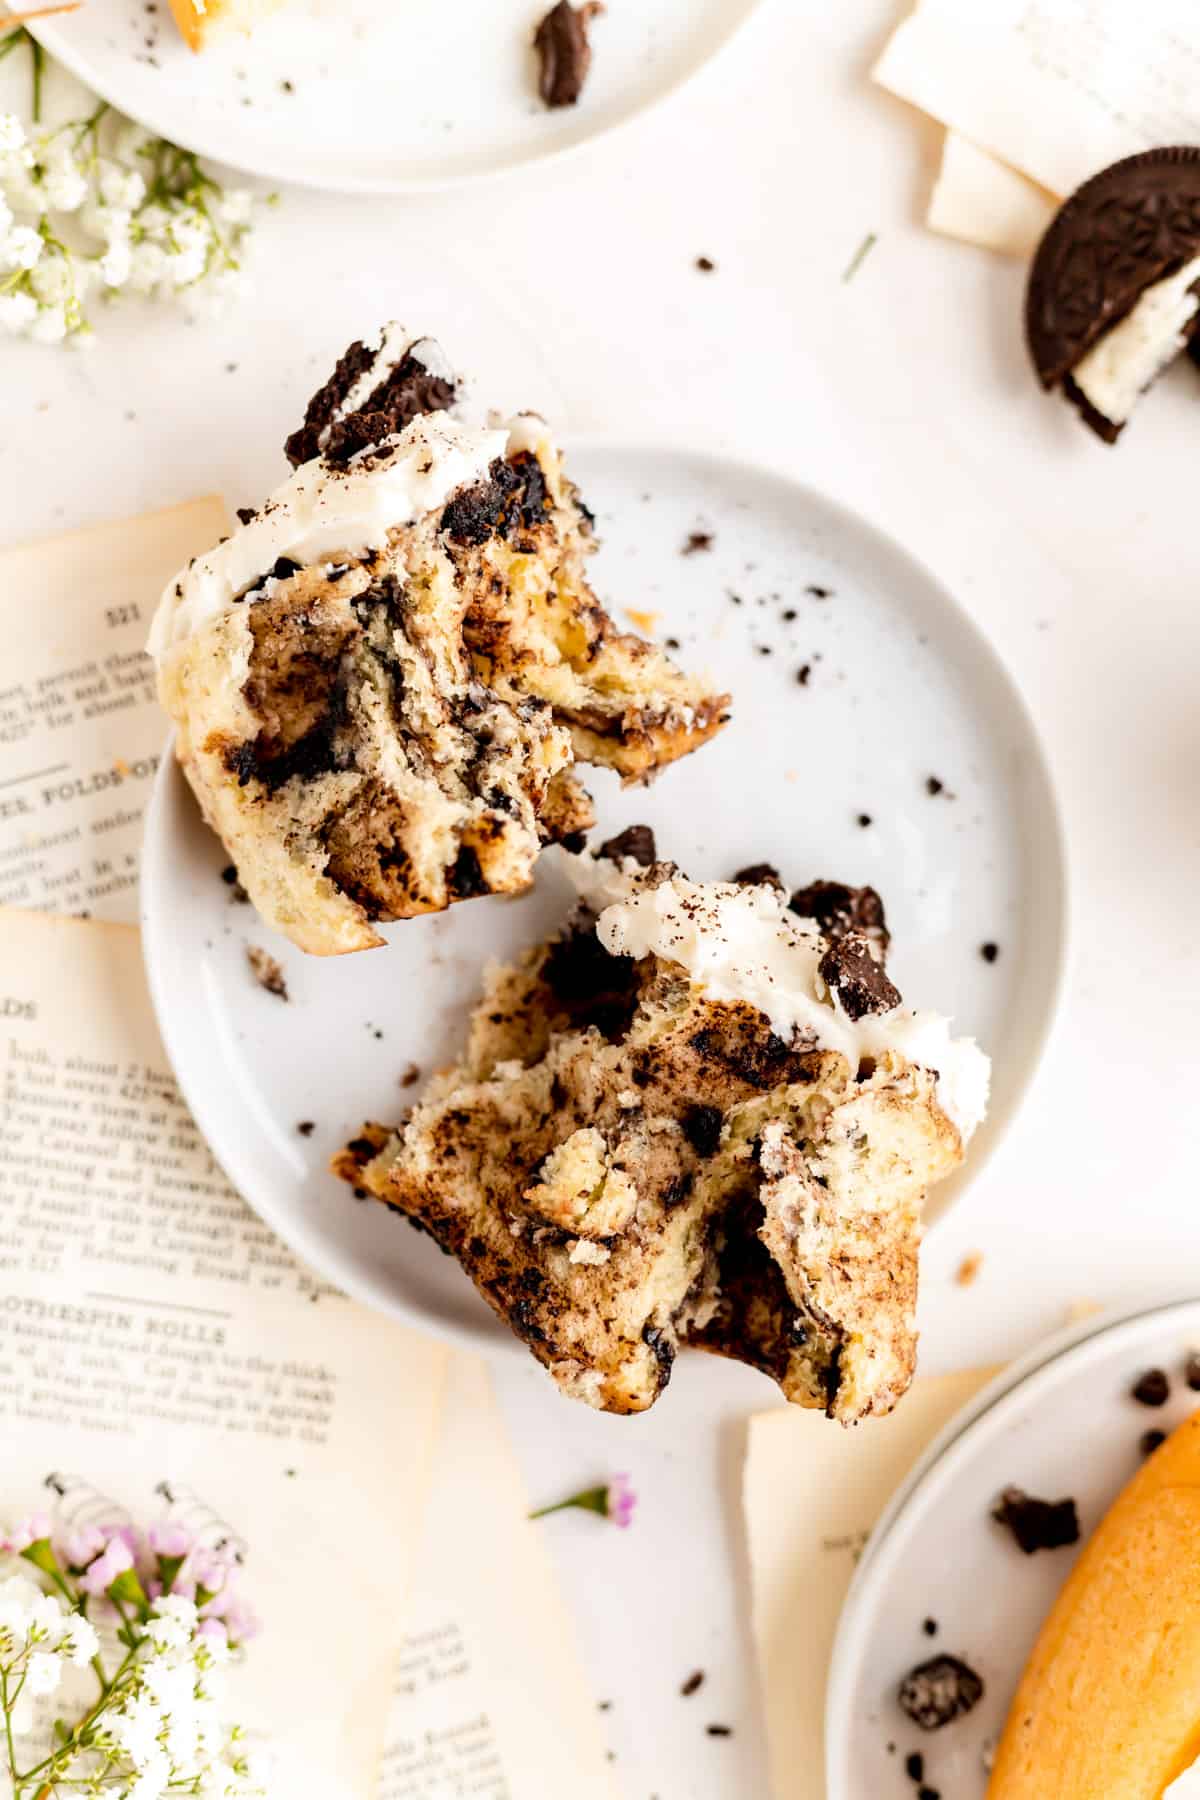
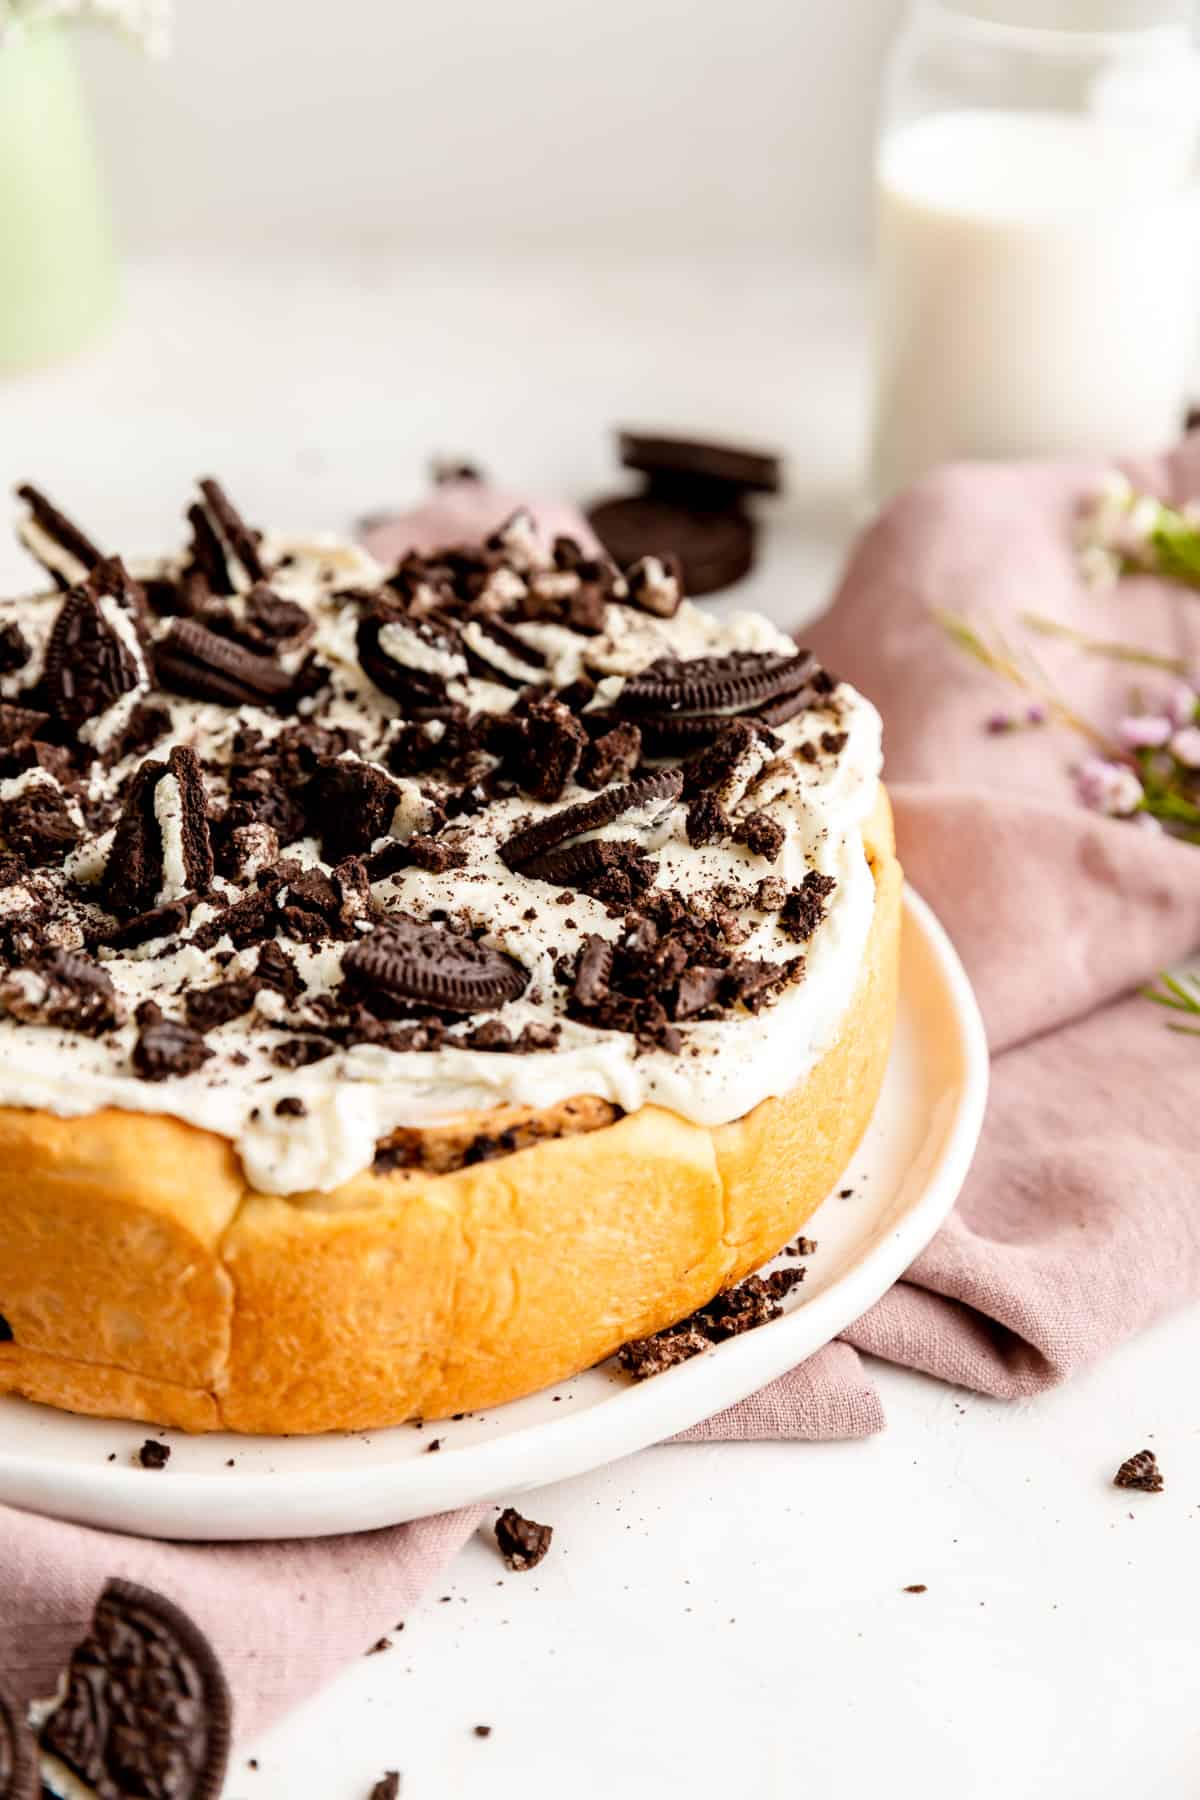
These soft, fluffy, and perfectly gooey Cookies and Cream Cinnamon Rolls are packed full of Oreo flavor and topped with a luscious cream cheese icing. Made with an easy prep classic brioche dough, these rolls have the best of a beloved breakfast treat and one of our favorite sandwich cookies baked into one decadent roll!
Jump to (scroll for more!):
- A Classic with a New Cookies n' Cream Twist
- Kneading with a Mixer or Bread Machine
- Overnight Prep for Morning Yums
- Ingredient Tips for Better Baking
- Special Tools You'll Need
- How to Make Oreo Rolls from Scratch
- How to Make Cream Cheese Icing for Cinnamon Rolls
- Assembly video tutorial!
- Pick your favorite flavors!
- Test Kitchen Tips + FAQs
- Other Breakfast Treats You'll Love
- 📖 Full Recipe
- Comments
A Classic with a New Cookies n' Cream Twist
These cookies n' cream rolls start with a classic buttery brioche dough that I have designed to be mixed entirely in a stand mixer with a dough hook or in your bread machine. So if you're not super familiar with kneading bread dough - don't worry!
I've also included plenty of step-by-step photos so you know what to look for to know your dough is ready at each stage of the process.
This rich dough is also super easy to roll out compared to others. You can then fill it with either the traditional cinnamon or cocoa powder for an extra chocolate hit.
Then come the Oreos as crushed cookies cover that sugary filling before rolling everything up. Then we'll finish it all off with a thick and luscious cream cheese icing on top! (Or if you're looking for another dose of Oreo flavor, you can always top these with a half-batch of my Oreo Buttercream!)
And in terms of how the final product will turn out...
Well, my husband's review was: "if you told someone these were poisonous, they'd probably still eat them because they taste that good"...so let's get bake, and see if you agree!
Kneading with a Mixer or Bread Machine
As I mentioned above, I wanted this dough to be easy to make without any hand mixing required.
Brioche is really high in butter and has an egg in it unlike traditional sandwich breads. This means it's delicious, but also that it can be a sticky mess to knead by hand. The dough stays extra tacky for a long time during mixing because all that fat takes a while to incorporate.
To keep you from having to deal with any of that, I've developed this recipe to be mixed 100% on a stand mixer or in a bread maker on the "manual" or "dough" cycle.
You'll then look for indicators like a "window pain" structure or the "bounce back" of the dough to know it's ready to move onto the next step.
If you don't know what any of that means - don't worry!
I'll provide all of the photos you need below to know what you're looking for, and be there to walk thorough the whole process with you.
Overnight Prep for Morning Yums
I wanted to throw in a quick note about an overnight prep option for these Oreo rolls.
Technically, you can hold these rolls overnight in the fridge, and have the first rise happen while they chill. Then, you'd continue on with the recipe as written from there in the morning.
Personally, I don't recommend this option unless you're an experienced baker, as you'll find the dough progression to be much more predictable when the dough is freshly prepped, and the final rise of the baked rolls to be best when you make this recipe start to finish.
These rolls also reheat very well. So my recommended "overnight" option is to bake them off the night before and then cover them with plastic wrap in their pan overnight at room temperature, unfrosted. Then just place them back in the oven in the morning for 10-15 minutes or so at 350°F just until they're rewarmed. You can then prep the icing and frost them right before service.
This method is way more dependable than trying to delay the rise of raw dough overnight. And honestly, you really won't notice any significant difference between this method and a roll you made start to finish that morning.
Ingredient Tips for Better Baking
(Pssst…if you're ready to just get baking, get all the details in the recipe card below!)
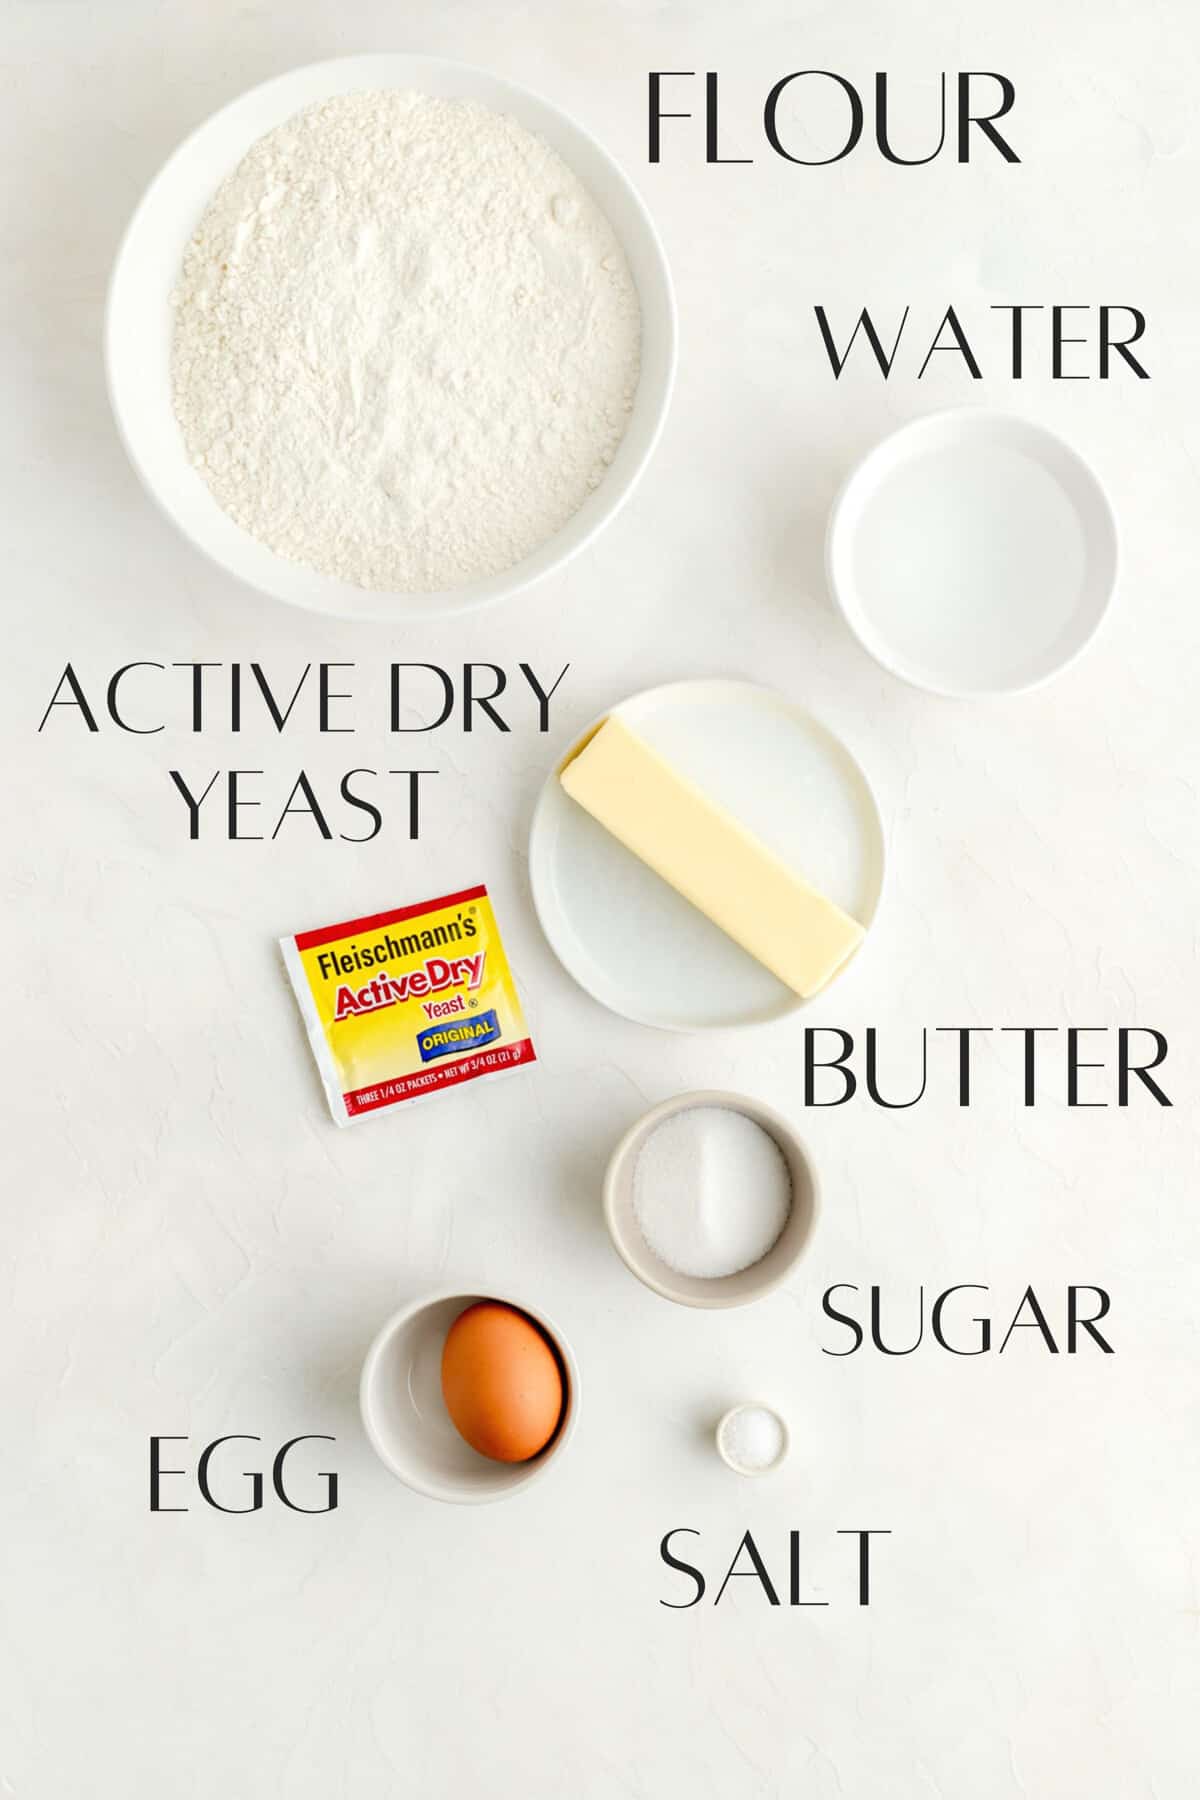
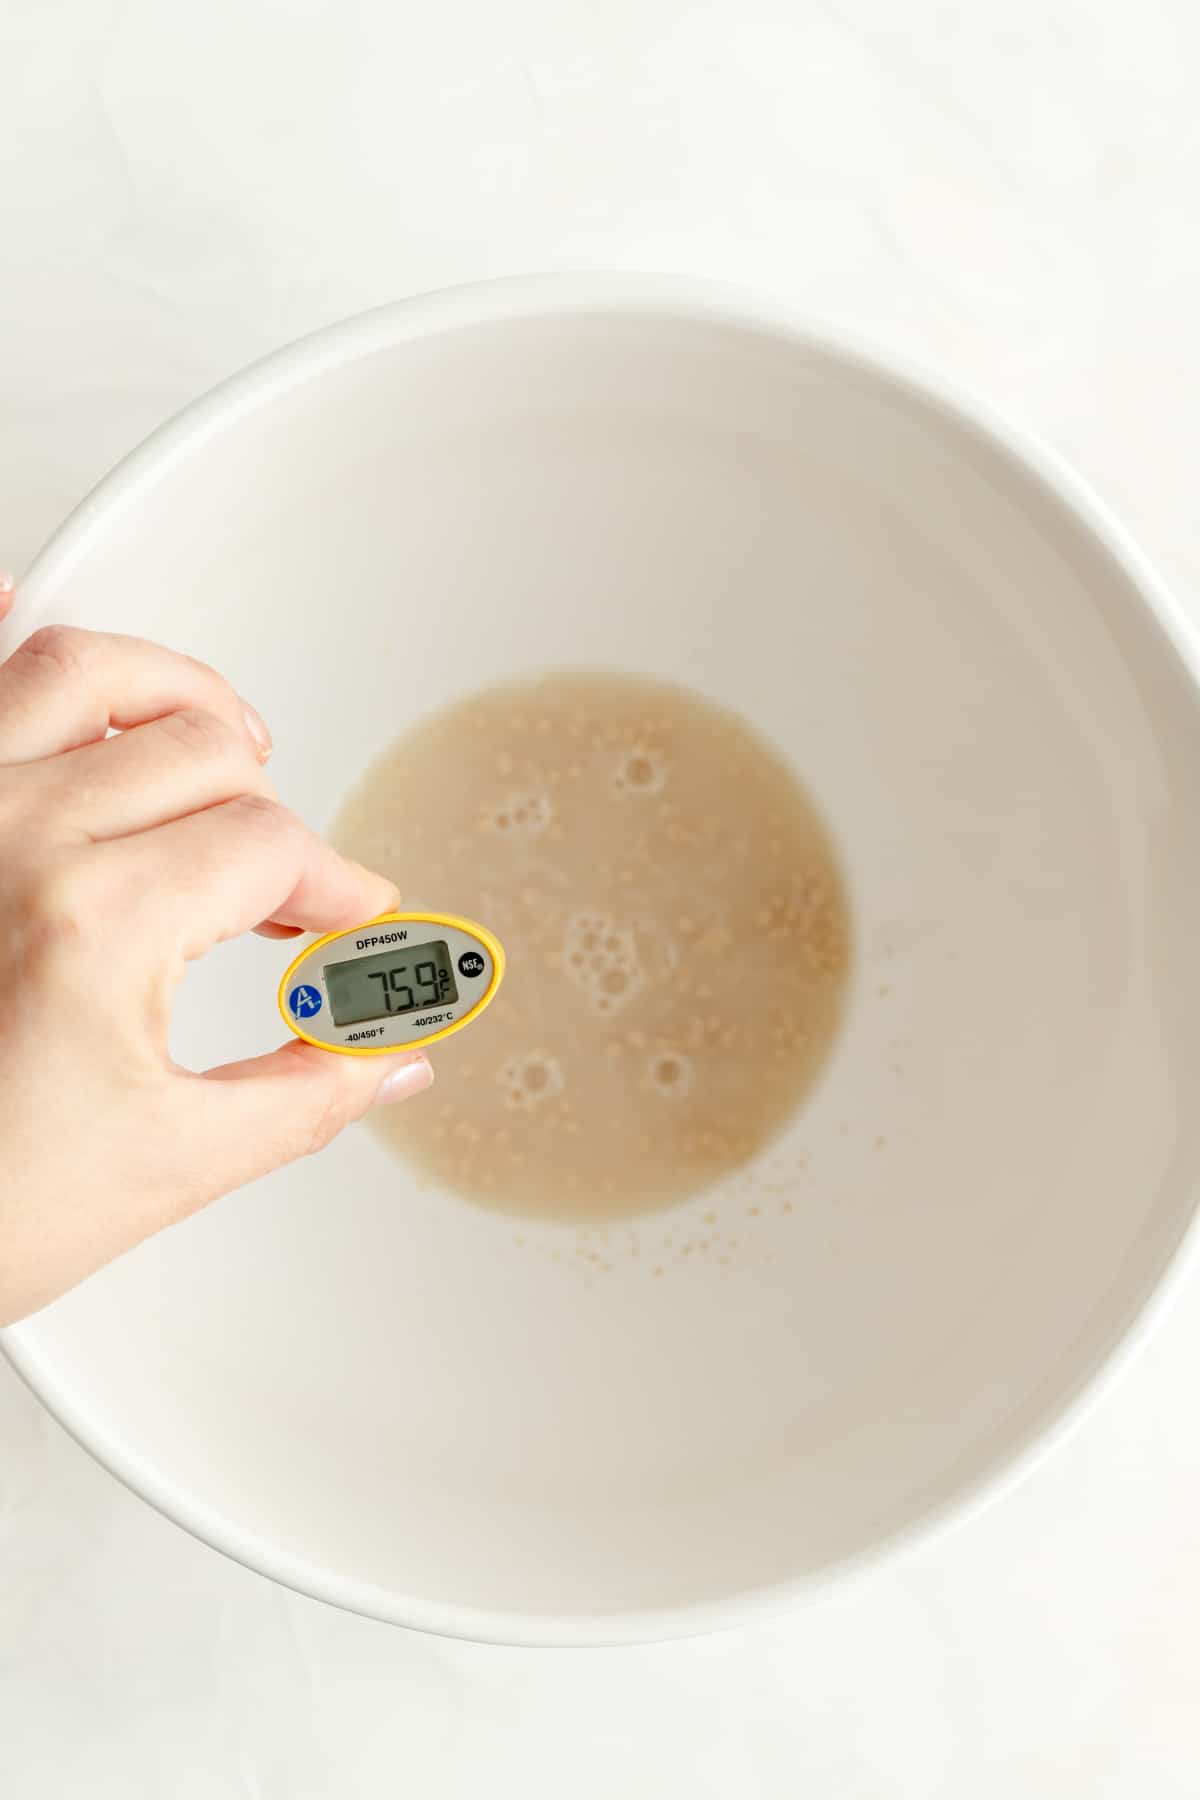
- Lukewarm water: the best way to ensure the right temp of water is to use an instant-read thermometer (we’re going for 75-85°F in this recipe). But if you don’t have one available, simply use your best judgement to feel when the water is “lukewarm,” but not “hot.” If the water is too hot, it will negatively effect the yeast and your rise. If the water is too cold, it will take your bread a very long time to rise, if it does at all.
- Active dry yeast, not instant/rapid! For this recipe we want to use “active dry yeast” because it’s designed for the 2-rise process we’re using here. If you have the bulk bags of yeast, you can use Red yeast or the Gold yeast designed to be used with enriched doughs like this one. Rapid/Instant yeast is what we don't want to use. It is only designed to rise once, and likely will lead to a less risen, and less flavorful roll if you try to use that type in this recipe, as the longer the the bread dough has to rise, the more flavor it has as well.
- Butter: we're using a lot of butter in these rolls to keep them nice and tender so make sure it's unsalted. The butter also needs to be very soft to incorporate properly into the dough, so make sure you take it out for the fridge at least 3-4 hours (or ideally overnight) before adding it to your dough. You can also speed up the softening process by slicing it up and spreading the chunks on a plate instead of leaving it wrapped in a stick to soften.

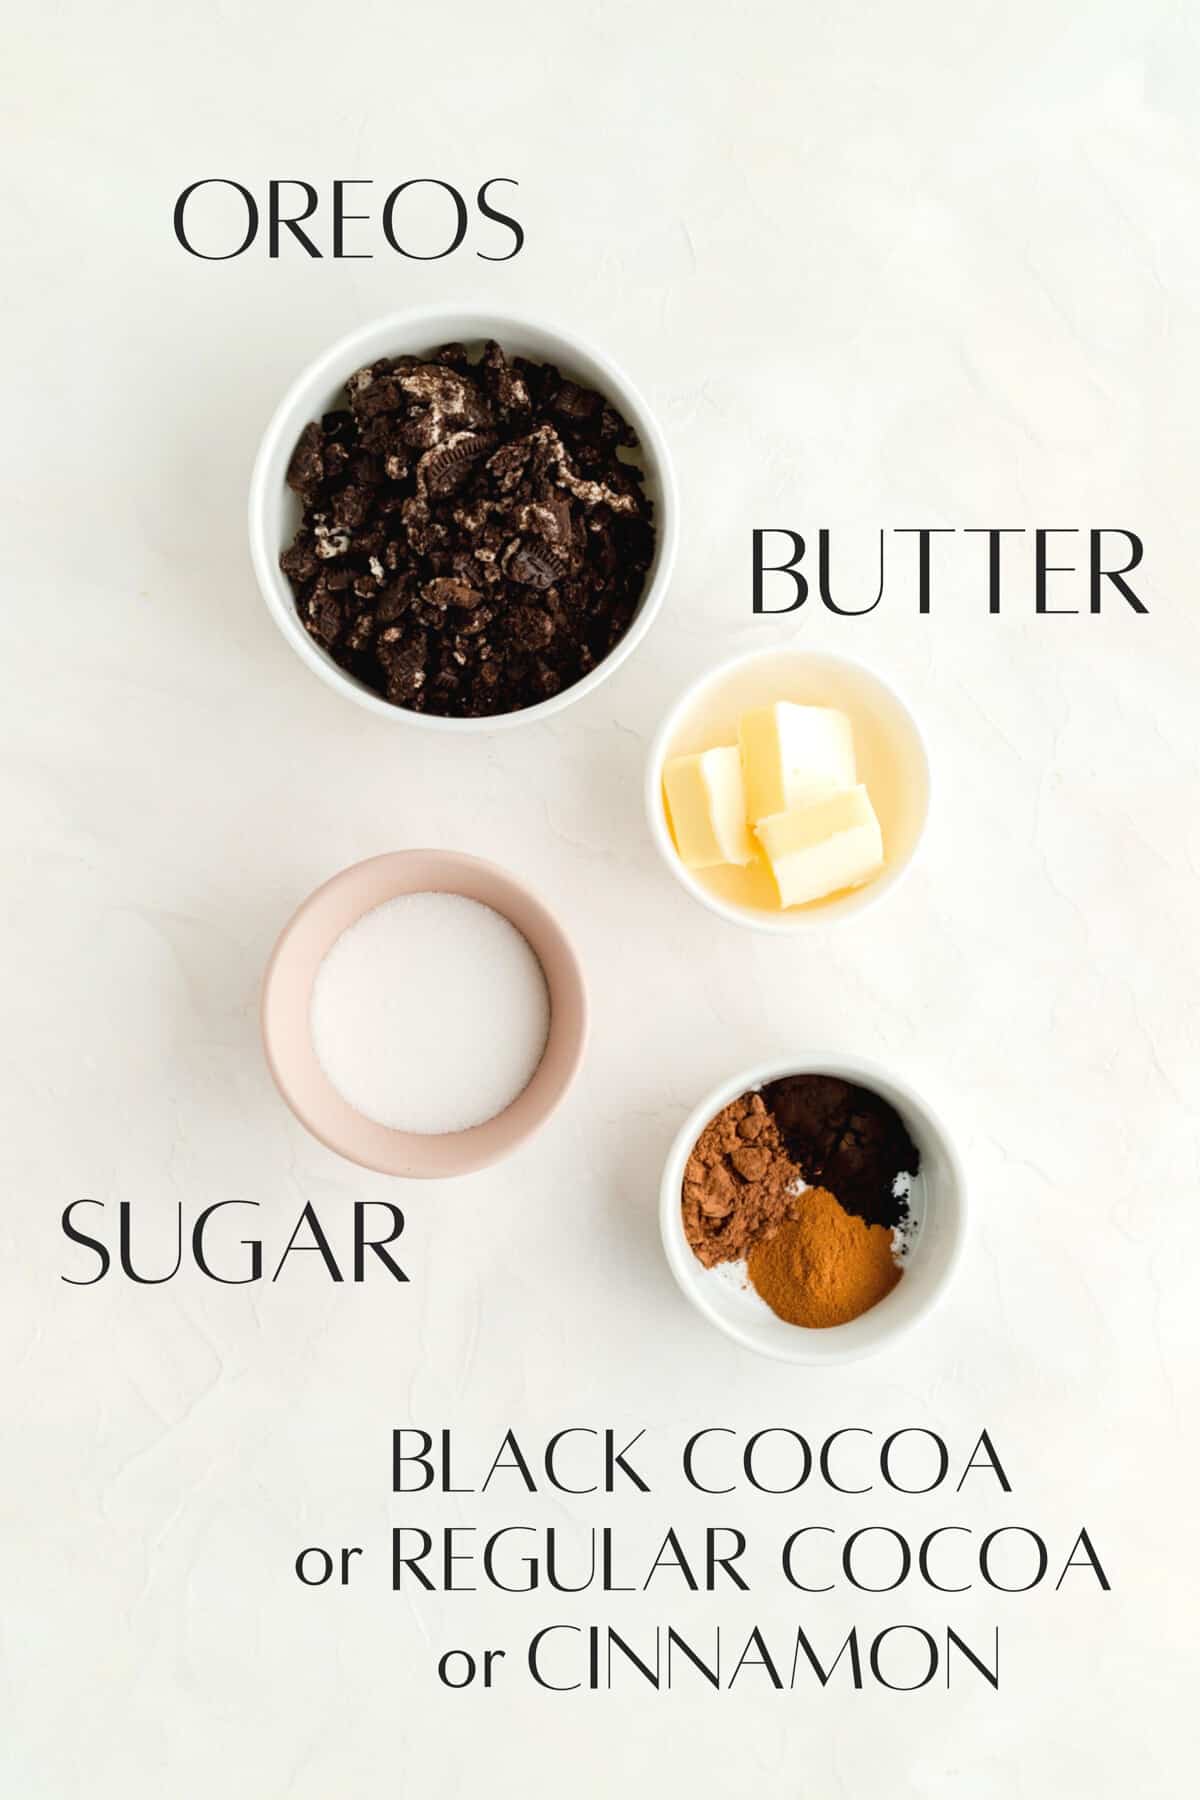
- Cinnamon or cocoa? The option of what you mix into your filling is really up to whatever sounds good to you. I personally love black cocoa, which is what gives Oreo’s their distinctively un-sweet “chocolate” flavor (regular cocoa works well too!). Black cocoa is what you'll see pictured in the process shots. But if you don’t have any available or if you actually want some cinnamon in there with that Oreo flavor (since these are cinnamon rolls after all), feel free to use ground cinnamon instead for your filling.
- Oreos: we're looking for the classic, regular-stuffed Oreo cookies here. while the flavor of this recipe was designed for chocolate Oreos, check out the "pick your flavors" section below to learn how to switch out the classic Oreos for your favorite sandwich cookie and make these rolls your own! For crushing up the cookies, I find putting them in double layer ziplock bags and crushing them with a rolling pin is fast and easy.
(p.s. for all the basic tips that no one ever taught you, that are super important to help you bake your best, check out my Baking 101 series!)
Special Tools You'll Need
For making the dough you'll need either a stand mixer fitted with a dough hook or a bread machine. You'll also need a rolling pin for assembling the rolls.
A hand mixer is helpful for the icing, although not required.
How to Make Oreo Rolls from Scratch
(Pssst…if you're ready to just get baking, get all the details in the recipe card below!)
To make the dough:
- Combine yeast and water, and let sit for 5 minutes to activate/start to dissolve.
- Stir in the egg.

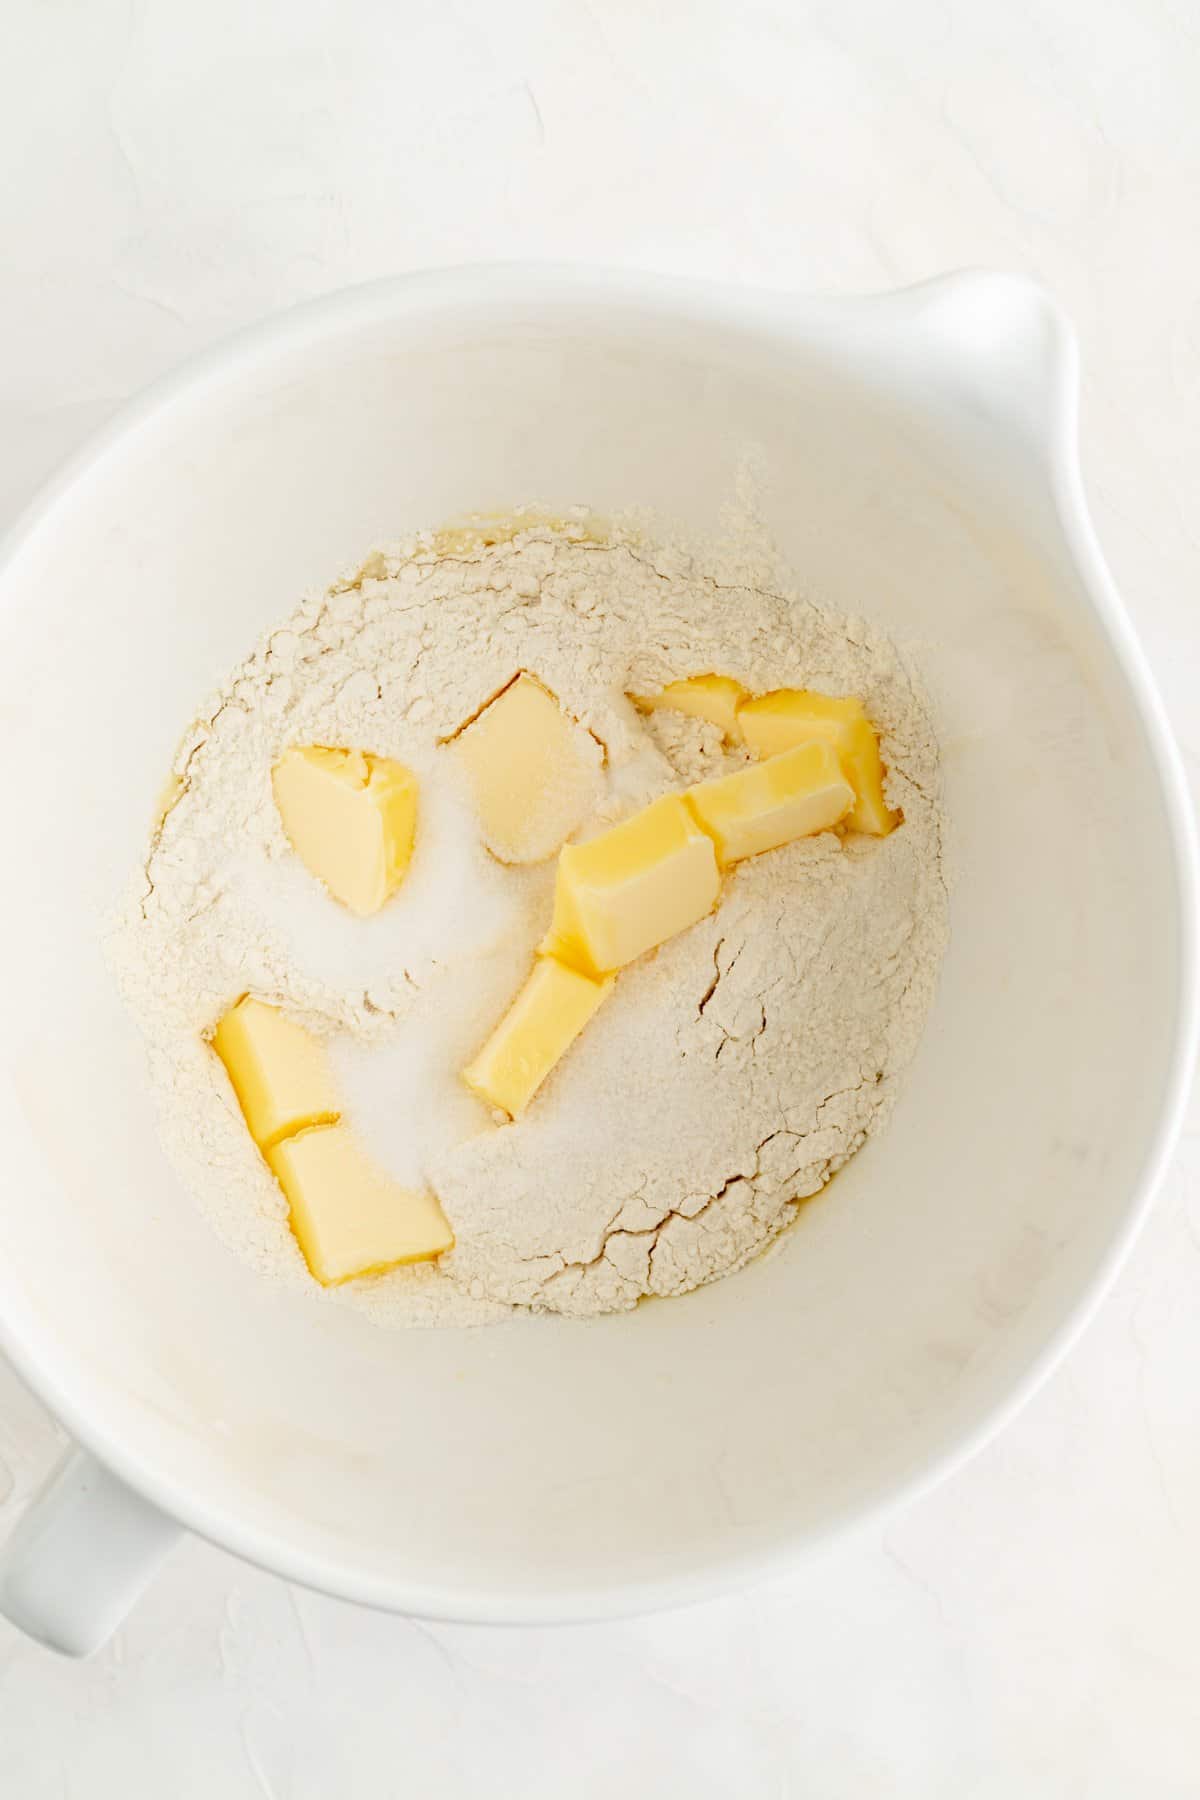
- Add dries and butter, then mix on low to combine.
- “Knead” on medium-low speed until elastic, with a "window pane."
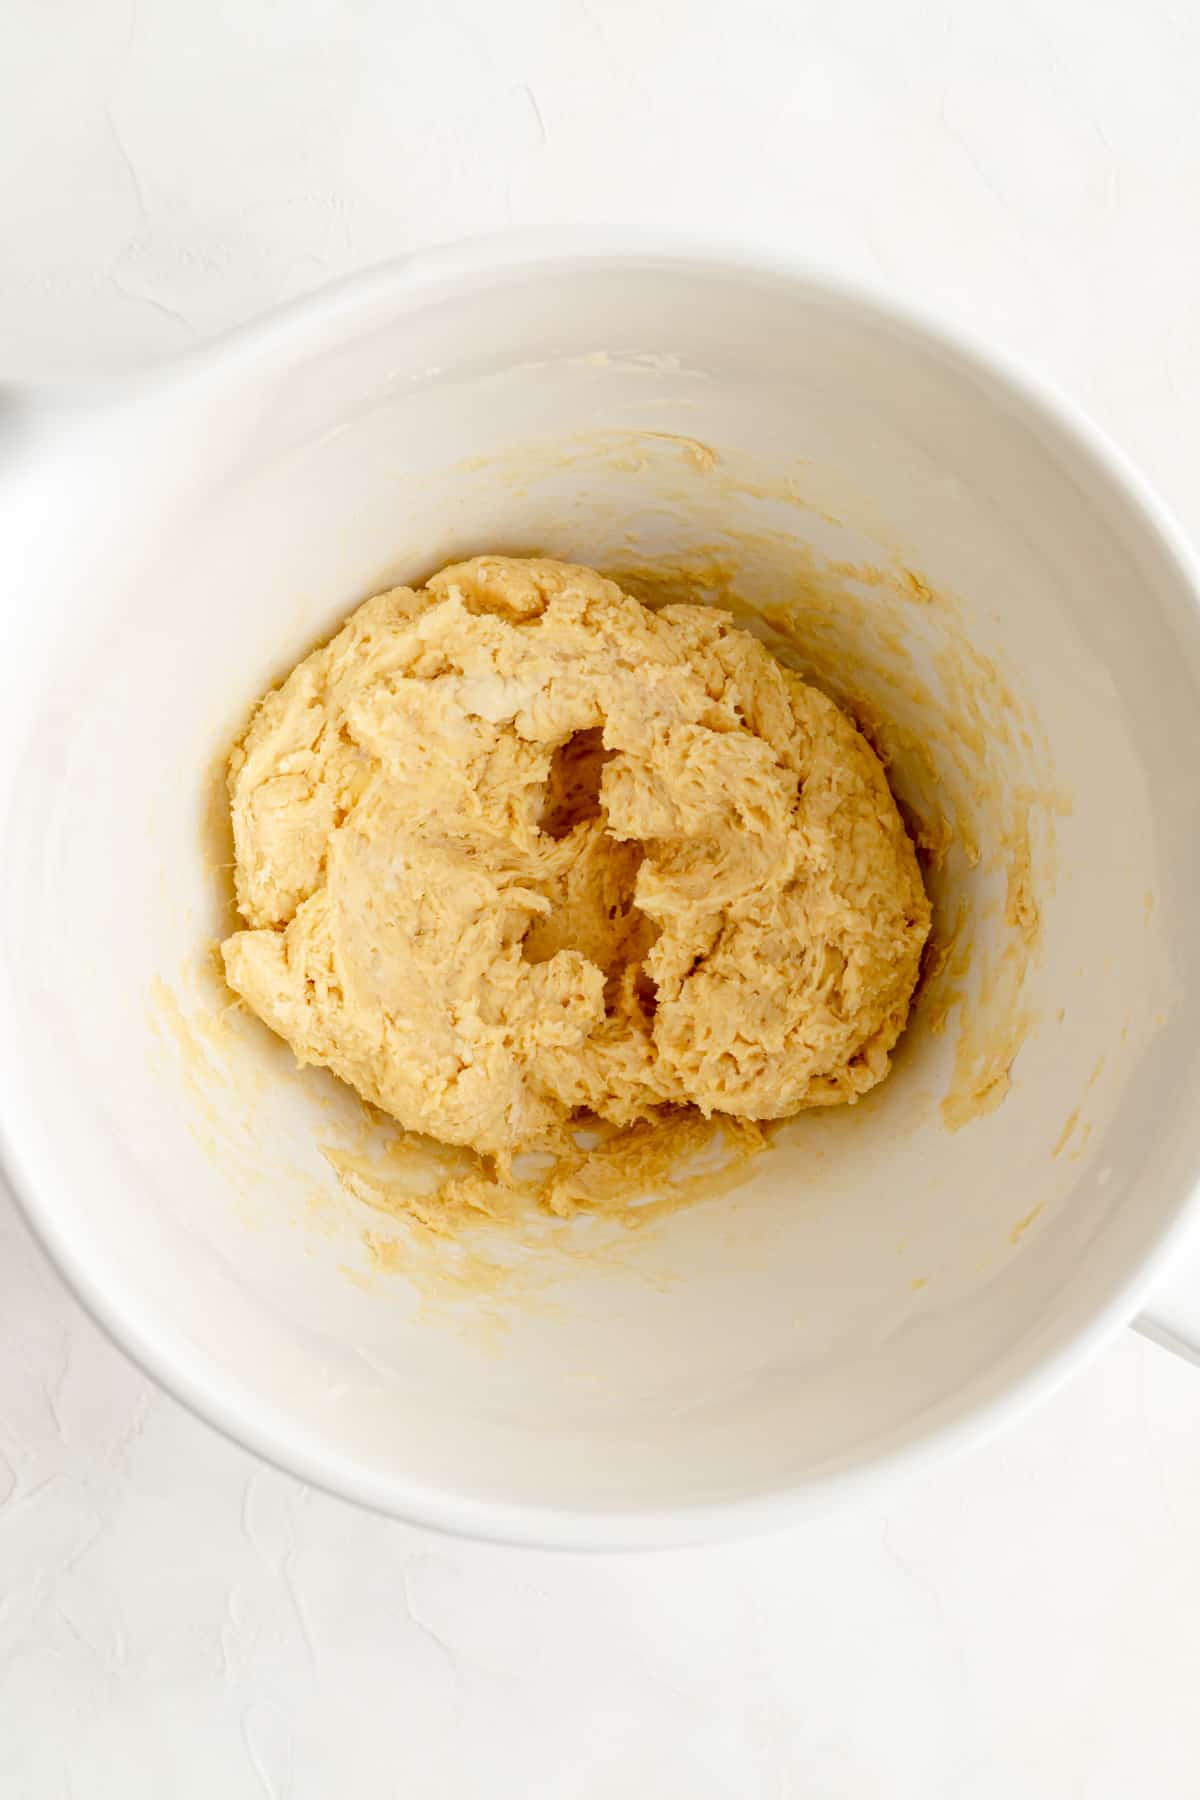
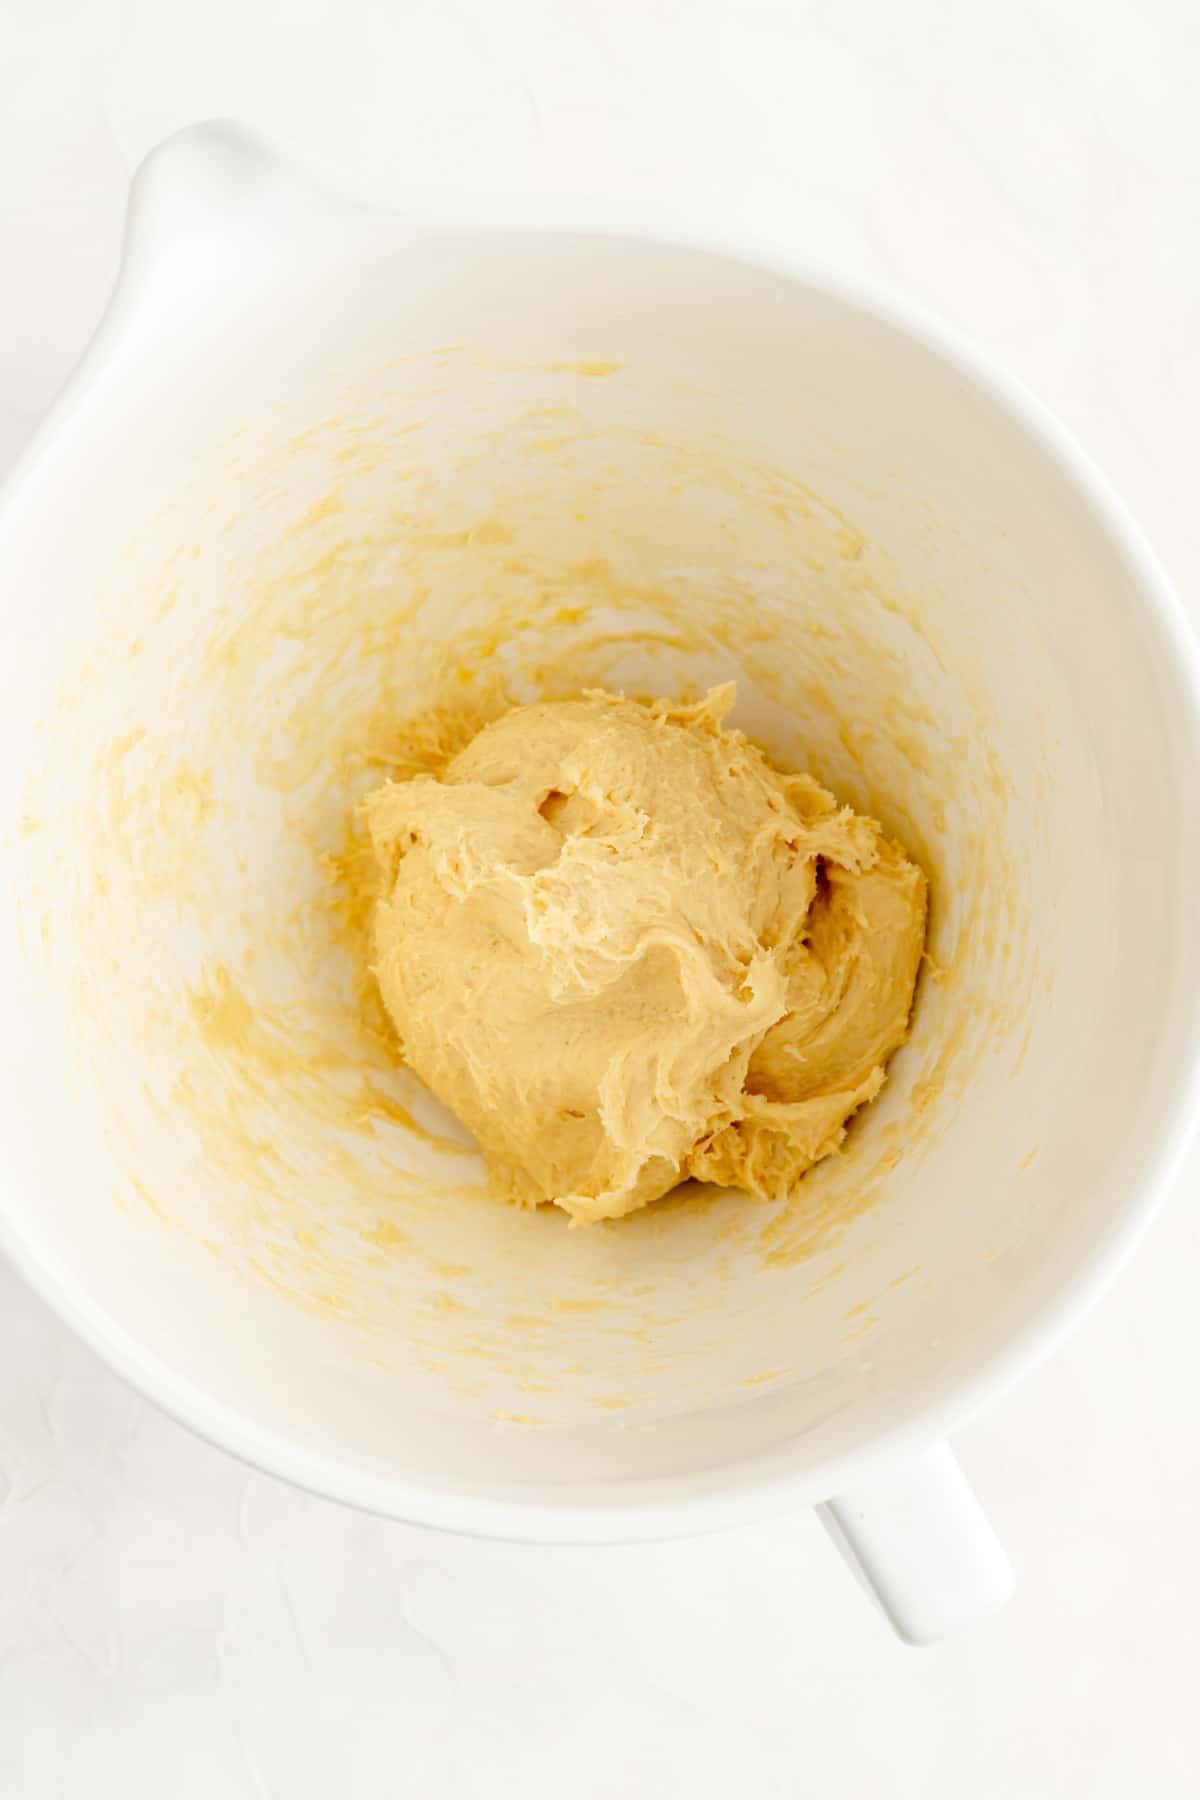
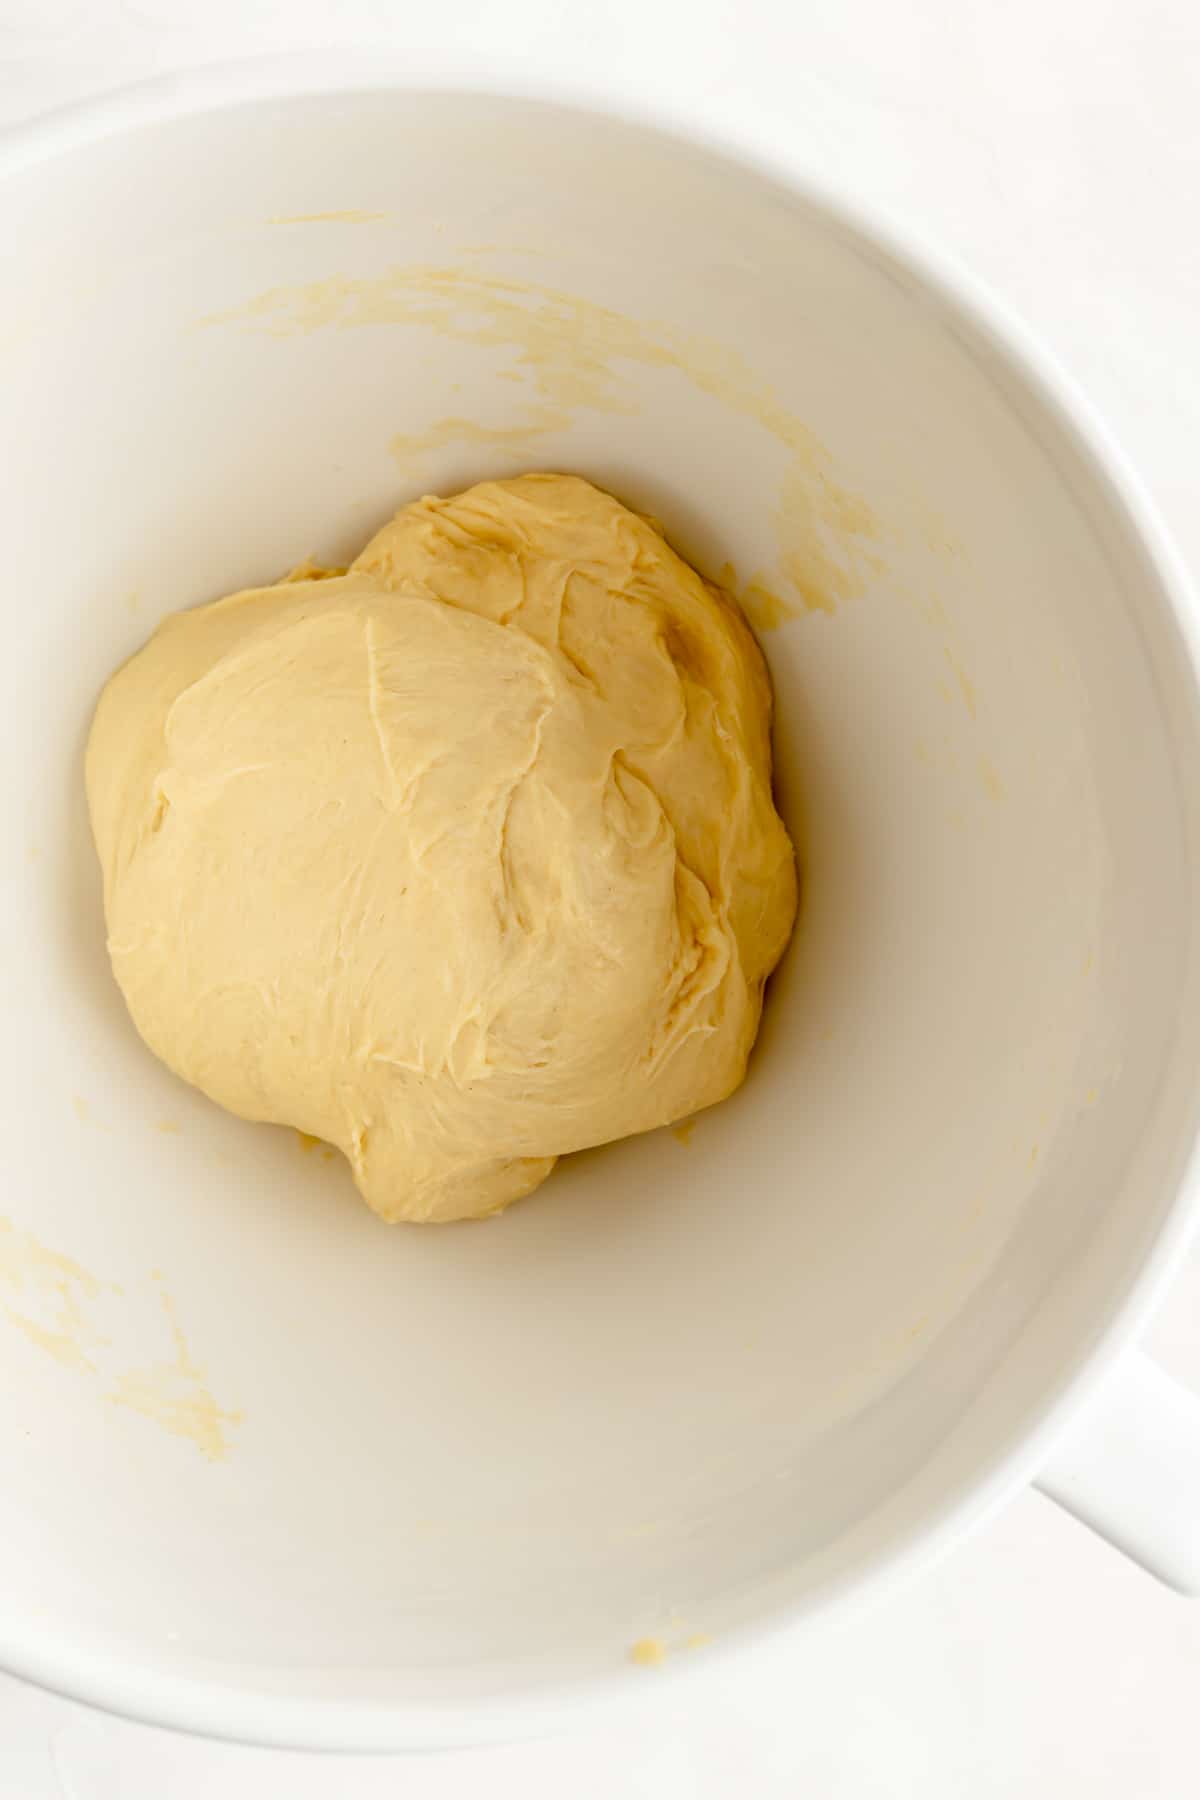
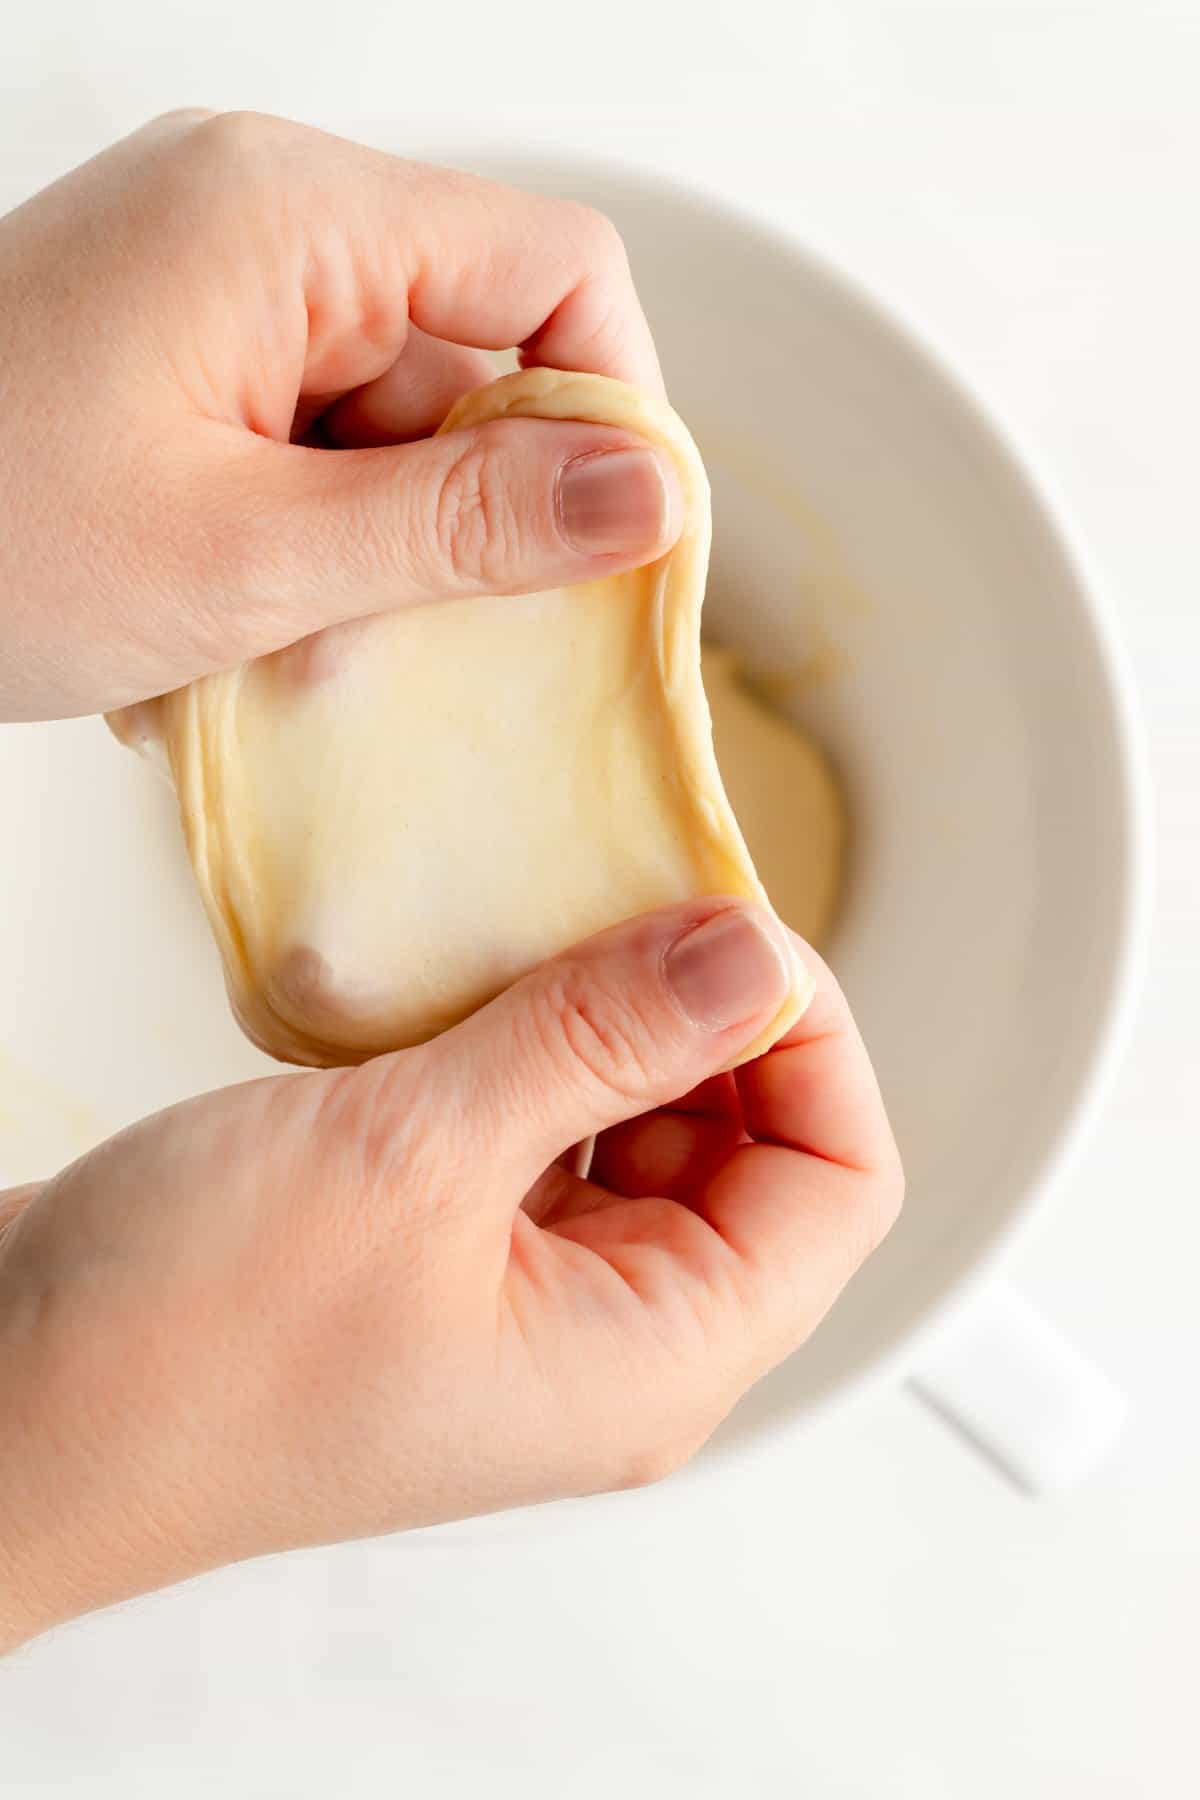
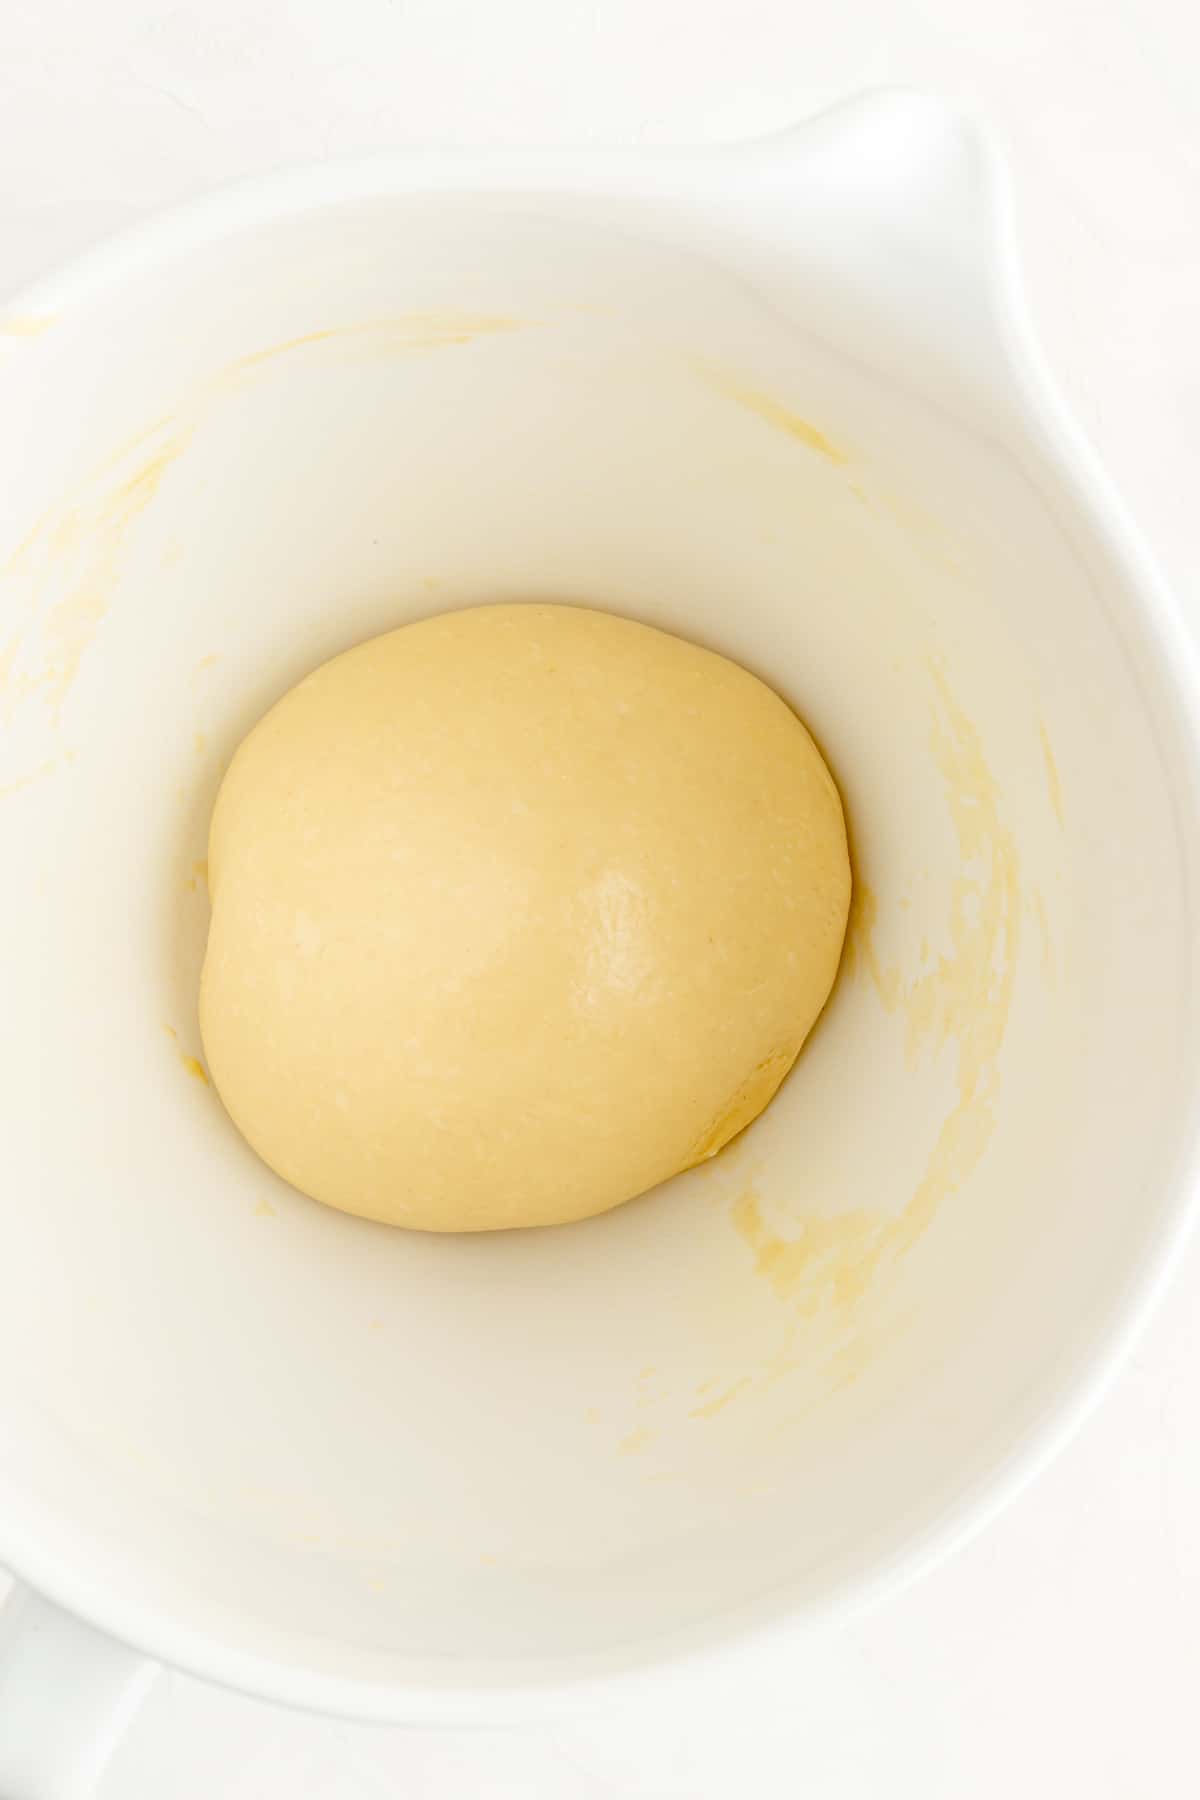
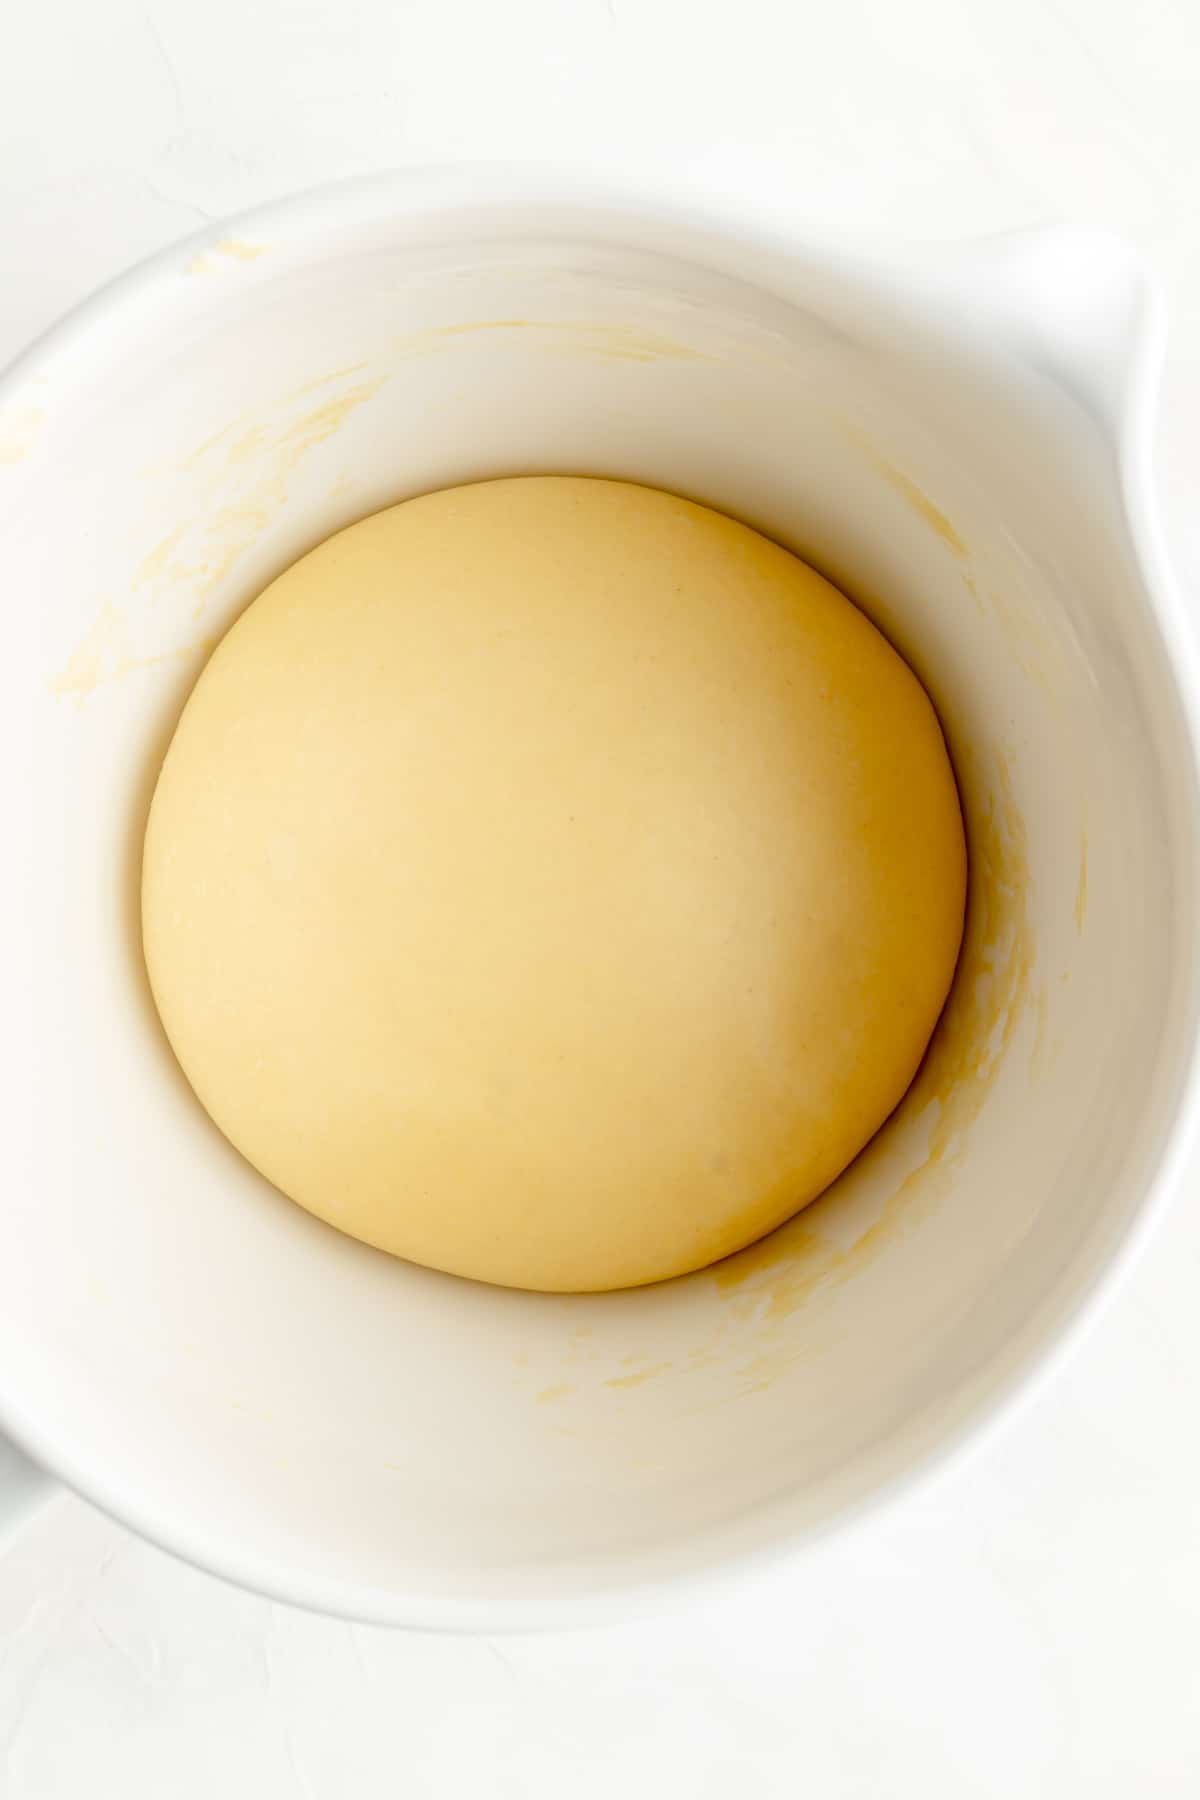
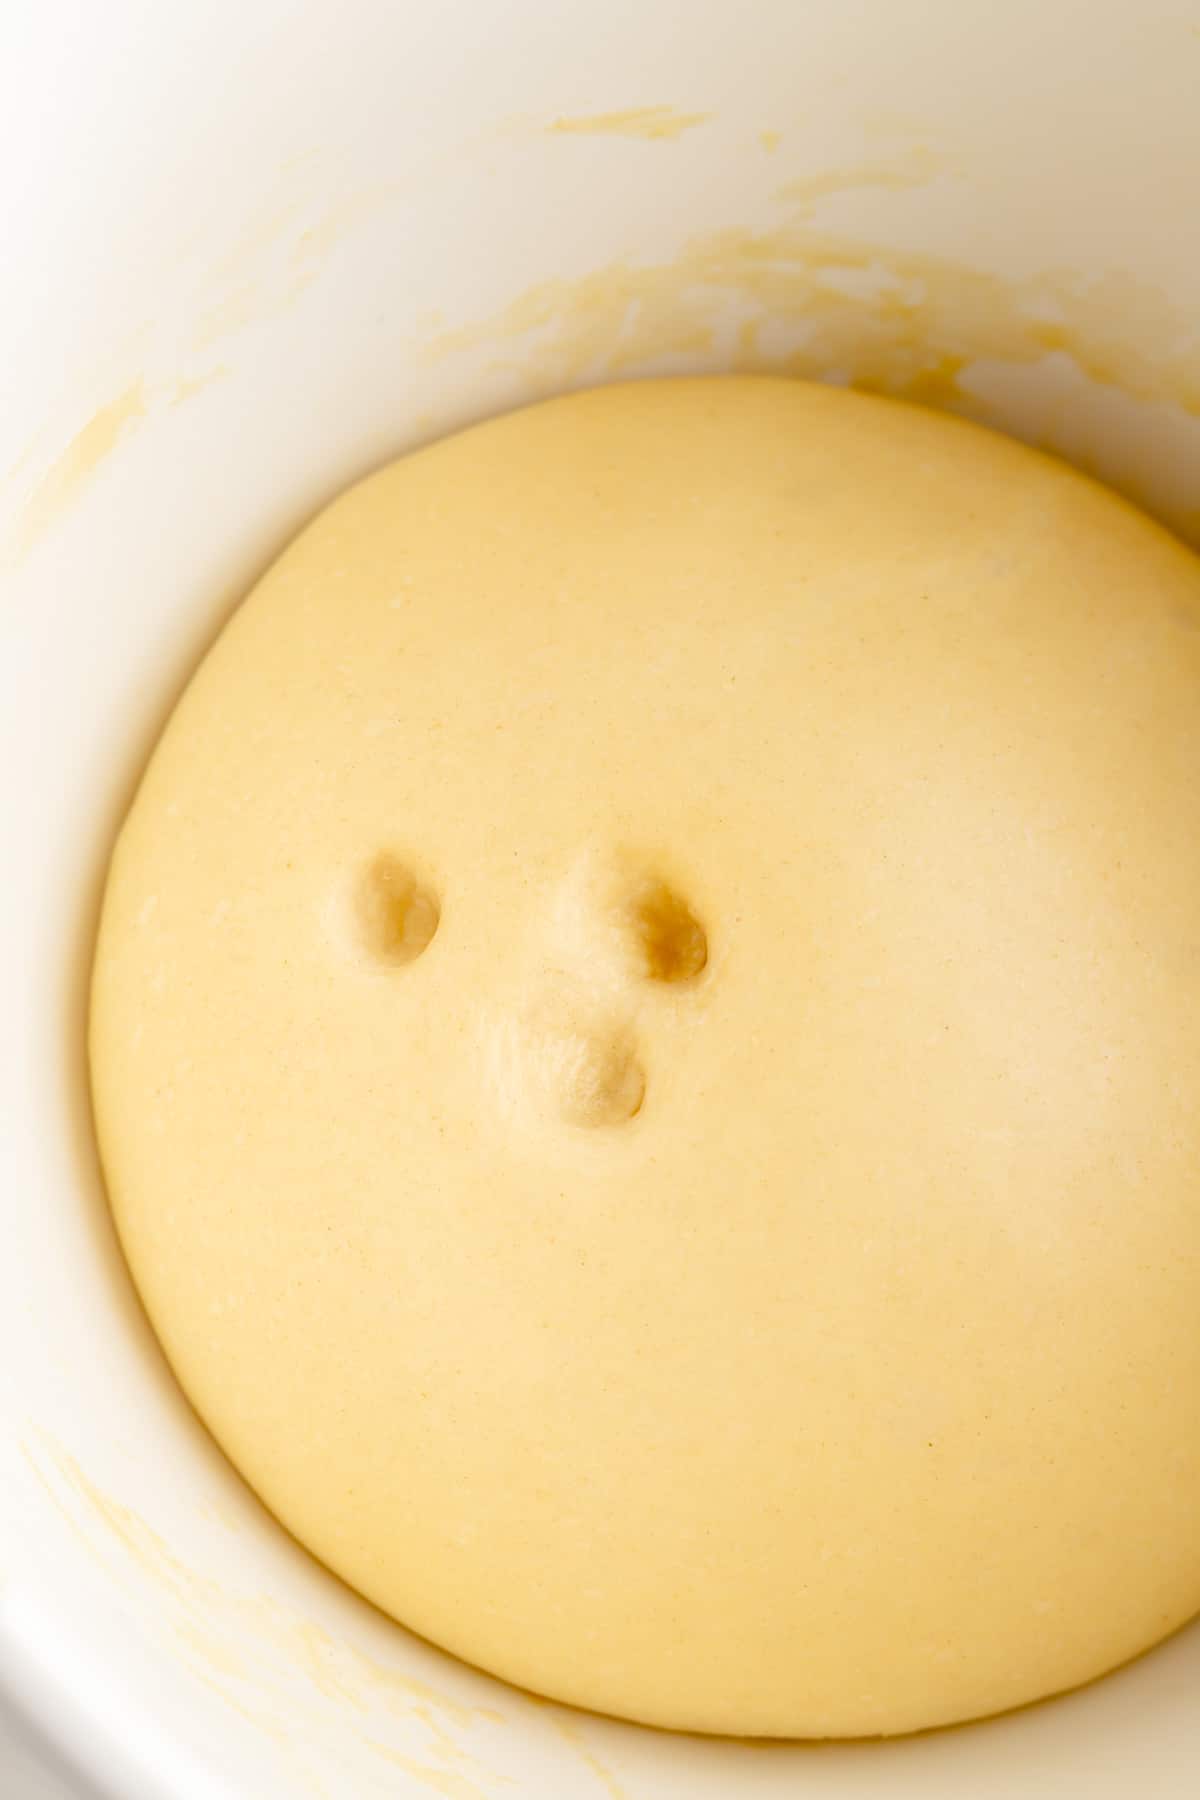
- Allow dough to rise in a warm place until double in size, about 1 ½ hours. You'll know it's ready when it fully holds the indent of your finger when gently pressed.
To assemble the rolls (video tutorial below!):
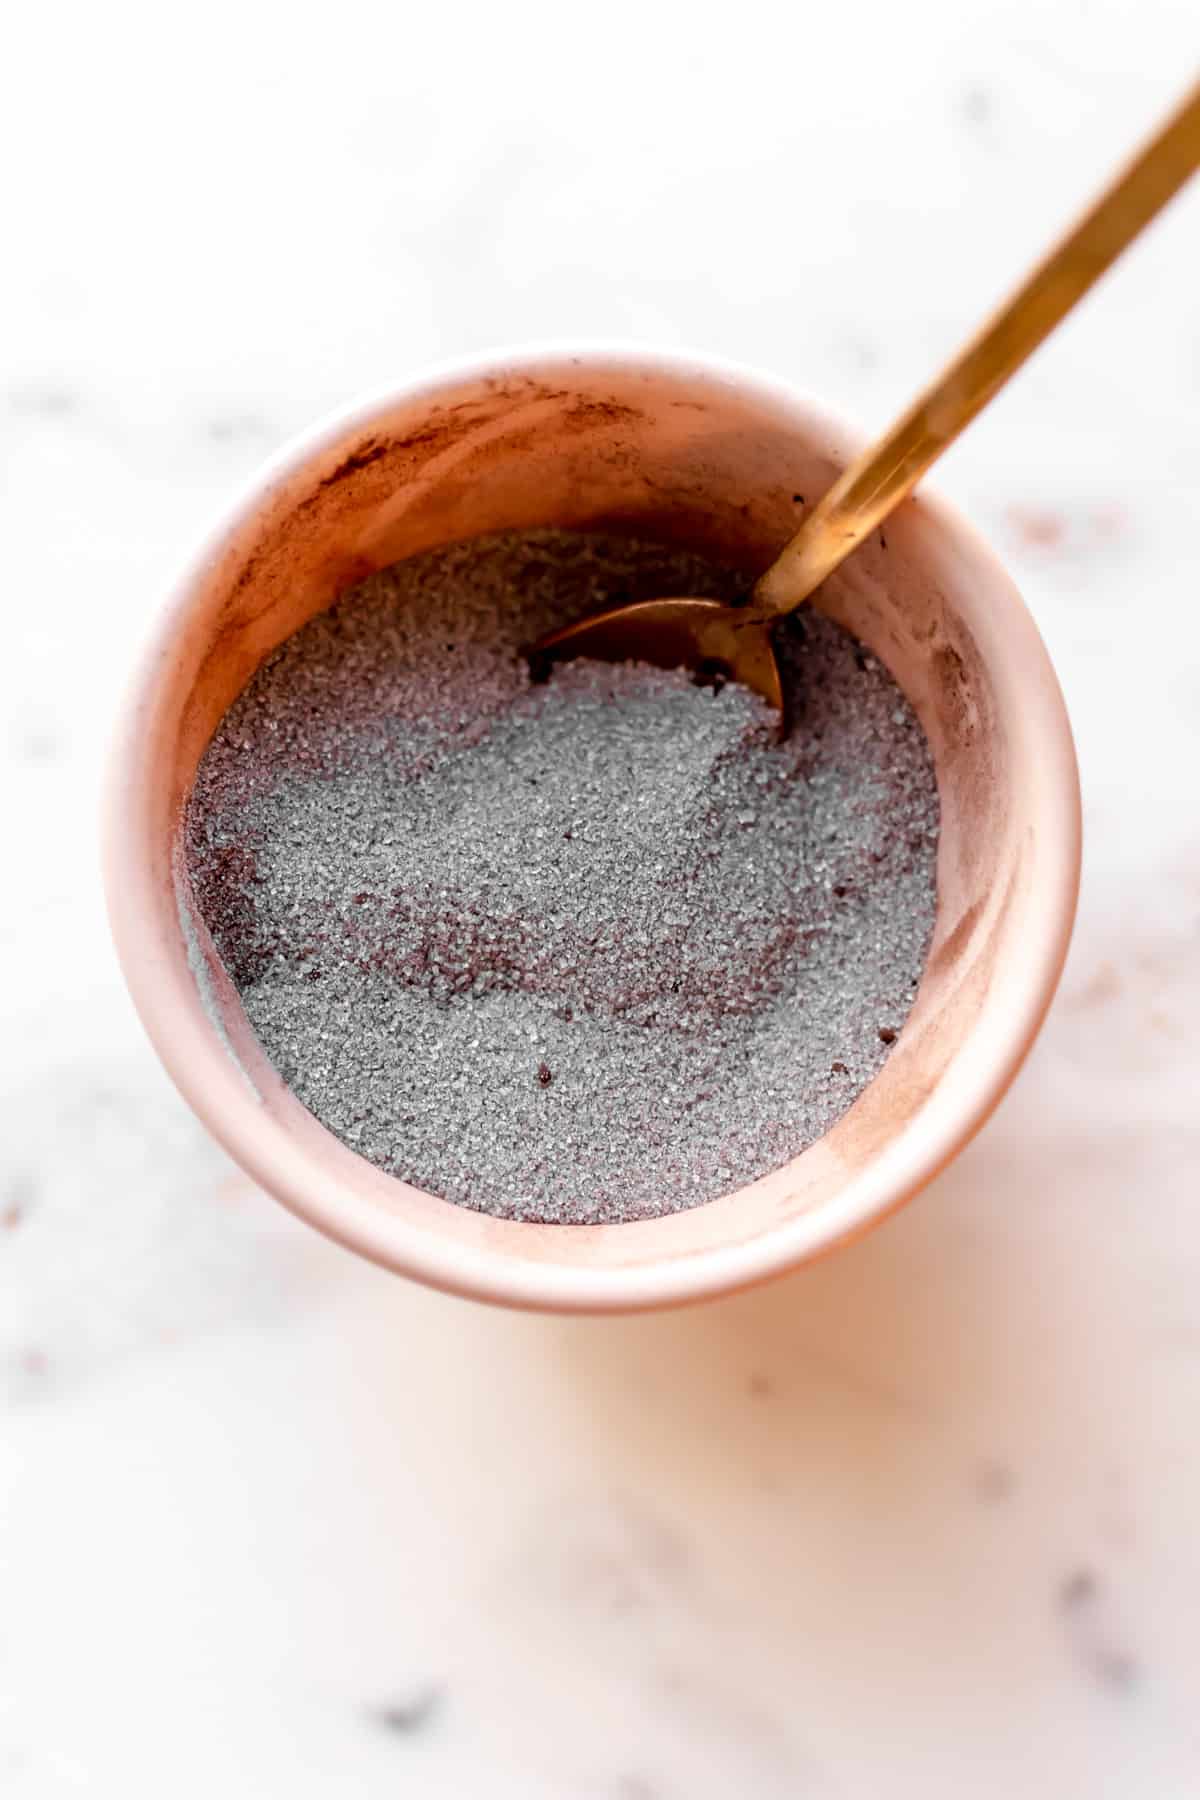
- Make the filling by combining sugar and cinnamon, or sugar and cocoa powder (I used black cocoa here).
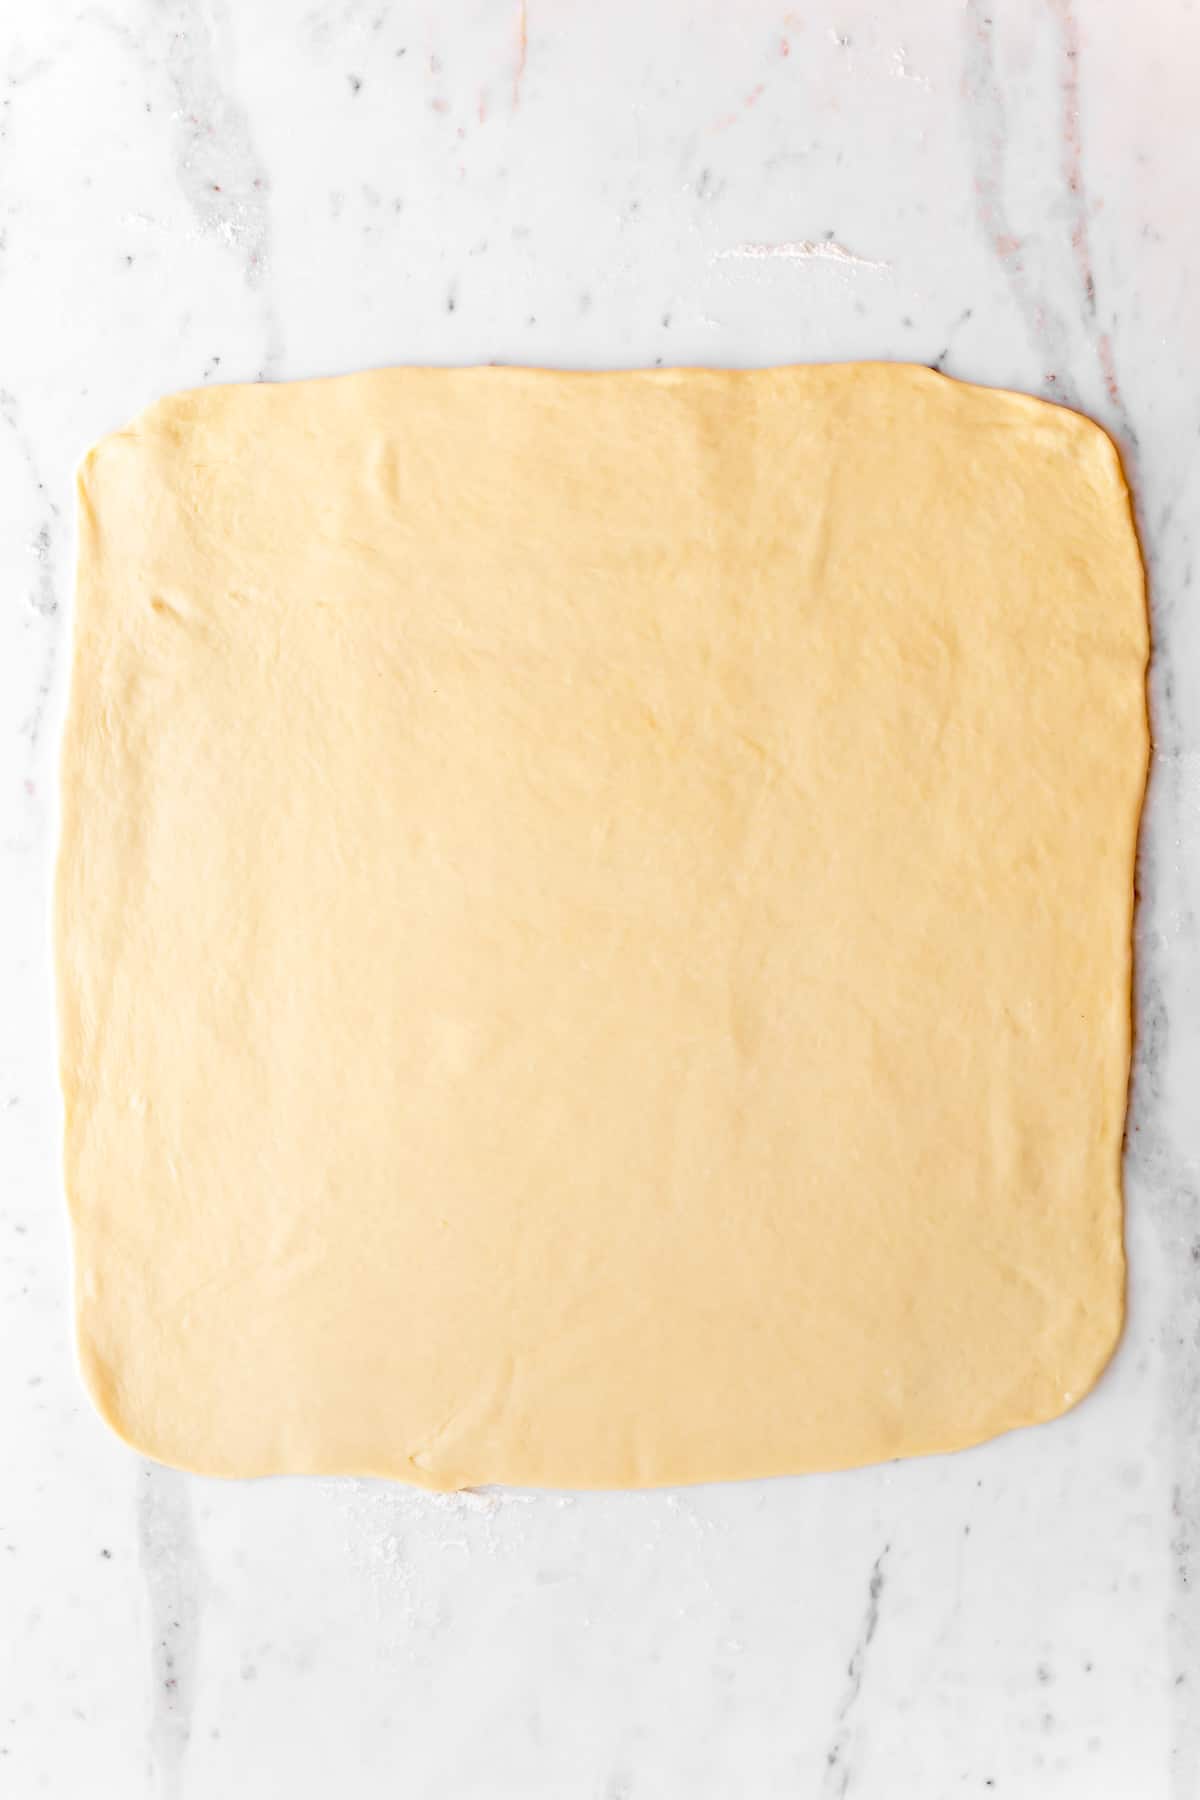
- At the end of the rise, knock the dough down to remove the gases and roll it into a 14" square.
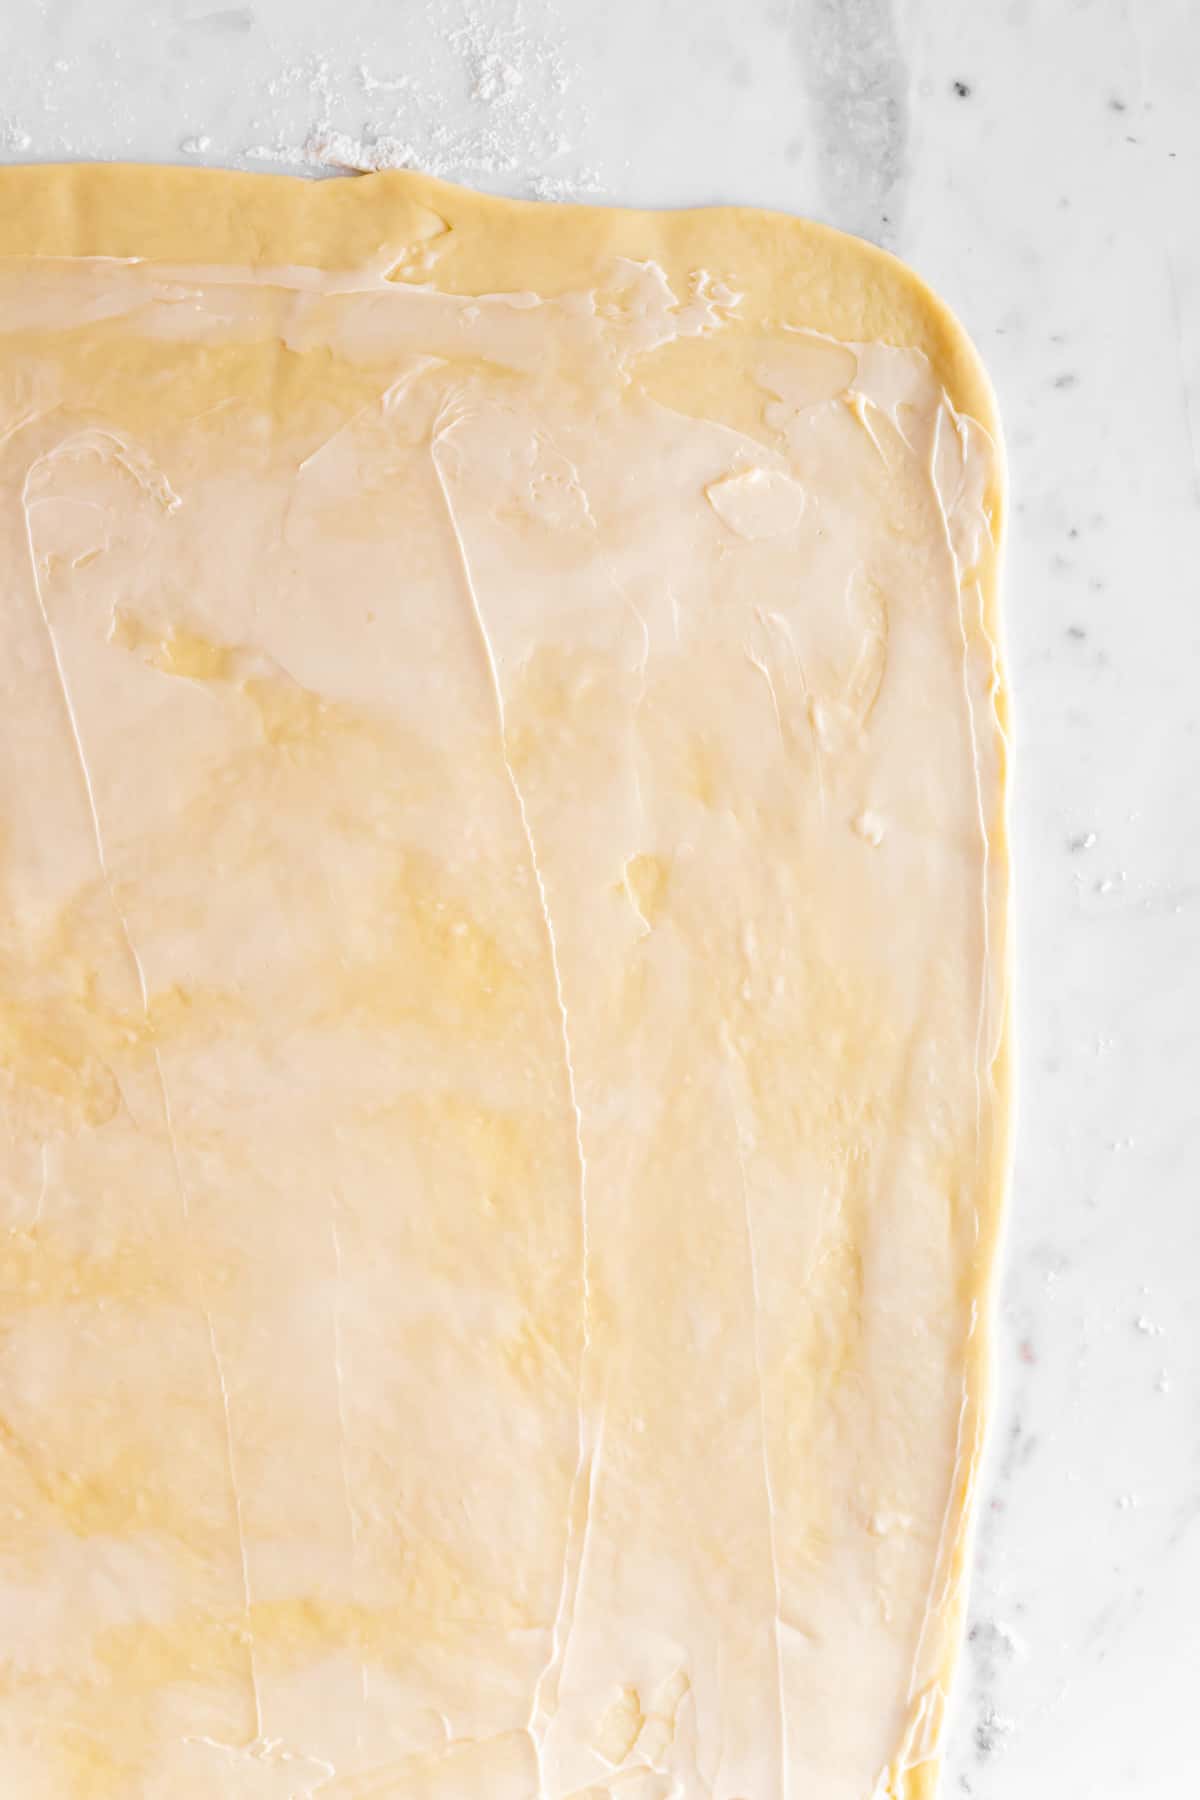
- Spread softened butter in a thin layer over the entire surface of the dough, but leave a ½" border along one edge to use as a seal.
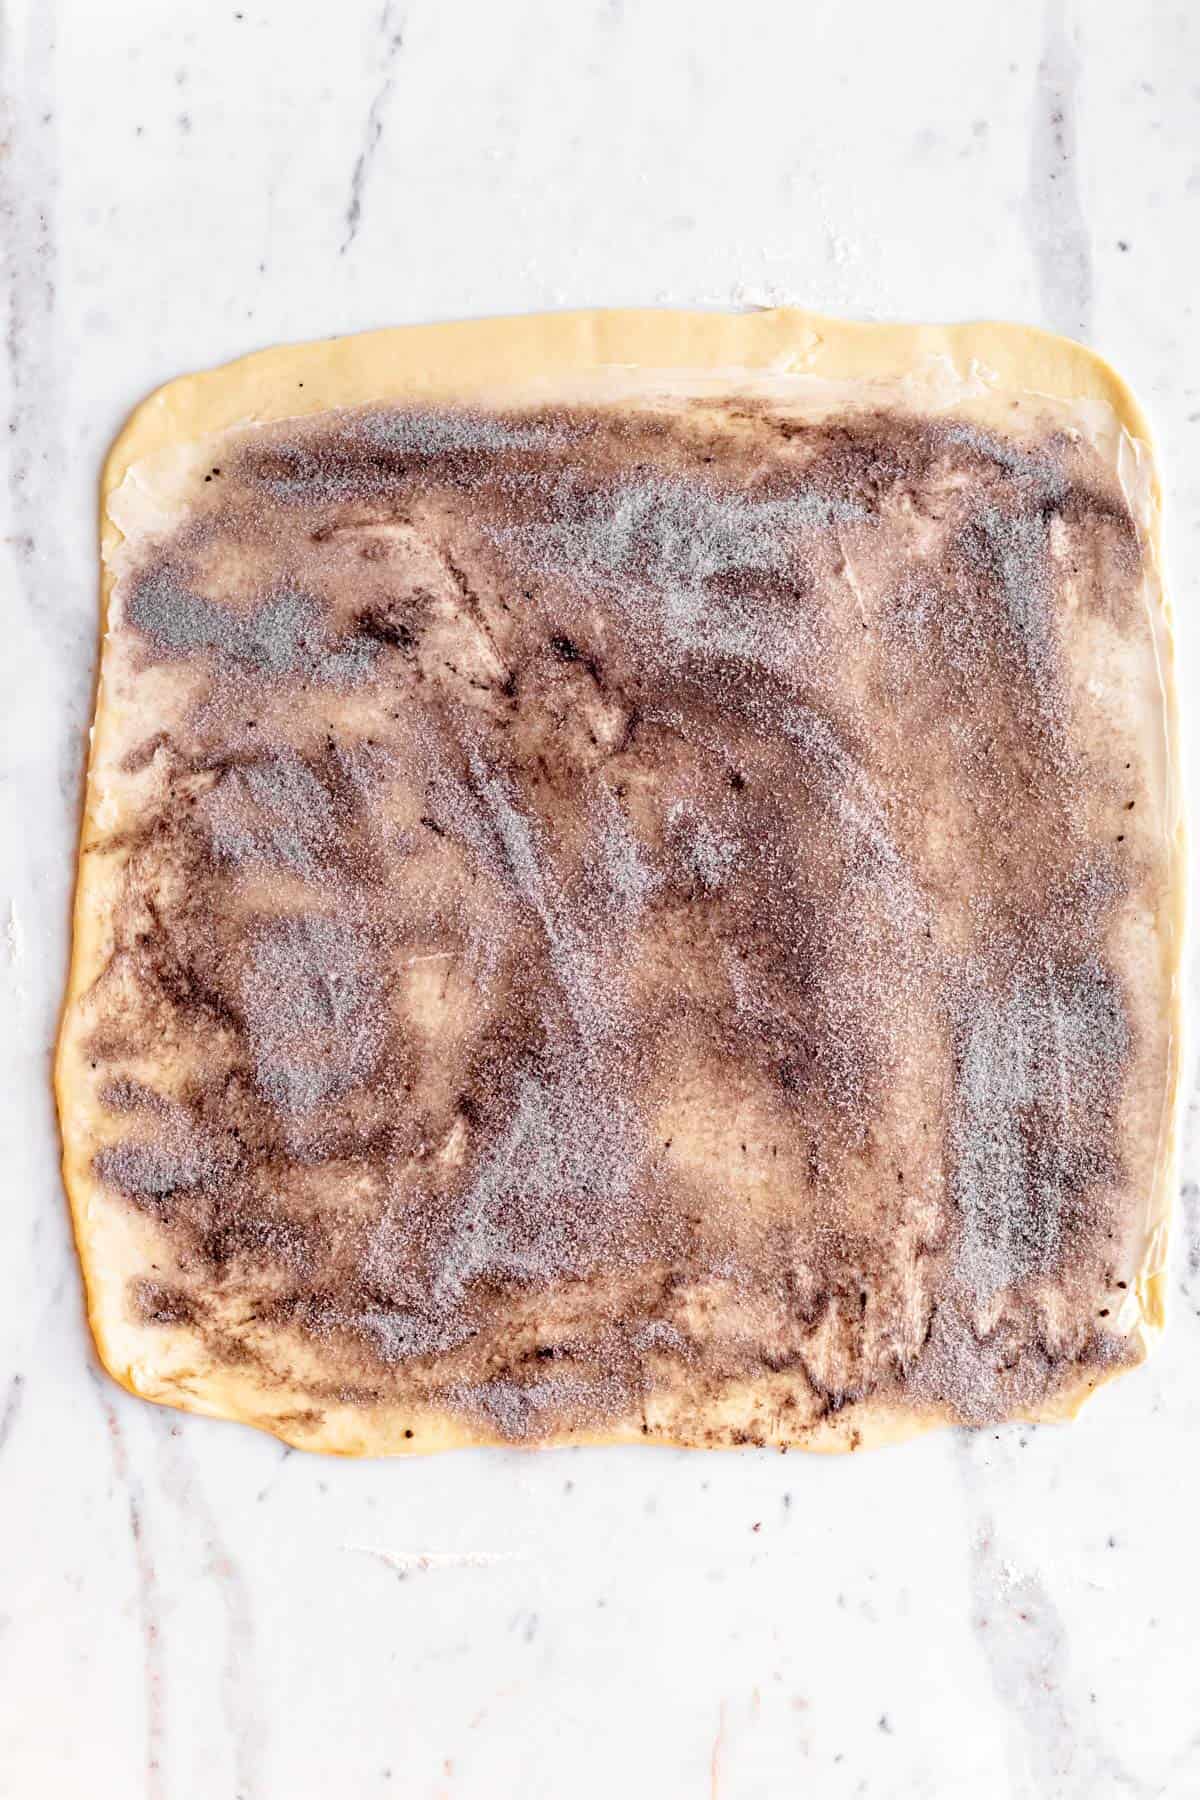
- Sprinkle buttered dough generously with the cinnamon or cocoa sugar mixture to fully cover the butter, using your hand to spread it into an even-ish layer as needed.
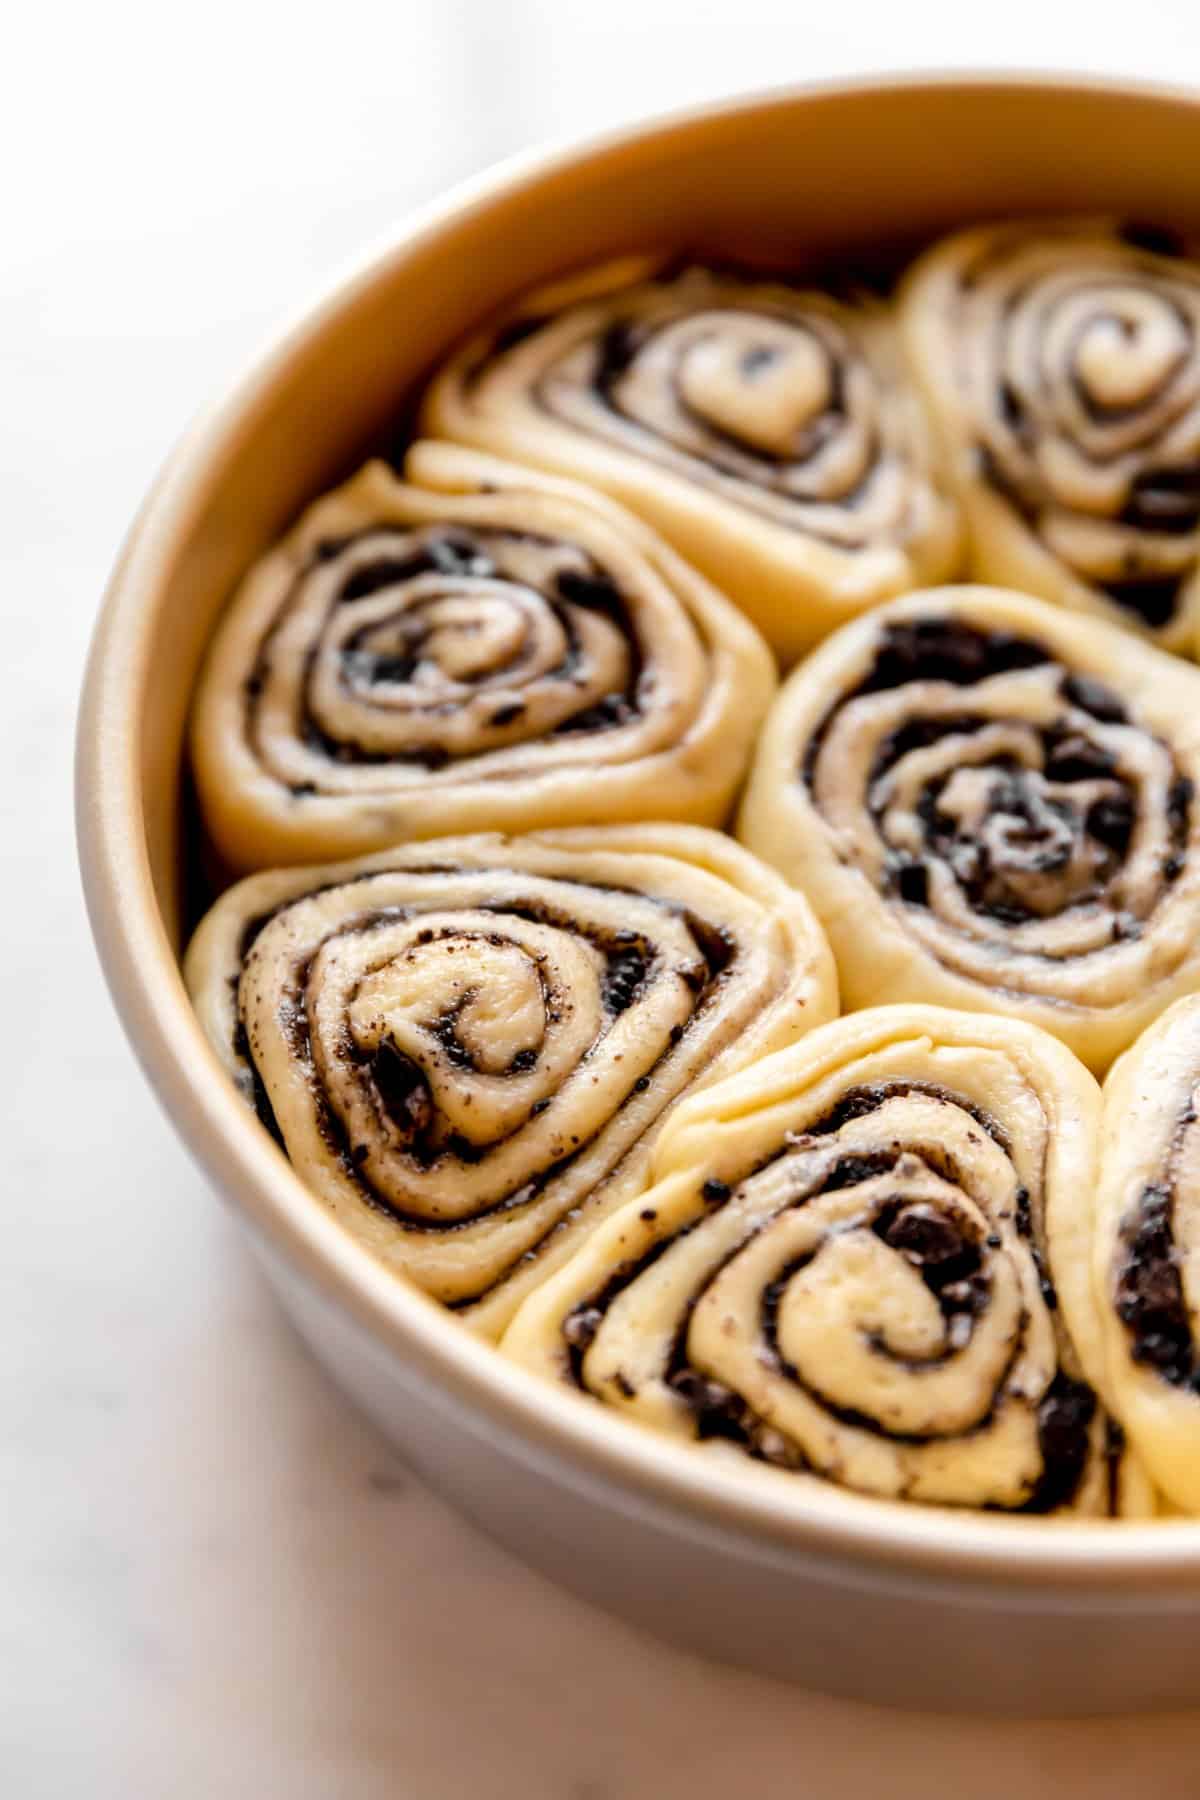
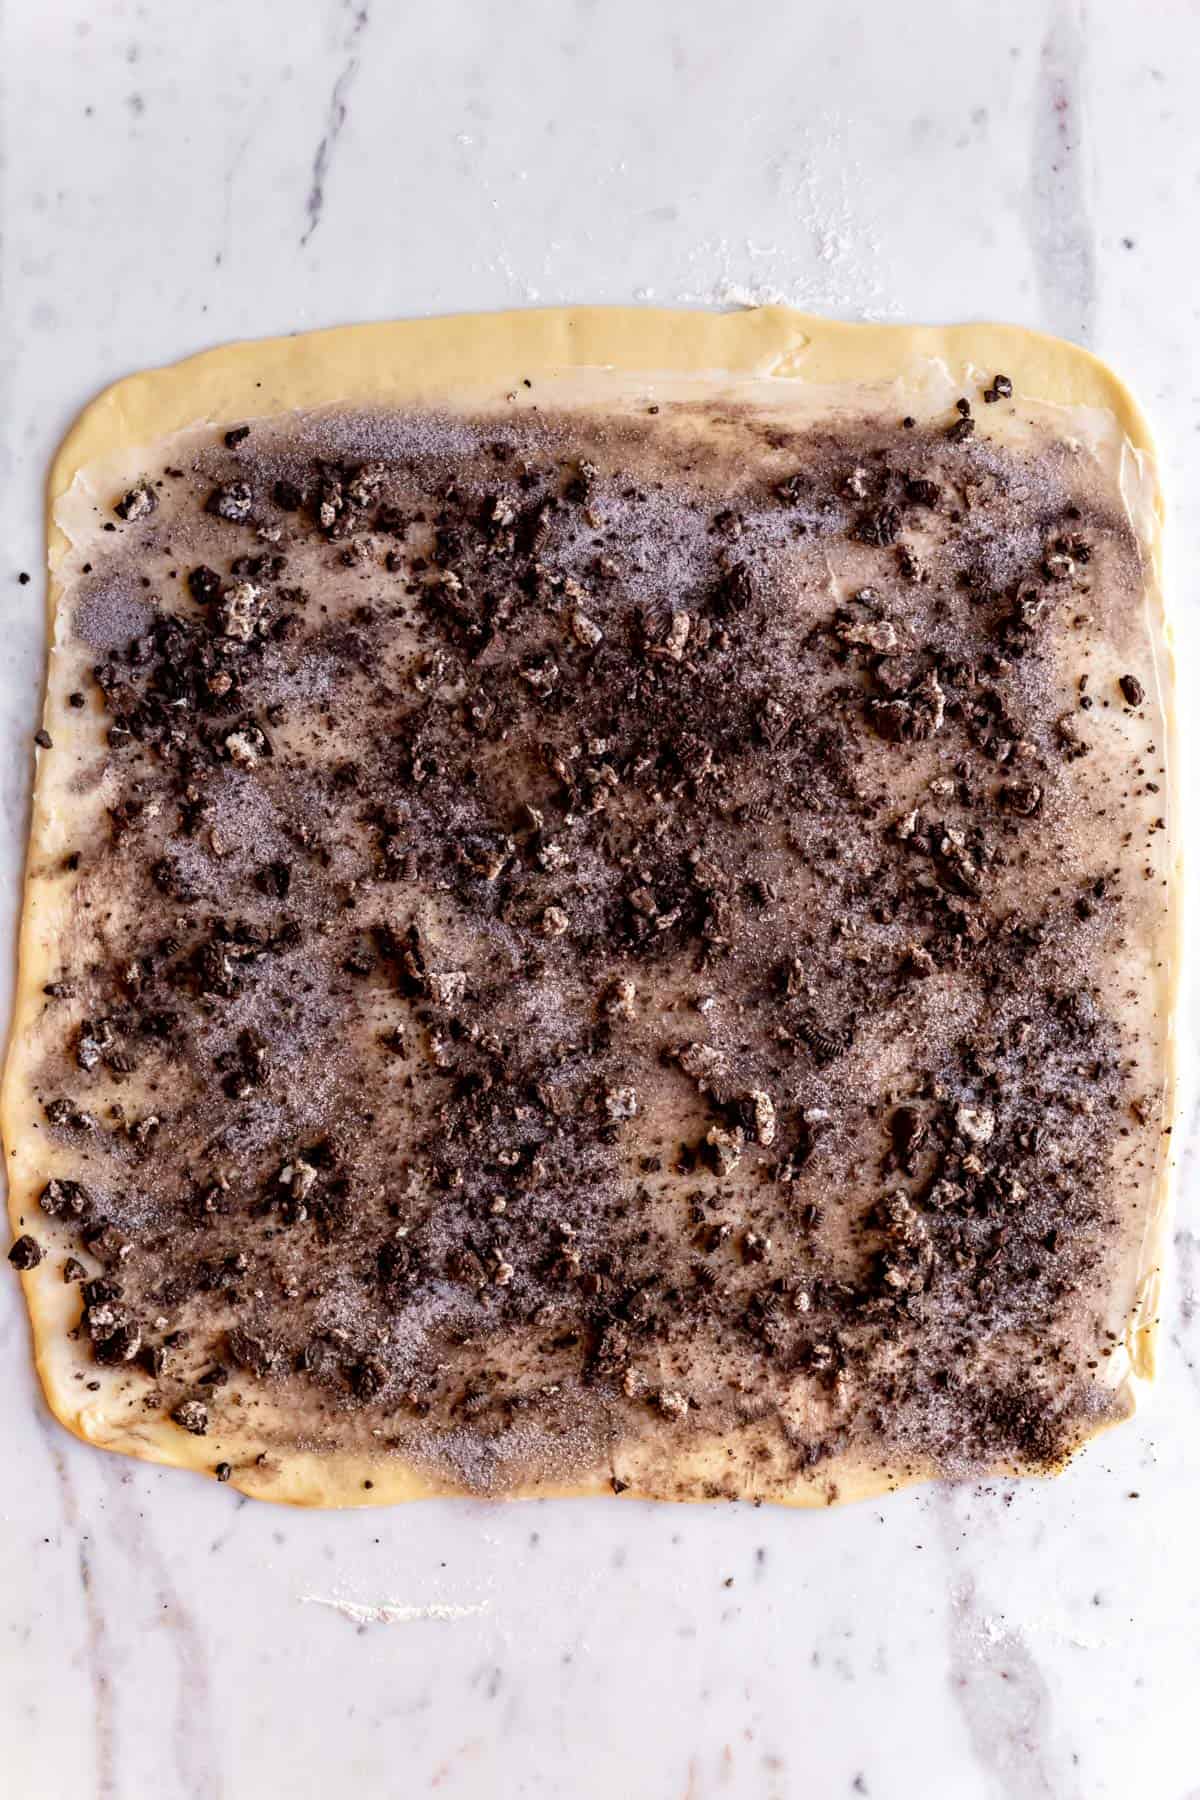
- Sprinkle crushed Oreos on top to evenly distribute them across the surface of the dough, and gently press them into the dough by hand to help them stick.
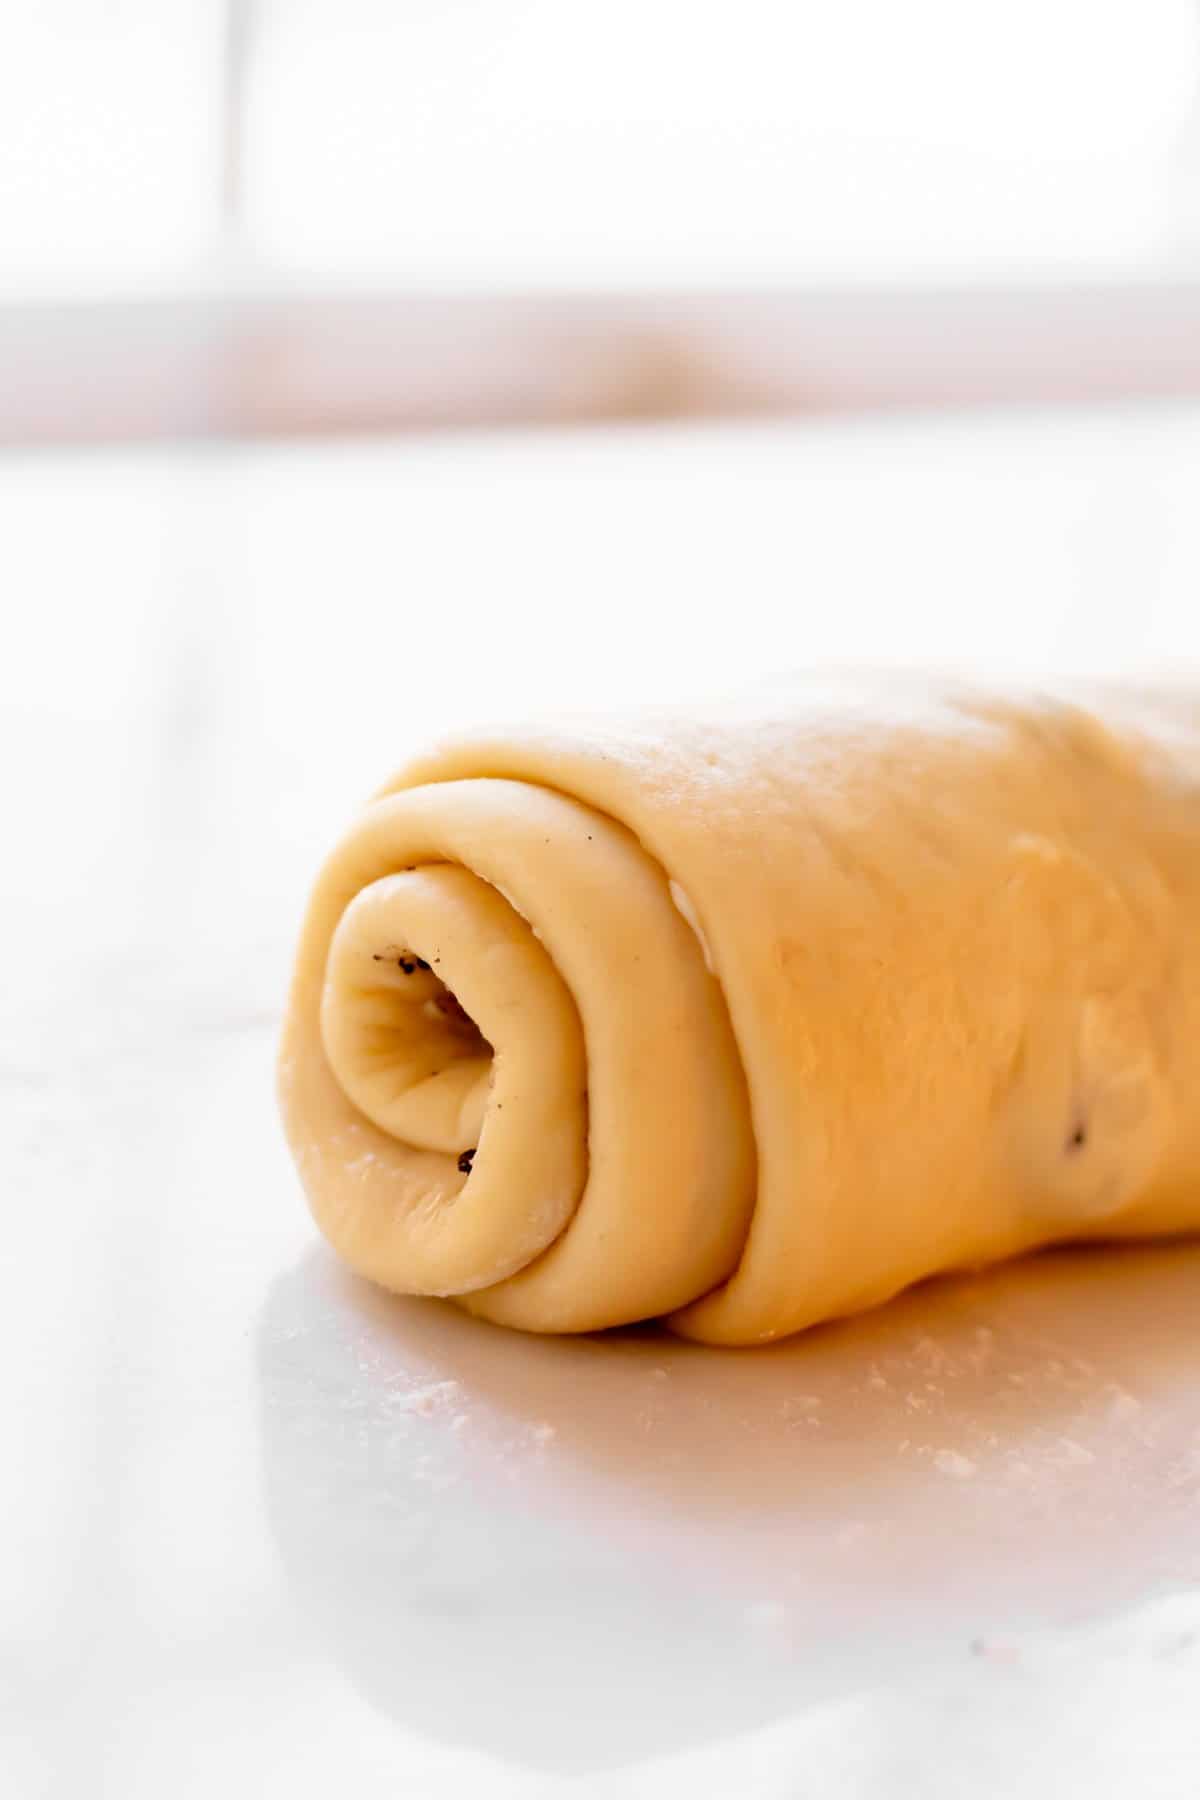
- Starting with the edge opposite of your clean “seal” edge, carefully roll dough in a tight log from one end to the other. Use your fingers to firmly pinch the seam together and seal your log up well.
- Using a sharp knife, and a “sawing” not “crushing” motion, gently slice off your rolls until you have 9 equal rolls, about 1.5” wide each.
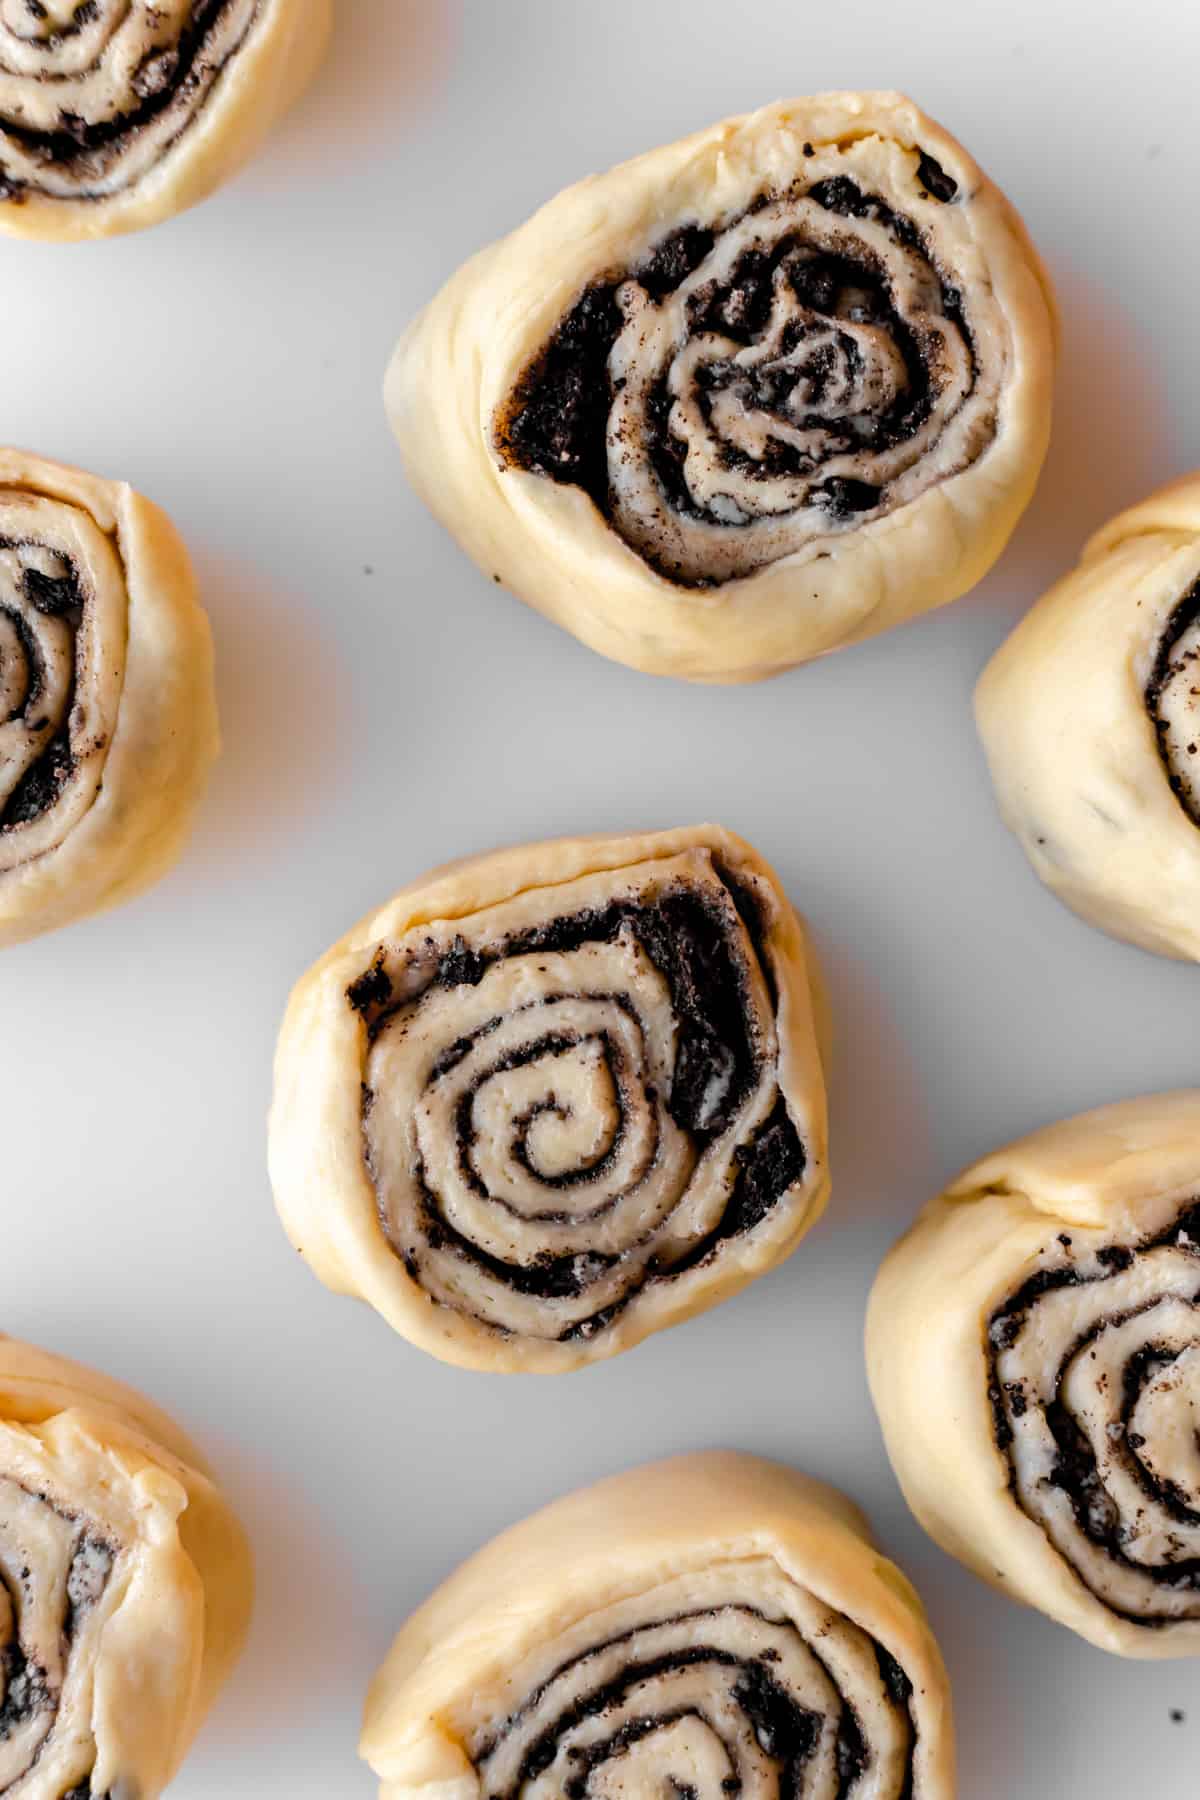
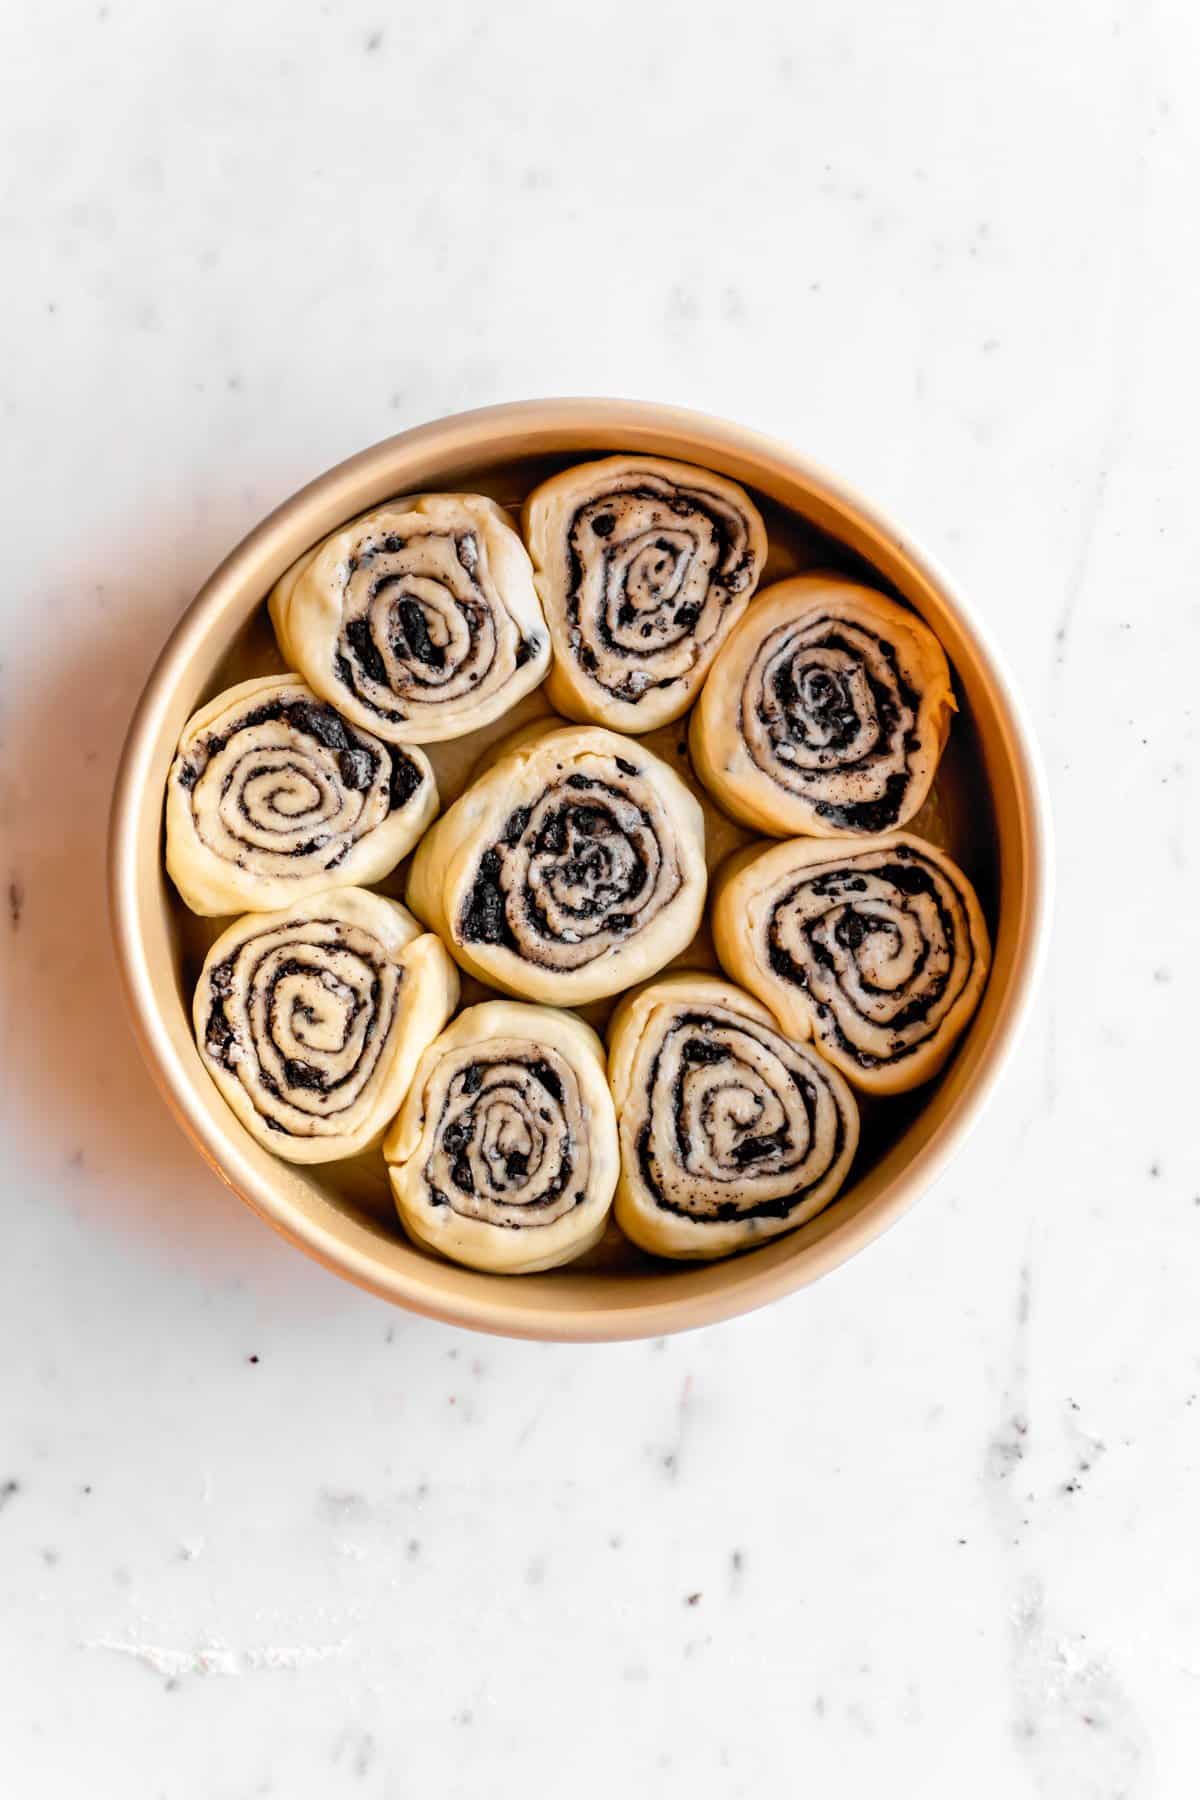
- Space them out evenly in a lightly greased 8” round pan, with one in the center, and the others in a ring around it.
- Allow to rise again until they’re puffy, touching each other, and the dough again feels very soft and holds an indent when gently pressed (about an hour). Near the end of the rise time, preheat oven to 350°F.
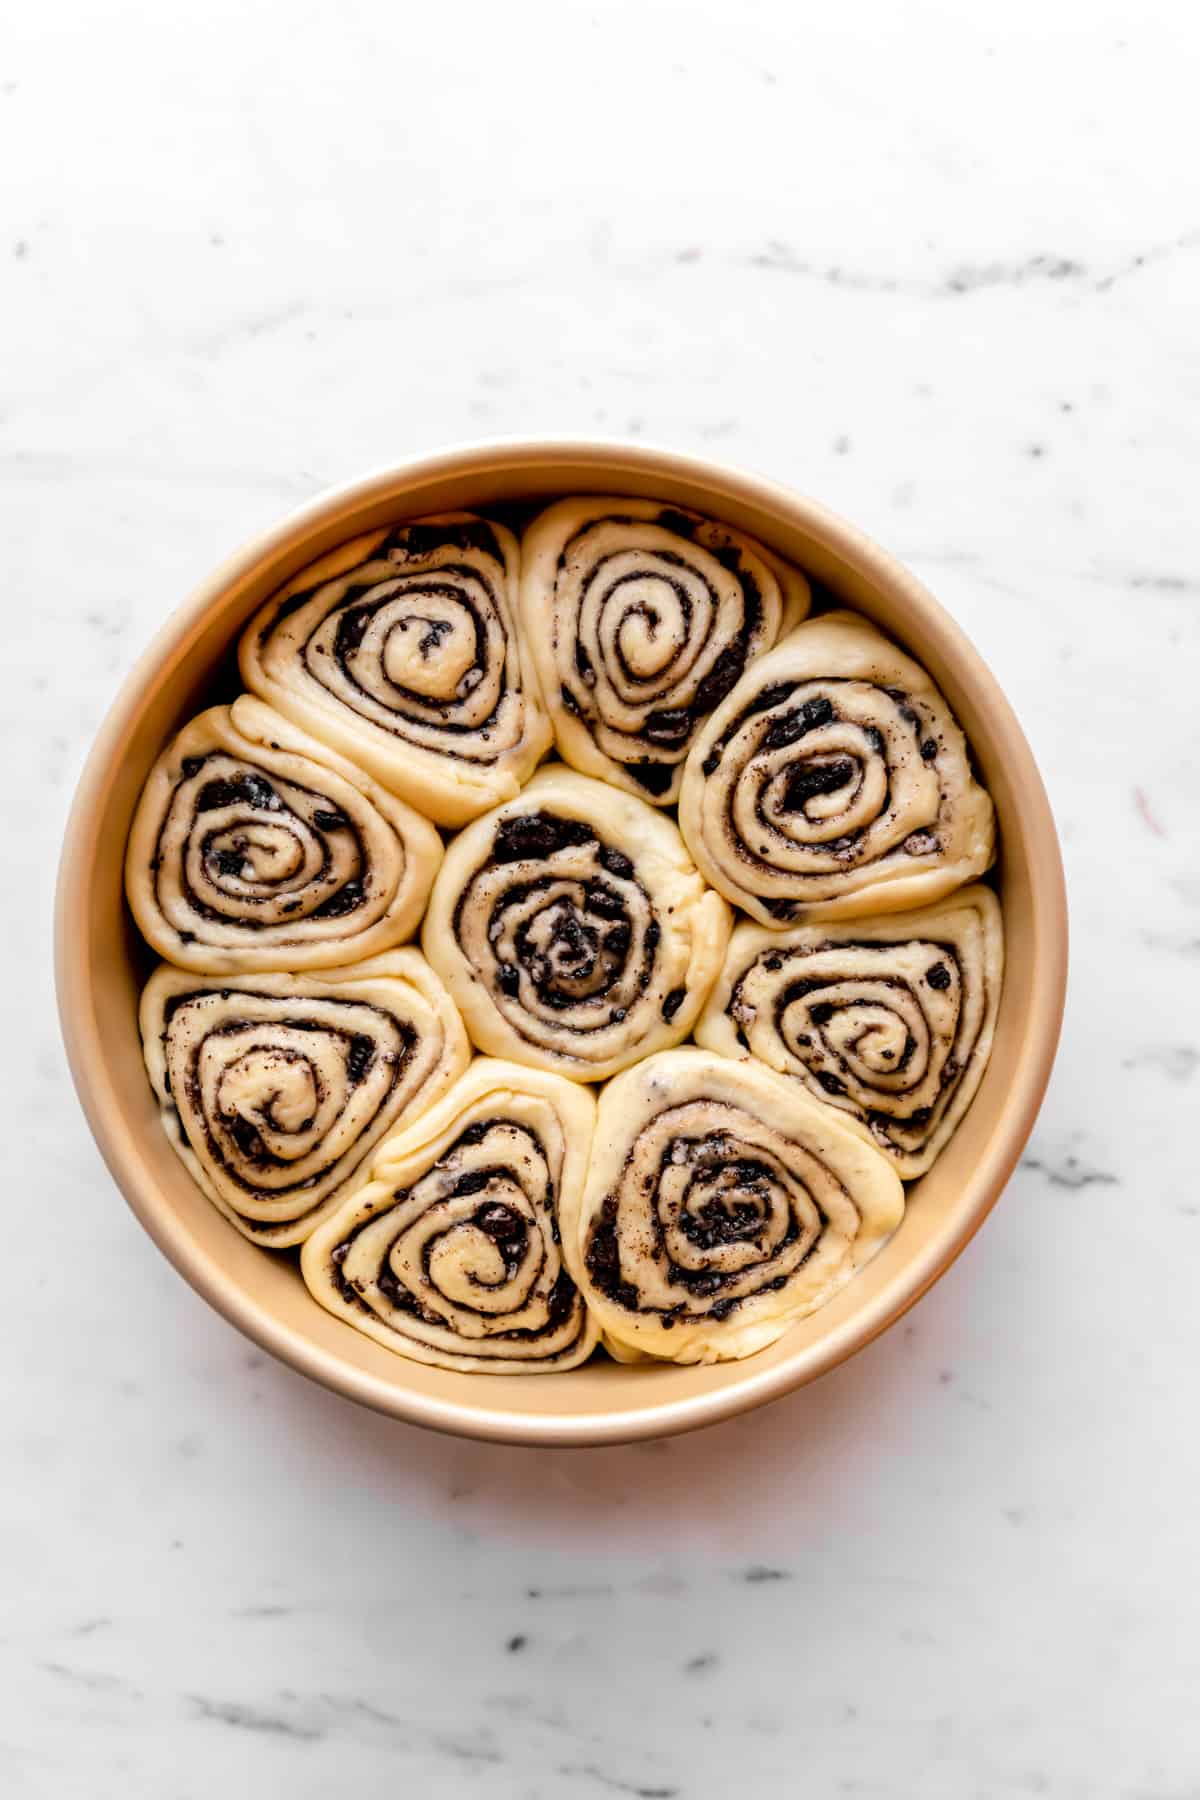
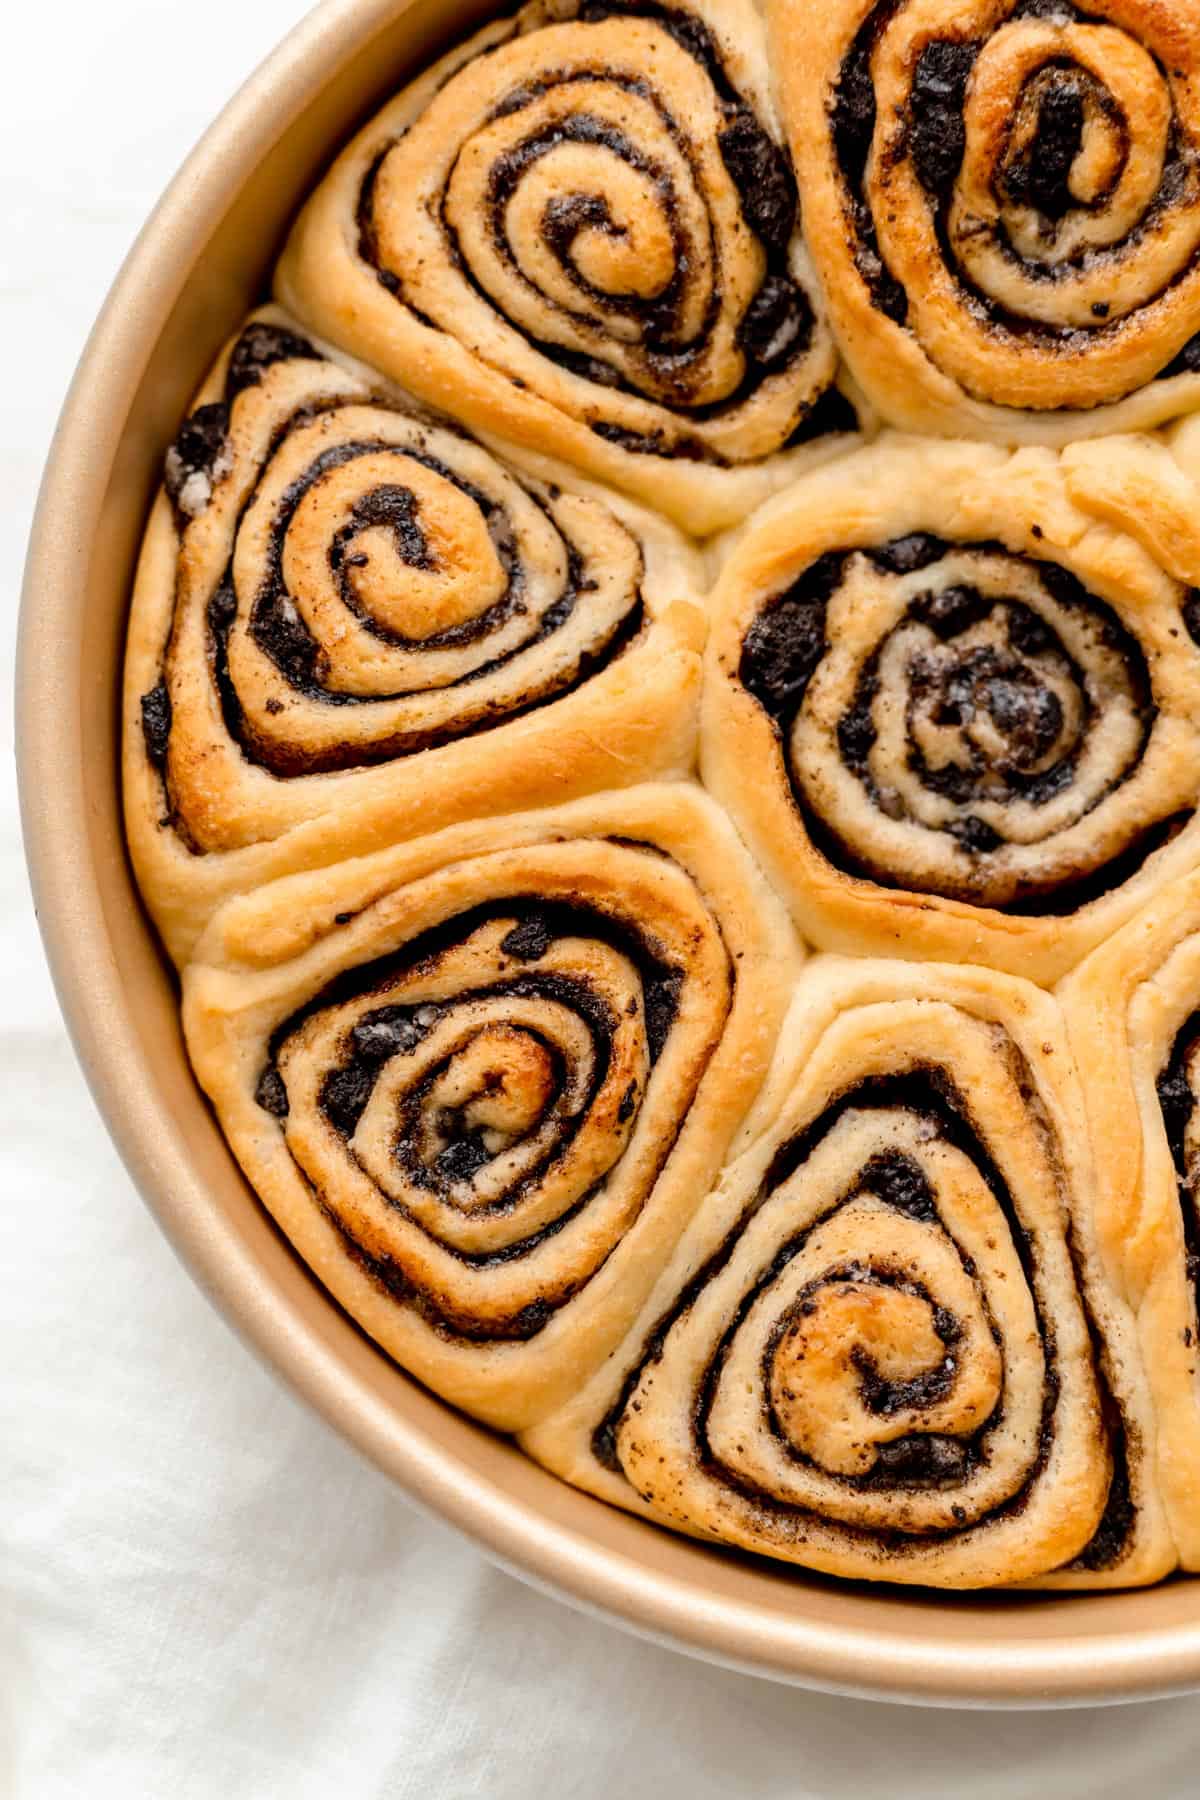
- Bake the buns on the middle rack of the oven for 26-30 minutes until they are golden brown and fully set.
- Allow rolls to cool in the pan on a wire rack for 15-20 minutes while you prepare the icing.
How to Make Cream Cheese Icing for Cinnamon Rolls
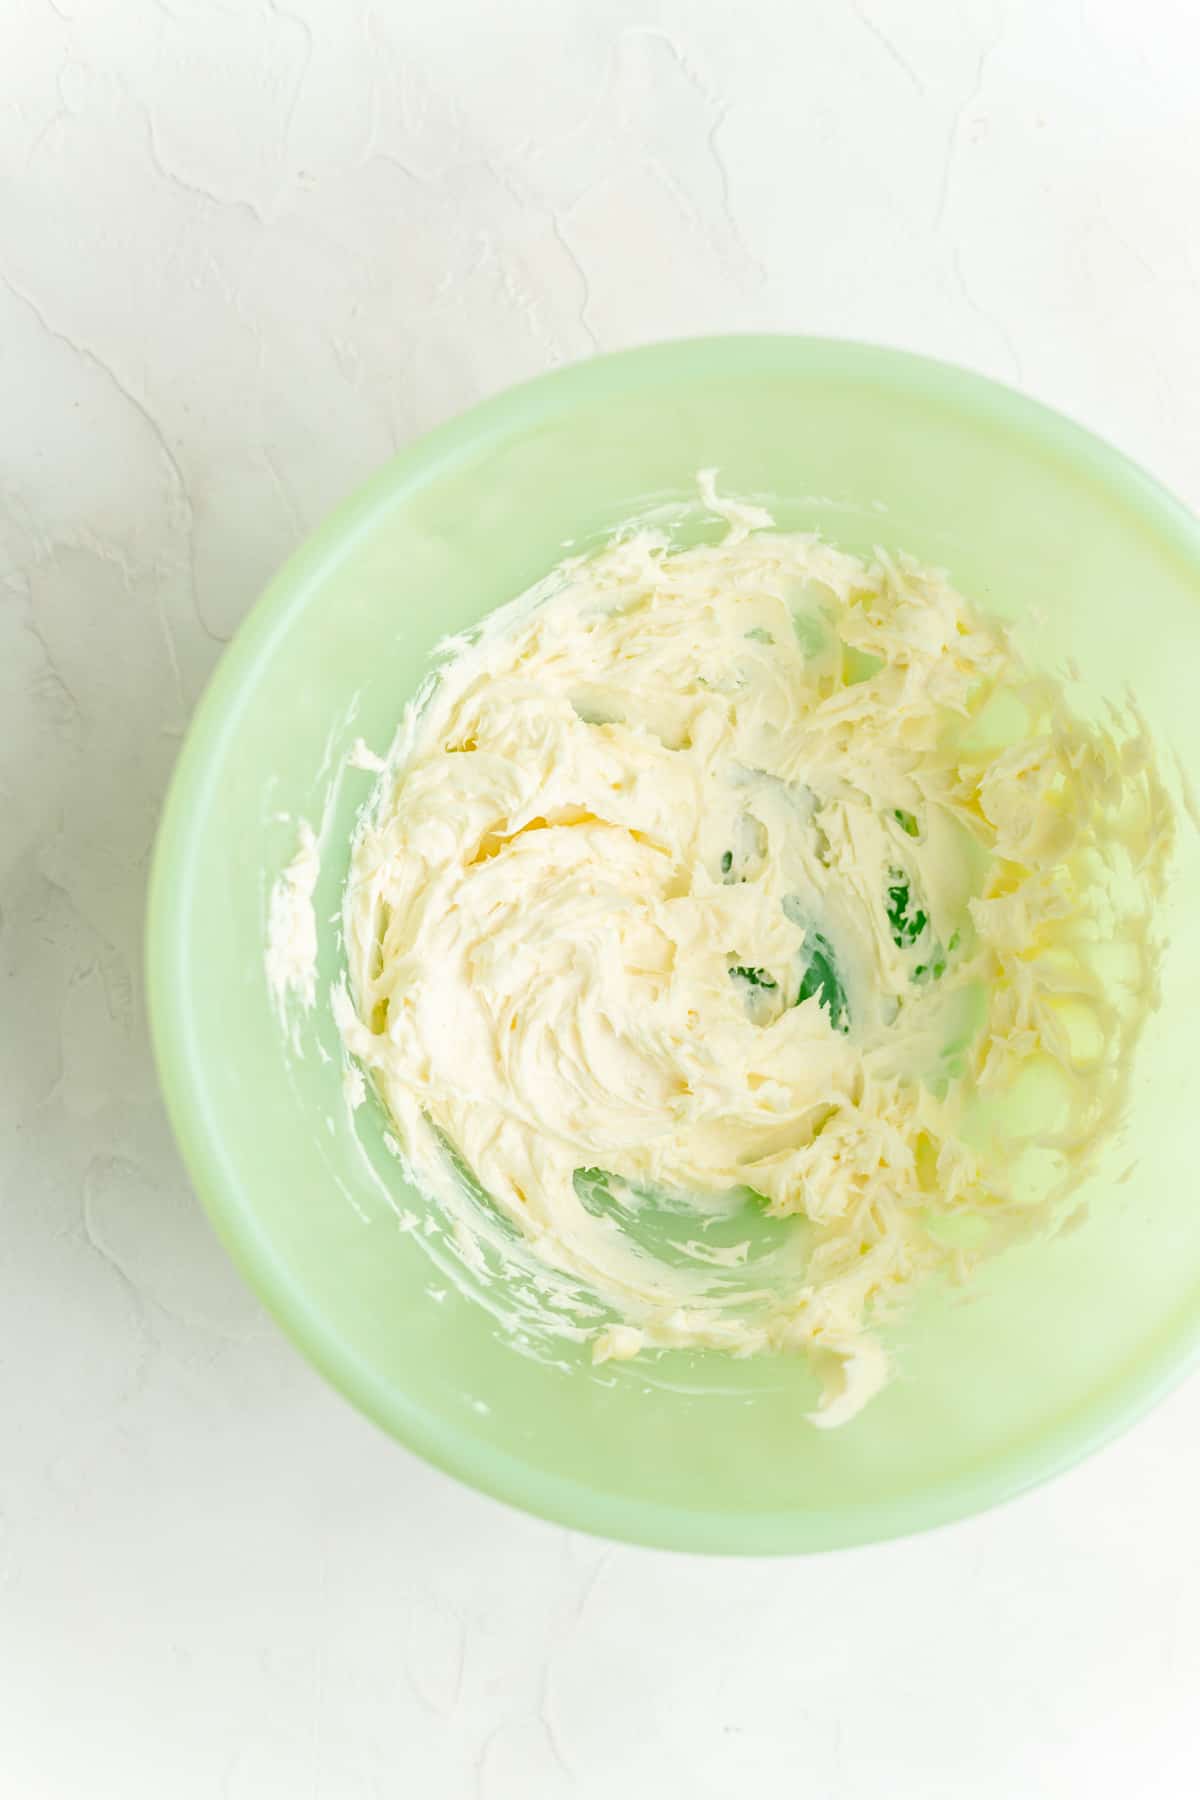
- Beat together butter and cream cheese until smooth and fully combined, preferably with a hand mixer.
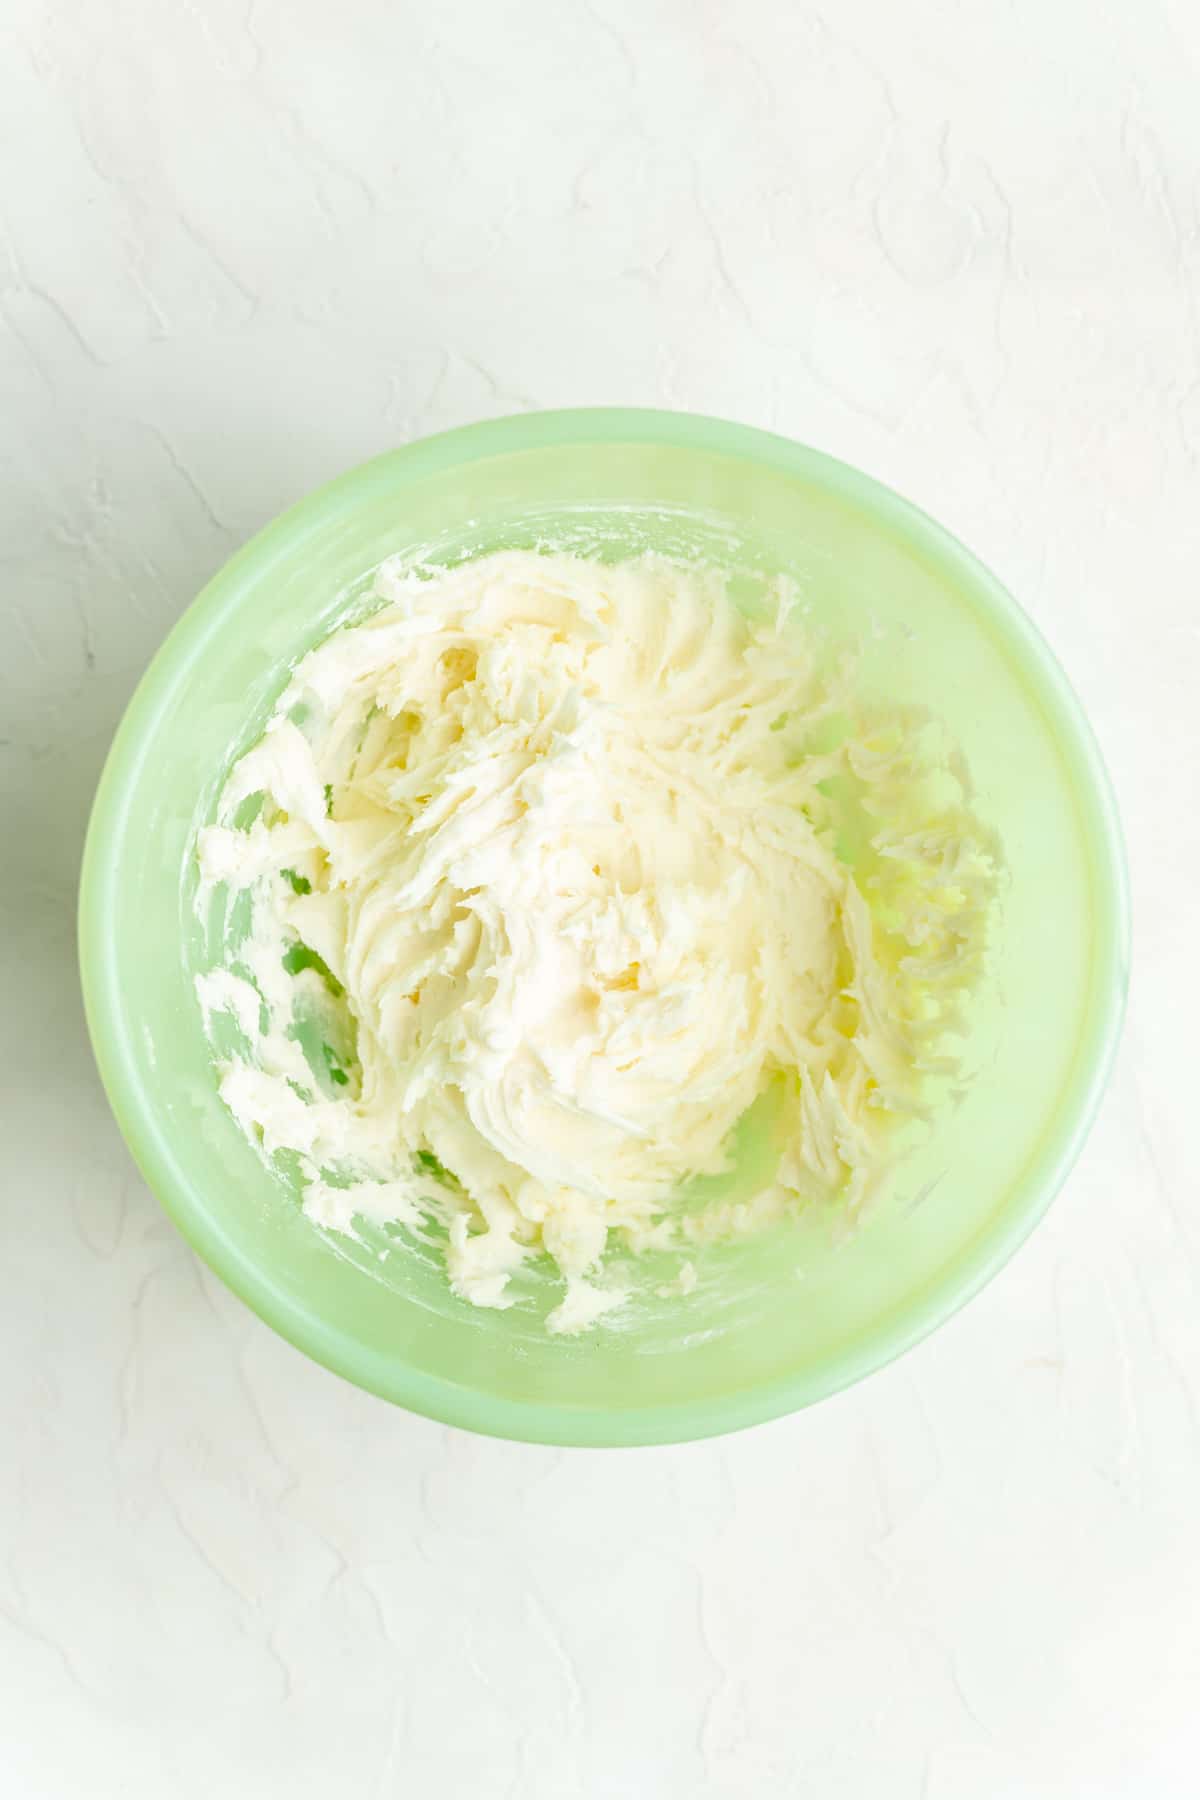
- Mix in the powdered sugar until fully combined and smooth.
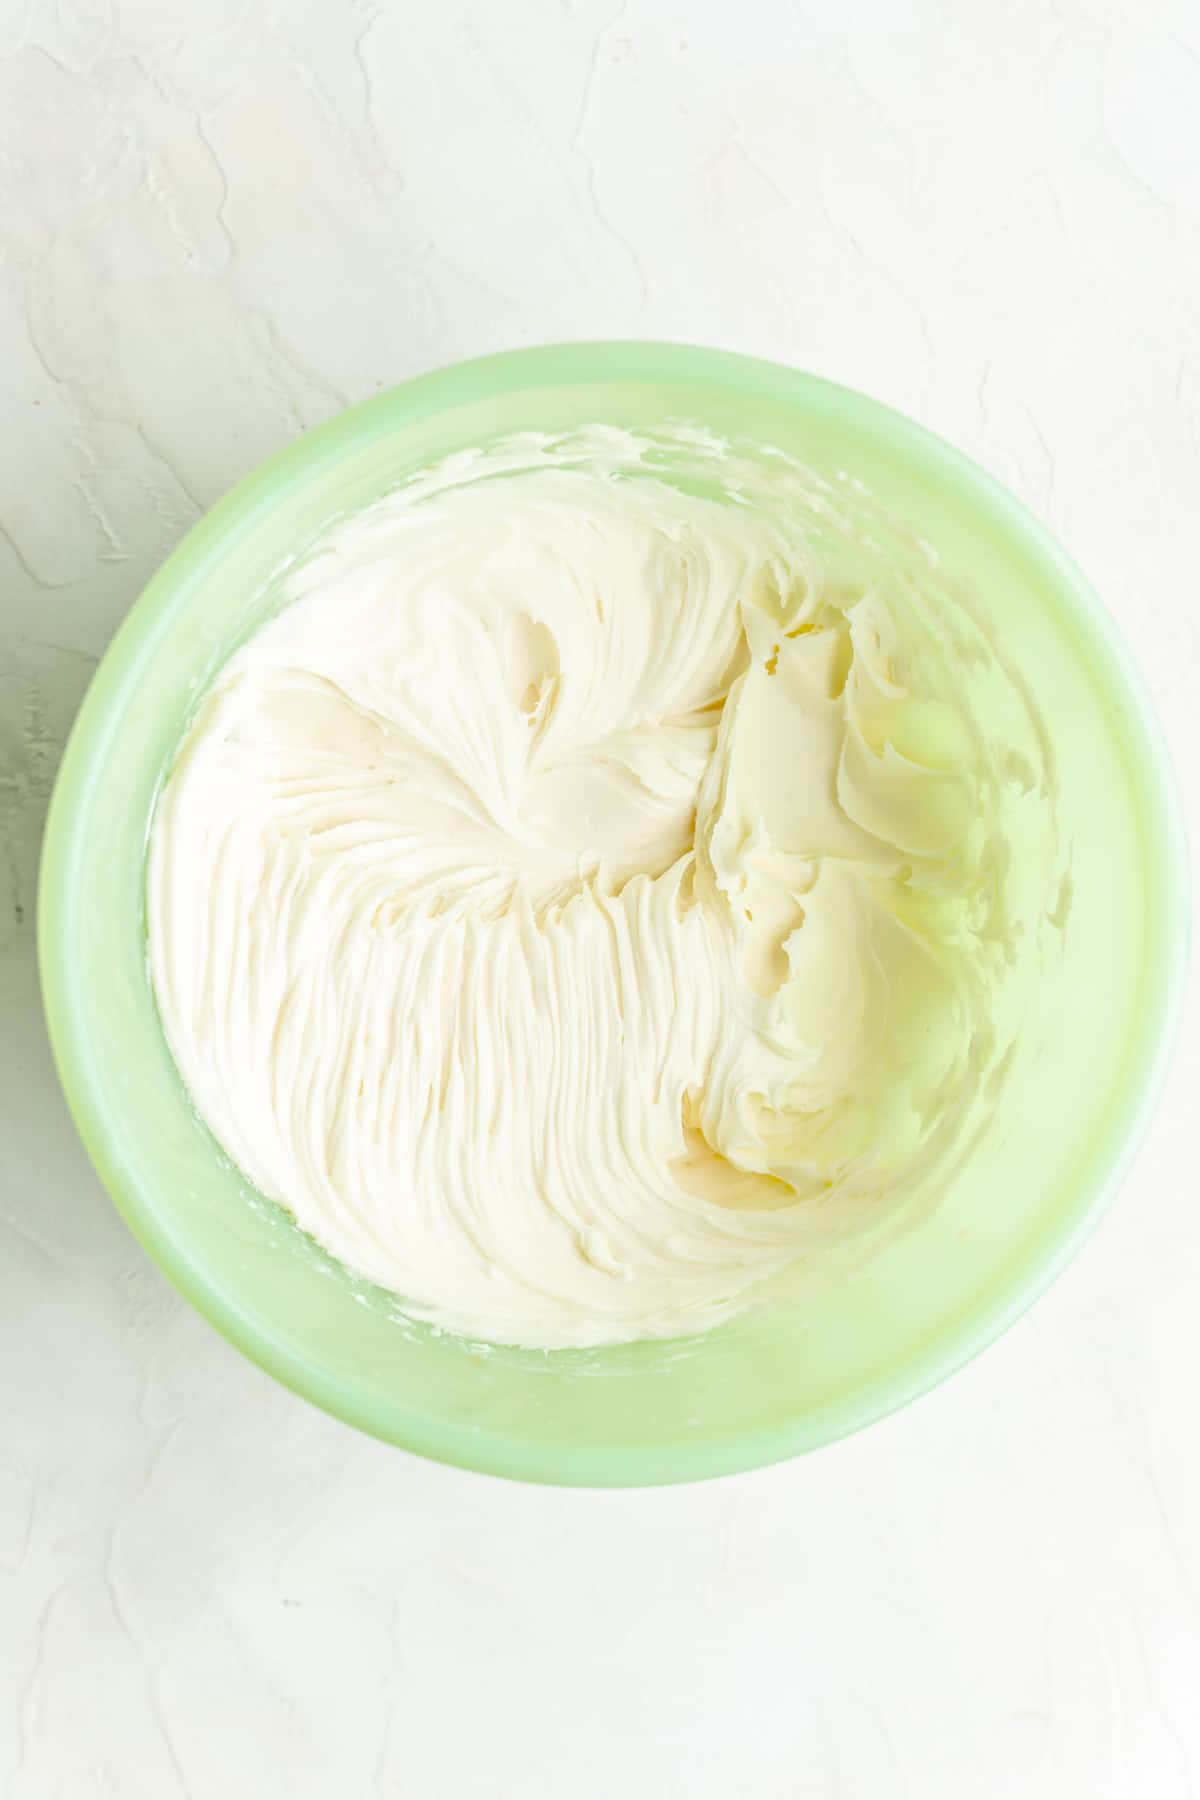
- Blend in the milk and vanilla until smooth and fluffy again.
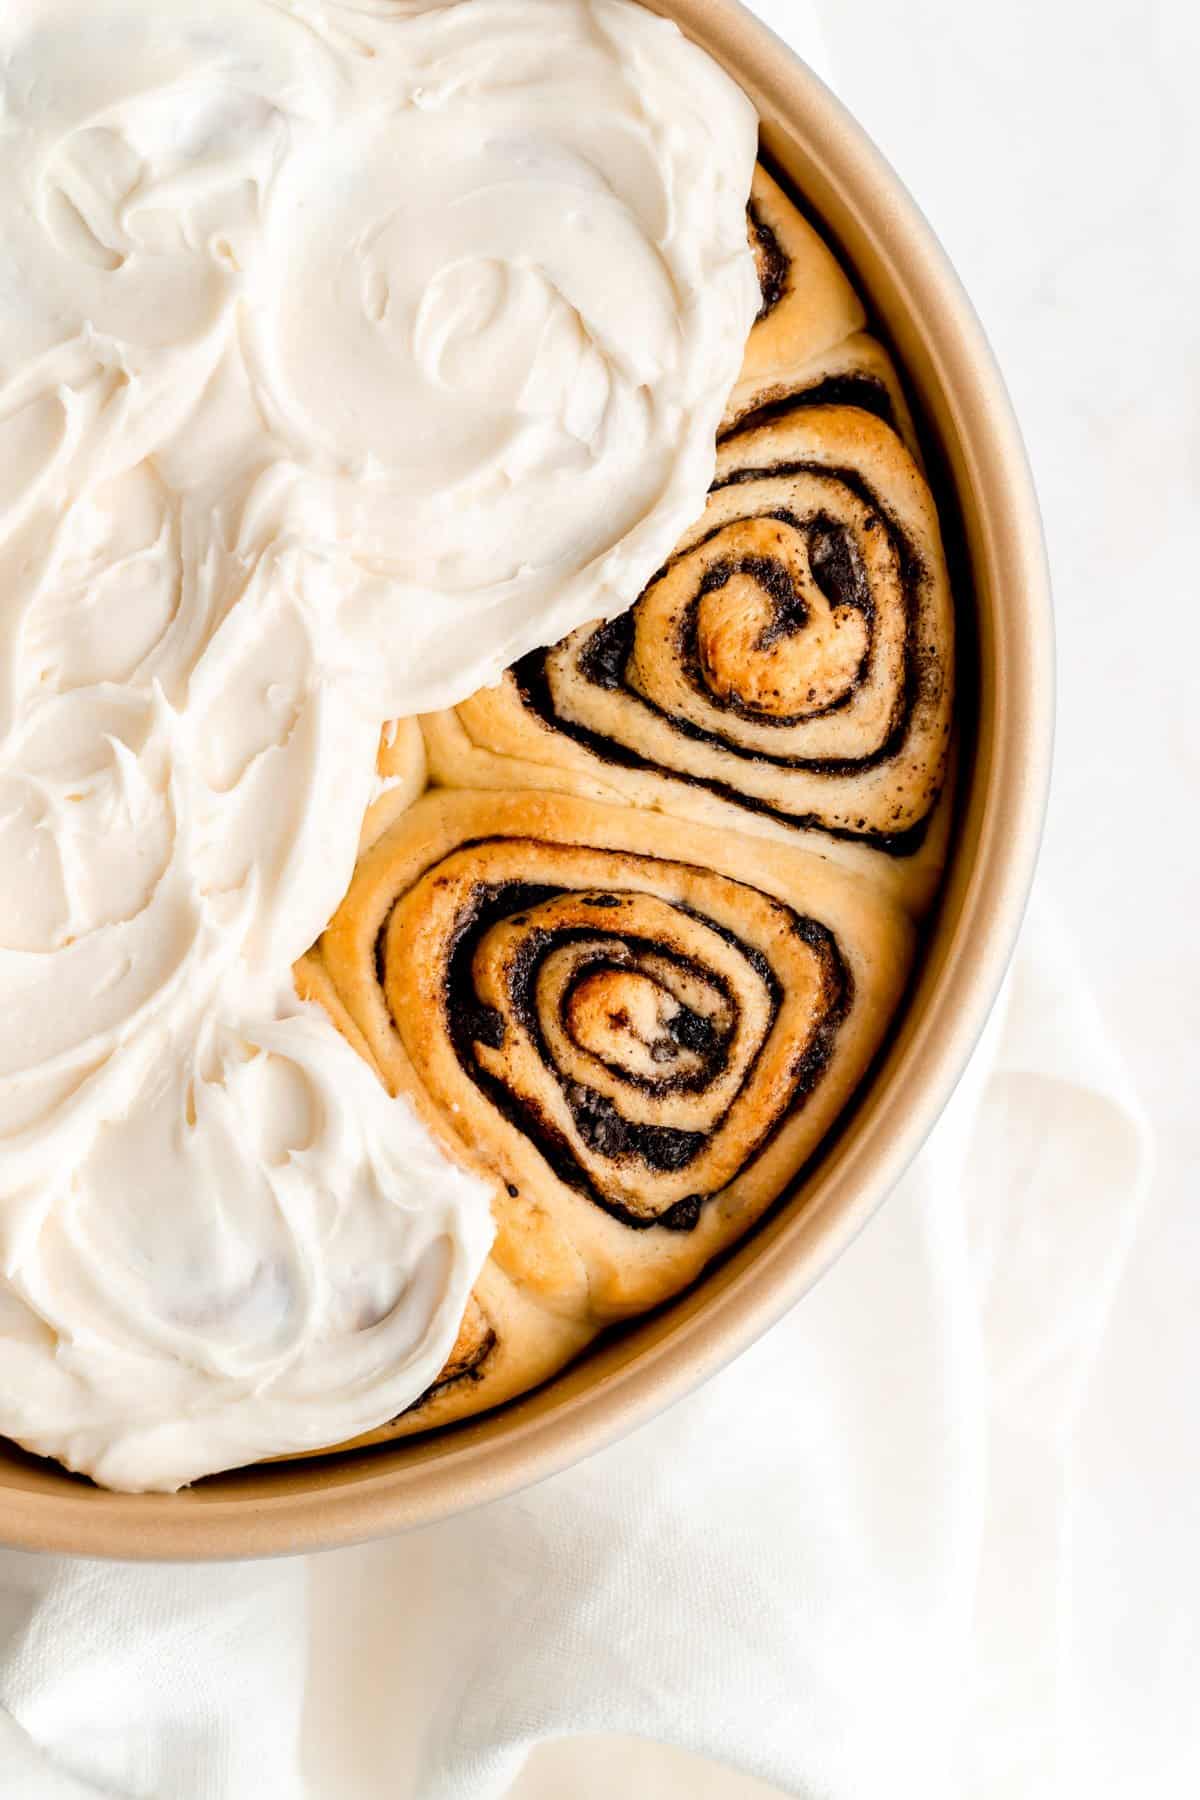
- Spread icing on warm (but not super hot) rolls, right in their pan. Sprinkle with crushed Oreos on top for a final garnish and enjoy a perfectly warm and messy cookies and cream treat!
Assembly video tutorial!
So that's the steps in a nutshell, but here's a helpful video tutorial showing the assembly process:
Pick your favorite flavors!
If you'd like, you're welcome to substitute any other flavor of Oreos in for the classic chocolate and vanilla ones here.
You can use the cinnamon or cocoa suggested for the filling mix, or you could even substitute in a teaspoon of freeze dried fruit powder if you wanted to make a fruity variation.
The great thing about this dough is it's a classic recipe, with no actual chocolate flavor in it. So it's great for whatever type of Oreo variation you'd love to make and the possibilities really are endless!

Test Kitchen Tips + FAQs
When prepared correctly, this dough is neither sticky nor dry. It is easy to handle and roll out with just a little flour on the work surface.
At times, bread doughs in general can be extra tricky if there are additional factors such as a really dry or humid environment, or maybe a little extra water or flour got added if you weren't using a scale for measurement.
So if your dough is extra sticky after 5 minutes of kneading, you can add flour, a tablespoon at a time, as needed. If it’s really dry and won’t grab the hook at all, you can splash water on it 1-2 teaspoons at a time, as needed, just until it gets a little tackiness to it. Just be careful not to overdo it with either addition!
Store these rolls wrapped airtight in the fridge for up to five days. To enjoy, simply reheat for 15 to 30 seconds in the microwave for that just-baked experience.
While you can freeze these cookies and cream rolls baked and un-iced, I highly recommend eating them fresh as the texture and overall experience is going to be much more enjoyable.
You should not freeze these rolls unbaked as it will affect the yeast negatively, and the final rise will be seriously stunted if you were to try to bake them from the freezer.
I know many recipes you'll see will recommend proofing your dough in a preheated oven or proofing drawer.
I highly caution against this unless you're experienced with bread doughs, because frankly ovens are unpredictable, especially at really low temperatures, and you can either cook your yeast or seriously over-proof your dough.
Your dough should rise perfectly fine at room temperature, around 70°F, as long as your ingredients are the right temperature when added to the dough.
If you keep your house particularly cold, you could run your shower super hot with the bathroom door closed for 5-10 minutes, and then place the dough in there (with the shower off) so that room stays nice and warm and steamy for your dough.
You'll find that using a naturally warm room will give you a much more predictable timeline and also allow the dough to develop the maximum amount of flavor.
Great news - I've already made sure your cinnamon rolls will be light and fluffy!
The nature of brioche dough is a very soft, fluffy, richly-flavored dough so that's half the battle.
The second really important factor is making sure your dough rises for the right amount of time at both stages. Just follow my lead and check all those photos out before starting, and as long as you're going along with the process as written, you should end up with a treat that rivals the fluffy cinnamon rolls of your dreams.
Isn't that the million dollar question? lol
Bread doughs are not a simple science, and frankly there could be many answers to why your rolls don't want rise. However, there are a few common culprits...
1. Your ingredients were too cold: if your ingredients are too cold going into your dough, the dough temp will not be high enough for the yeast to really thrive and puff up that dough. To prevent this, just make sure you follow the temperature tips in the ingredient list as written.
2. Your proofing room is too cold: similarly, if your space is too cold for the dough to rise, the yeast again can't thrive and really get going to give you that beautiful rise. To prevent this, just make sure you have a nice warm room, or again use the shower trick noted above if you need to create a warmer space in your home.
If you think all your temperatures were correct and still had issues with rise, check out Part 2 below.
The dough may actually be over-proofed (aka over-risen).
Although it may seem a little counter intuitive, a common reason why your final cinnamon rolls may not be fully risen is because they actually over-proofed before they made it to the oven.
If you leave your dough for 4 hours on the counter, or in way too warm a space (like a preheated oven) to rise, you'll find it not only rises, but it gets overly-soft and almost deflated looking.
Unfortunately, there really is no going back from that. The yeast has used up all of its rising power before you enter the oven. Therefore your rolls won't get a nice extra spring from that heat as they usually would, because the yeast is essentially already tapped out.
Again, there's no way to fix this once it's happened, it's just something to be aware of so when you mix up your next batch, you know to more carefully watch your rolls and check on them a little sooner.
If you find gaps between your cinnamon rolls, they either 1) were likely over-risen so the yeast didn't have any energy left to expand in later rises/the oven, or 2) you may be using a bigger pan.
For more on over-rising issues, see the answer above in Part 2.
In terms of the pan size, I designed this smaller batch of rolls to fit snuggly in a true 8-inch round pan.
If you use a larger pan, the rolls may not be able to spread and puff enough to totally fill out the pan. But know, there's nothing wrong with this if that's all you have available to you. The rolls will still taste delicious, they may just bake a few minutes faster.

Other Breakfast Treats You'll Love

⭐ If you gave this recipe a try please give it a ⭐ rating and tag me on Instagram @mint.and.mallow.kitchen so I can see what you're baking up! ⭐
📖 Full Recipe
Cookies and Cream Cinnamon Rolls
Ingredients
FOR THE DOUGH:
- ½ cup water (lukewarm (75-85°F)*1)
- 2 ½ teaspoons (one 7g packet) active dry yeast*2
- 1 large egg (room temperature*3)
- 2 ¼ cups all-purpose flour
- 2 tablespoons sugar
- ¾ teaspoon salt
- ½ cup (1 stick) unsalted butter (very softened, cut into tablespoon chunks)
FOR THE FILLING:
- ¼ cup sugar
- 1 teaspoon cinnamon, regular cocoa, or black cocoa*4
- 3 tablespoons butter (very soft)
- 8 well-crushed Oreo cookies (about 1 cup)
FOR THE ICING:
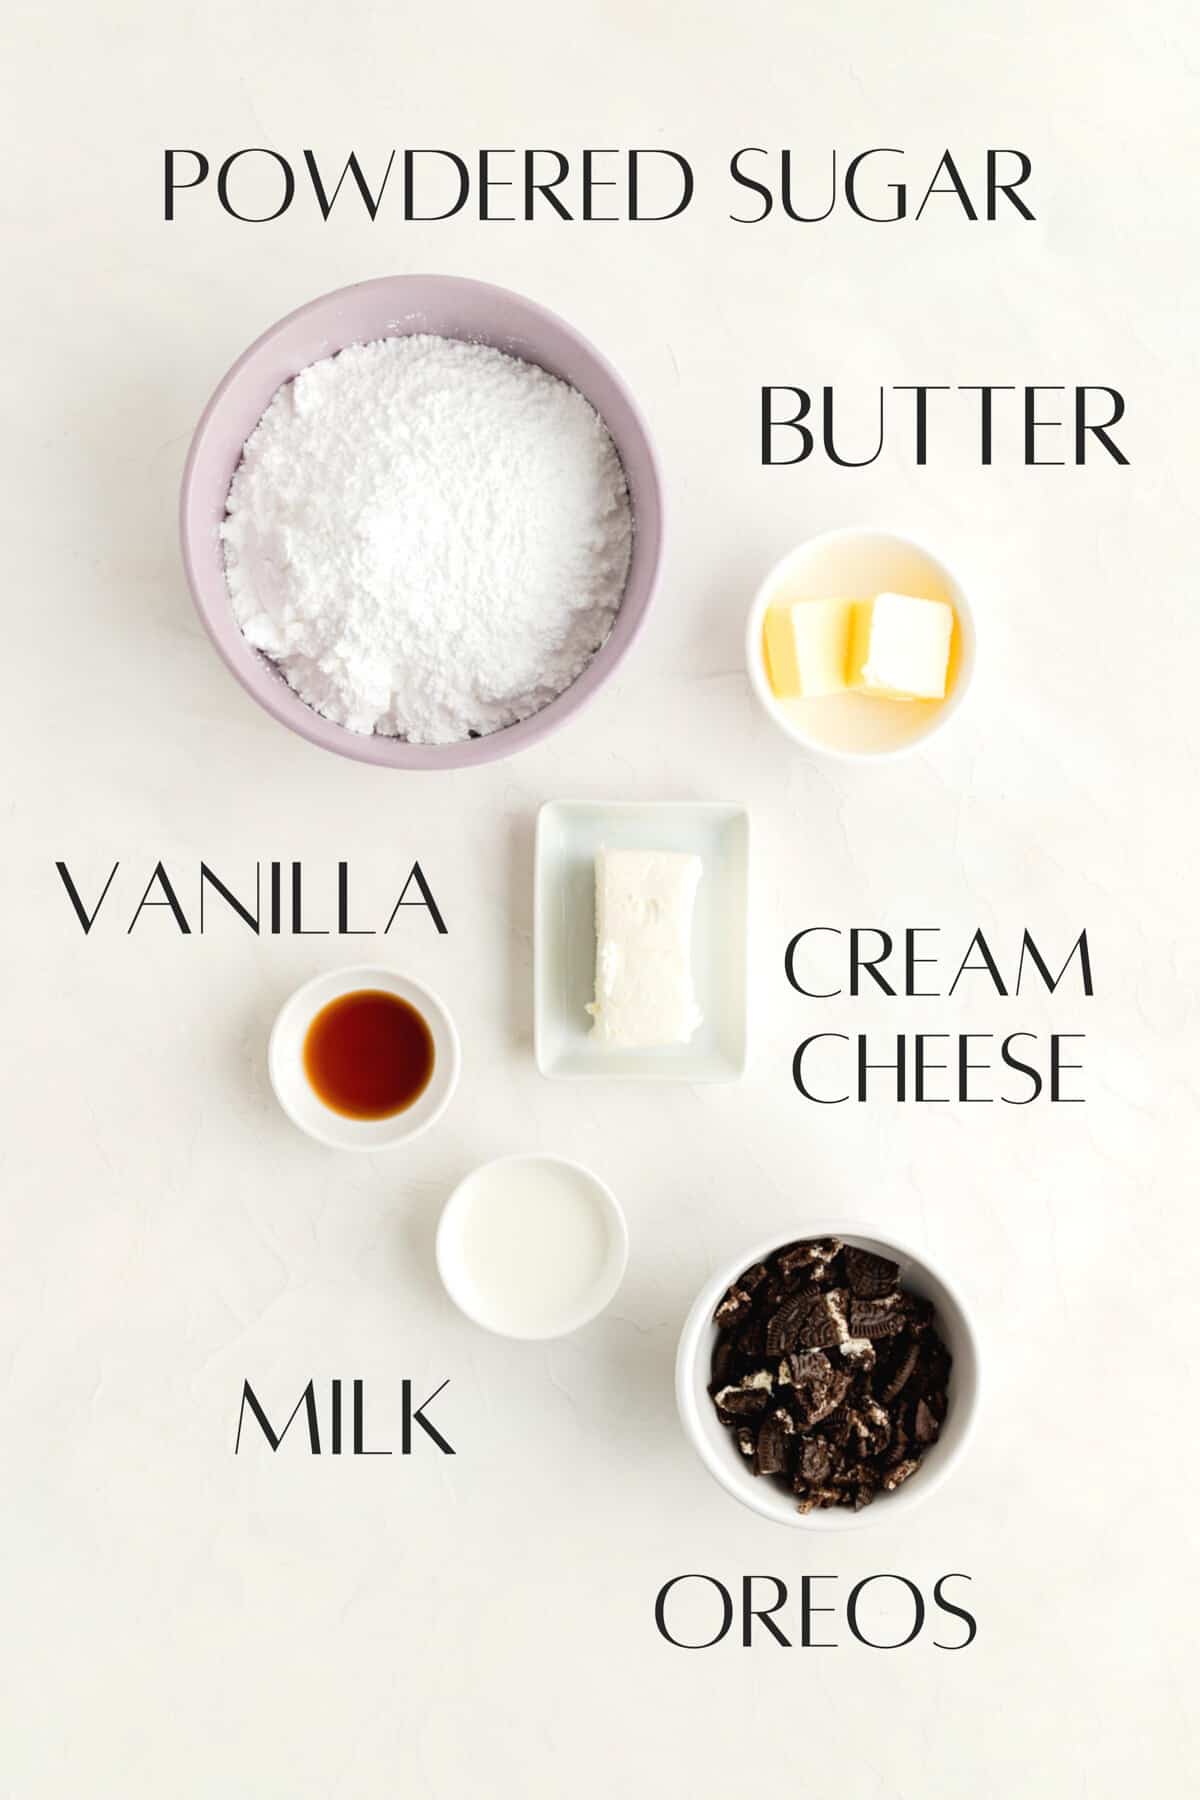
- 2 tablespoons unsalted butter (softened)
- ¼ cup 2 ounces; ¼ brick Philadelphia Original Cream Cheese, softened
- 2 cups powdered sugar (sifted)
- 1 tablespoon milk
- ½ teaspoon vanilla extract
- 5 roughly crushed Oreo cookies (for garnish, optional)
Instructions
TO MAKE THE DOUGH:
- Combine yeast and water*5: stir together yeast and lukewarm water in the bottom of stand mixer’s bowl (a hand mixer won’t work for this dough). Allow to sit for 5 minutes while you measure out remaining ingredients (this helps the yeast start to activate and dissolve).
- Stir in egg: after the 5 minutes is up, add the egg to your bowl and blend with the water/yeast mixture.
- Add dries and butter, then mix on low to combine: add dry ingredients and soft butter cut into tablespoons into your bowl with the yeast. Using a dough hook, run mixer on the lowest setting (usually “stir”) until all ingredients are roughly combined, scraping bowl as needed to help any dry pockets blend in (about 1-2 minutes).*6
- “Knead” on medium-low speed until elastic: with mixer on 2/10, allow the dough to mix for 2 minutes so it can start forming into a single, sticky mass. After that, raise the speed to 3 or 4/10 (no higher than 4/10)*7 and allow dough to mix for 8-10 minutes, checking it often. You’ll know it’s ready when it has formed into a single smooth mass, and it springs back with a little elasticity when you pull on it. You’ll also likely hear it start “slapping” against the side of the bowl when it’s ready, and you should be able to stretch it into a thin “window pane” (see photos in post for more detail!).*8
- Allow dough to rise: remove dough from mixing bowl and form loosely into a ball. Lightly grease mixing bowl with baking spray, then drop dough back into bowl, rolling it around to lightly grease it on all sides (this prevents a skin from forming). Loosely cover bowl with a dish towel or plastic wrap (that’s not sealed), and allow dough to rise in a warm place for about 1 ½ hours until doubled in size, soft, and very puffy. When it’s ready, an indent should remain with no bounce back when you press your finger gently into the dough (see photos in post for more detail!).
TO ASSEMBLE THE ROLLS:
- Make the filling: near the end of the rise time, combine sugar and cinnamon, or sugar and cocoa powder.*4
- Knock it down and roll it out: working on a lightly floured surface, dump your risen dough out onto your surface, then press it down with your hands to deflate it and release the gases. Re-flour your surface as needed and roll dough into a 14” square.
- Butter the Dough: spread softened butter in a thin layer over the entire surface of the dough, but leave a ½" border along one edge to use as a seal (if butter isn’t really soft, microwave it in 7 second intervals at 20% power until it’s almost melting, otherwise it may tear your dough when you spread it).
- Add filling: sprinkle buttered dough generously with the cinnamon or cocoa sugar mixture to fully cover the butter, using your hand to spread it into an even-ish layer. Then, sprinkle crushed Oreos on top to evenly distribute them across the surface of the dough (make sure they’re fairly well crushed so they roll up nicely in this soft dough). Gently press them into the dough by hand to help them stick.
- Roll it up: starting with the edge opposite of your clean “seal” edge, carefully roll dough in a tight log from one end to the other (do your best to keep your roll tight, but know the dough will be very soft, so don’t worry if the roll isn’t perfect). Once your roll reaches the clean edge, use your fingers to firmly pinch the seam together and seal your log up well.
- Slice off the rolls: using a sharp knife, and a “sawing” not “crushing” motion, gently slice off your rolls until you have 9 equal rolls, about 1.5” wide each.
- Pan them up: space them out evenly in a lightly greased 8” round pan, with one in the center, and the others in a ring around it, being sure to place the prettier side up.*9 (Don’t worry if the rolls aren’t touching - they’ll expand during both the rise and bake.)
- Allow to rise again: place a lightly greased piece of plastic wrap loosely over your pan, and allow the rolls to rise about an hour in a warm place until they’re puffy, touching each other, and the dough again feels very soft and holds an indent when gently pressed. Near the end of the rise time, preheat oven to 350°F.
- Bake ‘em: remove the plastic wrap and bake the buns on the middle rack of the oven for 26-30 minutes until they are golden brown. (An instant read thermometer will register 190°F+ when inserted into the center of the rolls when they're ready.) If the buns start to get too brown on top, tent them with a piece of aluminum foil for the remainder of the bake time.
- Cool ‘em off a bit: once rolls are baked, allow them to cool in the pan on a wire rack for 15-20 minutes while you prepare the icing.
TO MAKE THE ICING:
- Combine butter and cream cheese*10: place softened butter and cream cheese in a small mixing bowl. Beat together until smooth and fully combined by hand or with a hand mixer, until no cream cheese chunks remain (a hand mixer will give you a smoother glaze here).
- Mix in the powdered sugar: add in the sifted powdered sugar, and blend until fully combined and smooth.
- Blend in the milk and vanilla: add the milk and vanilla extract, and blend until smooth and fluffy again.
- Spread, slice and enjoy! Spread icing on warm (but not super hot) rolls, right in their pan. Sprinkle with crushed Oreos on top for a final garnish, then tear off a roll and enjoy a perfectly warm and messy cookies and cream treat!
Video
Test Kitchen Tips
- *1Lukewarm water: the best way to ensure the right temp of water is to use an instant-read thermometer (we’re going for 75-85°F in this recipe), but if you don’t have one available, simply use your best judgement to feel when the water is “lukewarm” but not “hot.” If the water is too hot or too cold, it will negatively effect the yeast and your rise.
- *2Active dry yeast, not instant/rapid! For this recipe we want to use “active dry” yeast, bulk red yeast or bulk gold yeast, because they're all designed for the 2-rise process we’re using here. Rapid/Instant yeast is only designed to rise once, and likely will lead to a less risen, and less flavorful roll.
- *3Room temperature egg hack: if you need to get your egg to room temp in a hurry, simply submerge it whole in a large container of warm water for 10-15 minutes until it’s warmed up and ready to go.
- *4Cinnamon or cocoa? The option of what you mix into your filling is really up to whatever sounds good to you. I personally love black cocoa, which is what gives Oreo’s their distinctively un-sweet “chocolate” flavor. But if you don’t have any available or if you actually want some cinnamon in there with that Oreo flavor, feel free to use either a regular cocoa or ground cinnamon instead for your filling.
- *5Not up for making the dough from scratch? If you’d really love to try this recipe, but homemade brioche dough is just a bit too intimidating, you can use this Hot Roll Mix as a relatively quick and easier alternative. If you’d like to use a refrigerated or frozen dough, you’re welcome to experiment, but I personally can’t recommend those here as they’ll vary greatly in flavor and performance, so I find it safer to stick with a scratch-based, predictable dough.
- *6Kneading Options: I highly recommend using a stand mixer for this recipe as brioche is both very messy and rather difficult to make by hand unless you’re an experienced bread maker. But if you’d like to try it by hand, know you may need to knead the dough for 20+ minutes to reach full development. Alternatively, you can knead this dough in a bread machine. To make in a bread machine, “bloom” yeast by completing the first step, then add all remaining dough ingredients, including butter, to the mixing bin and run it on the “dough” cycle (not the bake). Once the dough cycle is complete, continue on with the recipe from assembly step 1.
- *7Keep the mixer at 4/10 at the most! Don’t turn the mixer up past 4 or walk away from your dough for very long because it can over-mix very easily and there’s no going back from that unfortunately.
- *8Sticky or Stiff Dough: if dough is extra sticky after 5 minutes of kneading, you can add flour, a tablespoon at a time, as needed. If it’s really dry and won’t grab the hook at all, you can splash water on it 1-2 teaspoons at a time, as needed, just until it gets a little tackiness to it. Just be careful not to overdo it with either addition!
- *9Pan alternative: you can also use an 8” square pan, but I prefer the look of these rolls in a round pan if you have it available.
- *10Icing-palooza: I love a lot of icing on my cinnamon rolls so you’ll find this is a very generous amount for a modest pan of rolls. Feel free to only use a portion of the icing, or even half the recipe if you'd only like a little glaze on your Oreo rolls.







Comments
No Comments