


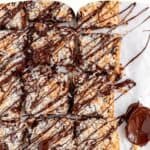
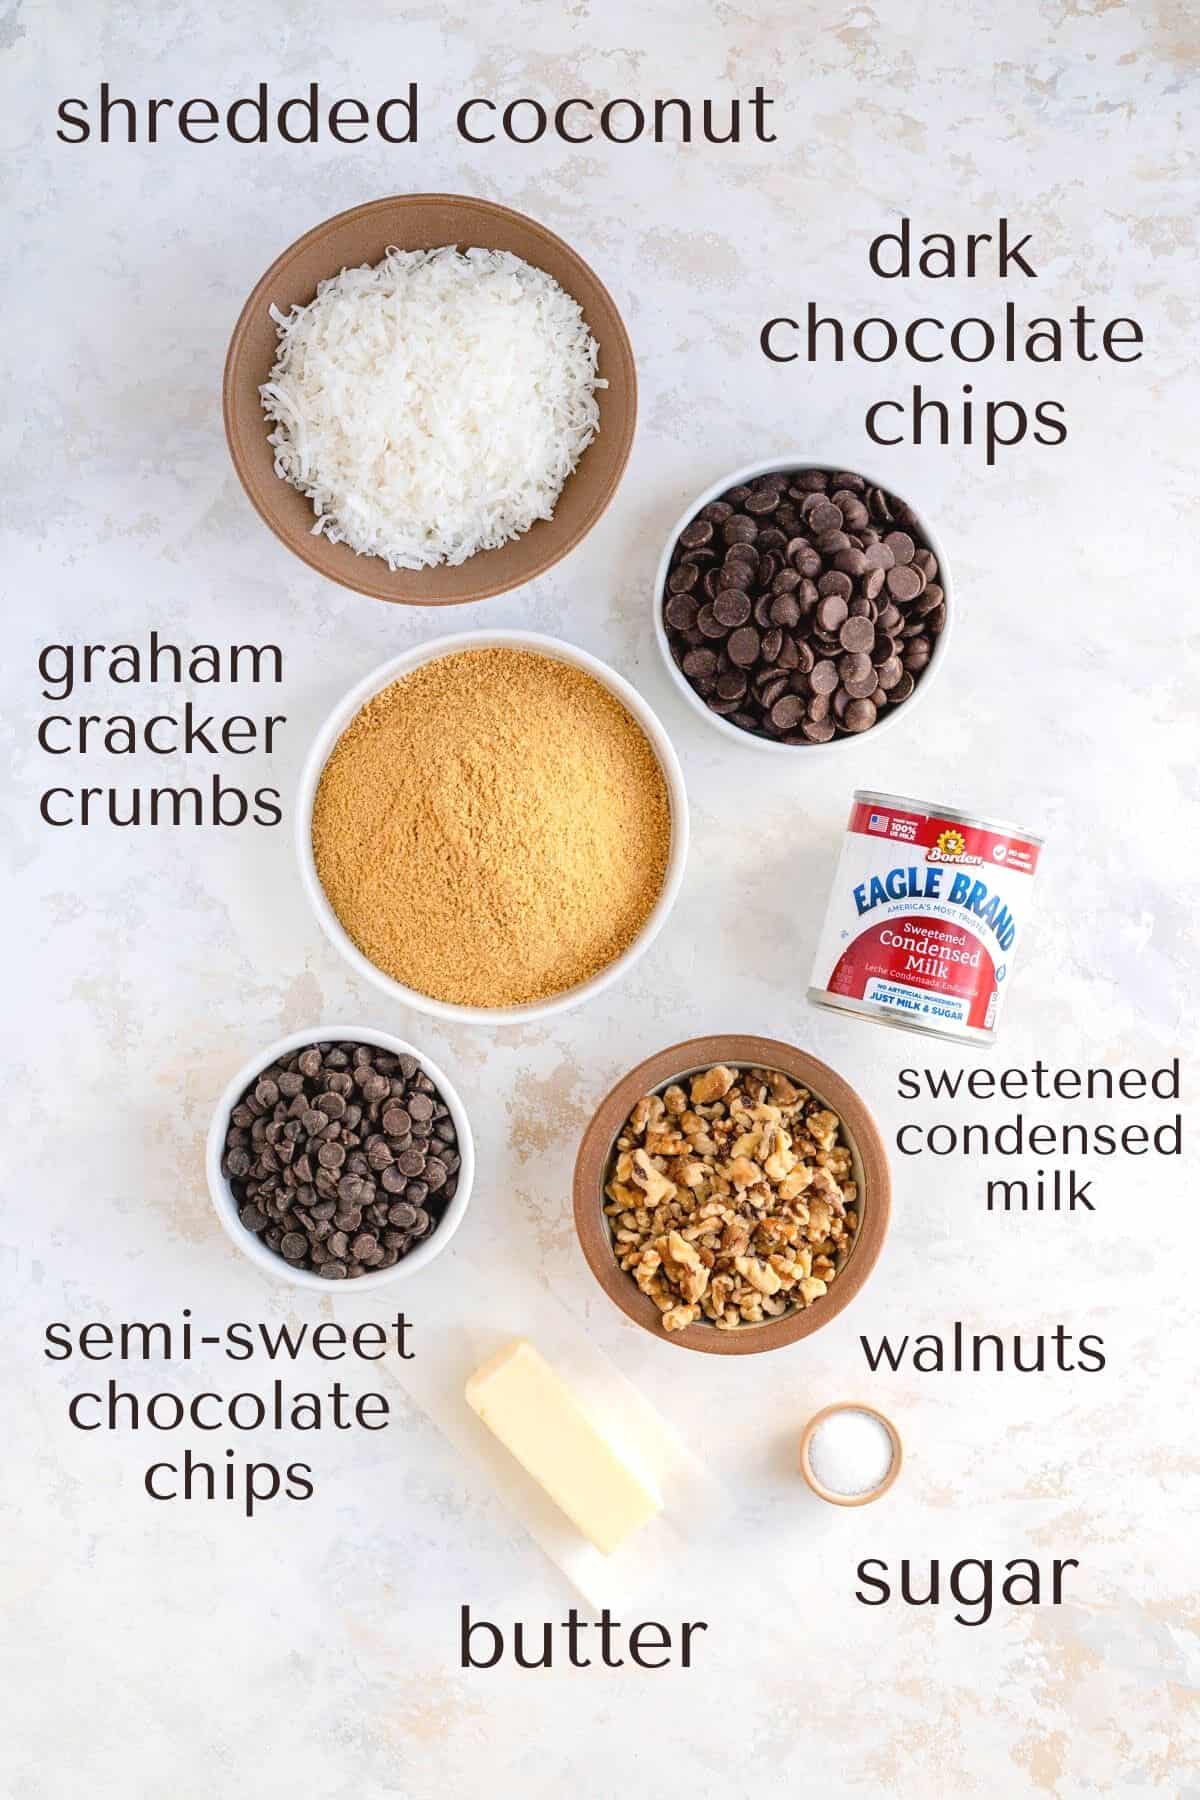
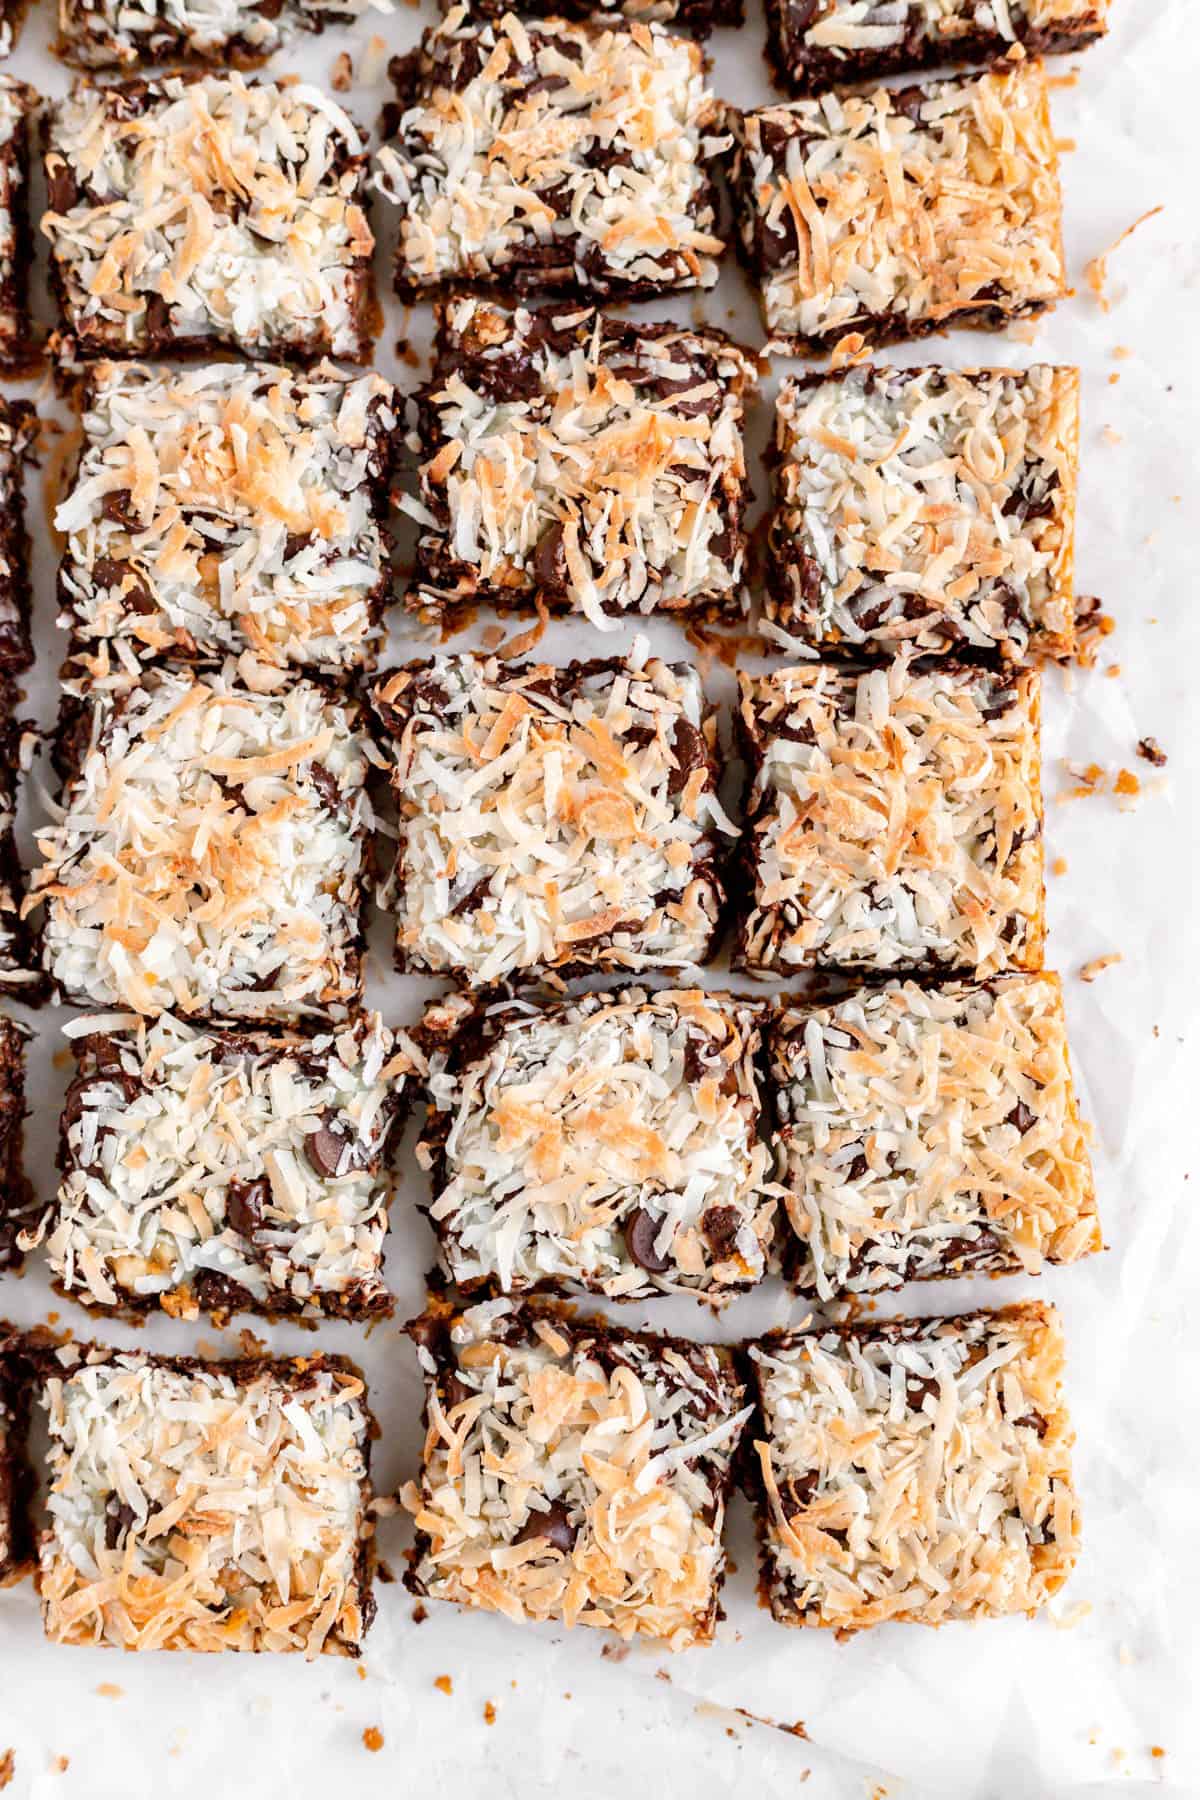
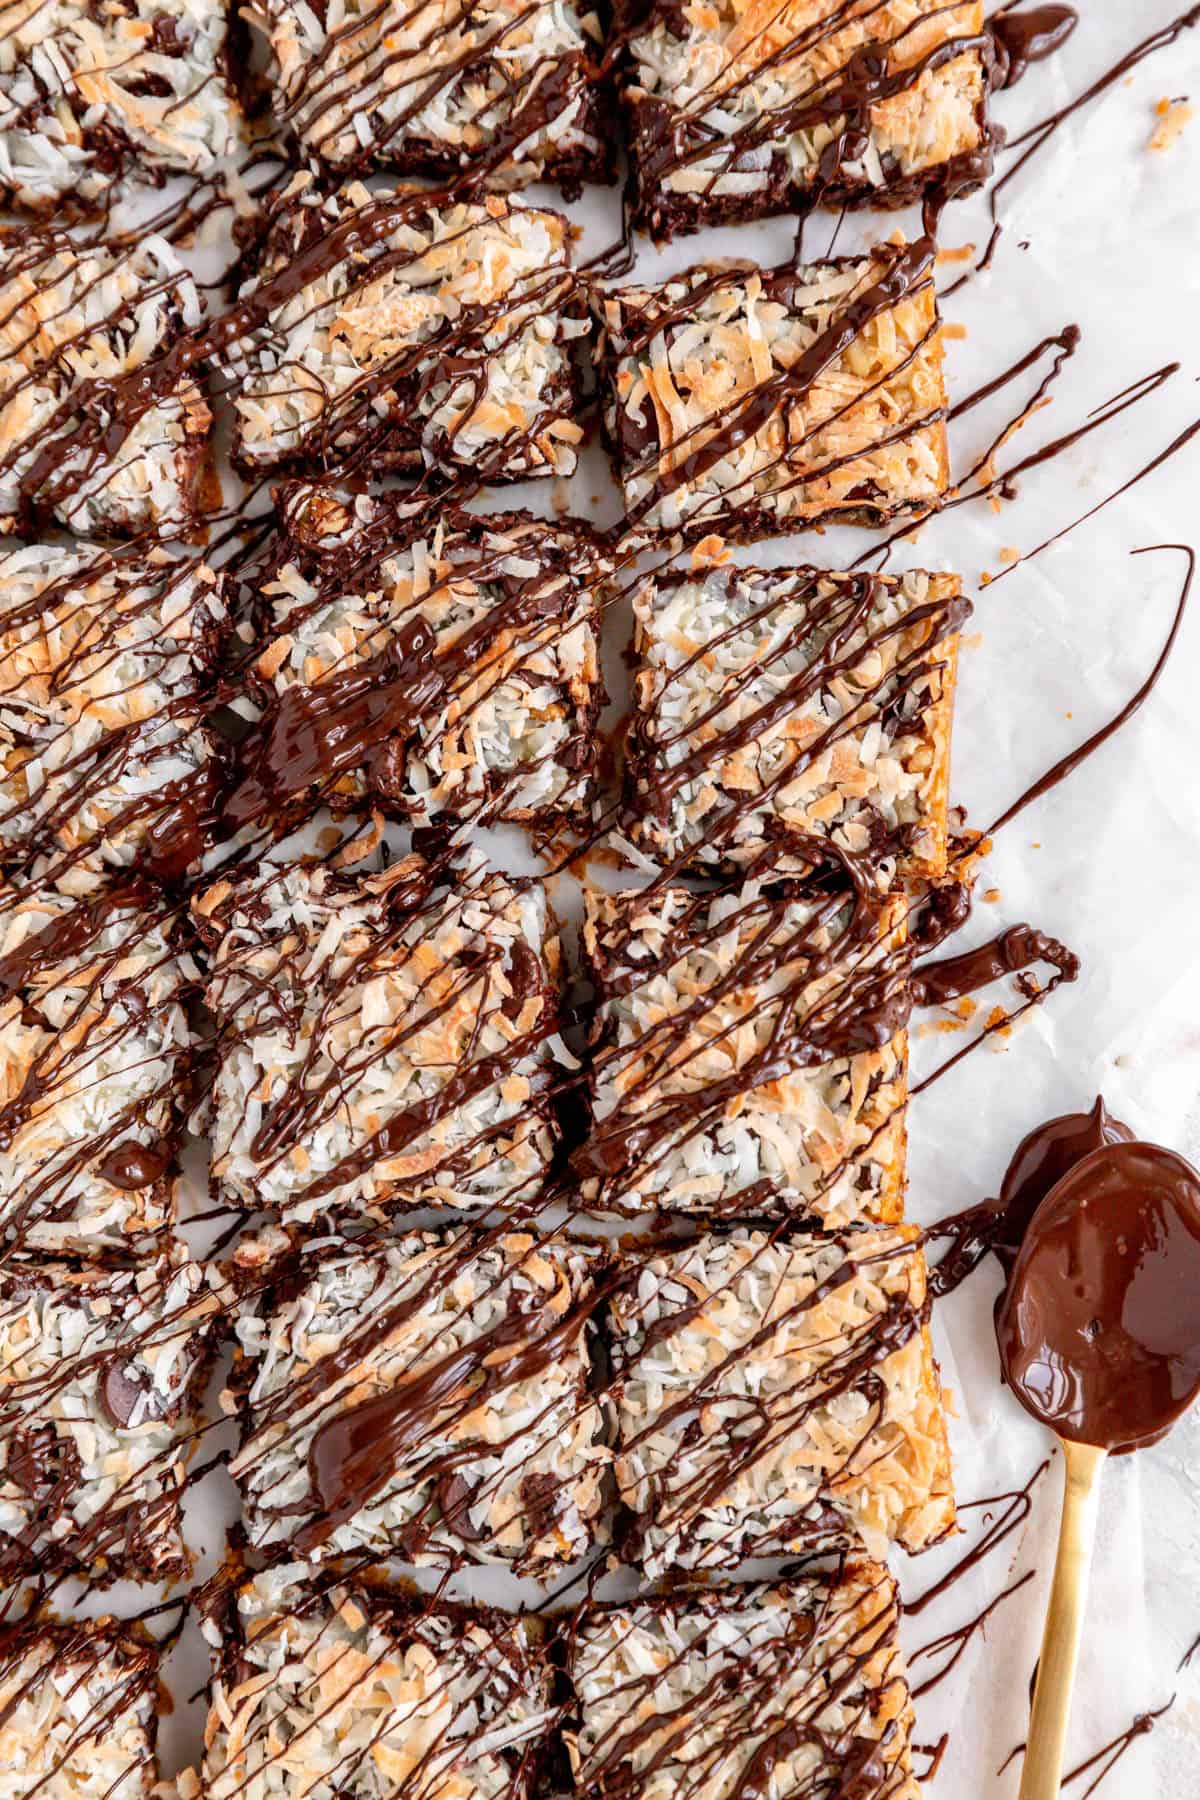
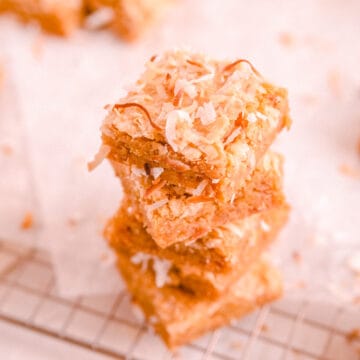
There are few recipes more classic than an old-fashioned 7-layer magic cookie bar, and practically no recipe could be easier (or tastier!). All seven layers - butter, graham cracker crumbs, condensed milk, double chocolate chips, walnuts, and that golden toasted coconut - play perfectly off each other in this flavor-packed timeless treat.
Jump to (scroll for more!):
So What's a Hello Dolly?
As far back as I can remember, Magic Cookie Bars, also known as "Hello Dollies," have been a tried and true staple of my family's Christmas cookie tray. But to be clear, they were definitely not assigned to only the month of December of course!
Whether it's the holidays, someone's birthday or you're just looking for a super easy treat to mix up with minimal effort and just a few dirty dishes - these bars will become a go-to recipe.
They present themselves under many names - Magic Cookie Bars, 7-Layer Bars, Hello Dollies - and they're equally delicious in all disguises. I actually only recently learned the "Hello Dolly Bars" title, when researching this post. It's related to the Hello Dolly musical which was on Broadway in the 1960's, and has a real fun origin story you can read more about here.
So what's the "magical" part about these bars? There is definitely a bit of mystery in this naming convention too, but looks like It may have come from a recipe printed on the can of Eagle Brand Condensed Milk in the '60s as well.
My theory on what makes these layered treats magical? If a single recipe has less than 10 minutes of prep, only a few dirty dishes, a super-simple assembly, and a drool-worthy flavor, I figured there must have been some magic involved in its creation!
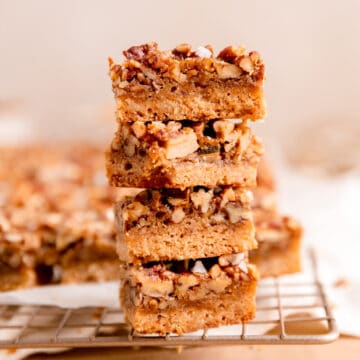
And if you are looking for another easy and delicious bar, be sure to check out my Raspberry Jam Bars!
Why This Recipe Leads to Sweet Success
- The Golden Ratios: while this recipe is super simple to make, the development process was a mathematical equation with a whole bunch of sweet variables. For me, this recipe is all about the balance. I tested and tweaked this formula to measure out the perfect amount for each layer so you know how to get the ratios just right for both the optimal flavor and structure in your final treat.
- How the graham crust crumbles: my family recipe we used for these bars always had 1 major flaw...a crumbly crust. We used to melt butter directly in the baking pan, and then just sprinkle crumbs on top as the first two layers. But I knew that this no-mix method was partially what led to the lack of crust structure. So I've added just one simple mix step in the recipe here to create a simple graham crust, with a little sugar as a binder, that allow your bar base to hold up much better when sliced and served.
- What about the butterscotch? I have a confession to make - my seven layer bars, are kinda six layer bars...eek! I know, I know, it's false advertising at it's worse, but I promise it's for good reason. While these bars still have sevel layers, two of them are similar - both chocolate chips. This is a flavor preference that my family and I have developed over time as we felt the other sweet layers of this bar just paired beautifully with a pure dark chocolate flavor. So I've chosen to replace the traditional butterscotch chips in these bars with a dark chocolate alternative. I think you'll find if you give them a try, you'll forget those butterscotch chips ever existed!
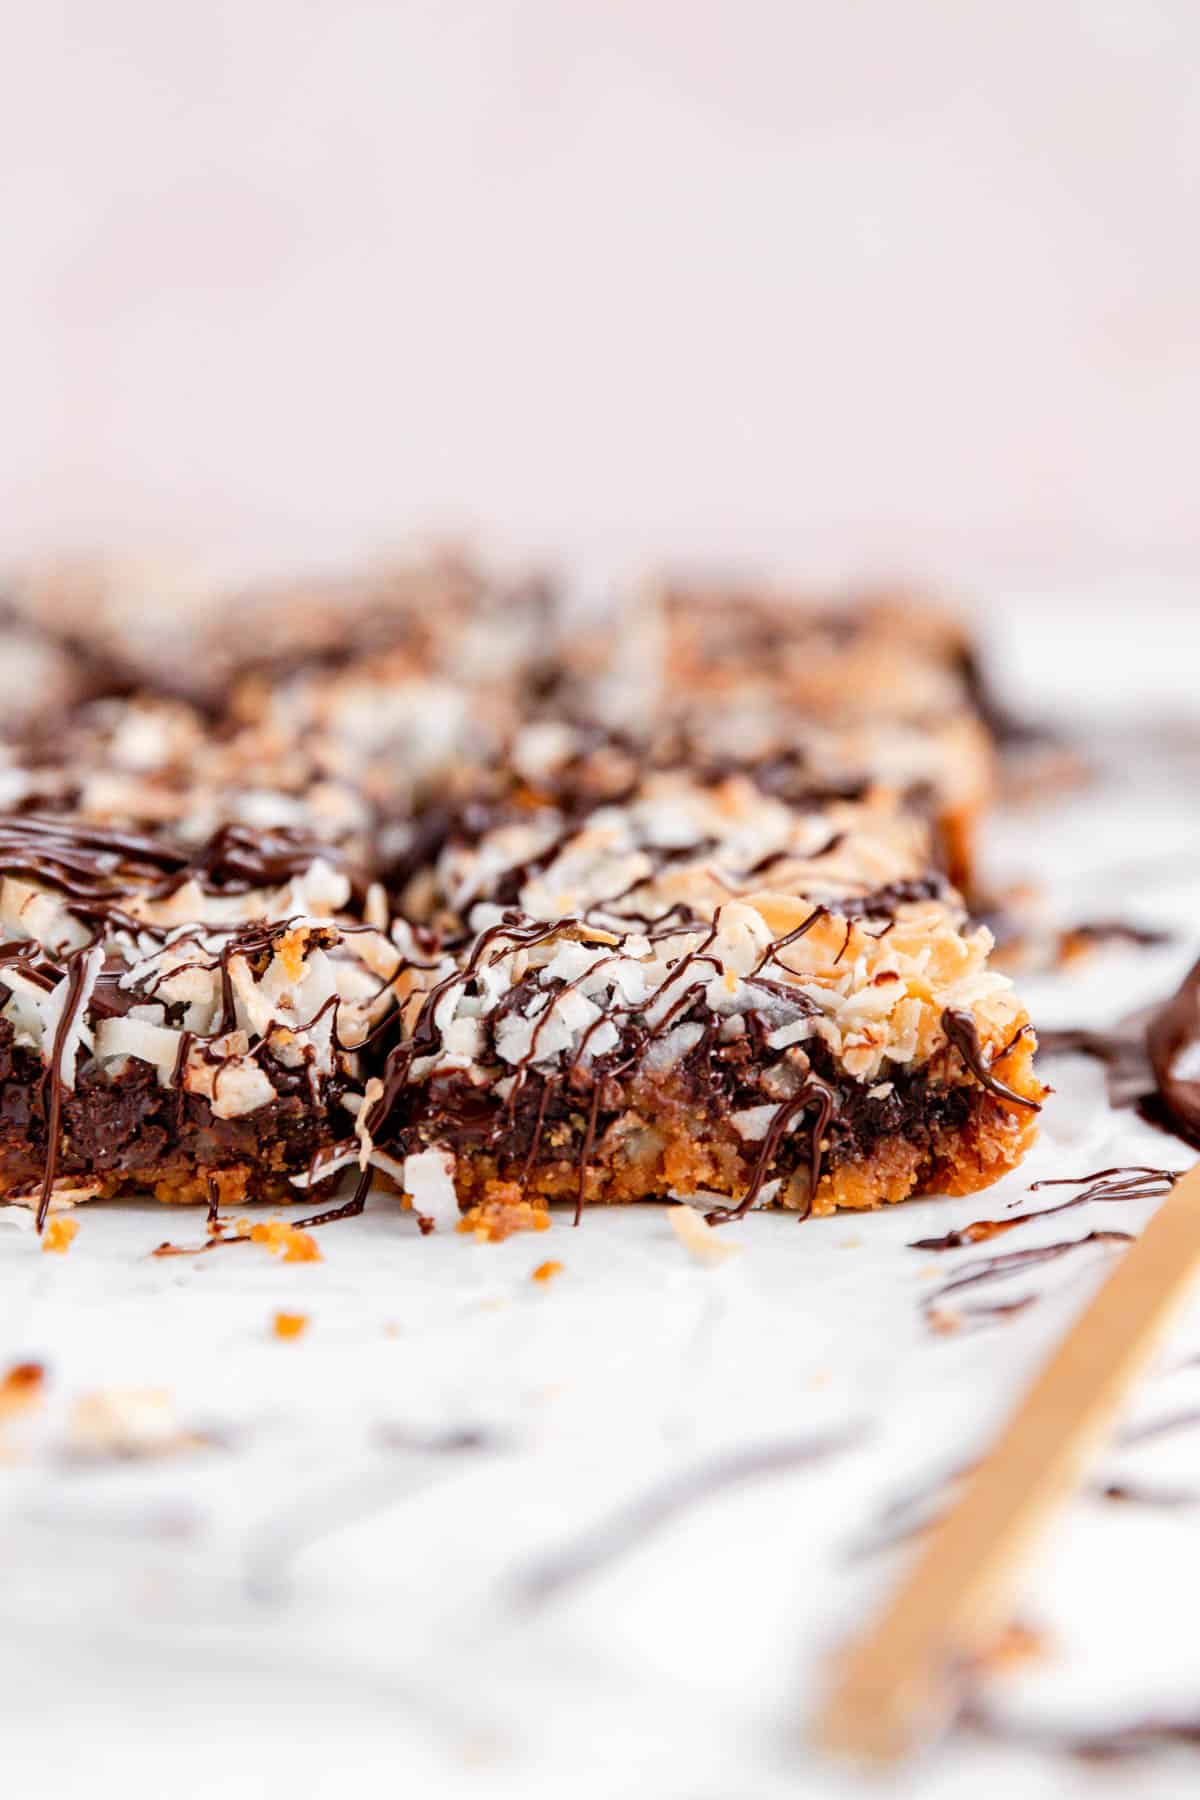
- Stack it Up Right: last but not least, I tested a number of different laying orders. What I found worked best was sandwiching non-sticky ingredients between sticky ones. So we'll start with graham crackers (not sticky), then condensed milk (very sticky), then chocolate chips (sticky when melted), and walnuts (not sticky), then the other chocolate chips (sticky when melted) and lastly the coconut (not sticky). This layering technique ultimately allowed the bars to hold together really well for service while still maintaining the ideal ingredient amounts for optimal flavor as well.
Ingredient Tips to Bake it Better
(Pssst…if you're ready to just get baking, get all the details in the recipe card below!)
- Butter: make sure you're using unsalted butter here as there is a good deal in these bars and we don't want them to be overly salty.
- Eagle Brand Condensed Milk: you guys know I only recommend specific brands when I truly believe in them and I have never made these bars with anything but Eagle Brand Condensed Milk. Their brand is part of the origin story of this bar, and it's always worked with the perfect consistency and amount for this recipe. I wouldn't recommend using any other type of condensed milk as you can have varied results if there's a slightly thicker or thinner texture to that product.
- Chocolate Chips: as mentioned above I use two different chocolate chips in this particular recipe. I like a semi-sweet or milder dark chocolate chip, in combination with a more bitter dark chocolate chip (at least 60% or higher). This helps to balance out the sweetness in these bars. If you prefer the classic flavor profile, you're more than welcome to sub in butterscotch chips, peanut butter chips, milk chocolate or even white chocolate chips for the sweeter of the two chip layers. I recommend keeping at least one dark chocolate layer though, to make sure the bars aren't overwhelmingly sweet.
- Walnuts or pecans? I like to use walnuts in this recipe as that's what I grew up enjoying. But if you prefer pecans or even peanuts, your welcome to sub those in in place of the walnuts as well. If you have a nut allergy, you can just skip that layer entirely, and continue with the recipe as written.
How to Make These Magic Bars from Scratch
(Pssst…if you're ready to just get baking, get all the details in the recipe card below!)
- Preheat your oven and grease a 9” x 13” pan.
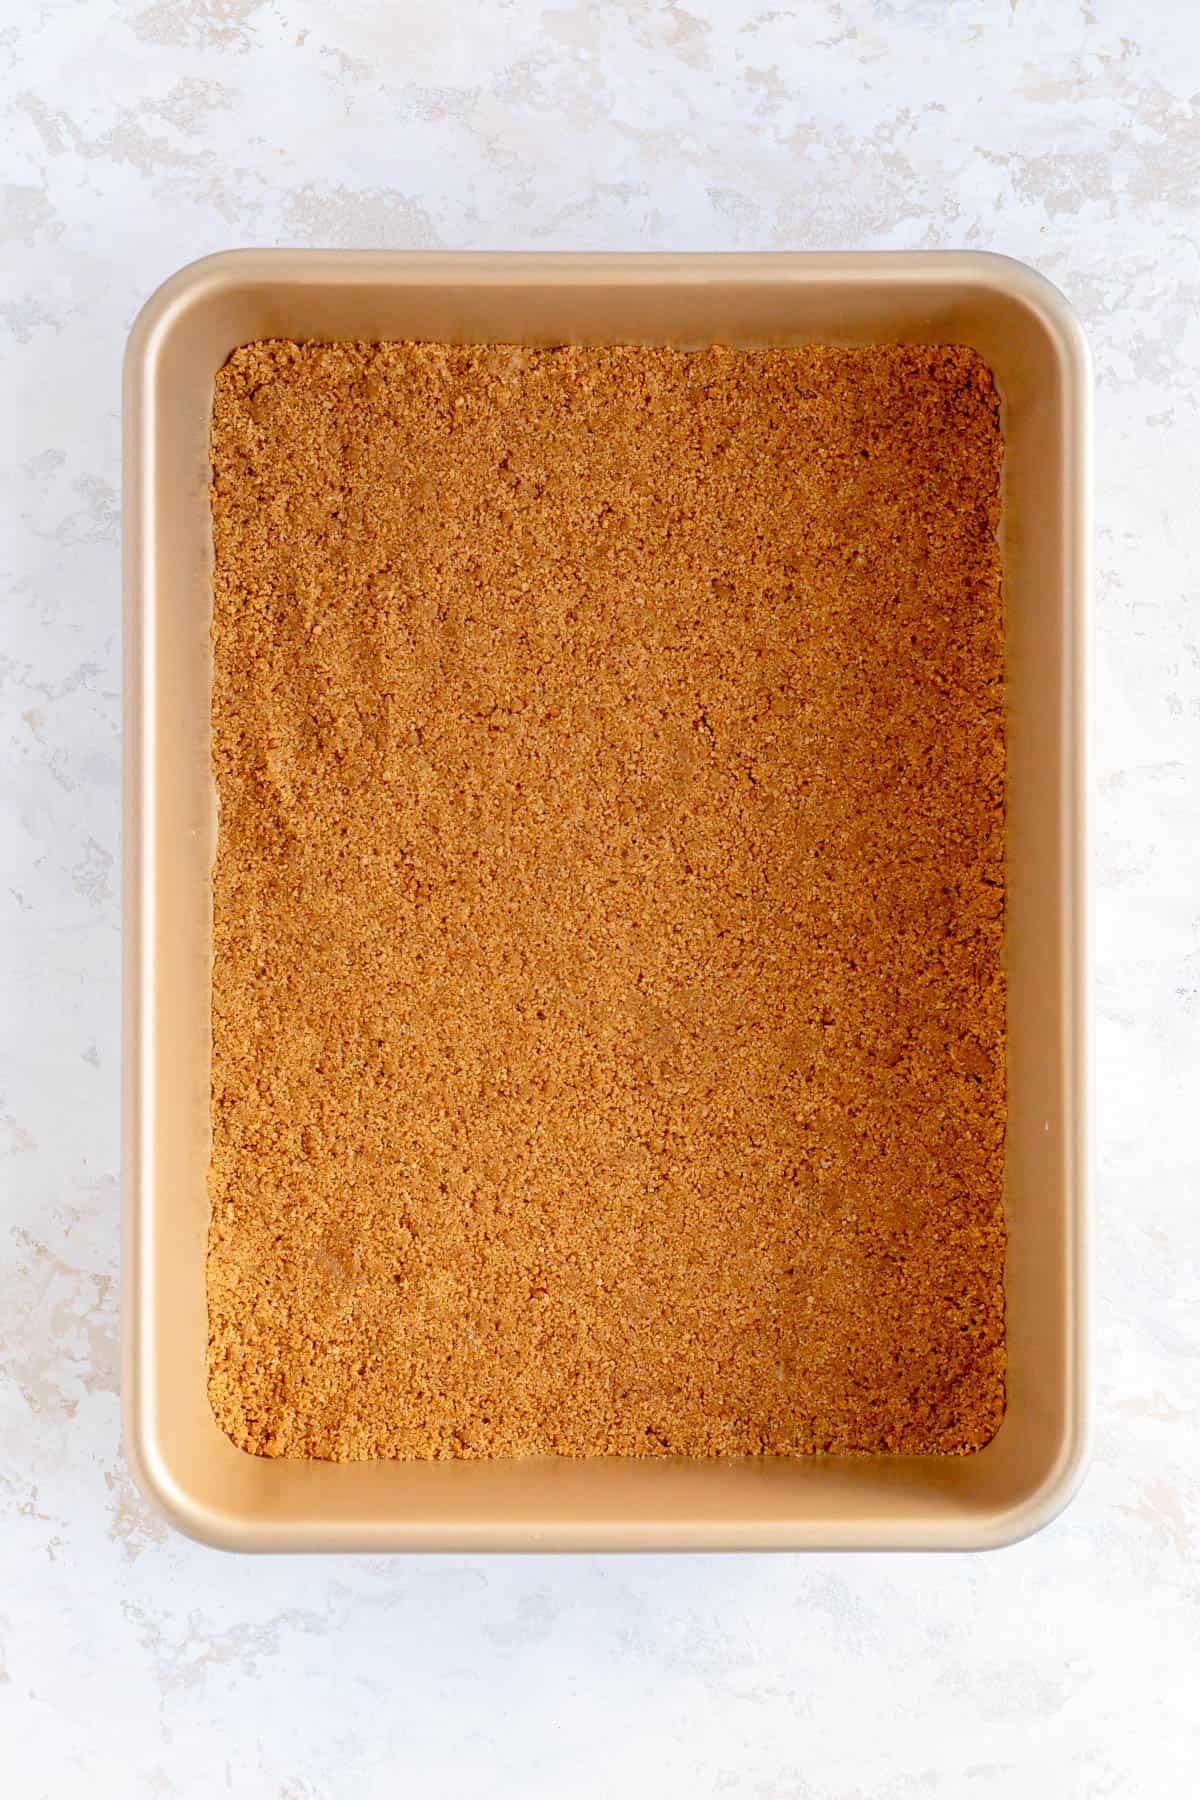
- Make the graham crust by combining melted butter, sugar, and graham cracker crumbs. Press crumbs firmly into an even crust in the bottom of the prepared pan.

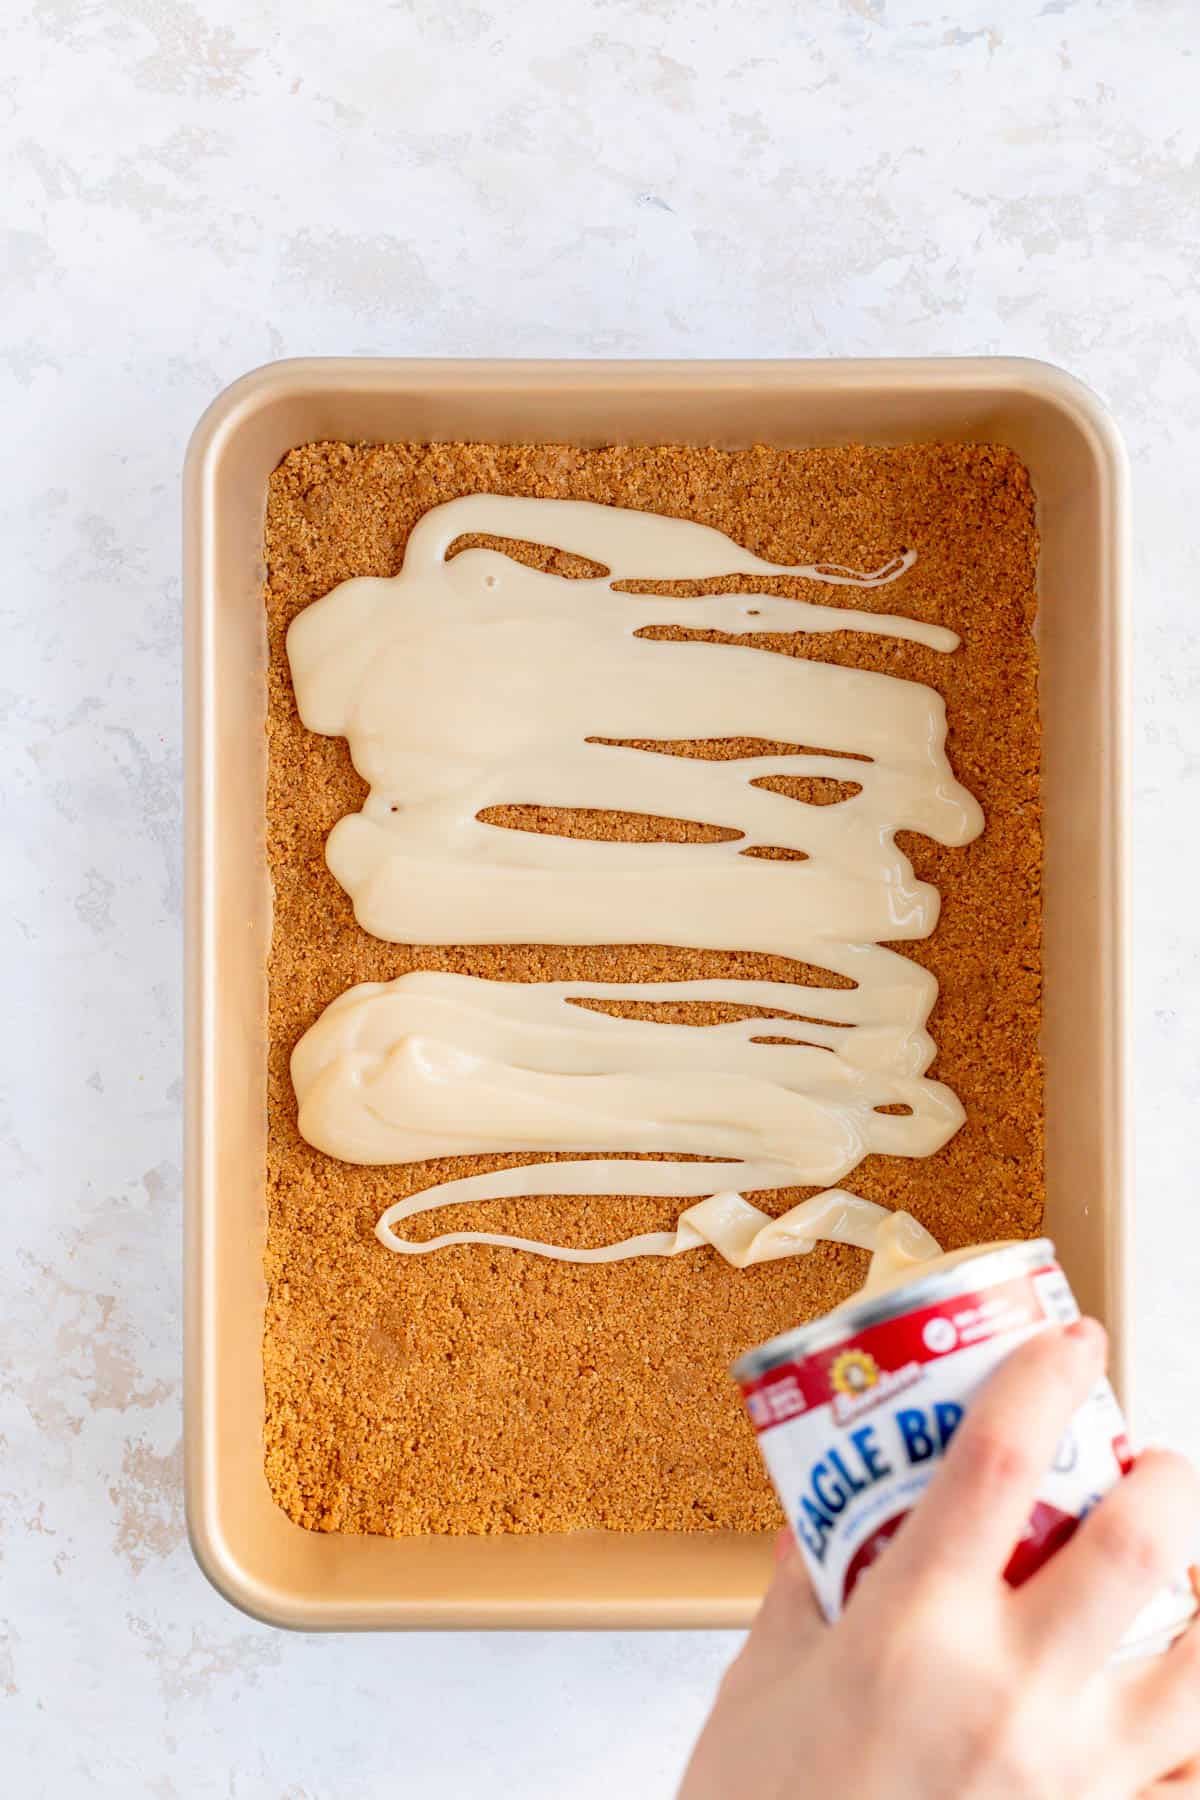
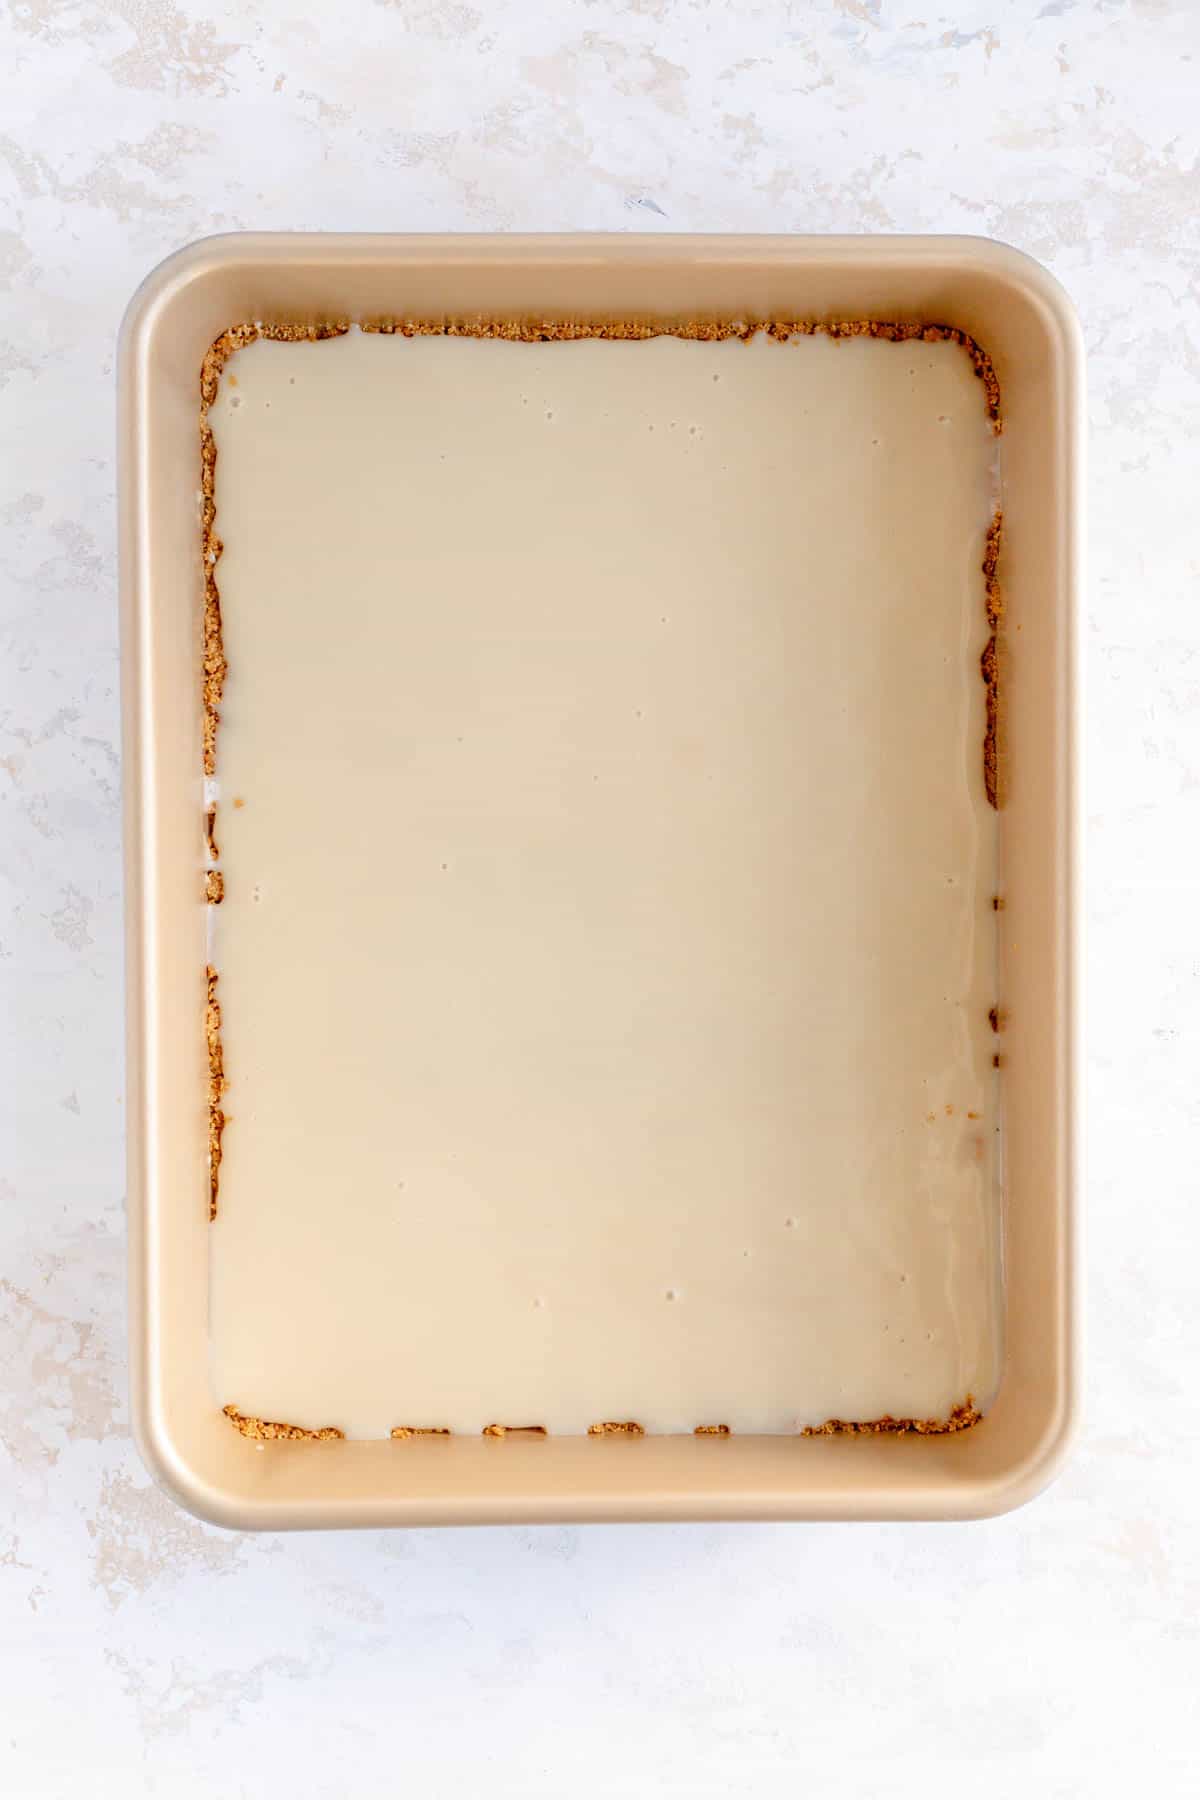
- Pour on condensed milk to form an even solid layer over the crust.**
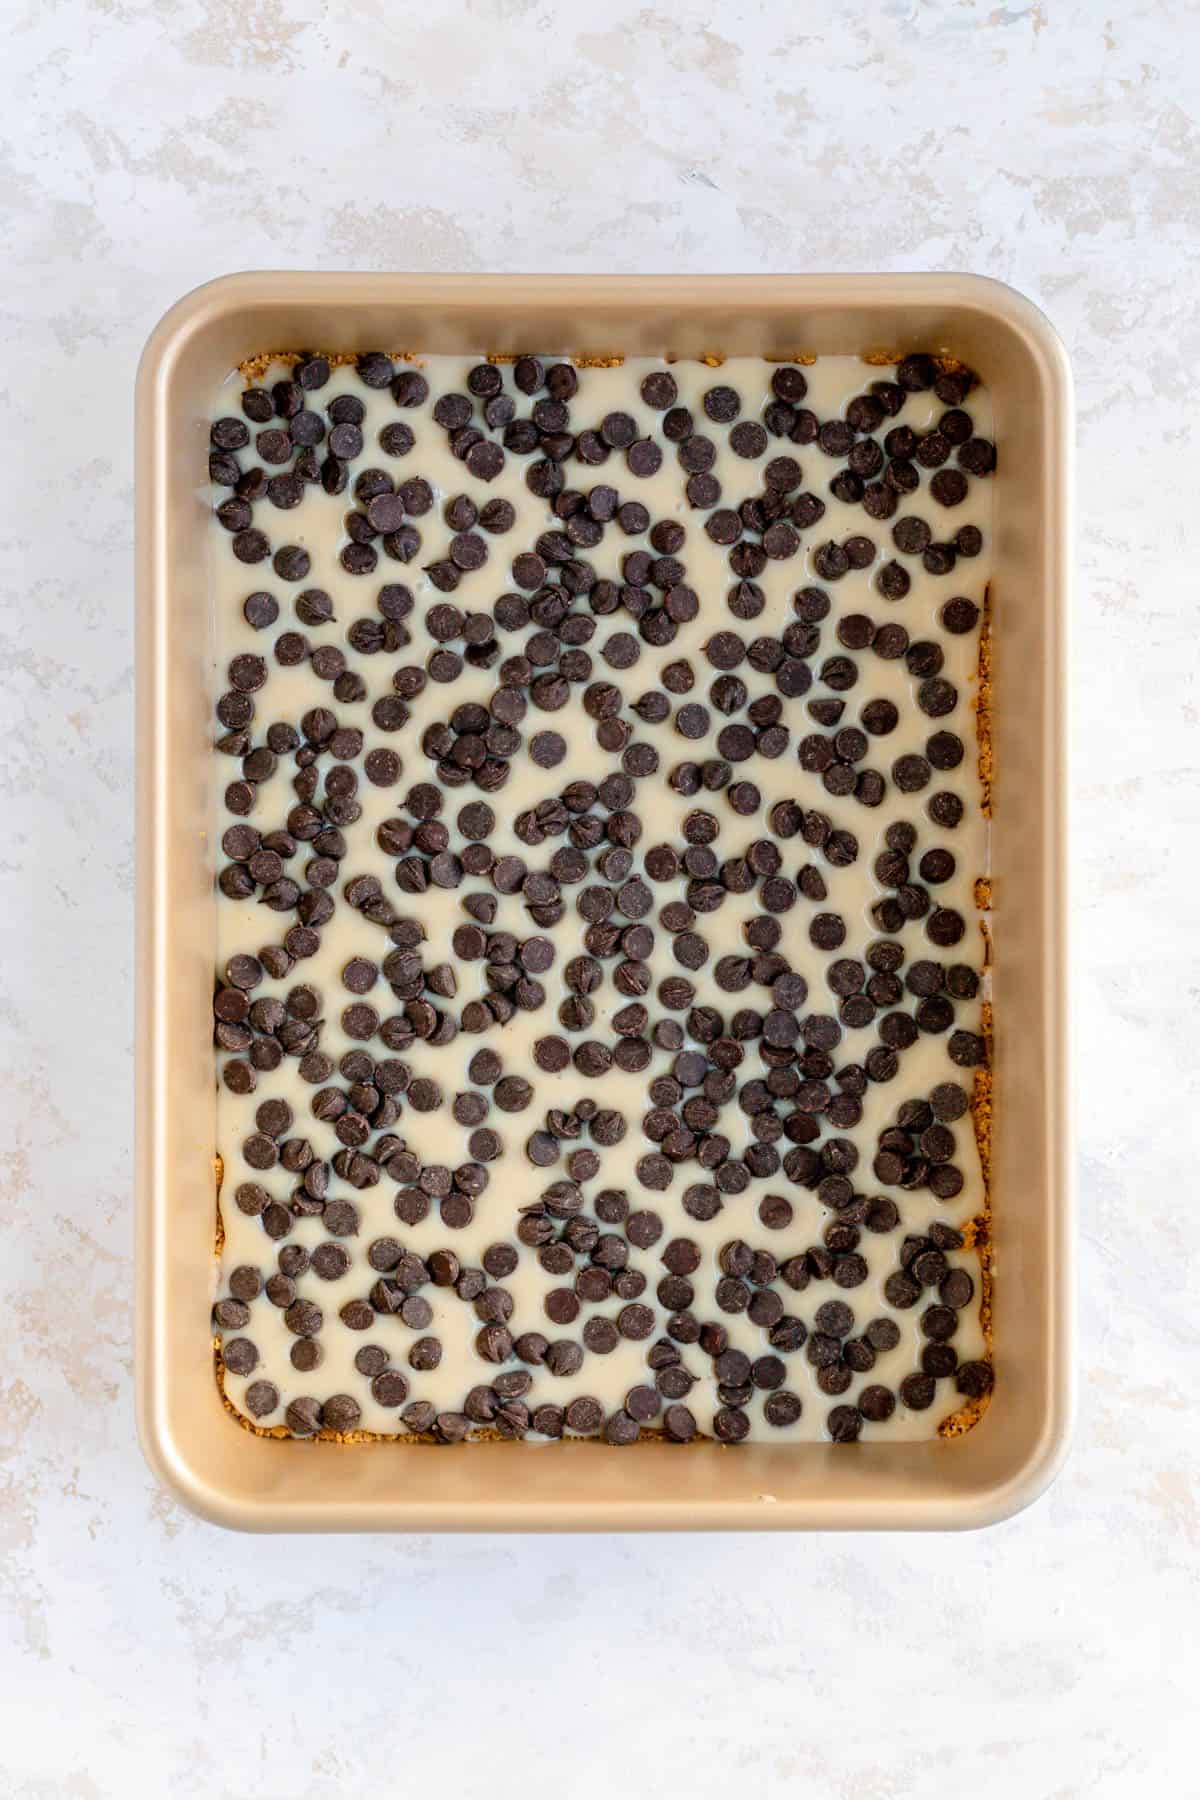
- Add on the semi-sweet or flavored chocolate chips layer.
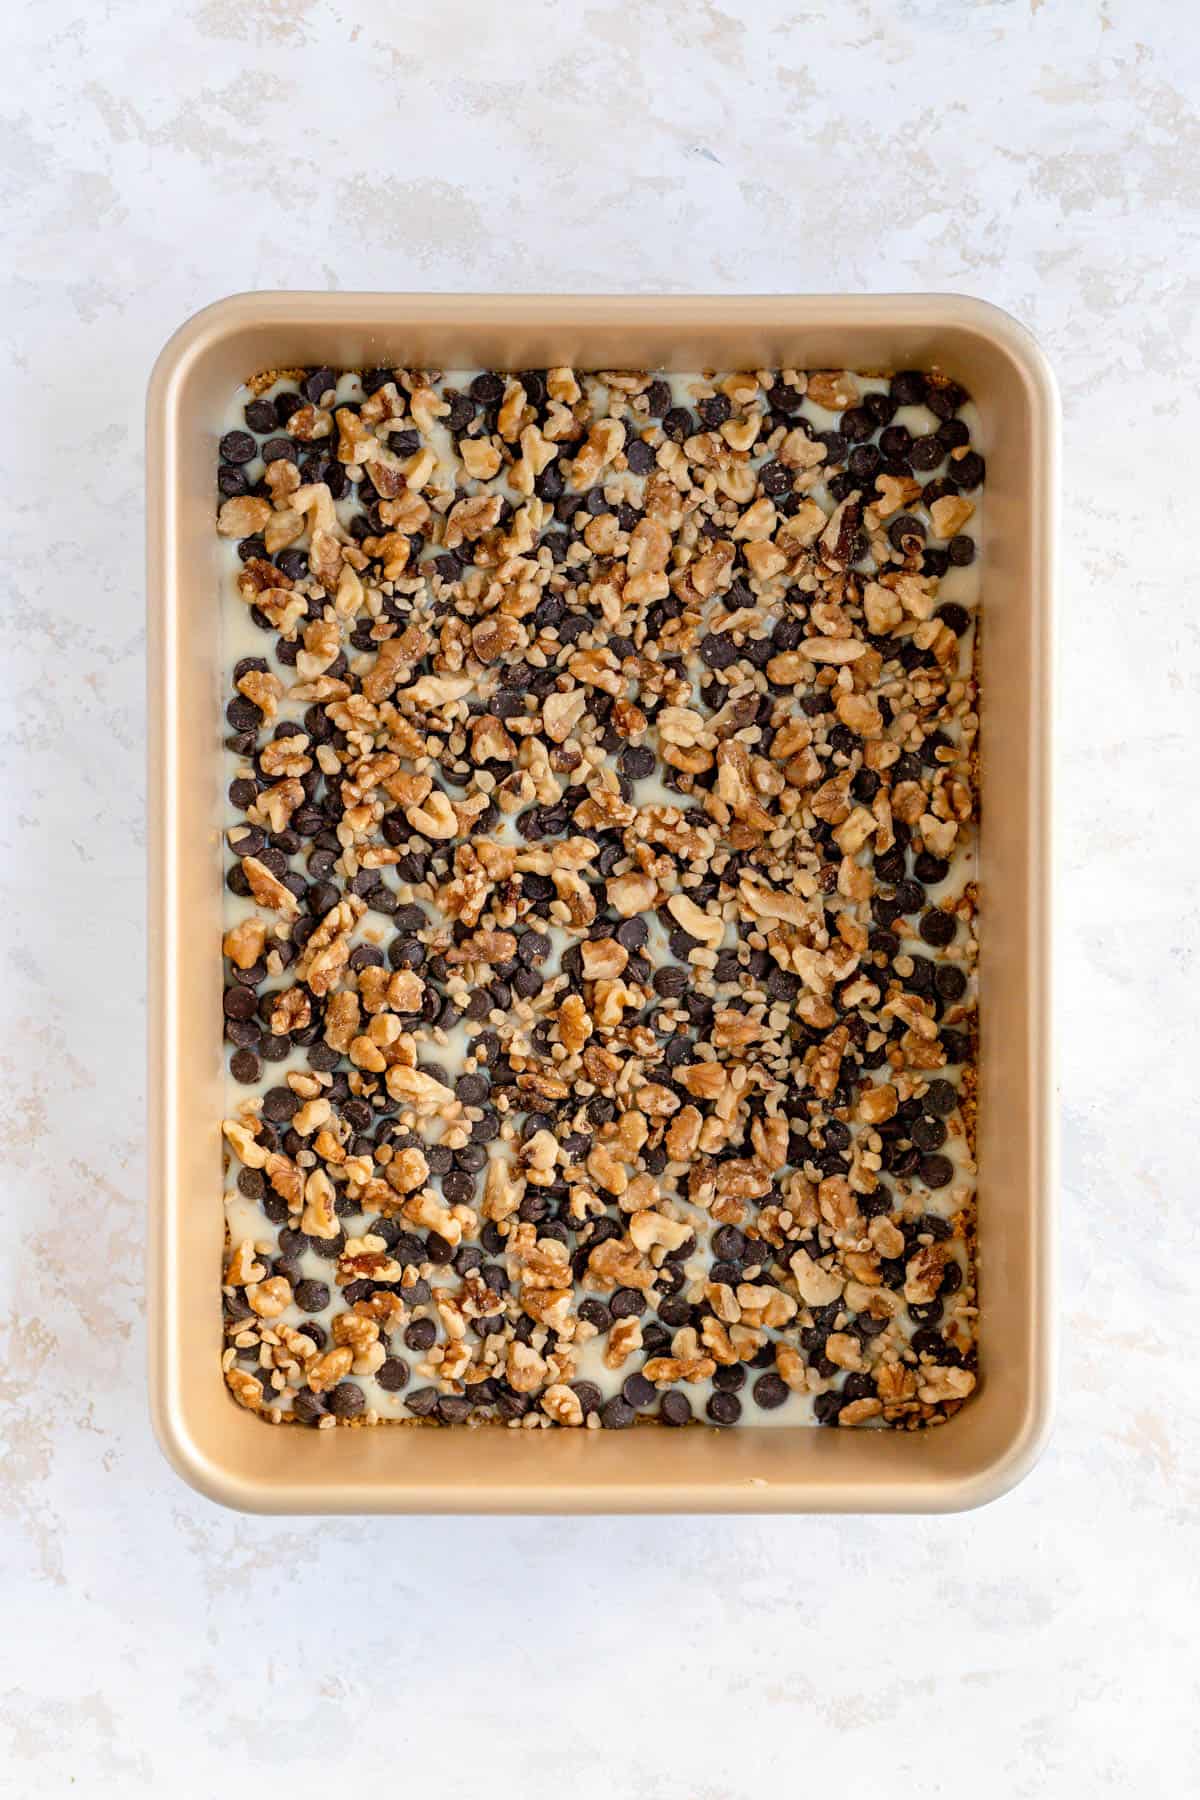
- Sprinkle on a layer of walnuts.
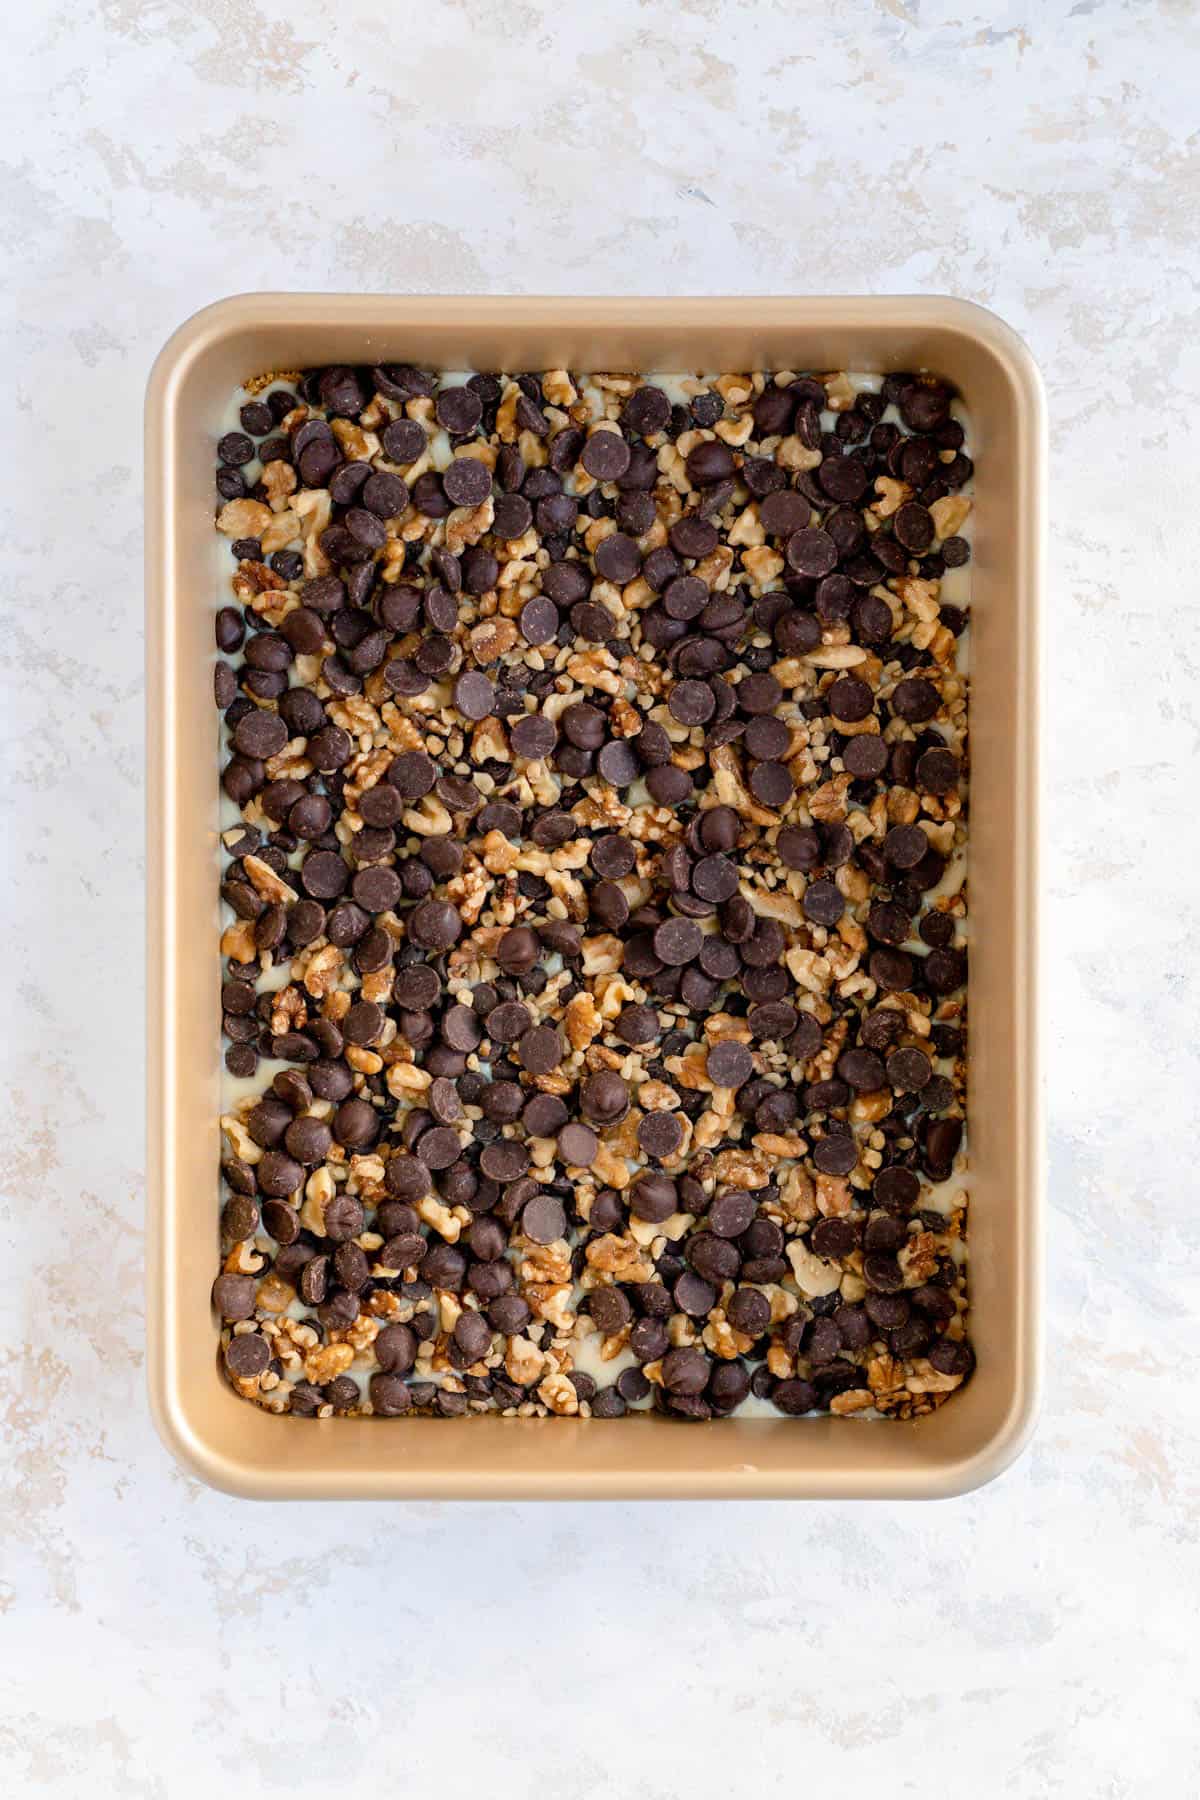
- Add the dark chocolate chip layer on top of the nuts.
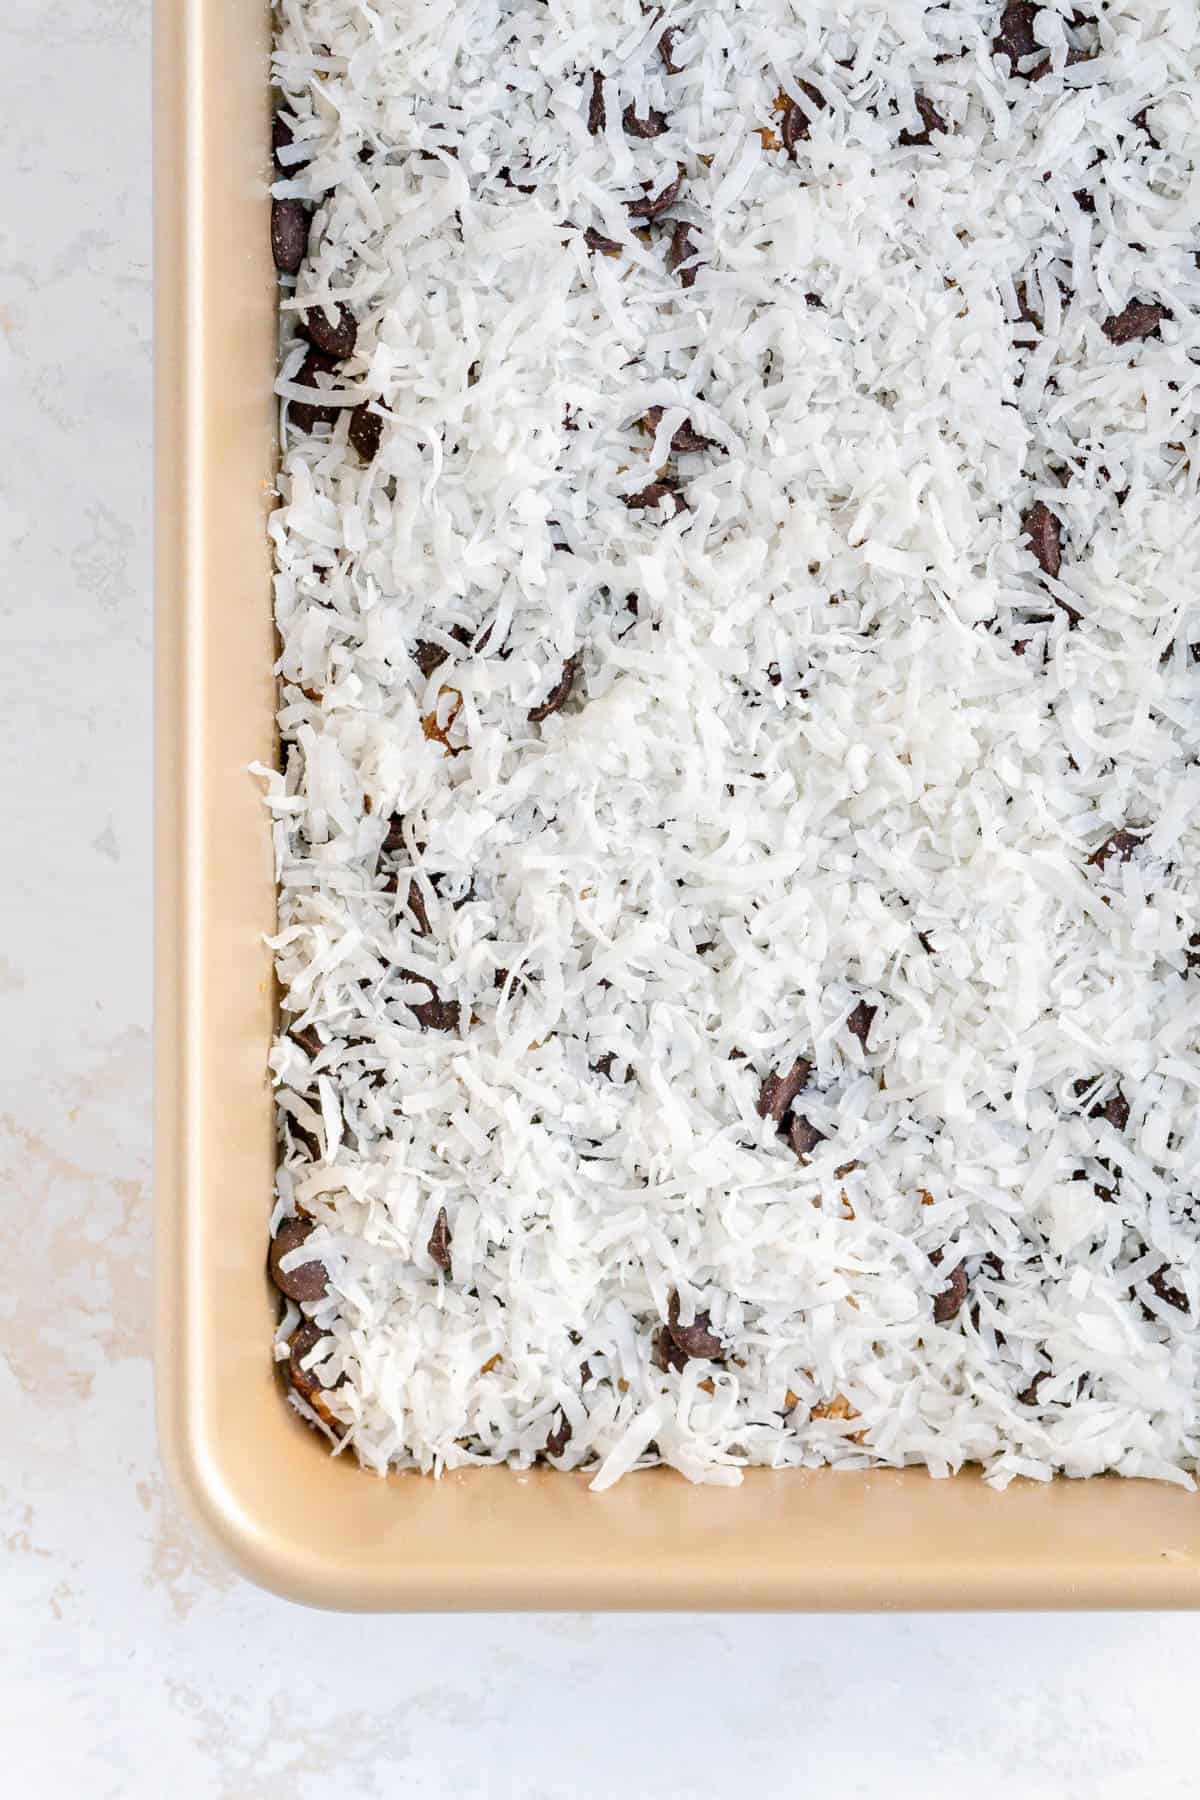
- Sprinkle the shredded evenly over the top to cover the nuts and chips entirely.
- Bake until the coconut is fully toasted (and watch your eyes when opening the oven as the coconut fumes can burn them!).
- Cool bars fully before cutting into square, then enjoy these super-stacked treats!
Check out the full RECIPE WEB STORY for a click-through tutorial!
*Expert Tips and Tricks* for Better Baking
What's the TOP TIP for making the best magic cookie bars?
The best way to ensure both a delicious and structurally sound magic cookie bar is to add all your ingredients in very even layers.
So make sure your graham crust has an even thickness throughout the pan. And take your time to slowly pour on the condensed milk to fully cover all the holes. Then last but not least, sprinkle your upper ingredients on in a number of different batches for even distribution (leaving enough to patch to any big holes at the end).
Pro baker tip: you'll sprinkle ingredients into the pan much more evenly if you sprinkle from a little higher up as opposed to having your hand right above the surface of the bars.
Can you make these bars ahead of time? Do these bars freeze well?
Absolutely! You can easily make these bars up to 3 days ahead of service, and just keep them well-wrapped and still whole in the pan.
They also freeze really well, either as a full block again in the pan, or stacked and well wrapped once cut in an air-tight container for up to one month. To thaw, place them in the fridge for 24 hours and then you can let them sit out on your kitchen counter to come to room temp.
How do you store leftover bars? Do they need to be refrigerated?
You can keep the bars well-wrapped in an airtight container right on the counter for up to two weeks - no need to refrigerate them at all.
How do you keep these cookie bars from falling apart?
As I mentioned in more detail above, there are two important pieces to solving this puzzle.
1) We're going to make a real graham crust that has a little sugar to bind it and also comes together much better since we're mixing the butter and crumbs thoroughly in a bowl, instead of sprinkling them just into the pan.
2) We're going to be stacking up the sticky and non-sticky ingredients in alternating layers, so that we have a really nice glue throughout our bars to keep them intact and build up a sturdy structure.
Why are magic bars sometimes too gooey?
So magic bars should naturally be a little messy and a little bit gooey, but I've definitely seen those bars that are so gloppy, they just aren't fun to eat.
Typically, that's because there's too much condensed milk in them. Luckily this recipe is perfectly balanced for one can (14 ounces) of condensed milk. This amount, in a 9-inch x 13-inch pan will still evenly coat the full graham crust for a nice creamy layer in the middle of your bars, but there won't be so much that they'll too gooey to enjoy.
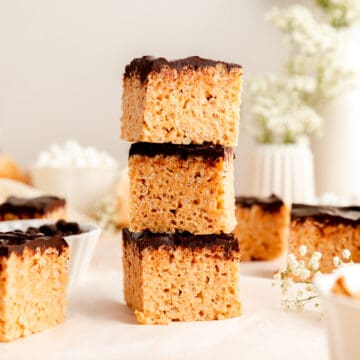
Other Recipes You'll Love

⭐ If you gave this recipe a try please give it a ⭐ rating and tag me on Instagram @mint.and.mallow.kitchen so I can see what you're baking up! ⭐
📖 Full Recipe

Super Easy 7-layer Magic Cookie Bars (aka Hello Dolly Bars!)
Ingredients
- ⅓ cup (5 ⅓ tablespoons) unsalted butter
- 1 ¼ cups graham cracker crumbs
- 1 tablespoon sugar
- 1 can (14 oz) Eagle Brand Sweetened Condensed Milk
- 1 cup semi-sweet, milk, white, butterscotch, or peanut butter chips*
- 1 cup chopped walnuts
- 1 cup dark chocolate chips
- 1 ½ cups shredded sweetened coconut (packed)
Instructions
- Prep and grease: preheat your oven to 325°F, and grease a 9” x 13” pan.
- Make the graham crust: place the butter in a medium-sized, microwave-safe bowl and melt it fully. Add the graham cracker crumbs and sugar into the bowl. Use a fork to work the butter and crumbs together until you have an evenly combined mixture. Sprinkle the crumbs into the bottom of the prepped pan, and press them firmly into an even layer using your hand.
- Pour on condensed milk: carefully and slowly pour the condensed milk over the surface of the graham crust. Your goal is to evenly coat the full crust, with no holes remaining, for a solid, even layer of milk.**
- Add semi-sweet or flavored chocolate chips: evenly sprinkle your sweeter layer of chocolate chips over the surface of your condensed milk.
- Add walnuts: sprinkle the walnuts evenly oven the top of the chocolate chips.
- Add the dark chocolate chips: sprinkle another layer of chocolate chips (dark chocolate this time) evenly over the walnuts.
- Sprinkle coconut on top: evenly sprinkle the coconut on top until it covers all the chips and nuts entirely.
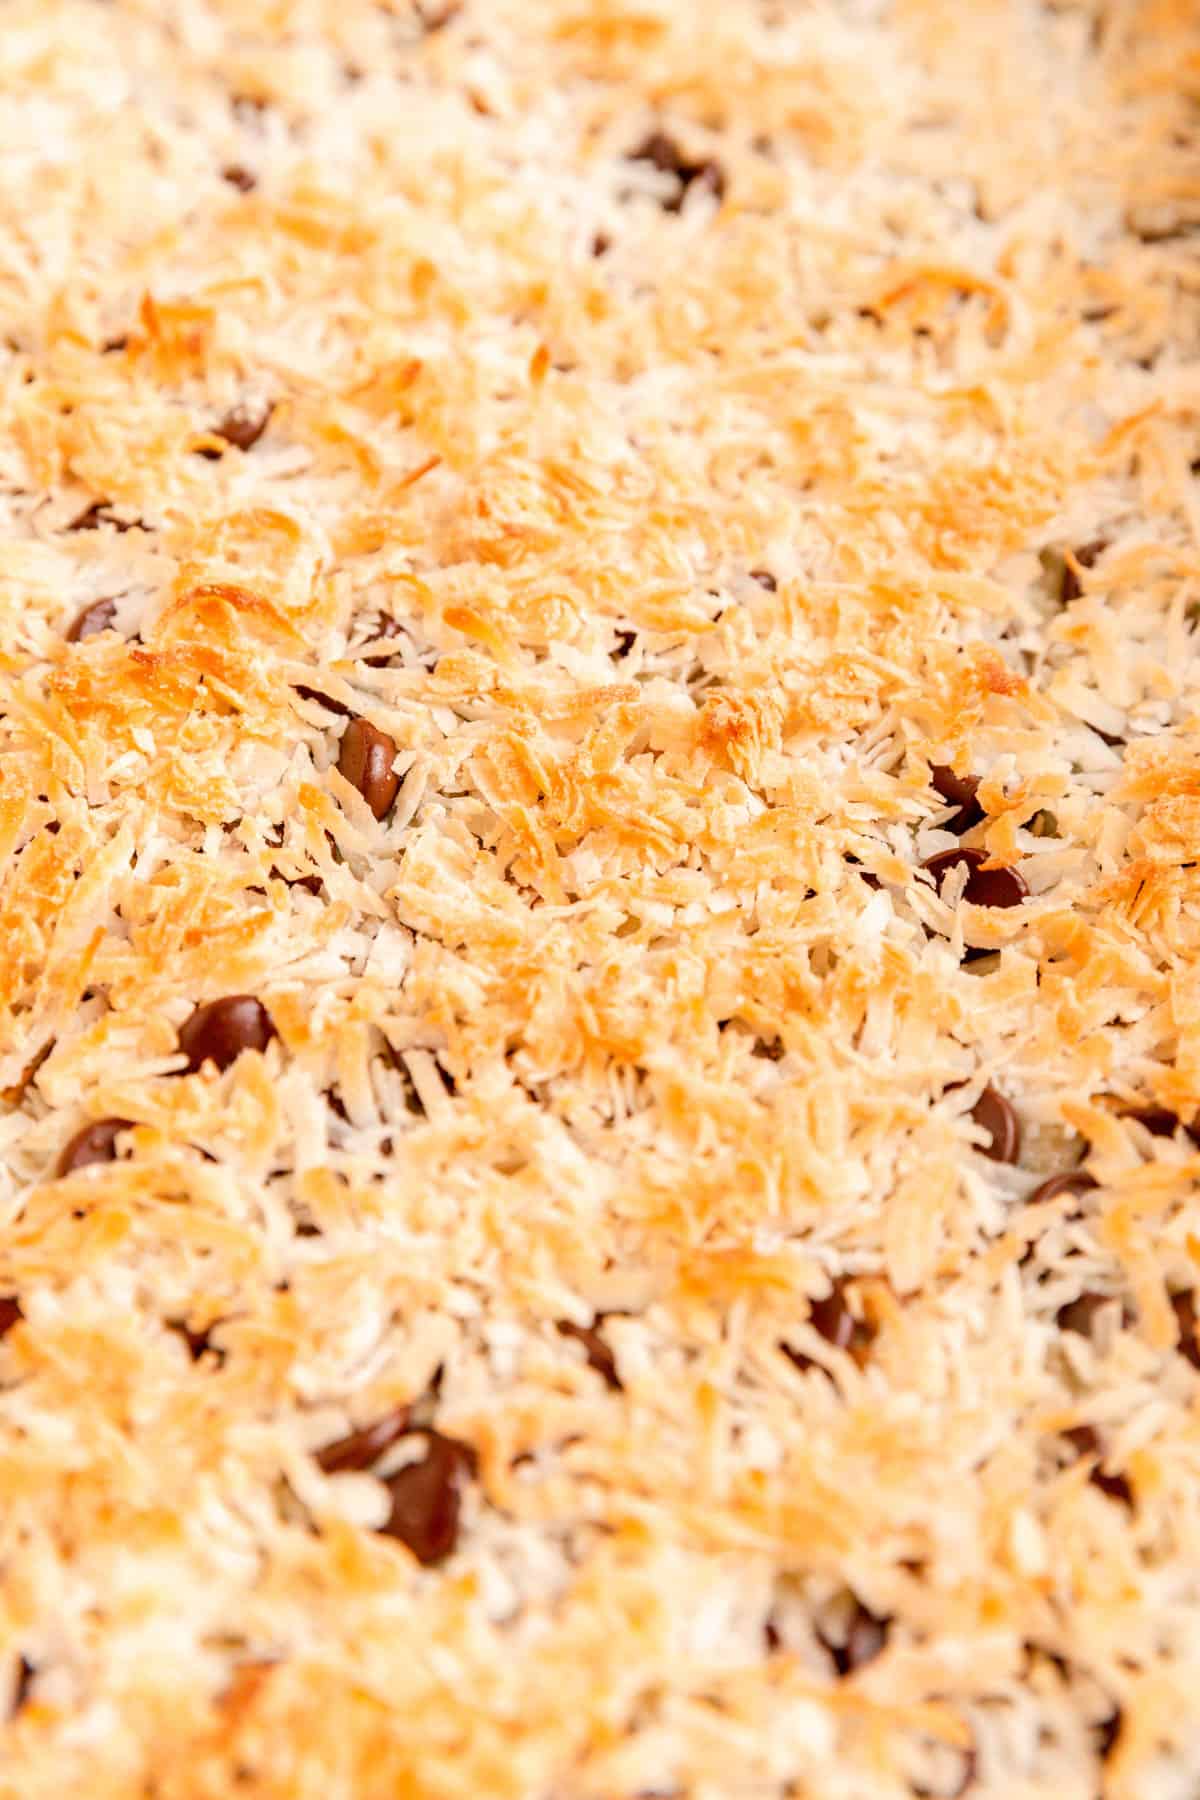
- Bake until fully toasted: bake the bars for 30 minutes, until the coconut is a nice deep golden brown, and you may even see some condensed milk bubbling up in the corners and caramelizing. (See safety warning in the tips below!***)
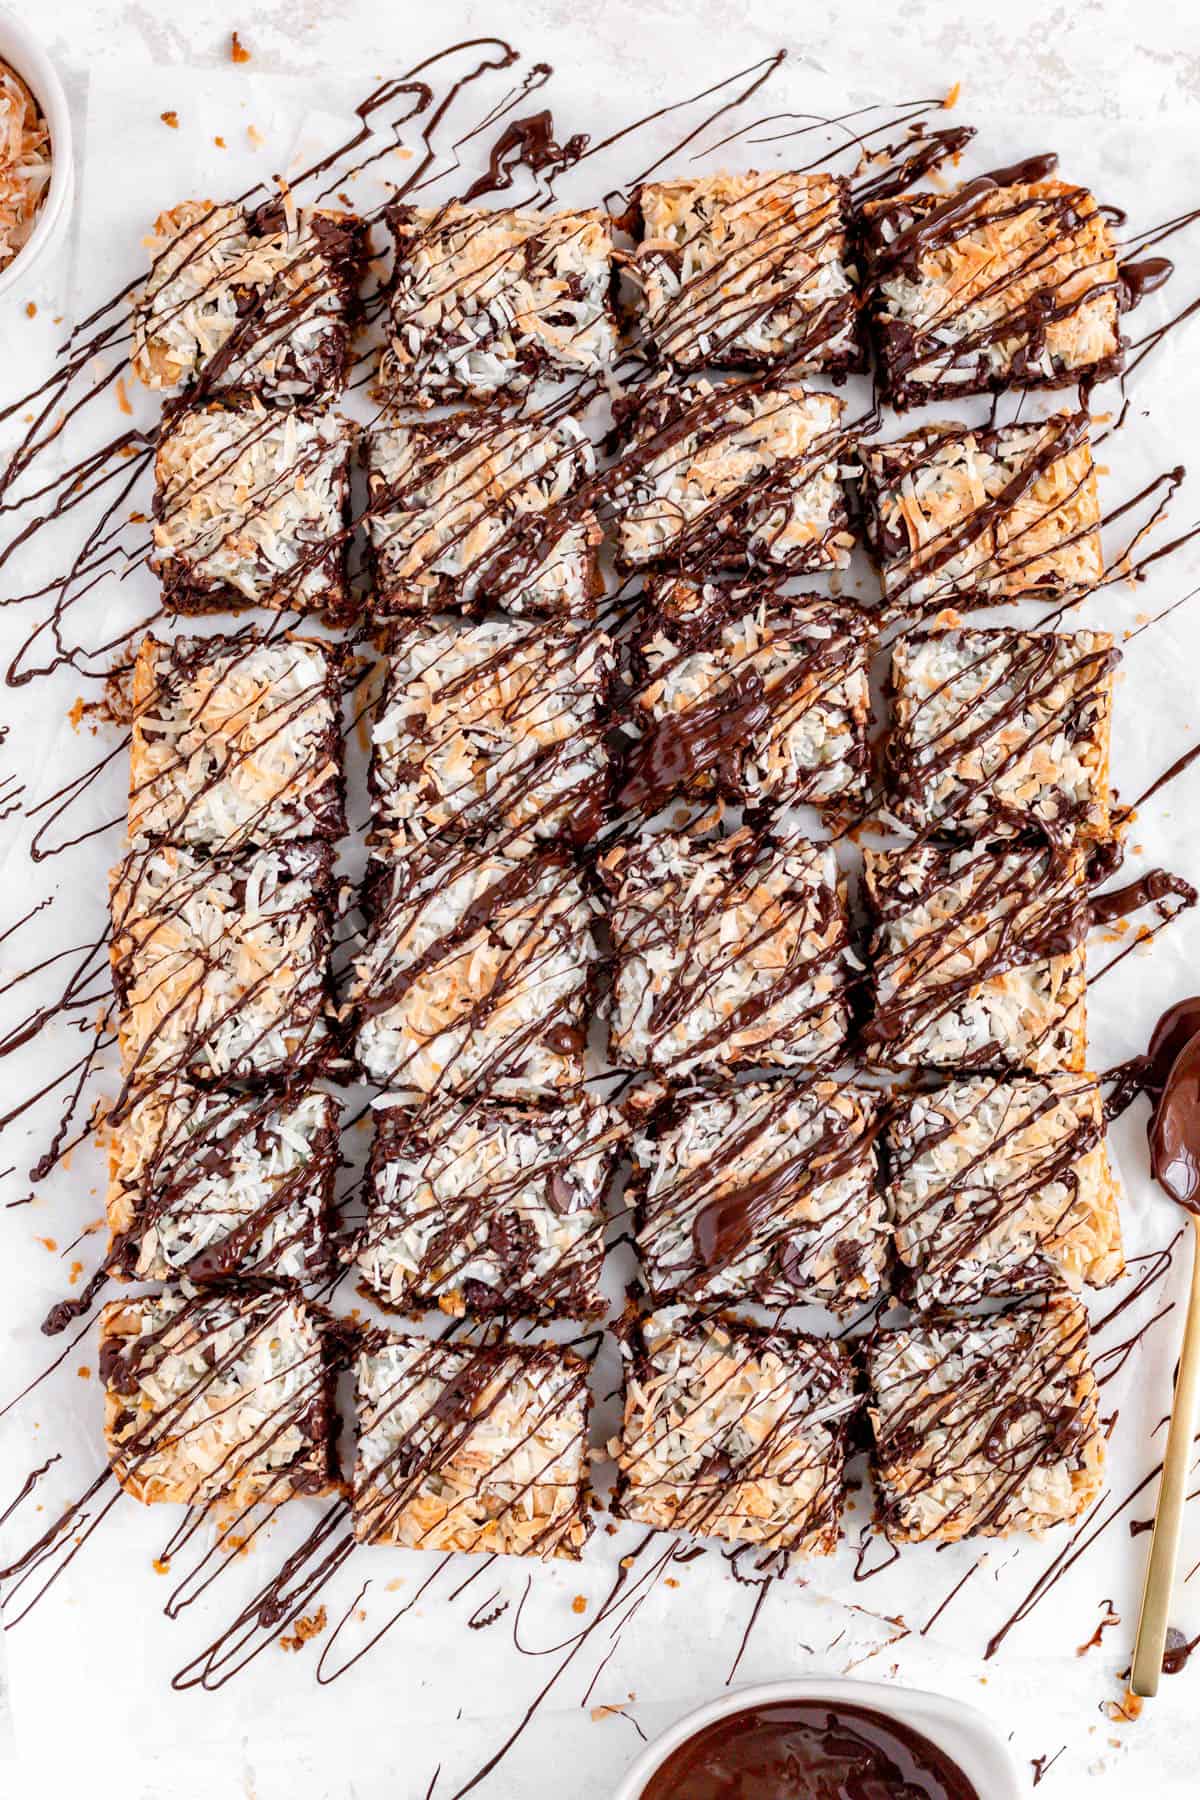
- Cool, cut, and enjoy: allow bars to cool fully before slicing (a couple of hours at least is helpful, or overnight so the chocolate can solidify). Slice the bars right in the pan (cut six by four for 24 squares), then pass around those super-stacked treats and enjoy that creamy, crispy, chocolatey, graham-y goodness!
Test Kitchen Tips
- *Which chip? After extensive testing (and tasting!) over the years, I’ve determined I like these bars with a pure traditional chocolate flavor, and especially with some nice dark chocolate in there. So I've chosen to scrap the typical butterscotch chips and add in some dark chocolate. That said, you can definitely add butterscotch back in if you like. I’d recommend still keeping the dark chocolate layer to balance the sweetness of these bars, and subbing in the butterscotch, peanut butter, milk, or white chocolate chips for my semi-sweet layer if that sounds better to you.
- **The perfect pour: I know it’s tempting to dump all that condensed milk out in one go, but try to resist for the sake of a beautifully even milk layer in your final bars. I promise there is enough condensed milk to flood into a solid layer if you just take your time and slowly drizzle it. First, I'd recommend a back-and-forth zigzag pattern working from one short end of the pan to there other. Then, I’d do a round as close as possible all around the edge to fill the border. Finally, start patching up any holes that are left in between, moving from the biggest holes to the smallest, until you have a solid, even layer.
- ***Watch for coconut fumes! These bars release some very strong, eye-burning fumes from the coconut in the oven, so when you first open it, DO NOT have your face right near the oven door. Stand back for a few seconds to let the fumes release, then check on your bars.
Kristen says
Amazing recipe! Super easy to follow. I also forgot what you said about the coconut fumes! My eyes teared right up. Other than that, they were great. Thank you!
Jocelyn at M+M says
Well I'm so happy to hear you loved the recipe Kristen, but so sorry you suffered the wrath of the coconut fumes! (I've been there and it is NO fun.) Thank you so much for taking the time to let me you know you loved this recipe, and I wish a happy holiday season and happy baking!
Elizabeth Krakowiecki OConnor says
Some of the easiest and best cookie bars ever!
Jocelyn at M+M says
Yay! That makes me so happy to hear, Elizabeth. These have been one of my family's favorites for years and I'm thrilled you loved them too!