


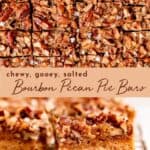
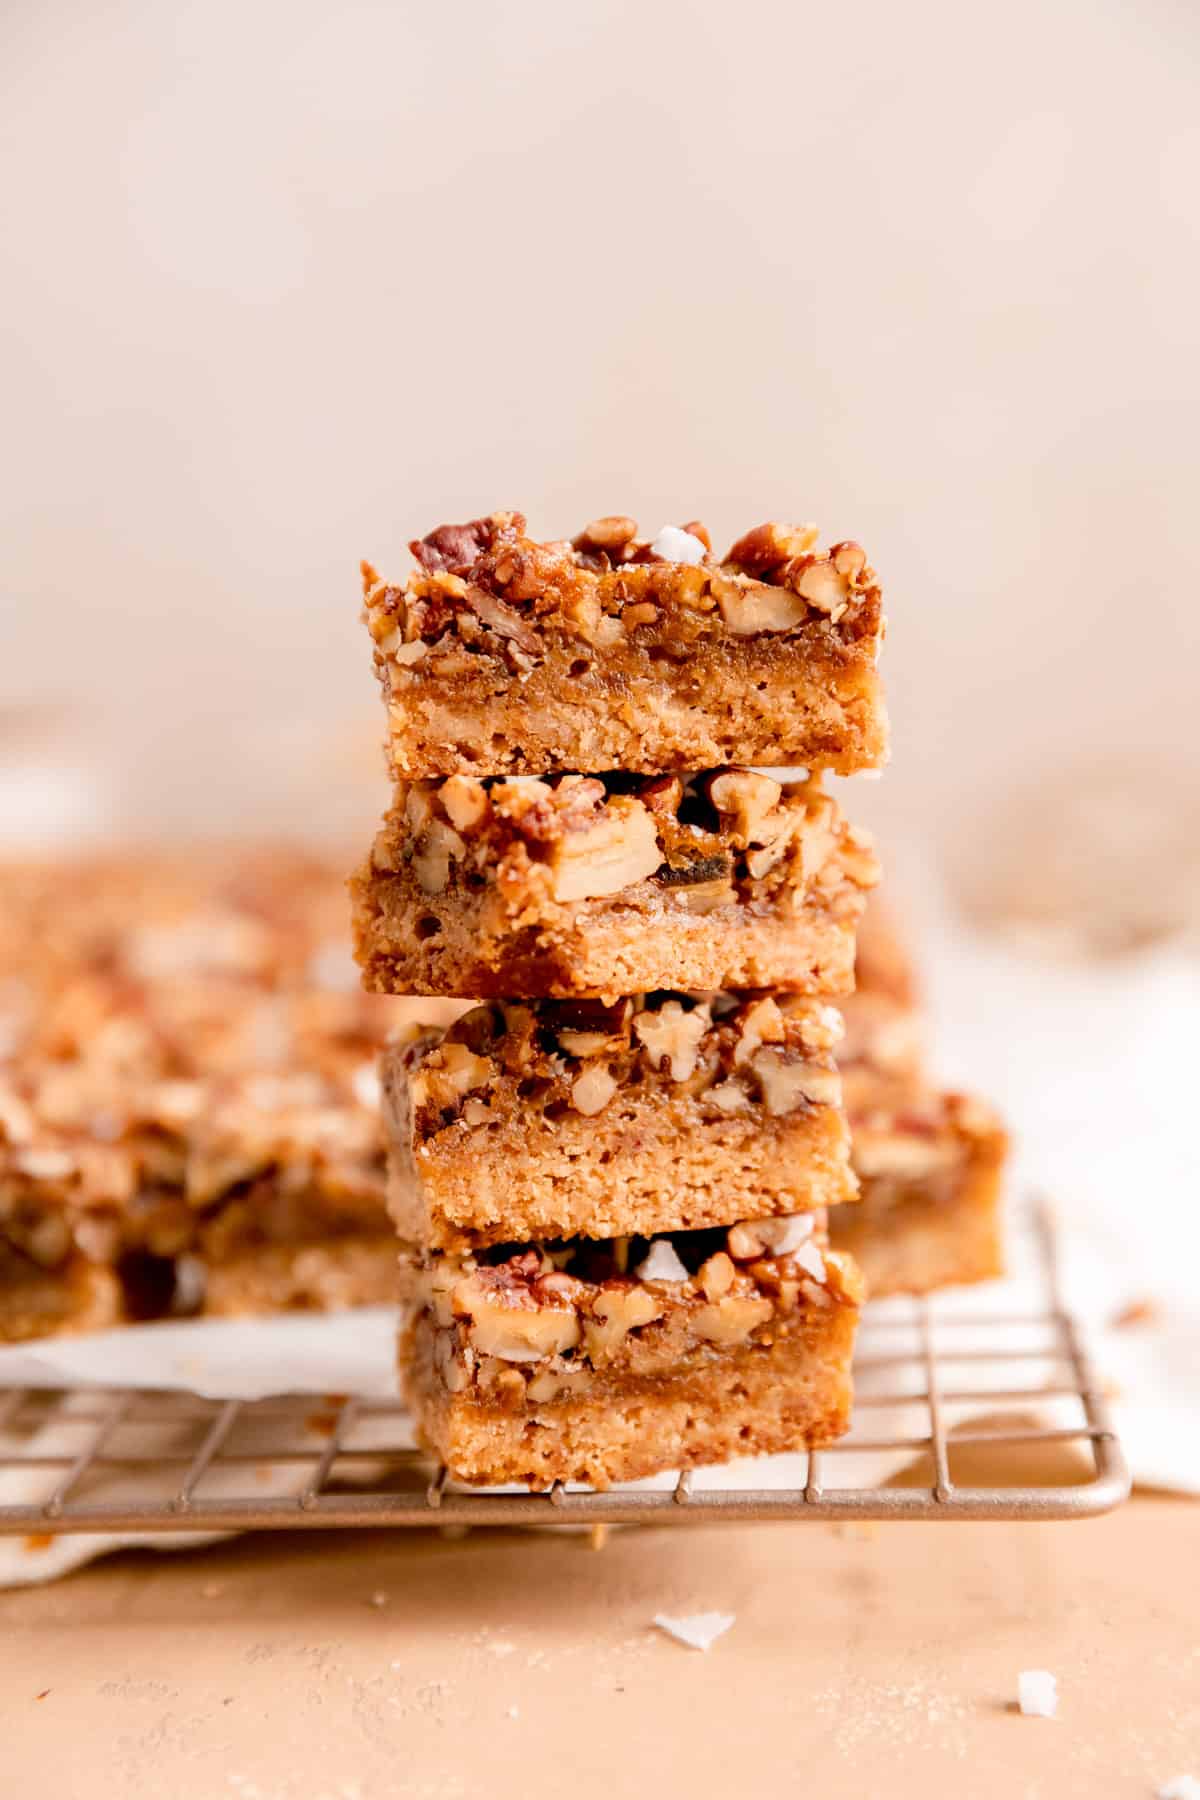
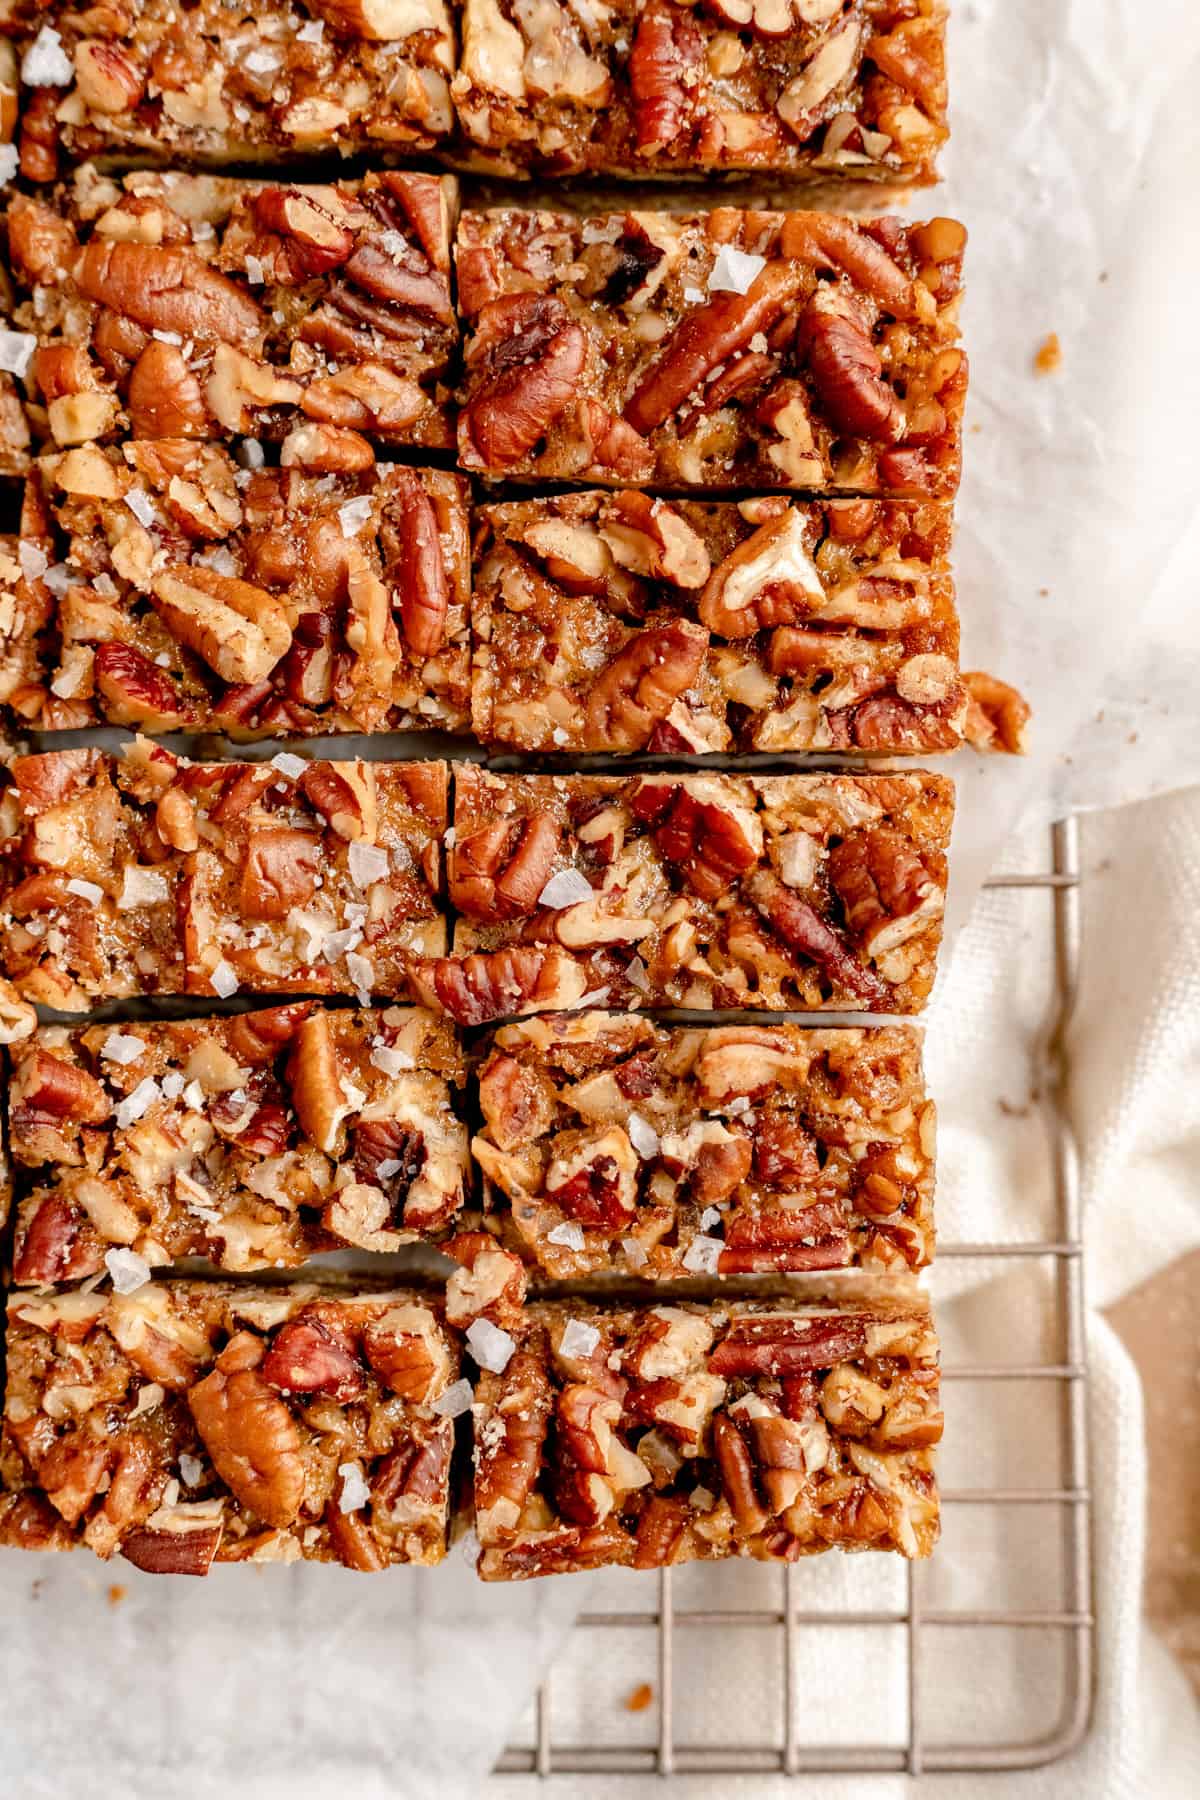
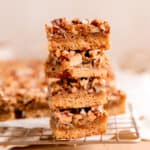
These Salted Bourbon Pecan Pie Bars, made with a tender pecan shortbread crust, took first prize in one of the few baking contests I've ever participated in. They satisfy that love of a gooey, chewy, yet a little crunchy pecan filling on the top, with a tender, buttery shortbread crust on the bottom, in the ultimate little bar package!
Jump to (scroll for more!):
First-Prize and Baker-Approved Bars
Now, I'm not a big one for contests. But…when I was working at King Arthur Flour there was a fundraising contest among employees and I’m always up for supporting a good cause. Everyone there was a baker, so my expectations for winning were very low.
But the deliciousness of these bars and their perfect combo of sweet and salty flavor could not be stopped! They took first prize and even further cemented their place in my list of all-time favorite recipes.
And if you're looking for some other delicious fall baking treats, check out my Double Cinnamon Streusel Muffins, Cinnamon French Toast Pancakes, Apple Pie Filling Cinnamon Rolls, and Cinnamon Streusel Apple Hand Pies!
Why This Recipe Leads to Sweet Success
Here is some key info you should know to understand why this recipe not only works, but will be a deliciously sweet success.
- Minimal effort for all the flavor: when you taste these bars, you’d think they’d take hours to make with some top-secret tricky technique to get that beautifully tender crust juxtaposed to that chewy, gooey topping. But one of my favorite things about this recipe is that it is SO easy to make (just like my Raspberry Oatmeal Bars!). The crust is just blitzed in the food processor, and the filling is just one quick mix with a sprinkle of pecans on top. It really couldn’t be easier, but your family and friends will think you slaved all day after trying these scrumptious bars (but don’t worry – your secret’s safe with me!).
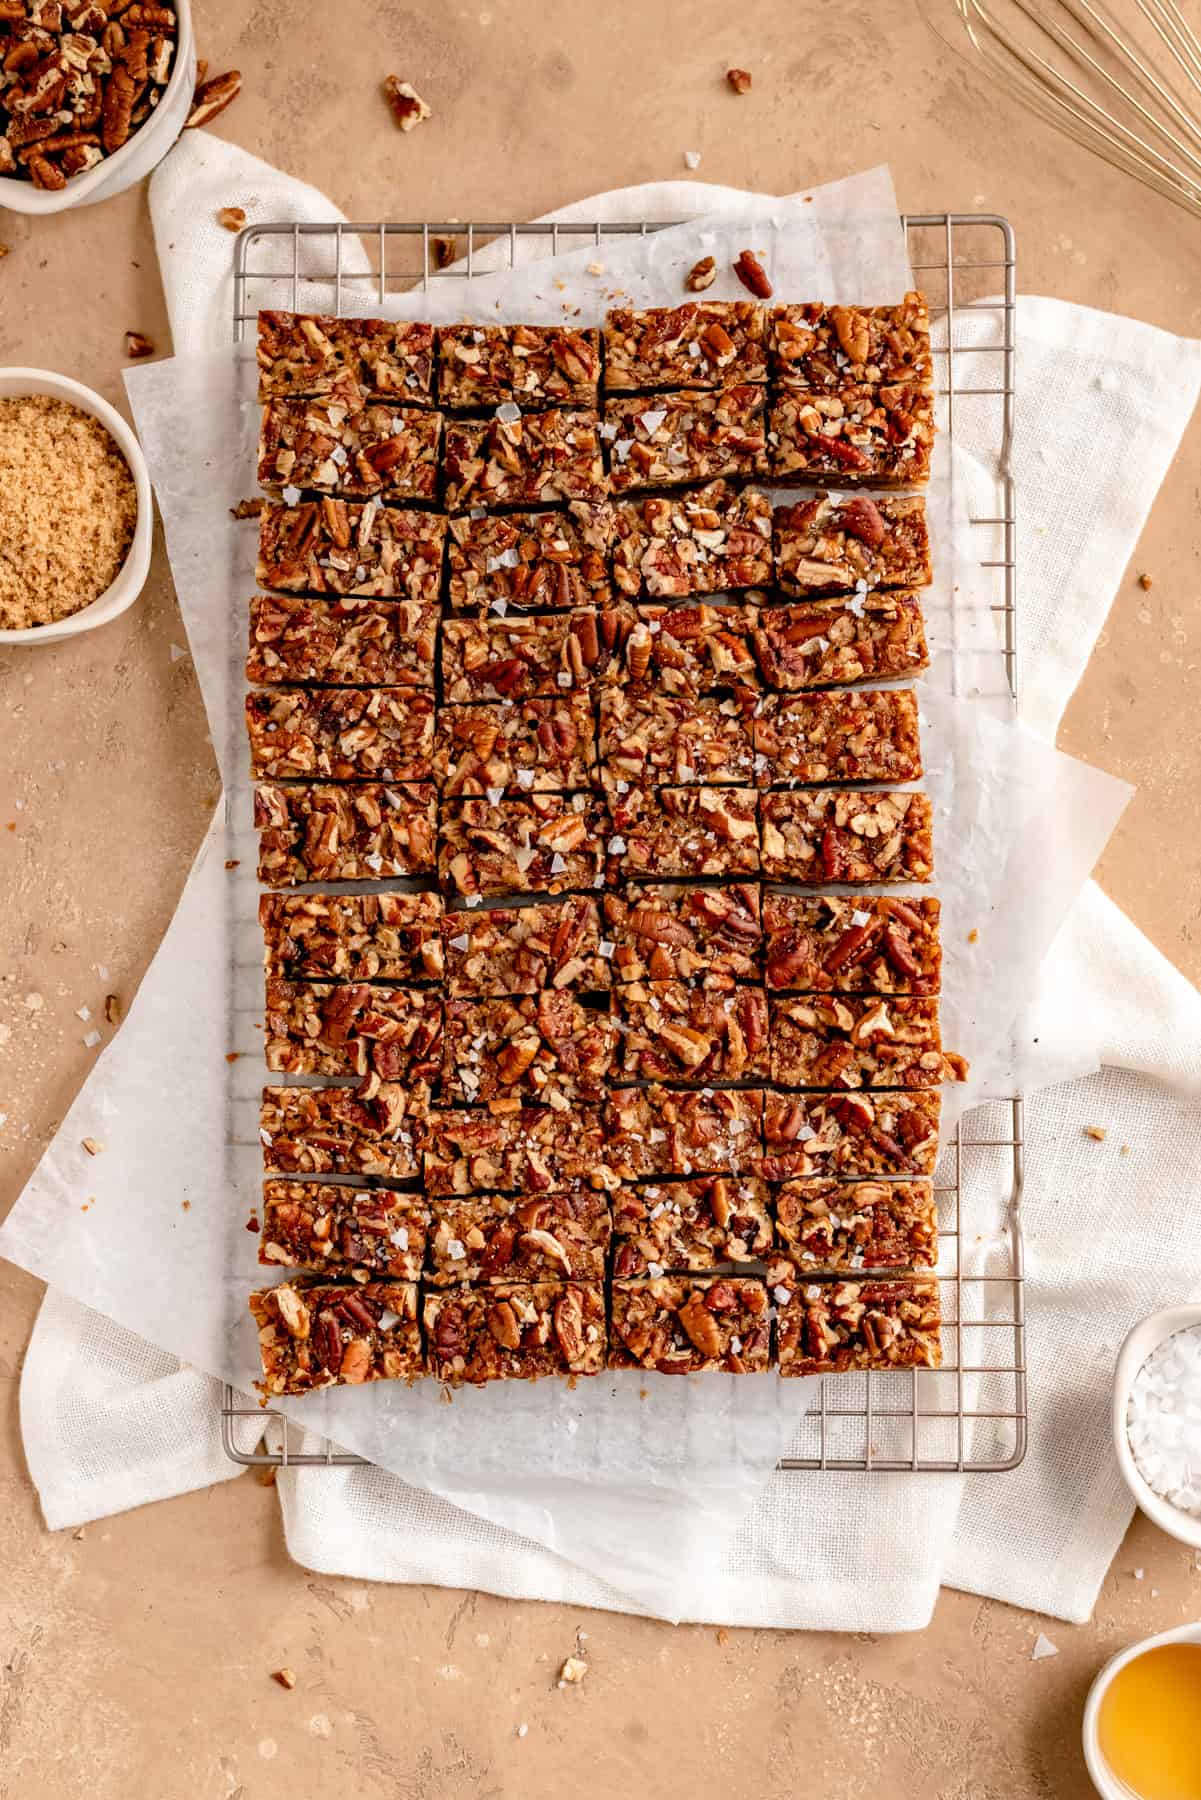
- Sweet + Salty = Perfection: pecan pie is notoriously sweet and rich, and I wanted to address both of those “complaints” of sorts with these bars. To counter the sweet filling required for a classic pecan pie, I added some flaked sea salt on the top. Then to counter the richness, I shrank that thick pie slice into a two-bite bar, so you still get all that rich, chewy, nutty flavor you’re craving from pecan pie, but in a tiny little package. They’ll leave your sweet tooth satisfied without overwhelming your tummy.
- Enjoy for weeks! These bars keep super well compared to most other treats. You can keep them sealed in an air-tight container for up to 2 weeks, and they’ll still taste just as good on their last day as they did on their first.
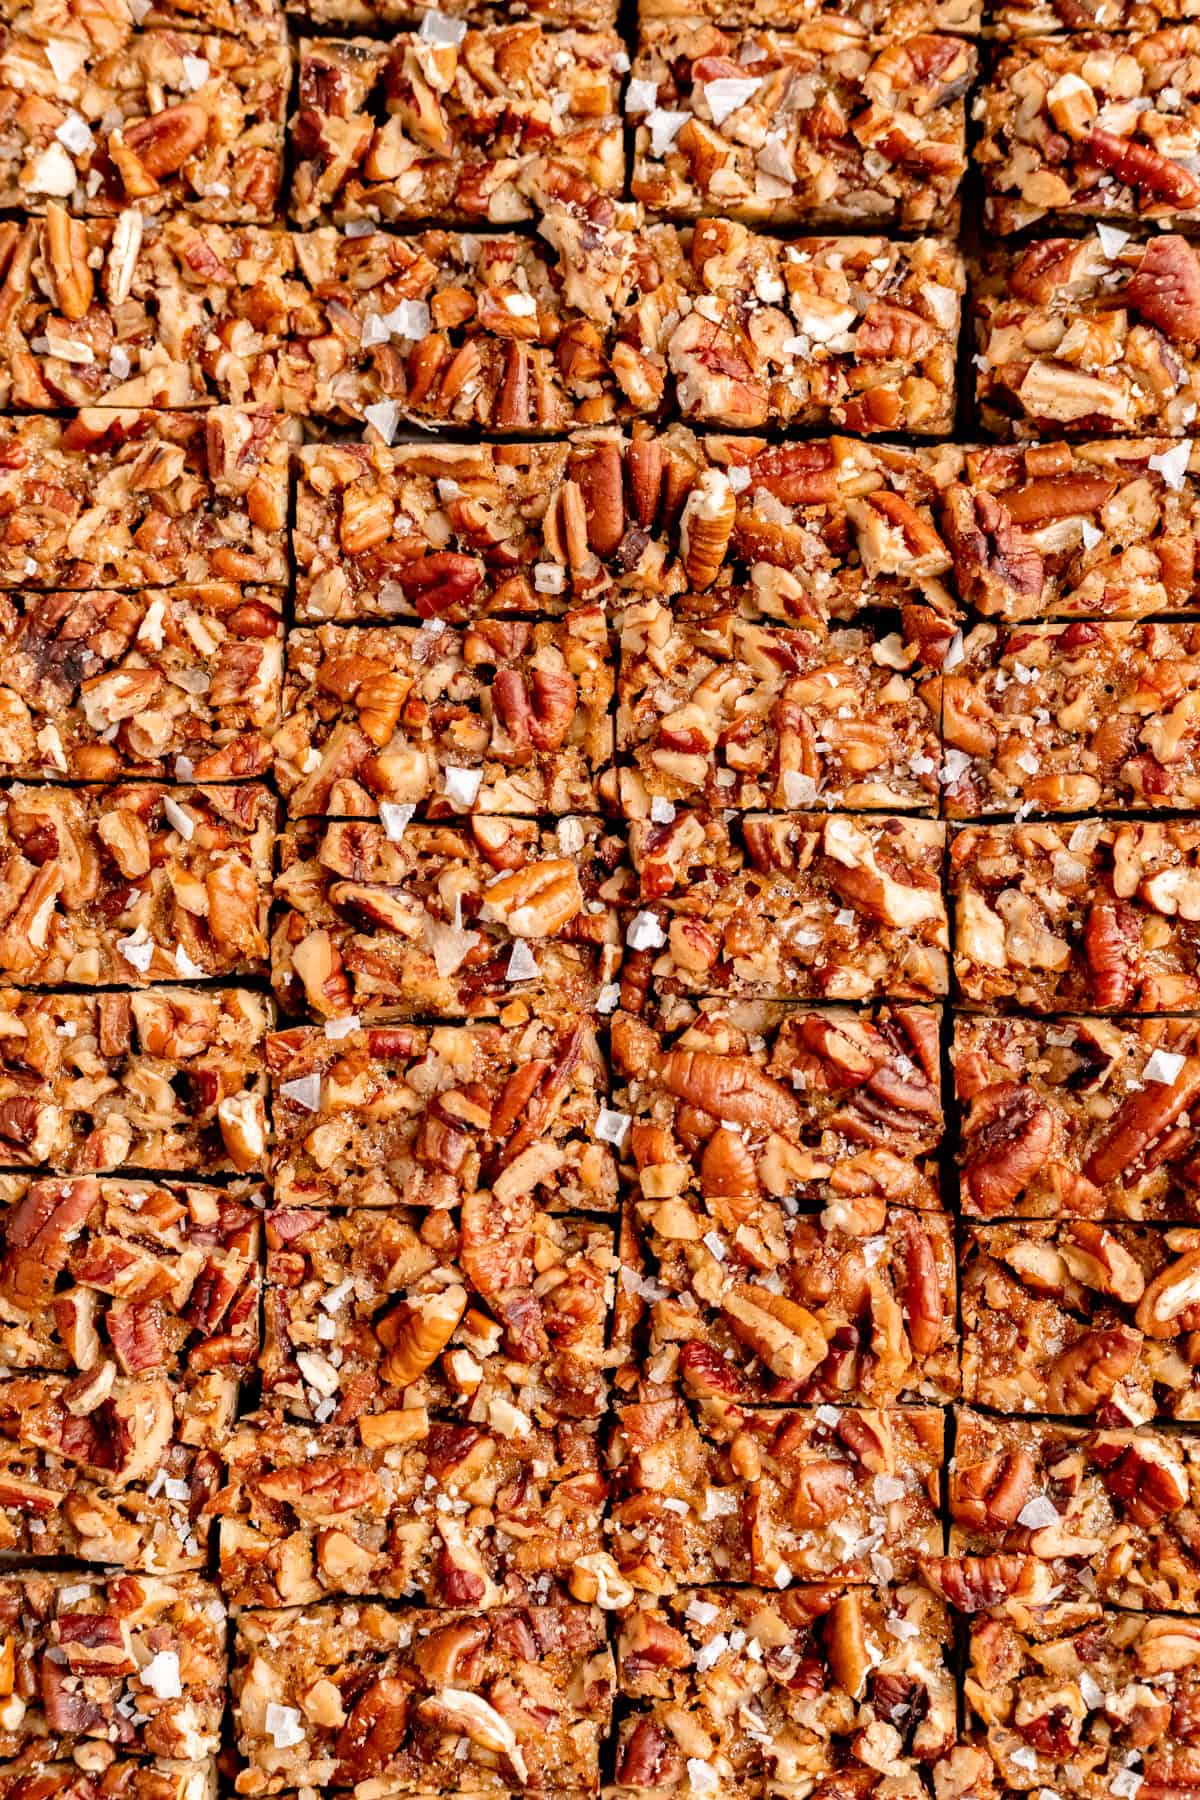
- Pecan Pie Bars for a Crowd: because these bars are so rich, I like to cut them nice and small. This means you get a lot of bars out of one pan, so this is a great treat to make around the holidays especially because it’ll serve a crowd and can be mixed up in advance with a no-fuss prep. (And of course, if one little bar isn’t enough – you can always go back for seconds!)
Ingredient Tips to Bake it Better
(Pssst…if you're ready to just get baking, get all the details in the recipe card below!)
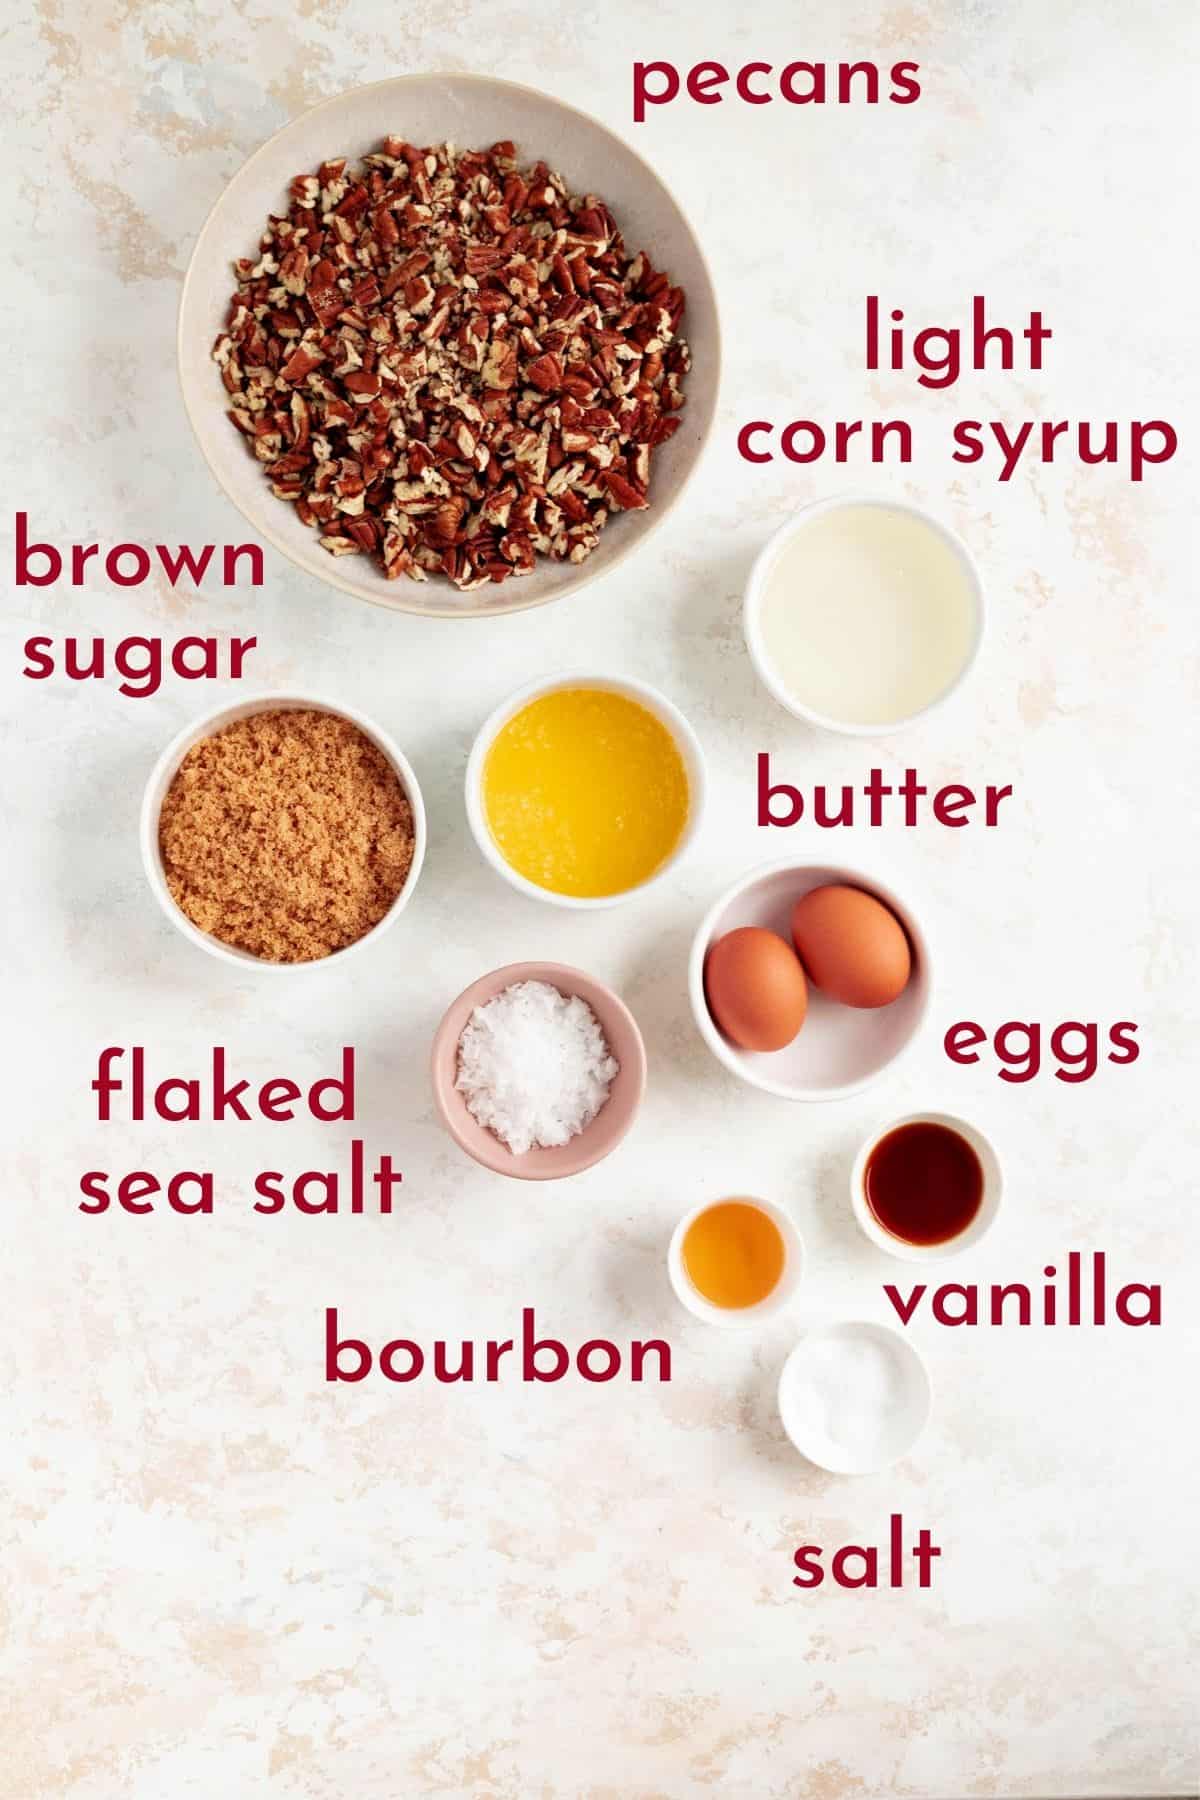
- Pecans: the pecans are the star of the show here. For the topping, you’ll want to cut them small enough that they can form a nice even layer on your bars, but big enough that they’ll help hold the bars together. I like to chop mine by hand, and chopping the halves into thirds or quarters is plenty small.
- Butter: because the food processor will heat your butter up quickly when making the crust, make sure it’s nice and cold when you add it to the dry ingredients. This will ensure you end up with a nice tender shortbread crust on your bars.
- Flaked Sea Salt: while the sea salt isn’t required, it really does make all the difference in these bars to balance out the sweet filling, so I highly recommend trying it at least once to see what you think. I promise you won’t be disappointed!
- Bourbon: the alcohol in the bourbon is baked off, but you can sub apple cider or even maple syrup if you’d like to make Maple Pecan Pie Bars instead. You won’t actually taste “bourbon” in the final bars, but it’ll just add a little complexity that takes these bars to the next level.
- Chocolate Chips: I personally like to keep these bars classic without the chocolate, but many of my family and friends love the chocolate chip addition. So feel free to make whichever sounds tastier to you!
(p.s. for all the basic tips that no one ever taught you, that are super important to help you bake your best, check out my Baking 101 series!)
Special Tools and Equipment You'll Need
The only special tool you’ll need for these bars is a food processor.
You can make the crust without one (I’ve added instructions for that in the recipe notes as well), but the food processor is both easier, and will yield a more tender crust.
You’ll want to use at least a 7-cup processor to fit this full crust recipe. Otherwise, I’d just mix it half a batch at a time if you have a smaller processor.
How to Make These Bars From Scratch
(Pssst…if you're ready to just get baking, get all the details in the recipe card below!)
TO MAKE THE CRUST:
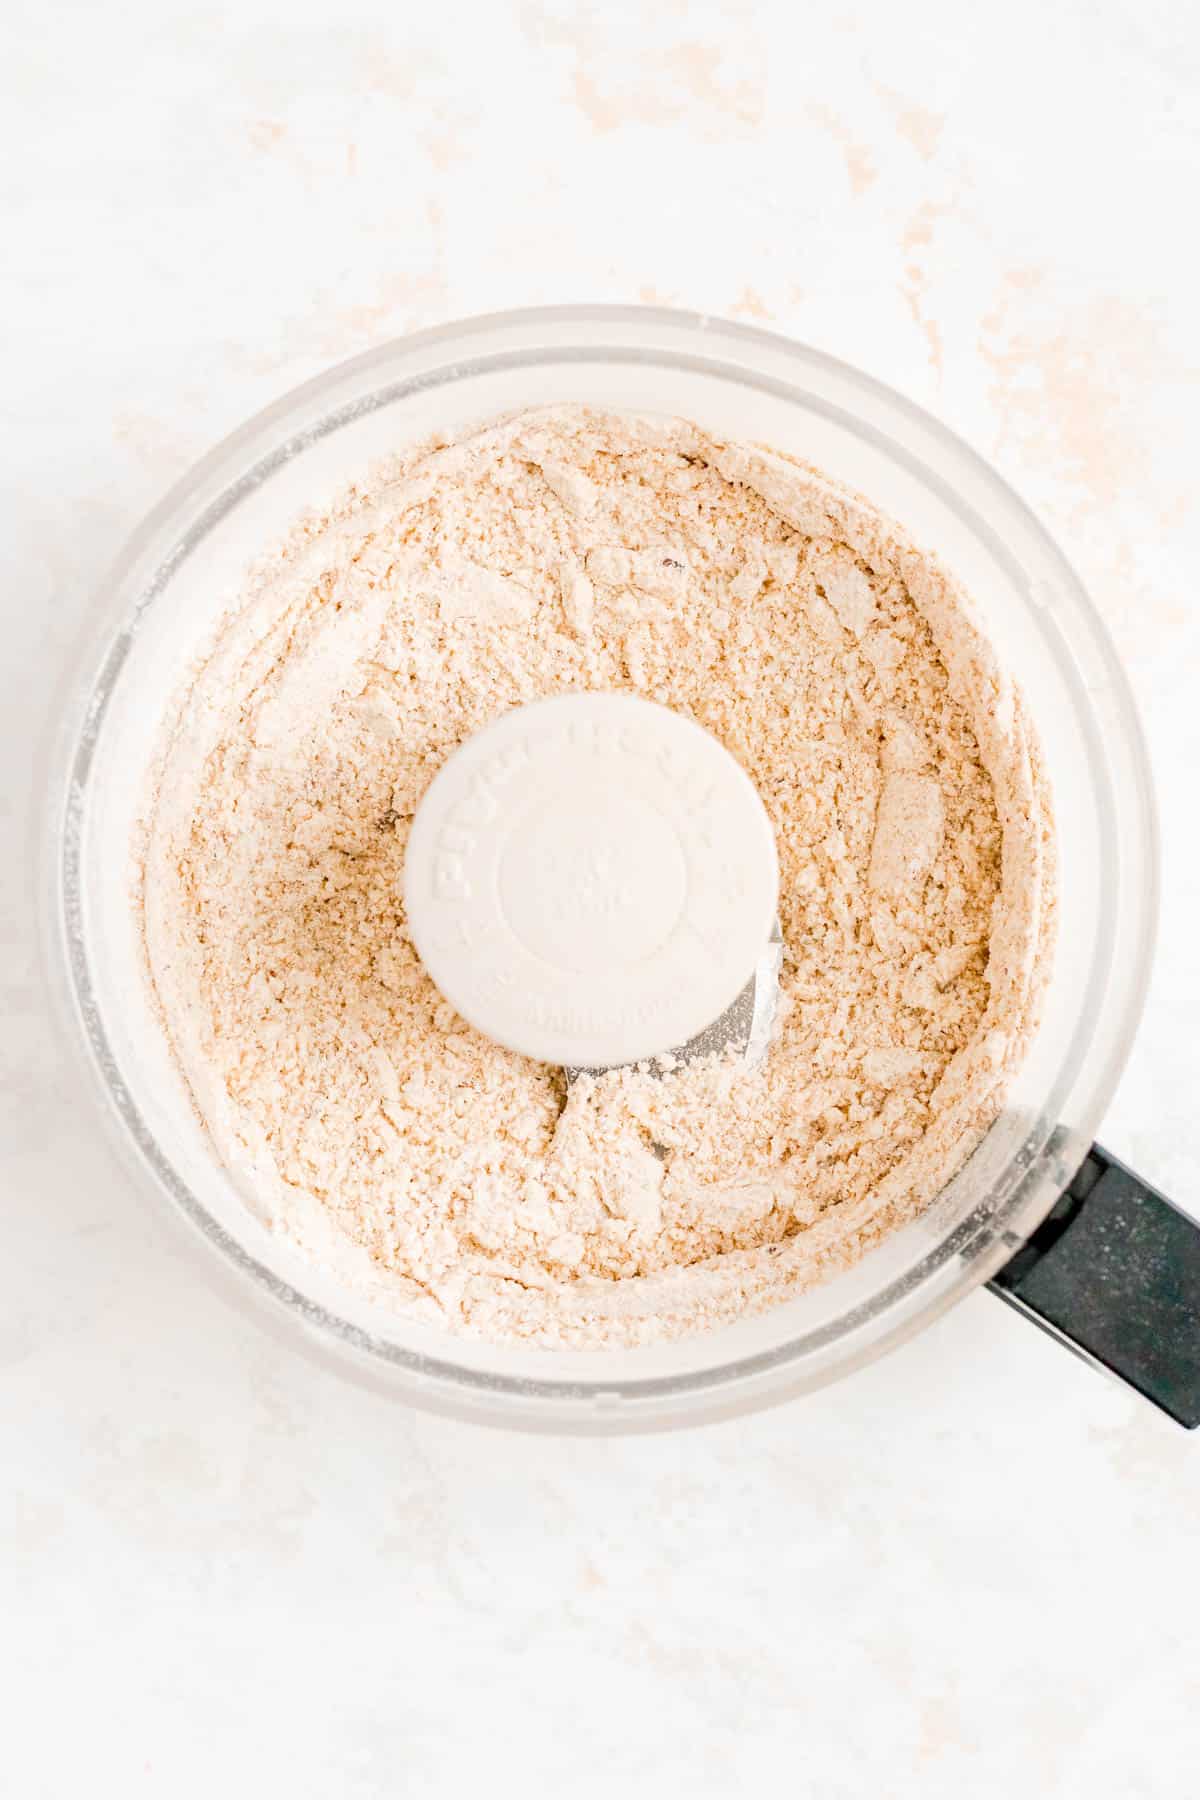
- Prep your pan and preheat your oven. Process the crust dry ingredients until blended.
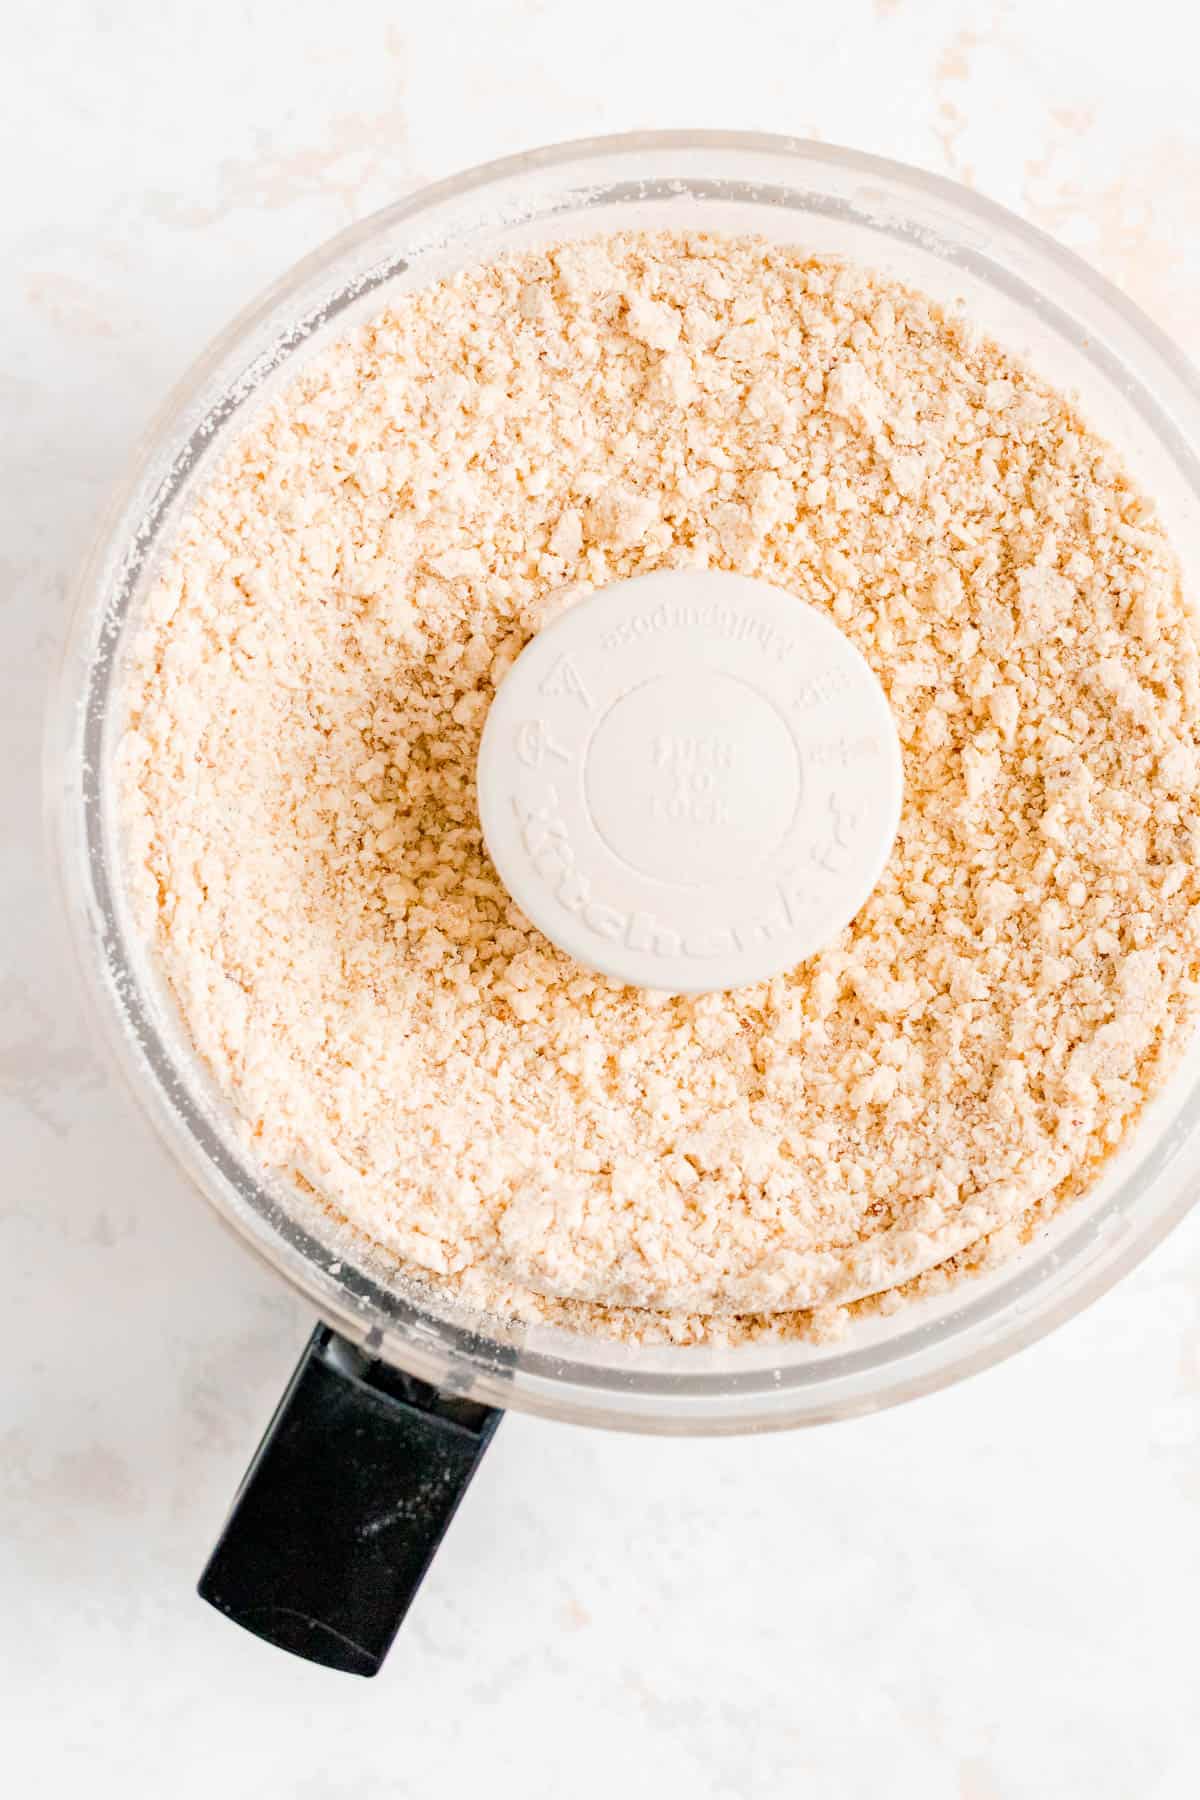
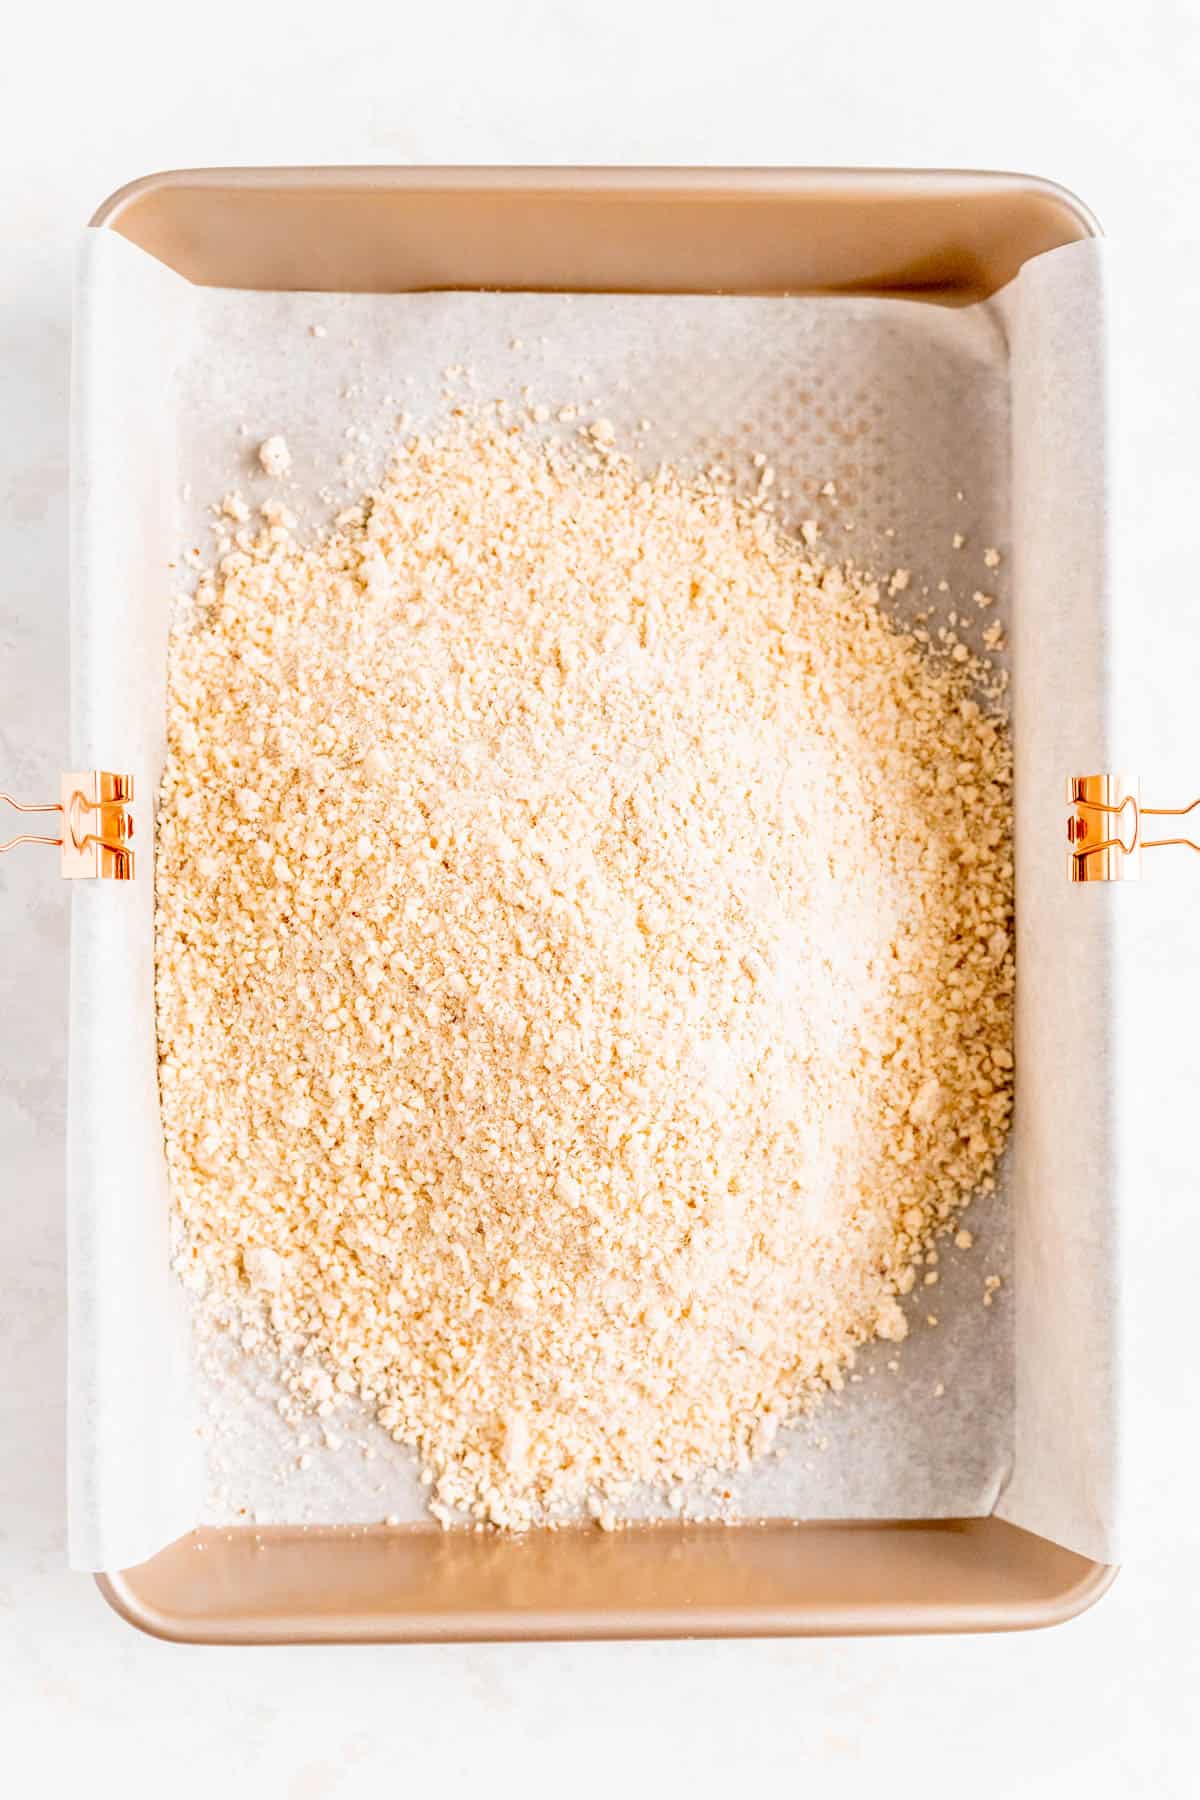
- Cut in the butter by pulsing the cold butter in the dry ingredients to form coarse crumbs.
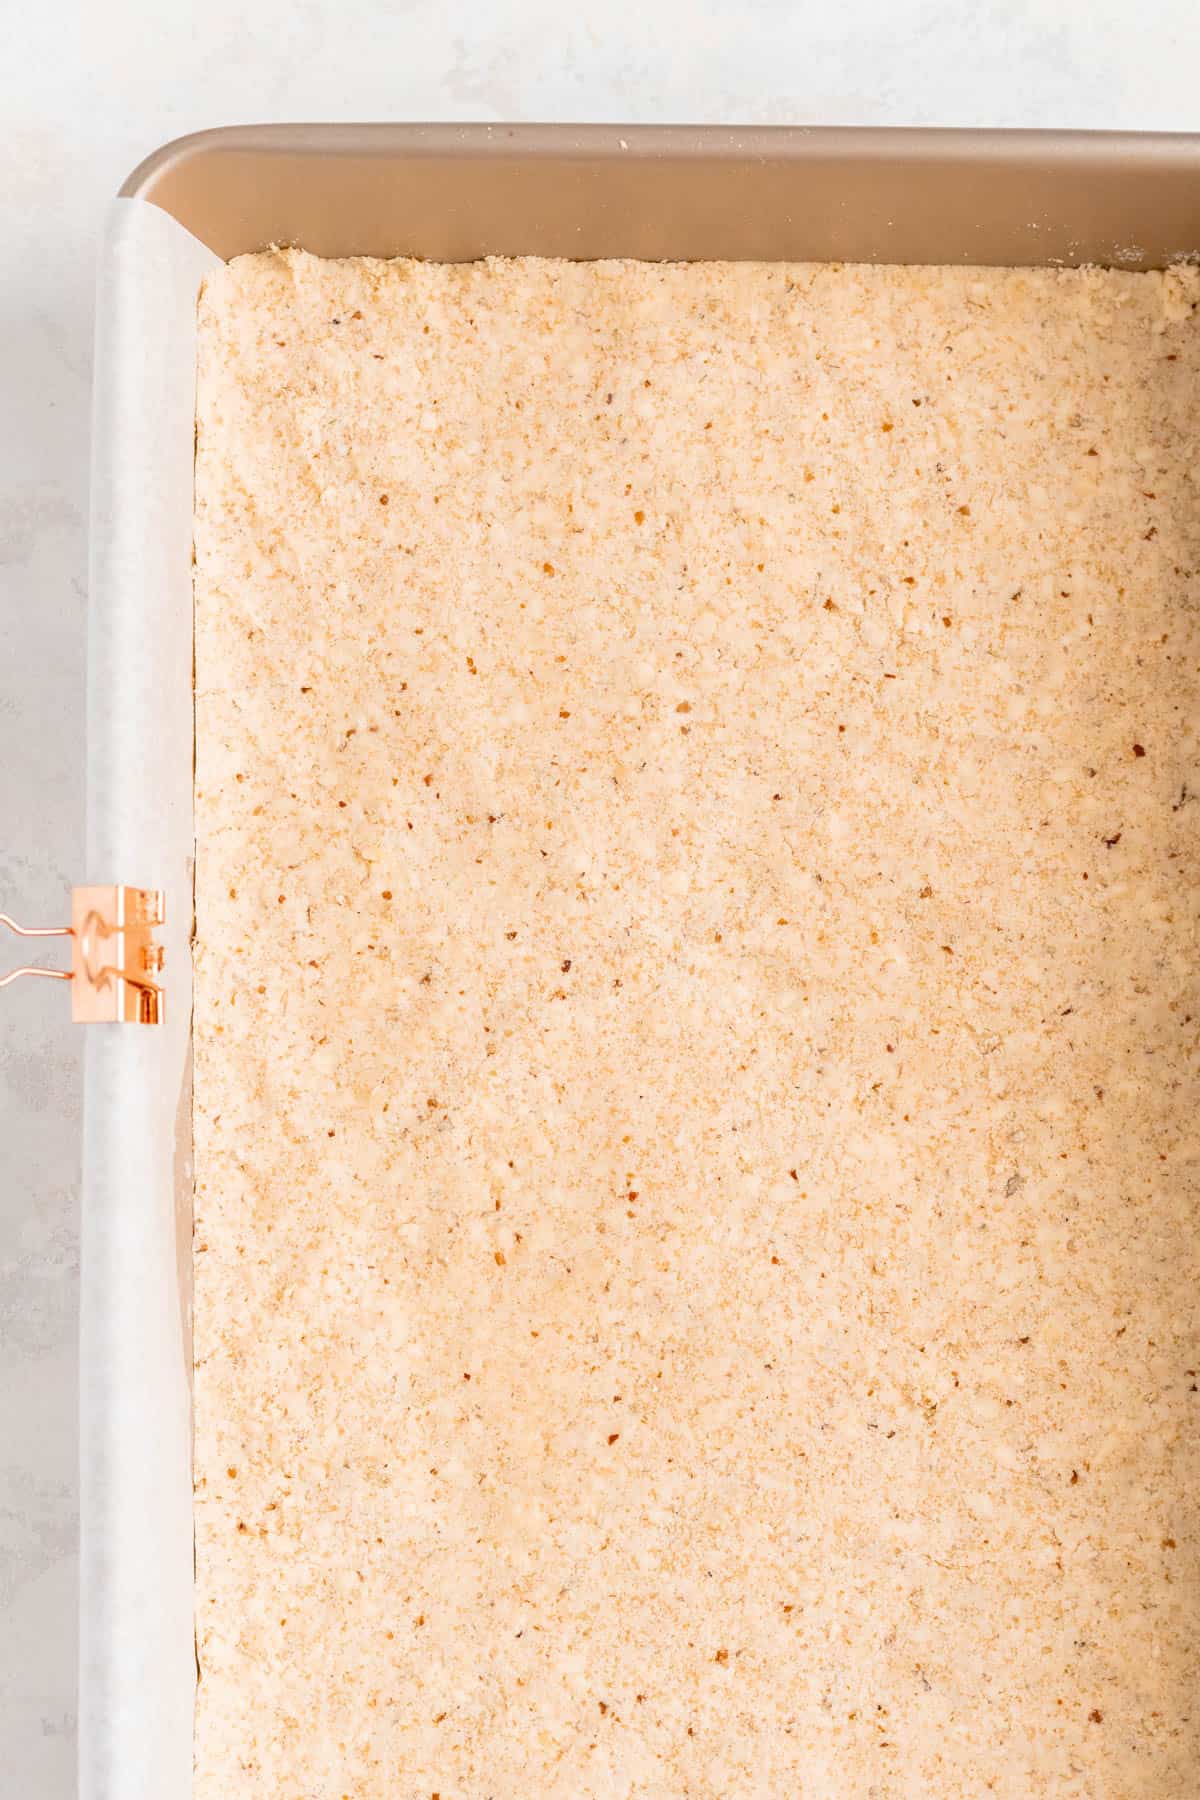
- Press crumbs firmly and evenly into the bottom of your pan.
- Bake crust until golden-brown.

TO MAKE THE FILLING:
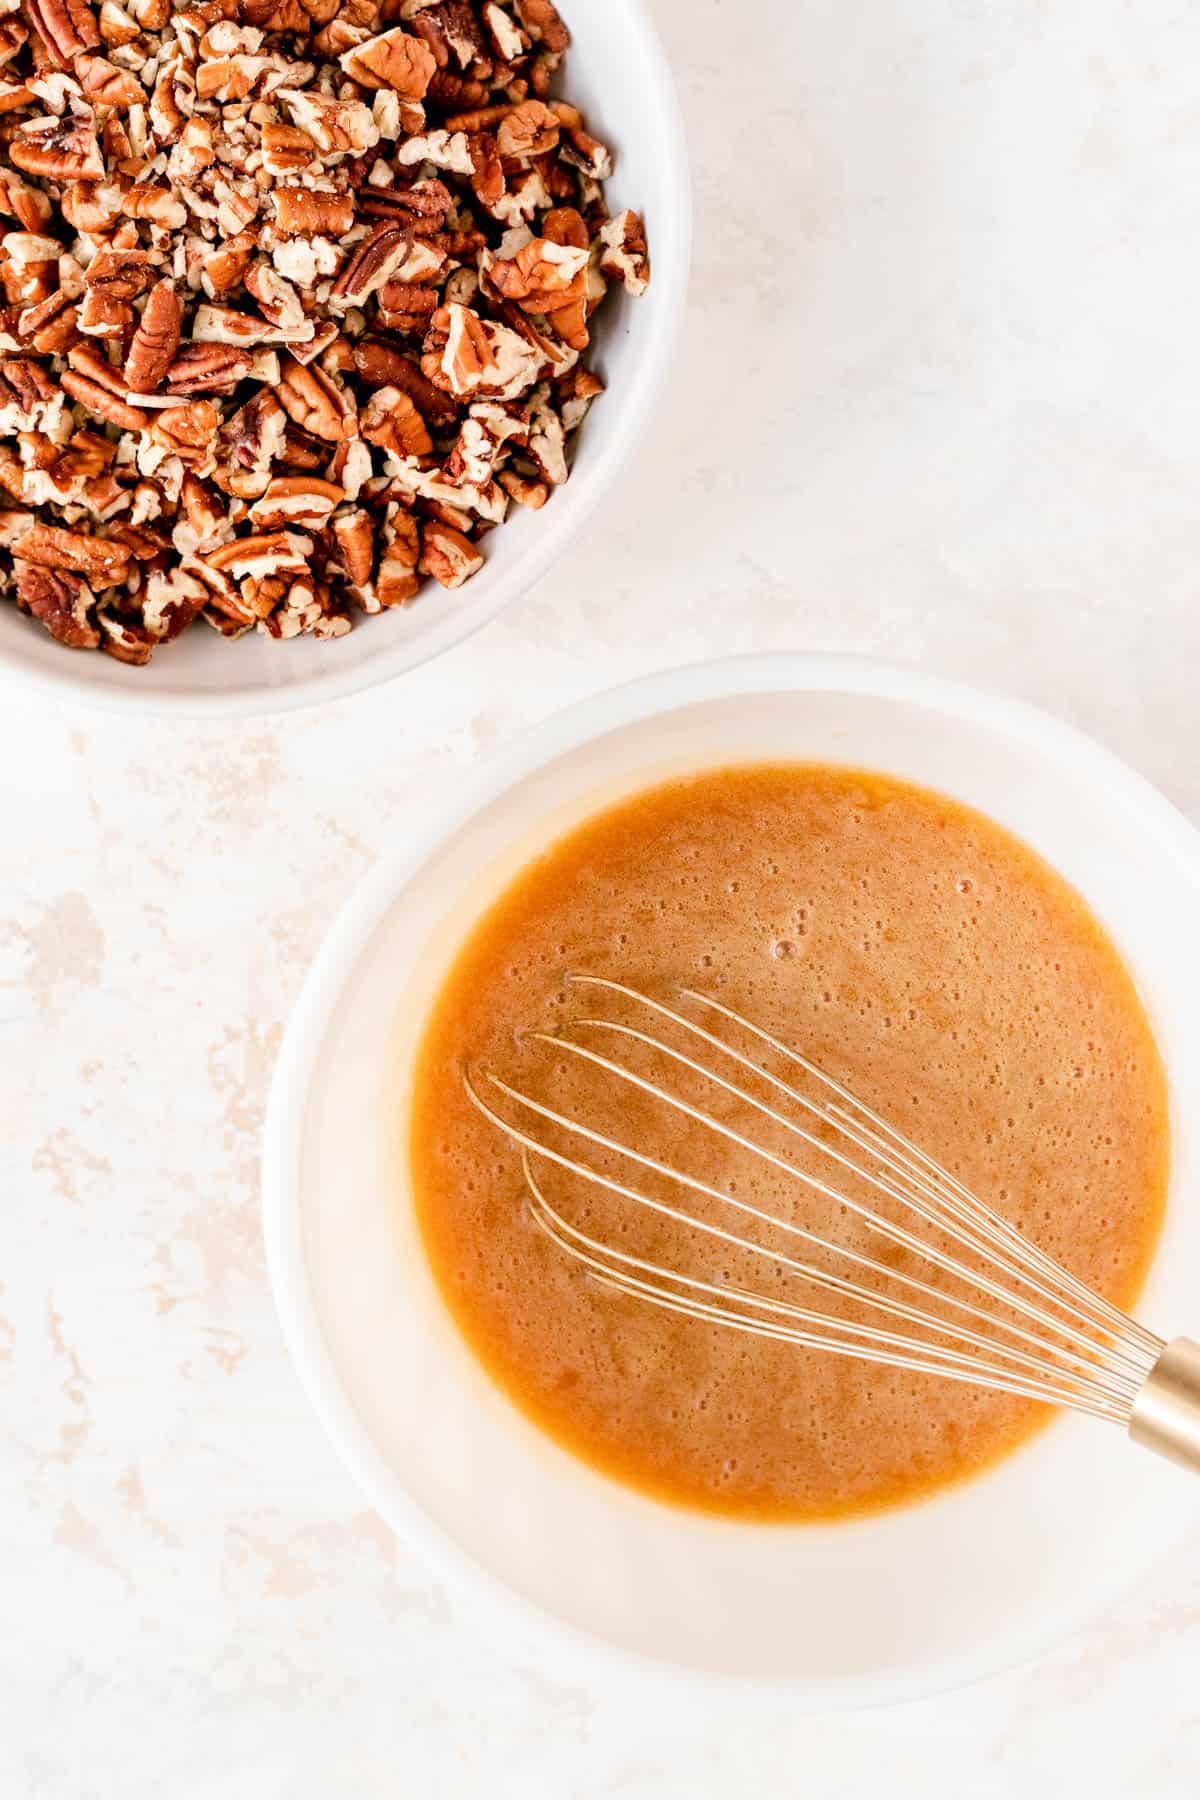
- Prepare the filling a few minutes before the crust comes out of the oven by whisking together all the ingredients, but the eggs, until smooth. Then whisk in the eggs until well blended.
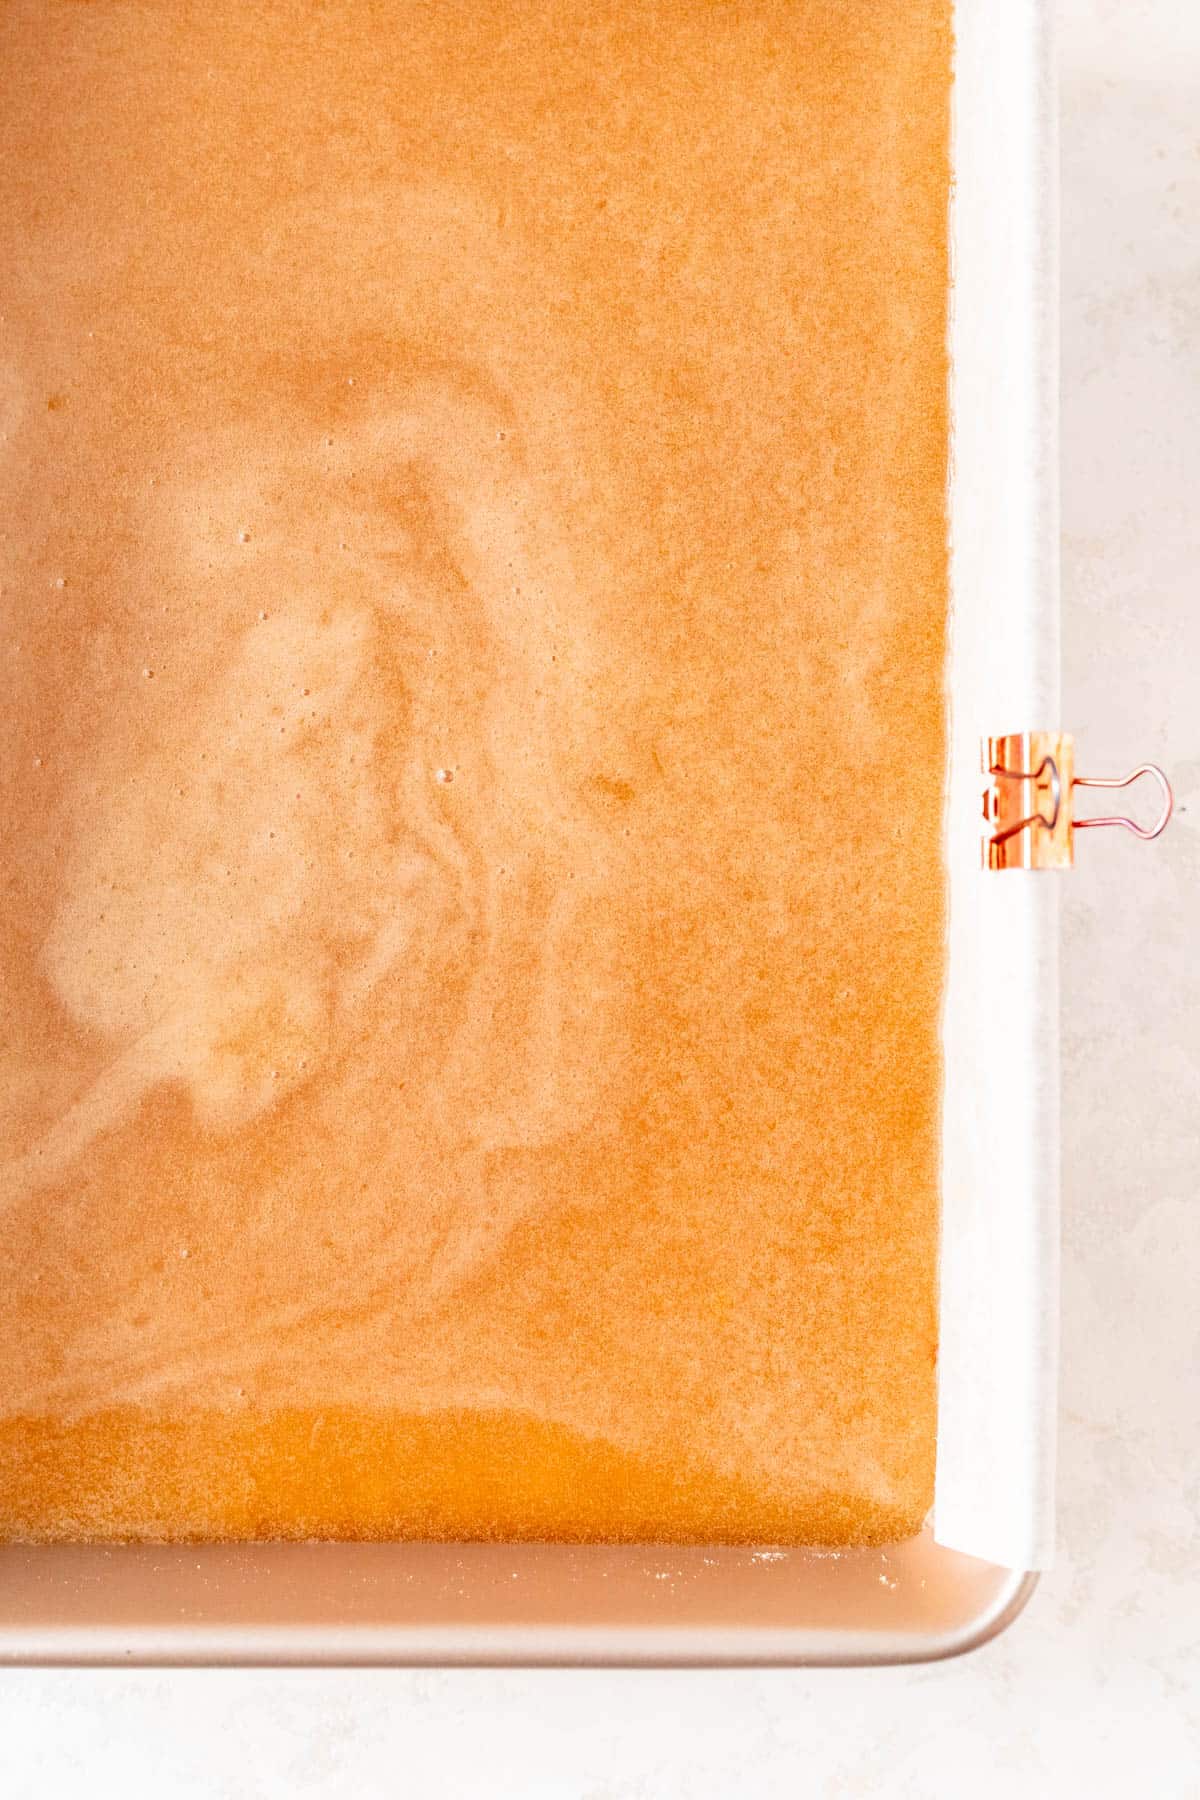
- Pour filling over the hot crust as soon as it comes out of the oven.
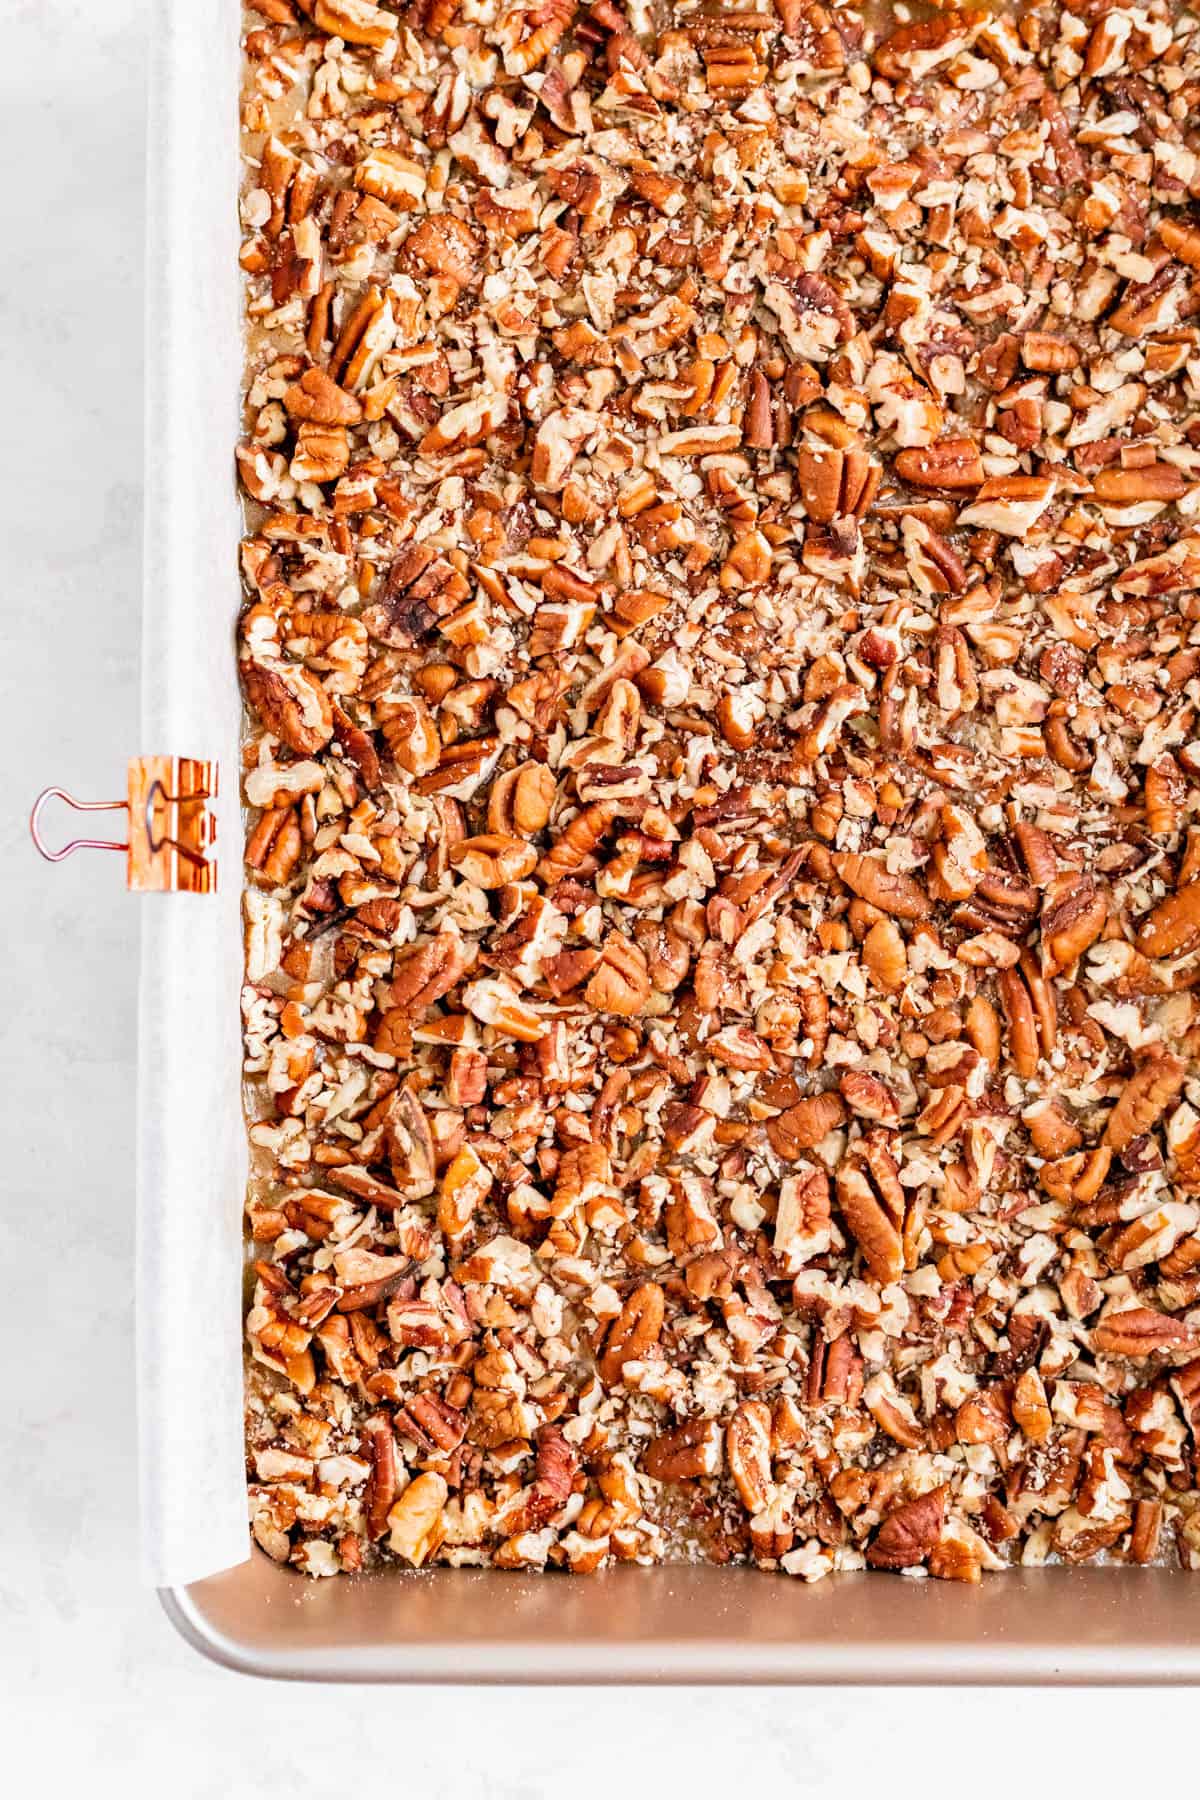
- Sprinkle the pecans evenly over the top of the filling. Add the chocolate chips and salt on top, if using.
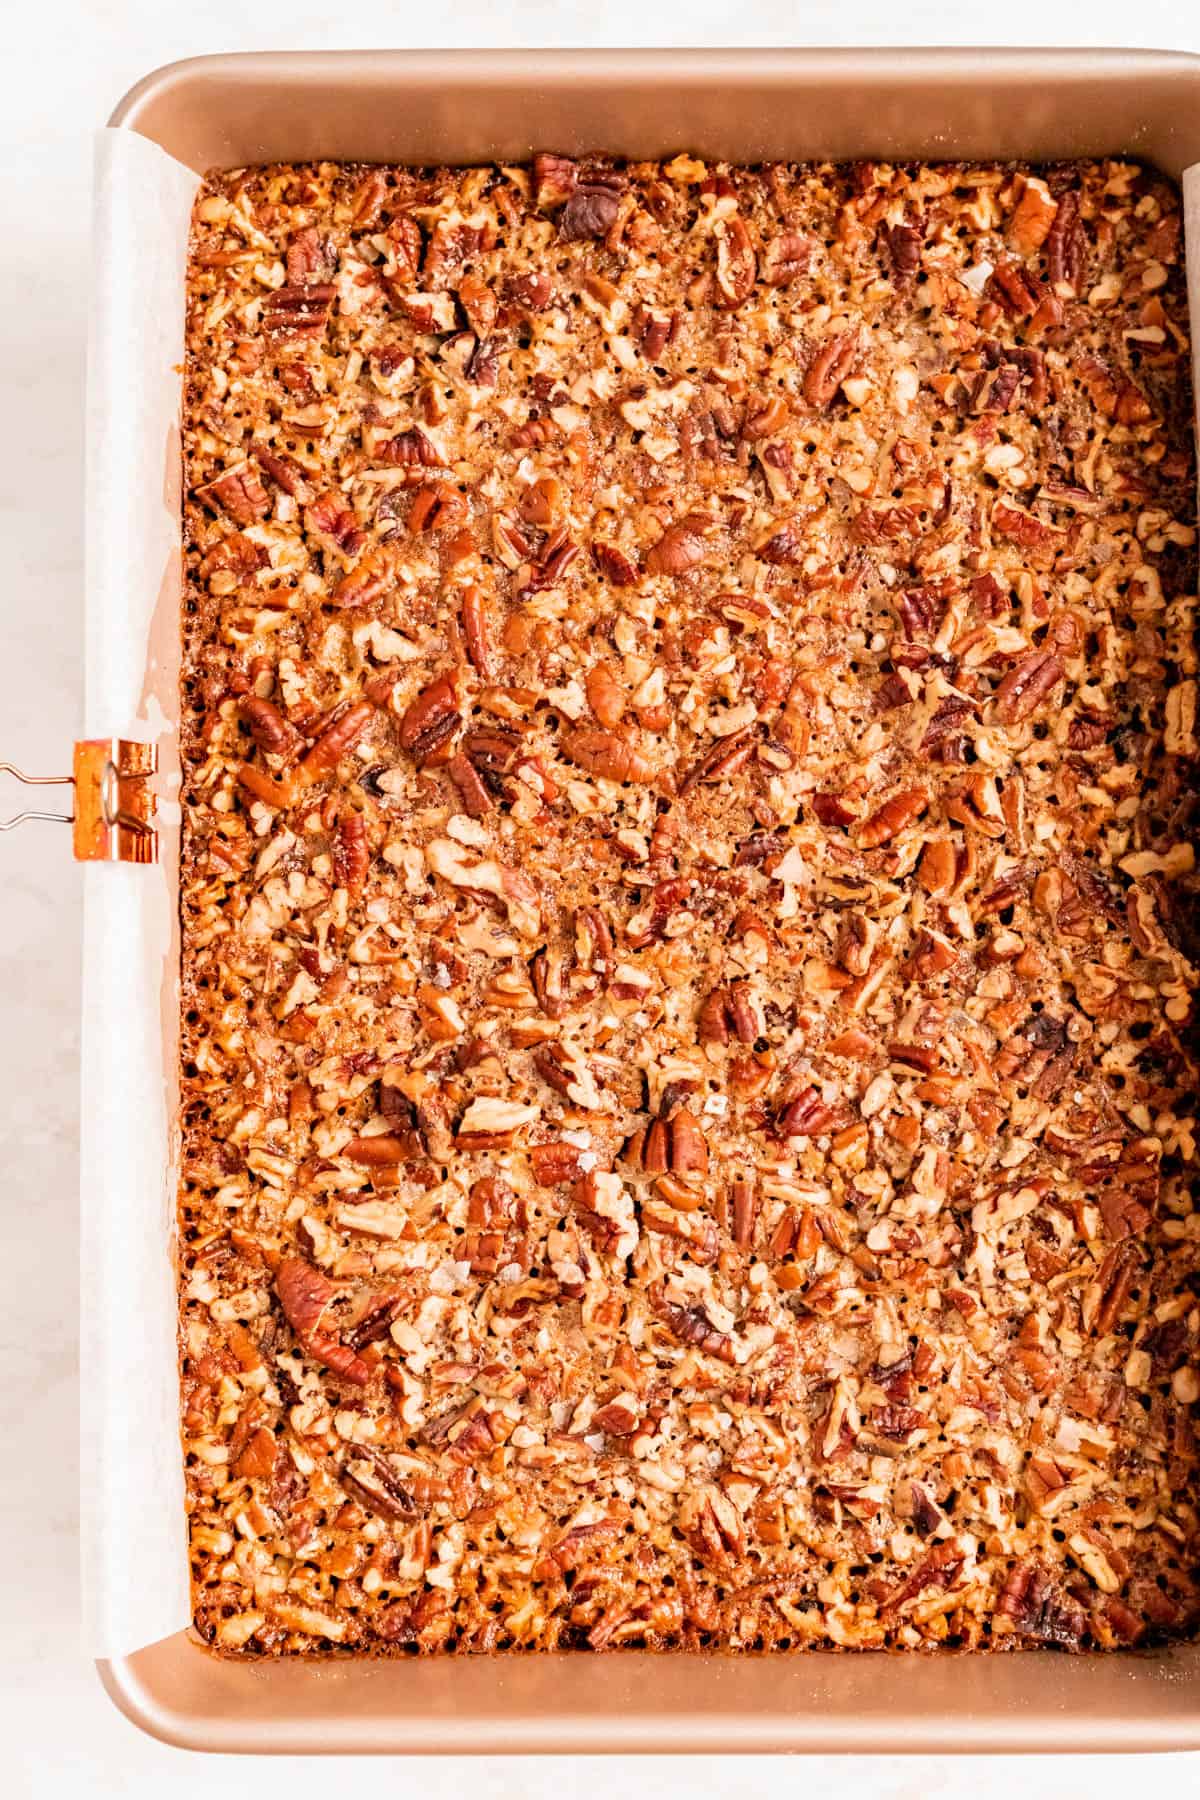
- Bake until filling is golden, crackling, and bubbling.
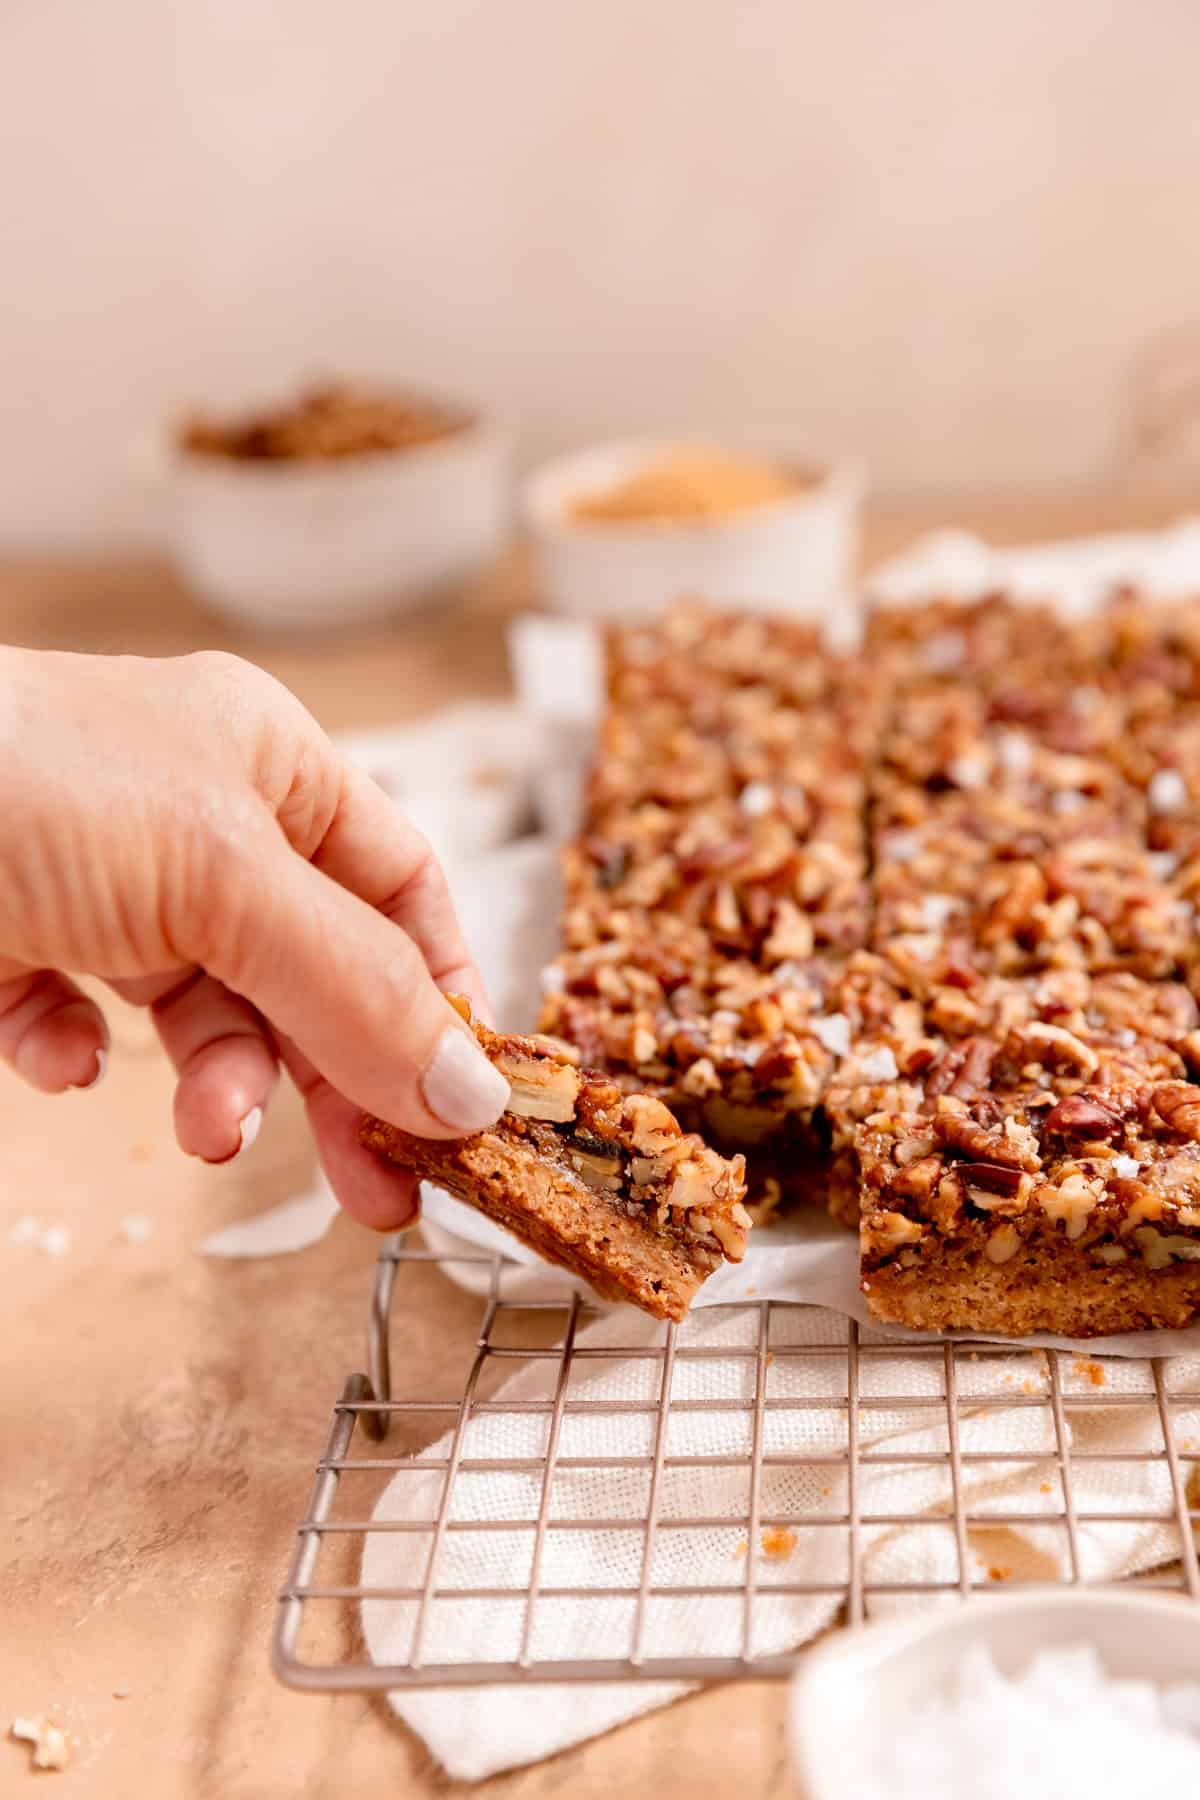
- Cool fully, then slice and enjoy!
Check out the full RECIPE WEB STORY for a click-through tutorial!
*Expert Tips and Tricks* for Better Baking
What's the TOP TIP for making the best pecan pie bars?
This recipe is pretty foolproof so there are very few tips needed. But here are a few that might help:
1. Make sure that your pecans are just roughly, not finely chopped.
2. You’ll also want to make sure your crust is nice and golden brown after the first bake. If you’re wondering if it needs a few more minutes, go ahead and leave it in the oven. A little overbaked instead of underbaked is best for the crust.
3. Also, if you’re having trouble getting a clean cut on your bars, just chill them for an hour or two in the fridge and they’ll become super easy to slice.
Can you make these bars ahead of time?
Absolutely! They’ll keep great for up to 2 weeks.
How do you store leftover bars?
Store in an airtight container at room temperature.
How do you keep the filling from weeping?
I know weepy filling is a constant struggle for pecan pies, but not for these bars! I’ve never had them weep at all on me in the countless times I have made them, so just follow the recipe as written and you’ll be good to go!
How do you keep the crust from getting soggy?
I’ve honestly never had any issues with this either. (I know…these bars are magical!)
If you make sure to bake them long enough (look for that really set, crispy sugar crust, filled with cracks and bubbling on the edges), your shortbread crust will stay tender and dry. If you live in a particularly humid environment, just make sure your bars are stored super air-tight.
Other Recipes You'll Love

⭐ If you gave this recipe a try please give it a ⭐ rating and tag me on Instagram @mint.and.mallow.kitchen so I can see what you're baking up! ⭐
📖 Full Recipe
Bourbon Pecan Pie Bars (with Shortbread Crust!)
Ingredients
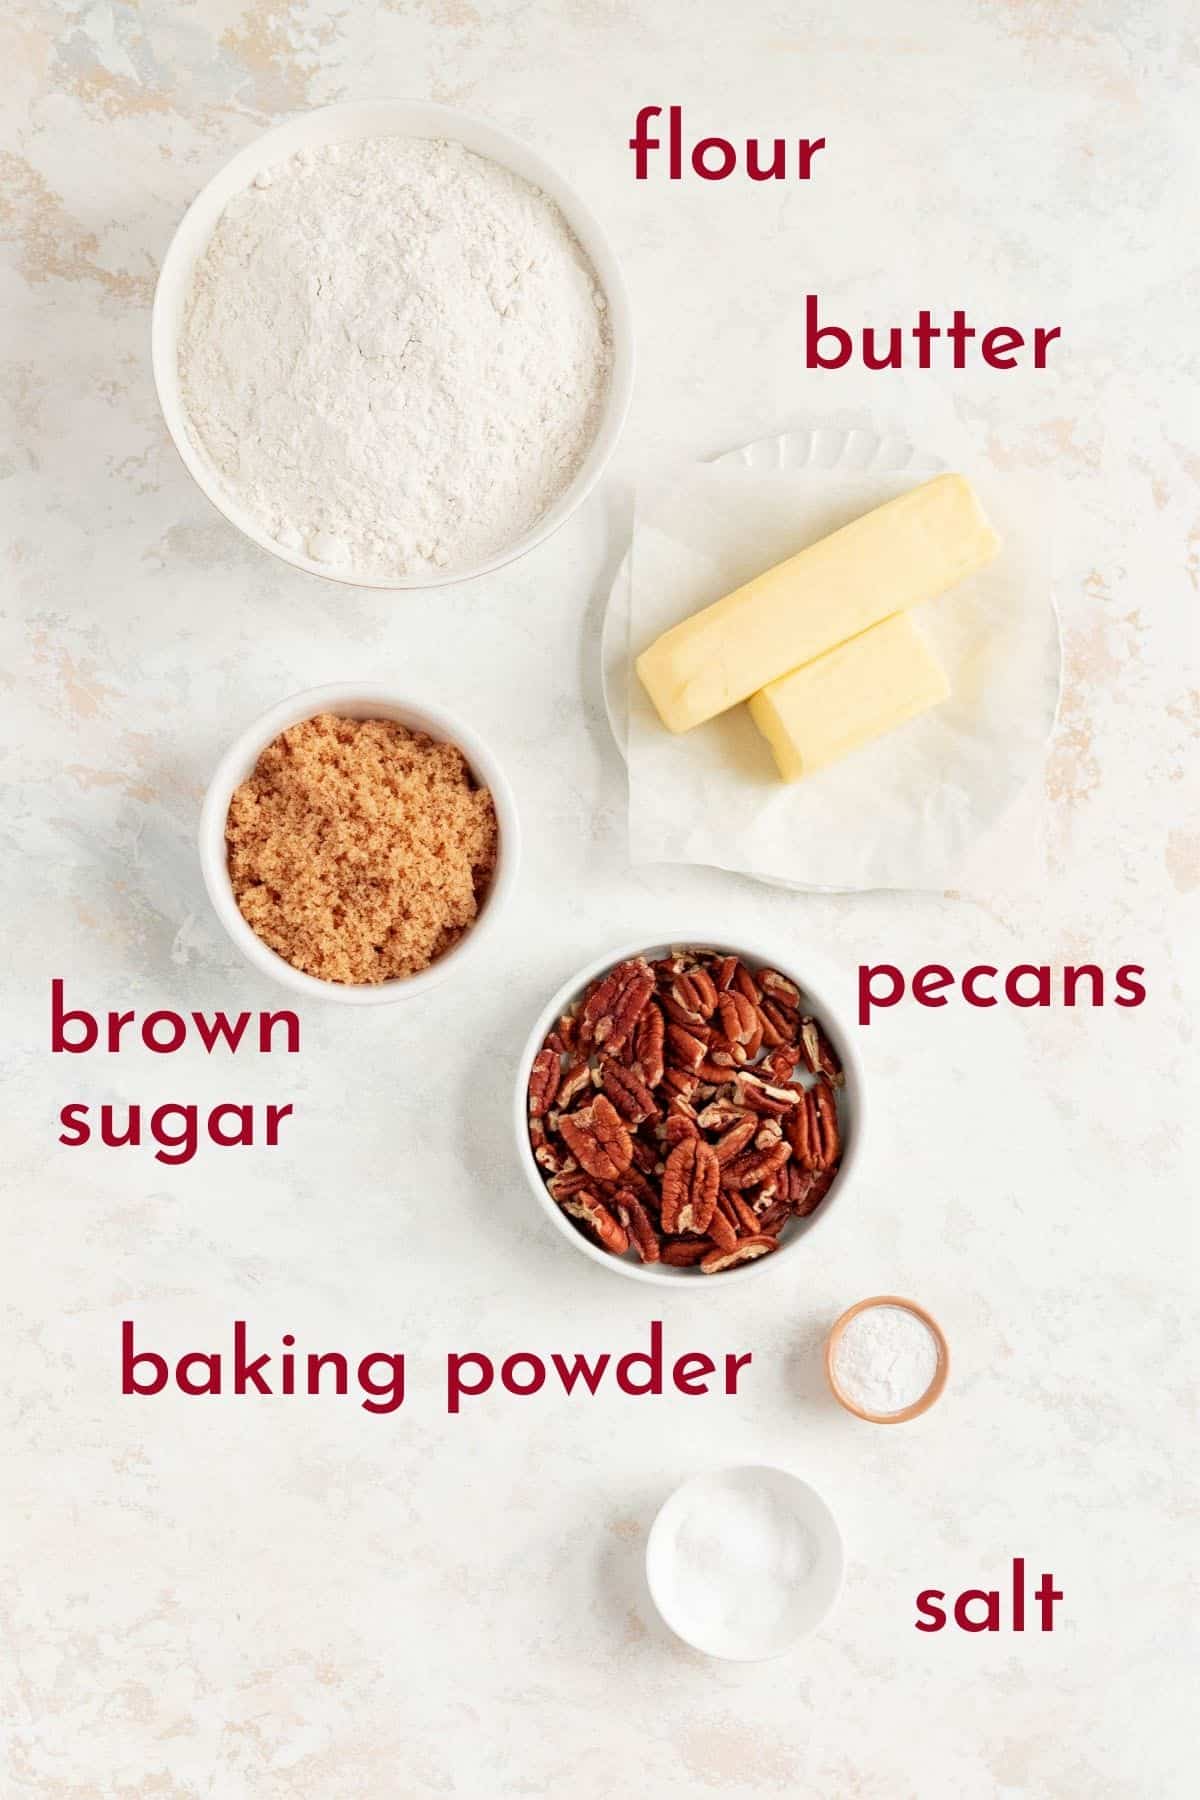
FOR THE CRUST:
- 2 cups all-purpose flour
- ½ cup pecans
- ⅔ cup packed light brown sugar
- 1 ½ teaspoons salt
- ½ teaspoon baking powder
- 12 tablespoons (1 ½ sticks) cold unsalted butter (cut into ½” cubes)
FOR THE TOPPING:
- ⅔ cup light corn syrup
- 8 tablespoons (1 stick) unsalted butter (melted)
- 1 cup packed light brown sugar
- 1-2 tablespoons bourbon*1 (28)
- 2 tablespoons vanilla extract
- ½ teaspoon salt
- 2 large eggs
- 3 ½ cups pecans*2 (coarsely chopped)
- ¾ cup chocolate chips (optional)
- Flaked Sea Salt Crystals (for garnish)
Instructions
TO MAKE THE CRUST:
- Prep and preheat: place a rack in the center of the oven and preheat to 350°F. Line a 9” x 13” pan with a parchment paper, allowing a 1” overhang on the long sides, greasing below and above the parchment.
- Process the crust dry ingredients: to make the crust, pulse the flour, ½ cup toasted pecans, ⅔ cup brown sugar, 1 ½ teaspoons salt, and baking powder in a food processor, until evenly combined with no chunks remaining, about 10-15 seconds.*3
- Cut in the butter: drop the cold, cubed butter pieces across the top of the nut mixture, and pulse until the mixture resembles course cornmeal and darkens slightly (about 10 seconds pulsing or on low speed). Be careful not to blend for too long as the butter can start to melt and form a dough instead of crumbs.
- Press crumbs into pan: sprinkle the crumbs across the bottom of the prepared pan and press them firmly into a thick, even layer. (It will seem like way to many crumbs, but they’ll compact down to a nice crust - I promise!)
- Bake until golden brown: bake the crust until it begins to brown around the edges and smell toasted, about 22-25 minutes.
TO MAKE THE FILLING:
- Prepare the filling: a few minutes before the crust is finished baking, prepare the topping. In a large bowl, whisk together the corn syrup, melted butter, 1 cup brown sugar, bourbon, vanilla, and ½ teaspoon salt until smooth and fully combined.
- Whisk in the eggs: add the eggs and whisk until well blended.
- Pour filling over hot crust: when it's ready, remove the hot crust from the oven and place it on a cooling rack on a level surface. Pour the filling evenly over the hot crust immediately after removing it from the oven.
- Add the pecans: sprinkle all the remaining 3 ½ cups chopped pecans over the filling (and yes, it looks like a lot of pecans for that little bit of filling - that's why these bars are so delicious!). Shake the pan gently a few times to help the pecans settle into the sauce.
- Add chocolate chips and salt, if using: sprinkle the chocolate chips evenly over the top of the pecans (if using) and finish the pan with a generous sprinkle of flaked sea salt if desired.
- Bake until golden, crackling, and bubbling: bake the bars until the top is deep golden brown, begins to bubble and crackles/ripples across the entire surface, about 34-38 minutes. Nothing should look liquid-y or saucy when the bars are fully baked - the filling should all have solidified into a sugar crust around/over the pecans.
- Cool, slice, and enjoy! Let the bars cool fully in their pan on a wire rack. Once cooled, loosen the ends of the bars from the pan with a knife, and remove them from the pan using the parchment overhang as a sling. Slice bars to serve and enjoy!*4
Test Kitchen Tips
- *1Boozy bars: the alcohol in the bourbon cooks off in the oven as these bars are in there for quite a while. Ultimately, it just adds a little complexity to the flavor, but if you'd rather leave it out altogether, feel free!
- *2Pecan chop: Be careful not to chop up the pecans too much as a good chunky pecan topping will help to hold these bars together - chopping into quarters or thirds is plenty and I like to do it by hand so I don’t get as much dust as a food processor produces. That said, you’re more than welcome to just pulse them a few times in the processor instead to chop them up if that’s your preference.
- *3Food Processor Size: if you have a smaller food processor, you may want to make your crust in two batches and if you do not have a food processor, you can just work the butter into the mixed dries by hand.)
- *4How to get a clean slice: if you’re having trouble slicing the bars, you can chill them for an hour or two in the fridge so they firm up to make for easier slicing.
- Bite-sized bars: you may notice the servings for this recipe are "bite-sized bars." Because these bars are nice and rich like traditional pecan pie, and packed with flavor, I always cut them very small, into about 1" x 2" rectangles. They keep really well, for 2 to 3 weeks, so I'm never worried about having extra's around!
- Inspiration: this recipe was inspired by and adapted from a recipe I found a few years ago from America’s Test Kitchen.
Linda says
These sound delicious. I'd like to make them ahead to take to Thanksgiving out of state. Is it doable? What do you suggest?
Jocelyn at M+M says
Definitely! These bars keep really well so you can bake the a few days in advanced and then I'd just wrap the whole pan fully to keep them fresh. Cut them right before service and you should be good to go - happy baking!
Lynn Landry says
I've tried many versions of this recipe and yours is my favorite! I think it's the pecans in the crust that do it for me. Thank you for a well-written recipe, without too many pop-ups and the option to jump directly to the recipe. I appreciate the work you did developing and writing this recipe! Thanks!
Jocelyn at M+M says
Awww, thank you for such a sweet message, Lynn! I'm thrilled you loved the recipe (it's definitely one of my favorites on the site), and also very happy to hear you found the page easy to navigate. I hope you find many more recipes to love here in the future too - happy holidays and happy baking!
Lynn Landry says
Back here for Thanksgiving 2025 and this recipe is officially a tradition! Happy Holidays to you!
Charlotte Chandler says
I doubled the recipe and it's not very liquidity any suggestions?
Jocelyn at M+M says
I'm sorry to hear you had trouble with this recipe, Charlotte, as doubling the recipe shouldn't change the texture (I've just did a 2X batch myself for this Thanksgiving). My first thought would be that perhaps the other ingredients in your batter caused the butter to resolidfy. While I haven't had this issue when doubling, I can imagine that the extra cold from the eggs in a double batch, or even just a cold kitchen could cause the butter to re-solidfy before you pour it in the pan. If you'd like to try again, you could use room temperature eggs to prevent any cold shock, and also try to use the butter right after melting it so it doesn't have any time to cool off. Hope that helps and happy baking!
Stacy Goodrich says
I made two pans of these just a couple weeks ago for a reception. They went even fast than the other sweets with raves from everyone who ate them. It’s like eating candied pecans on a shortbread cookie.
Amazing.
Jocelyn at M+M says
I'm so happy to hear you loved these bars, Stacy, and they are definitely one of my favorites. They keep really well over time too which is an added bonus! I so appreciate you taking the time to come back here and let me know how much you've enjoyed this recipe, and I hope you find many more to enjoy here as well - happy baking!
J. Hennessy says
These bars are amazing! Just made them for the second time and will bring them to family gatherings over the Holidays! Hint ... don't skimp on the bourbon!!!
Jocelyn at M+M says
That warms my heart to hear! My #1 goal when developing any recipe is to help you make delicious sweets that are perfect for bringing the family together (and I 100% agree with that hint 😉 hehe). Hope your family loves them and you all have a very happy holiday season!