


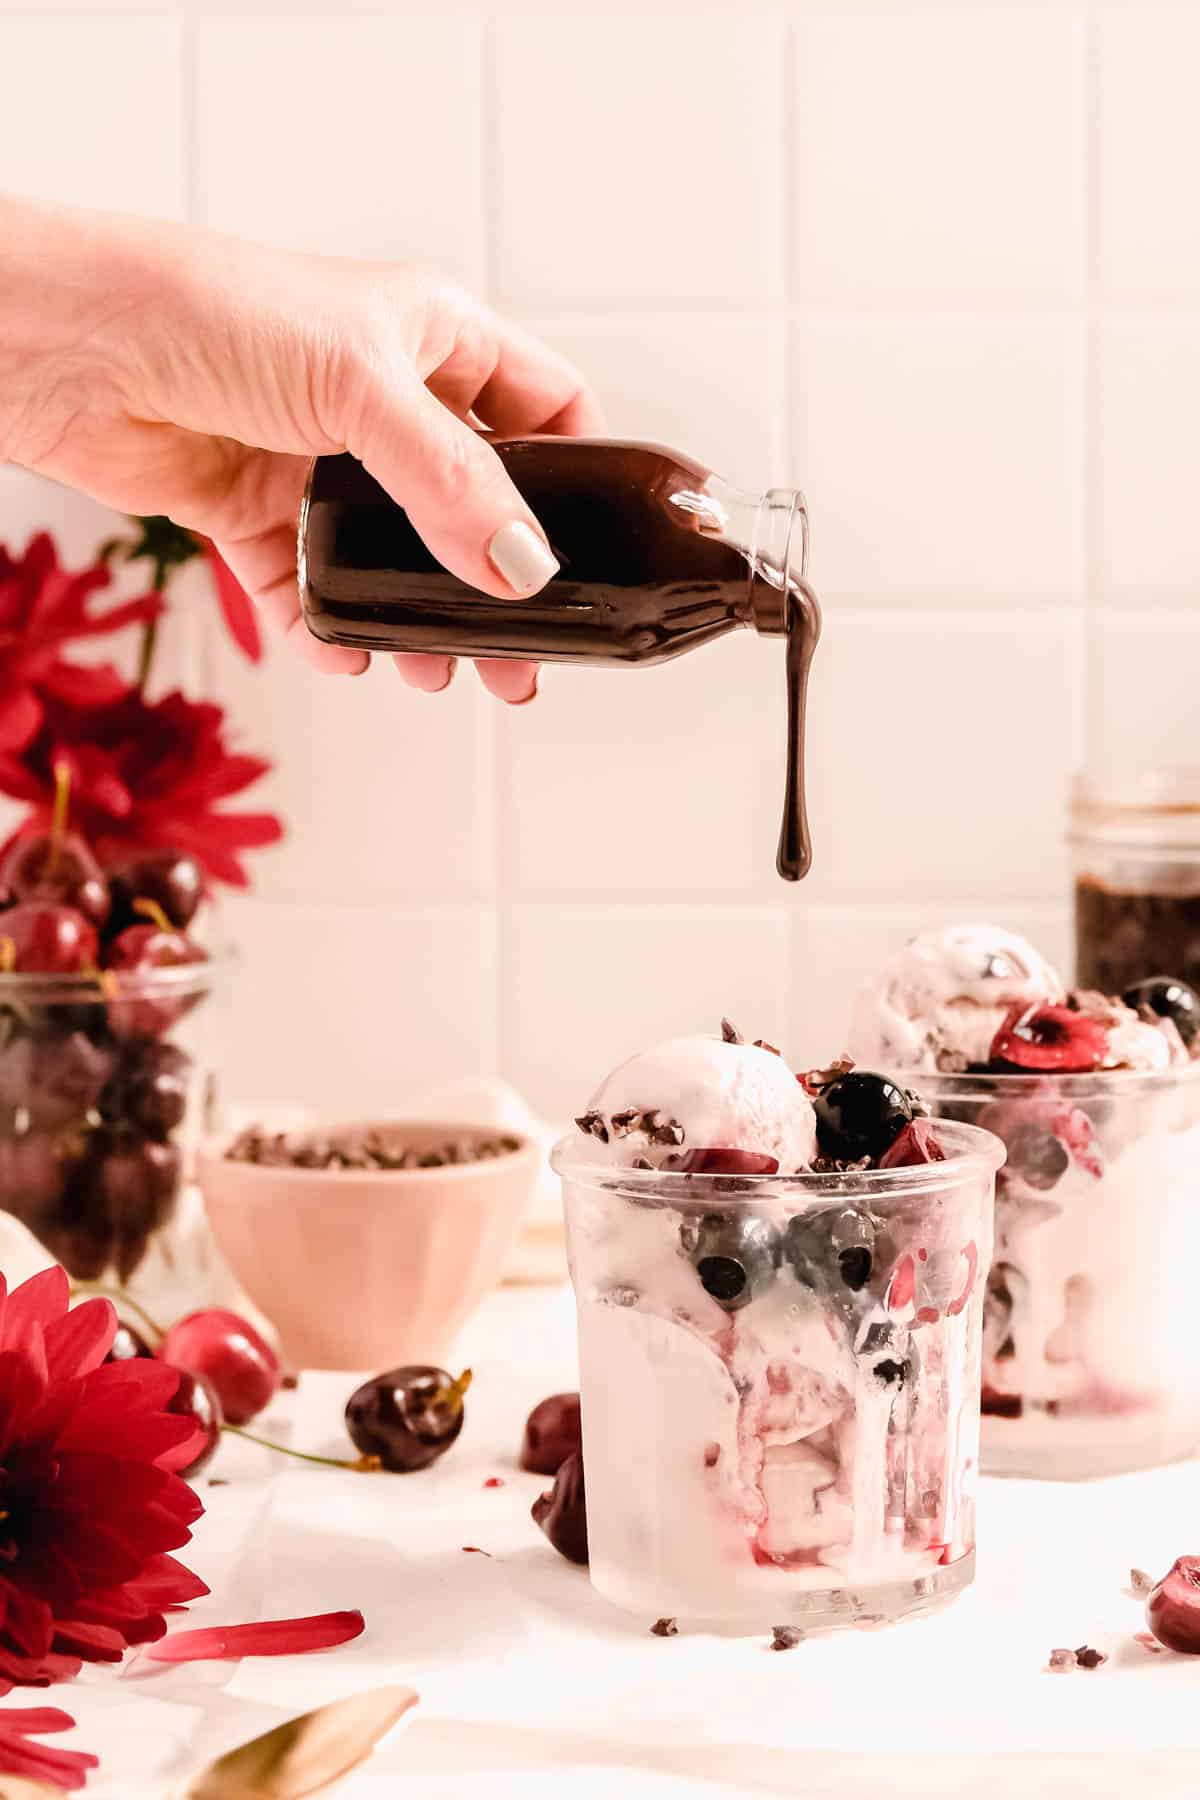
The only thing better than a cool and creamy scoop of ice cream, is one covered in a rich and chocolatey homemade hot fudge sauce that just takes your sundae game to a whole other level!
Jump to (scroll for more!):
Can you make hot fudge from scratch?
Since I'm guessing most of you are used to buying your fudge sauce at the grocery store, or maybe enjoying it at your favorite ice cream shop (this is frequently me *hehe) you may be asking yourself, "how do you make hot fudge from scratch?"
Well, have no fear! I'm here to show you how to make delicious homemade hot fudge. And this isn't just any hot fudge, but an uber rich, thick, death-by-chocolate kinda hot fudge worthy of a gold-leaf-gilded sundae (or just a golden spoon to eat it right out of the jar!)
This recipe is made with three kinds of chocolate for an extra deep and complex chocolate flavor; two kinds of chocolate chips and cocoa powder. It also uses a water base and is made without cream to keep the flavor on the "dark chocolate" end of the spectrum.
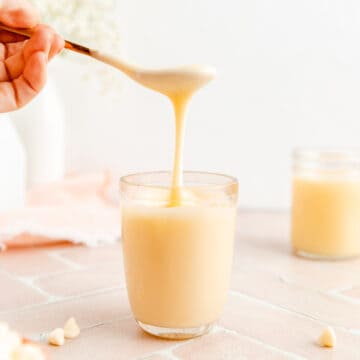
(p.s. if you're looking for another delicious homemade sundae topping, give my easy chocolate peanut butter ganache a try!
Why this recipe leads to sweet success...
The trickiest thing about making hot fudge at home is knowing when to stop the cooking. When you stop the cooking, determines how much water has been evaporated from your sauce, and thus determines how thick it will be.
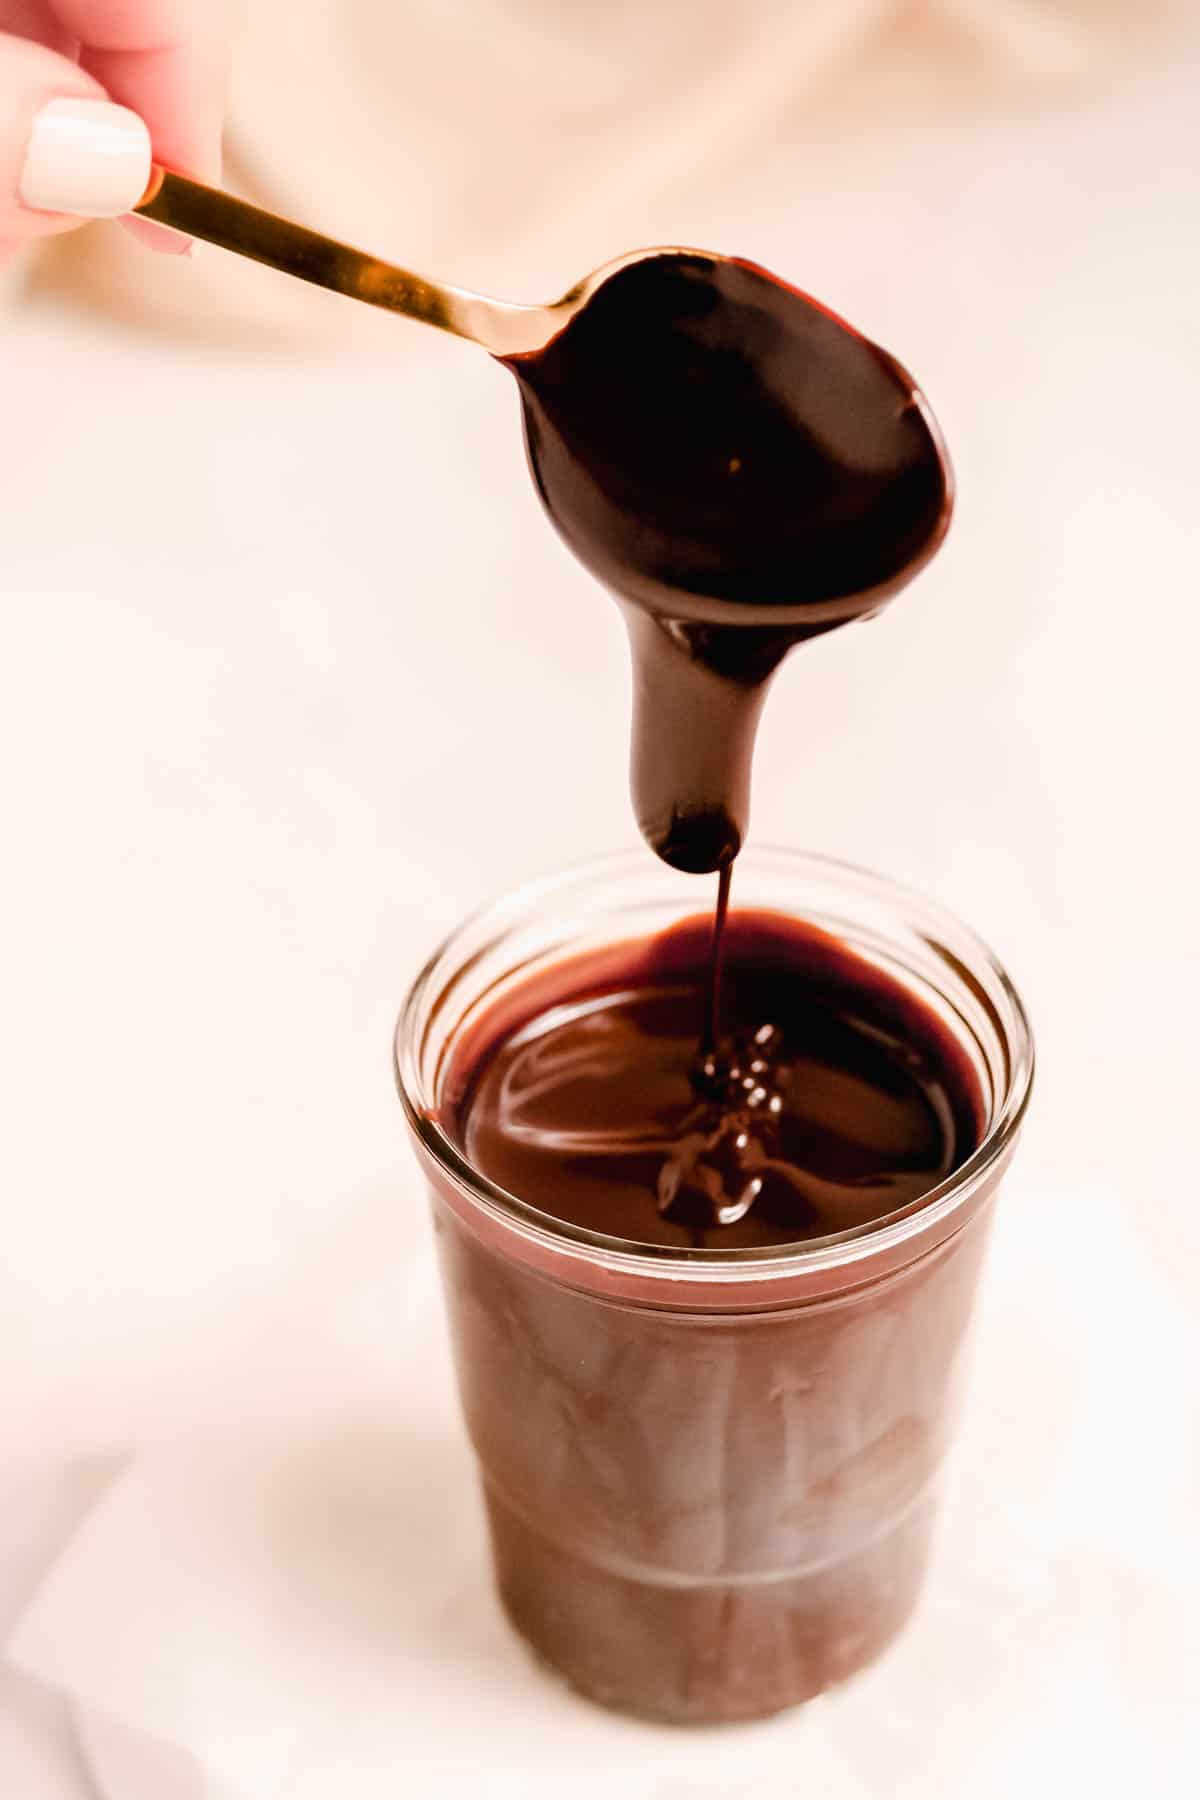
This recipe's designed to be thick to satisfy that rich texture we all love in our hot fudge. But, it's also thin enough that you can use it at a cooler temp if you don't want it melting too much of your ice cream.
So how do you know when the cooking is done?
I've made it super easy for you by just having you set a timer and stop cooking when it goes off. Assuming you follow the visual cues for cooking levels, and follow all the instructions as written, this recipe will give you the perfect texture of fudge every time.
If you have an instant read thermometer, that is a great tool to use. Everything from your particular stove's heating dynamics, to your pot type and size, to the speed with which you whisk can effect how long you're fudge takes to cook. If possible, use a thermometer to check your when your fudge is holding steadily at 215°F or higher for at least 15-20 seconds. If so, you can turn off your heat and let your fudge start to cool.
p.s. no worries it you don't have a thermometer! Just follow the 15 minute rule, keeping your sauce at a low simmer, and you'll be good to go!
Ingredient tips for better cooking...
(Pssst…if you're ready to just get baking, get all the details in the recipe card below!)
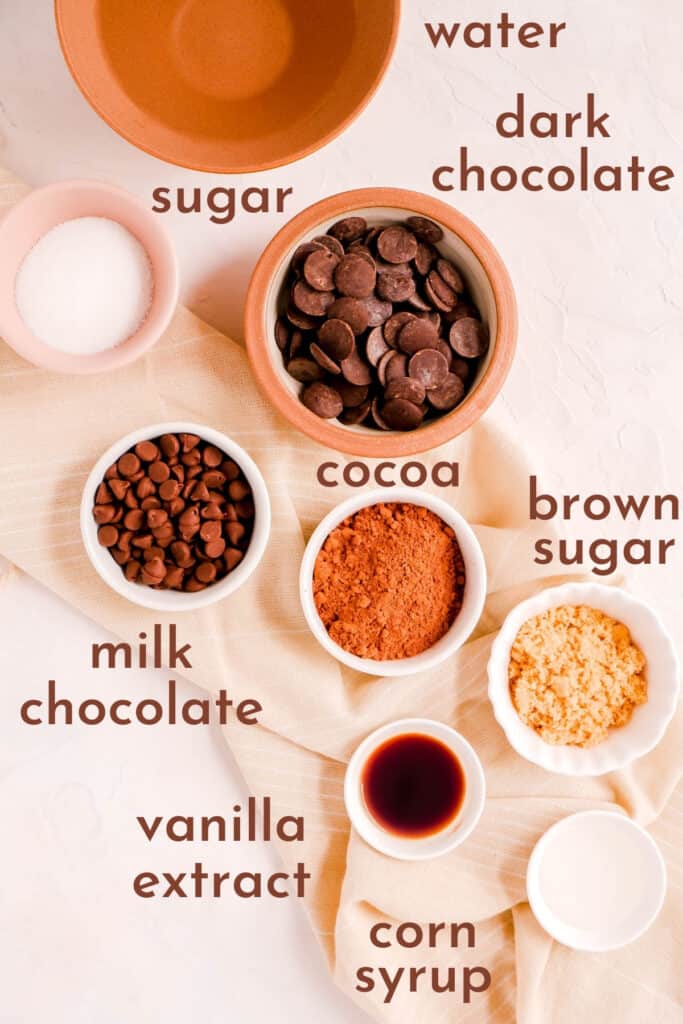
- Cocoa Powder: you can use any kind of cocoa you like here, natural or dutch processed both work. When developing this recipe I used Hershey's Natural Cocoa.
- Chocolate Chips: similarly, the chocolate chip options and combination are endless. This ingredient will be the one that really determines if your hot fudge is more "milk chocolate" or "dark chocolate." I'm a huge fan of all things dark chocolate (see my Double Chocolate Chip Cookies recipe for proof - ha!) so I use some milk chocolate for a little sweetness, but a majority of dark chocolate. That said, feel free to make this recipe your own and tailor the chocolate blend to your liking!
How to make hot fudge from scratch...
(Pssst…if you're ready to just get baking, get all the details in the recipe card below!)
- Melt both chocolate chips together in the microwave.
- Add all ingredients except the melted chocolate to your pot.
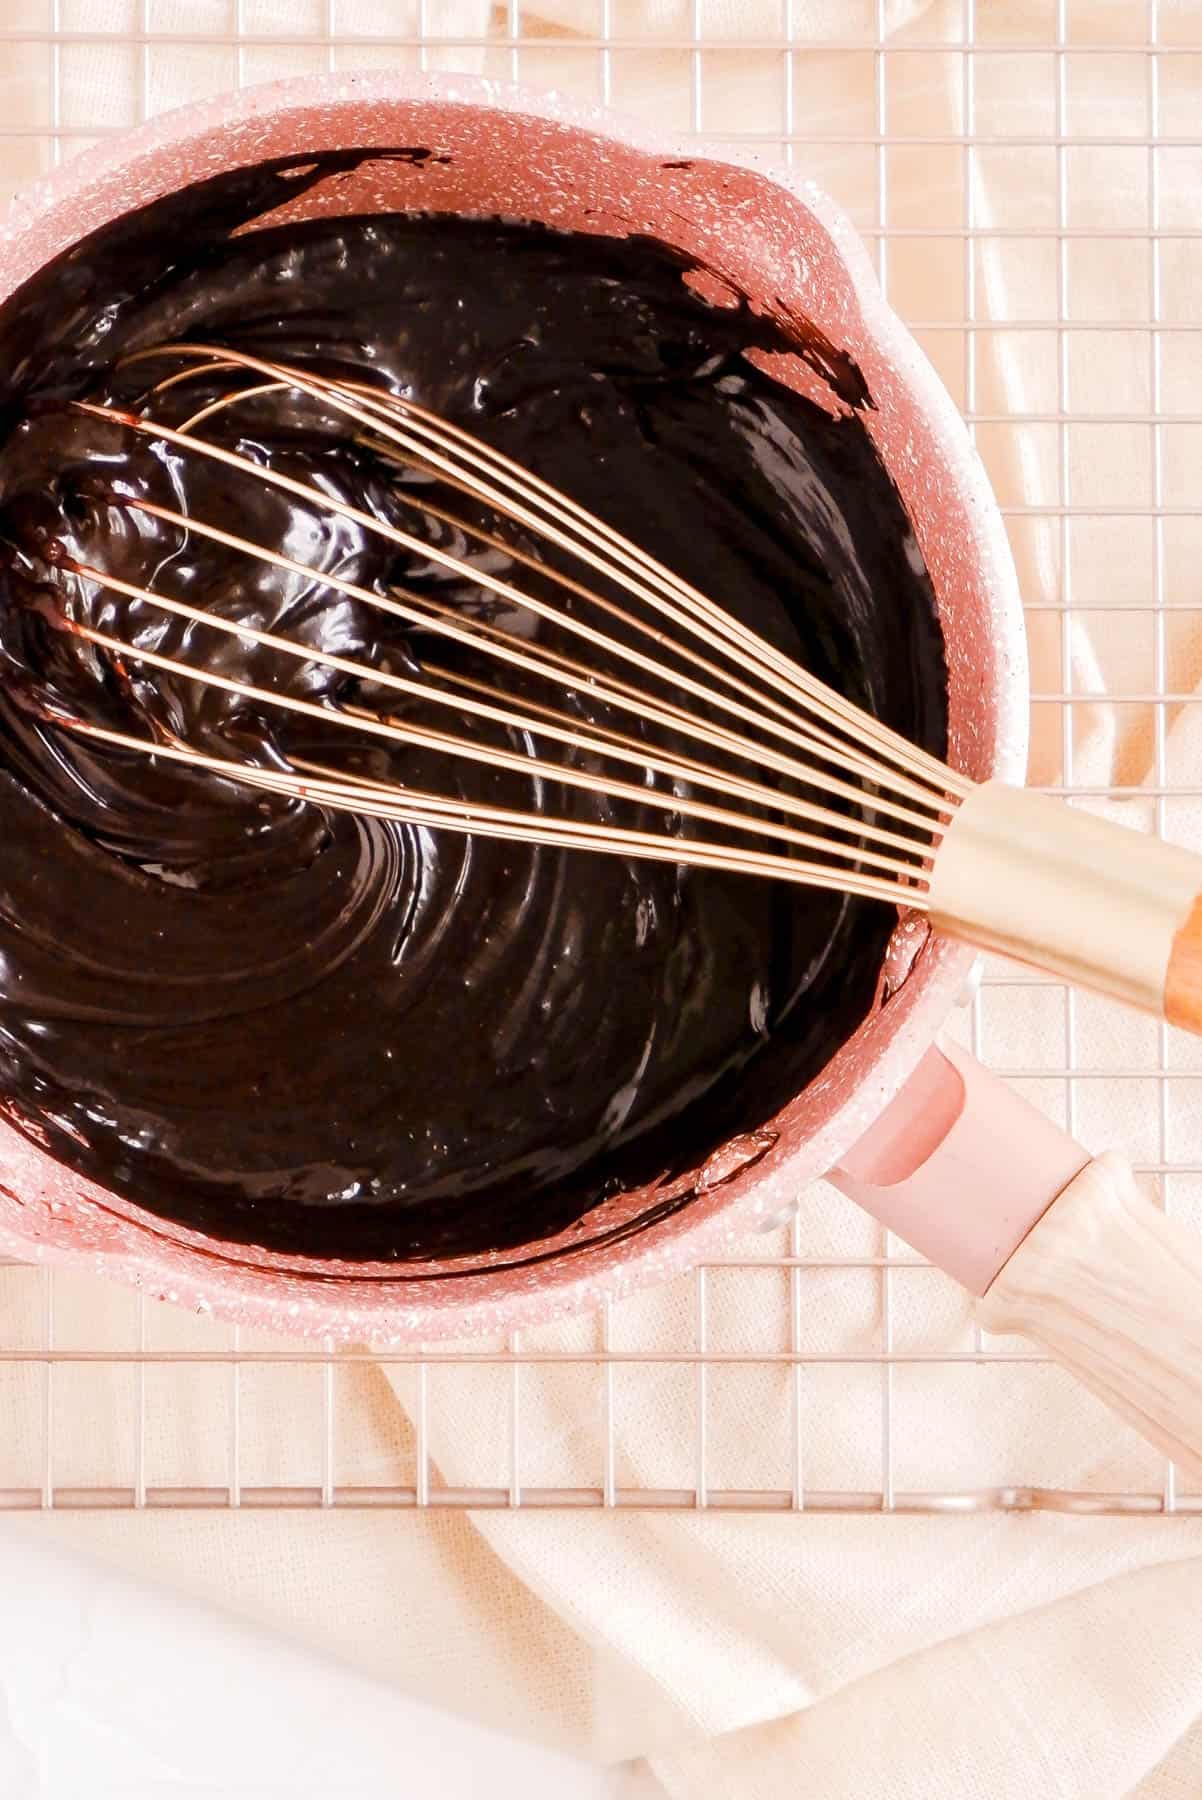
- Cook the mixture on medium heat, whisking slowly to fully dissolve sugar.
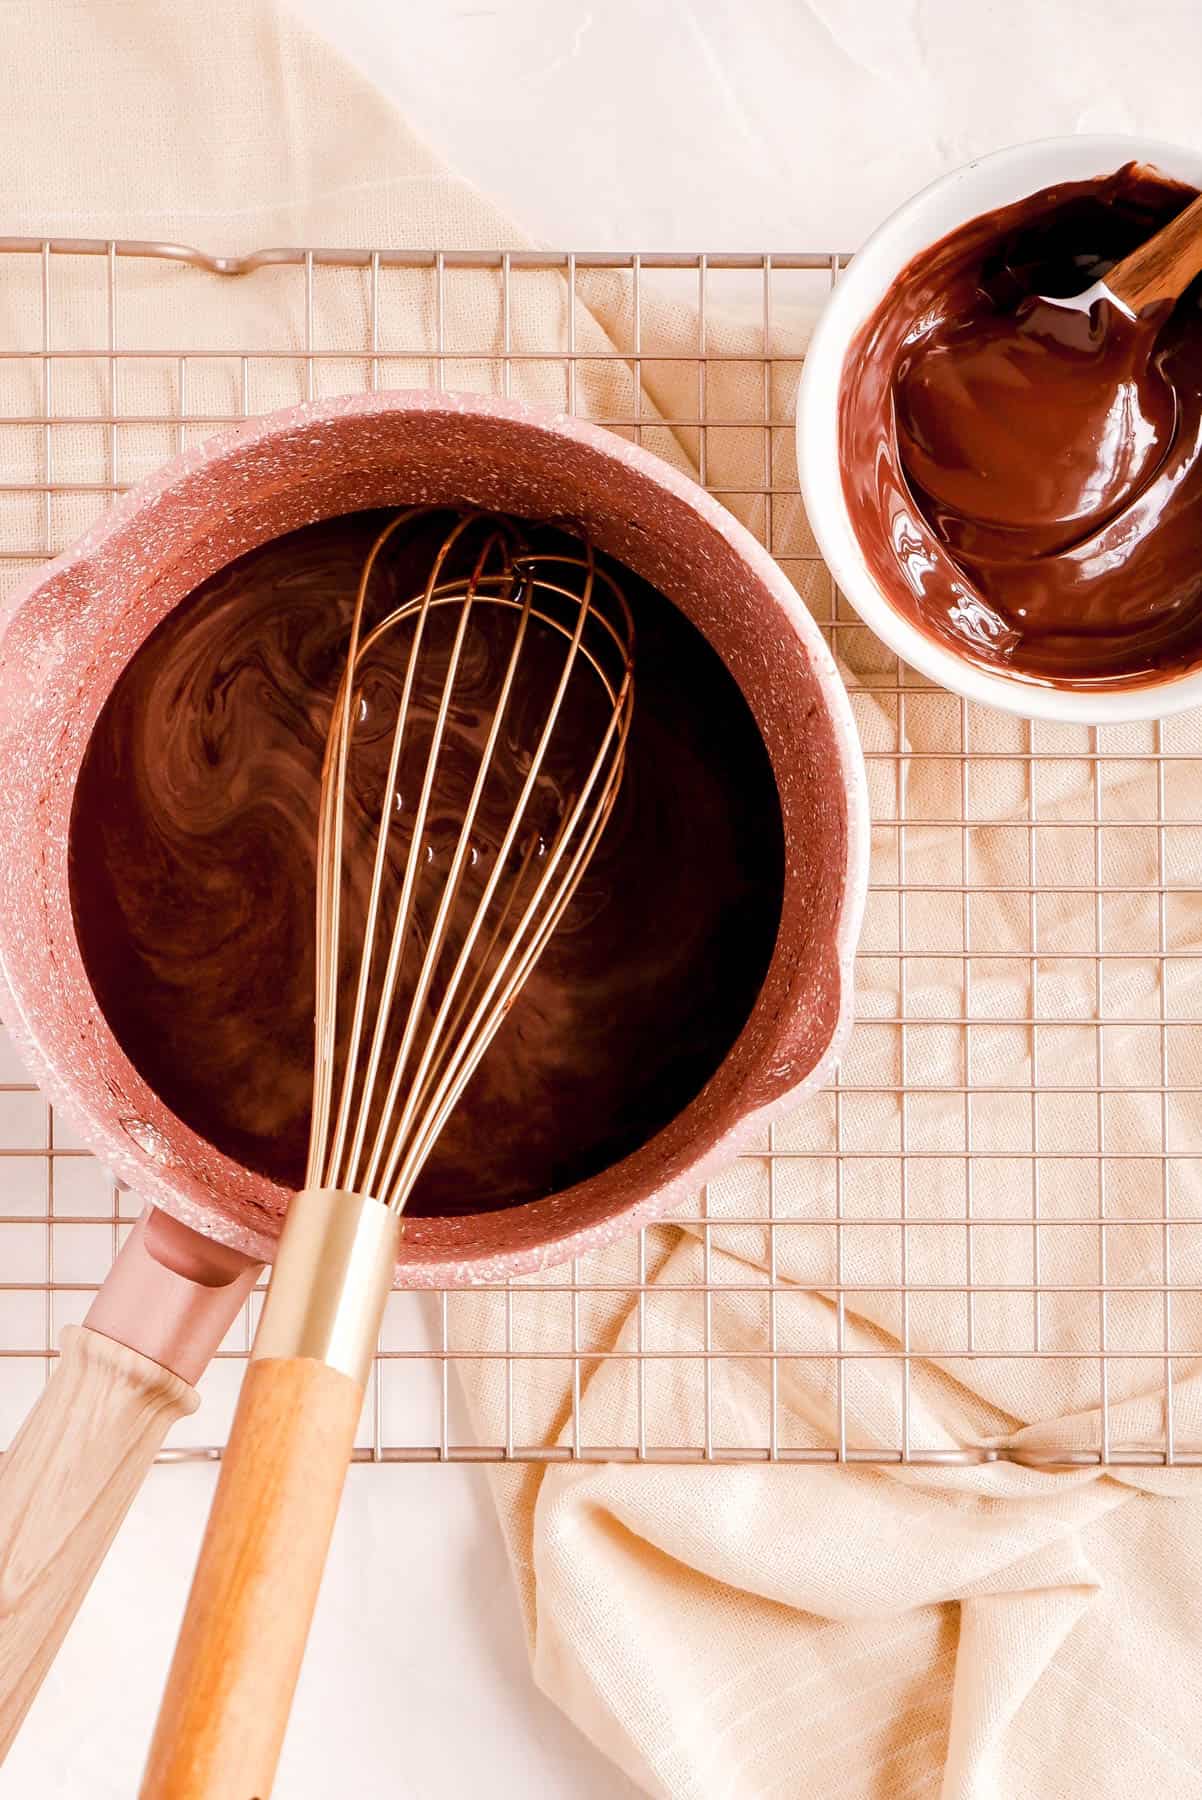
- Once your mixture is steaming, whisk in the melted chocolate (off the heat).
- Return the pot to the stove and start a 15 minute countdown on your timer. Stir continuously until the mixture begins to slowly bubble. Continue to cook at a slow simmer until the 15 minutes is up (or your sauce holds at 215°F for a few seconds). When ready, fudge will have thickened significantly, and be holding full lines of the whisk or spatula when you stir it.
- Once your sauce is ready, remove the pot from the heat and cool for 15 minutes in the pan.
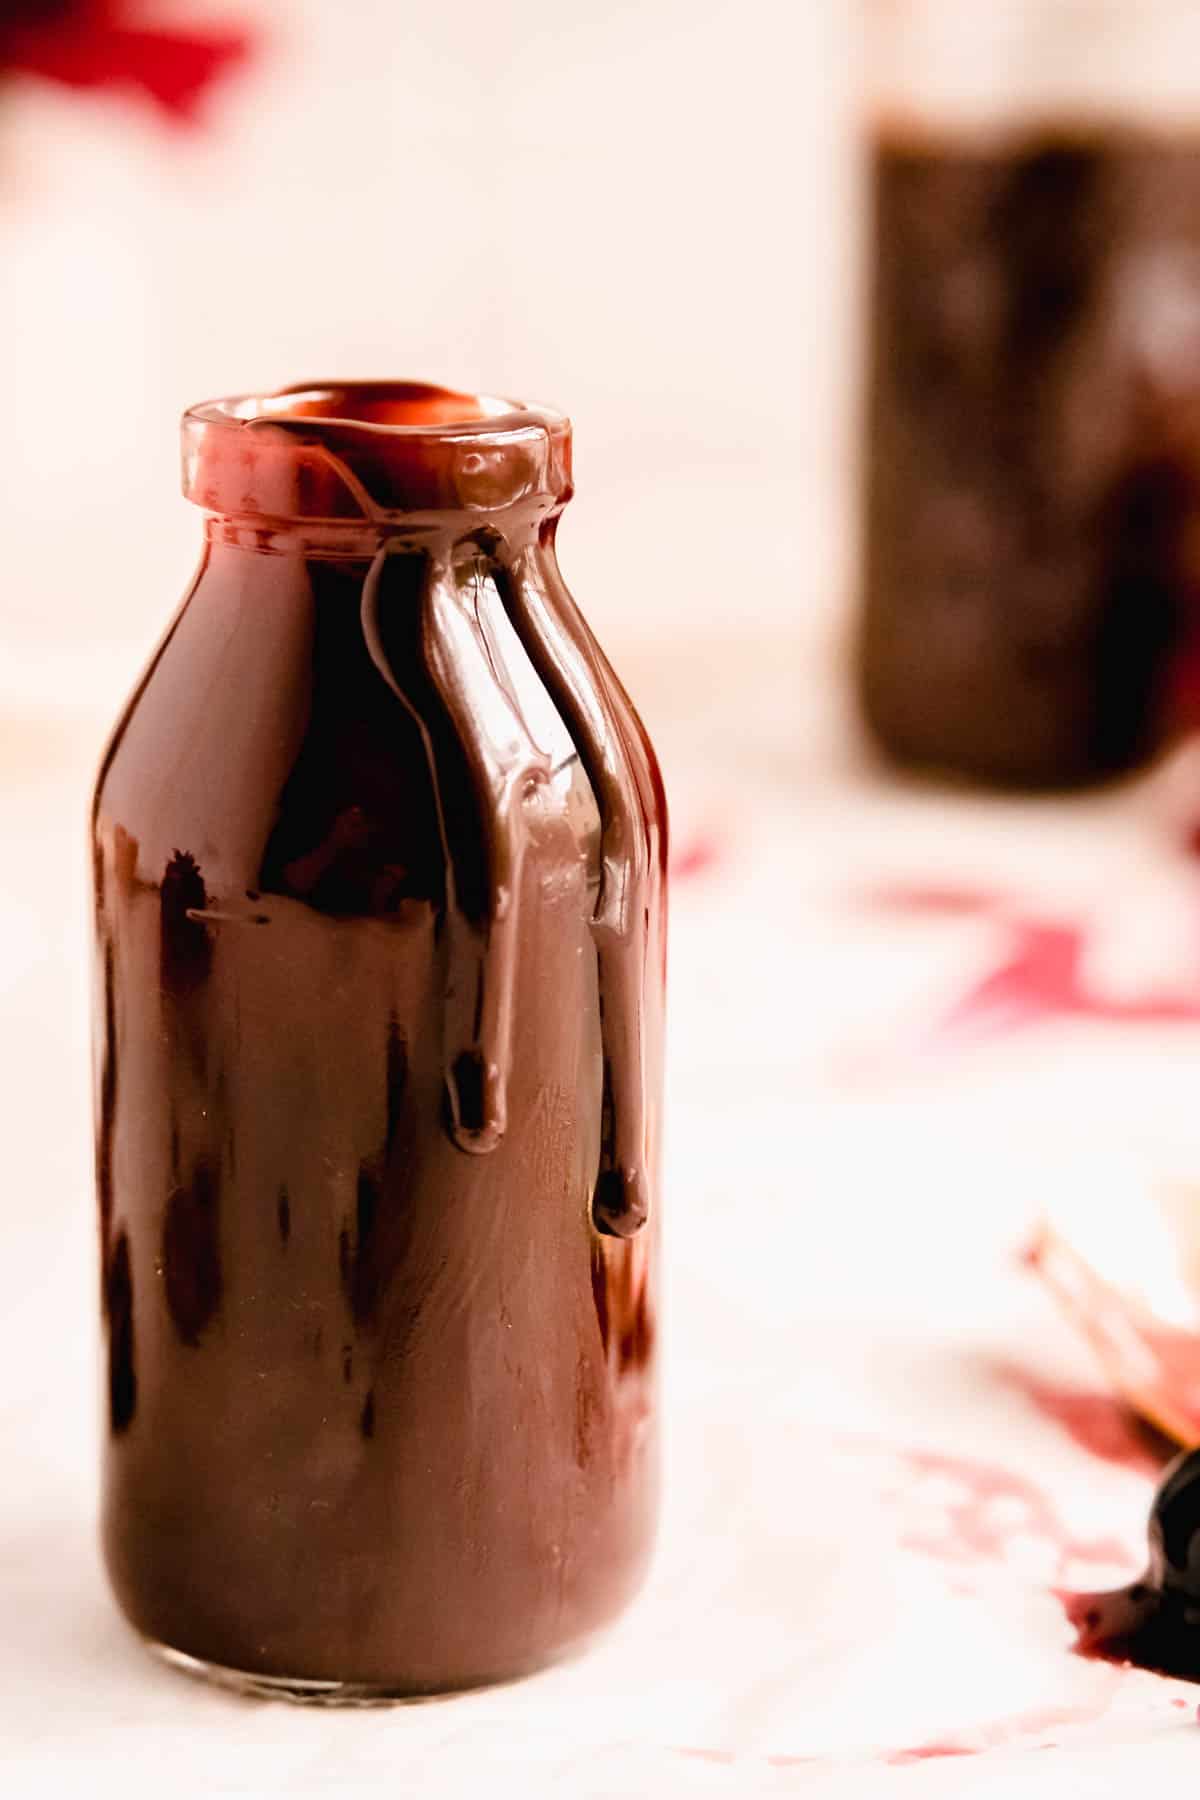
- Transfer cooked fudge to a heat-safe container (like a Pyrex or mason jar) and allow it to cool completely uncovered.
- Reheat in the microwave or on the stove when ready to use, and enjoy the perfect topping to your favorite flavor of ice cream!
Check out the full RECIPE web story here for a click-through tutorial!
*Expert Tips and Tricks* to help you bake this recipe better...
What's the TOP TIP for making the best fudge?
To full-proof your fudge, definitely look into getting and instant-read thermometer as a great tool to help you know exactly what stage your sauce is at.
That said, my best tip is just take your time with the cooking of the sauce and pay close attention to keeping the bubbling at a low simmer and stirring slowly, but frequently to prevent burning. If you watch the sauce carefully, you'll actually see and feel it thicken as it cooks. If it's getting really thick at 10 minutes in and not even melting to the edges of the pan - then take it off!
Trust your judgement to read the recipe cues and interpret them yourself - that's how you really become a better baker. A little care and 15 minutes of your time will do just as much as an instant-read thermometer ever could!
Can you make your fudge ahead of time? How do you store it?
Of course! That's one of the best things about this recipe is you get that extra delicious homemade taste, but this sauce will last up to 2 months in the fridge. Simply store in an airtight container and reheat in 10 second intervals in the microwave, stirring between each, until your desired consistency is reached, and enjoy!
Why is my hot fudge sauce grainy?
Grainy hot fudge is probably one of the most common problems I see with homemade recipes. Typically, this comes from not fully dissolving the sugar in your sauce. That's why that early cooking phase before the melted chocolate is added is so important!
Sometimes your sauce can re-crystallize (in other words, form new sugar crystals from sugar that was previously melted), in which case I recommend re-heating your fudge on the stove again, over low heat. Constantly stir the fudge and leave it on the heat until you see the sugar crystals dissolve back into the mixture which will smooth out, and your hot fudge should be good as new!

Other recipes fans of this sauce will love:
Pssst....if you're a fan of cookie dough chunks on your ice cream (and who's not?!) check out my Edible Chocolate Chip Cookie Dough and Edible Funfetti Cookie Dough recipe for a topping that perfectly pairs with this hot fudge!

⭐ If you gave this recipe a try please give it a ⭐ rating and tag me on Instagram @mint.and.mallow.kitchen so I can see what you're baking up! ⭐
📖 Full Recipe

Homemade Hot Fudge Sauce
Ingredients
- ¾ cups water
- 2 tablespoons packed brown sugar
- ¼ cup granulated sugar
- ¼ cup cocoa
- 2 tablespoons light corn syrup
- 1 teaspoon vanilla extract
- 1 cup dark chocolate chucks or chips (I use 60% chocolate)
- ⅓ cup milk chocolate chucks or chips (I use 38% chocolate)
Instructions
- Melt chocolate: combine and melt both chocolates together in a microwave (see notes). Set aside.
- Add everything except chocolate to a pot: place all ingredients except the melted chocolate into a small to medium sized pot that will be about halfway full once all the ingredients are added (adding the water first, and then the dry ingredients to prevent them from sticking to the bottom of the pan).
- Dissolve sugar: cook mixture on medium heat, whisking slowly, but frequently until the sugar dissolves (this makes sure your sauce is nice and smooth when finished!).
- Add chocolate: once your mixture is steaming, remove the pot from the heat momentarily and whisk in the melted chocolate until fully incorporated. Be sure to whisk while pouring the chocolate in to prevent the chocolate from burning on the bottom of the pot.
- Simmer and cook: return the pot to medium heat, set a timer to start counting down 15 minutes, and stir continuously until the mixture begins to slowly bubble. Adjust your burner heat to maintain a slow simmer (but not full boil, which may require you to lower the heat slightly), stirring frequently to prevent burning.
- Cool and store: at the end of the 15 minutes, remove fudge from heat. If possible, check your temp is at least 215°F on an instant-read thermometer (see notes). When ready, fudge will have thickened significantly, and be holding full lines of the whisk or spatula when you stir it. Let cool for 15 minutes in your pan, stirring occasionally to prevent a skin from forming on top.
- Transfer and store: transfer cooked fudge to a heat-safe container (like a Pyrex or mason jar) and allow it to cool completely uncovered. Once at room temperature, cover or seal its container and store in the fridge until your nest sundae bar extravaganza. Fudge can be stored in the fridge for 2-3 weeks.
- Reheat and enjoy: to reheat, simply transfer your desired amount of fudge into a microwave safe container and heat in 10 second intervals, stirring in between each, until a pourable texture is reached. Pile the chocolatey goodness on top of your favorite ice cream scoops and enjoy a match made in heaven!
Test Kitchen Tips
- Melting Chocolate: when melting chocolate in the microwave, use 50% power or less in 30 second intervals, stirring well between each interval to avoid burning the chocolate. If you don't have a microwave, place chocolate chips in a metal bowl that fits over the top of your sauce pot. Use your pot as a double boiler, and allow the bowl to remain there for 2-3 minutes until the chocolate is melted, stirring the chocolate occasionally to encourage even melting (and be careful to not get burned by the steam escaping from the pot/bowl seam!).
- No thermometer? While a thermometer is certainly the best way to predict the final texture of your fudge, don't worry if you don't have one! If you follow the visual cues of a holding a slow bubbling simmer, simply time your cooking to 15 minutes as directed after you add the chocolate. Then remove your mixture from the heat when the timer goes off, and you should be good to go!


Comments
No Comments