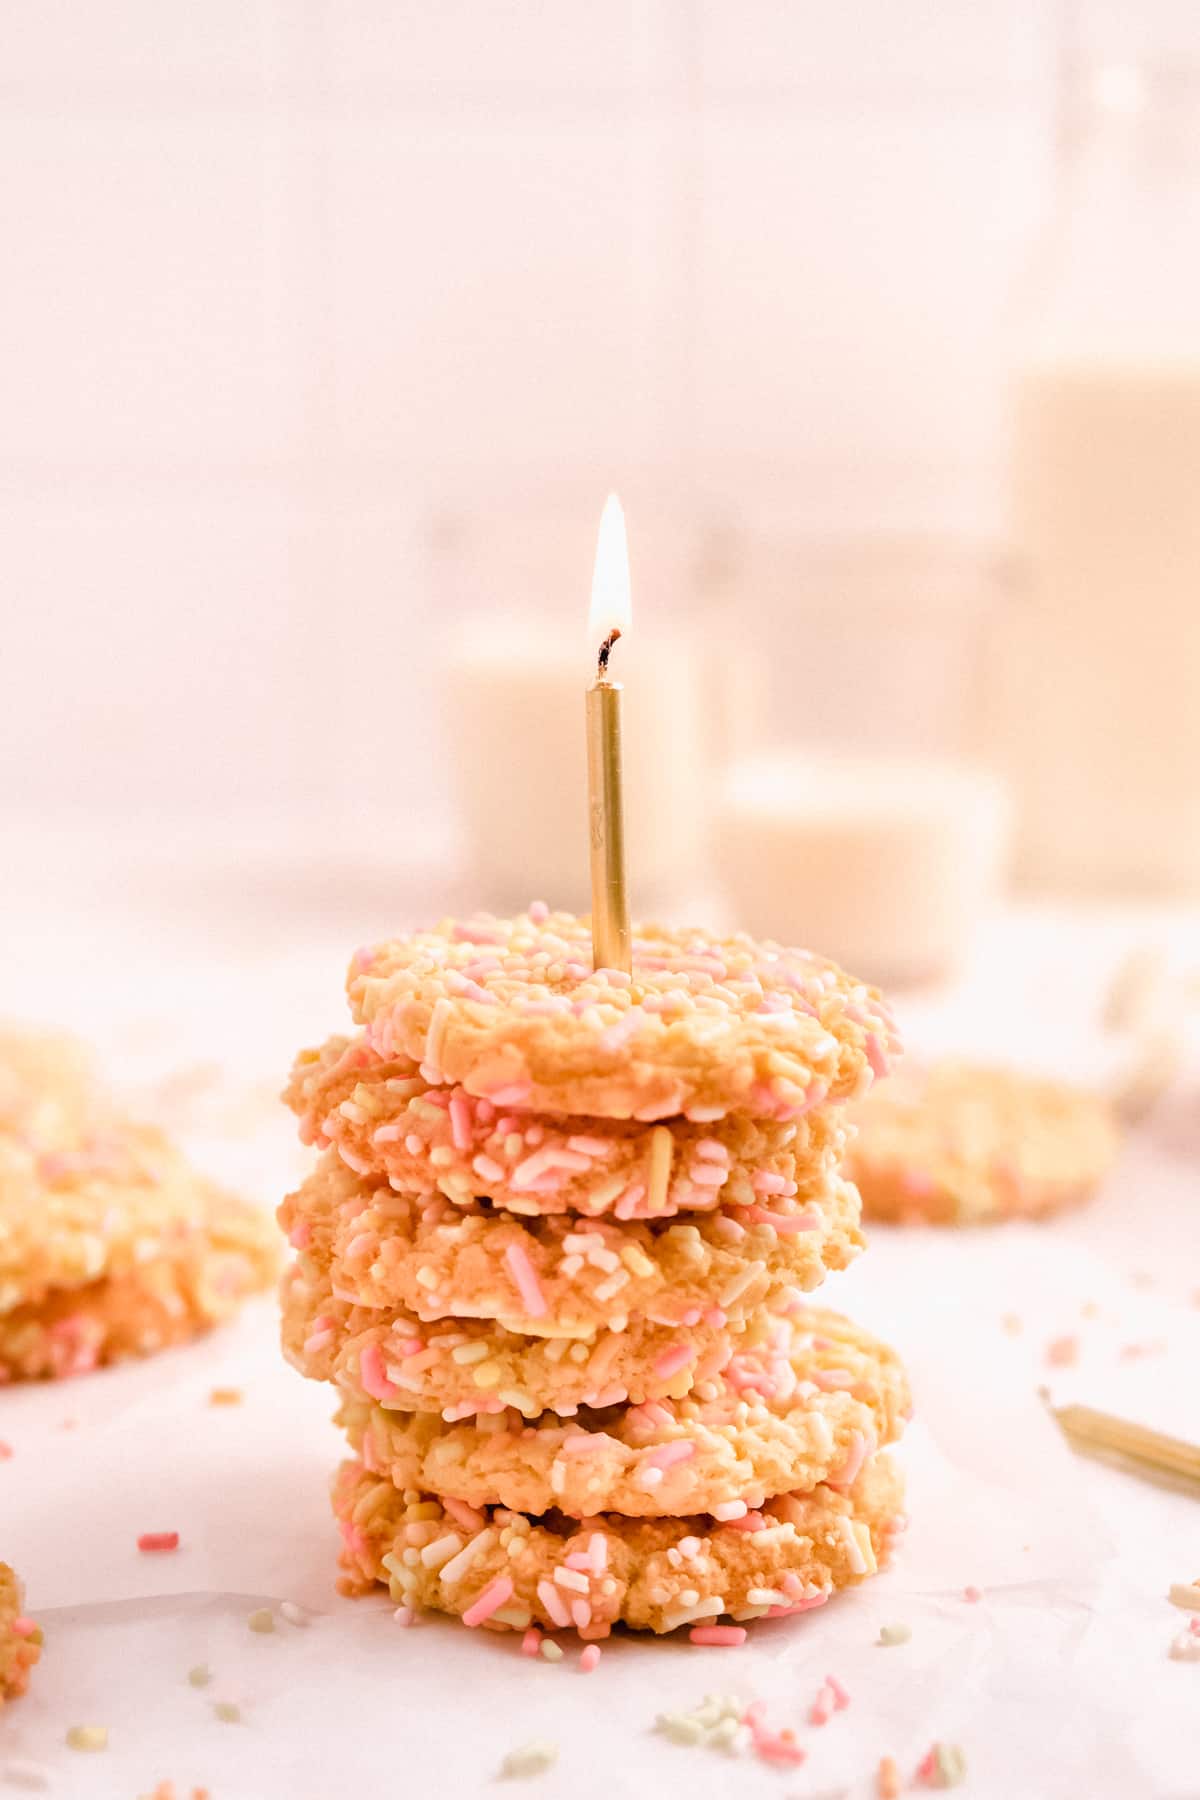
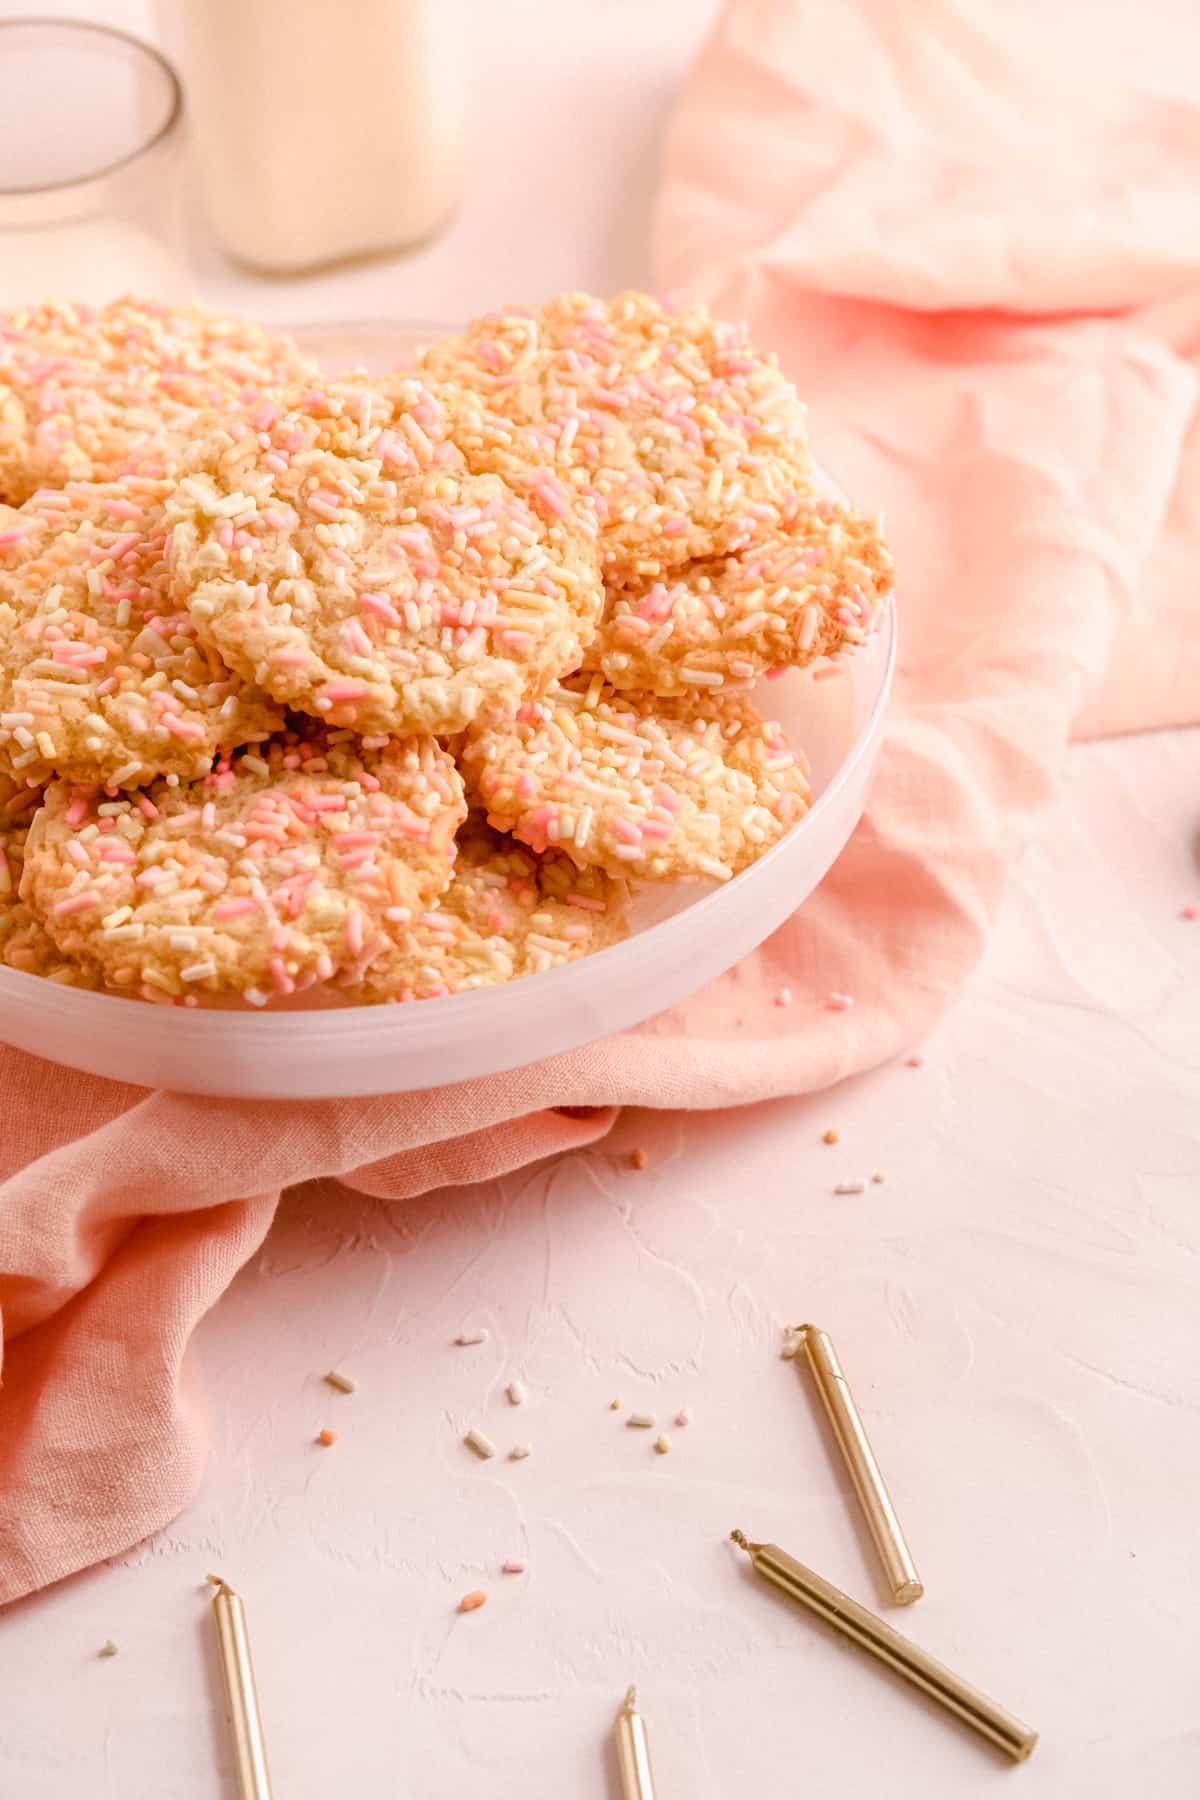
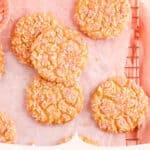
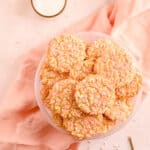
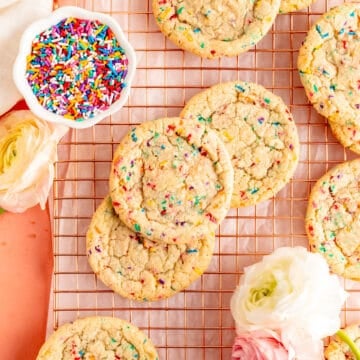
These are truly the BEST Birthday Cake Sugar Cookies you could ever imagine. With a chewy bakery-style middle on the inside, and an explosions of funfetti sprinkles on the outside, this delicious mash-up packs all your favorite birthday cake flavors and festiveness into one perfect little, cookie package.
Jump to (scroll for more!):
Milk Bar + Birthday Cake Cookies
Now if you haven’t been living under a rock, you've probably heard of the original inspiration for these cookies. These funfetti festive sweets are of course inspired by the treat queen herself, Christina Tosi, and her Milk Bar Confetti Cookies.
Many many versions (and literally years) ago, this recipe started with hers from her cookbook, Momofuku Milk Bar: A Cookbook. It has seen many variations from minis, to megas, to wedding chic, and beyond as a constant favorite of my bakery customers.
If you've ever had one of those rare friends who’s just not a cake person, and wondered…what can I make them instead of a birthday cake? Deliciously chewy birthday cake cookies are the answer!
While these little guys are a type of sugar cookie, there are a few speciality ingredients you won't find in a typical sugar cookie recipe.
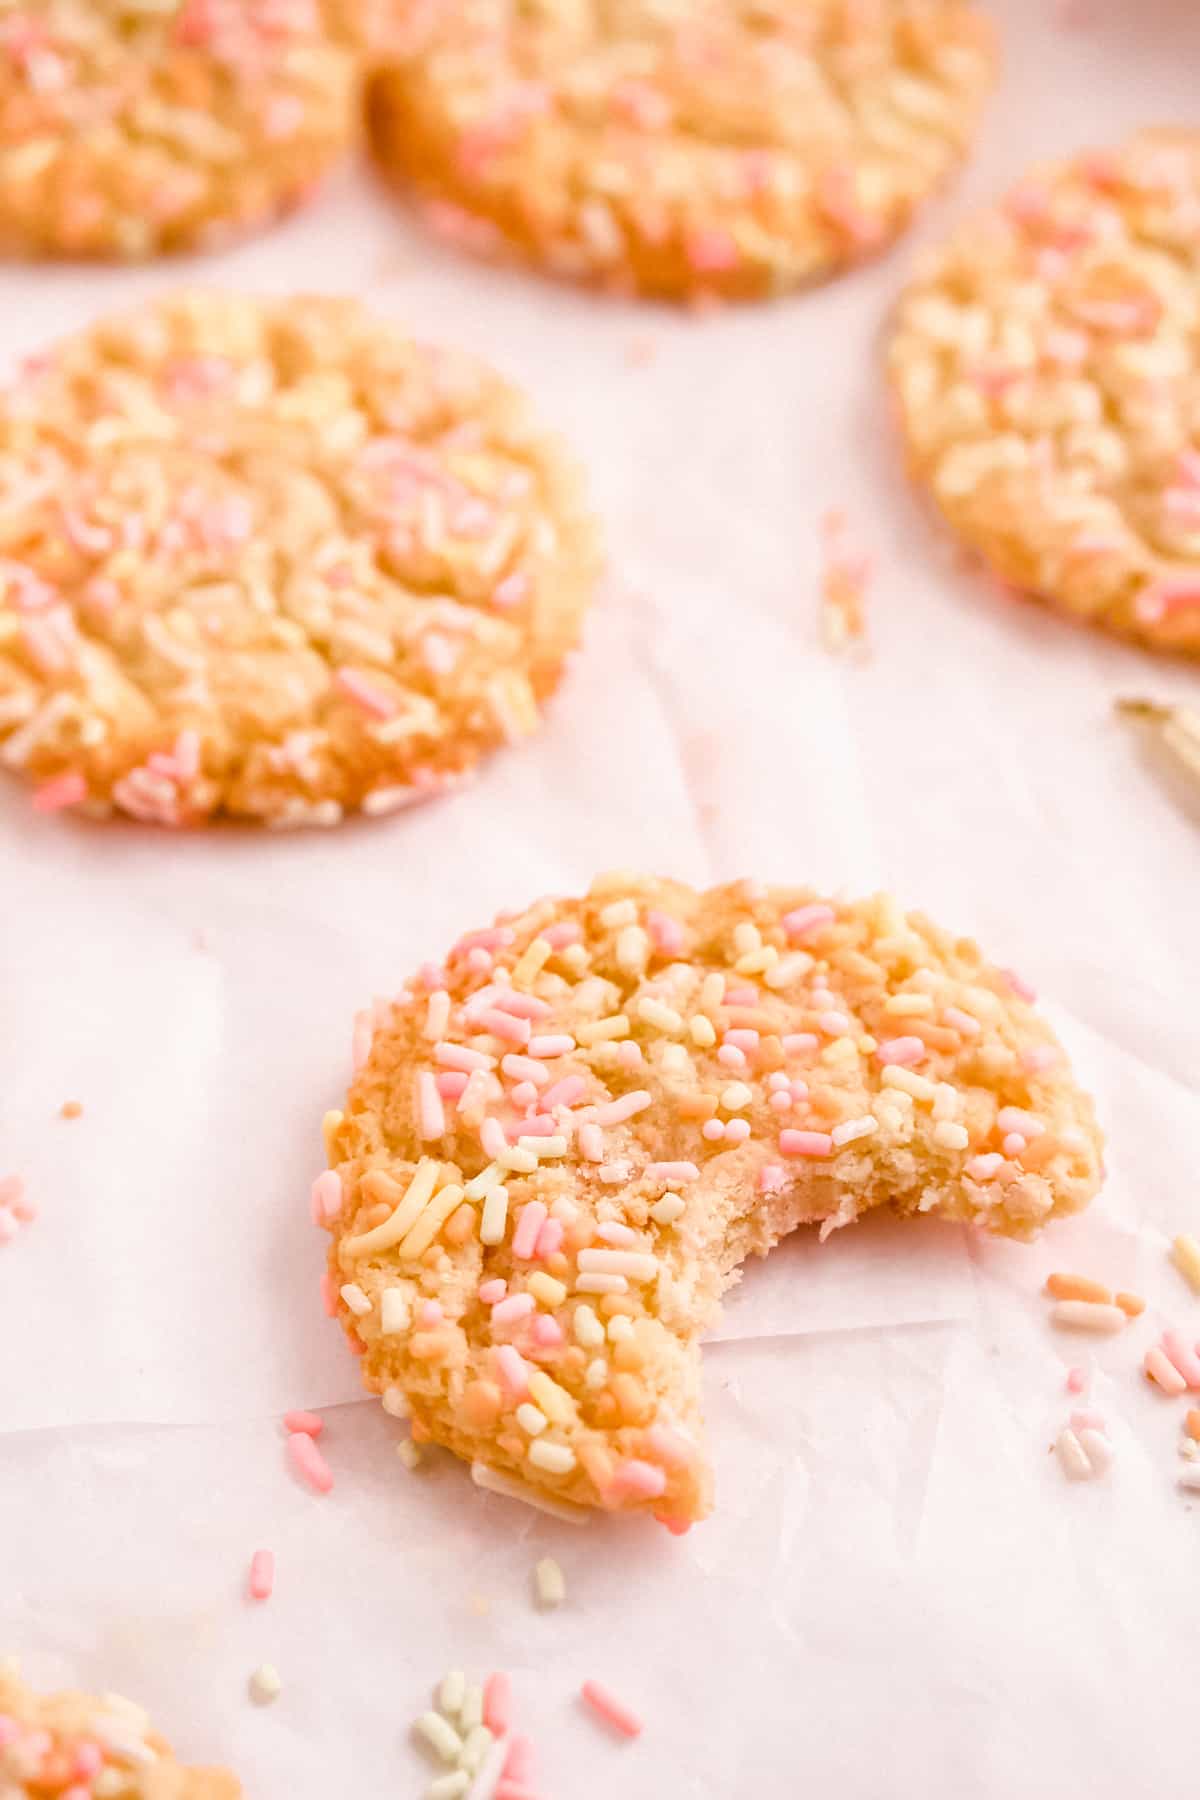
It's those newbies that take these little babies to the next level. They have a deliciously chewy texture with a slightly crisp edge. And they are PACKED with sprinkles. (Because they wouldn’t be worthy of the birthday name otherwise!)
I mean really, what more could you ask for?!
Ingredient Tips for Better Baking
(Pssst…if you're ready to just get baking, check out all the details recipe card below!)
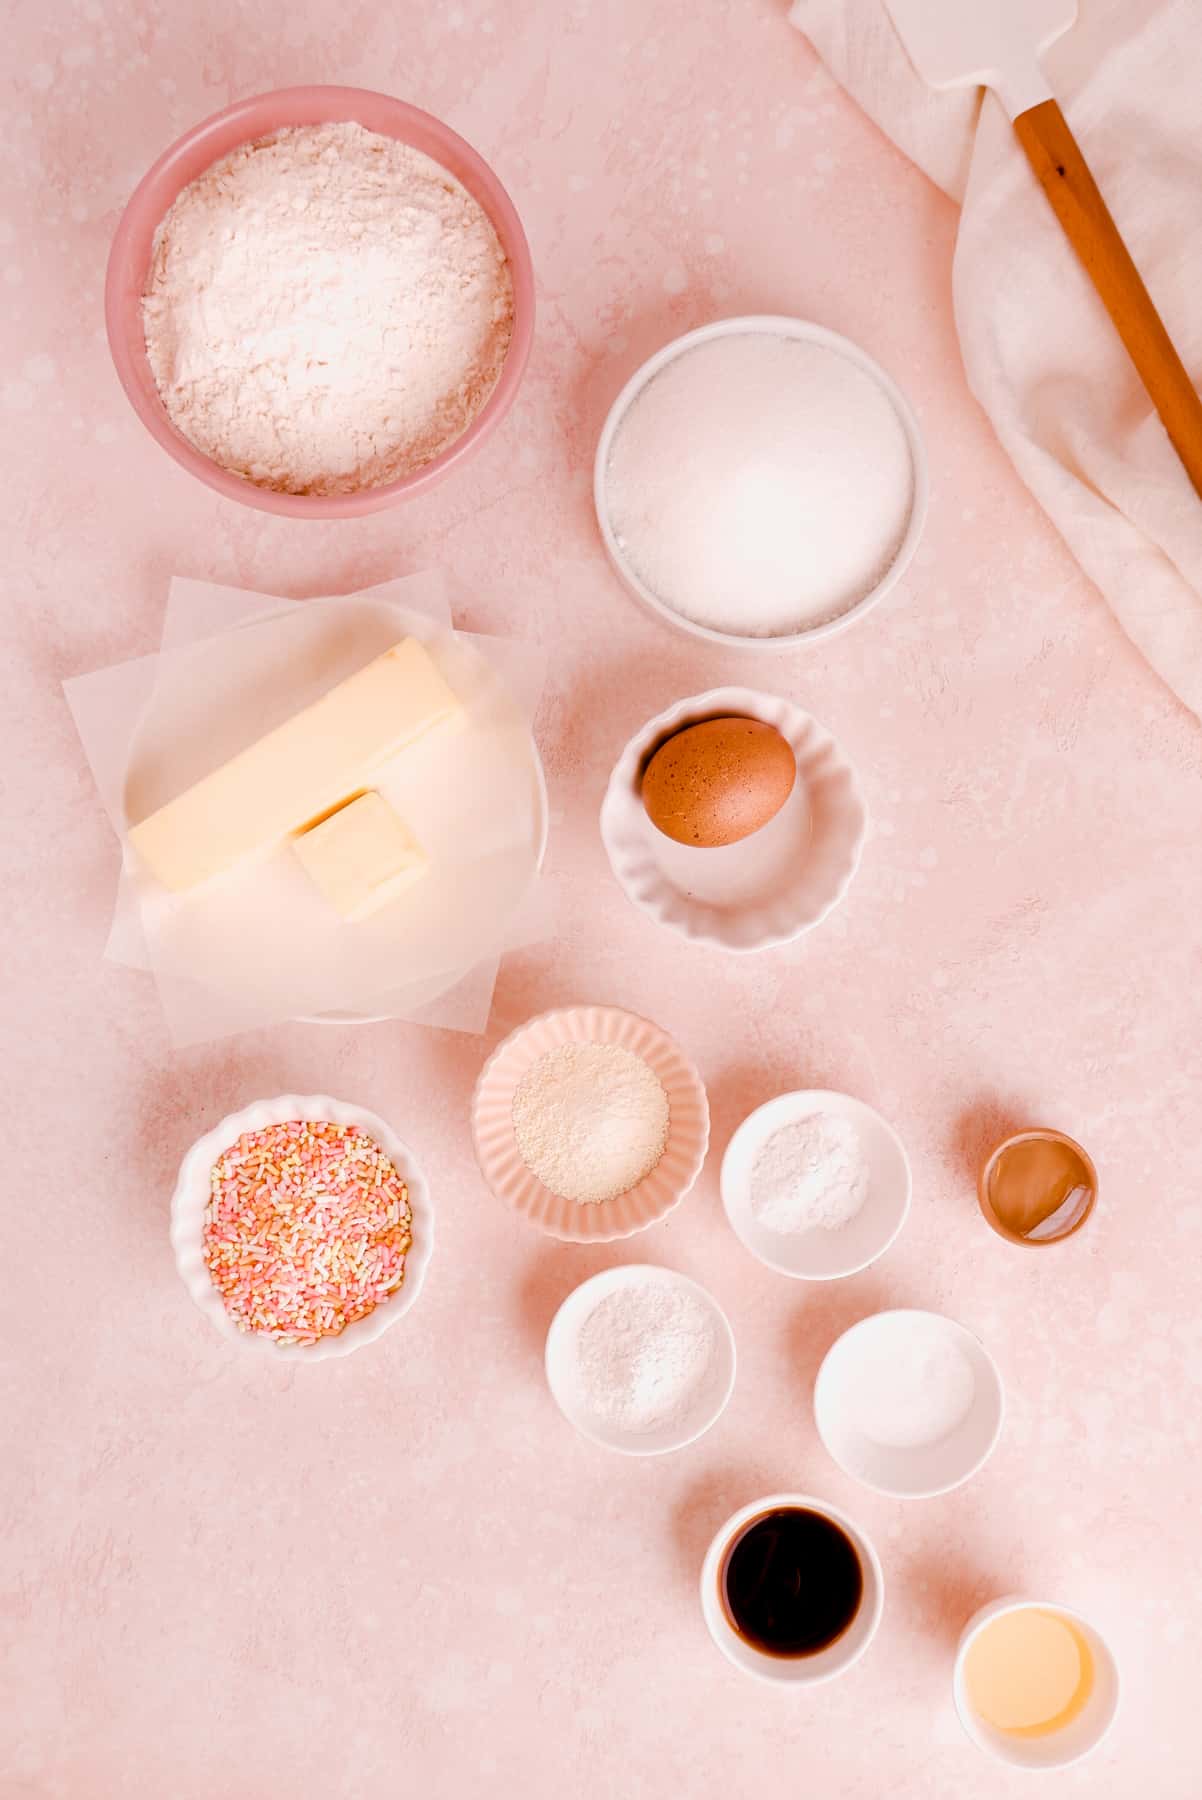
- Butter: we're using a good deal of butter in this recipe so make sure it's unsalted.
- Light Corn Syrup: corn syrup has a unique ability to really bring an extra chewiness to cookies which we definitely want here and makes them spread just a touch more.
- Vanilla: can't have classic birthday cake flavor without some vanilla! (There's practically no sweet recipes that I don't think aren't helped by a hint o' vanilla!)
- Lemon juice: a little bit of acid helps offset the sweetness and balances the dairy notes from the milk powder.
- Dry milk powder: adds an extra layer of dairy notes to help transition from "sugar cookie" flavor to "birthday cake cookie" flavor (this powder is one of my favorites!).
- Cream of tartar: an acid that pairs and reacts with the "basic" (in the scientific pH sense) baking soda to give us the lovely rise and fall for a pretty crackle top.
- Baking soda: a "base" (in the scientific pH sense) that pairs with the "acidic" cream of tartar to give us the lovely rise and fall for a pretty top again.
- Sprinkles: the primary function of sprinkles is always to bring extra cheer. I recommend the long stick sprinkles instead of round nonpareils. The stick sprinkles have a softer texture that blends better with the texture of these chewy confetti cookies, and tend to be less likely to bleed color into the dough.
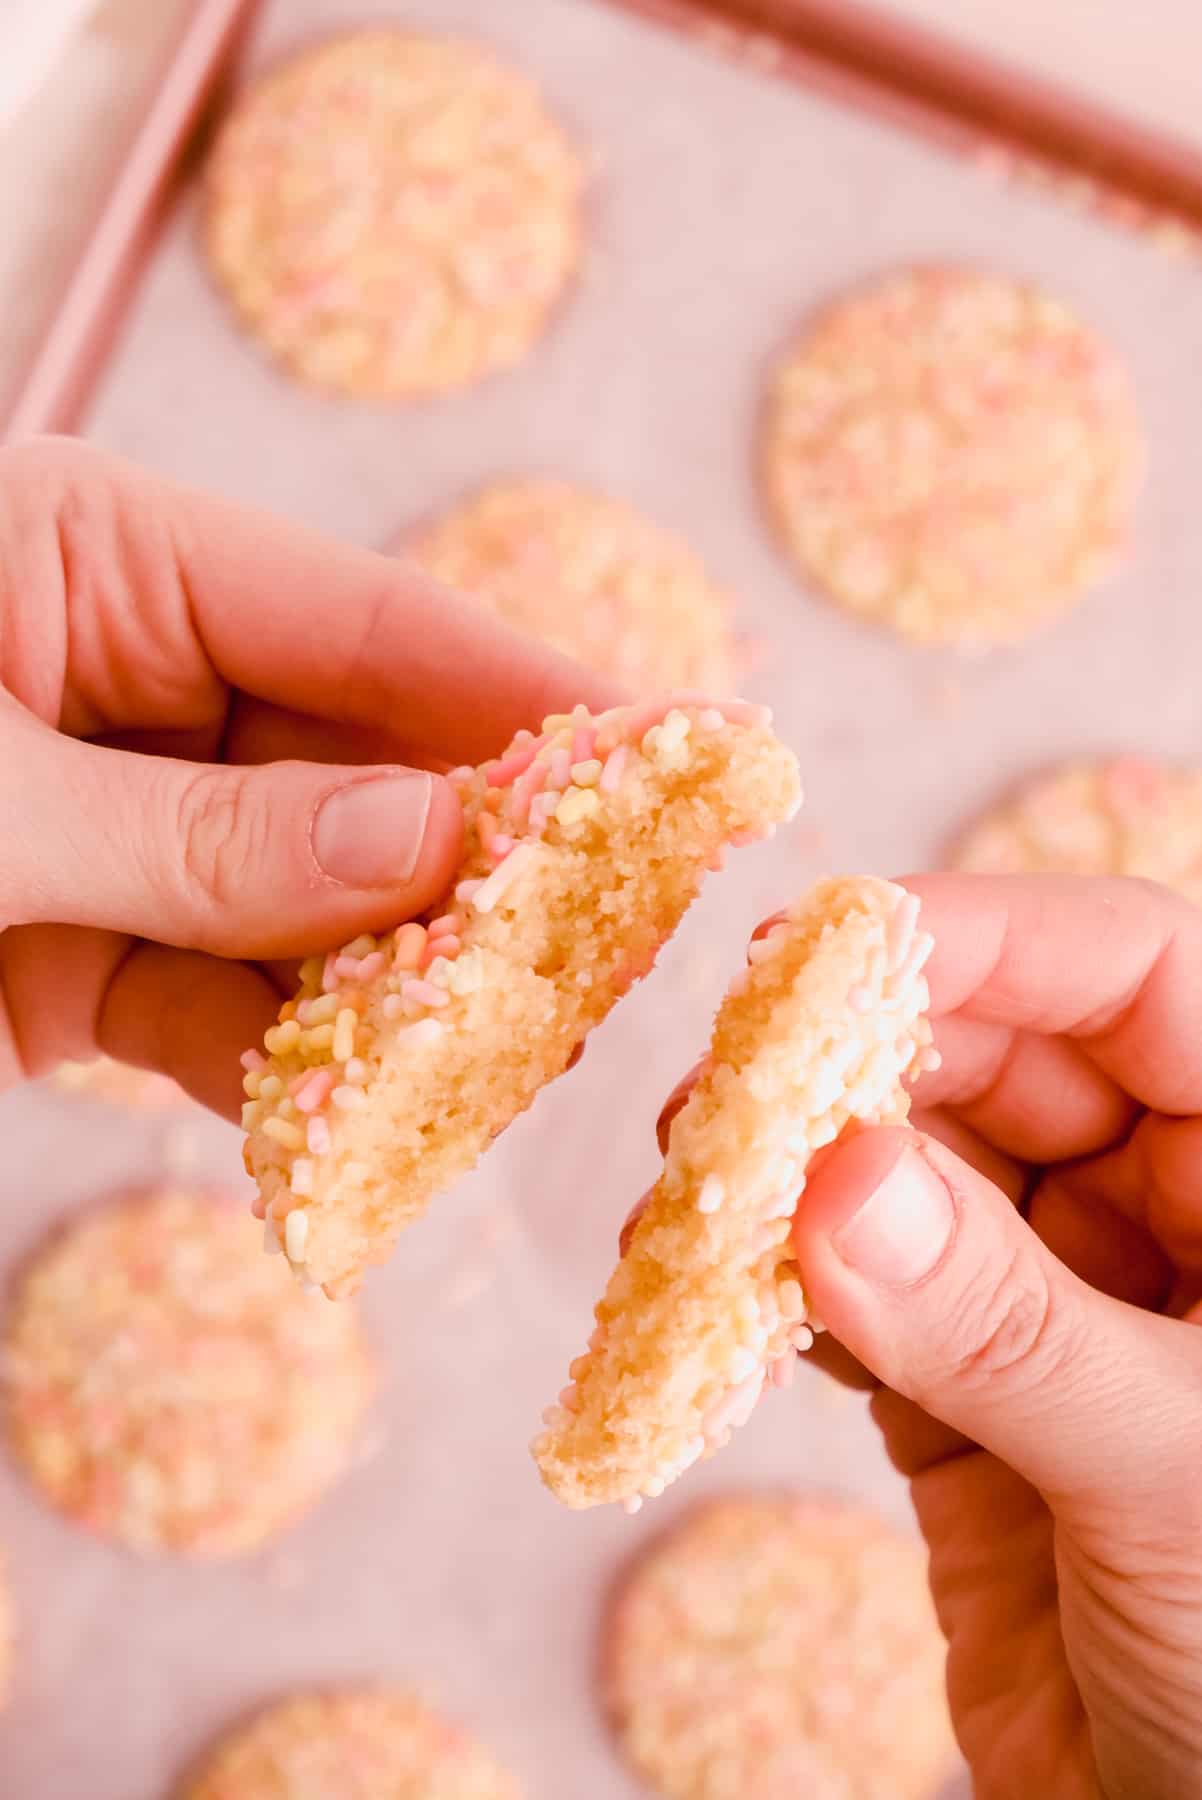
A NOTE ON SPRINKLES: one of my favorite things about this recipe is that the festive sprinkle coating can be customized to any theme, holiday, or just your mood that day! So feel free to change it up to fit your needs. Want to mix up some 4th of July Sugar Cookies? Go with a red, white, and blue blend! Adding these tasty little guys to your Christmas cookie tray? Go red, green, and white (and maybe a little gold if you're feelin' fancy!).
Special Tools You'll Need
- Hand or stand mixer: to get your butter and sugars light and fluffy
- 1.5" ice cream scoop: optional, but helpful for quick and even cookie portioning
How to Make These Sugar Cookies
(Pssst…if you're ready to just get baking, check out all the details recipe card below!)
- Cream butter, sugar, and vanilla extract until light and fluffy. (Always add your flavoring with your fat so they can combine as long and as well as possible for the best flavor impact. See more on that in my lesson on Butter 101!)
- Whip in the egg until fully combined and fluffy again.
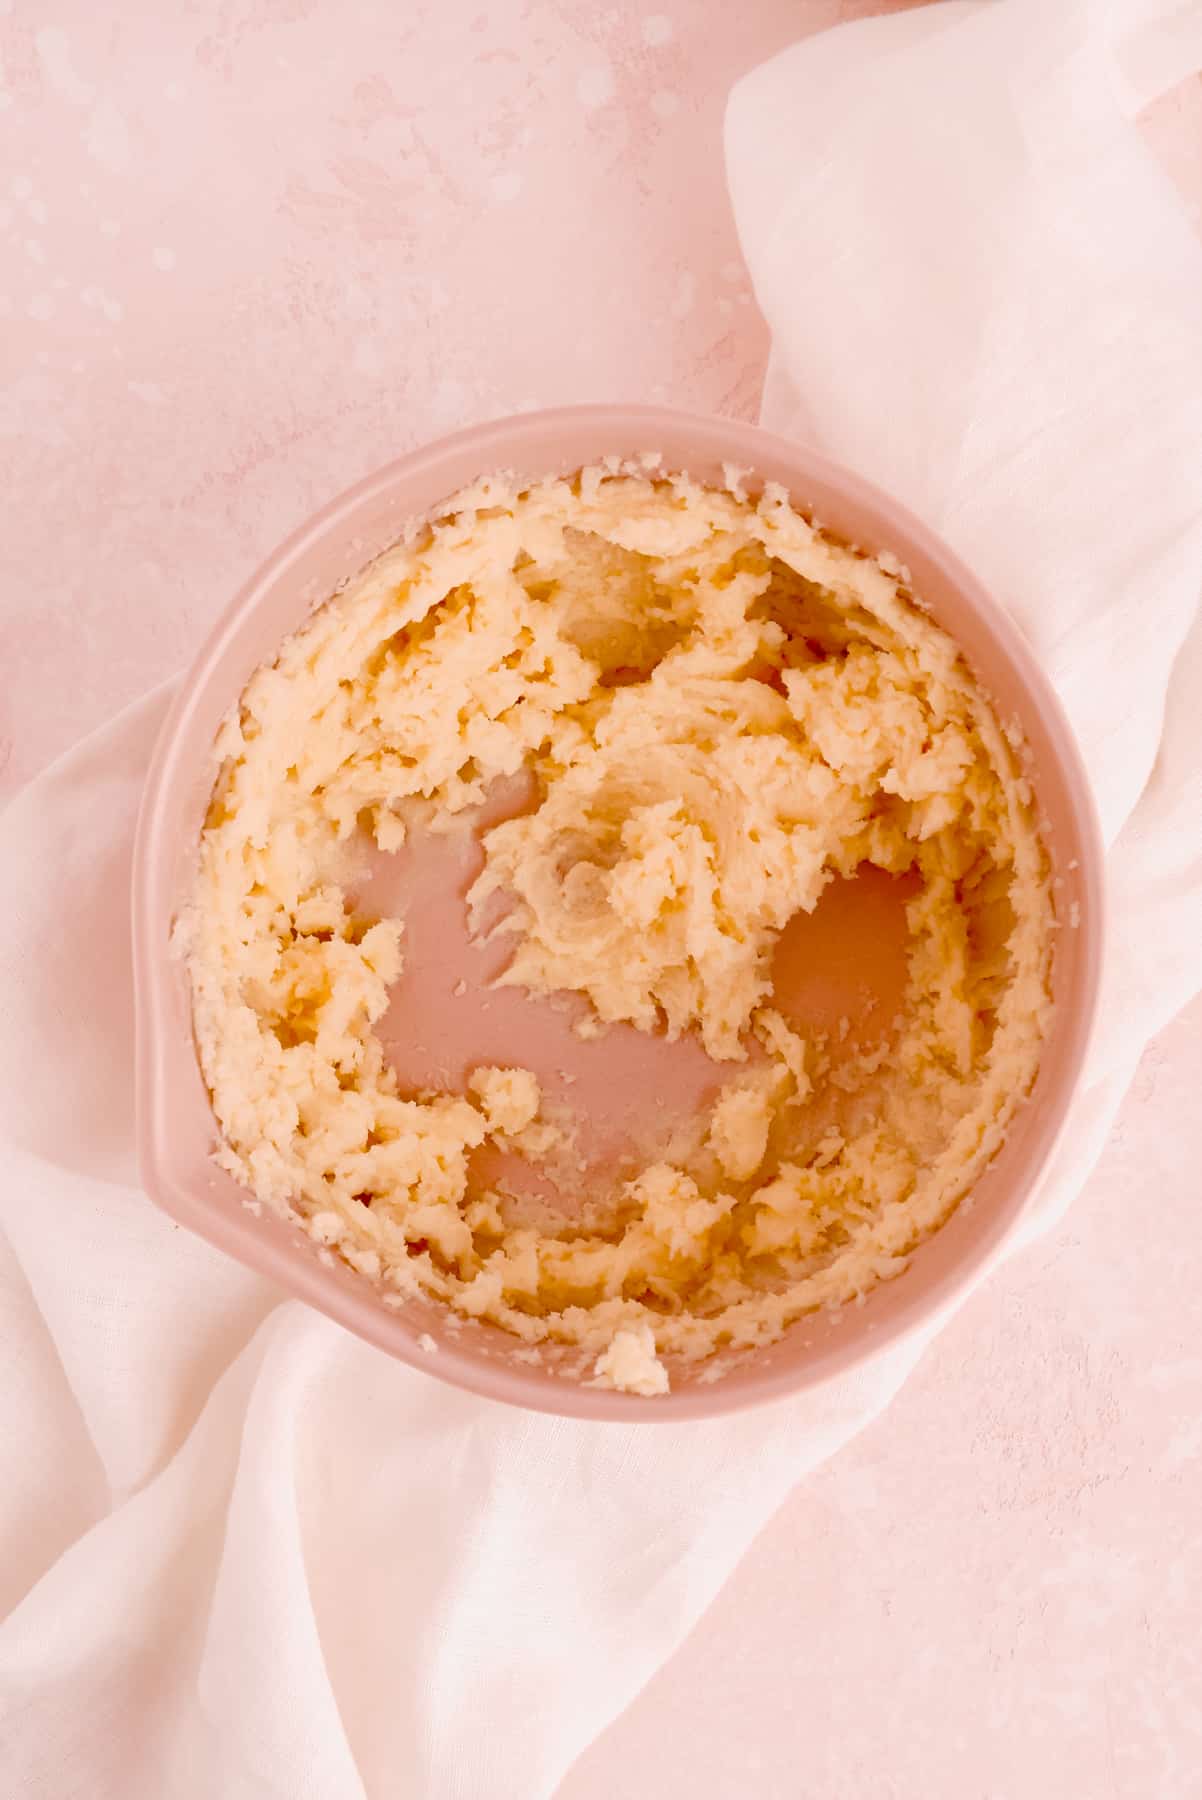
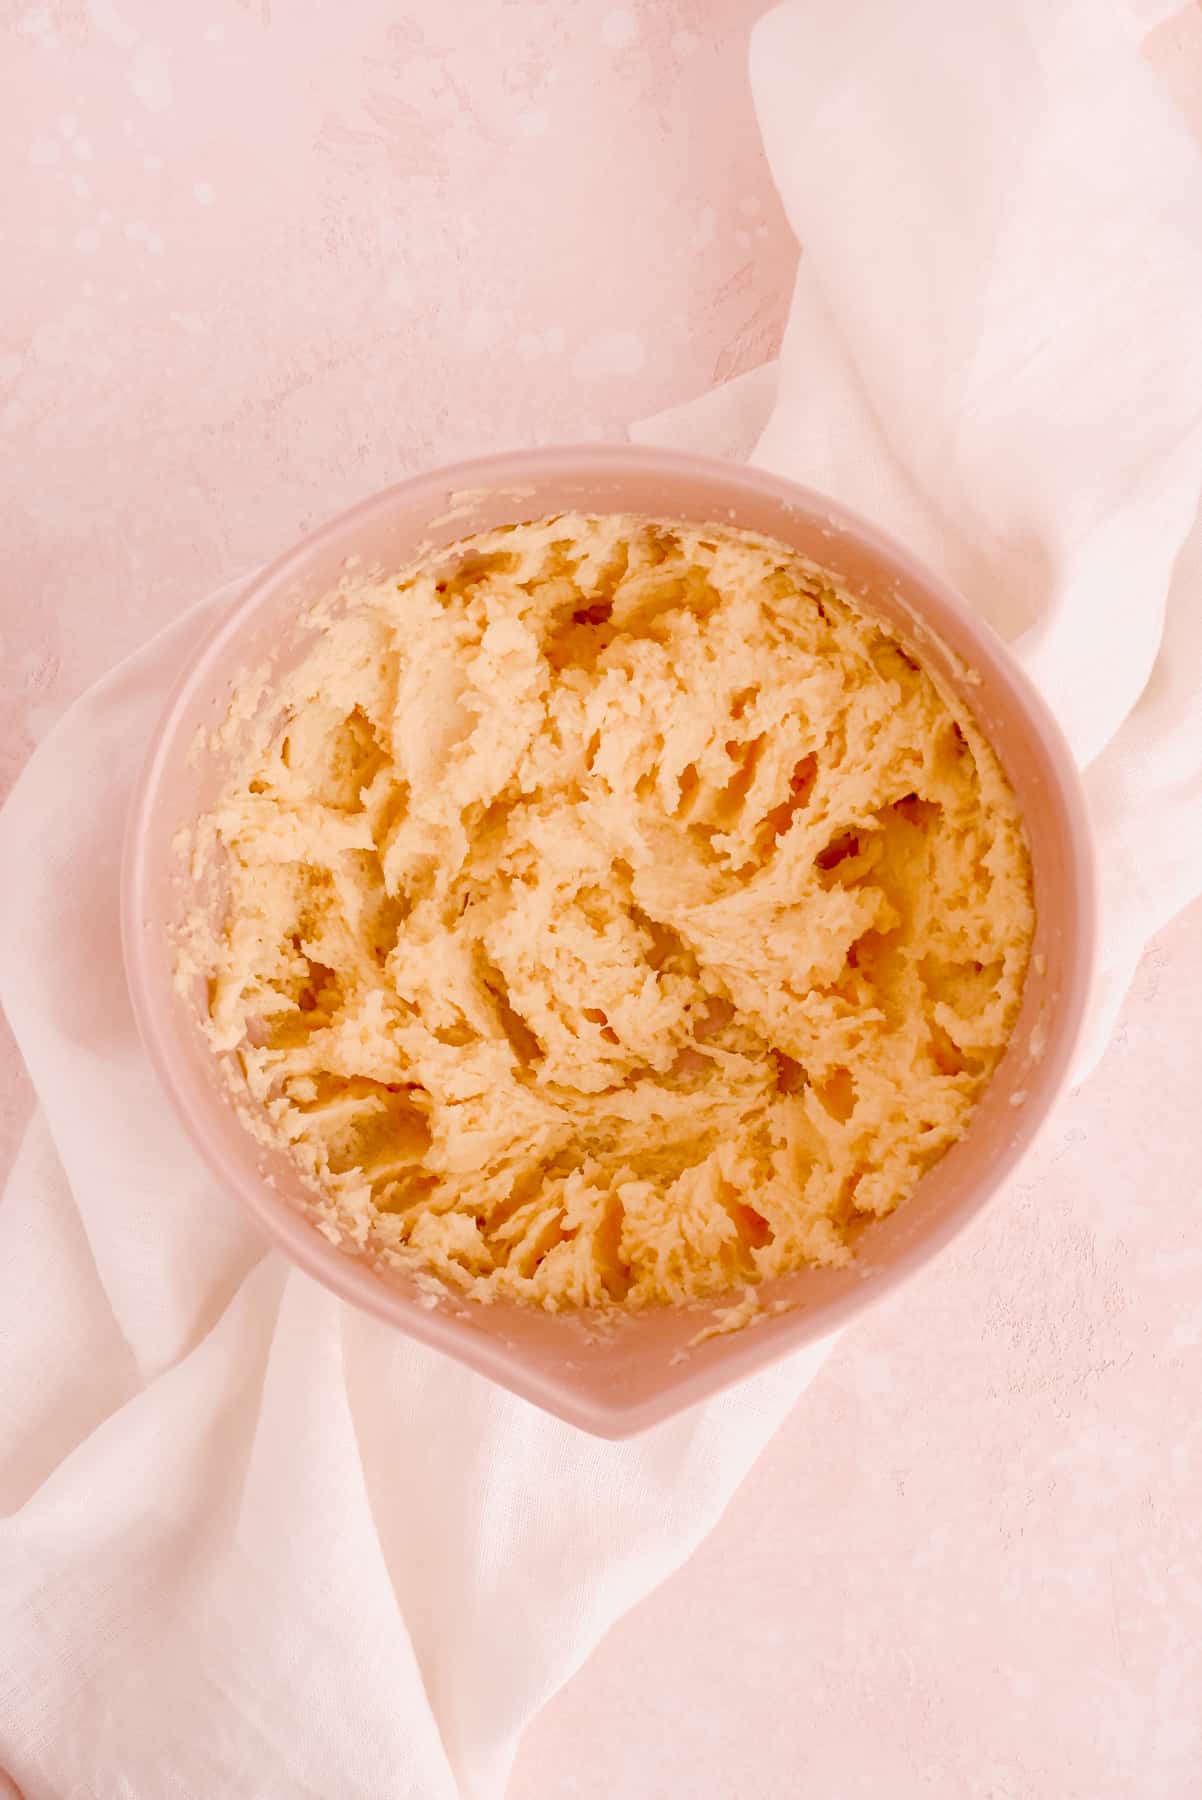
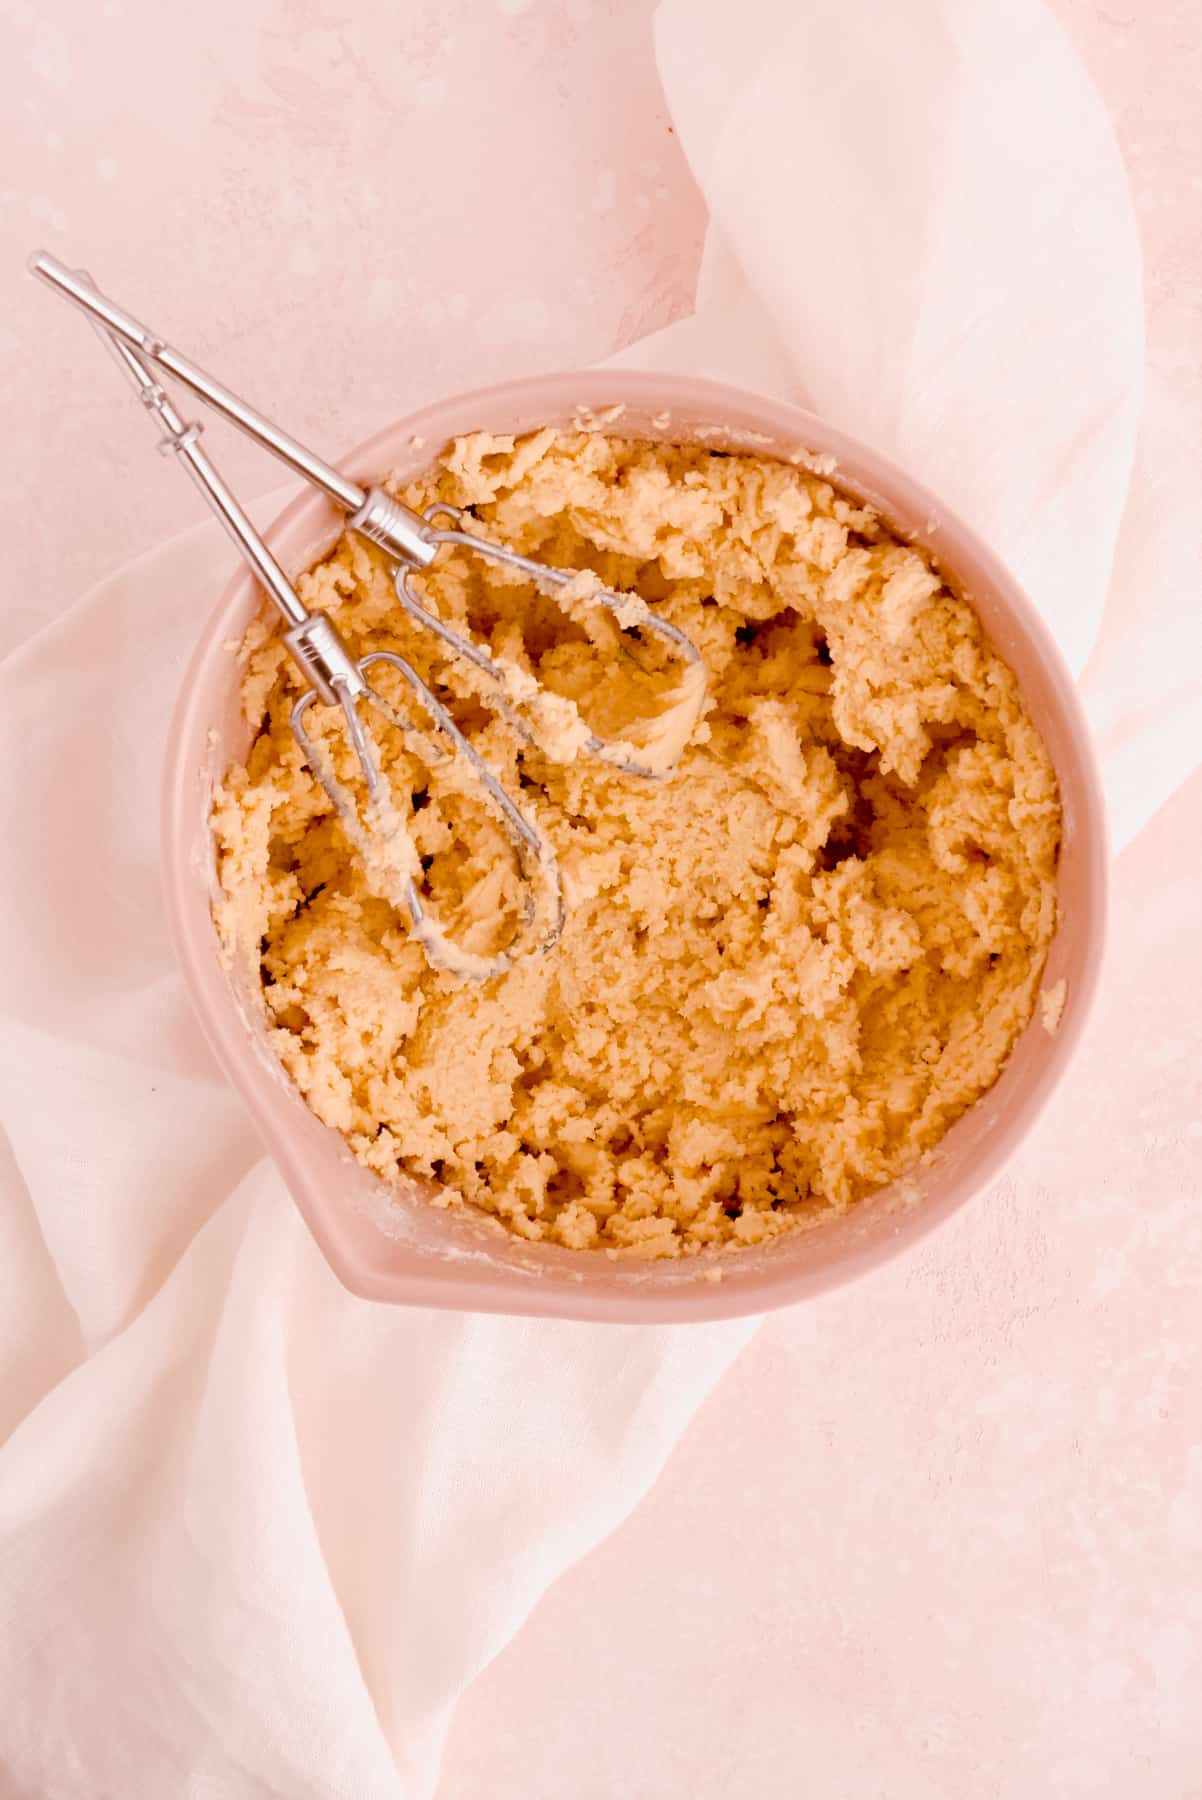
- Mix in the dry ingredients just until fully combined (mixer should be on low - don't over-mix).
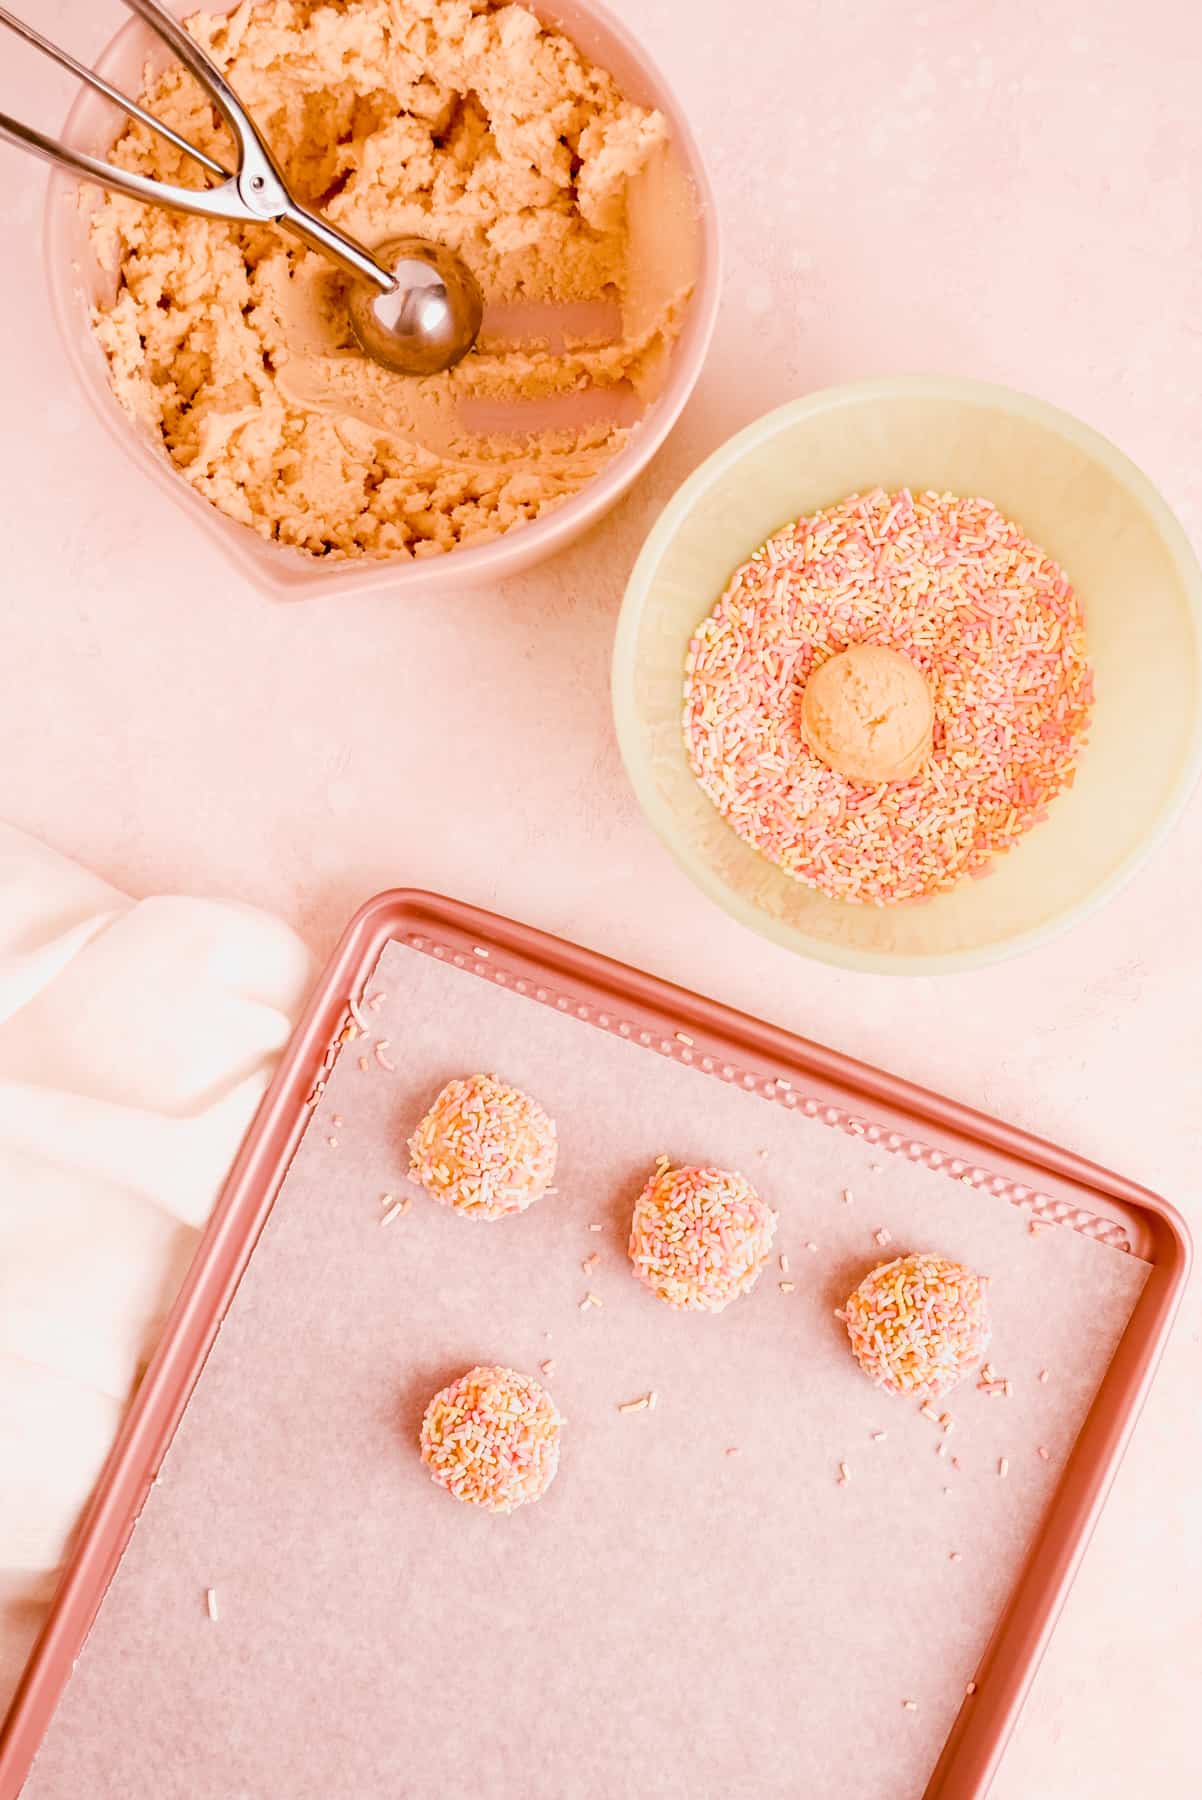
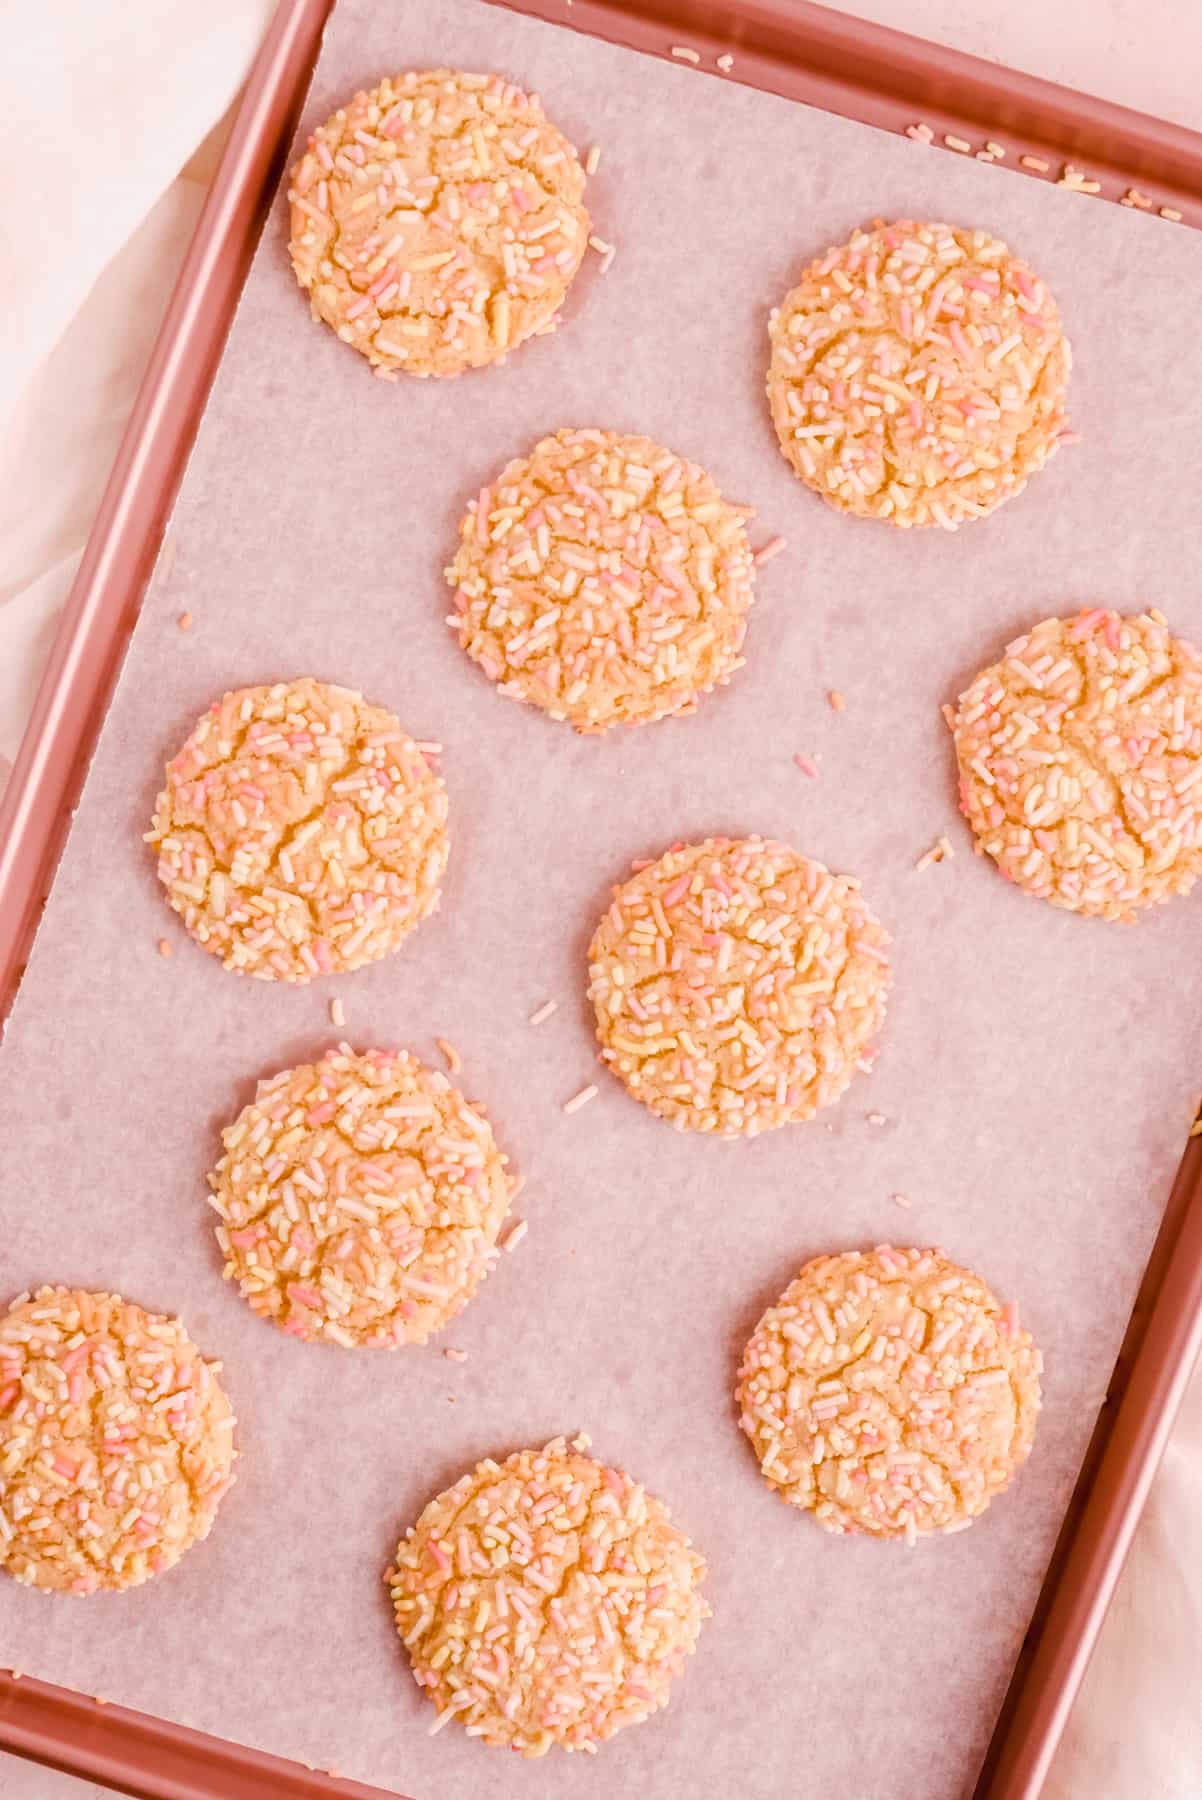
- Scoop into 1.5" dough balls, round them off, and cover in all the sprinkles!
- Tray up on your sheet pan and bake just until the edge is golden brown. (The center will still be a little under-baked.)
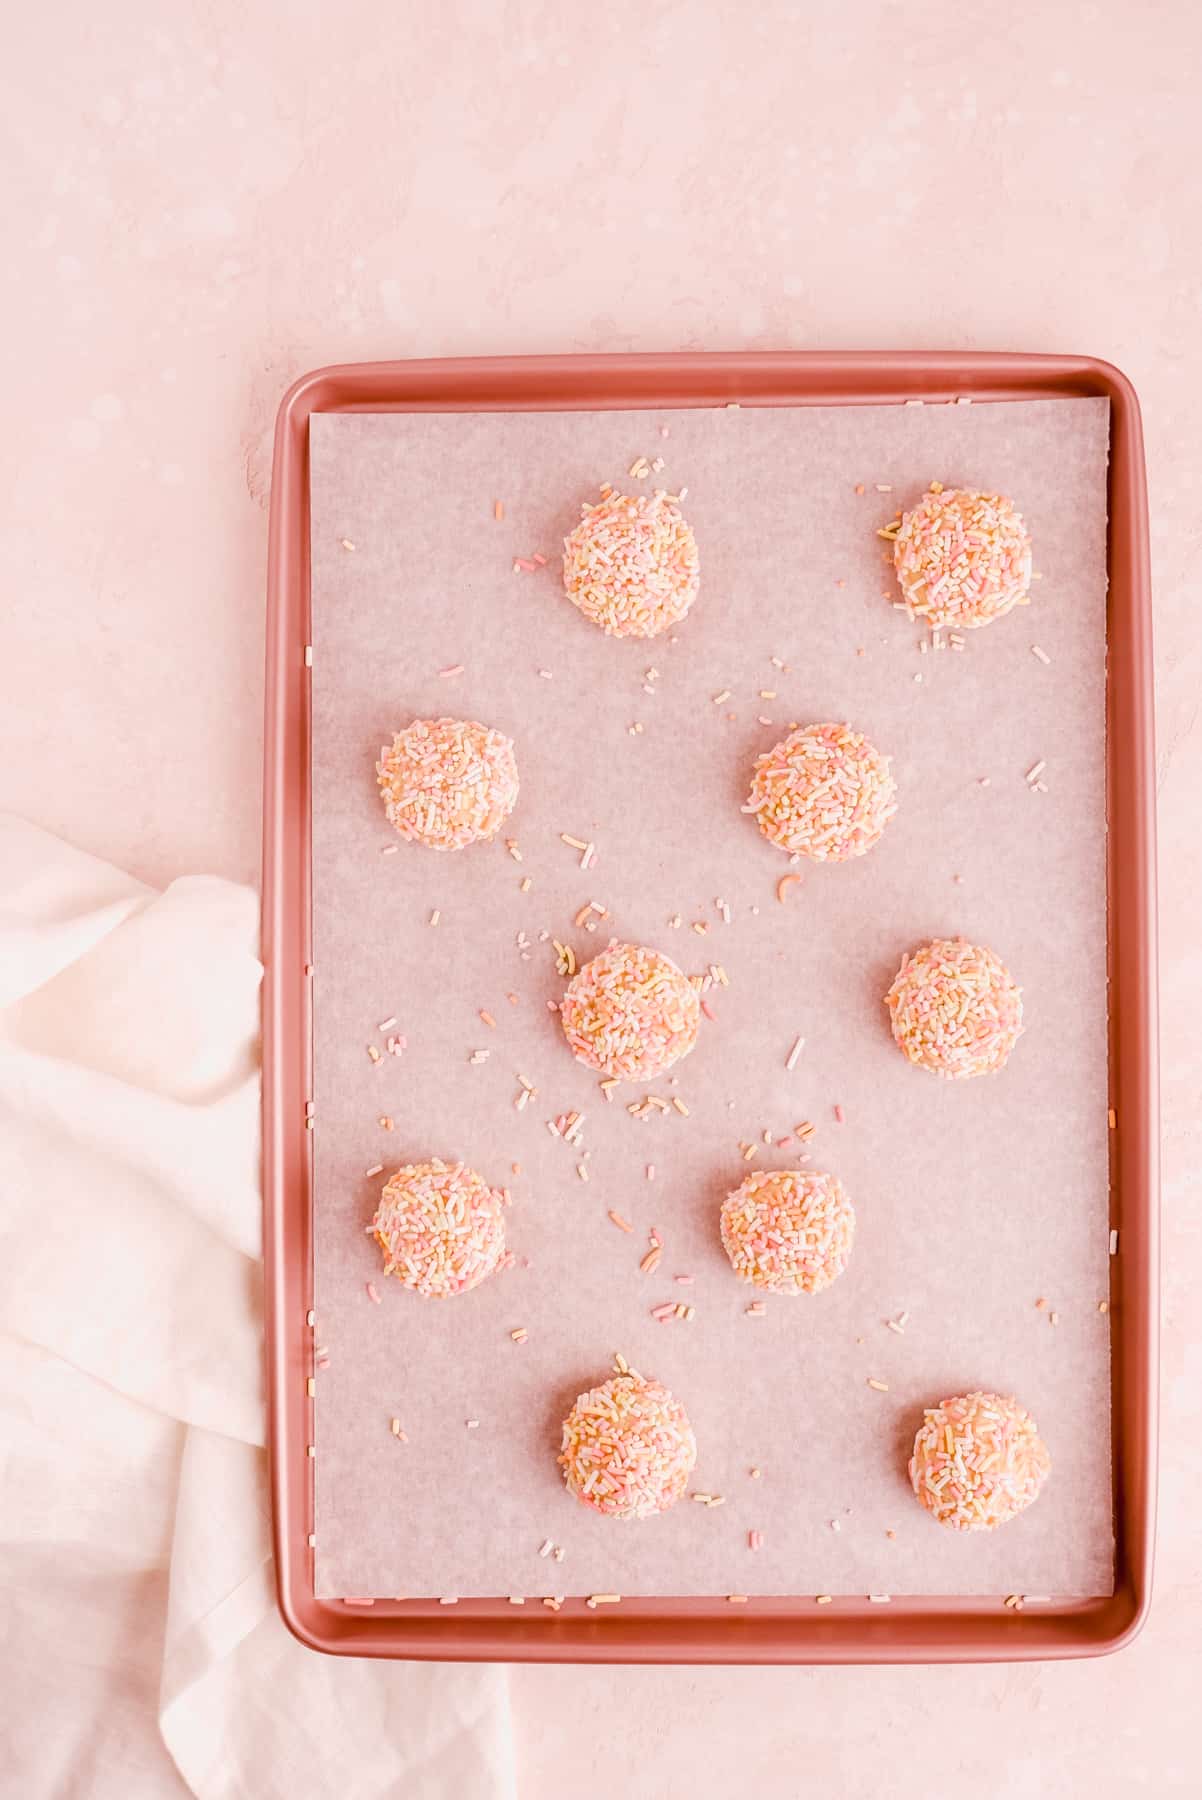
- Immediately when you pull the cookies out of the oven, knock them hard several times on your counter to settle the puffy centers.
- Cool, share, and enjoy!
And check out the full RECIPE WEB STORY for a click-through tutorial!
Test Kitchen Tips for Sweet Success
The most important thing to keep in mind to achieve that deliciously chewy texture is to really beat this cookie dough well before adding the dry ingredients.
Whipping this batter a lot at the early stages traps air bubbles in your dough. Those air bubbles then heat up and expand in the oven.
This gives your cookies a lovely little puff in the middle. In order for the cookies to drop when you knock them on the counter, you need them to be puffy in the first place!
So making sure that you beat them really well early on is very important, because mixing them a lot after the flour is in there can toughen your cookies (and no one wants a tough cookie).
So are these just sugar cookies?
Well…yes and no. Are these sugar cookies? yes. Are these JUST sugar cookies? oh no…they are much much more…
As you'll see from the ingredient list, there are so many extra ingredients in here you won't find in a classic sugar cookies. Those special additions each add complexity to the flavor. They also improve that perfectly contrasting structure for a crisp edge and perfectly chewy birthday cake cookie middle…yum!
Can I substitute for any of those special ingredients?
…i.e. lemon juice, corn syrup, dry milk powder, etc.
In short, you are always welcome to experiment, and you will absolutely still get a cookie with one or more of those ingredients left out. But if you're missing all those ingredients or looking to strip this recipe down, I'd recommend just whipping up some of my classic sugar cookies, because you'll lose the magic of the birthday cake cookie flavor in this chewy sugar cookie variation.
Can you make these cookies ahead of time? What about freezing the dough?
You can absolutely make these cookies ahead of time! They do bake straight from the fridge or freezer, but the texture will be a little different due to the chill/freeze of the dough. This dough will keep for 2 days in the fridge or 2 months in the freezer.
Whether baking from the fridge or freezer, you can still bake them at 375°F. They likely will just take an extra 2-5 minutes to bake starting from a chilled temperature. Pull them out whenever you see that hint of golden brown on the edges. They also may stay a bit more domed and not crackle as much (but they'll still be super delicious!).
How do you store these cookies?
These birthday cake cookies rarely survive more than a day or two in our house. But, if you do need to store them, keep them at room temperature in an air tight container for up to a week.
Because of the slightly under-baked centers, these cookies actually keep better than most over a few days which is an added bonus of this recipe!
Other Cookie Recipes You'll Love
Here are a few of my other favorite better-than-the-bakery cookies recipes:
- Soft and Cakey Snickerdoodles
- Chewy Salted Chocolate Chip Cookies (bakery style!)
- Dark Chocolate Chip Sea Salt Cookies
- Easy, Classic Sugar Cookies
- Double Biscoff Butter Cookies
- Funfetti Sugar Cookie Dough
- Chewy Ginger Sandwich Cookies (with Orange Cream Filling)
- And last but certainly not least....Chocolate Chip Marshmallow Cookies!

⭐ If you gave this recipe a try please give it a ⭐ rating and tag me on Instagram @mint.and.mallow.kitchen so I can see what you're baking up! ⭐
📖 Full Recipe
Birthday Cake Sugar Cookies
Ingredients
- 10 tablespoons (1 ¼ sticks) unsalted butter, softened
- 1 tablespoon light corn syrup
- ¾ cup sugar
- 1 ½ teaspoons vanilla extract
- 1 large egg
- 2 teaspoons lemon juice
- 1 ¾ cups all-purpose flour
- 2 tablespoons dry milk powder
- 1 teaspoon cream of tartar
- ½ teaspoon baking soda
- ½ teaspoon salt
- 1 cup multi-colored stick sprinkles
Instructions
- Prep and line: preheat your oven to 375°F and line two baking sheets with parchment paper.
- Cream butter, sugars, and vanilla: cream together the butter, sugar, corn syrup, and vanilla extract for 3 minutes until very light and fluffy on medium-high speed.
- Whip the egg: add in the egg and lemon juice, and beat for 1-2 more minutes on medium-high until the batter is smooth, opaque, and slightly fluffy (you can over-whip the batter here and break the mixture, so be sure not to beat longer than 2 minutes).
- Mix in dries: add in flour, milk powder, cream of tartar, baking soda, and salt, and mix on low speed until fully combined, then beat briefly on medium-low for just 15-20 seconds. A smooth, slightly sticky dough should form, and be sure to scrape the bowl really well about half-way through mixing.
- Scoop and sprinkle: place sprinkles in a fairly small, wide bowl. Scoop dough into 1.5" balls, roll between your hands to fully round if not using an ice cream scoop, then roll in the sprinkle bowl until fully coated (see tips). (An ice cream scoop is really helpful here as this is a bit of a sticky dough to make sure all the sprinkles adhere, but you can use a regular spoon and roll by hand if needed.)
- Tray and bake: place cookies on prepared trays, at least 3” apart. Bake for 9-11 minutes, just until they have a hint of golden brown on the edge (you do want these cookies to be a little under-baked for the tastiest texture).
- Knock em' down: knock each tray firmly on the counter or stove top immediately after removal from the oven to collapse the dome and get that perfect cookie crackle.
- Cool, share, and enjoy: allow cookies to cool as long as you can (so those doughy middles can set up to a perfectly chewy center, and the edges can get deliciously crisp). Then share with anyone and everyone to have a birthday party any day of the week!








Comments
No Comments