


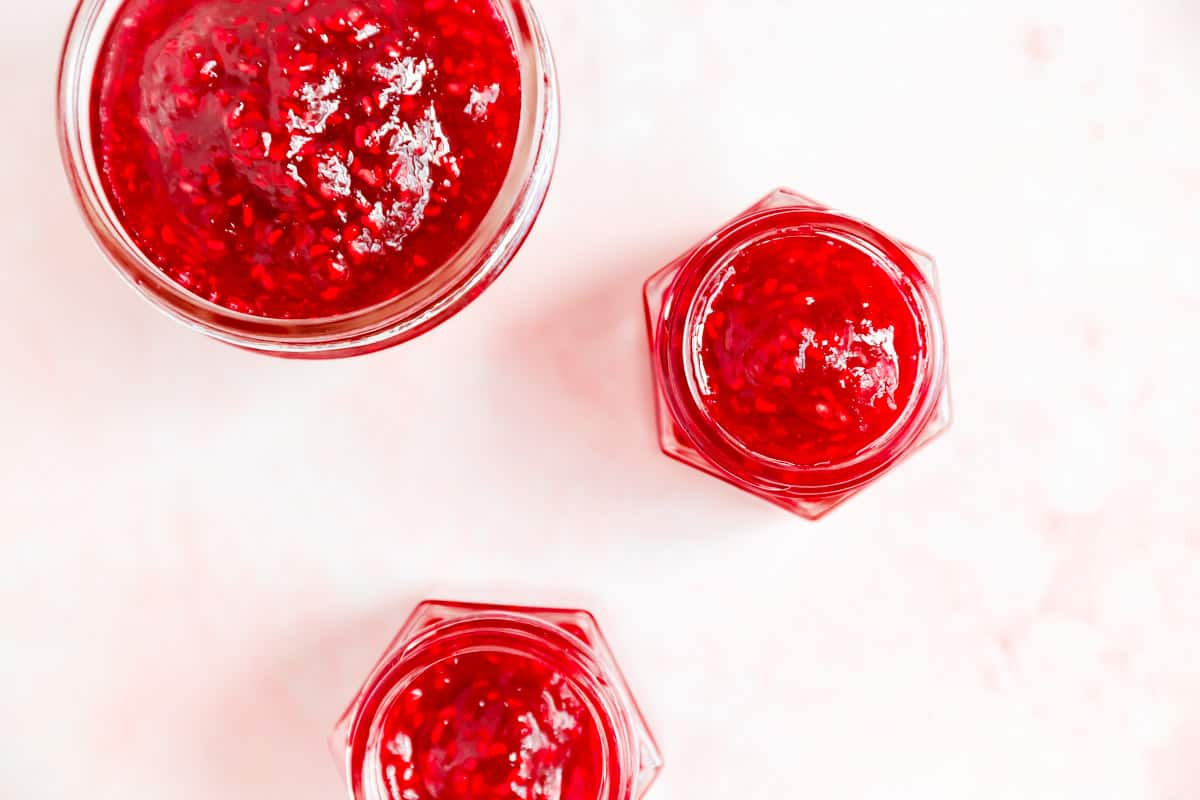
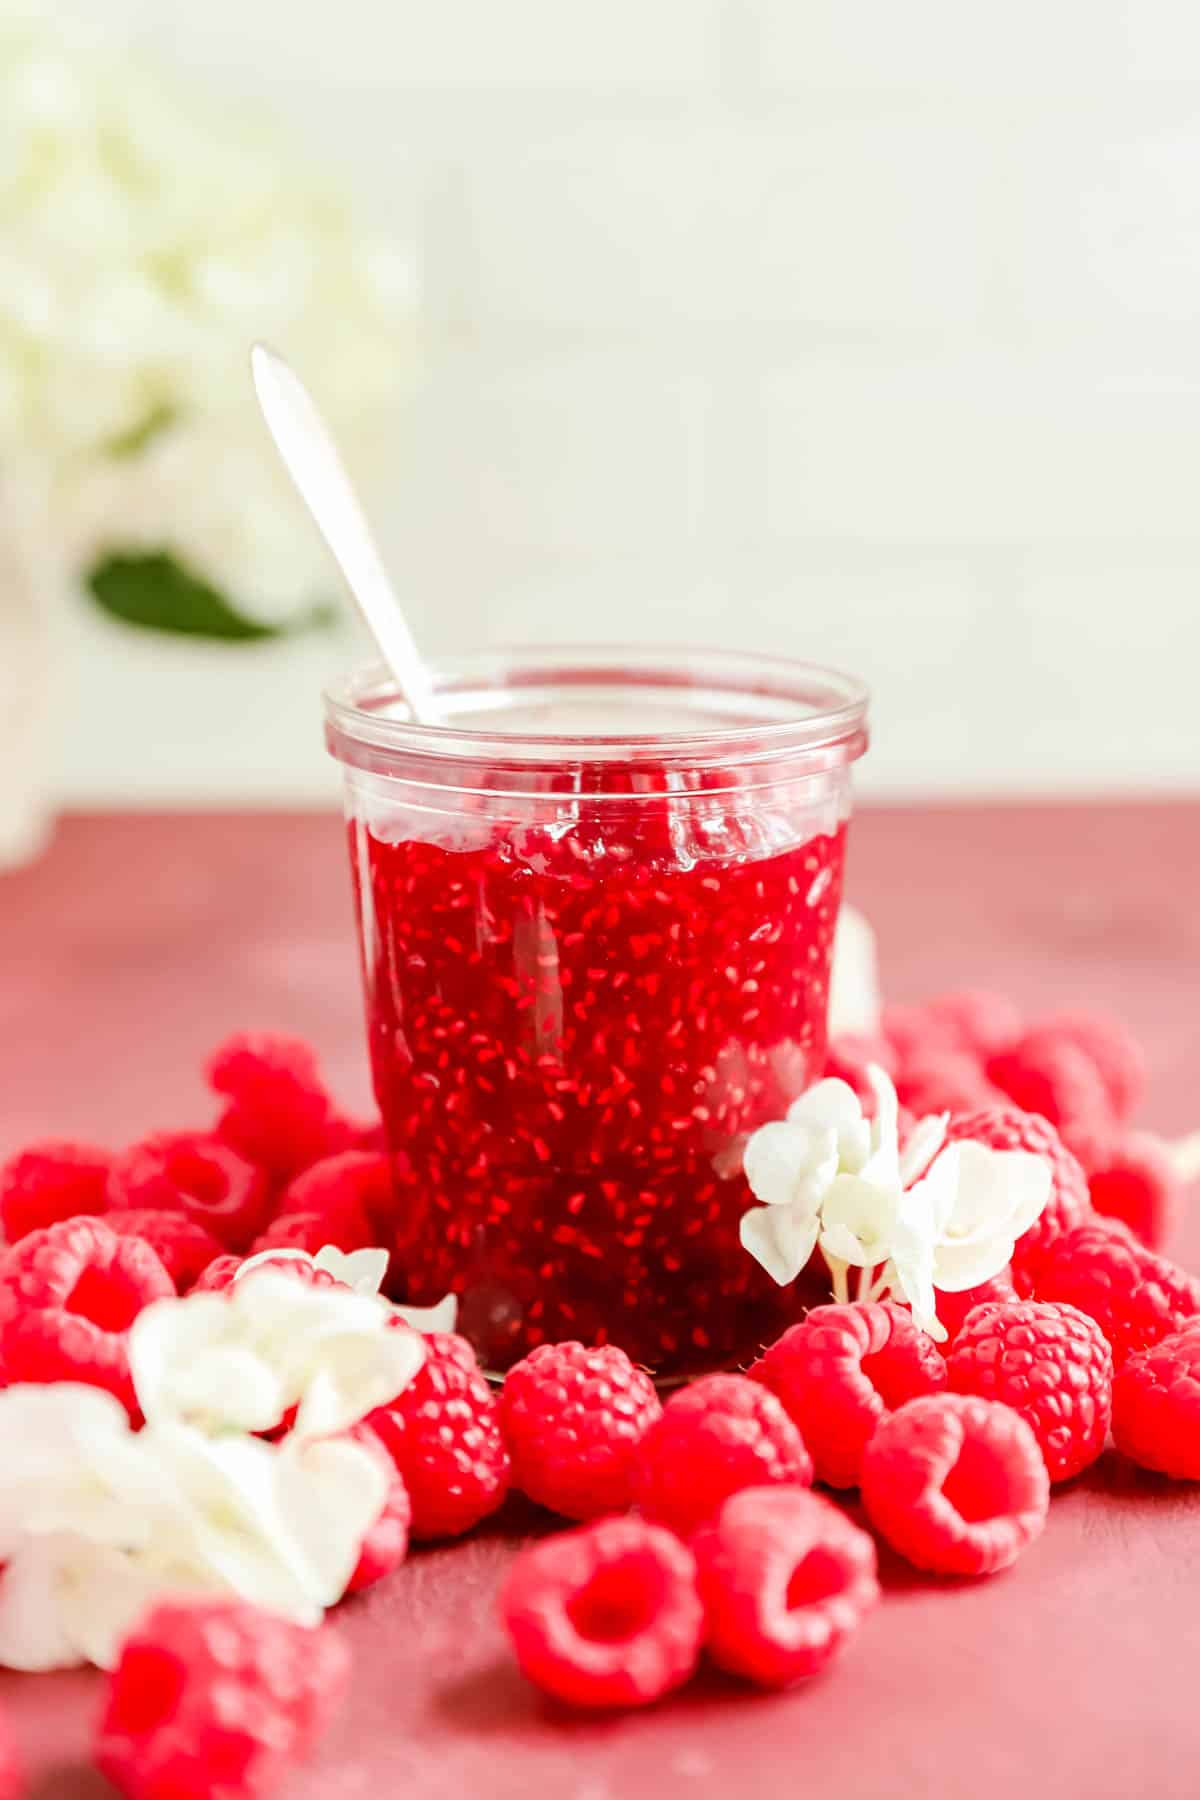
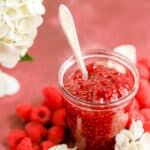
This French Raspberry Jam can be made with red or black raspberries and requires no pectin at all! This recipe uses fresh lemon juice to help set the berries' natural pectin and sugar to sweetened and preserve your tasty fruit for a super concentrated flavor that truly is the world's best raspberry jam.
Jump to (scroll for more!):
What makes French jam "French"?
French raspberry jam ingredients are simply put...simple ingredients. Fruit, sugar, and lemon juice - that's it!
This French style of jam making that I learned during my days at pastry school, follows one of two procedures:
- Setting high-pectin fruits using just the acidity of lemon or lime juice.
- Using a naturally high-pectin fruit or jelly (frequently apple) to pair with a lower pectin jam and assist in the set. (Occasionally you'll see the use of natural apple pectin used as a shortcut as well so you don't have to make the apple jelly.)
Lucky for us, all raspberries (red, golden, and black) have high levels of natural pectin, in their seeds specifically. That's why you can use any type of raspberries without needing additional pectin to make this deliciously seedy jam through a quick cooking process that couldn't be easier. So let's get to it!
Why This Recipe Leads to Sweet Success
Here is some key info you should know to understand why this recipe not only works, but will be a deliciously sweet success.
- Raspberries are high in pectin. As mentioned above, raspberries are one of the fruits that naturally have high levels of pectin. So we can skip adding any pectin at all which can complicate your recipes and cause inconsistent results.
- Raspberries release water easily. While you need to prep your fruit more extensively for some recipes, raspberries release water fairly easily with a little smashing and heating. This means that while you can macerate the berries and sugar for a few hours before cooking, it really isn't necessary.
- There's just one seedy fruit. Because the berries are supplying all the substance of our recipe hear, the flavor is truly raspberry-licious and super concentrated. I also really love the texture and body the seeds give this jam, in additional to all the pectin they supply to make it set.
- Fifteen minutes. Exactly. While I highly recommend a thermometer for any serious baker, especially if your a jam-maker, every time I tested this recipe with multiple batch sizes, 15 minutes of a slow rolling boil got me to exactly where I wanted to be. So if you don't have an instant-read thermometer, this is a great recipe to start out with when jam making. If you follow the visual and time cues, you should get a delicious jam on the other end, even when you can't check its temperature.
Ingredient Tips to Bake it Better
(Pssst…if you're ready to just get baking, get all the details in the recipe card below!)
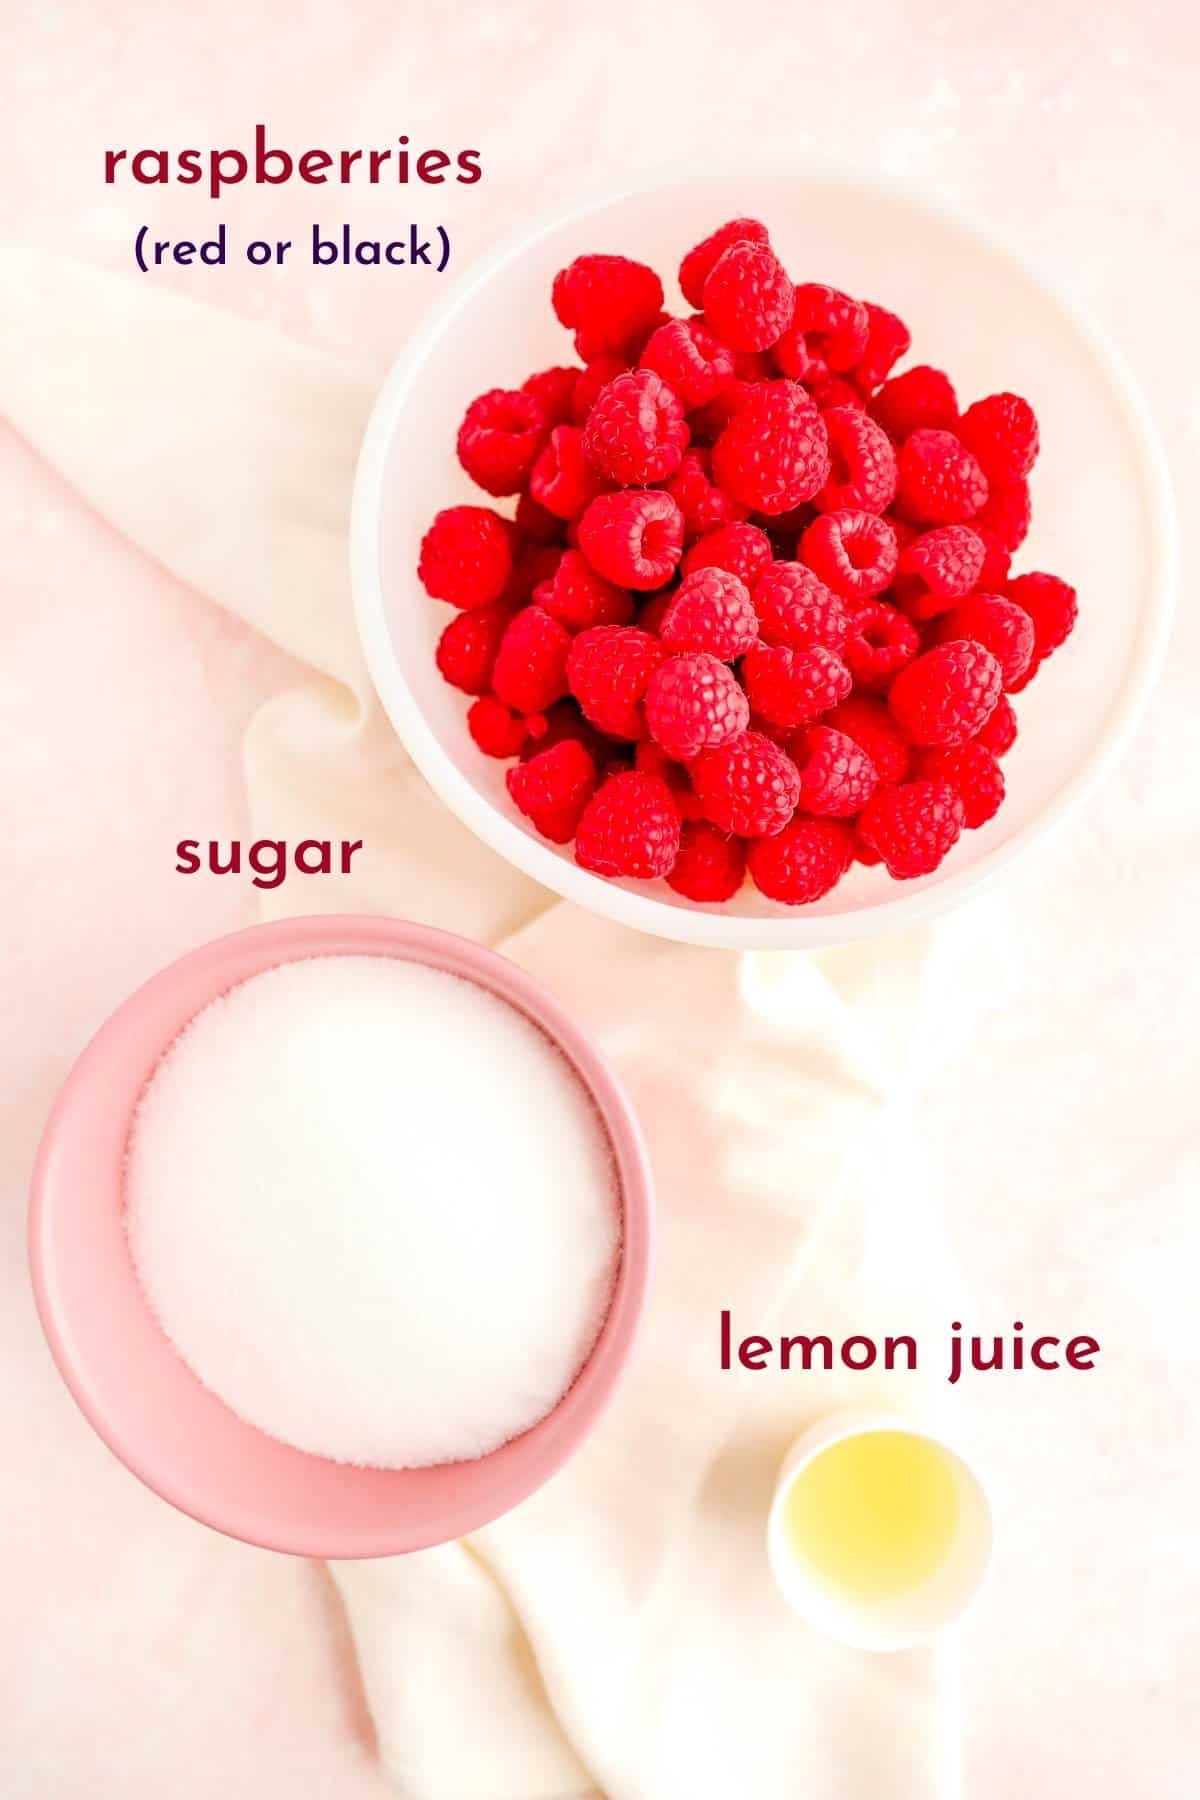
- Raspberries: make sure they're washed and dried (no buggies or extra moisture); you can use frozen raspberries for this recipe too, but be sure to let them thaw to at least fridge temp if not room temp before you begin cooking. That'll make sure your cook times don't shift due to starting with extra-cold berries.
- "Normal" sugar: this style of jam making using granulated sugar, aka "normal" sugar. So although it may be tempting to use "jam sugar" since we're making jam, that's not what we want here. Jam sugar has other ingredients like pectin and citric acid that aren't necessary and will alter the texture of our recipe. This recipe is designed so you don't need to have any special ingredients to make a delicious jam.
How to Make Raspberry Jam
(Pssst…if you're ready to just get baking, get all the details in the recipe card below!)
- Add all the ingredients to a large pot. The boiling jam will splatter and those splatters are burning hot! Make sure there's lot's of room in your pot to contain the bubbling and spurting. This will keep your stove cleaner and protect your hands too. (Although wearing an oven glove on your stirring hand is never a bad idea for these types of recipes!).
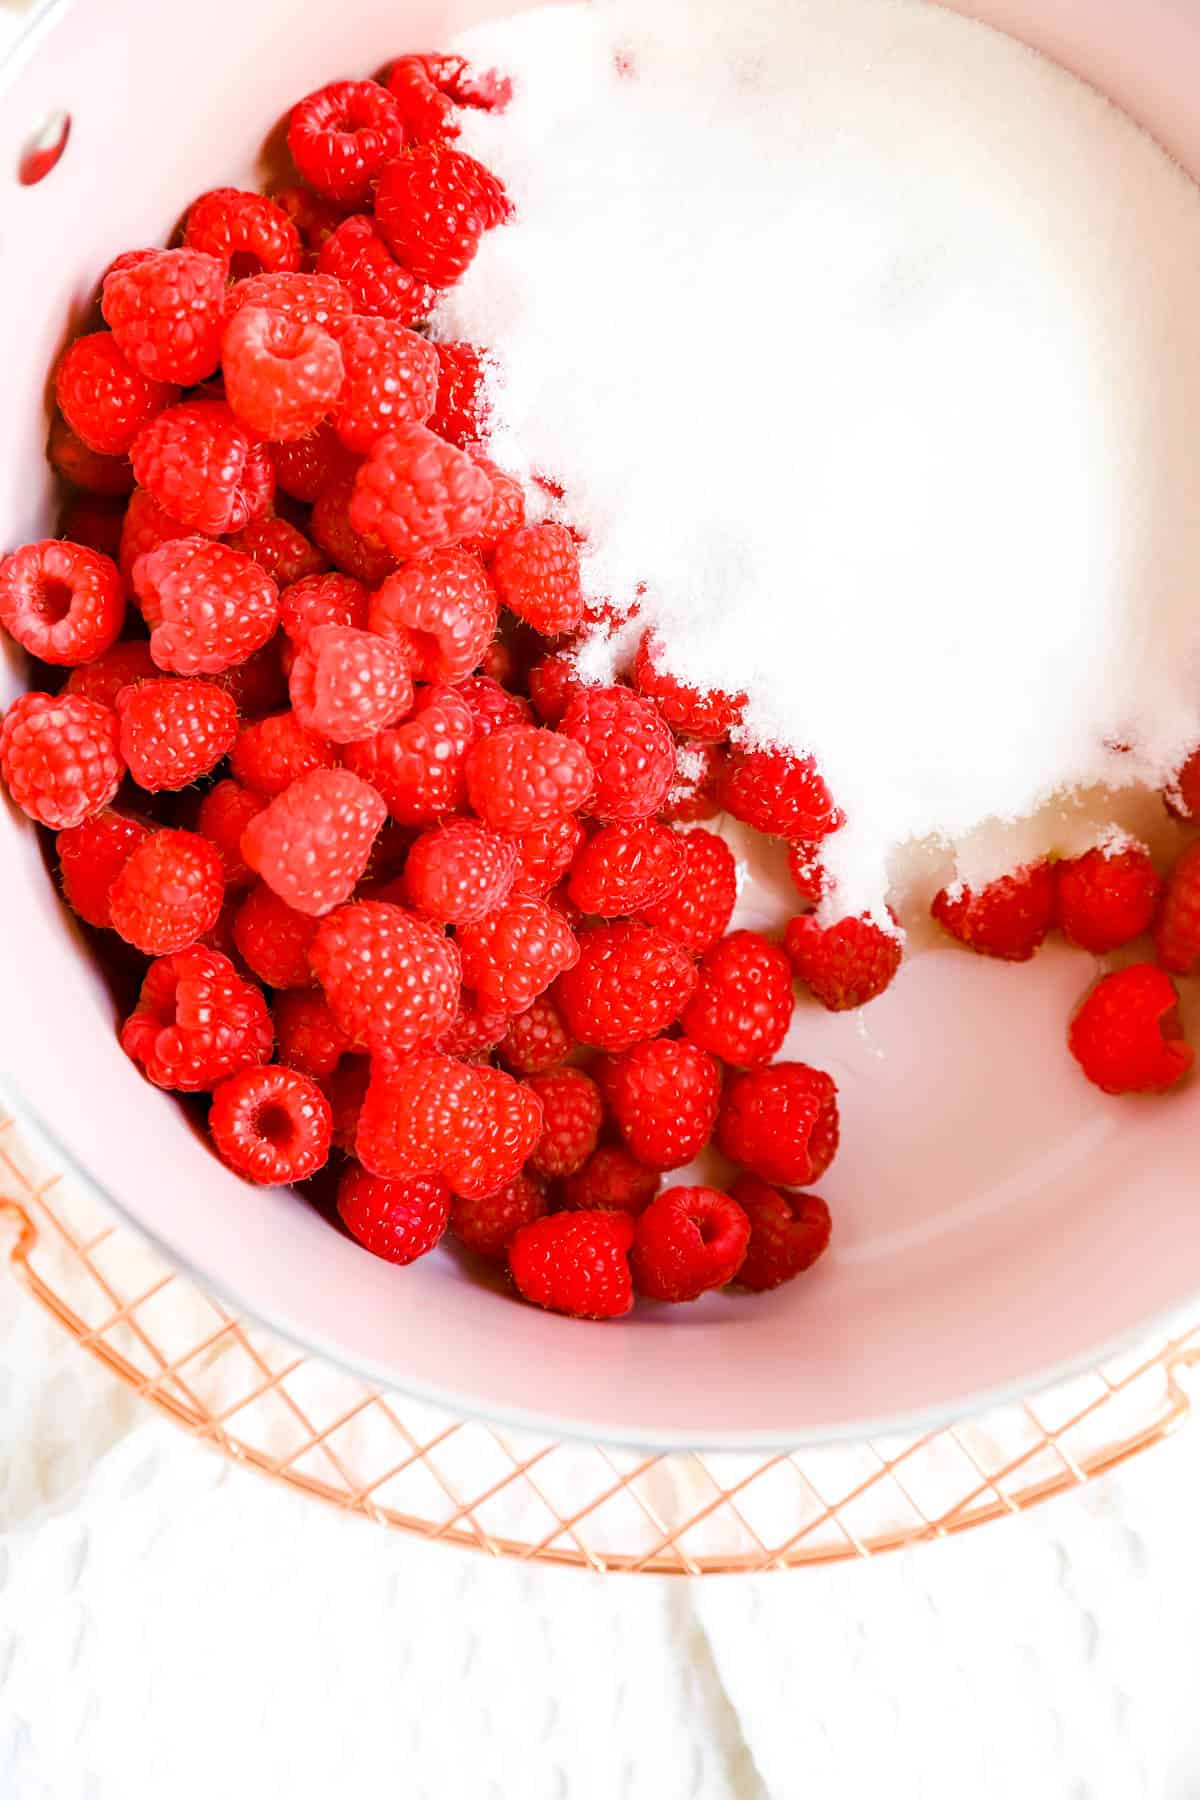
- Crush fruit to make a slurry with the other ingredients. Since we're using a quick and direct method of cooking for this recipe, we want to help the berries to release their juices right away. We encourage this by crushing them up, and mixing them well with the sugar which will help to suck out even more of their juices.
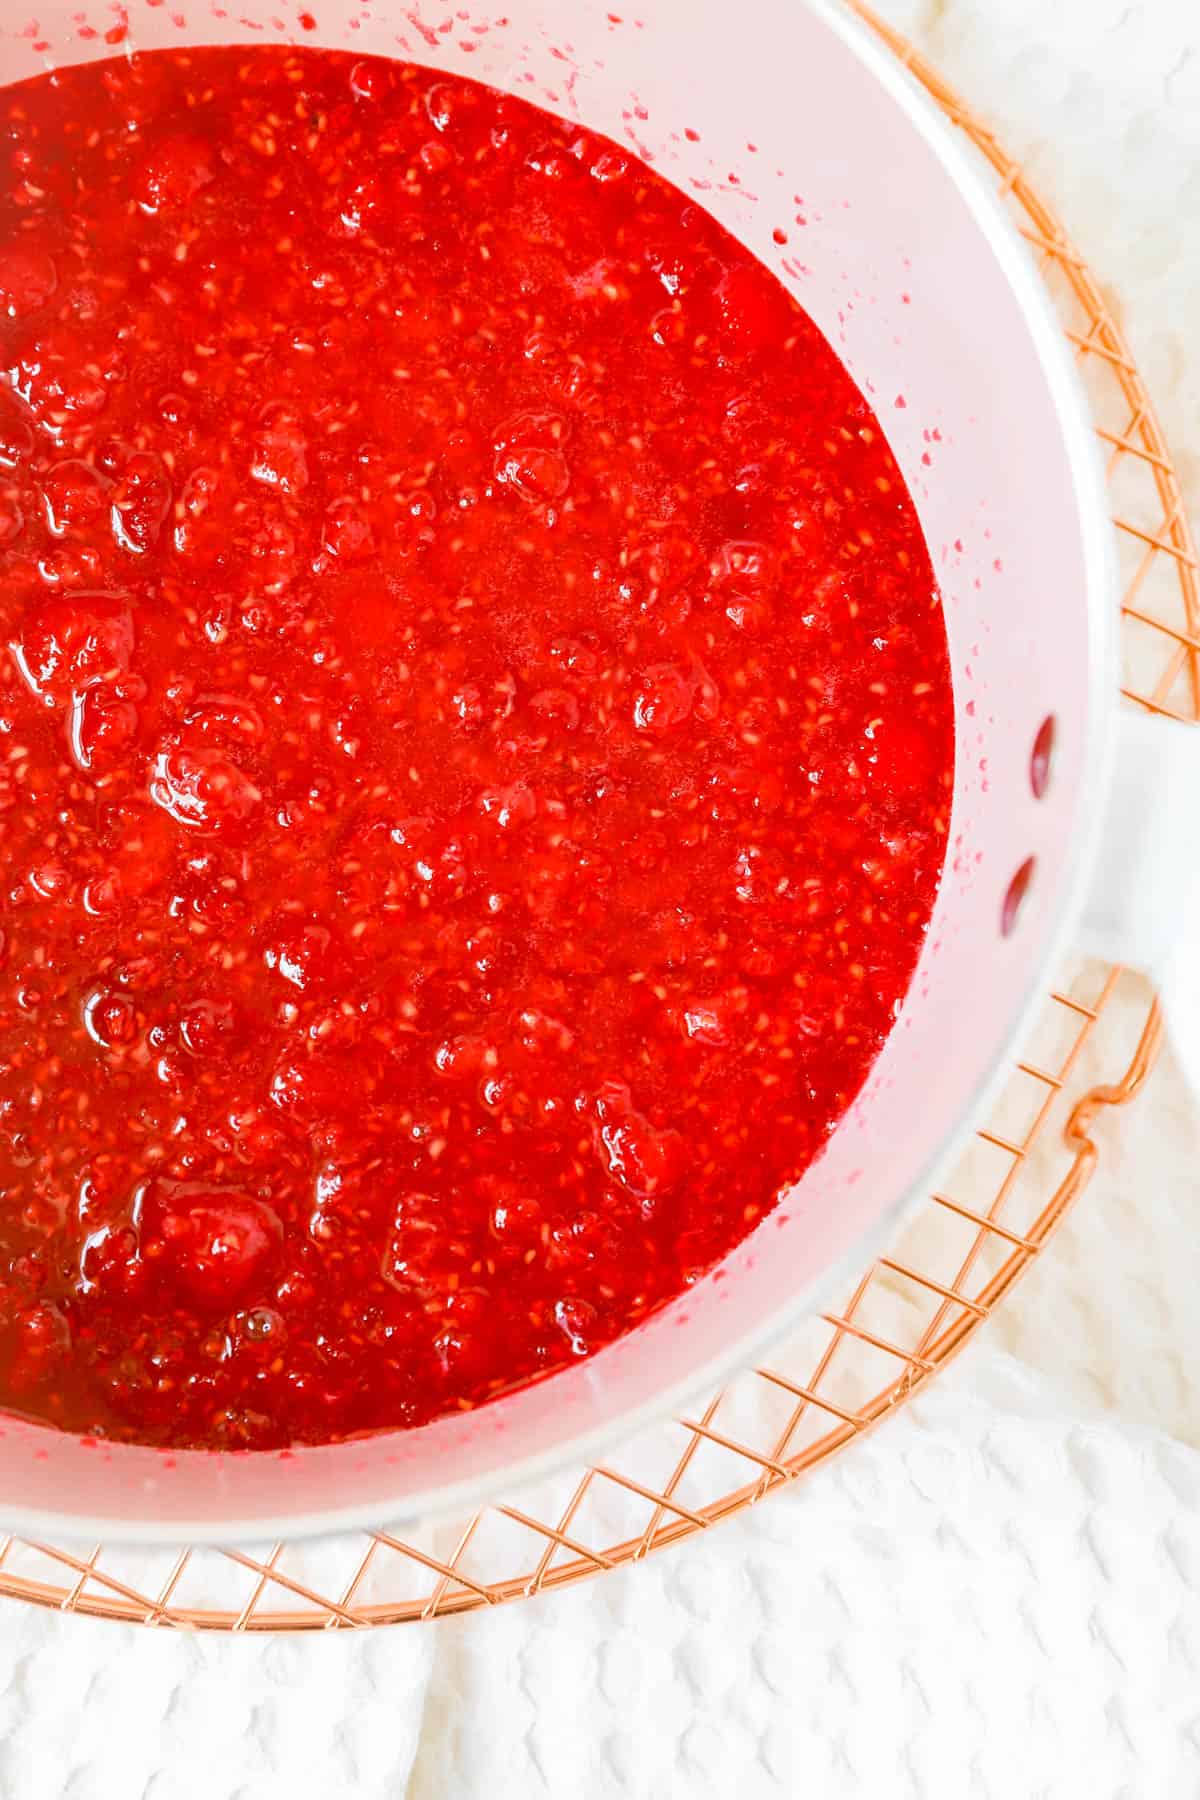
- Heat to a full boil, stirring frequently to prevent burning.
- Maintain a slow rolling boiling (reducing heat as needed). But, keep the jam from popping and splattering excessively out of the pot.
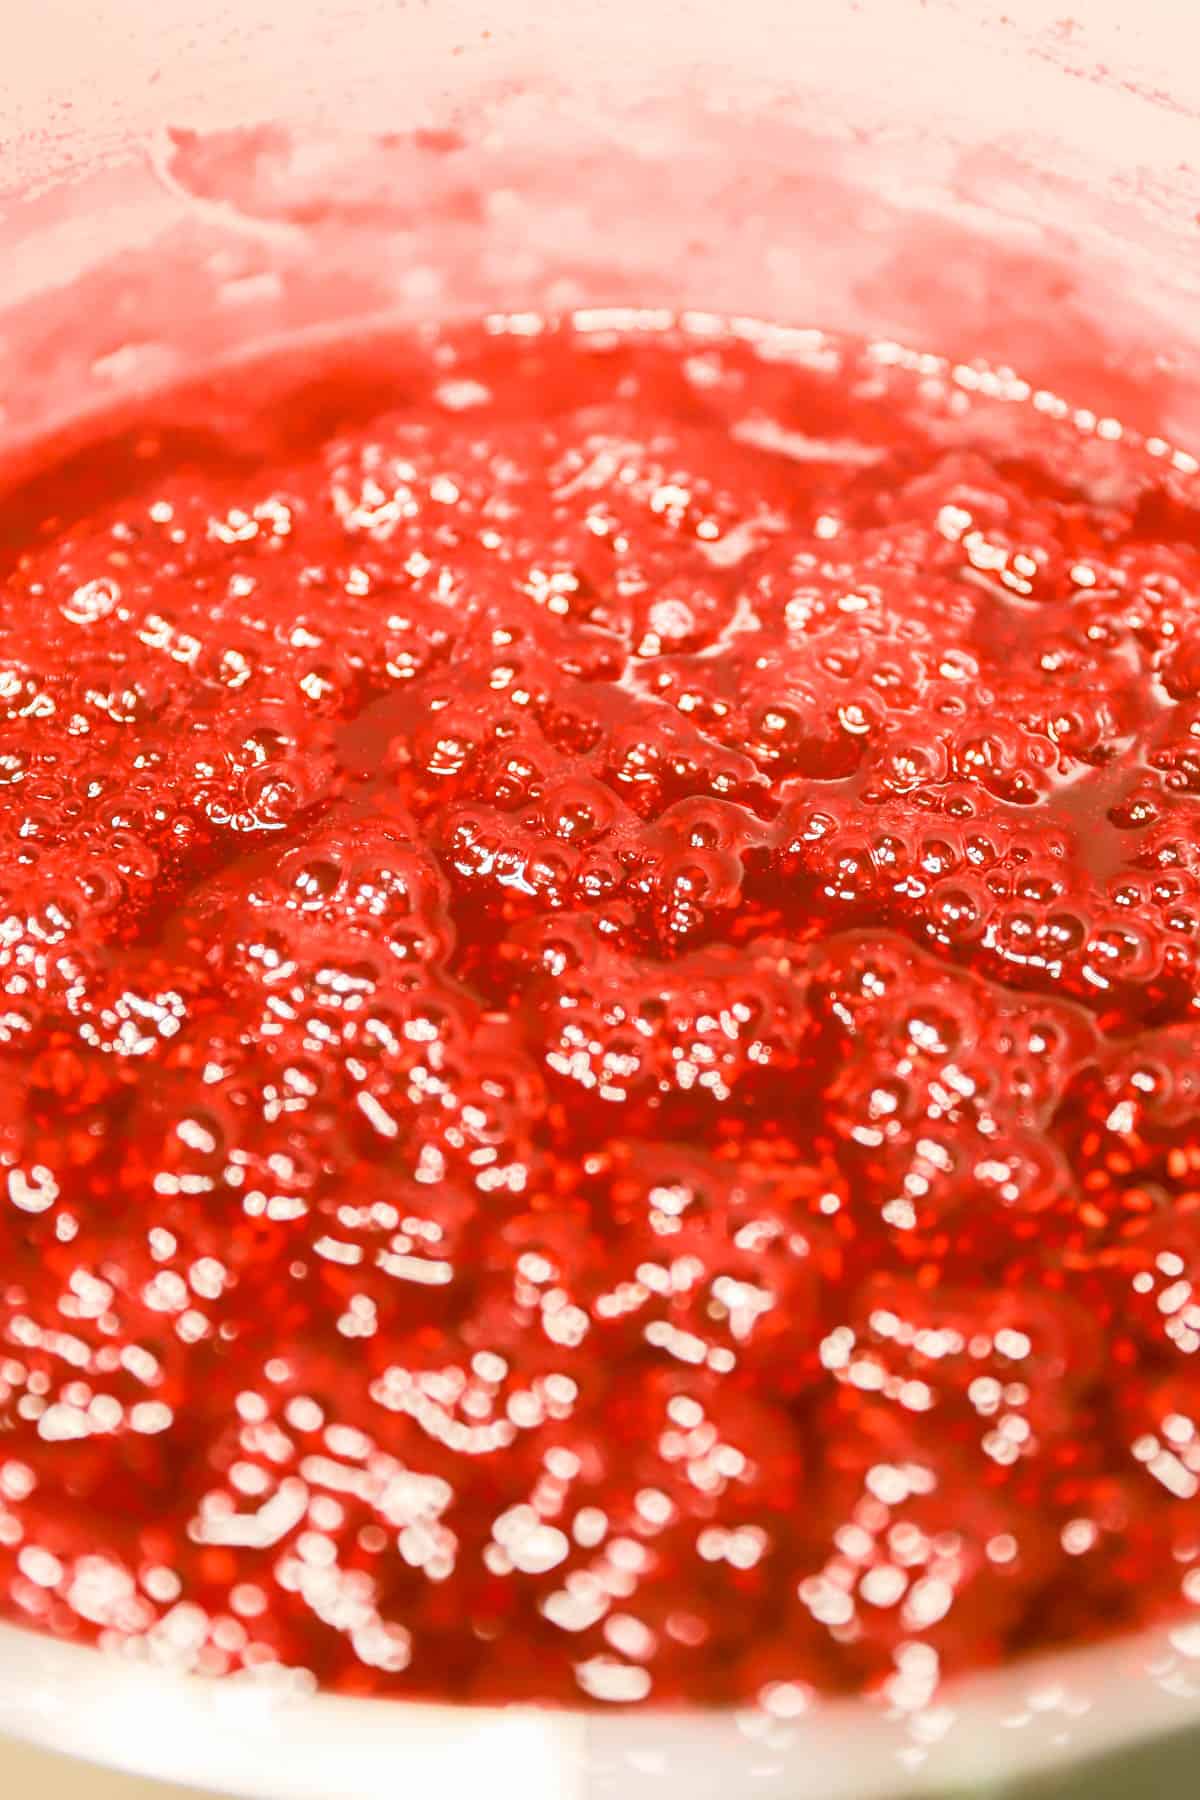
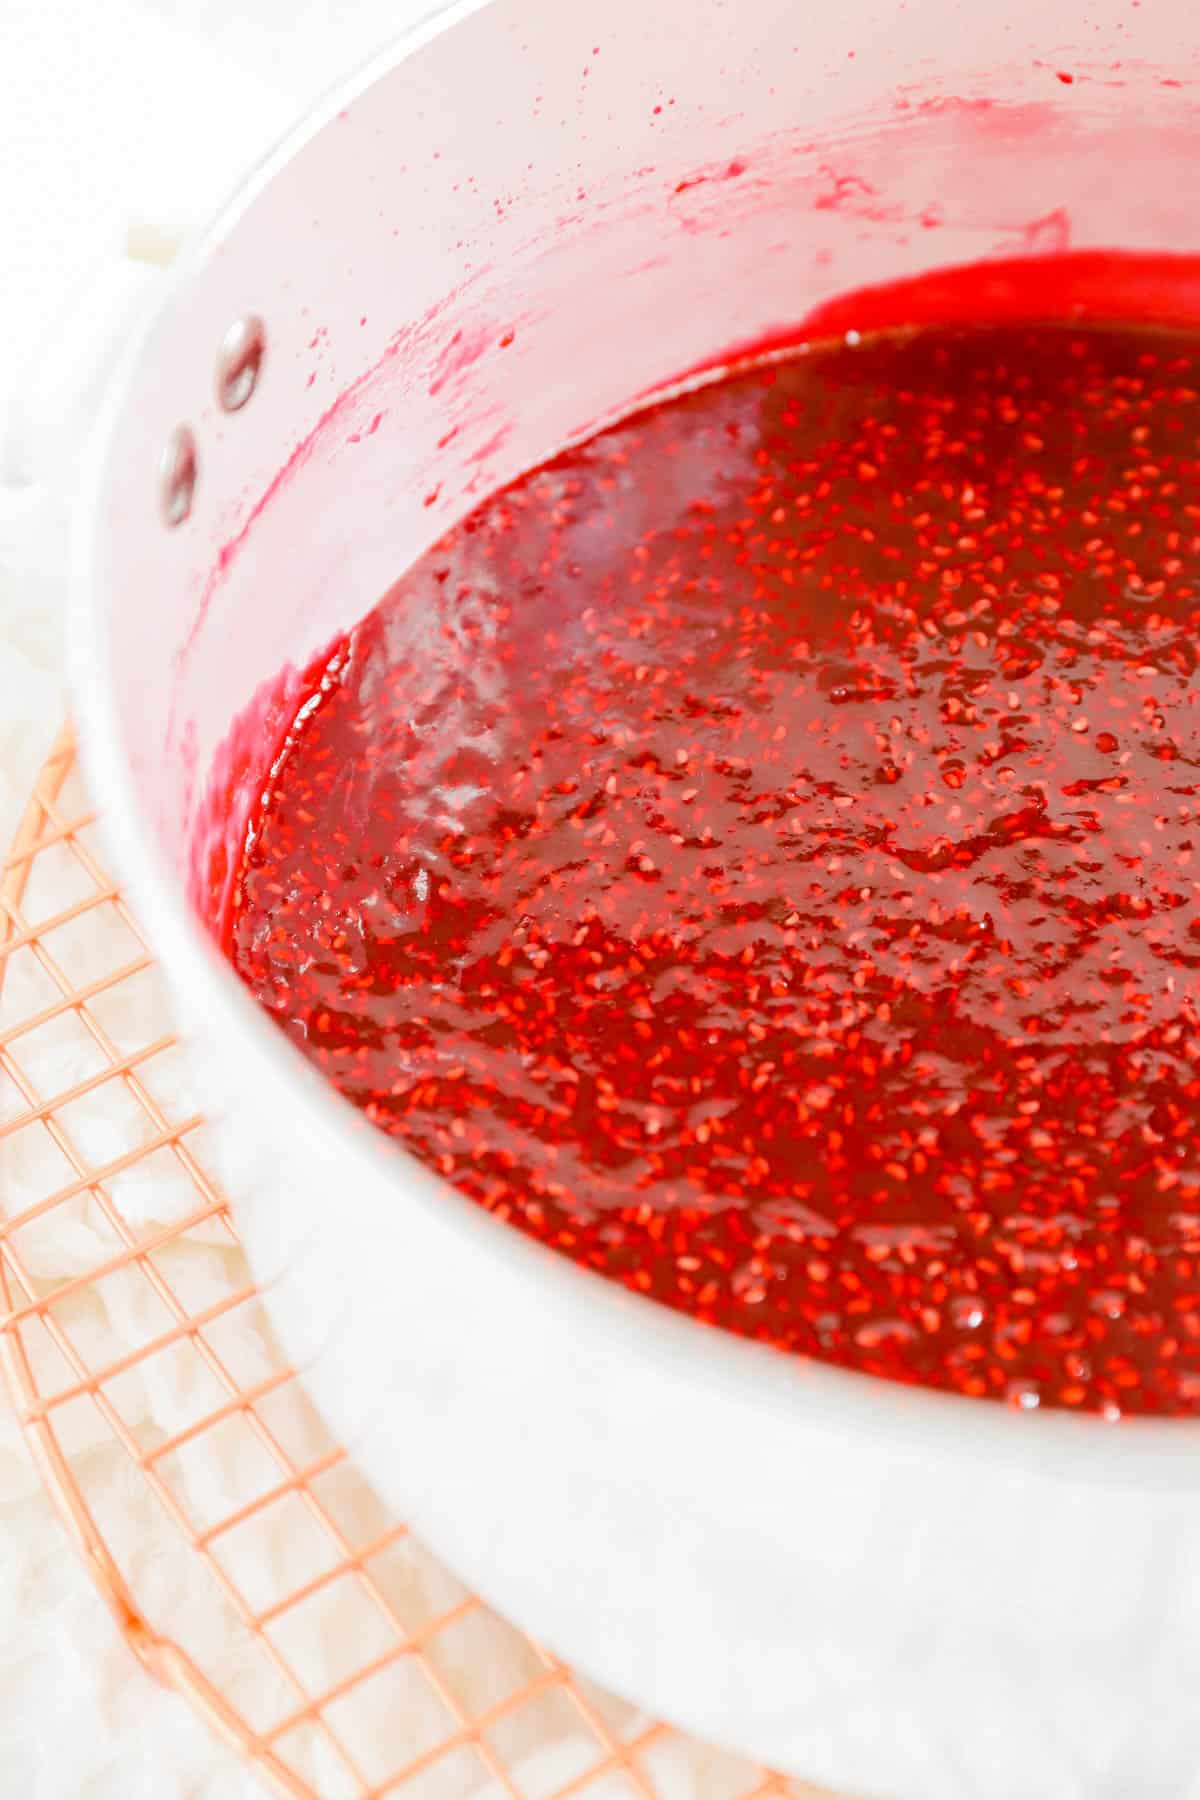
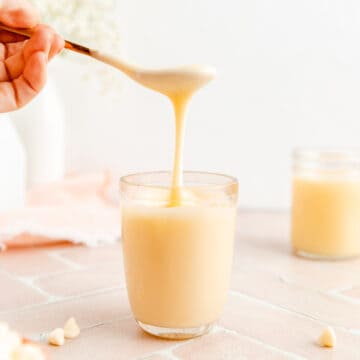
- Cook to temperature (218°F/103°C) or alternatively hold jam at a slow rolling boil for exactly 15 minutes and watch for it to thicken, and the surface to start wrinkling.
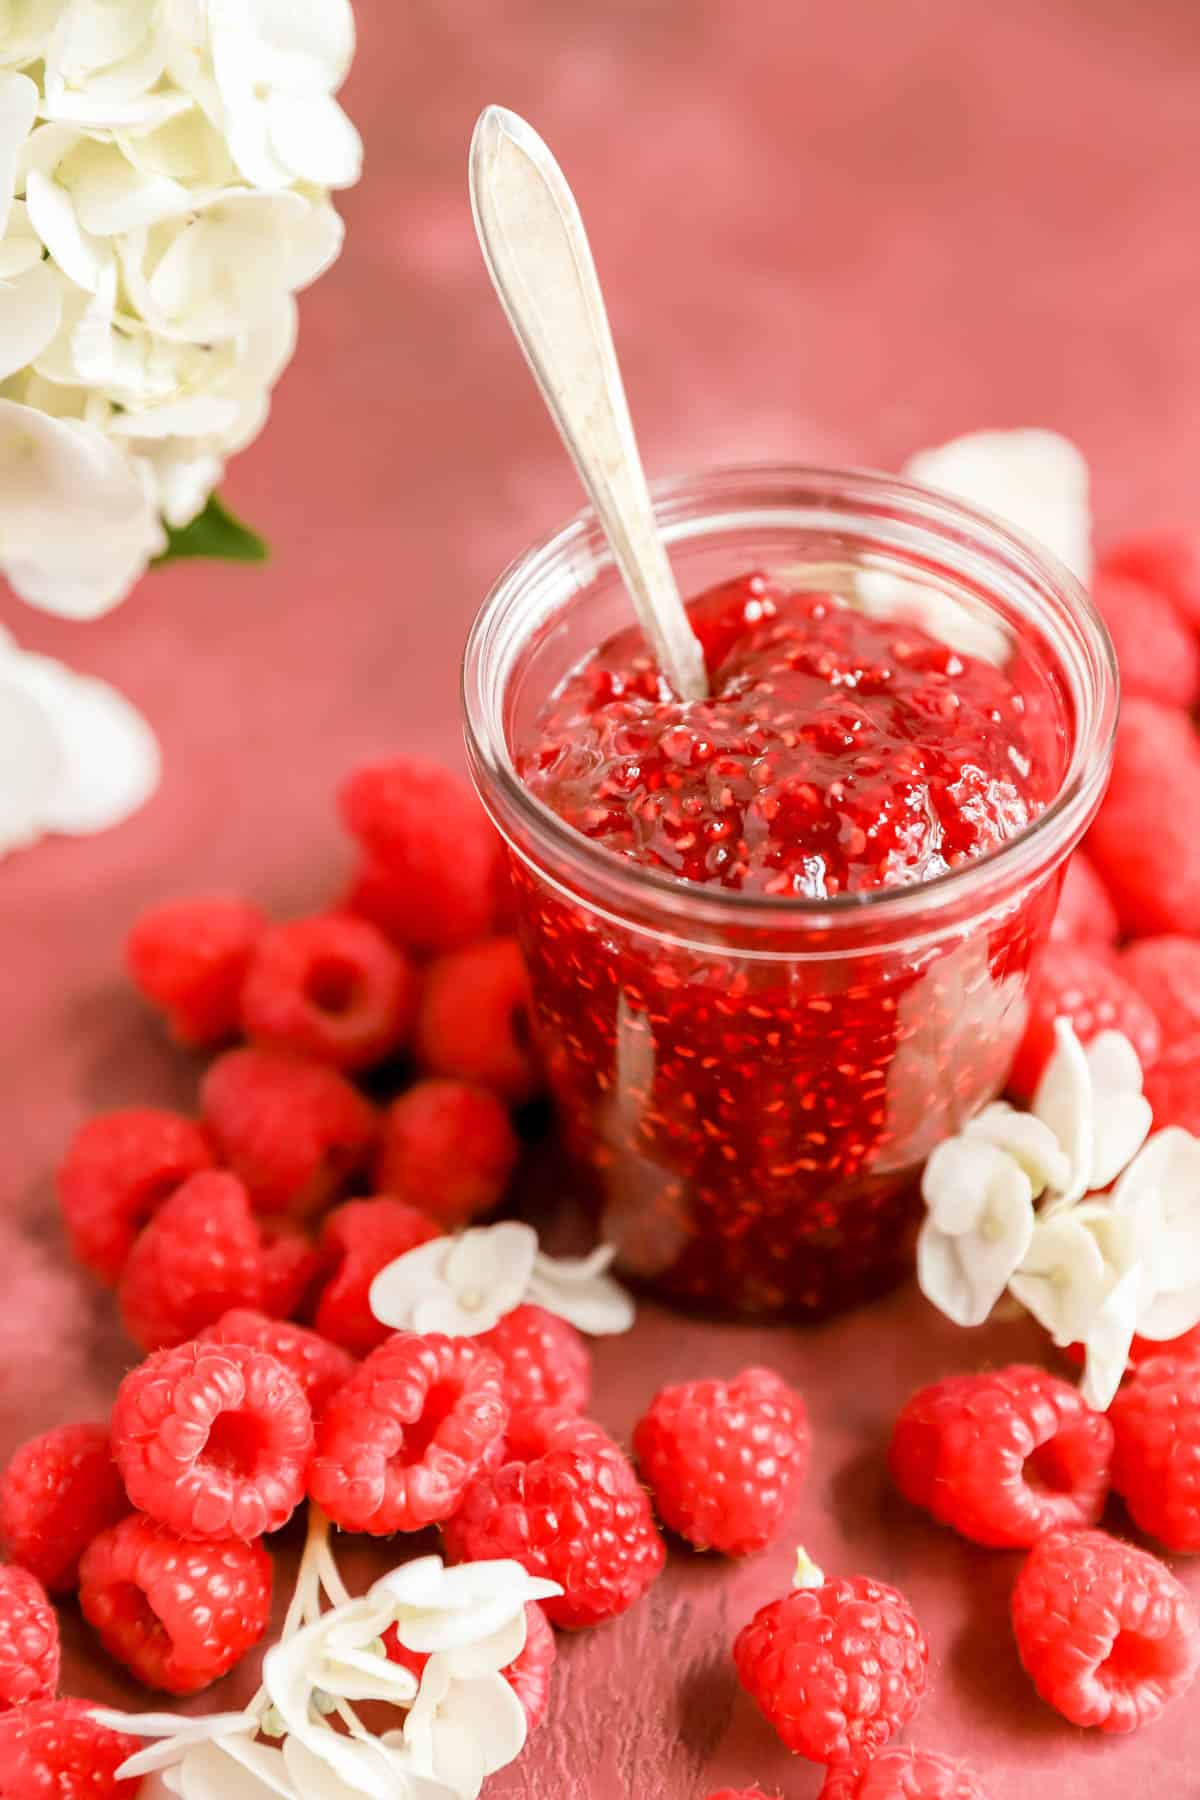
- Can according to your preferred method or allow to cool in a heat safe container. Store in the fridge and enjoy!
Full video tutorial!
So that's the steps in a nutshell, but let's check out the full video tutorial below to see it all in action...
Check out the full RECIPE WEB STORY too for a click-through tutorial!
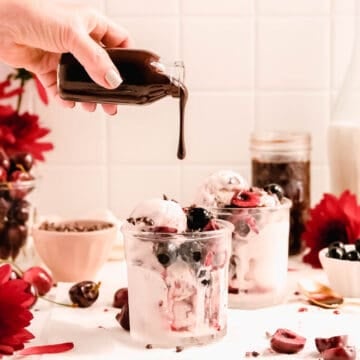
Fun Raspberry Jam Ideas
Now that you've got a bunch of delicious jam, you can use it to...
- Fill butter cookie sandwiches like our Jammy Dodgers
- Bake up a pan of Raspberry Oatmeal Bars with coconut and almonds
- To add a fruity layer to your cakes and fill your cupcakes (it'd be perfect for our Mini Victoria Sponge Cakes and you could swap in for the elderflower preserves in our Jammy Cupcakes)
- Smear it on a slice of my White Chocolate Raspberry Bundt Cake for an extra delicious berry punch
- And why not fill your muffins with some tasty jam too! This jam would add a fun double berry twist to out Strawberry Jam-Filled Mini Donut Muffins
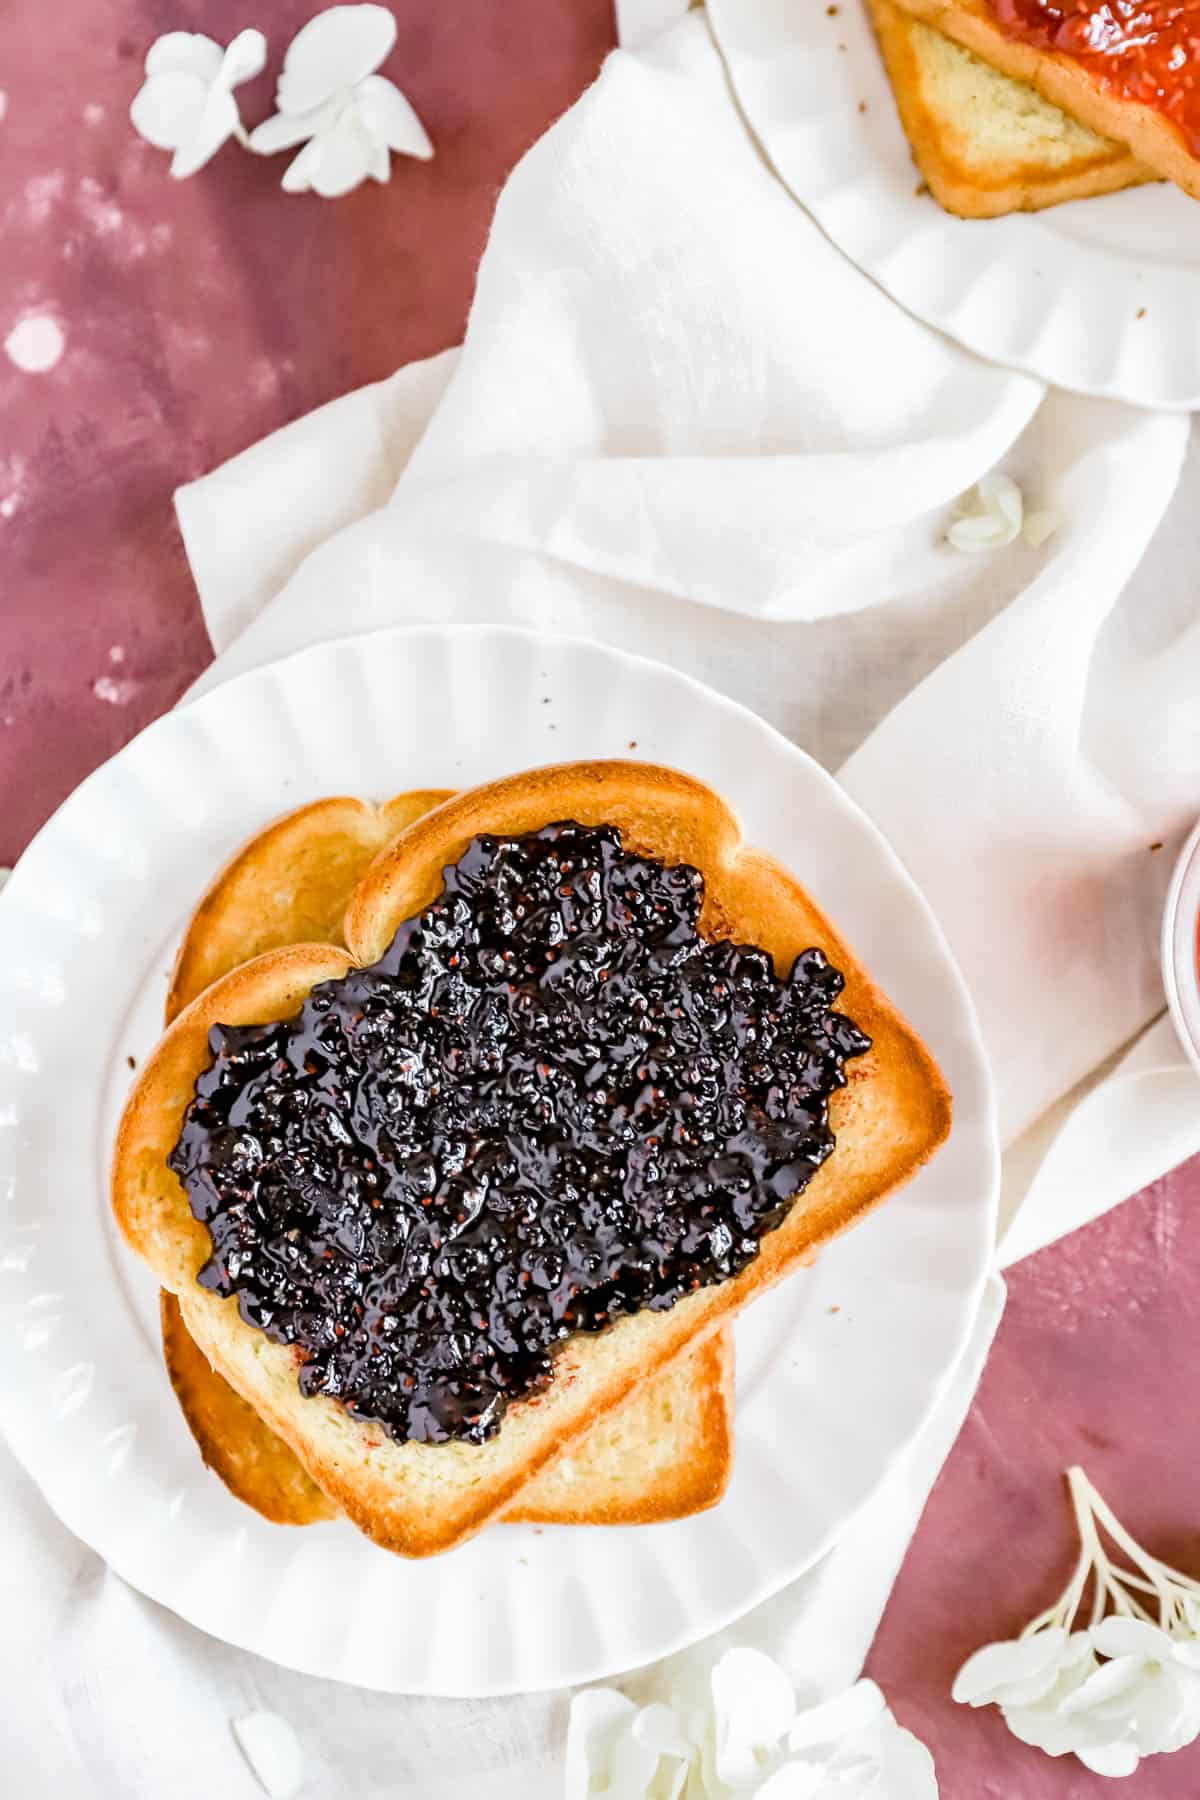
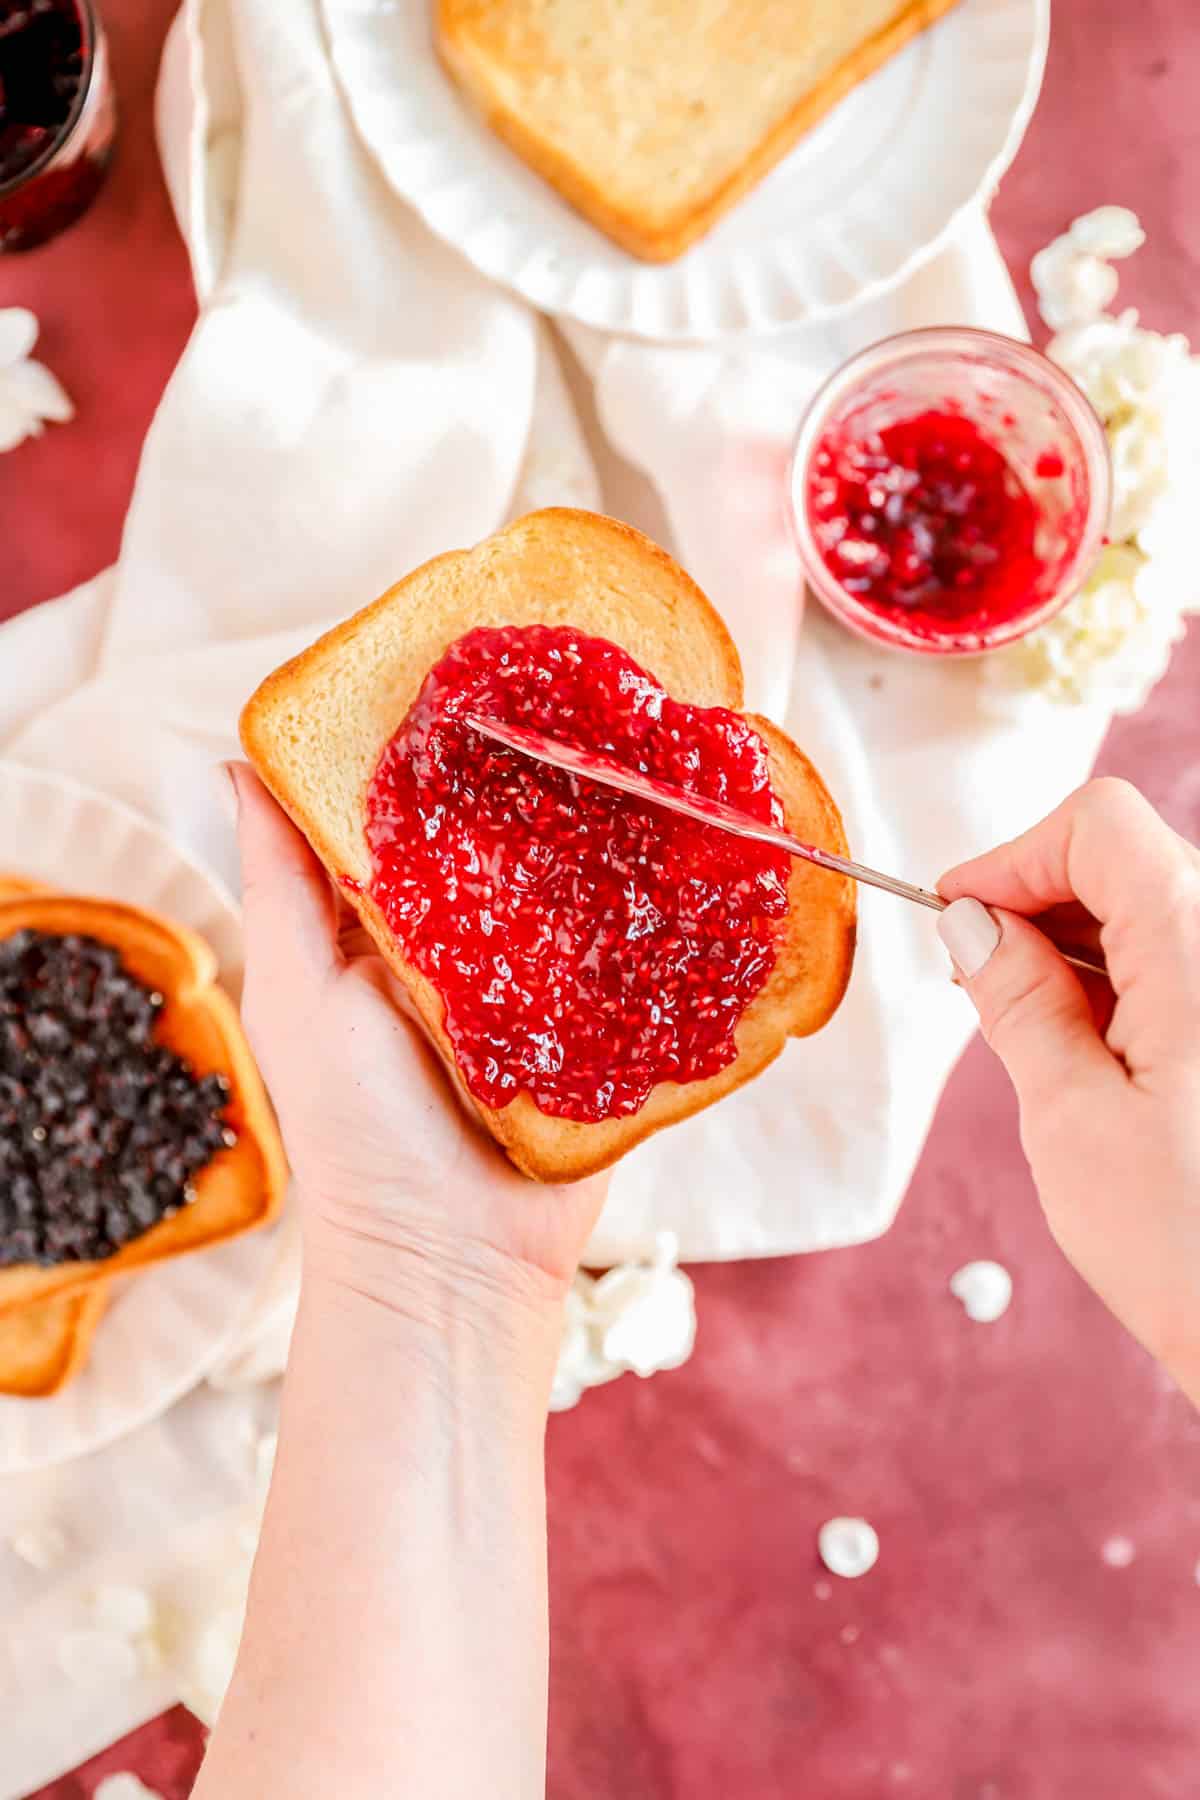
- Take breakfast up a notch by slathering it on your favorite slice of toast or muffin. Or mix it into your yogurt or cottage cheese!
- And there's always the classic PB&J which would be made even more delicious using this jam!
*Expert Tips and Tricks* for Better Baking
What's the TOP TIP for making the best homemade jam?
Really watching your jam throughout the full cooking process. I know it's tempting to walk away from the stove, but by doing a little Zen meditation with a slow and steady stir throughout the full boil of your jam, you'll really be able to see the texture change and you will be confident when it's done because you'll actually be able to see it getting jammy.
How long will homemade raspberry jam last?
Many people like to preserve their jams so they last for months by canning them using a high-heat or pressure seal (see next question for more on that). If you're planning to use your jam fresh without any canning, it will last for 2-3 weeks, stored air-tight in the refrigerator.
Can I use other types of berries? What about frozen berries?
All berries have different levels of pectin and require different ingredient ratios to set well. So while you can feel free to use red raspberries, black raspberries (typically wild), or golden raspberries in this recipe, I wouldn't recommend using any other berries like a blueberry or blackberry as it hasn't been tested with those fruits. And as for frozen berries - go right ahead! Just make sure you thaw them to fridge or room temperature before you start your cooking to keep the cook time accurate.
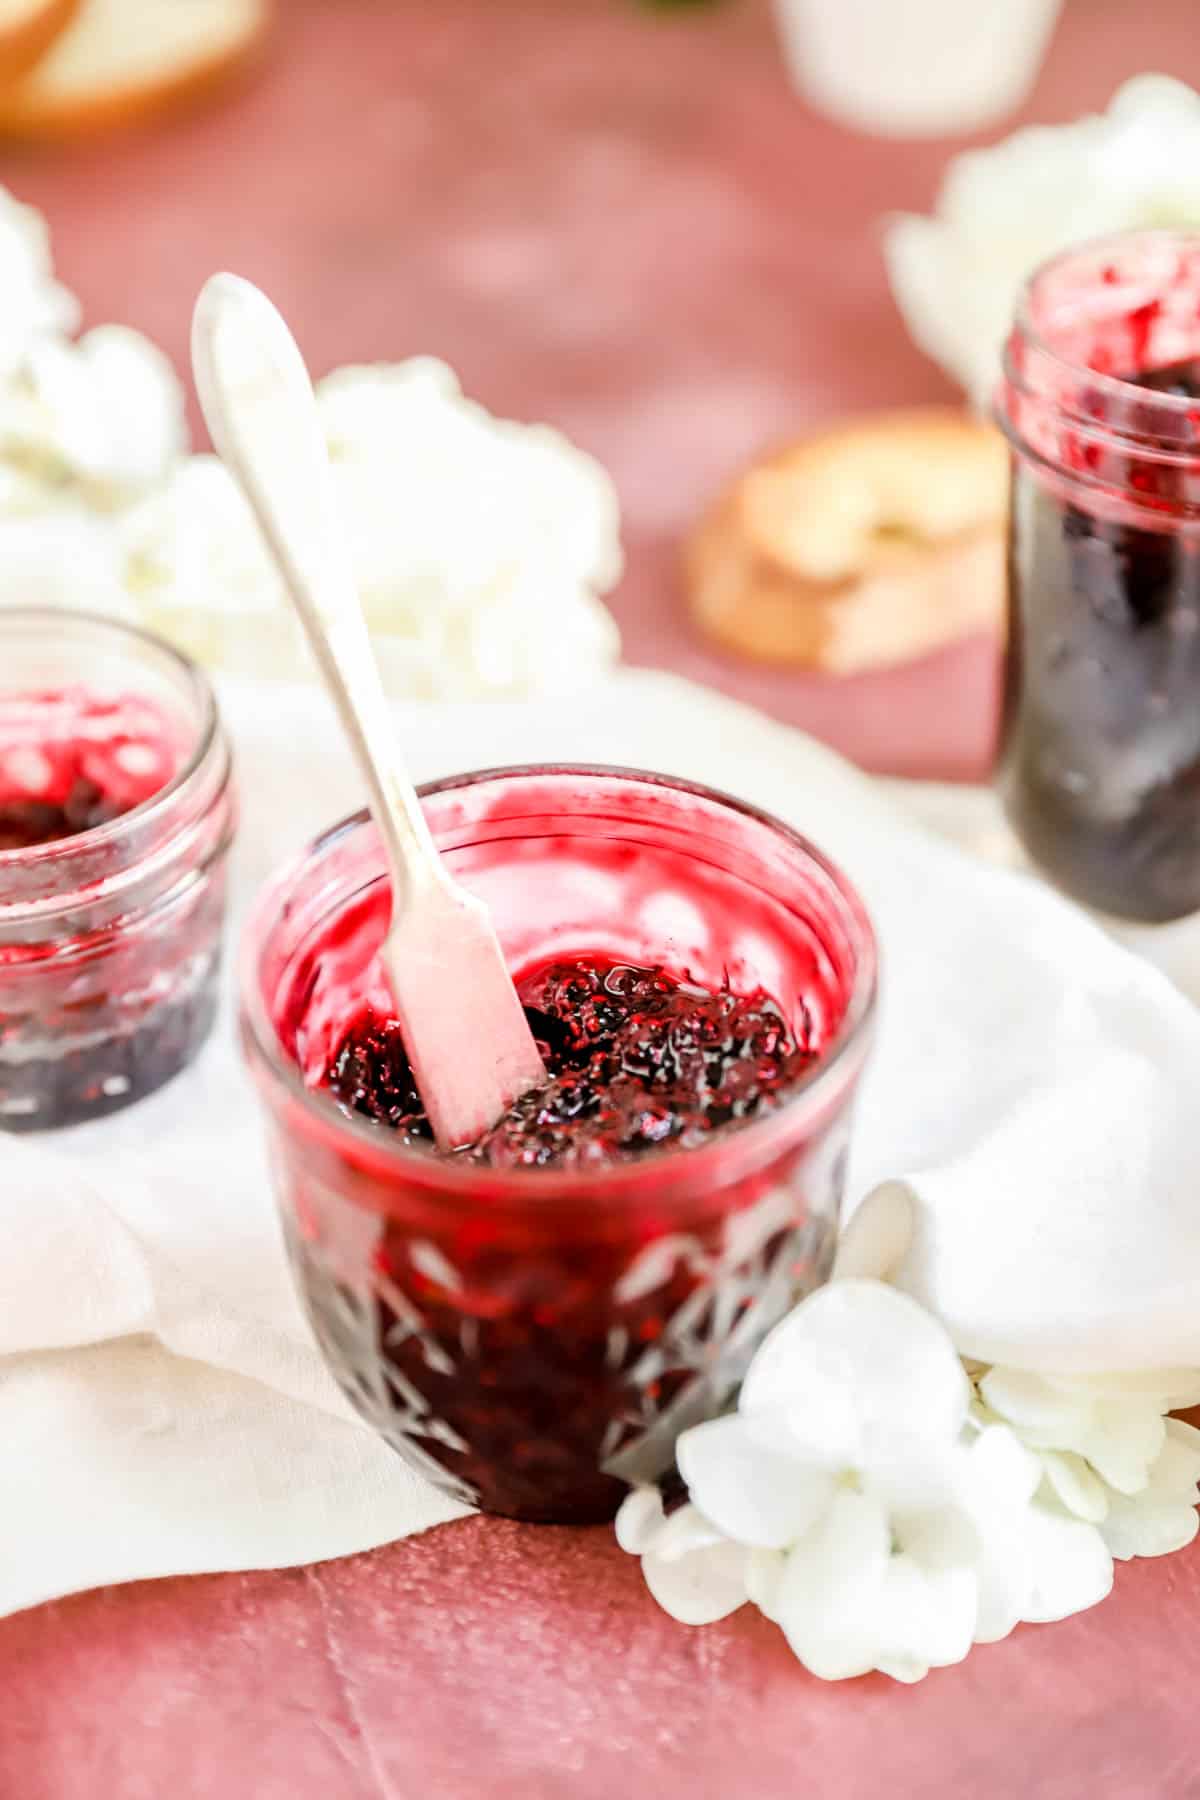
On the left in the photo below you'll see blackberries which are bigger and darker. On the right are wild black raspberries which are much smaller and usually redder, and those are what you want for this recipe!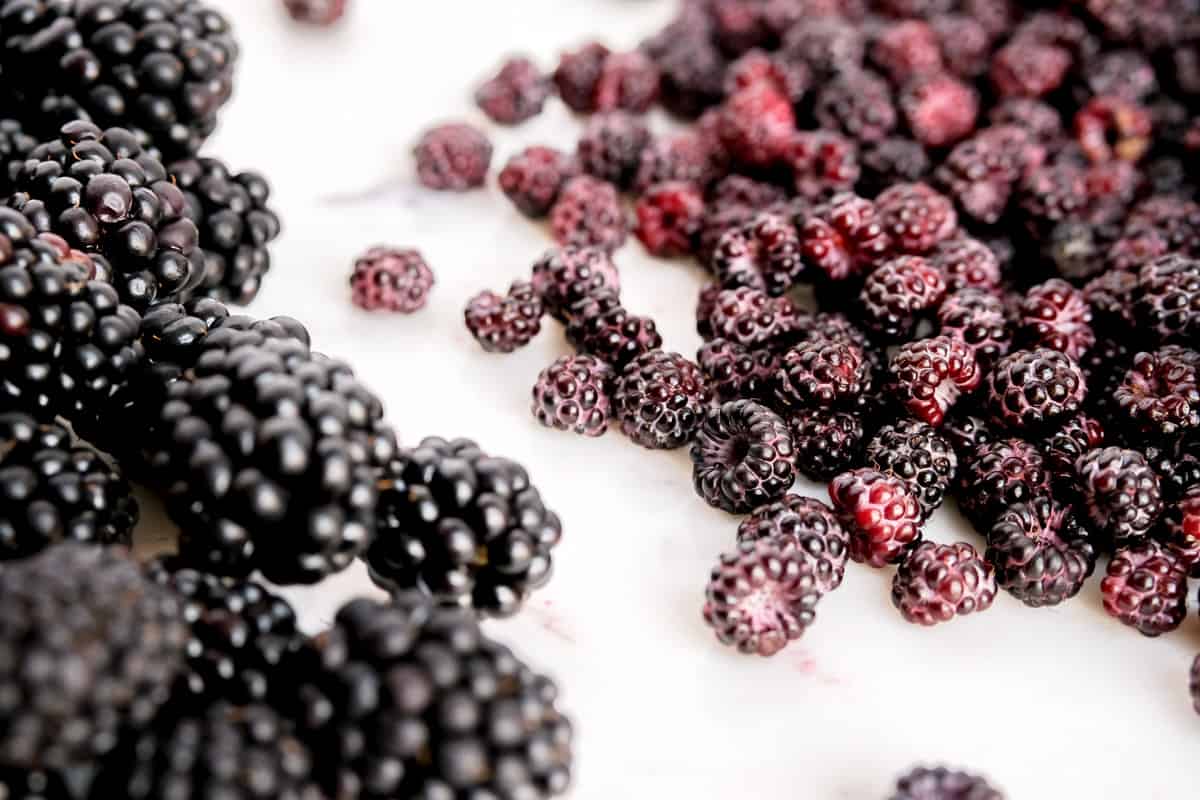
How do you can raspberry jam?
Canning is a practice I take very seriously as it does involve people’s health and well-being, and I am by NO means an expert. So I’ll send you to the people who are! If you’re interested in canning and preserving your jam for an extended period of time, please check out the Ball company website which has great canning guides. If you do can this jam, it makes a beautiful hostess gift year-round and I have never had anyone not love this recipe as a gift for Christmas. It's beautiful color is matched by an amazing flavor which makes it a crowd-pleaser for any occasion!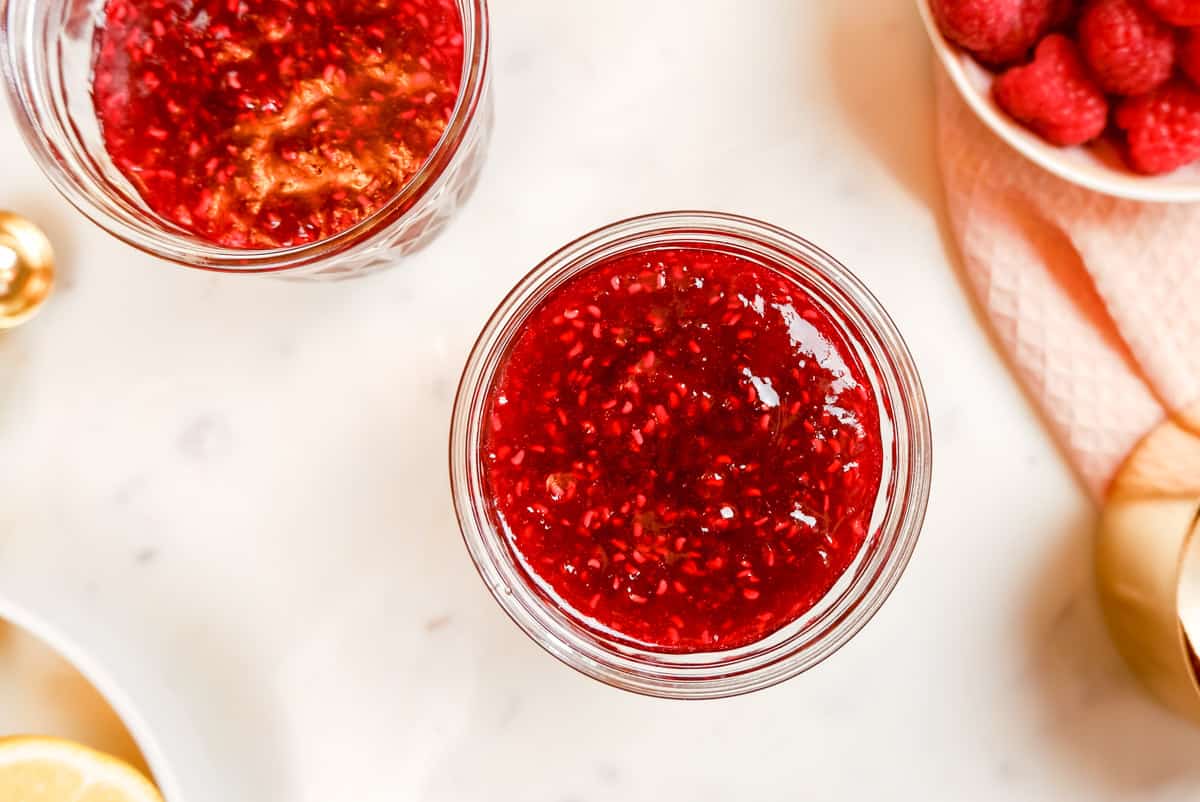
Can I use brown sugar instead of white sugar?
Brown sugar has a lot of impurities in it that can muddy your jam, so you'll want to stick with clean white granulated sugar for this recipe.

Other Recipes You'll Love

⭐ If you gave this recipe a try please give it a ⭐ rating and tag me on Instagram @mint.and.mallow.kitchen so I can see what you're baking up! ⭐
📖 Full Recipe
French Red or Black Raspberry Jam (no pectin needed!)
Instructions
- Add ingredients to the pot: place all ingredients in a large pot so that it’s less than half full with everything in it (this helps to allow room for splattering when the jam starts to boil).
- Crush fruit to make slurry: throughly crush raspberries using a fork, spatula, or potato masher and stir together the crushed fruit and sugar and lemon juice until you have a thick slurry.
- Heat to a boil: turn on heat to medium-high, and bring to a boil, stirring slowly with a heat proof spatula. Continue to crush fruit as it heats to encourage it to release its water.
- Maintain a slow rolling boiling: once at a full rolling boil, turn the heat down slightly to maintain the rolling boil, but keep the jam from popping and splattering excessively out of the pot (be careful - the jam specs that fly off the bubbling surface are very hot and can burn you!).
- Cook to temp: continuing boiling for 15 minutes, stirring frequently and scraping the bottom of the pot to prevent burning. Stirring is important for encouraging the water to evaporate off (that’s the steam you see), but don’t stir too quickly as that will cool the mixture and delay the cooking process. You’ll see the jam significantly thicken on your spatula over the 15 minutes, it will foam and then the foam will dissipate, and when it holds at 218°F (103°C) or above for at least 10 seconds, your jam is ready. (See notes if you don’t have a thermometer).
- Store and enjoy! Remove jam from heat, then can according to your preferred method to preserve (see notes). If using immediately and not canning, simply transfer to clean jam jars (typically mason jars), and allow to cool to room temp before capping and storing in the fridge until use. Keep in the fridge for up to three weeks and enjoy on toast, sandwiched between your favorite butter cookies and layer cakes, or swirled into your morning yogurt - the sweet possibilities are endless!
Test Kitchen Tips
- Thermometers: I highly recommend purchasing an instant-read thermometer if you’re serious about baking at all, but especially if you’re serious about jams. That said, if you don’t have one, go by the time in the recipe (15 minutes), and keep a plate in the freezer while your jam cooks. When you see the jam significantly thickening on your spatula and you’re at fifteen minutes of boiling, place a few drops on the frozen plate and return it to the freezer immediately. Wait 1-2 minutes and by 2 minutes, if you push in on the edge for the jam blob, you should see it start to wrinkle or that the blob is fully gelled and set (you may even see this wrinkling on the surface of the jam in the pot). This means your jam is ready. If it’s still liquid after 2 minutes in the freezer, continue cooking, rechecking with a fresh spot on the frozen plate every minute or so.
- Canning you jam: canning is a practice I take very seriously as it does involve people’s health and well-being and I am by NO means an expert. So I’ll send you to the people who are! If you’re interested in canning and preserving your jam for an extended period of time, please check out the Ball company website which has great canning guides.
Susan says
Can I freeze this ?
Jocelyn at M+M says
Absolutely, Susan! It'll keep well in the freezer for up to 3 months. Happy baking!
Charlotte Bartos says
I picked our black raspberries before vacation and froze them. Should I thaw them before I start the process of jam?
Jocelyn at M+M says
Great question, Charlotte! No need to defrost at all since we're already heating them up on the stove. You'll just have an extra minute or two of heating at the beginning since your berries are starting from frozen before you'll be able to smash them up well, but other than that, you can follow the recipe as written. Happy jam cooking!
Sandi says
Absolutely delicious and easy to make. Thank you!
Jocelyn at M+M says
So happy you enjoyed this recipe, Sandi, and thanks for taking the time to let me know! Easy and delicious is always the best combo in my book - happy baking!
AMS says
This is an excellent recipe! I used my own black raspberries- the first time I have had enough to make a sizable batch of jam. Follow the directions. I tested at 8 and 10 minutes and finished at 12. The recipe made 2 1/2 cups with some left over for breakfast tomorrow. Follow general directions for canning jam. This recipe is a keeper! Thanks!
Jocelyn at M+M says
I'm so happy to hear that and very jealous of your personal supply of black raspberries which are my absolute favorite! I hope this recipe helps you enjoy them for many months to come and thanks so much for taking the time to post a review!
Merrilee says
I haven't tried this yet. How sweet is it? I am looking for tart.
Jocelyn at M+M says
Hey Merrilee! I'd say it has a good balance of sweetness and tartness and isn't too far on either end of the spectrum, but honestly, a huge part of that is going to depend on how tart your berries are at the start. Hope that helps and happy jam-making!
Jennifer says
Can I use black raspberries that I have already strained out the seeds? If yes, how much strained pulp should be used?
Jocelyn at M+M says
Thanks for asking, Jennifer! I honestly have never tried it with just seedless pulp and I can't say I'm confident it would work unfortunately. The reason for this is that the pectin naturally contained in raspberries is stored primarily in the seeds. By removing the seeds, you'd be removing most of the natural pectin in this recipe, and as we're not adding any extra in, I have a feeling your jam wouldn't set. All that to say, if you'd like to make a seedless raspberry jam (which is absolutely possible), I would seek out a recipe written for the pulp as it will likely have some extra pectin added in there to make sure you have a nice thick jam in the end. Hope that helps!