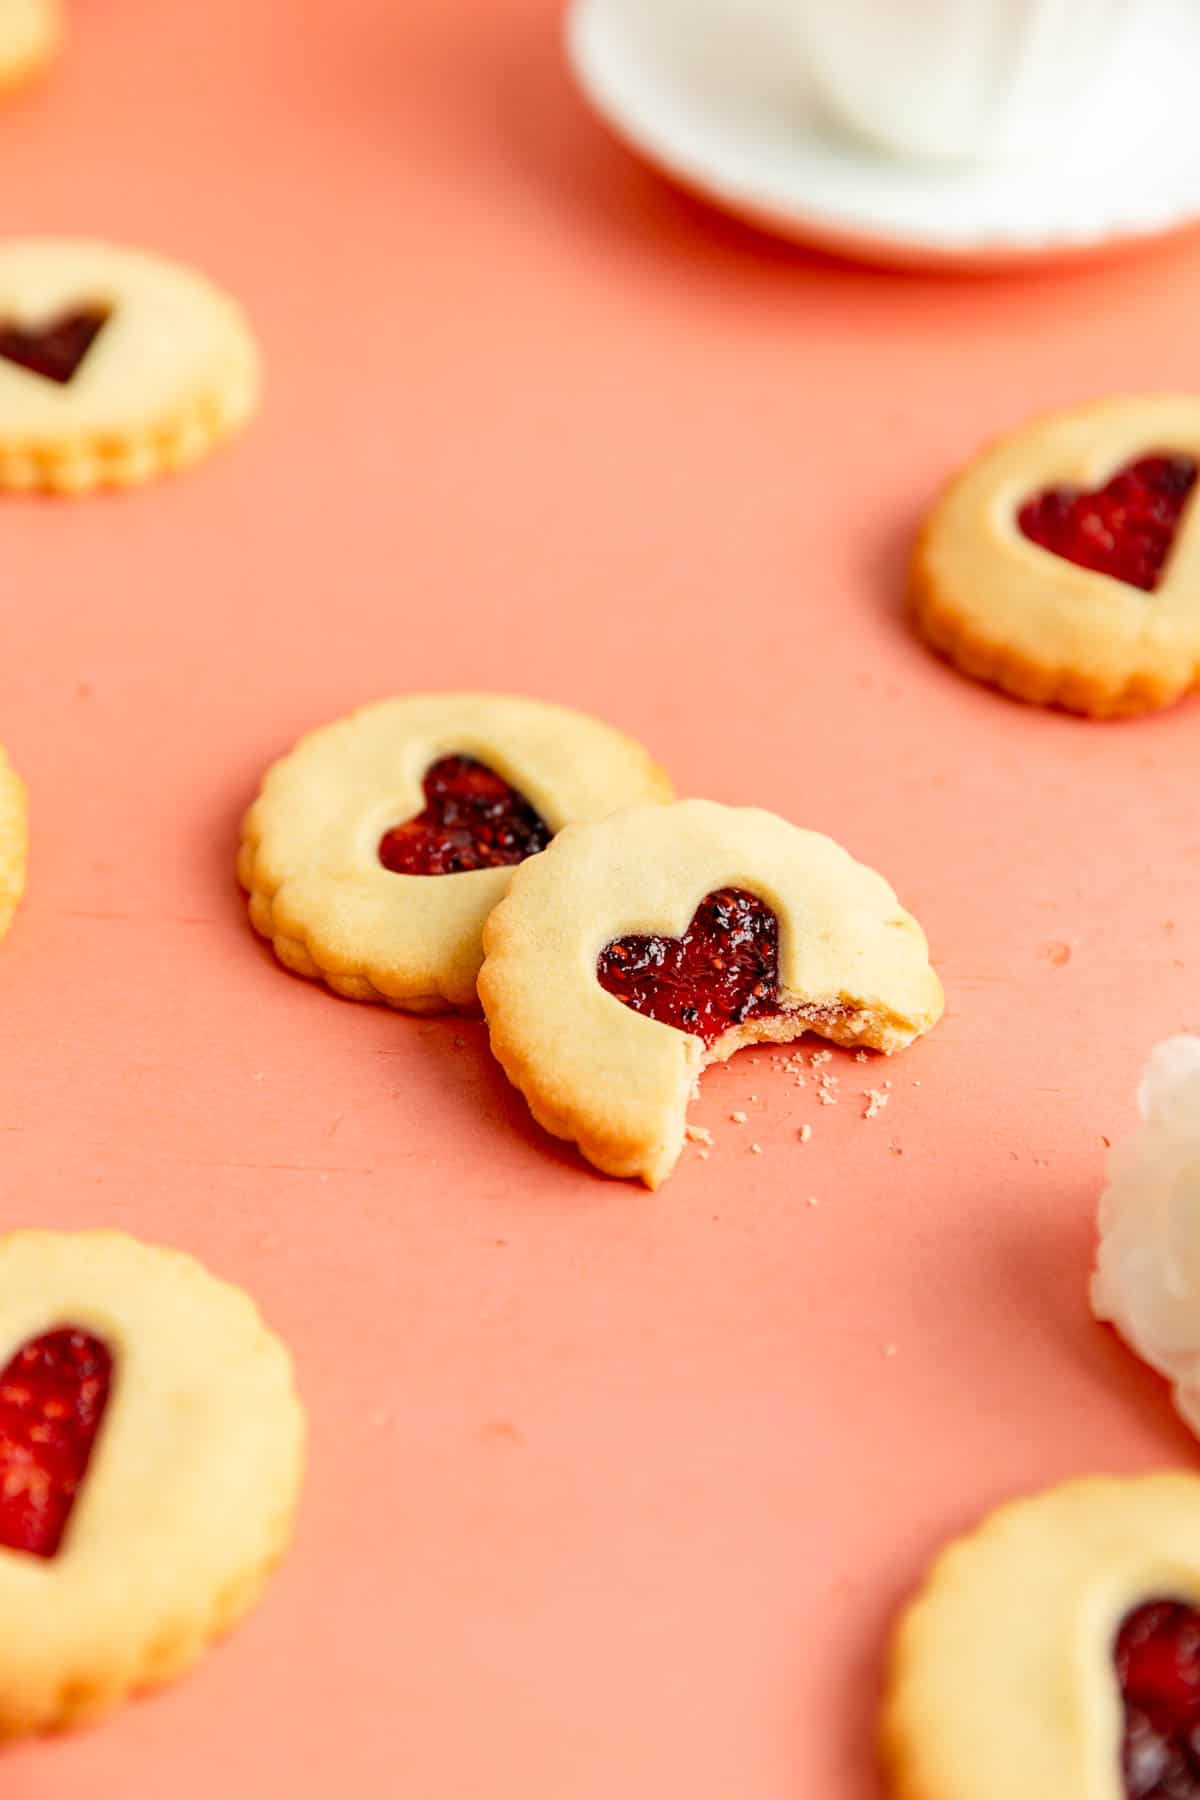
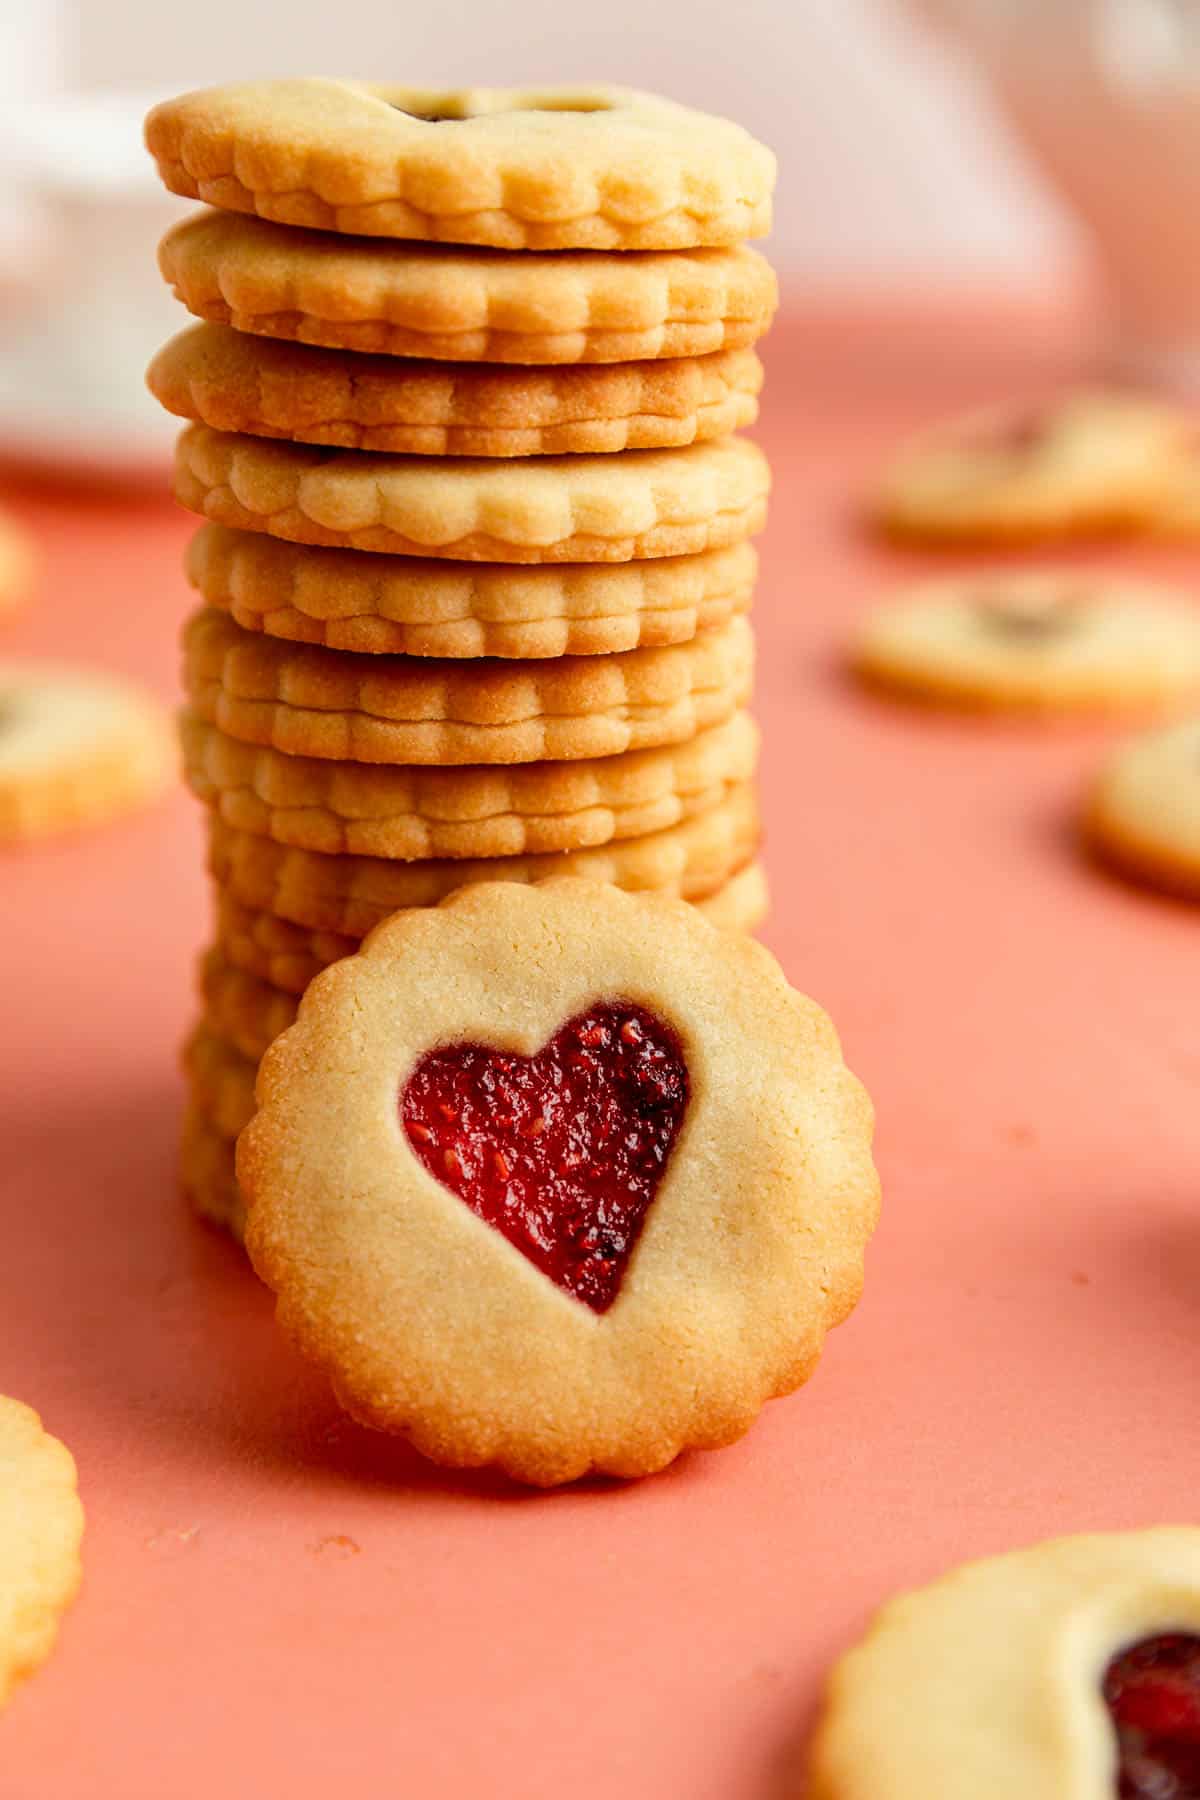
You can't find a more classic pairing than butter cookies and jam. And this homemade take on the classic British Jammy Dodger, with two tender raspberry filled shortbread cookies, and a little heart cut-out on top, will have you feeling all the love!

Jump to (scroll for more!):
The Magical Effects of Jammy Dodgers
If I'm being honest, there’s never a bad time of the year to enjoy the always-classic Jammy Dodgers. But their classic heart cut-out makes them so naturally appropriate for a love-filled holiday, that you can’t help but make them for your Valentine.
There's something about the men in my life and their love of these cookies that I can not explain. I can personally attest to the fact that my husband has eaten entire batches of these cookies on his own. My father-in-law has claimed they are his absolute favorite as well. Aaaand, my grandfather and dad always grab them off our Christmas cookie trays first too!
With two thin layers of rich, tender shortbread cookies and delicious raspberry jam sandwiched in the middle for the perfect red pop of color, I know you’ll be feeling the love from anyone you share these tasty treats with too!

Ingredient Tips for Better Baking
(Pssst…if you're ready to just get baking, get all the details in the recipe card below!)
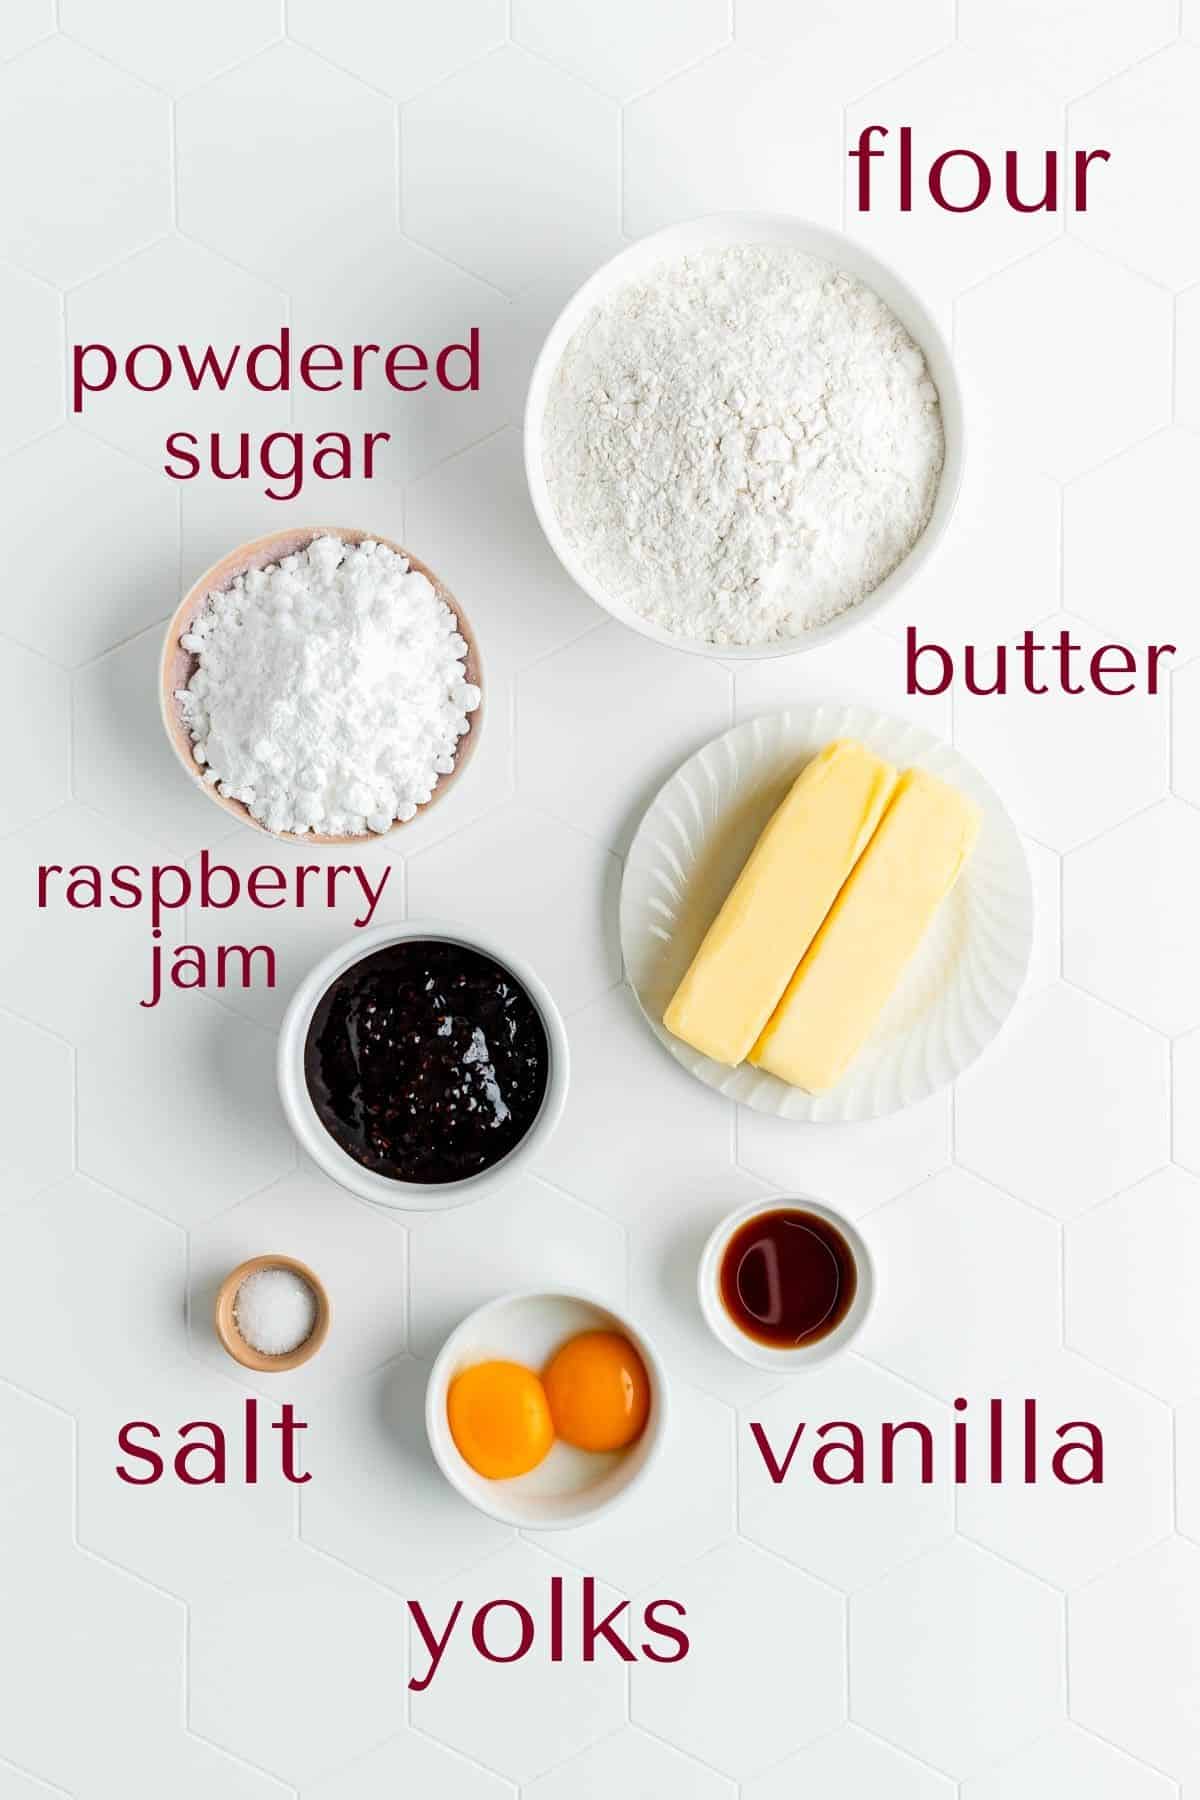
- Powdered sugar: using powdered instead of granulated suger gives these cookies a really fine, smooth texture; it also makes them less crumbly and helps them hold together when rolled out really thinnly
- Butter: the butter is the star of these cookies, so make sure you use a high quality butter with a nice rich flavor, and make sure it's unsalted too
- Egg yolks: using just the yolks makes our cookies more tender from the fat in the yolks, and the cookies aren't toughened by the structure that egg whites would bring
- Raspberry Jam: you are welcome to purchase jam at the store for these cookies if you like (my favorite brand is Blake Hill Preserves), but I highly recommend giving them a try with my Homemade French Raspberry Jam. This homemade jam not only has a fresher flavor than store bought jams, but it also has a much bright red color that looks really pretty in these cookies
(p.s. for all the basic tips that no one ever taught you, that are super important to help you bake your best, check out my Baking 101 series!)
Special Tools You'll Need
Other than a mixer and your rolling pin, the only special equipment you'll need is your cookie cutters. For thin roll-outs like this, I also love my uniform rolling pin as it just does all the work for me, but any rolling pin will do.
I used a 2" round scalloped cutter (I love this double-sided set for all my round cutter needs), and then a mini heart cutter as well (this mini cutter set is a great option, and you can also get the ¾" heart I used on its own here!). I recommend keeping the base cookies simple in shape (rounds or maybe squares if you're feeling adventurous), as that way they'll be easier to fill.
If you don't have a mini cutter for the center, you can just use the back end of a piping tip. You can also use any other ½"-¾" cutter you have available. Linzer Cookie Cutters will supply you with both cutters in one as well if you have one of those sets available to use!
How to Make These Cookies from Scratch
(Pssst…if you're ready to just get baking, get all the details in the recipe card below!)
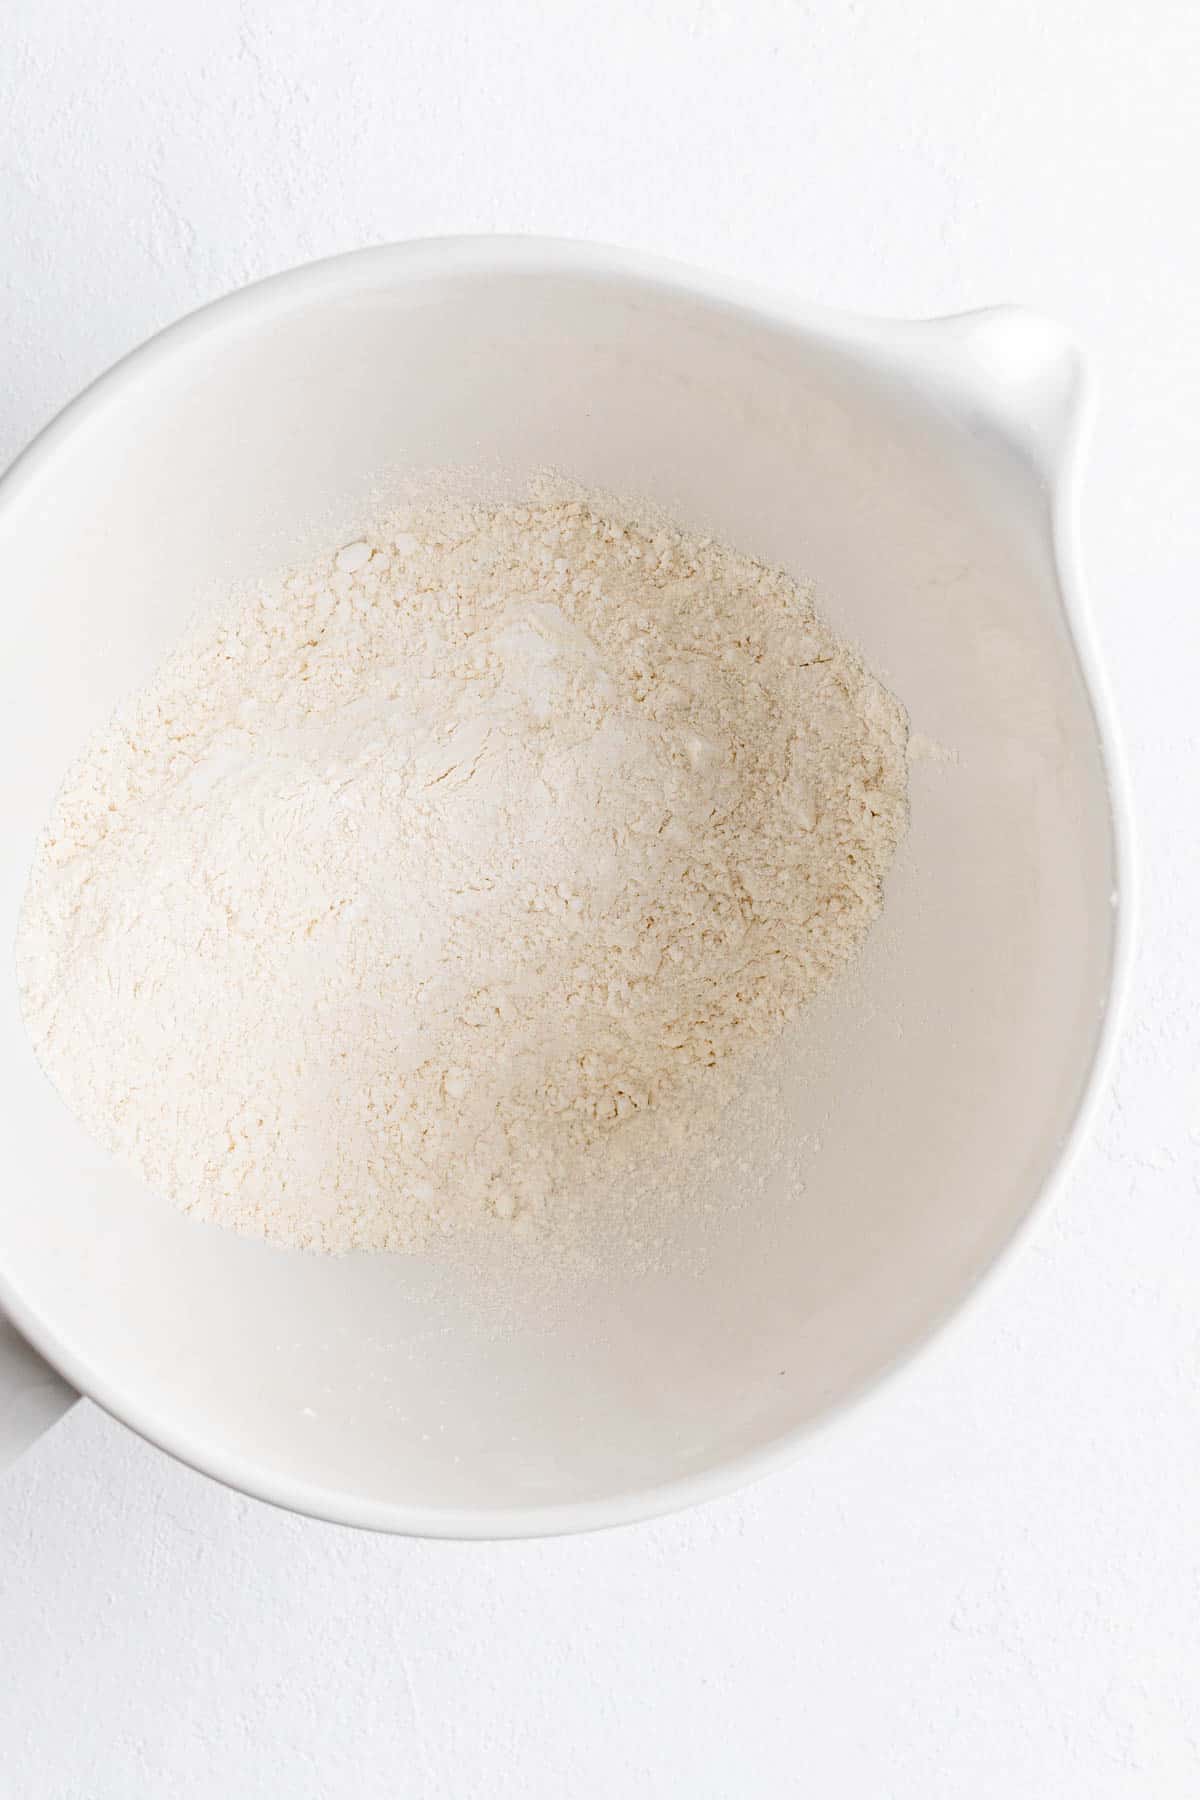
- Mix together the dry ingredinets.
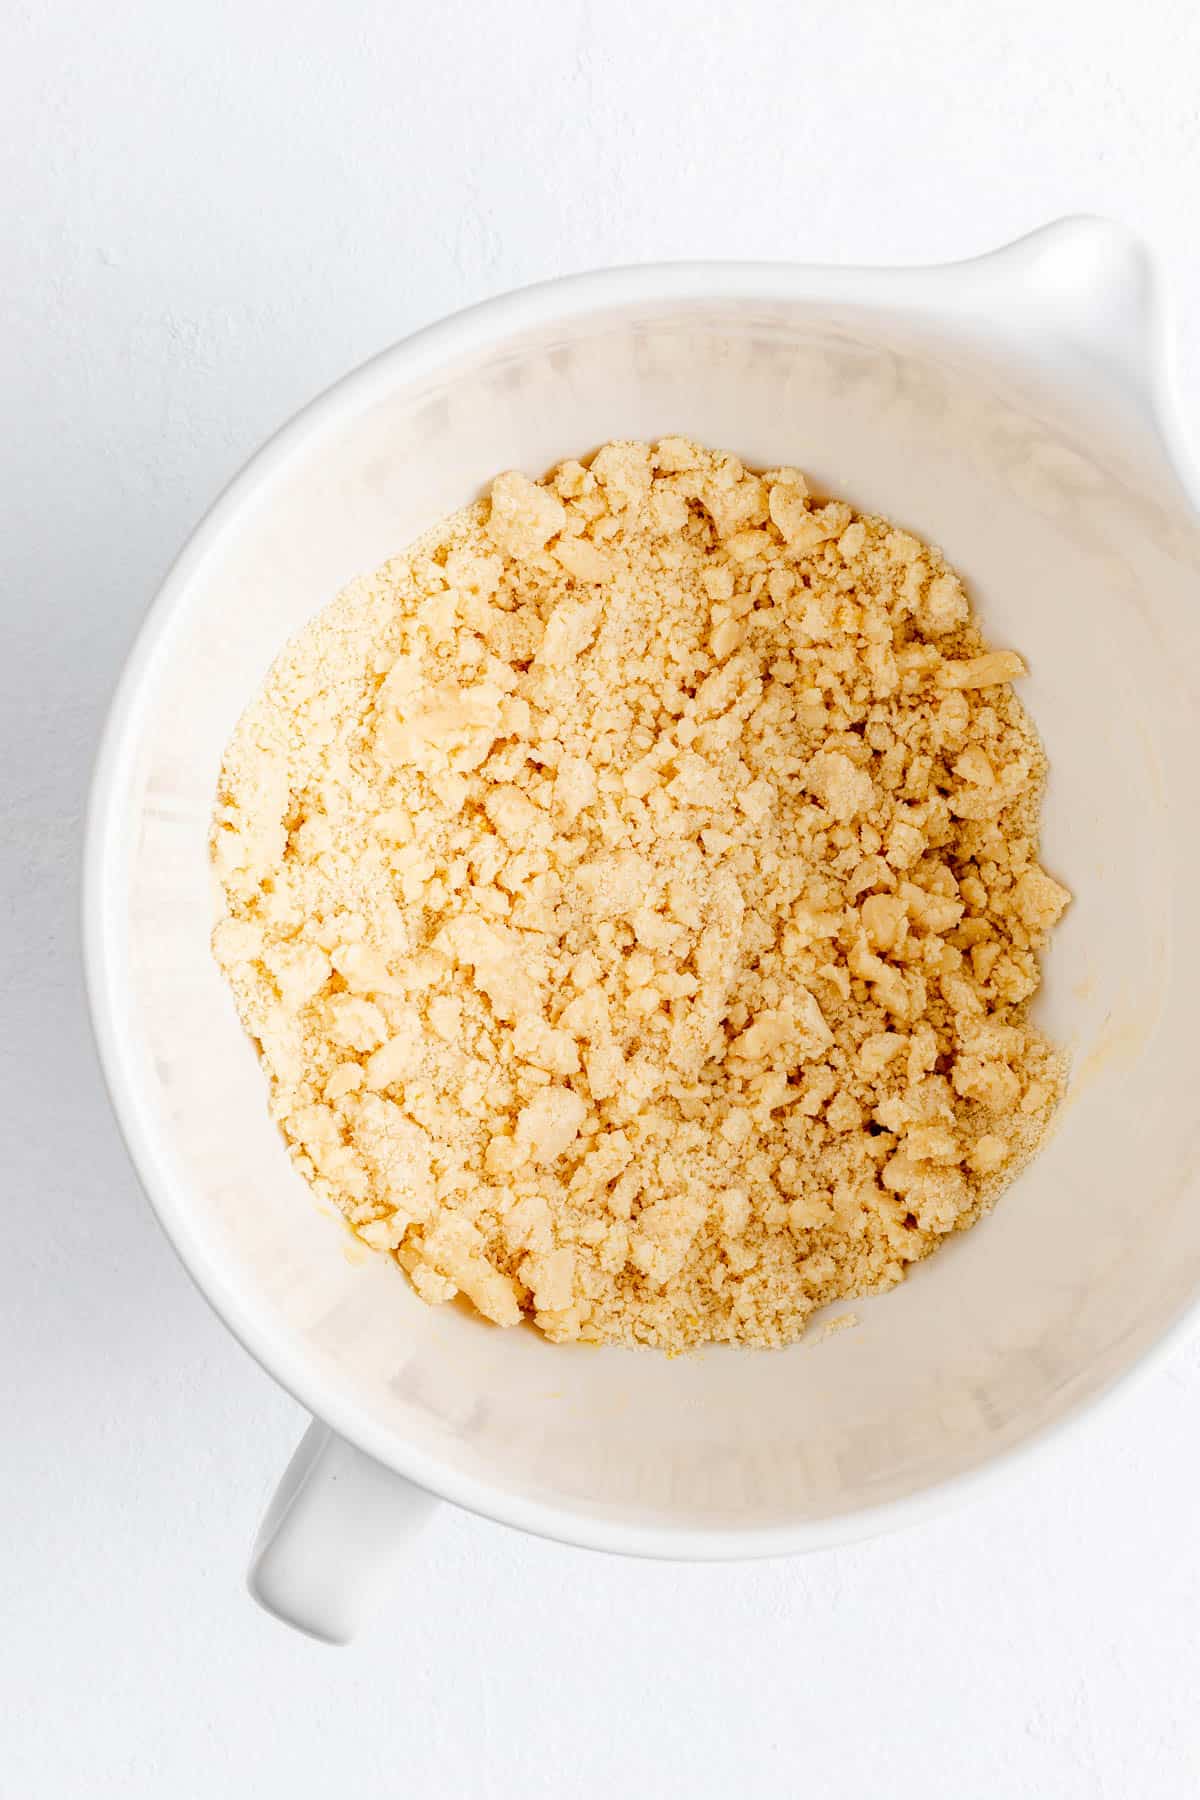
- Sand together dries and butter until uniform fine crumbs form.
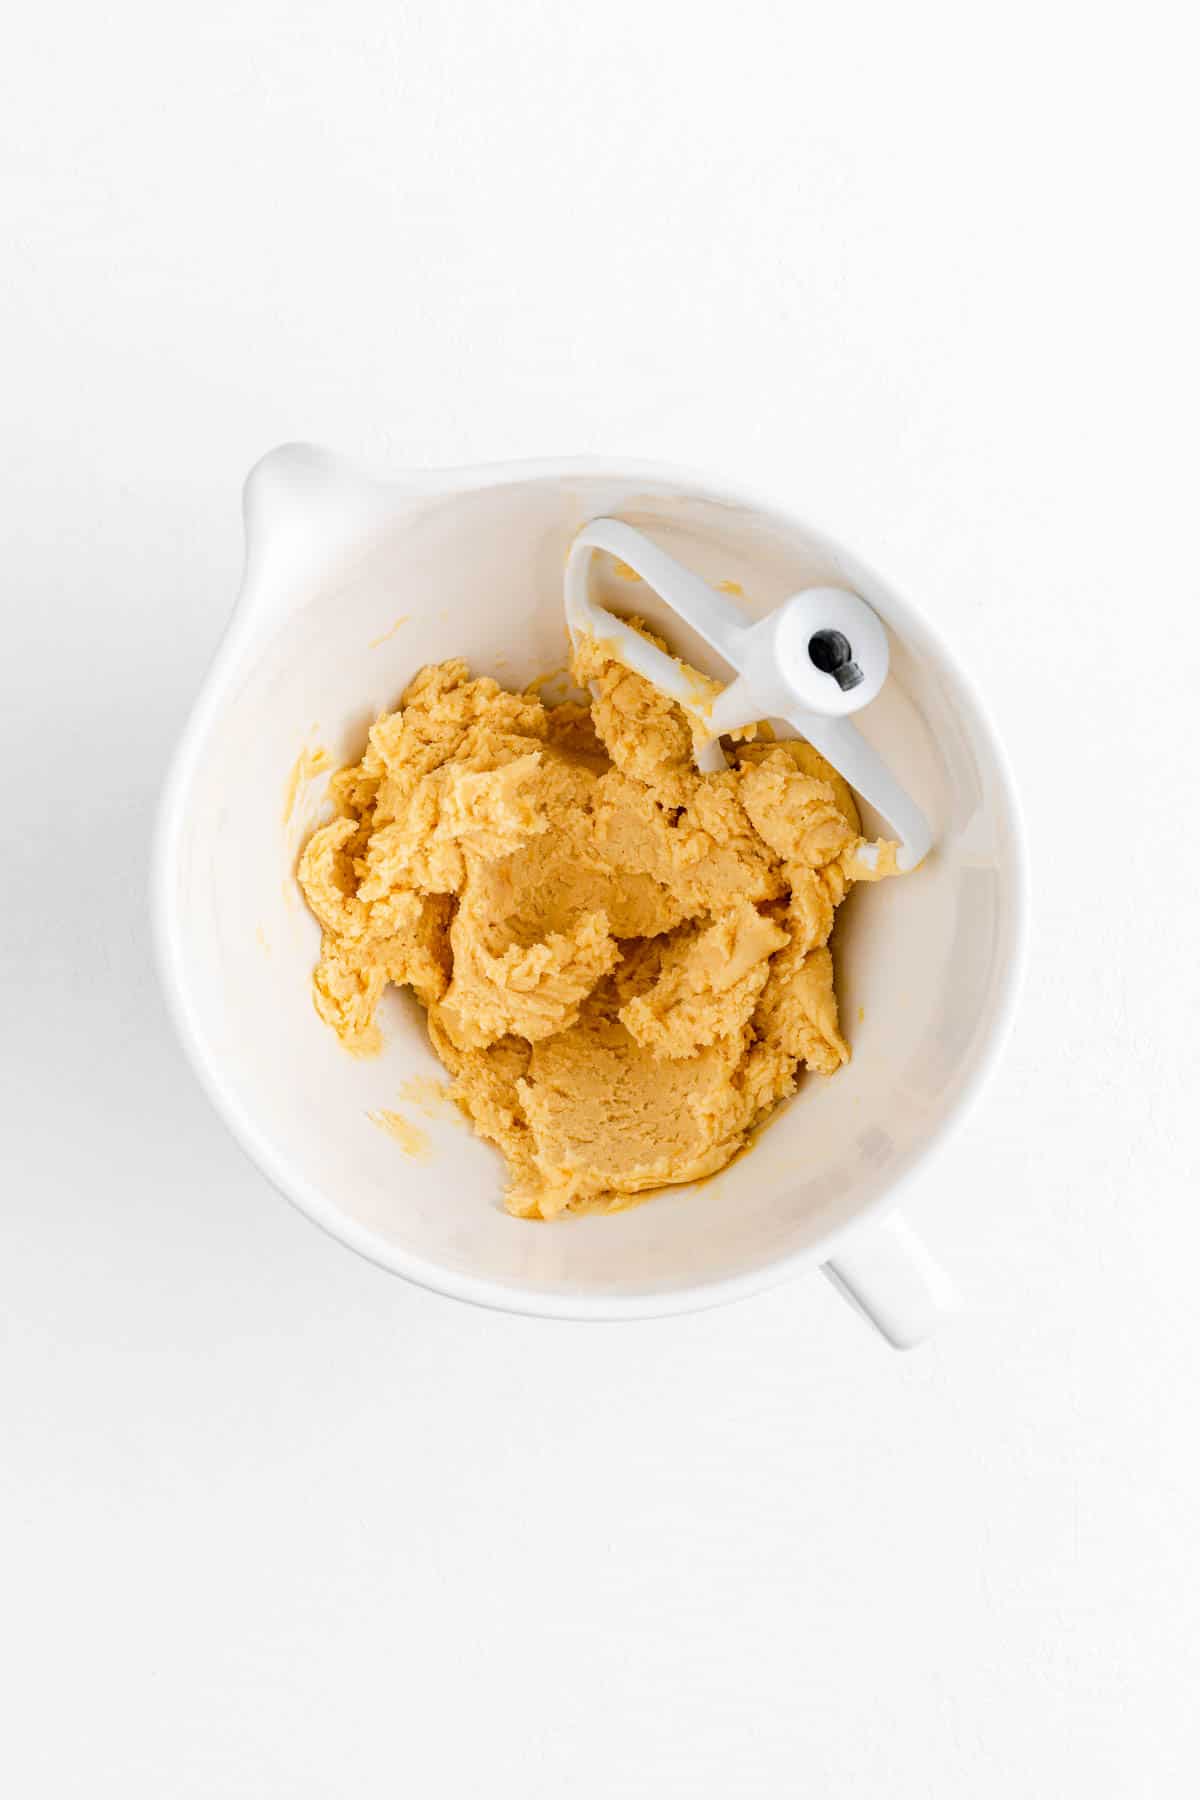
- Beat in the yolks just until a smooth dough forms.
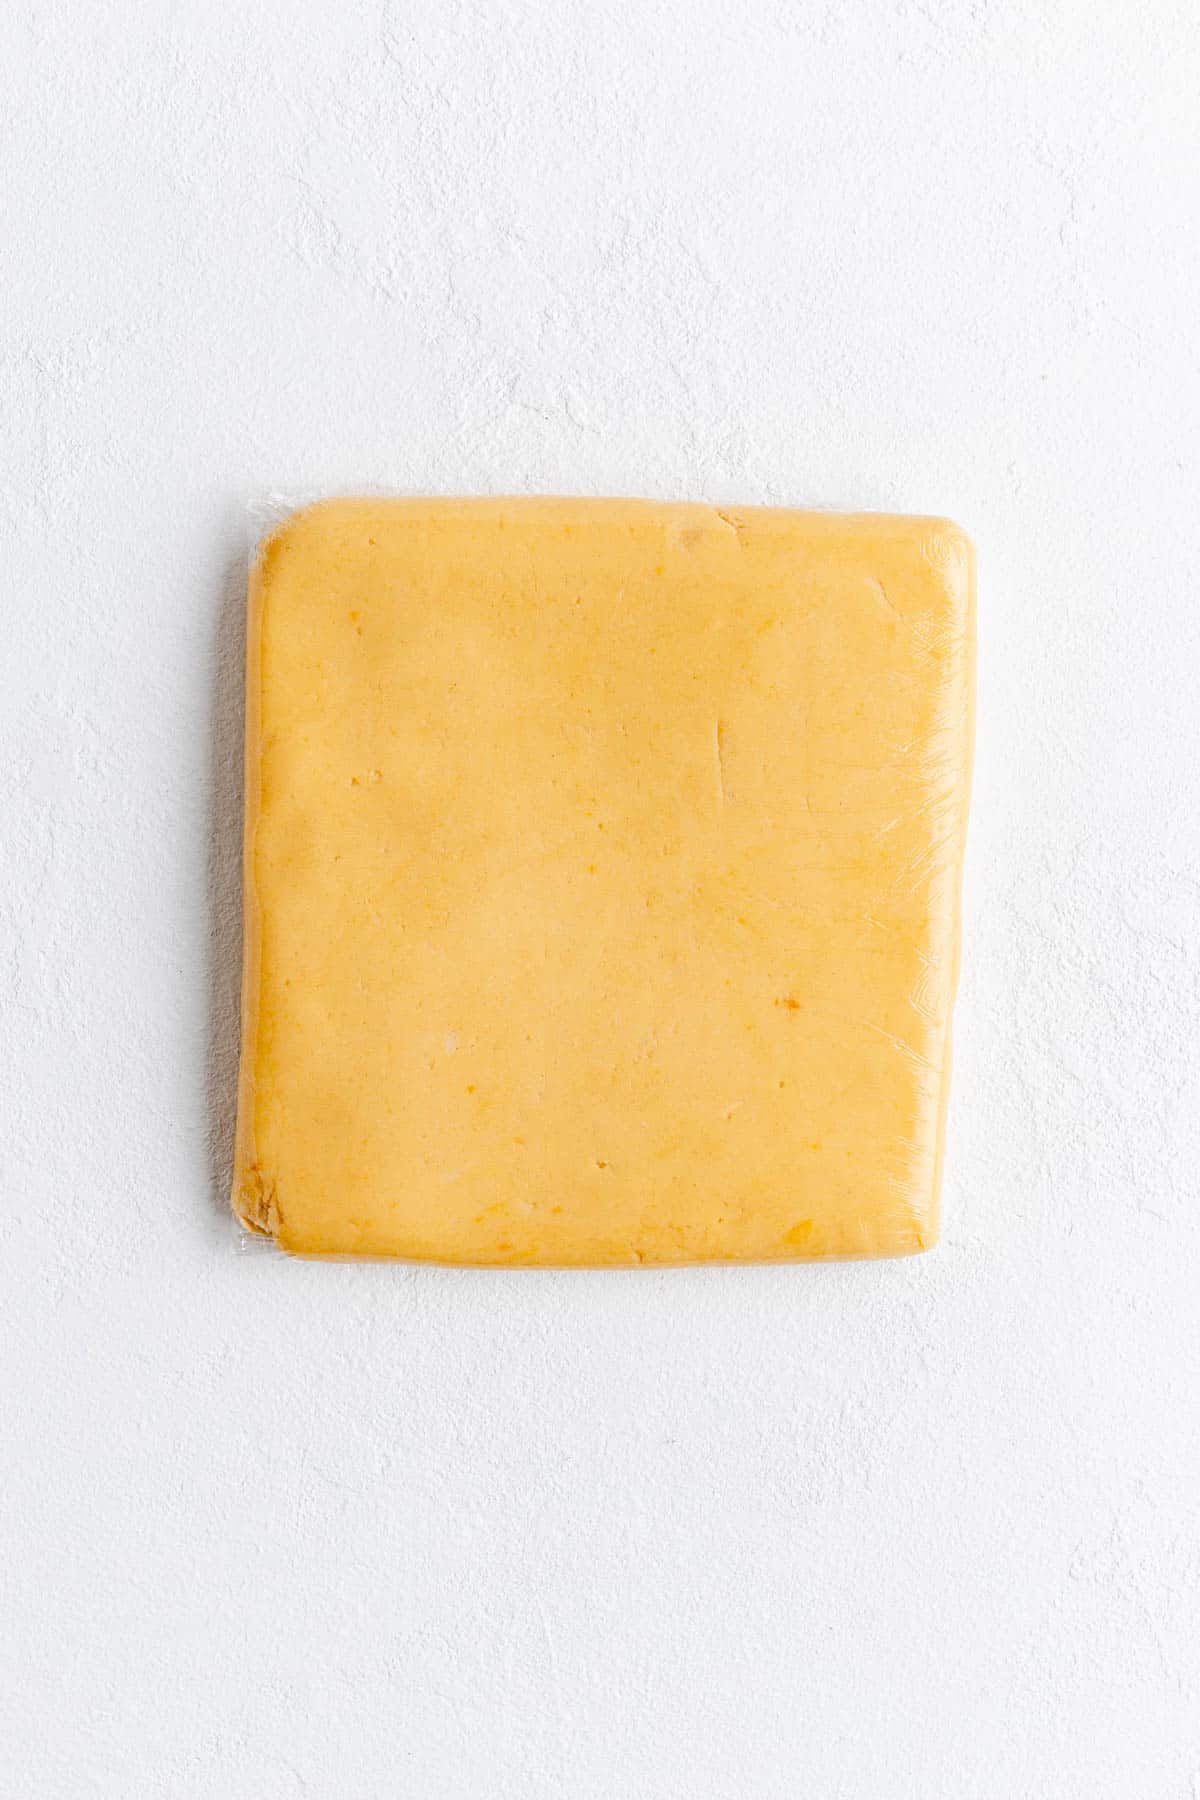
- Chill dough in a thin brick for 30 minutes until slightly firmed.
- Once dough is chilled, preheat your oven and line two baking sheets with parchment paper.
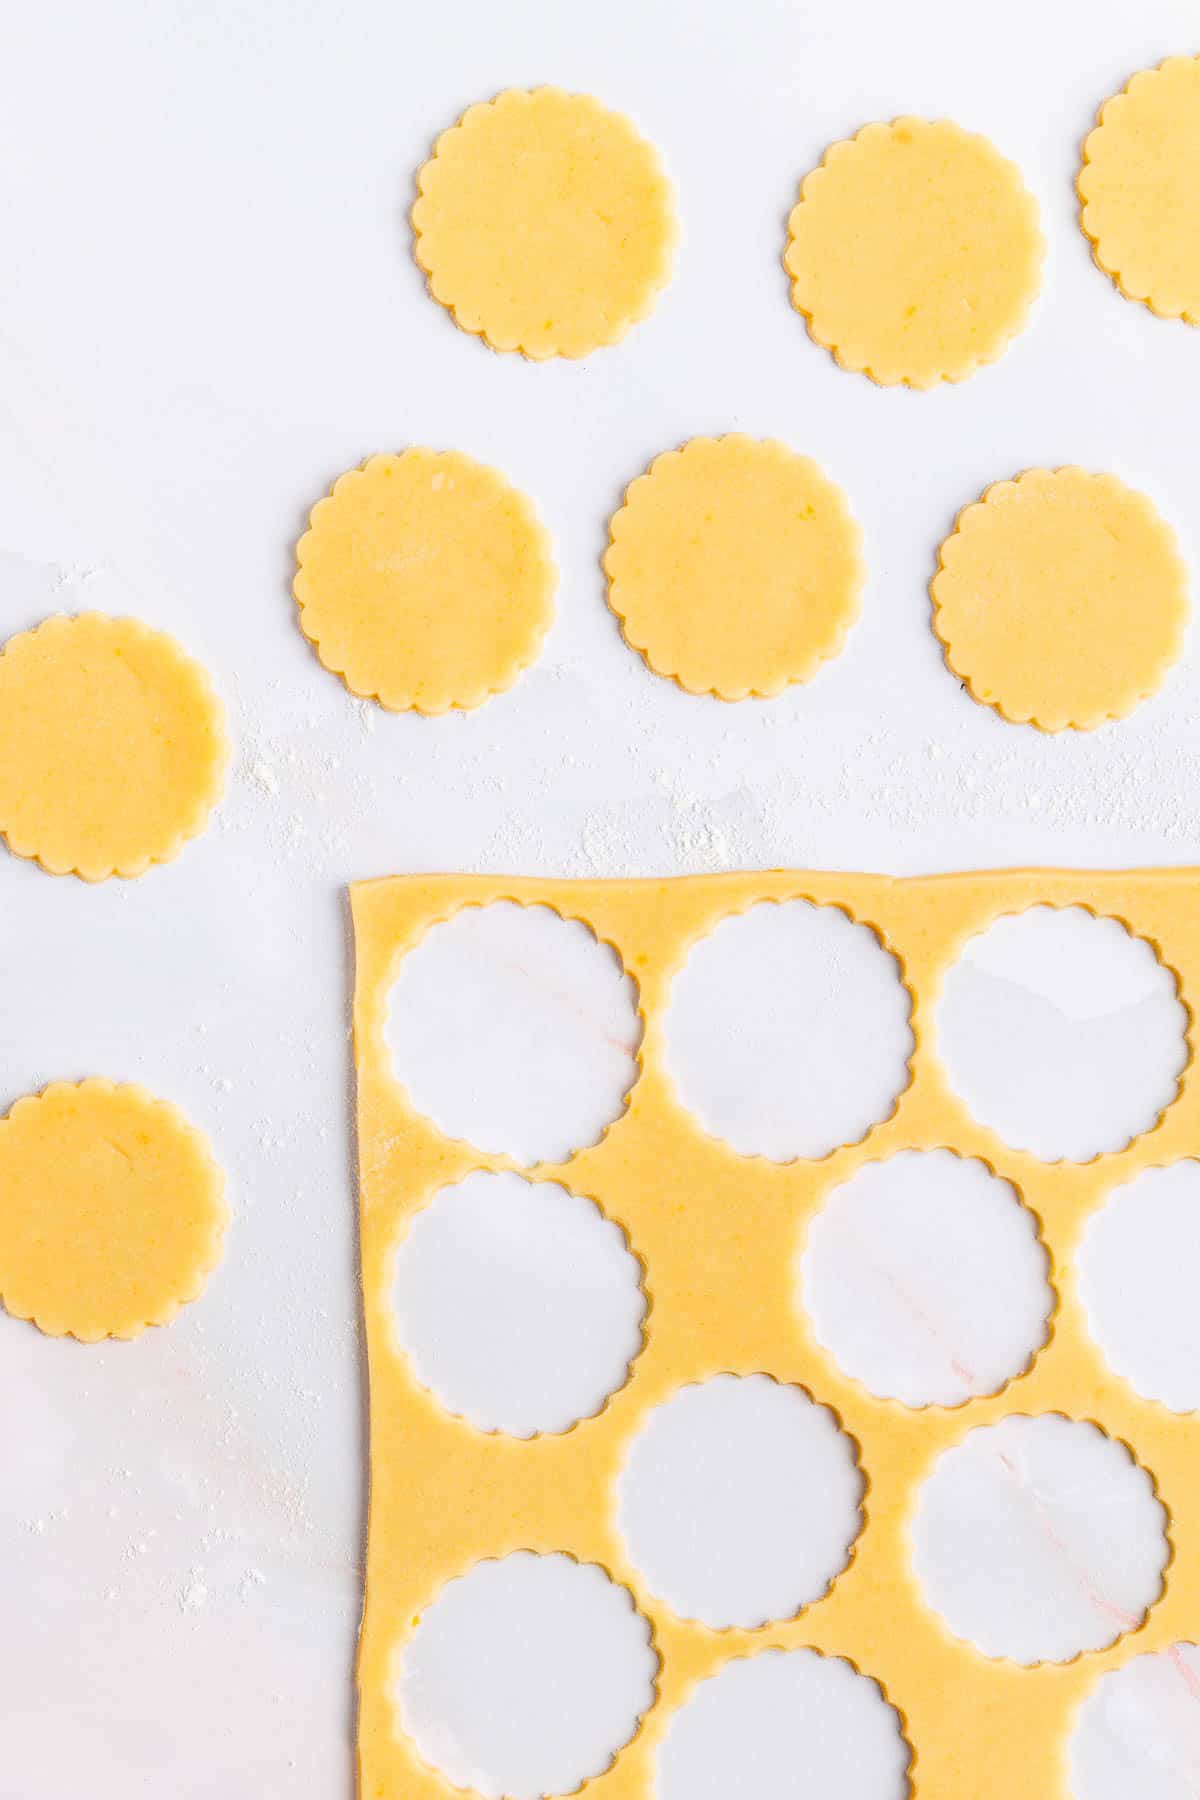
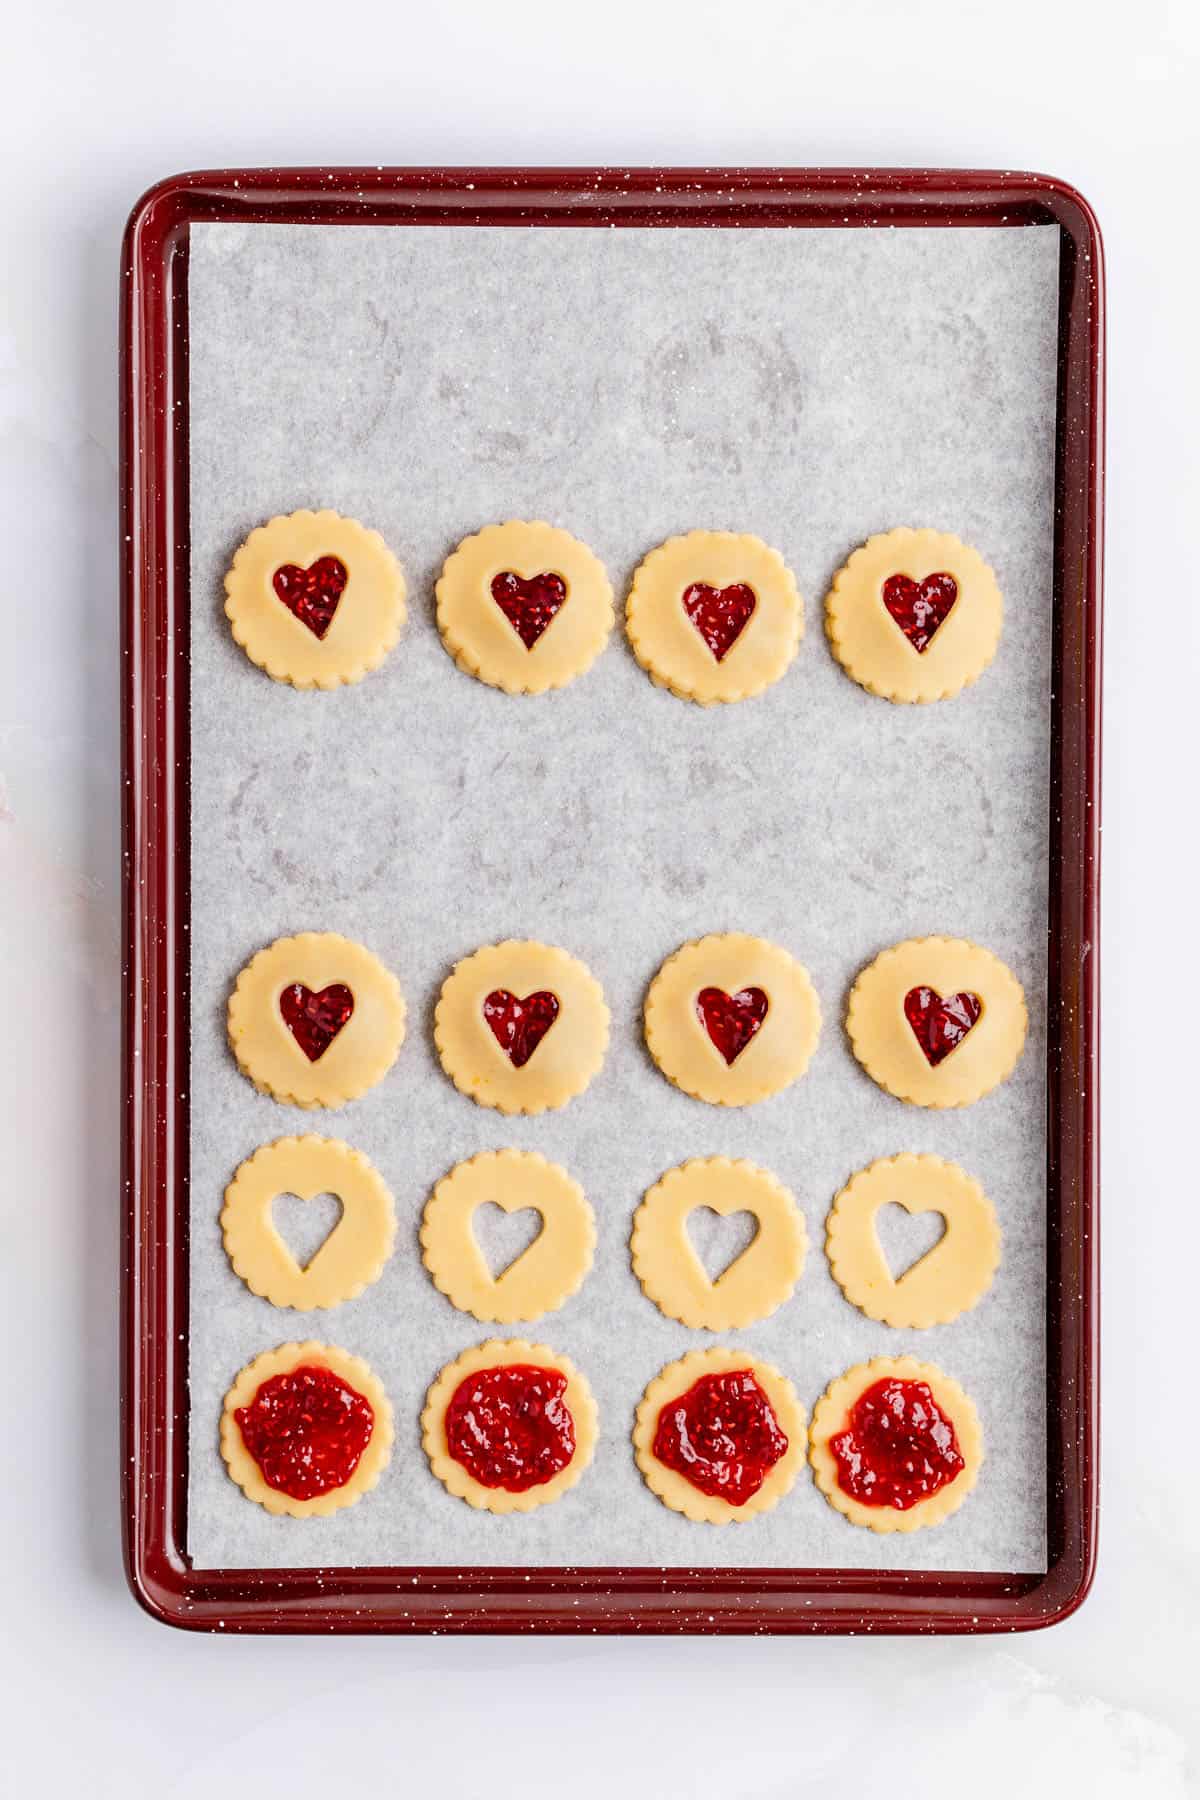
- Roll dough ⅛" thick and cut into 2" rounds. Cut a mini center out of the prettier half of the cookies to use as tops.
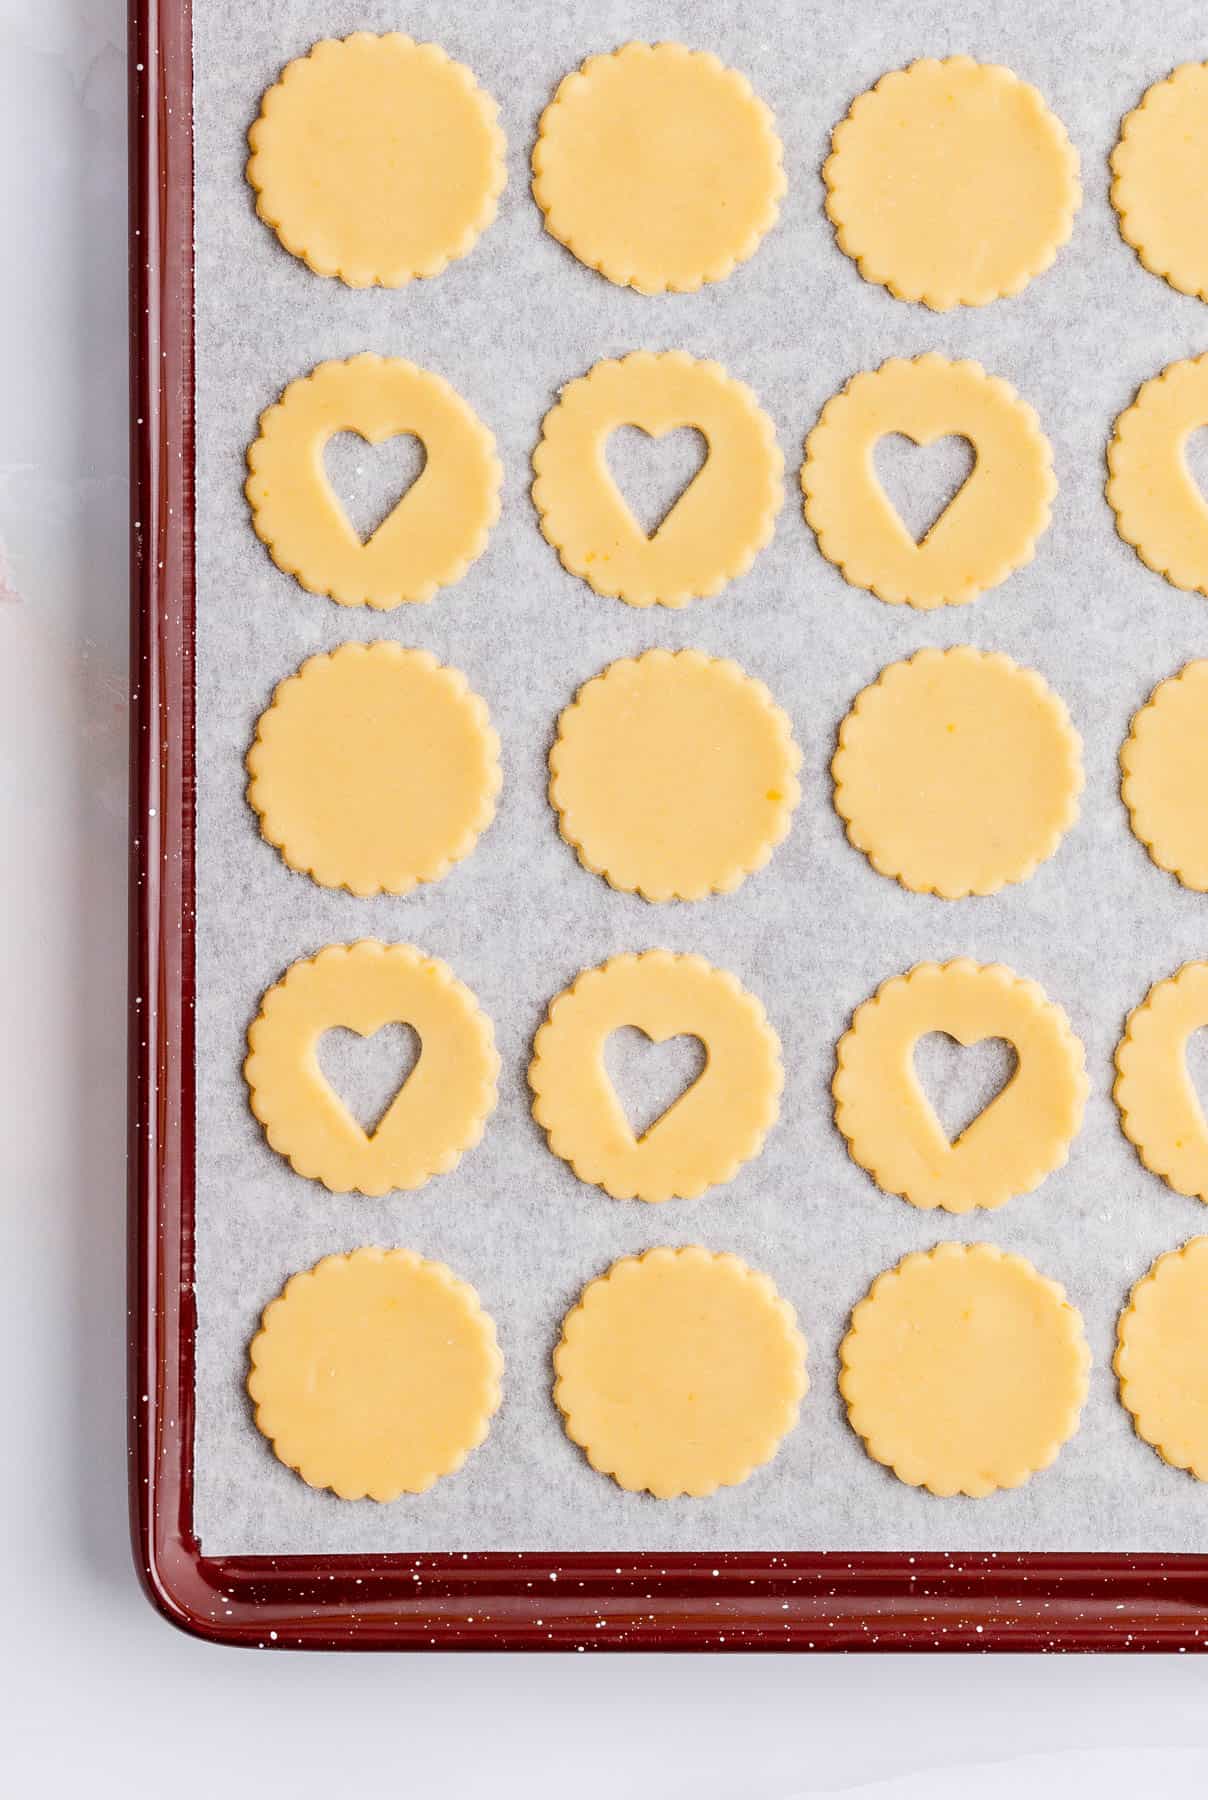
- Add a little jam to the bottom cookies, use damp fingers to pat and spread it out, then top each bottom with a top piece of cookie dough.
- Tray and bake sandwiches until there's a golden-brown edge on the top cookies and the jam has started bubbling.
- Cool cookies all the way to room temperature and then share the buttery love and enjoy!

Check out the full RECIPE WEB STORY for a click-through tutorial!
Make This Recipe Your Own
- Change up your center cutter: while the traditional heart center is a great option for Valentine's or everyday occassions, at Christmas time, you can sub the heart out for a mini holiday-themed cutter instead. Use a mini Christmas tree, a star, a candy cane, or even a snowman to make these cookies a delicious addition to your Christmas cookie tray! (I couldn't find a mini Christmas cutter on it's own, but this is a pretty cheap set that has lots of holiday options.)
- Try a new flavor of jam: while I love my homemade raspberry jam in these cookies, you can definitely feel free to try out different flavors. I love to change up the jam to match the season as well! You'll want to avoid anything chunky, like a thick-cut marmalade as it'll deform your top cookie. But any jam with a fairly smooth texture, and maybe just some seeds like raspberry is fair game!
- Add a little decoration: while part of these cookies' appeal is their traditional style and simplicity, there are always opportunities for decorations!
- You can use coarse sparkling sugar on top of the cookies before they bake.
- Or if you plan to ship them in a Christmas cookie box, for example, I'd sprinkle coarse sparkling sugar on the hot jam about 10 minutes after the cookies come out of the oven. This will cover the sticky jam surface, and make the cookies easier to stack and transport.
- You can also use a simple metallic pearl spray, or edible glitter to dress these cookies up.
- If you have an embossed rolling pin, you can pattern the top cookie's dough before the bake, and accent the pattern with luster dust brushing after the bake as well.

Test Kitchen Tips for Sweet Success
- Chill longer if you need to: 30 minutes was enough for my dough to set up and be easy to roll. That said, if your dough still feels warm or is hard to work with then, feel free to chill another 20-30 minutes. Just be aware, if you leave the dough in the fridge for too long, (say a few hours), it'll get too stiff to roll out. In that case, you'll need to leave it at room temperature for a while until it softens up to a workable temp.
- Cut your tops first: your first roll of your dough is always the prettiest. So, I recommend making the first half of the cookies your tops. You can cut the mini center's out, and add them back to your dough for the re-rolls. Then the re-rolls can be your bottom cookies as you won't see any marks or folds from re-working the scraps together once they're covered.
- Keep your center cutter small: if you're using cookie cutters that are different than my specific suggestions, that's totally okay. Just make sure your centers are less than half the size of your bigger cookie, or you'll have a hard time properly filling and stacking your sandwiches. So if you use a 3" round cutter instead, make sure the longest dimension of your center cut-out is 1.5" or less (ideally more like 1").
More Tips + FAQs
What are Jammy Dodgers, and why are they called that?
Maybe you've visited enough grocery stores while traveling around the UK or maybe you're a major fan of the Great British Bake Off like me (I mean...who isn't?!), but if not, let me introduce you to these tasty cookies.
Jammy Dodgers are a common British sandwich cookie, very similar to the Austrian Linzer Cookie Sandwiches. They're as available in the UK as Oreo's are here in the states. So...why are they called Jammy Dodgers?
The Dodger title is actually named after a comic book character from the '50s and the Jammy is because...well, they're jammy! (Read more about the
history of Jammy Dodger's here!)
How do you store leftover cookies? Do they need to be refrigerated?
Because we fill these cookies before they bake, they are safe to keep at room temperature stored in an air-tight container for up to two weeks. No refrigeration is needed!
Can I make these cookies in a larger size?
Absolutely! While this recipe is written to make 2-inch round cookie sandwiches, I also used it to make these in 4-inch diameter hexagons for my bakery.
If you'd like to size-up your cutter, just know that you'll still want to keep your jam layer nice and thin so it doesn't bubble up over your top cookie.
You'll also need to add a few minutes to your bake time depending on how much bigger your cookies are, but just look for the golden-brown edges and bottoms to know when your cookies are done.
Other Recipes You'll Love
Definitely check out this Homemade French Raspberry Jam as a filling for these cookies.
If you're looking for other tasty fruity treats, don't miss out on my Jam-Filled Donut Muffins, White Chocolate Raspberry Bundt Cake, and Strawberry Simple Syrup!
For another delicious British classic, my Mini Victoria Sponge Cakes are just what the doctor ordered, and if you're looking for other Valentine's Day treats, be sure to check out my Red Velvet Bundt Cake with Cream Cheese Glaze.
And last but not least, if you love the butter cookies used in these jammy sandwiches, be sure to checkout my east Easy Chocolate Butter Cookies too!

⭐ If you gave this recipe a try please give it a ⭐ rating and tag me on Instagram @mint.and.mallow.kitchen so I can see what you're baking up! ⭐
📖 Full Recipe
Jammy Dodgers (aka raspberry filled shortbread cookies)
Ingredients
- 2 cups all-purpose flour
- 1 cup powdered sugar (sifted)
- ½ teaspoon salt
- 1 cup unsalted butter (softened)
- 2 large egg yolks
- 1 teaspoon vanilla extract
- ½ cup raspberry jam
Instructions
TO MAKE THE DOUGH:
- Mix dries: combine flour, sifted powdered sugar, and salt using a hand or stand mixer on low until blended (for this particular recipe using a “sanding” technique, I highly recommend a stand mixer if you have the option for ease).
- Sand dries + butter together: add in the butter, one tablespoon slice at a time, with your mixer on low speed. Sand the ingredients together by allowing them to continually mix on low until the mixture resembles a wet sand - this can take up to 5 minutes depending on your mixer, and you may need to scrape the bowl once or twice to make sure everything mixes in properly. (Don’t walk away from the mixer or turn up the speed because this mixture will make a full dough if you don’t stop it soon enough!)
- Beat in yolks: add in the egg yolks and vanilla and beat again on low speed just until a smooth dough forms. (Do not overmix or your cookies might end up tough, not tender.)
- Chill it: wrap your dough in a 1” thick brick or round, and chill for 30 minutes until it firms up a little. (Don’t leave it in for more than an hour though or it will be too cold to work with!)
TO ASSEMBLE THE COOKIES:
- Preheat and prep: once dough is chilled, preheat your oven to 375°F, and line two baking sheets with parchment paper.
- Roll and cut: once dough has firmed up a bit, roll it out to about ⅛” on a well-floured surface. Cut out your desired shapes in pairs (I used a 2" fluted round cutter) as each sandwich cookie will need a matching top and bottom. For each of the tops, also use a smaller cookie cutter (I used a mini ¾” heart*) to cut a hole in the center of the top cookie that the jam will show through. Place the solid bottoms on the prepared baking sheets at least 2” apart, and set the tops to the side momentarily.
- Fill and stack: drop or pipe (using a jam-filled pastry bag) 1 scant teaspoon of jam on each bottom cookie (definitely err on the side of less jam as it’ll spread out more than you think, and you can always add extra if you need to). Using lightly dampened fingertips, carefully pat down/spread the jam out into an even layer, leaving at least a ¼” border around the edge of your cookie. Place a top cookie on each jammy bottom, ensuring the jam has been spread to cover the full area of the hole in the top cookie.
- Bake ‘em: bake for 10-12 minutes, just until there’s a golden-brown edge on the top cookies, the bottoms are golden-brown, and the jam has started bubbling.
- Cool, share and enjoy: cool cookies all the way to room temperature if you can wait, as the butter cookies crisp up very nicely as they cool, and then share the buttery love and enjoy!**
Test Kitchen Tips
- *Mini cutter sizing: make sure your cookie cutter for the center hole is 1" wide or less (for a 2” round partner cookie cutter) so there's enough dough for the remaining top cookie to hold its integrity and not fall apart on you. If you don't have a mini cookie cutter, the back end of a frosting tip works well here!
- **Add a little decoration: while part of these cookies' appeal is their traditional style and simplicity, there are always opportunities for decorations! You can use coarse sparkling sugar on top of the cookies before they bake. Or if you plan to ship them in a Christmas cookie box, for example, I'd sprinkle coarse sparkling sugar on the hot jam about 10 minutes after the cookies come out of the oven. This will cover the sticky jam surface, and make the cookies easier to stack and transport. You can also use a simple metallic pearl spray, or edible glitter to dress these cookies up. If you have an embossed rolling pin, you can pattern the top cookie's dough before the bake, and accent the pattern with luster dust brushing after the bake as well.










Jamie Tolleth says
I've given this recipe 5 stars just for the feel of the dough on my hands 😆 my goodness I can't wait to see how these taste after baking
Jocelyn at M+M says
Best. Comment. Ever! lol
(p.s. I hope you're just as excited about the taste once they're baked and thanks so much for making my day, Jamie!)