


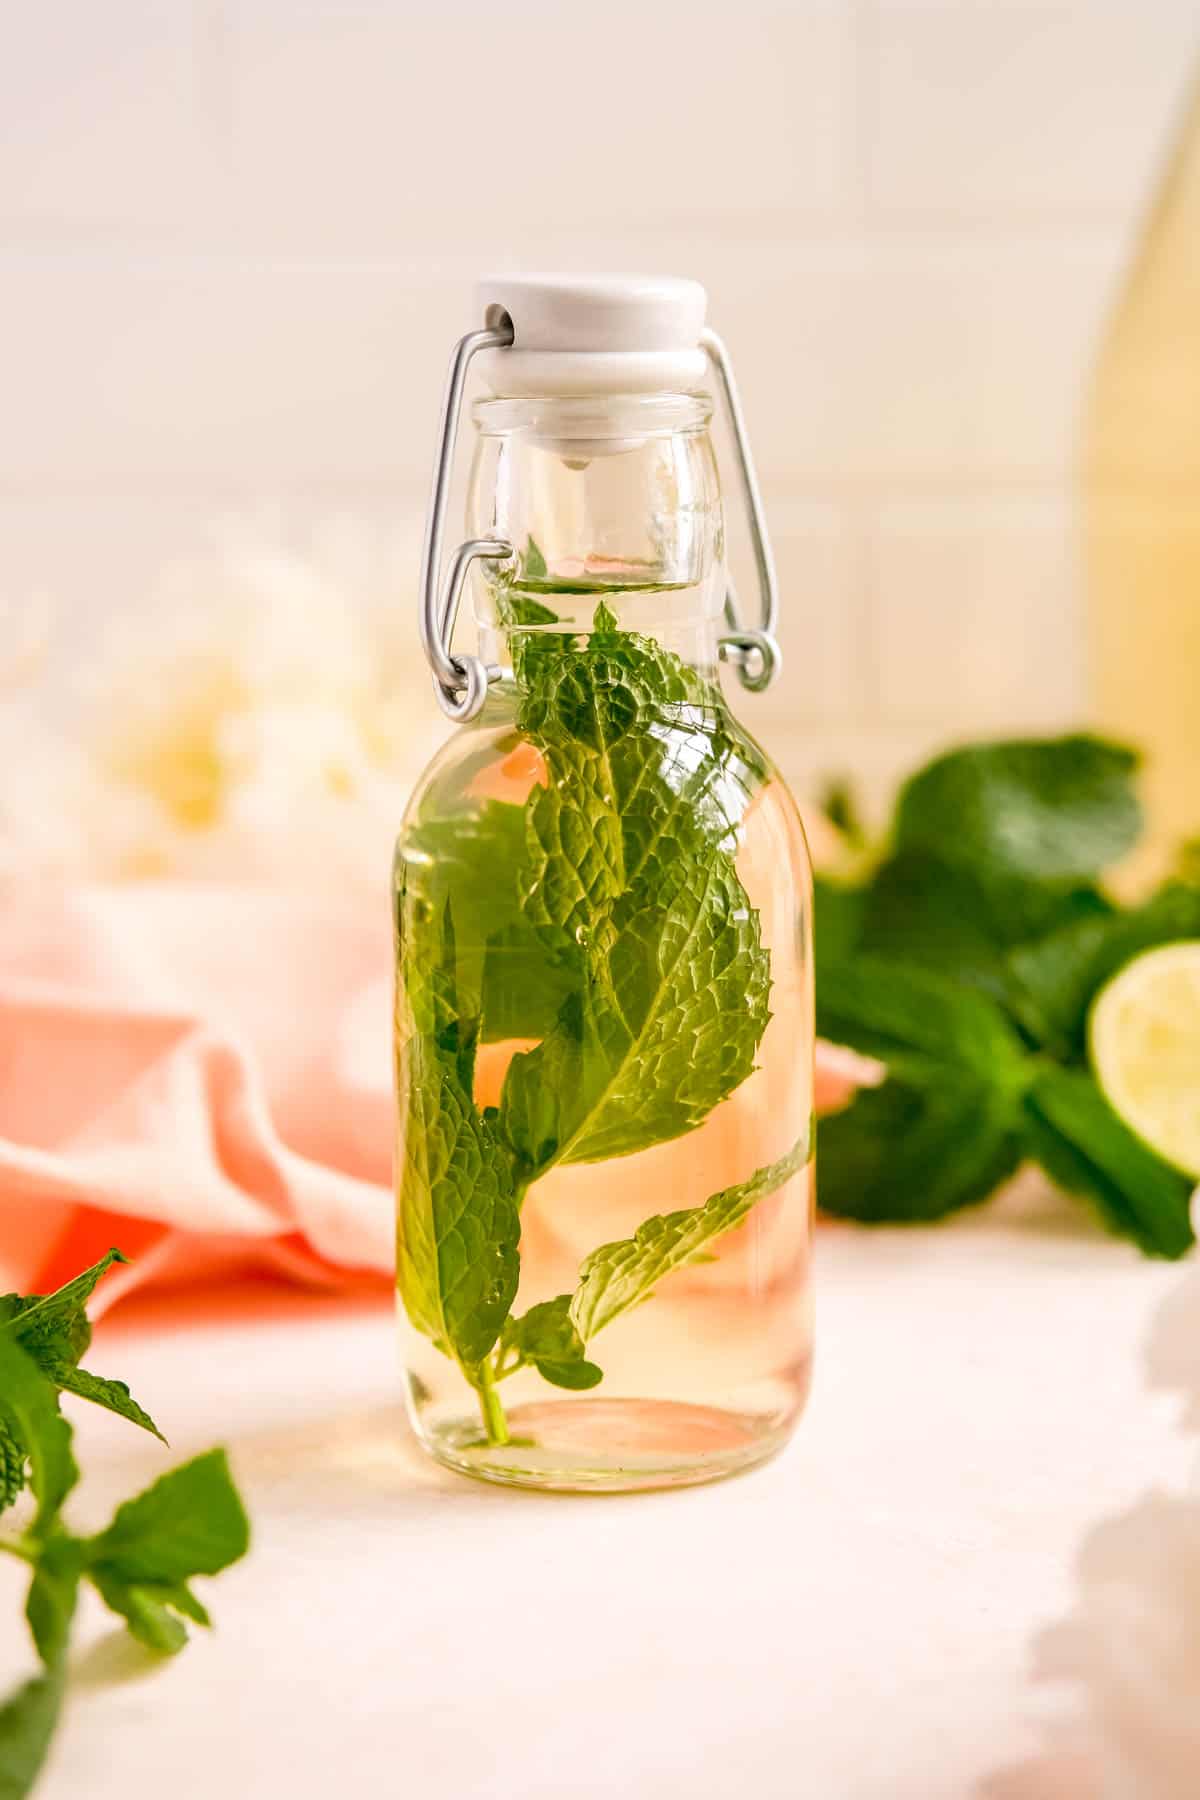
Learn how to make mint simple syrup with a full video tutorial showing you how to bottle up all that fresh mint flavor through infusion. With that perfect hint of sweet, summery freshness, this homemade mint syrup is ideal for soaking cakes, sweetening mojitos, dressing up iced tea and so much more!
Jump to (scroll for more!):
Simple Syrup is So Simple
How much do I really need to say about simple syrup...it couldn't be simpler to make and can be used in endless ways.
But for some reason, people really tend to complicate the process. So I'm going to share the secret for making a perfect simple syrup with you....
...just don't touch it!
Simple, right?
But seriously, that's the trick. Just put everything carefully into your pot, give it a brief stir before turning on the heat, then leave. it. be.
The magic will happen all on its own - I mean, how cool is that?!

Infusion for the Win
For this particular recipe, we're adding a fresh n' minty twist to this classic syrup, as fresh mint is one of my all-time favorite flavors in desserts.
Unfortunately, it's also one of the hardest to properly incorporate as the leaves themselves can offer textural problems.
So for those of us who love fresh mint flavor, we find ourselves wondering...
"...exactly what can you do with mint leaves?"
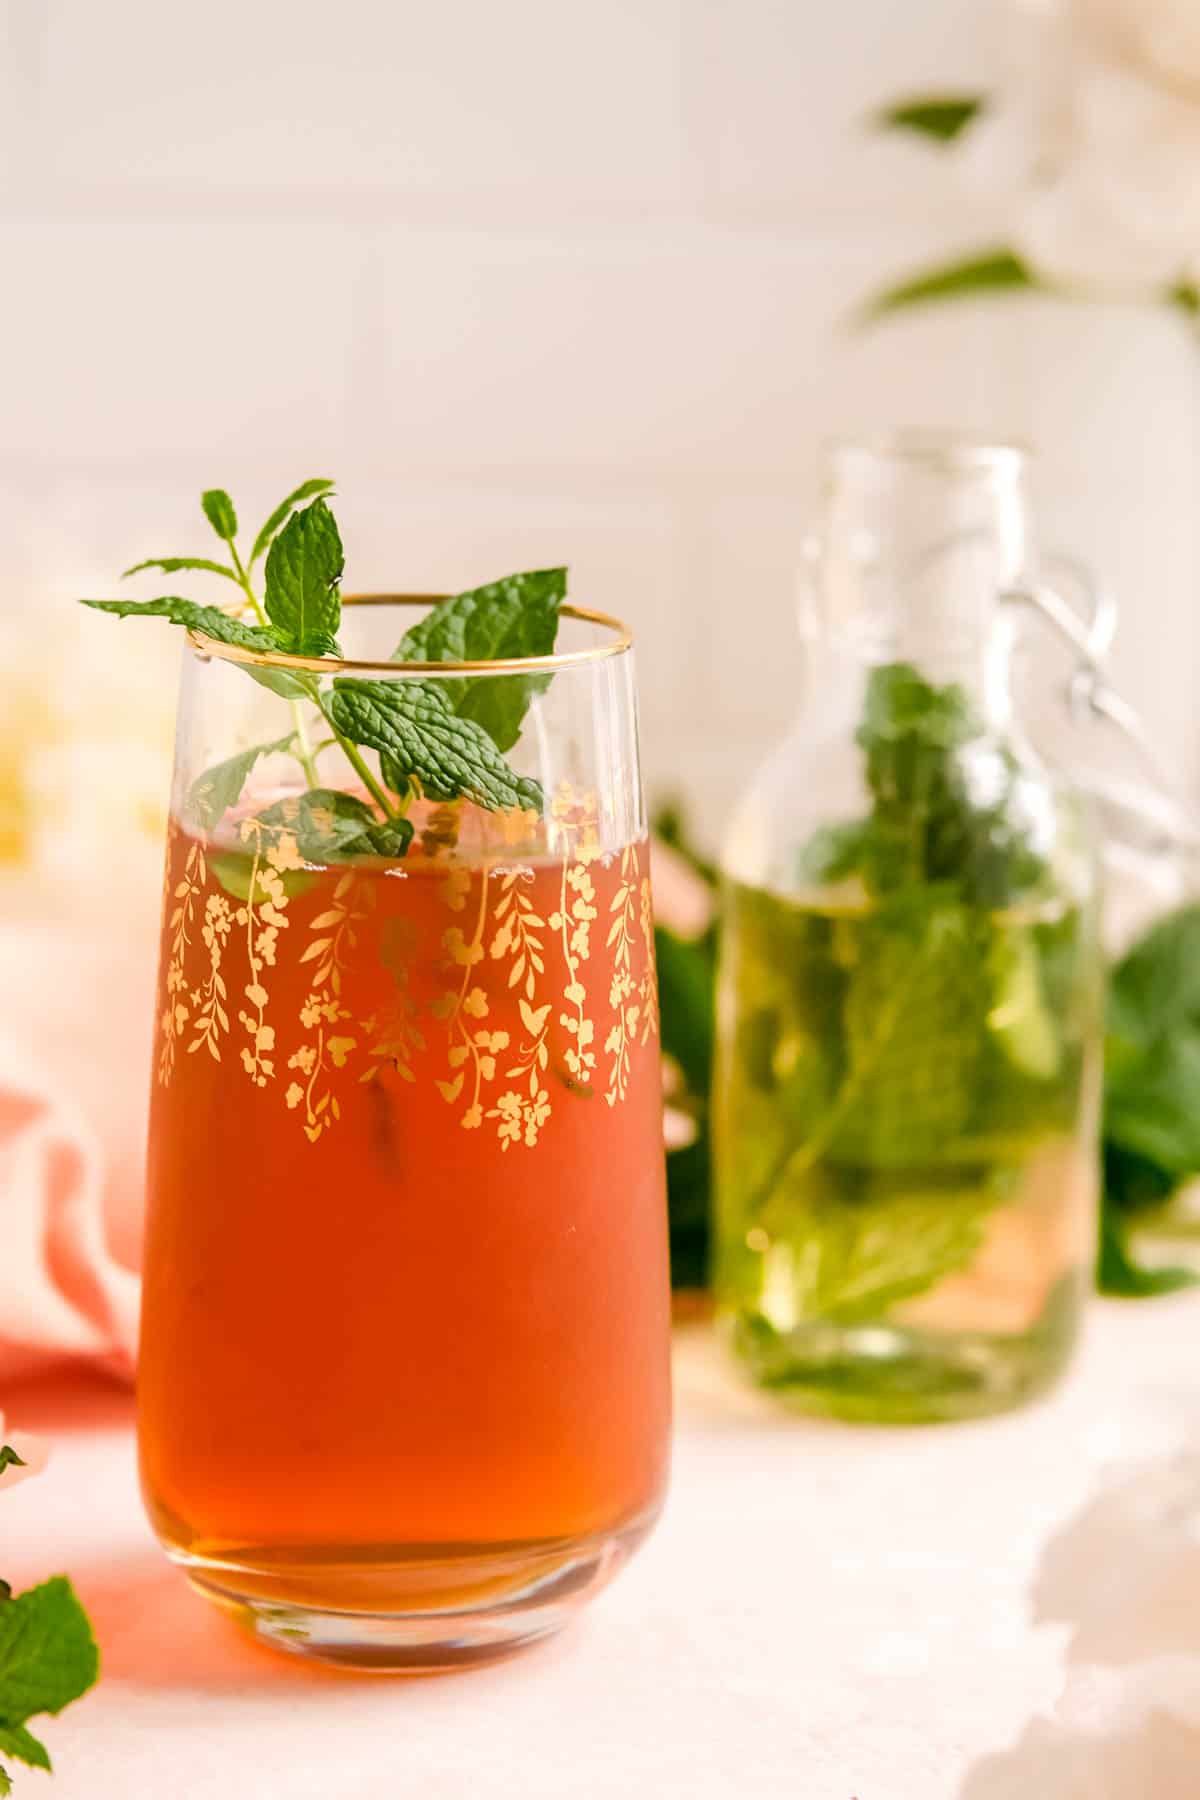
Well, once they're turned into a syrup, the opportunities for using this tasty herb really open up. From adding a twist on your favorite cake to having some ready-to-pour mint simple syrup for mojitos right when that clock hits 5:00pm, you'll find this recipe is the perfect way to preserve fresh mint. (Especially when you need to chop it back as it tries to take over your garden!)
Ingredient Tips for Better Baking
(Pssst…if you're ready to just get baking, get all the details in the recipe card below!)
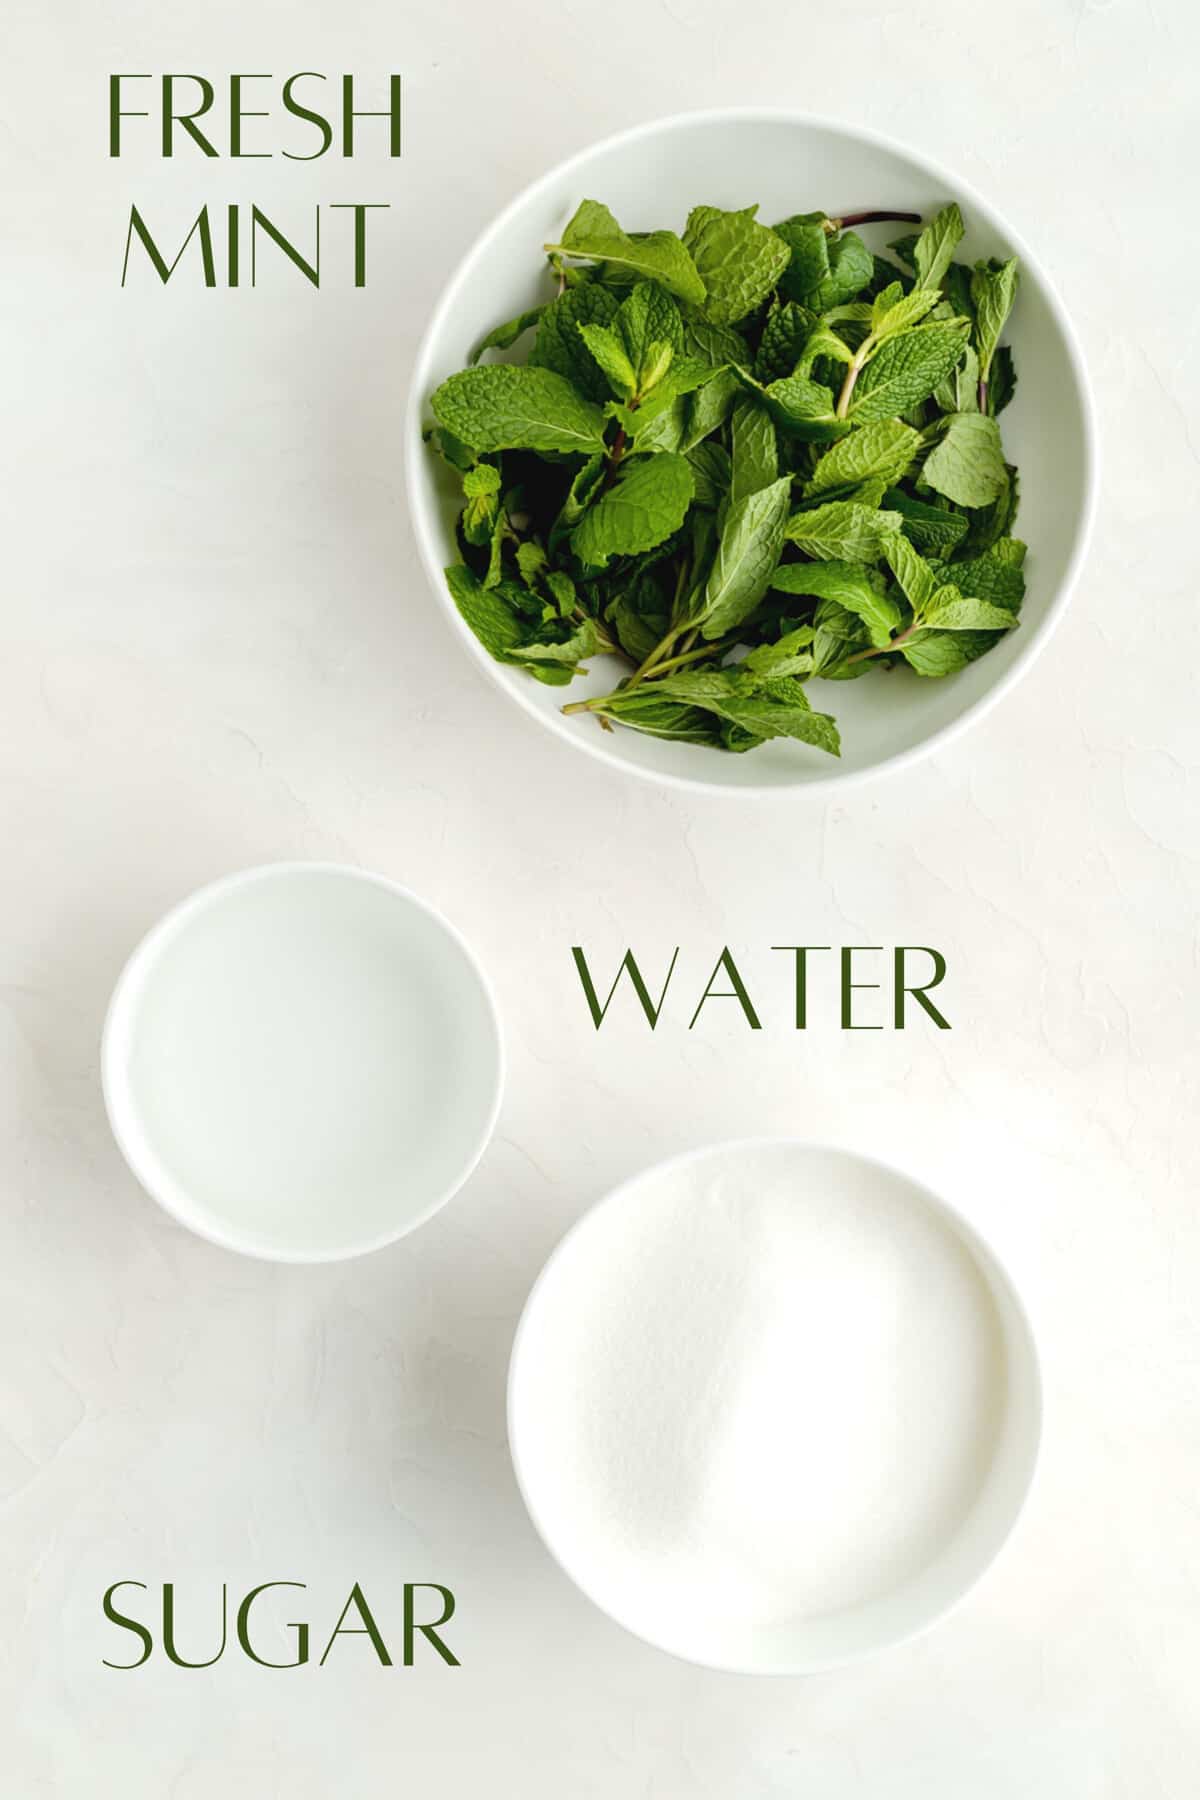
So our ingredient list is pretty basic here: water, sugar, and mint. But, the species of mint plant we use will make all the difference in our final product.
What we're looking for is "Sweet Mint" (or "Spearmint" if you can't find any Sweet Mint near you). If you buy a traditional grocery store pack of mint from a national brand, 99% of the time you'll be getting Sweet Mint (so no need to worry there).
However if you pick up mint from a local farm, like I often do, I actually see fresh Peppermint leaves available more often than Sweet Mint.
While you can use peppermint leaves, they have a distinctly "toothpastey" flavor I'm not a big fan of; so I would steer clear if possible.
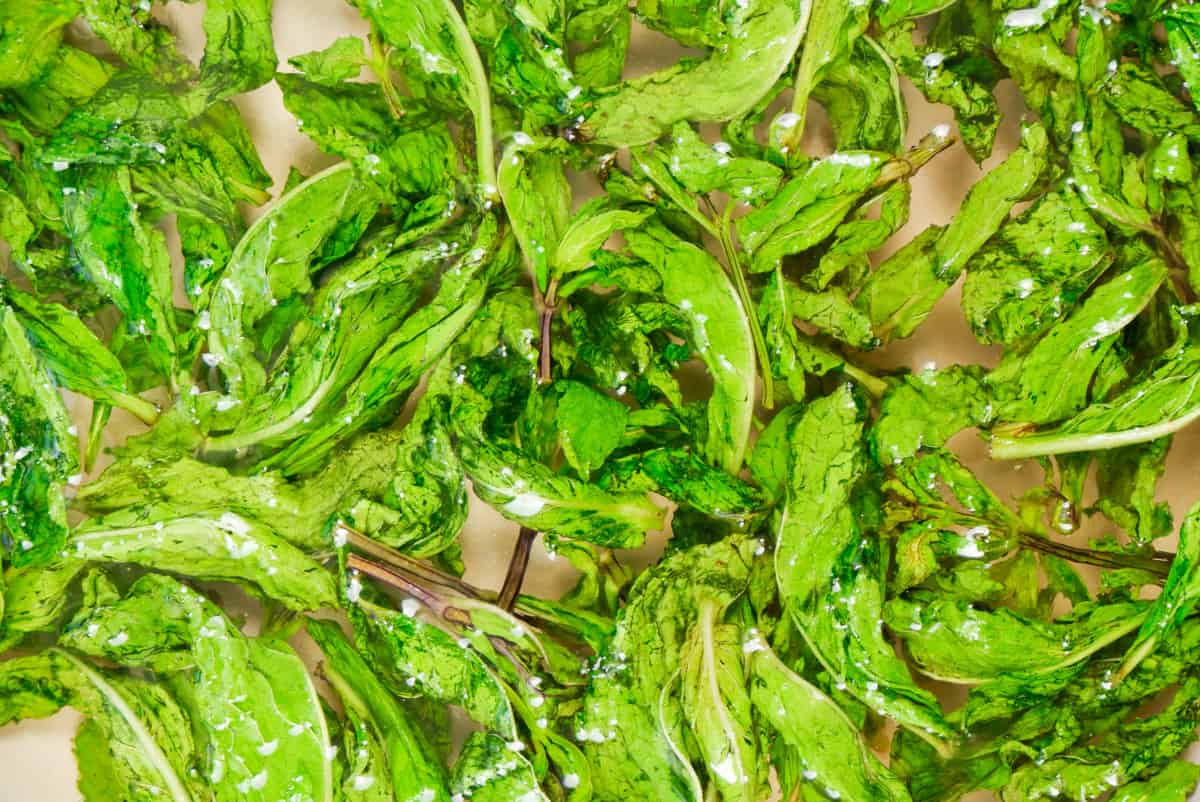
To make things extra easy, I've shown a few types of mint leaves with picture below so you can see what to look for!
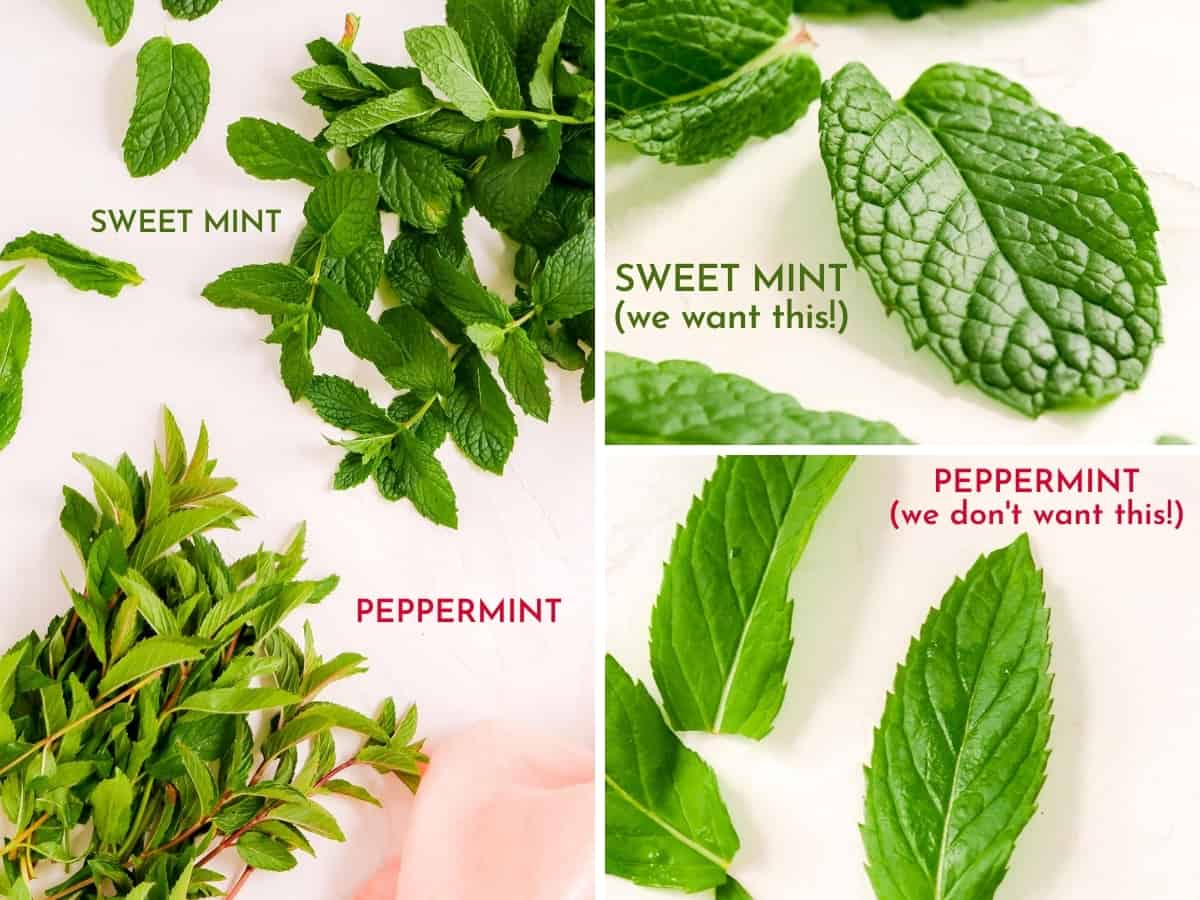
Sweet Mint: rounder, typically bumpy leaves; pronounced teeth on the leaves' edges; no dark edges; "sweet" aroma (no bite to it, doesn't remind you of toothpaste). Spearmint looks similar and is a good alternative if you can only find that variety instead.
Peppermint: longer, skinnier, and smoother leaves; smaller teeth on the leaves' edges; sometimes has a dark color on the edge of the leaf: and has a strong, toothpastey smell.
How to Make Mint Simple Syrup
(Pssst…if you're ready to just get baking, get all the details in the recipe card below!)
- With your pot on the stove (heat off), pour in the cold water, and then the sugar. (Cold water will give your sugar more time to dissolve before you get to a full boil.)
- Gently stir the mixture to combine the ingredients.
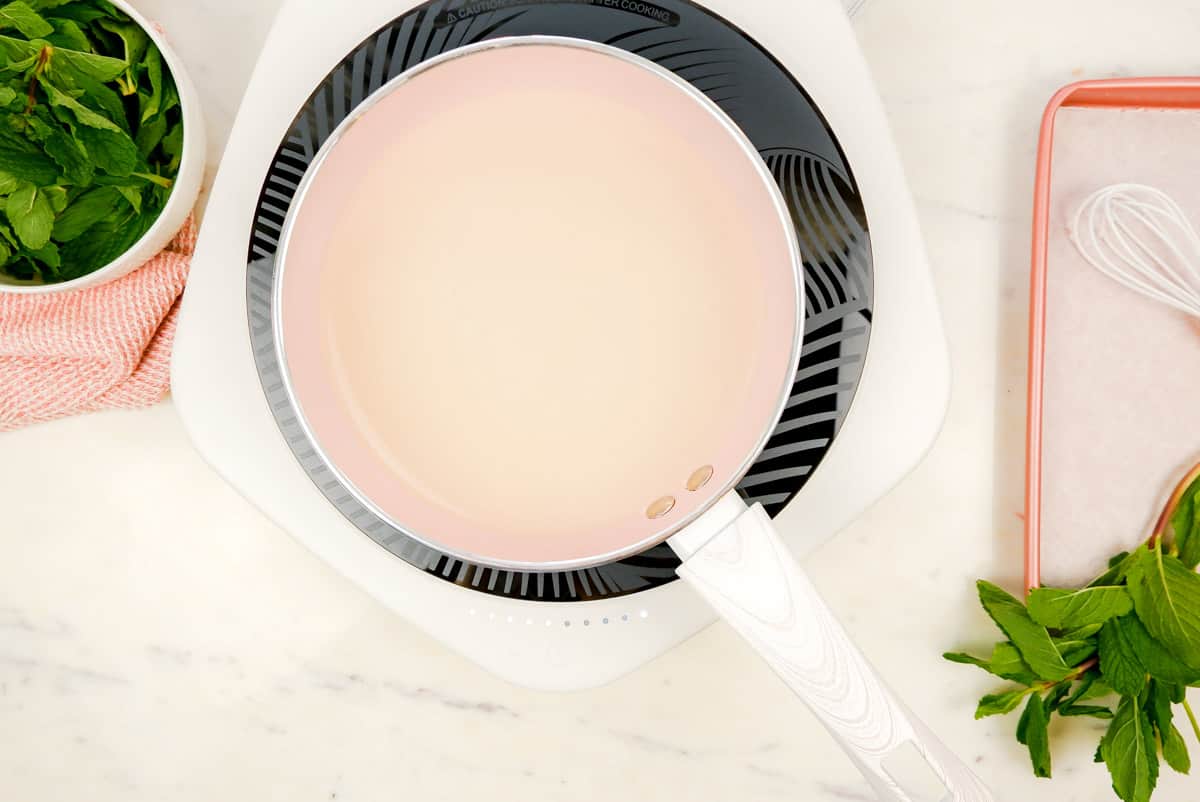
- Cook over medium heat without stirring it at all. Bring to a boil, then continue boiling until sugar is dissolved.

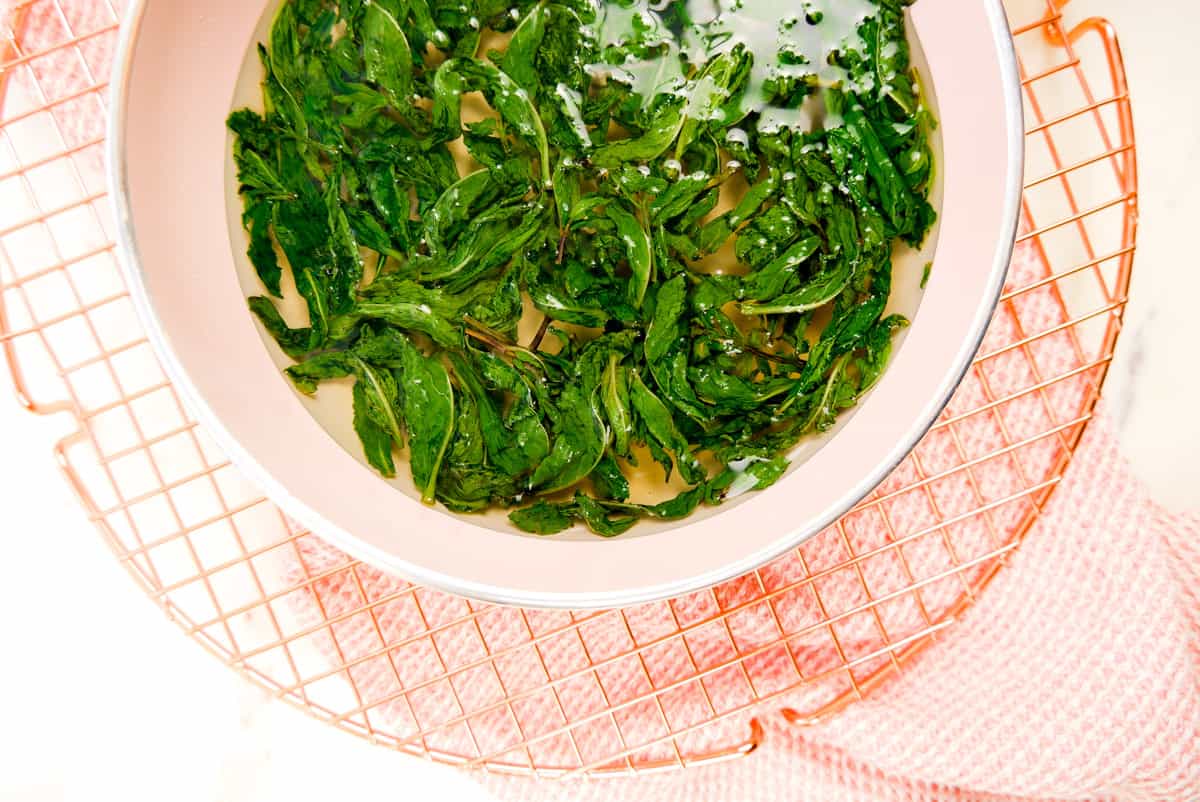
- Once all sugar is dissolved, remove from heat and add the mint leaves. Submerge, crush and bruise the leaves in the hot syrup to release their oils.
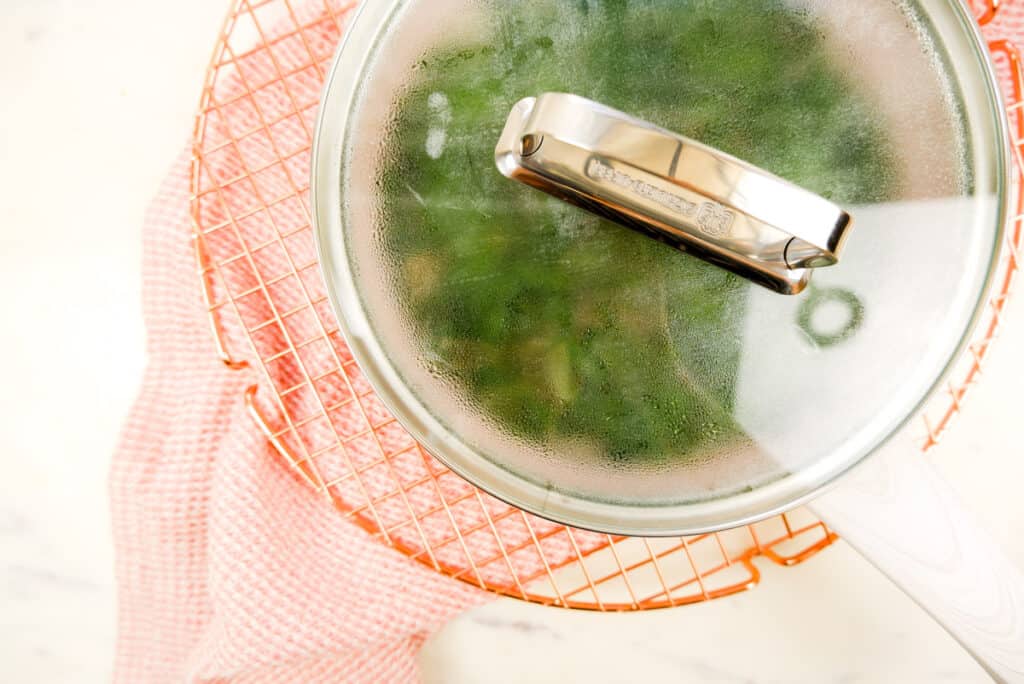
- Cover pot with a lid and cool to room temperature. Store covered in the fridge for 12-24 hours (with leaves still in the syrup) to allow mint to fully infuse.
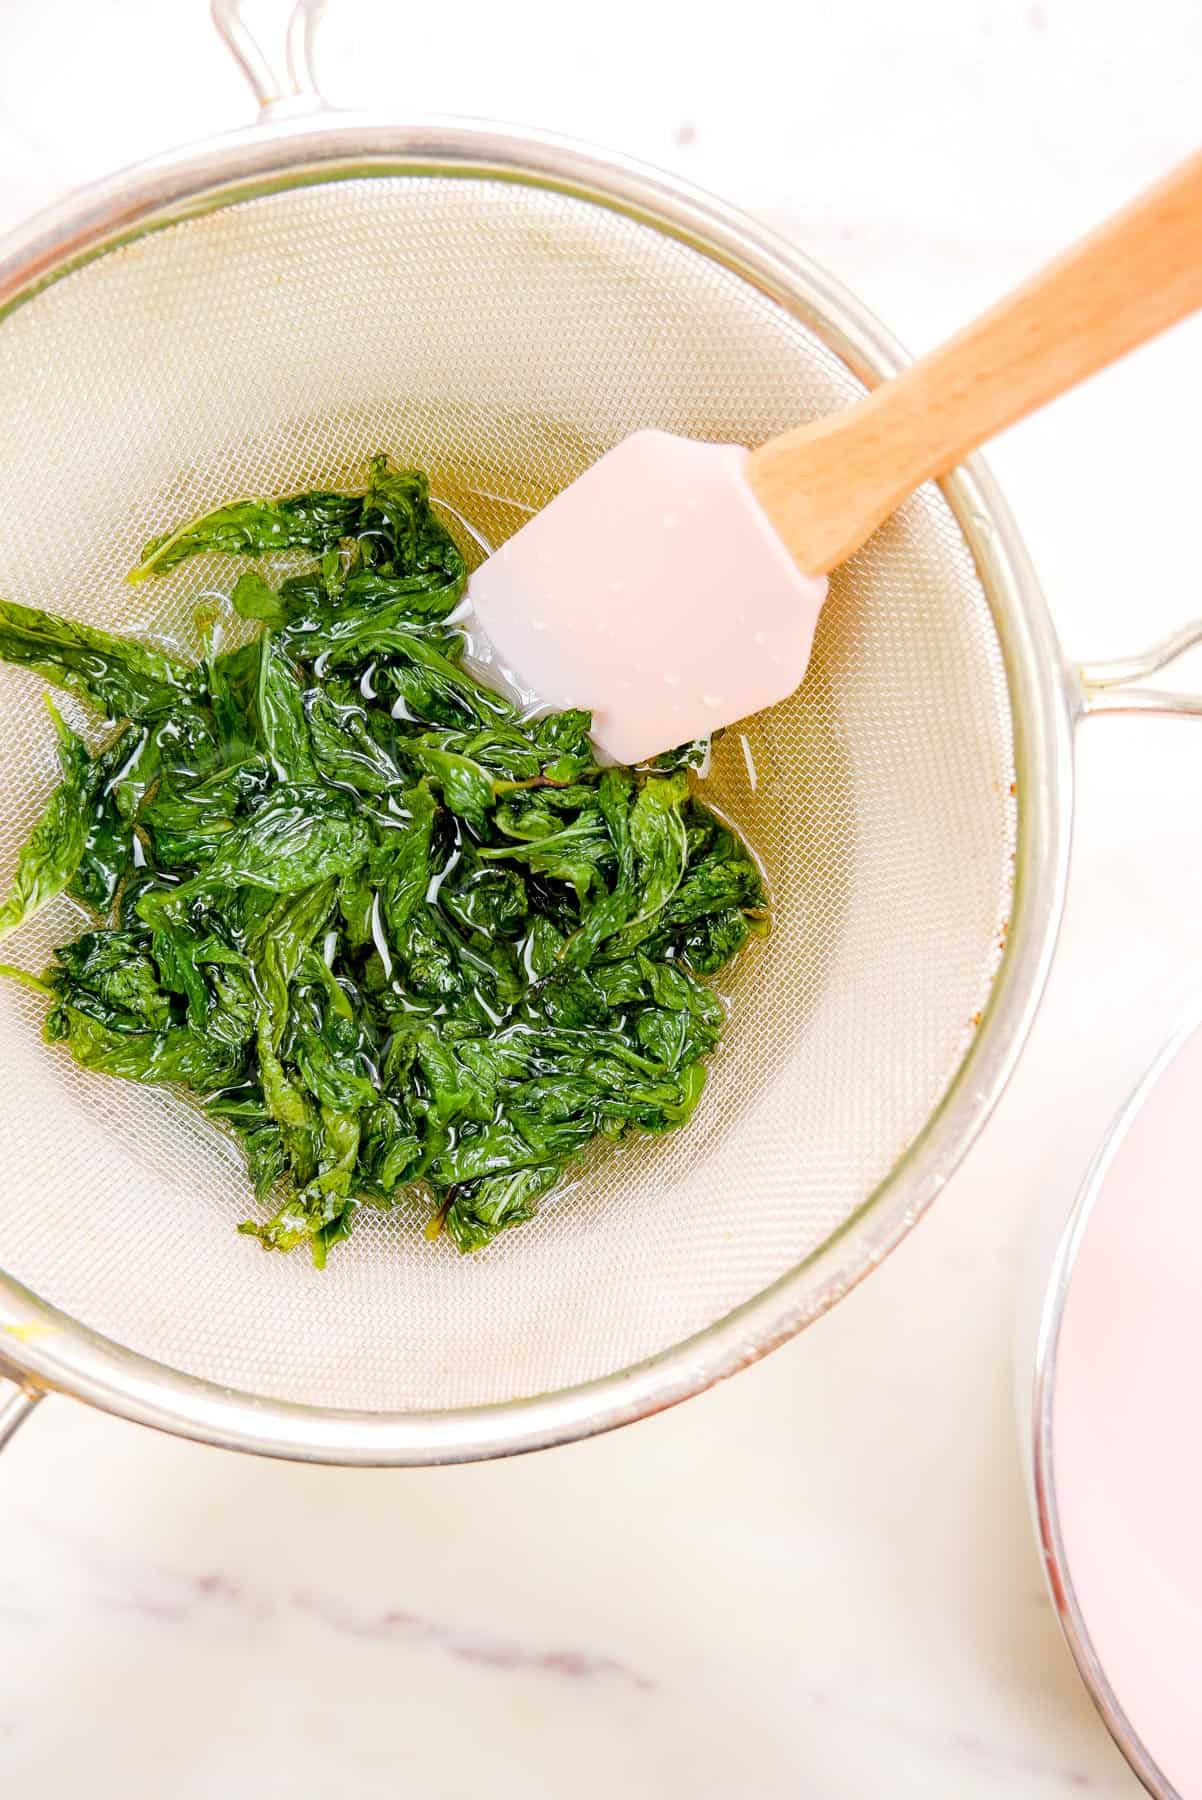
- Once ready, strain your syrup to remove leaves, then store in the fridge for up to 4 weeks, or freezer for up to 6 months.
Video Tutorial
That's the steps in a nutshell, but let's check out the full video tutorial below to see it all in action...
And here's the RECIPE WEB STORY for a click-through tutorial!
Test Kitchen Tips for Sweet Success
There are two key parts to this recipe that make it super easy, and also super tasty all at once:
- How we set up matters: we prep the ingredients in a certain way to set ourselves up for a hands-off cook. By ensuring we add the liquid into the pot first, we prevent the sugar from really adhering to the bottom of the pot. Also, by adding the ingredients on the stove, with very small and gentle stirring, we make sure no crystals splash on the side of the pot which can lead to recrystallization (which we definitely do not want).
- Infuse it while it's hot: add the mint to the syrup when it's boiling hot. In addition to crushing/bruising it while submerged in the syrup, the heat encourages the maximum amount of flavorful oil to release from the fresh mint leaves. The overnight infusion allows this process to continue, so after 12+ hours we have a super flavorful syrup, that still tastes very fresh and takes very little effort to make!
More Tips + FAQs
What's the TOP TIP for making the best simple syrup?
Follow the instructions exactly as writ! From prepping the ingredients properly, to not touching the syrup once you're cooking. If you just follow along the recipe, I promise you'll have a perfect simple syrup at the other end.
How do I know how many mint leaves are in a cup?
That's easy - you don't! And neither do I (lol).
For infusion recipes, the exact amount isn't important when dealing with an herb like mint. However the more mint you add, the stronger the flavor will be.
If you use your best judgement to pack the cup well, while still not totally crushing the leaves in the process, you should be good to go!
How long does infused syrup last?
Simple syrup keeps for 3-4 weeks if it's kept clean (not contaminated with cake crumbs etc.), stored air-tight in the fridge.
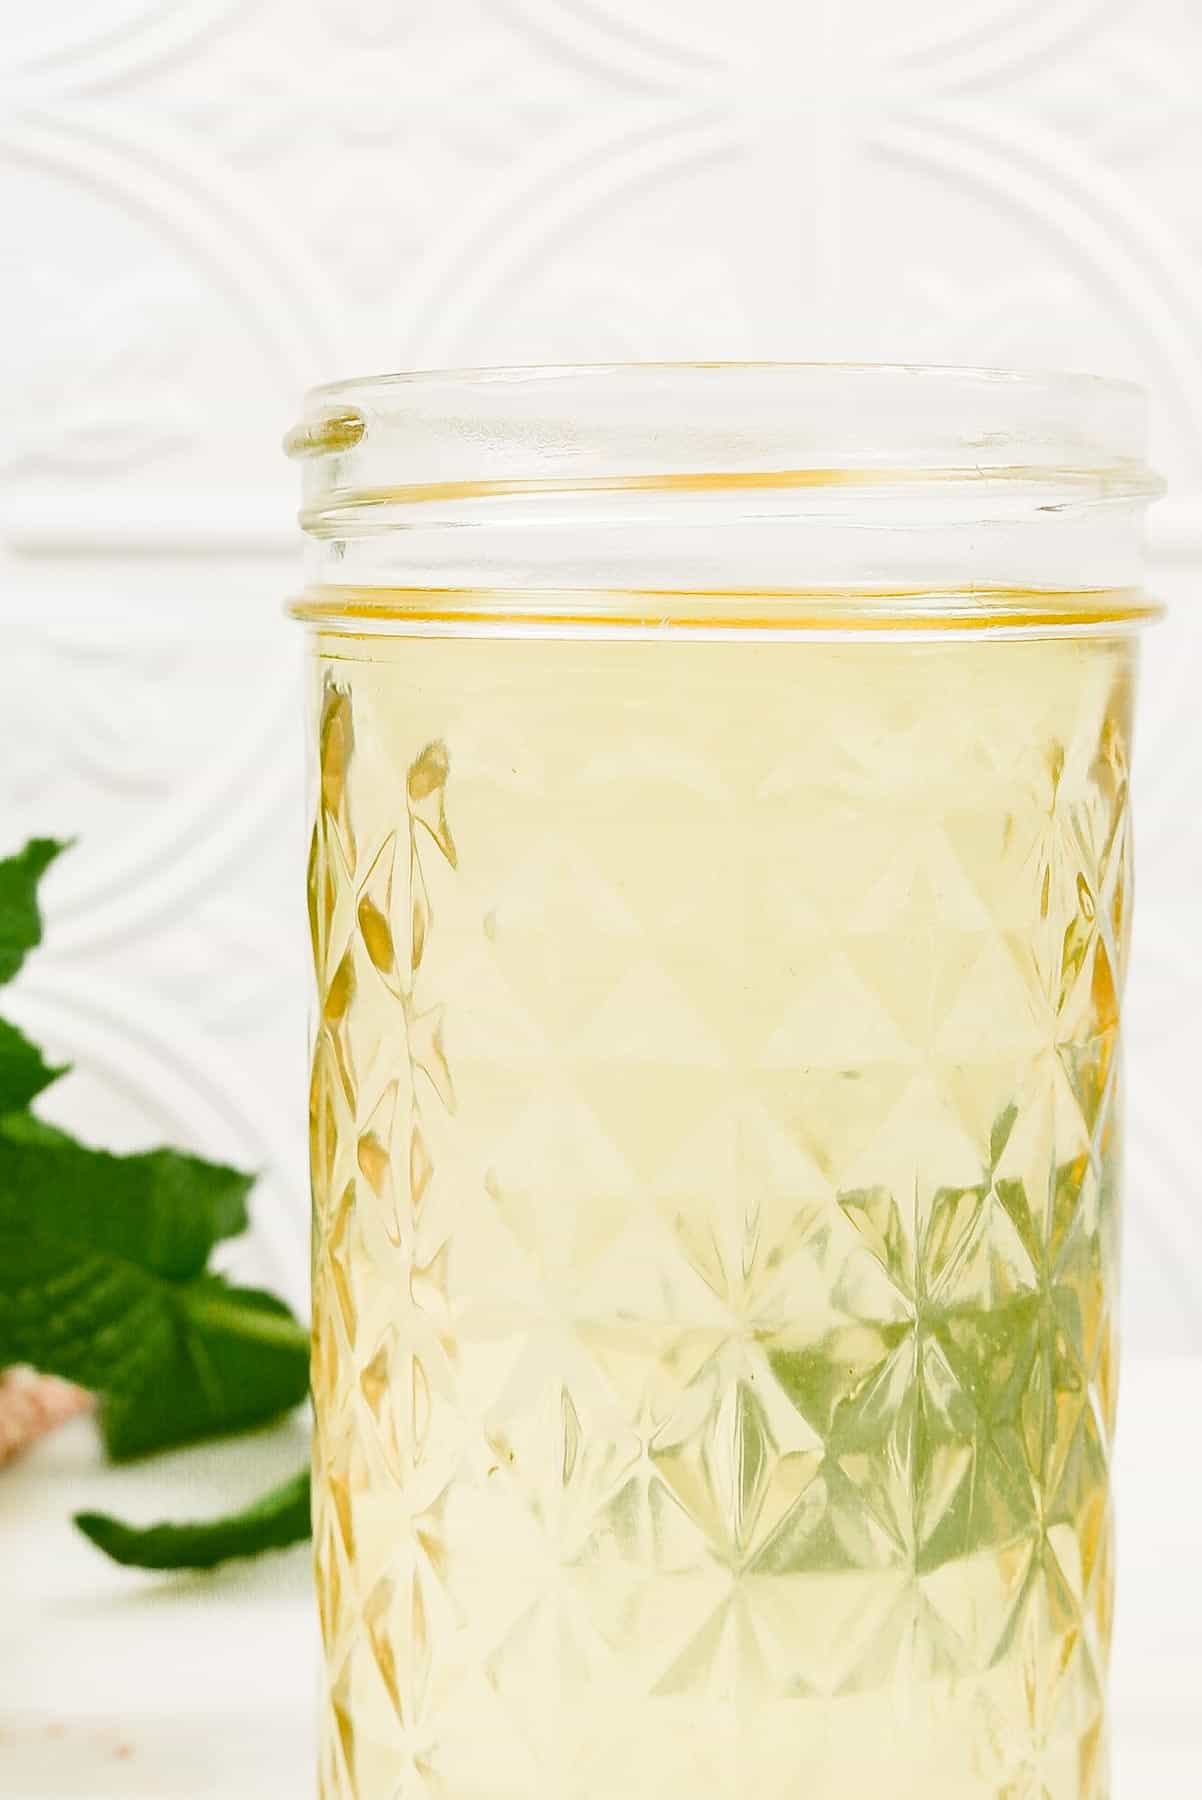
How do you store simple syrup?
I love to store mine in a squeeze bottle with a cap as it's super easy to then squeeze some on to a cake as a soak or add a little to my favorite cocktail or beverage! (But any clean, air-tight container will do!)
Can I freeze mint simple syrup?
Yes! It will keep frozen for up to 6 months, and it's best thawed in the fridge for a day or two before use.
Can you skip the mint and just make a plain/vanilla simple syrup?
Absolutely! If you'd prefer to have just a plain simple syrup instead of mint, you can just leave the mint leaf infusion step out and follow the rest of the instructions as written.
You can also stir in a teaspoon of vanilla extract or the contents of one vanilla bean after the syrup is fully cooked for a true vanilla syrup as well.
What is the difference between simple syrup and rich simple syrup?
All simple syrups start with water and sugar, but using those ingredients in different ratios results in different texture of syrup.
A basic simple syrup is equal parts sugar and water by weight.
A rich simple syrup uses more sugar than water by weight, about 2 parts sugar to 1 part water, resulting in a thicker final syrup.
This particular recipe is between the two. So it has more viscosity than a basic simple syrup, but isn't as thick or sweet as a rich simple syrup.
Other Recipe You'll Love
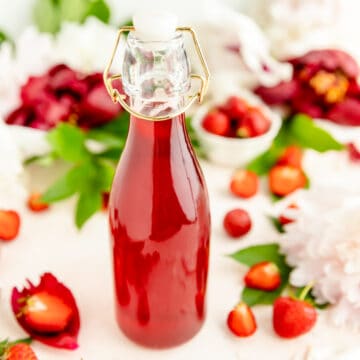
Be sure not to miss my Strawberry Trifle Recipe which puts this syrup to the best use. And my Strawberry Simple Syrup is another great way to preserve fresh summer flavors to be enjoyed all fall!
You can also use this recipe to soak my Easy Vanilla Sheet Cake paired with my Vanilla Buttercream frosting for a fun and easy Vanilla Fresh Mint Cake!

⭐ If you gave this recipe a try please give it a ⭐ rating and tag me on Instagram @mint.and.mallow.kitchen so I can see what you're baking up! ⭐
📖 Full Recipe

How to Make Mint Simple Syrup
Ingredients
- 1 ½ cups sugar
- 1 cup cold water
- 2 cups packed fresh sweet mint leaves (rinsed)
Instructions
- Add water and sugar to pot: pour the water into a small pot set on your stove (without the heat on), then add in the sugar (it's important the water goes first to prevent the sugar from sticking to the bottom, and we add everything on the stove so we don't shake the pot moving it).
- Gently stir to combine: very gently stir the mixture several times to combine, being sure not to splash any sugar onto the sides of the pot (it could cause your syrup to recrystallize which we definitely don't want!).
- Turn on the heat: turn your burner on to medium heat. Allow the syrup to heat up and cook without stirring it at all. It will eventually reach a boil, and you can allow it to keep boiling just until the mixture is completely clear and the sugar is fully dissolved (about 7-10 minutes, but time will fluctuate based on your stove and pot size). If you see a stubborn white spot in the bottom of the pot where the sugar is sticking, feel free to gently stir it in.
- Add mint: once sugar is fully dissolved, remove syrup from heat and add mint leaves. Using a heat safe spatula, press the leaves down to fully submerge them in the syrup. Repeat until you feel you have sufficiently crushed and bruised the leaves as this will help encourage them to release their oils for a more flavorful syrup.
- Cover and cool: cover pot with a lid and allow syrup to cool completely to room temperature. Once room temp, place the pot in the fridge overnight (12-24 hours) to allow the flavor to fully infuse.
- Strain and enjoy! After the infusion, strain your syrup through a fine mesh sieve to remove leaves, then transfer to a container for storage and keep refrigerated up to 4 weeks. Use to soak your favorite cakes, add a fresh minty note to your favorite cocktail, or even spruce up your ice tea!
Video
Test Kitchen Tips
- Plain/Vanilla Simple Syrup: if you'd prefer to have just a vanilla simple syrup instead of mint, you can just leave the mint leaf infusion step out and follow the rest of the instructions as written. You can also stir in a teaspoon of vanilla extract or the contents from one vanilla bean after the syrup is fully cooked for a true vanilla syrup as well.

Comments
No Comments