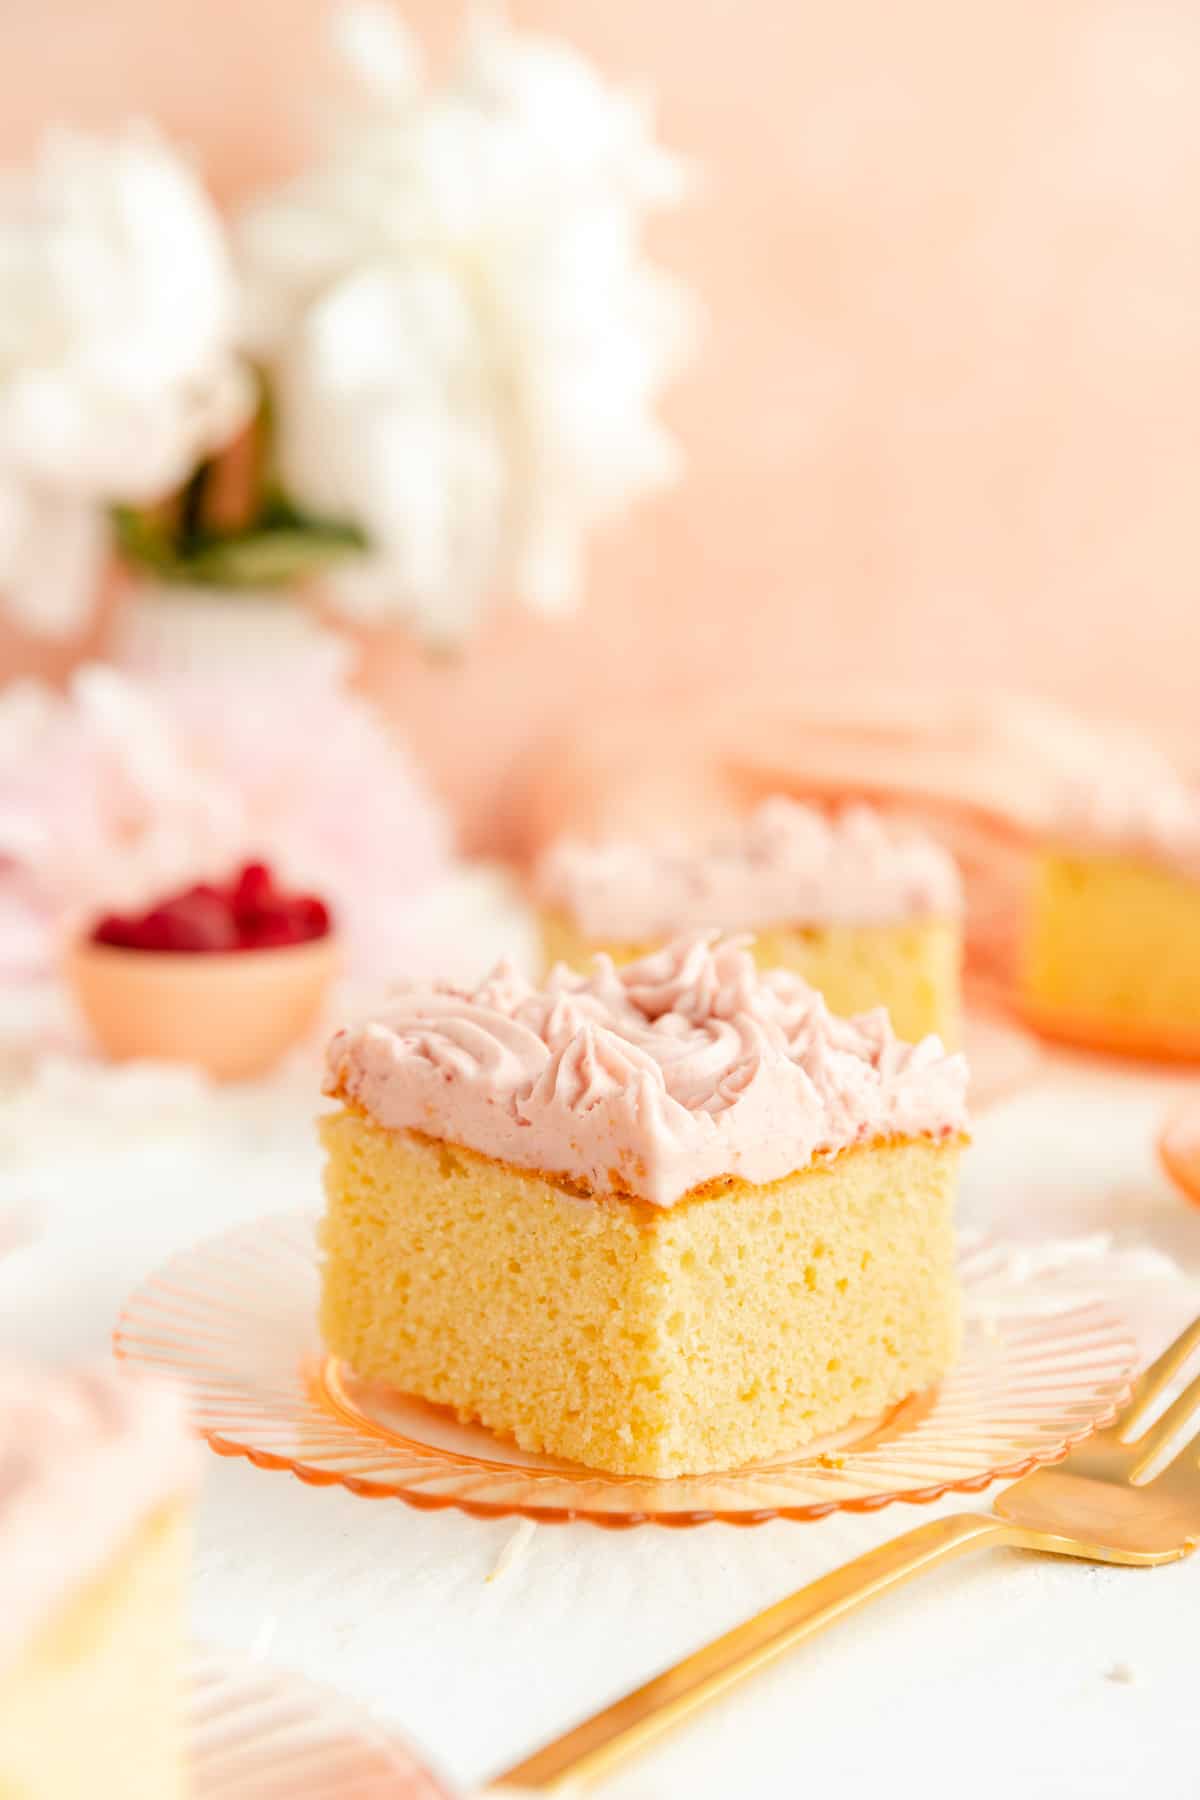
Light, fluffy, moist, one-bowl, quick-mix, simply "the best" - there are so many great adjectives I could use to describe this 9"x13" Easy Vanilla Sheet Cake! With a classic vanilla flavor, golden yellow crumb, and a light yet wonderfully moist texture, I promise you this one-bowl cake will quickly become a favorite for birthdays and everyday occasions alike!
Jump to (scroll for more!):
A Really Easy Vanilla Cake...Finally
When I worked in box mix development (essentially formulating a high-end Betty Crocker cake mixes for sale at grocery stores), a quick-mix vanilla cake always evaded me and my team. Ever since, I’ve been on a mission to develop a go-to, super easy vanilla cake recipe.
And I am THRILLED to announce…I've finally done it!
You know I always keep my recipes as simple as possible here at M+M Kitchen. This vanilla sheet cake is no exception.
With a buttermilk tang to balance out the classically sweet vanilla flavor, this simple cake is ready in only two steps and only dirties one bowl (…now that's my kind of recipe!).
Easy Chocolate Cakes vs. Easy Vanilla Cakes
Here’s an interesting little side note. You might have noticed that chocolate quick-mix cakes are much more common than vanilla because they tend to use oil instead of butter.
I admit, they do avoid the dilemma of chilly butter not fully mixing into your cake properly. But I promise you that a vanilla cake with oil is just not very appetizing when it comes to a scratch-made recipe (in either taste or texture).
(That said I'll never turn down a good, oil + egg Betty Crocker box cake if anyone feels like whipping me up one! hehe).
Ingredient Tips for Better Baking
(Pssst…if you're ready to just get baking, get all the details in the recipe card below!)
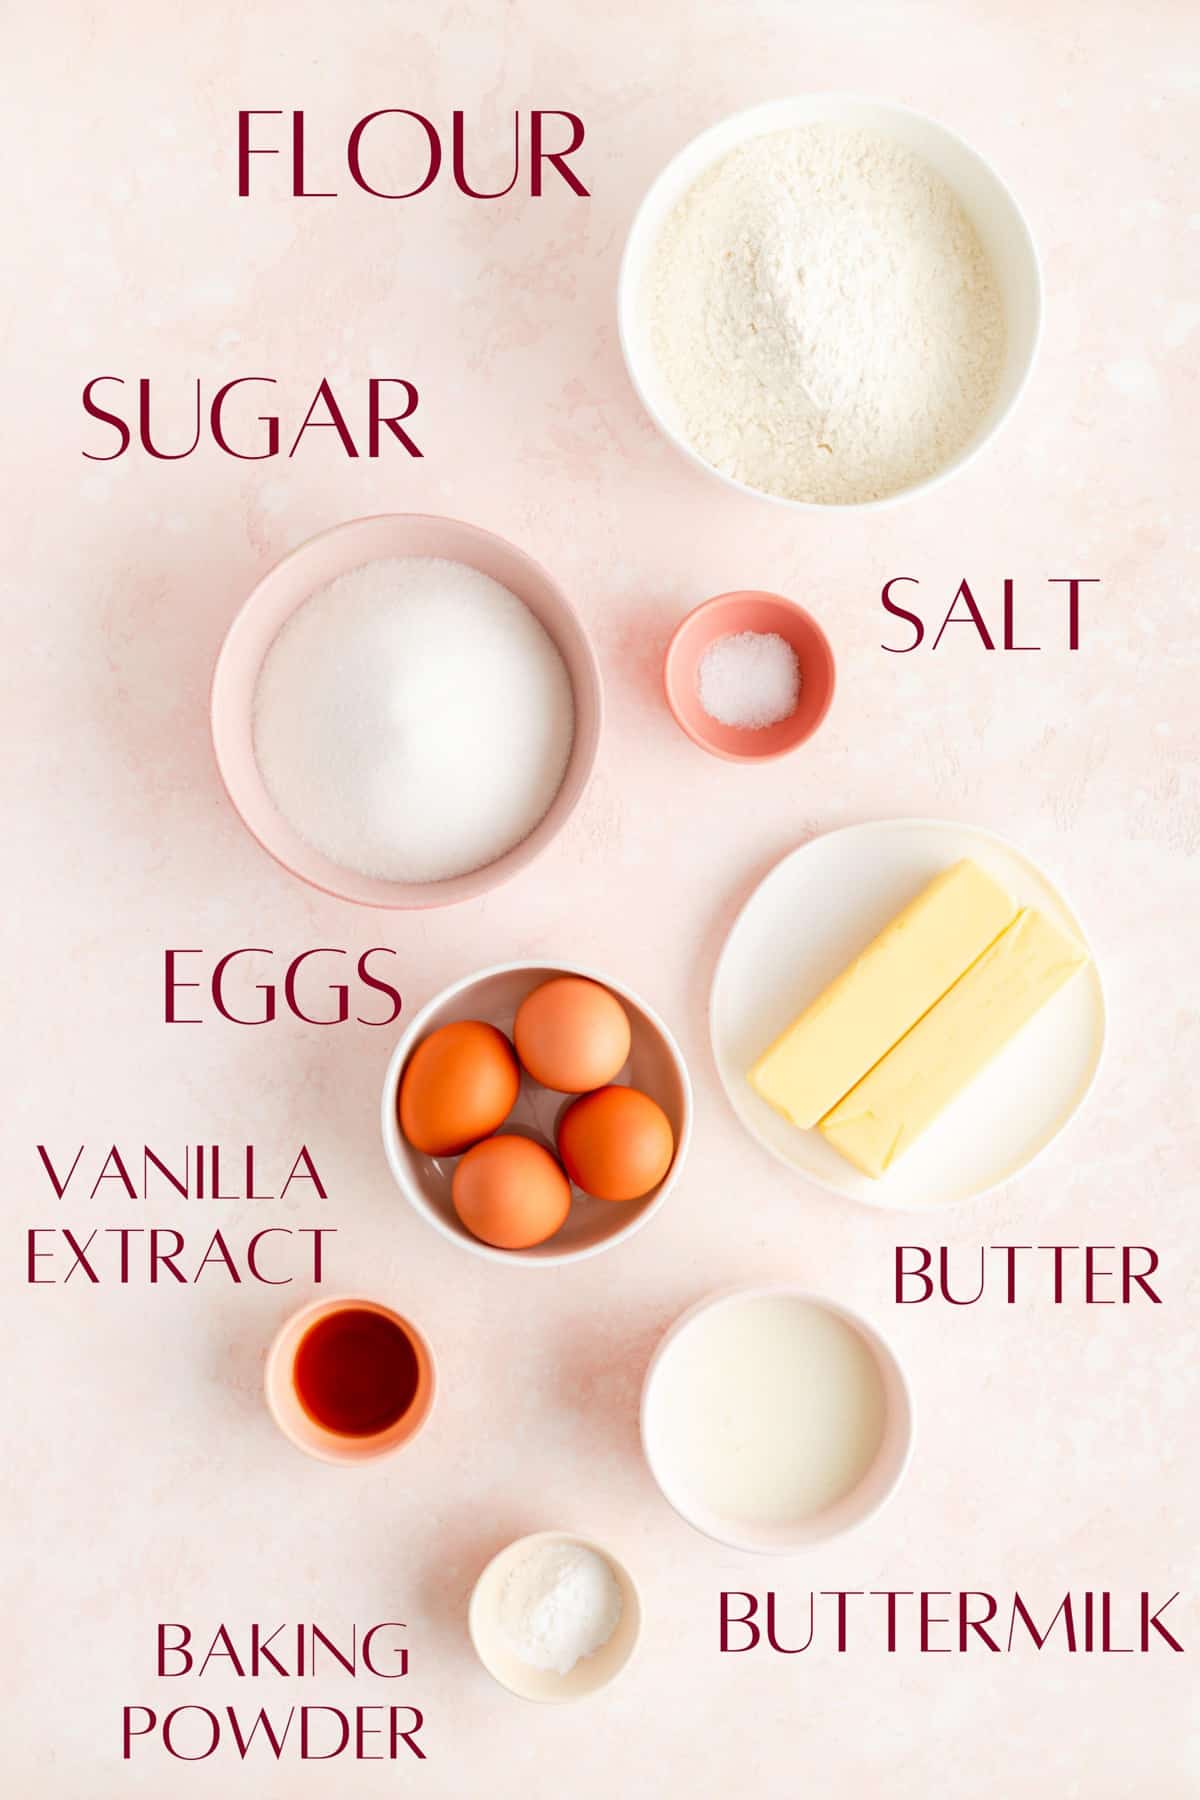
- Butter: as I mentioned above, vanilla cakes taste best with the clean and rich flavor of butter instead of oil. The high fat content in this recipe helps keep this cake nice and moist too as an added bonus.
- Sugar: there's a good deal of sugar in here as well, which adds moisture and of course, sweetness. It also a very important ingredient to help our cake form a lovely golden-brown crust on top!
- Vanilla Extract: you’ll want to use high quality vanilla as there's a lot of it in this recipe. Some cheaper varieties may provide an unpleasant alcohol flavor.
- Baking Powder: this little guy is responsible for the lovely dome and light texture you'll find in this cake. And since we have a lot of thick batter in one pan to work with, there's more leavener in this recipe than your average cake to make sure we still get a great rise.
- Eggs: there are a lot of eggs in here as these add both moisture and structure to our batter. (Check out Eggs 101 and Eggs 102 for more on this!)
- Buttermilk: this helps to lighted up the batter and the final cake. The acidity is a nice note to offset the natural sweetness of the vanilla, and it also helps to tenderize our cake as well.
(p.s. for all the basic tips that no one ever taught you, that are super important to help you bake your best, check out my Baking 101 series!)
How to Make a Sheet Cake from Scratch
(Pssst…if you're ready to just get baking, get all the details in the recipe card below!)
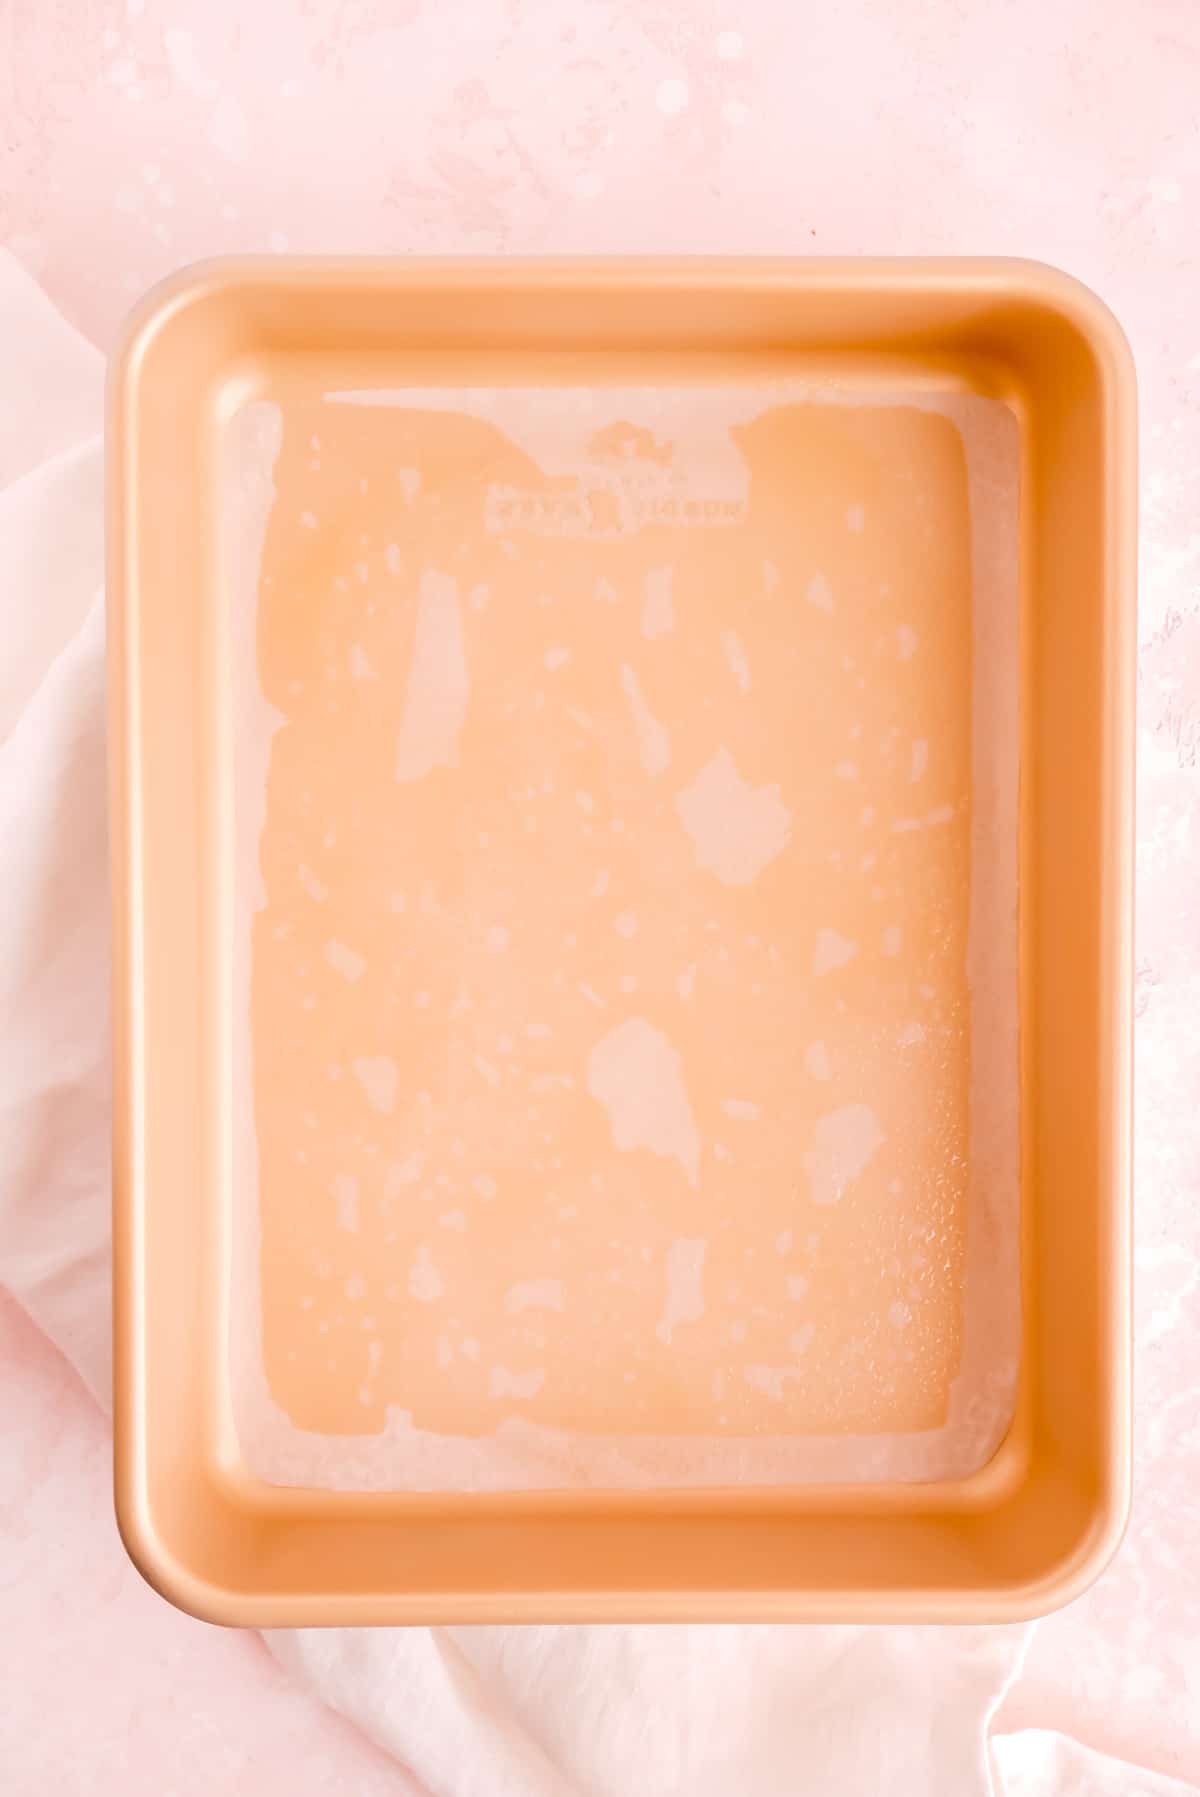
- Prep your pan and preheat your oven.
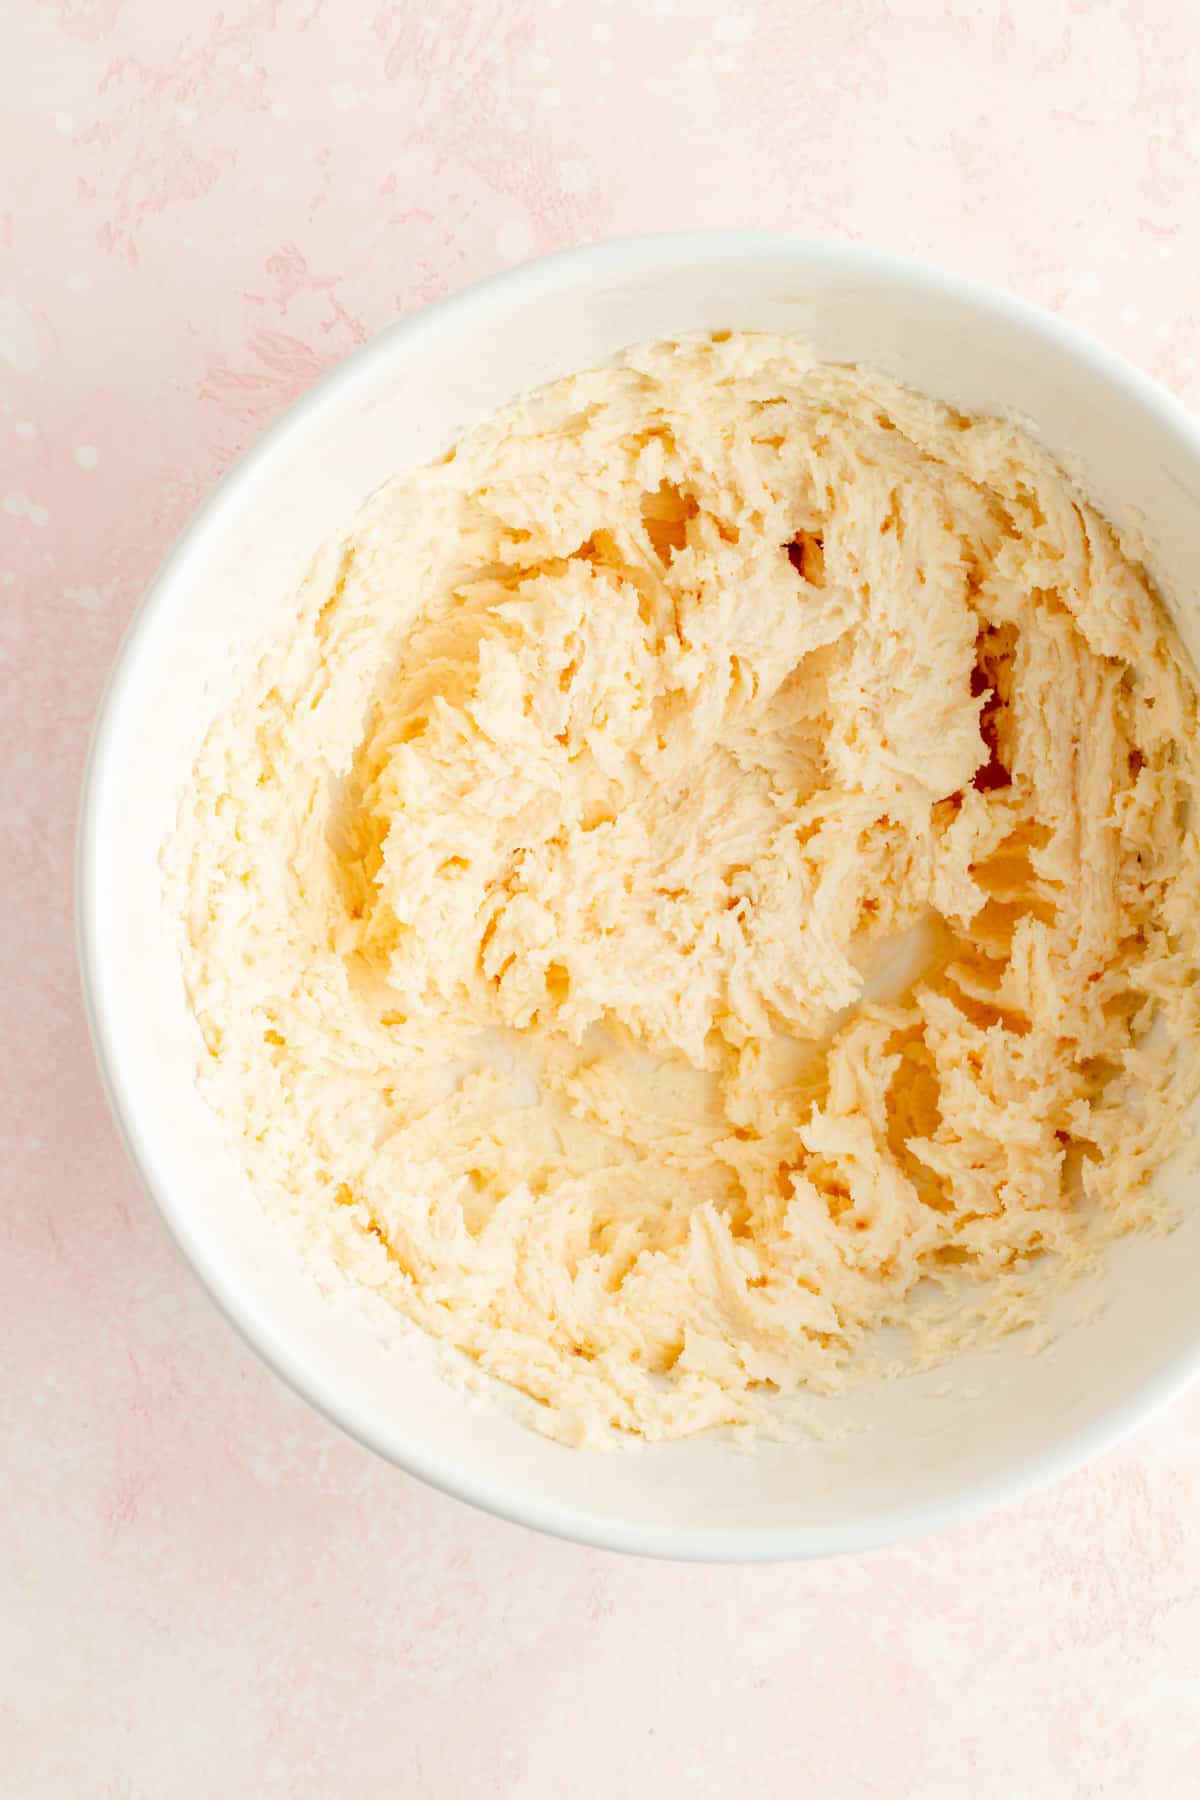
- Cream butter, sugar, and vanilla until light and fluffy.
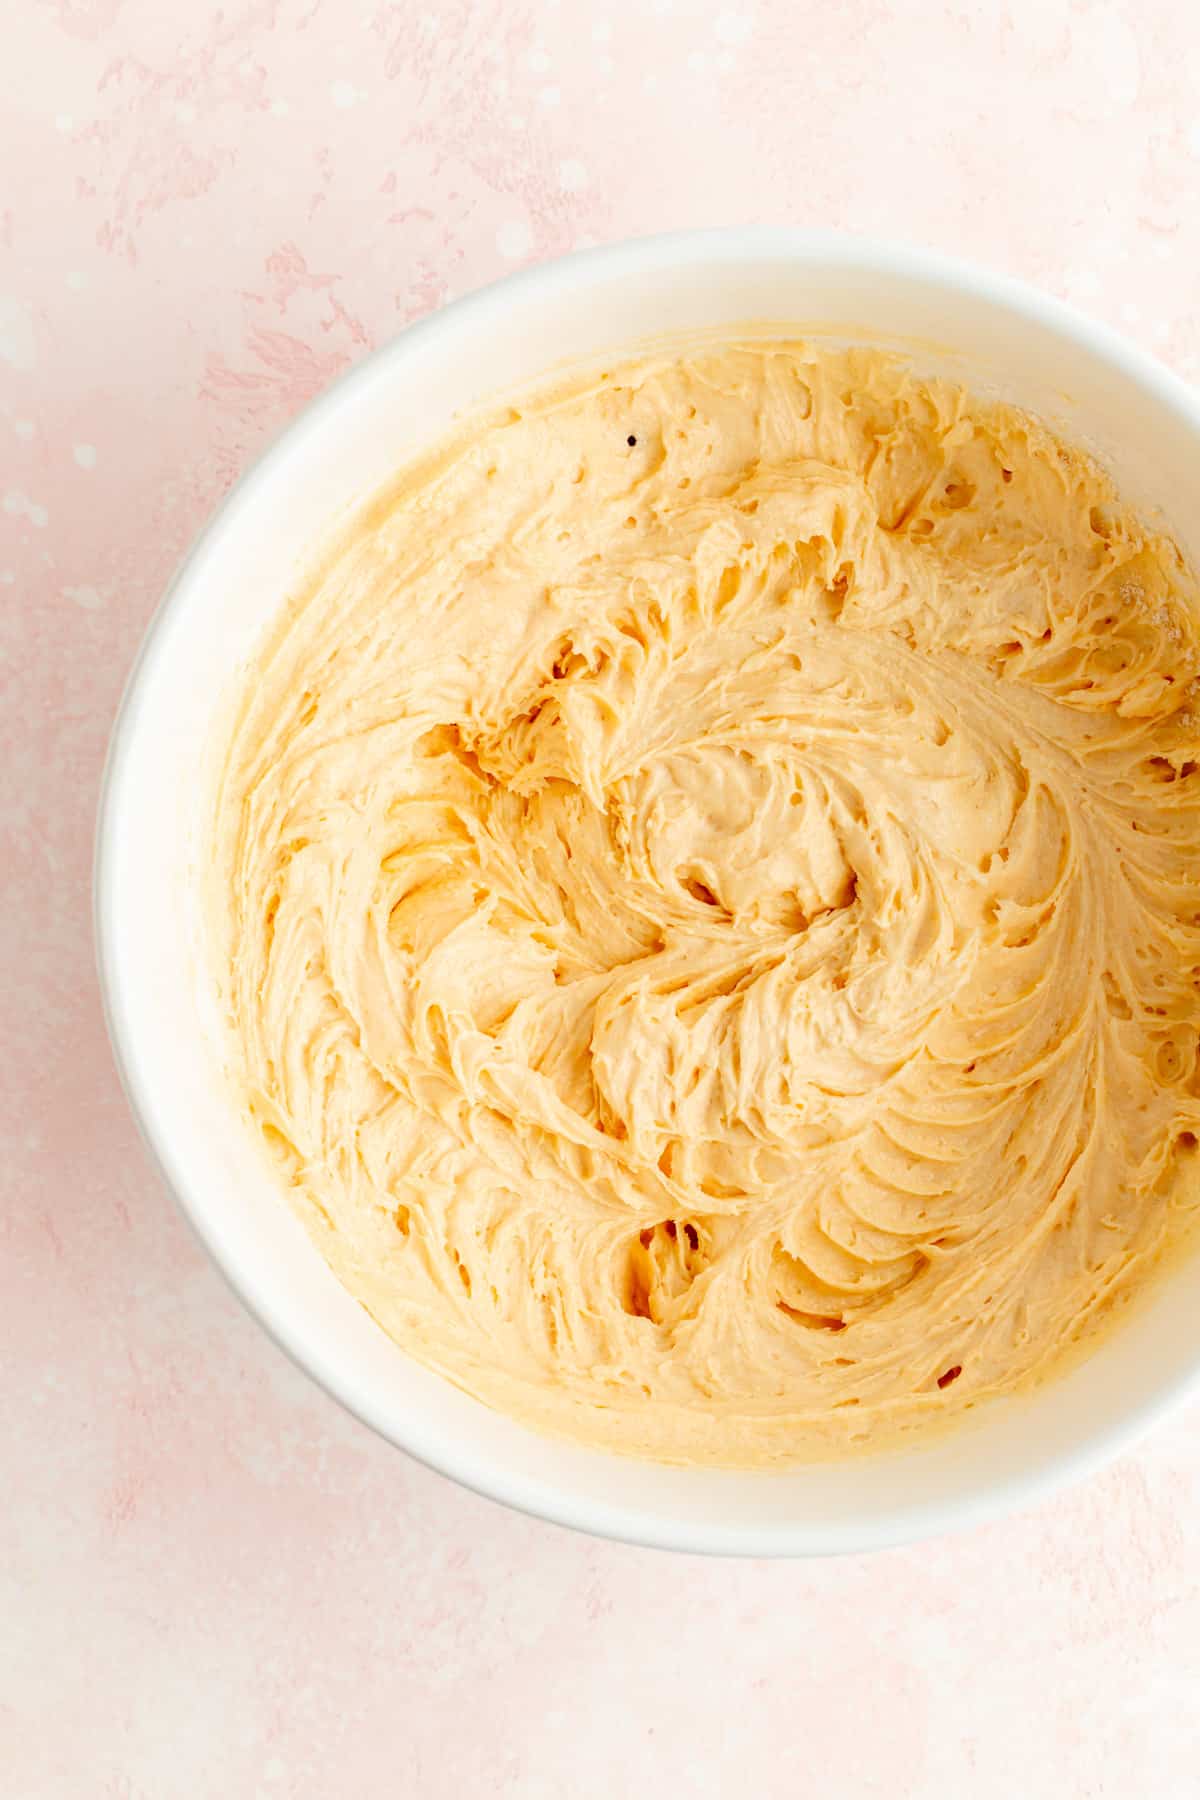
- Beat in all the other ingredients until smooth.
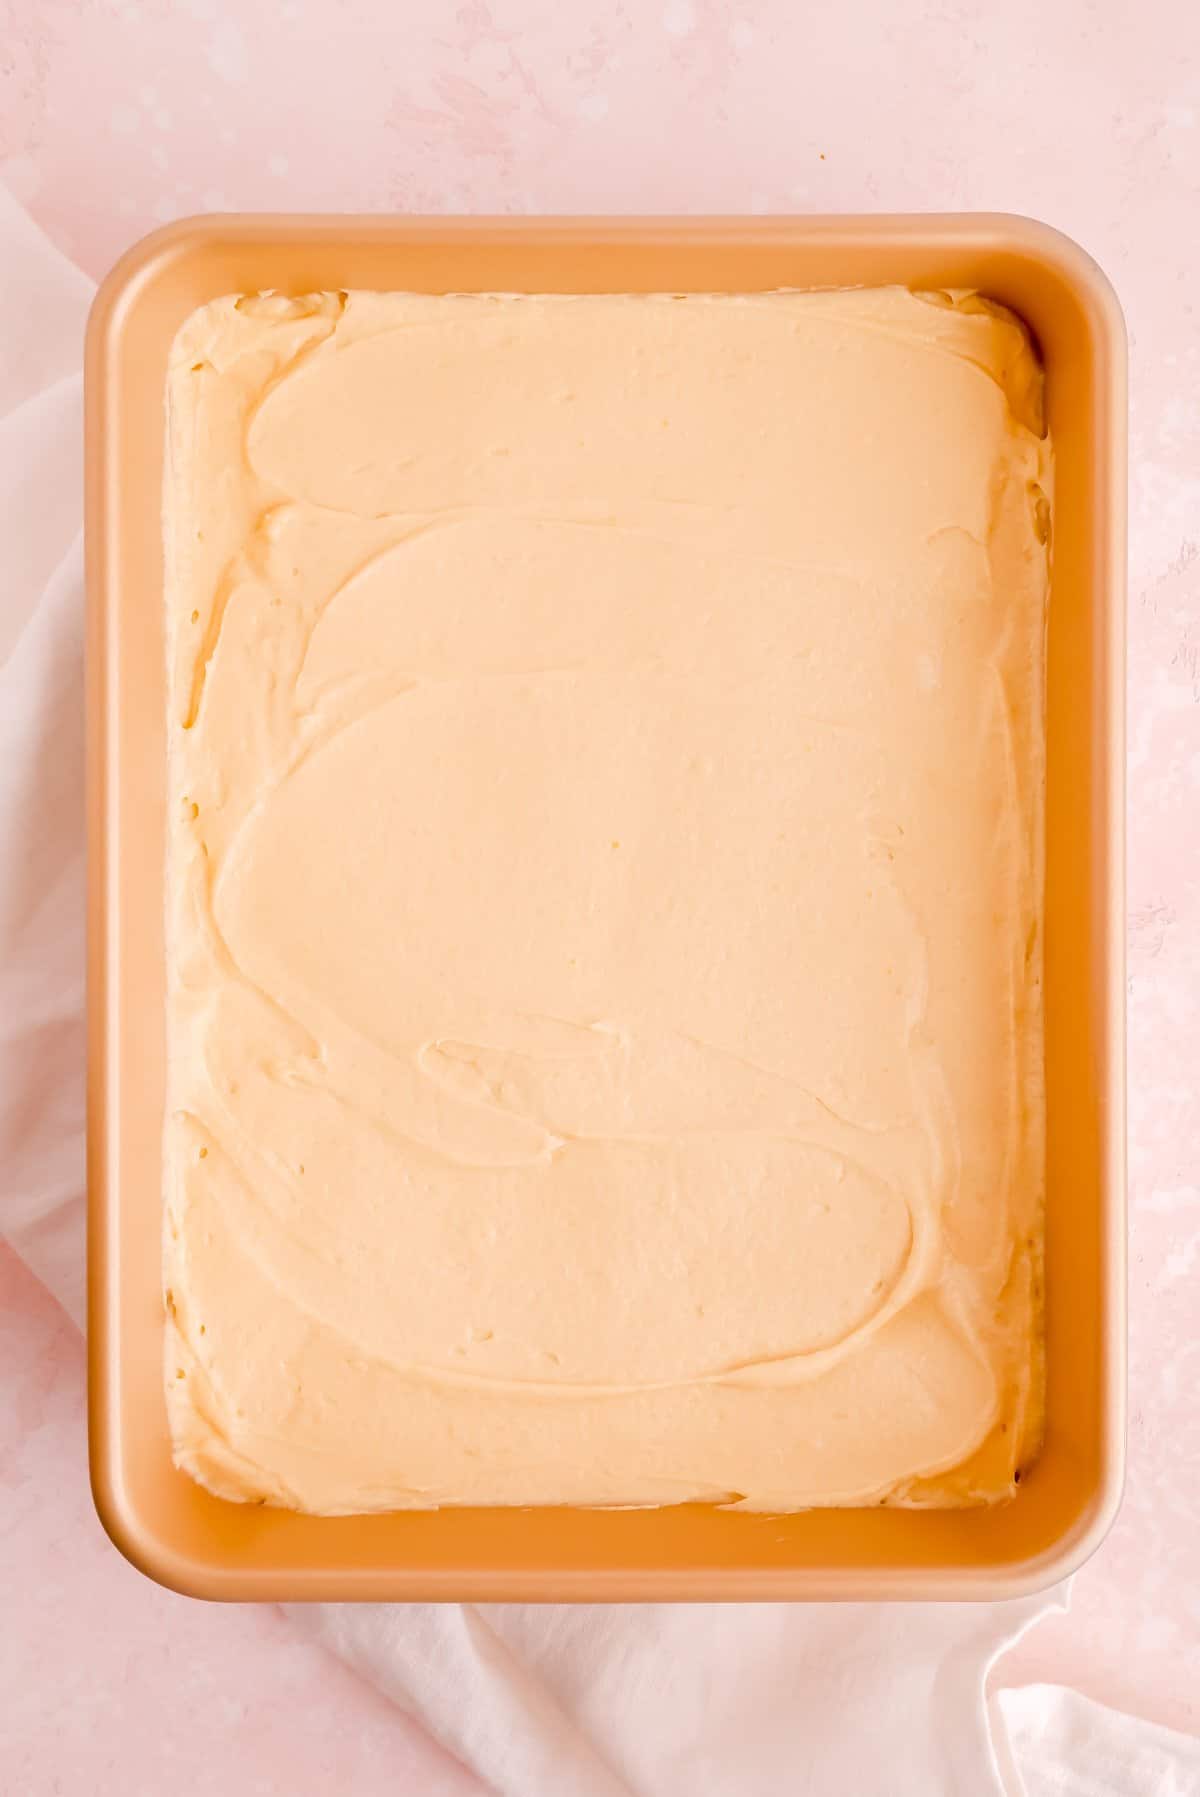
- Spread batter evenly in prepared pan.
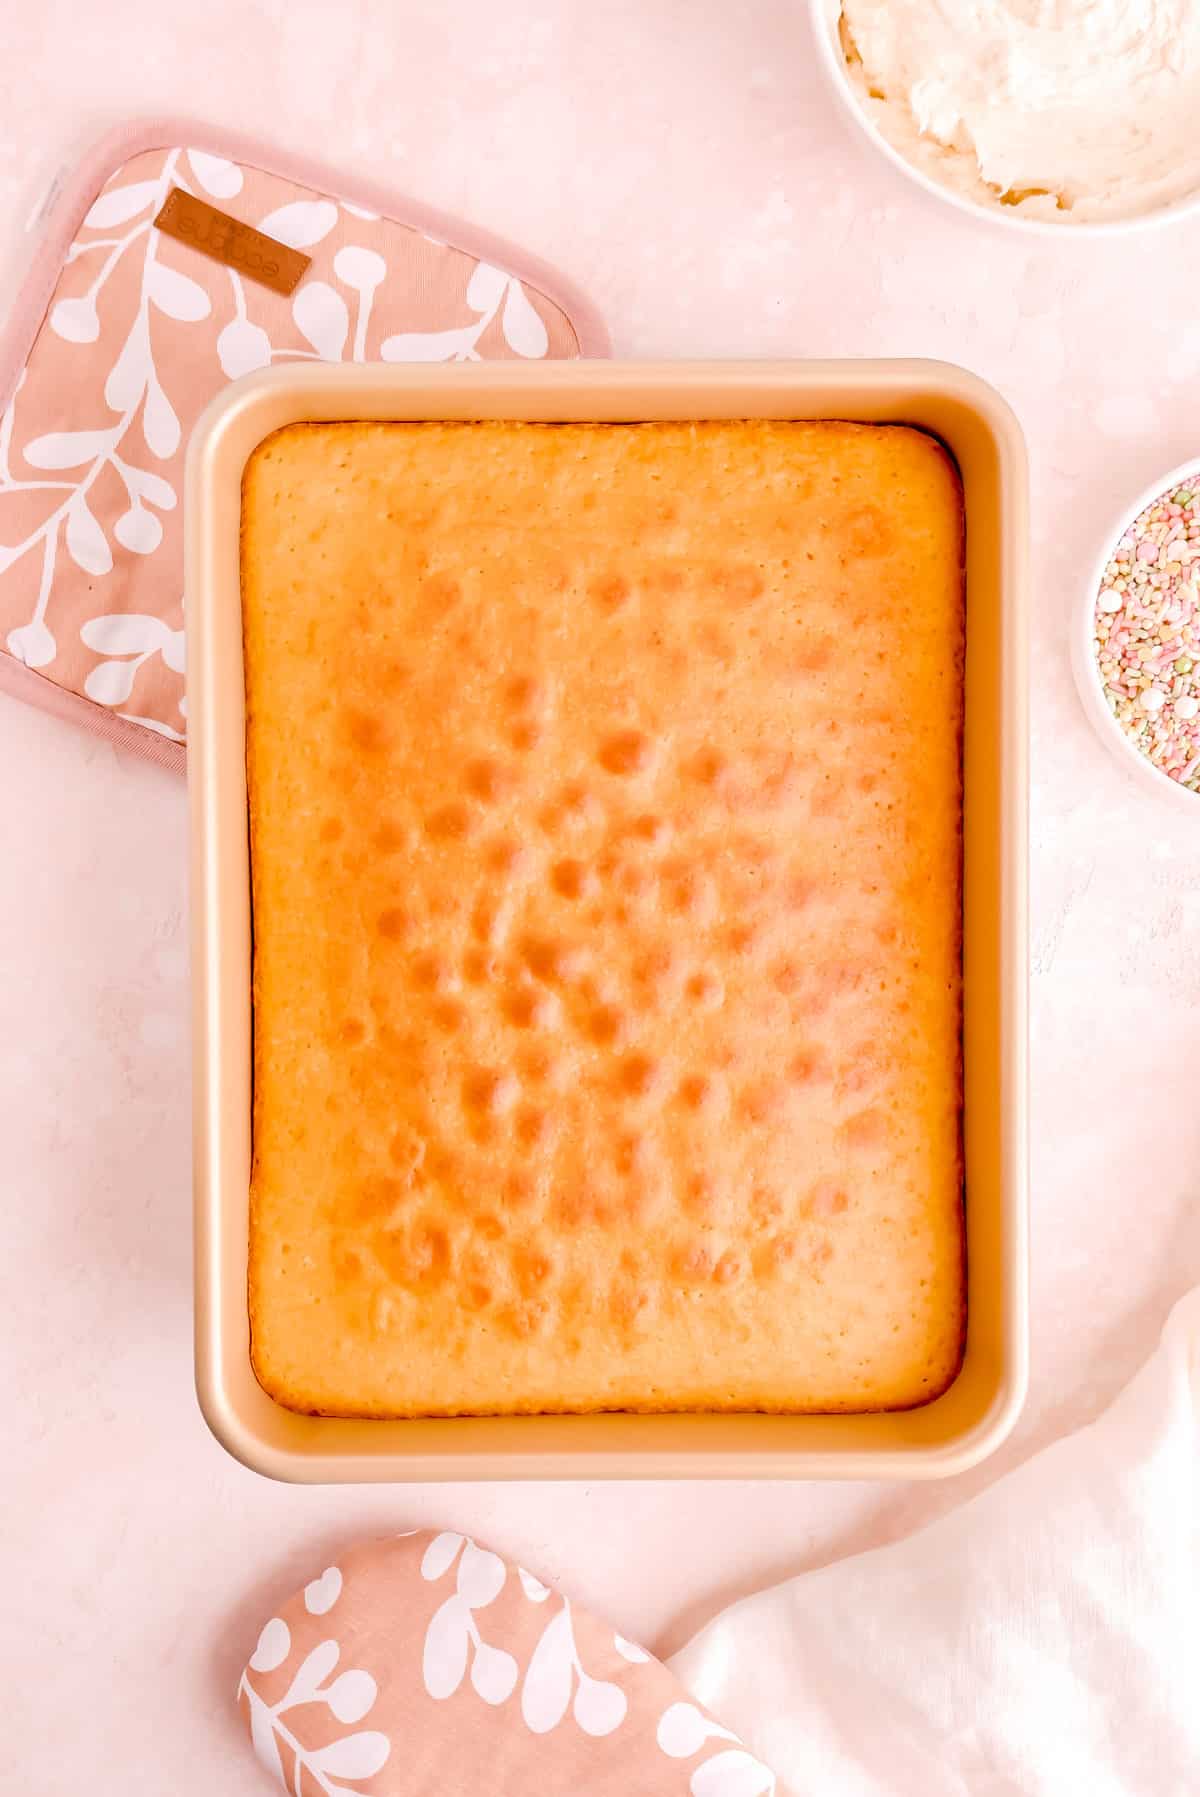
- Bake until golden-brown and fully set.
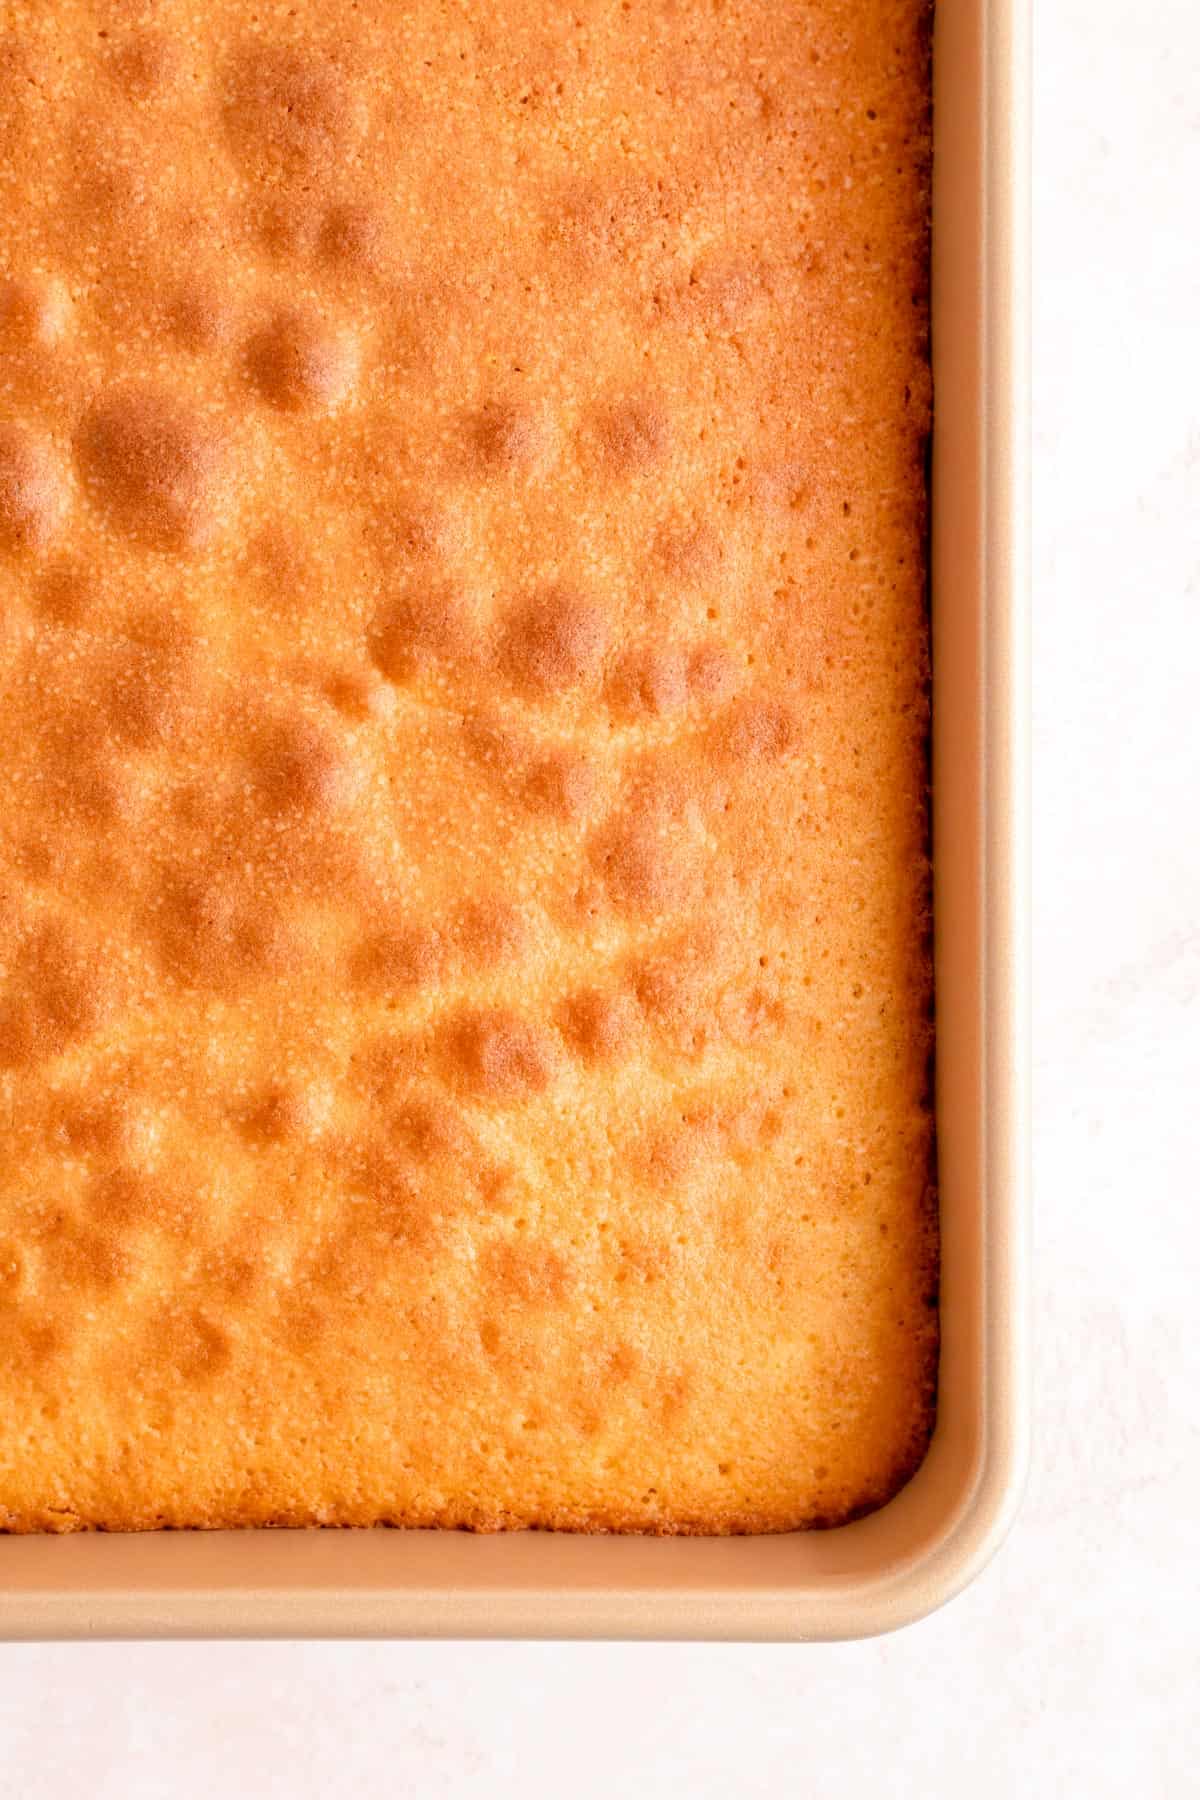
- Cool fully, frost, slice it up, and enjoy!
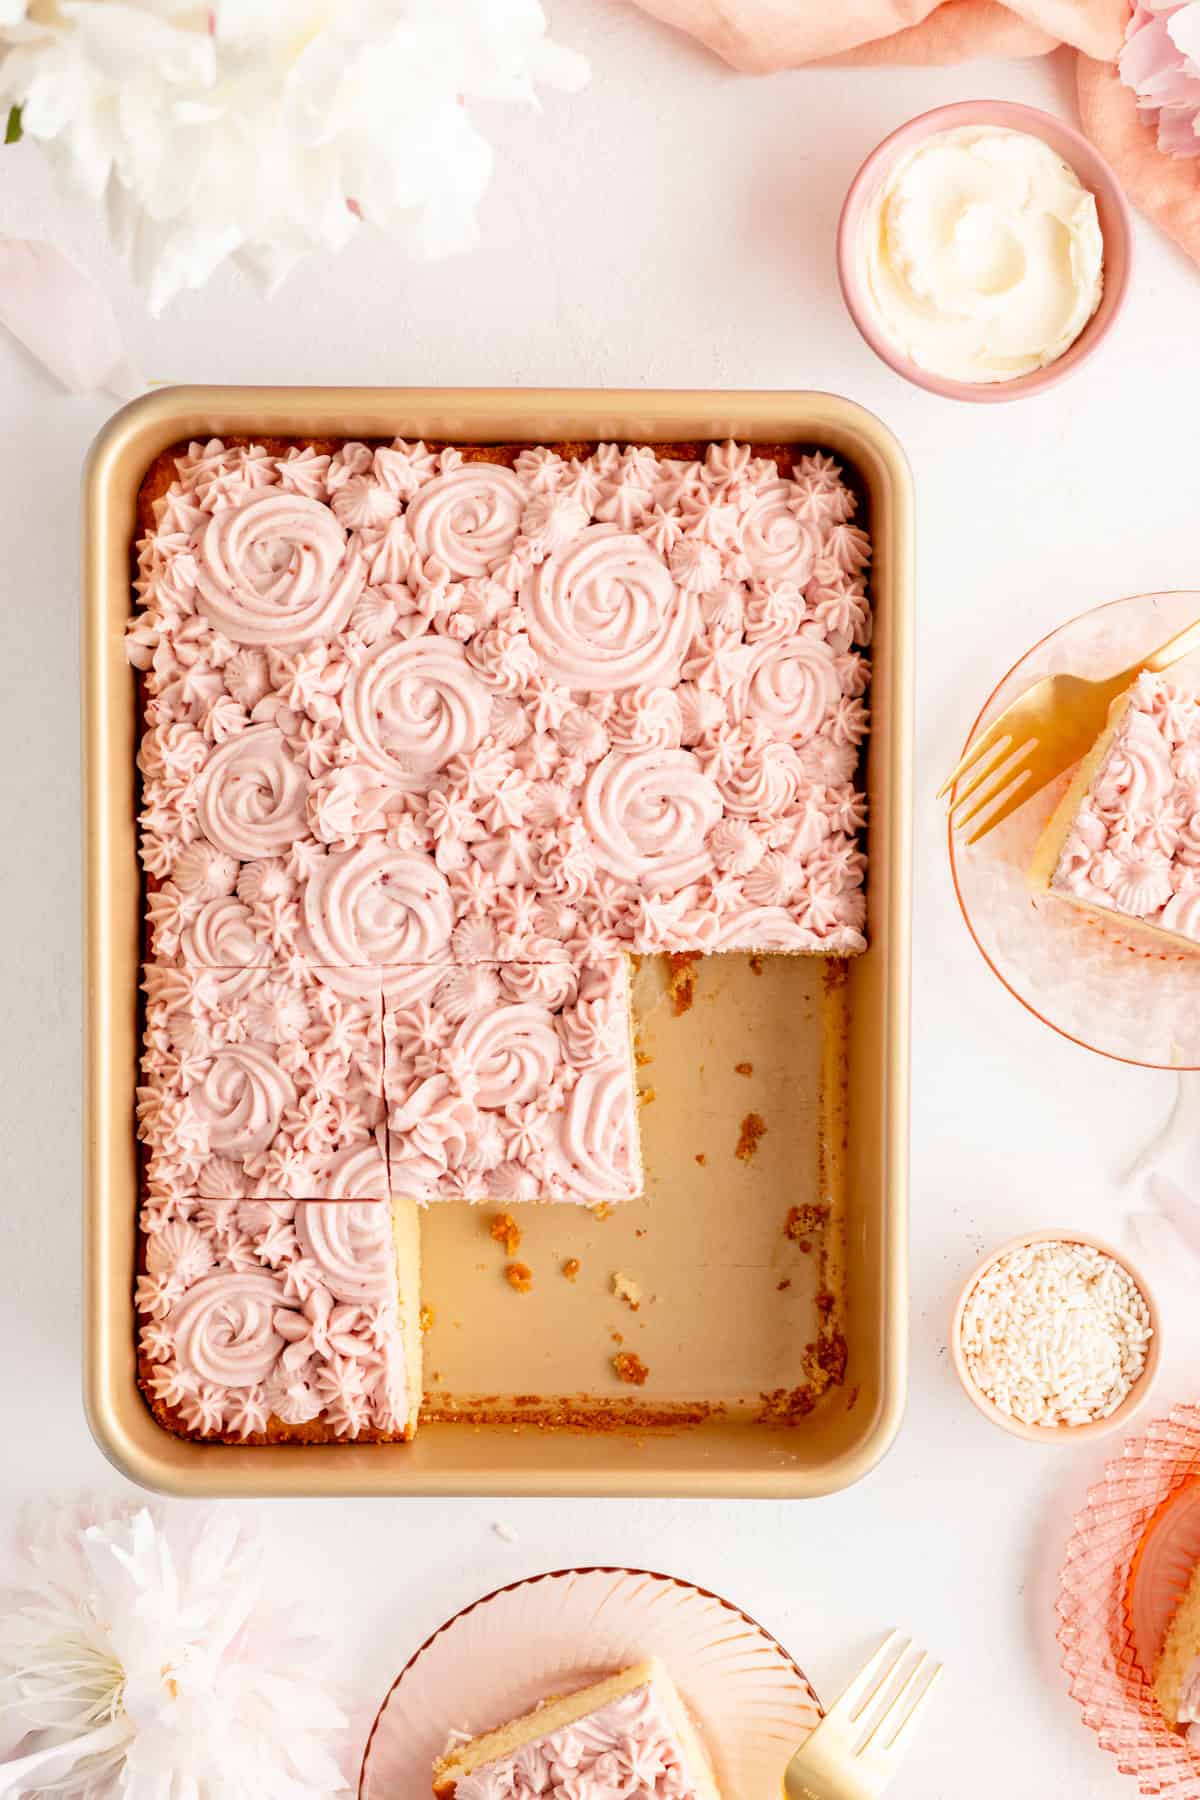
And check out the full RECIPE WEB STORY for a click-through tutorial!
Frostings and More
You can top this cake with pretty much any frosting you want…
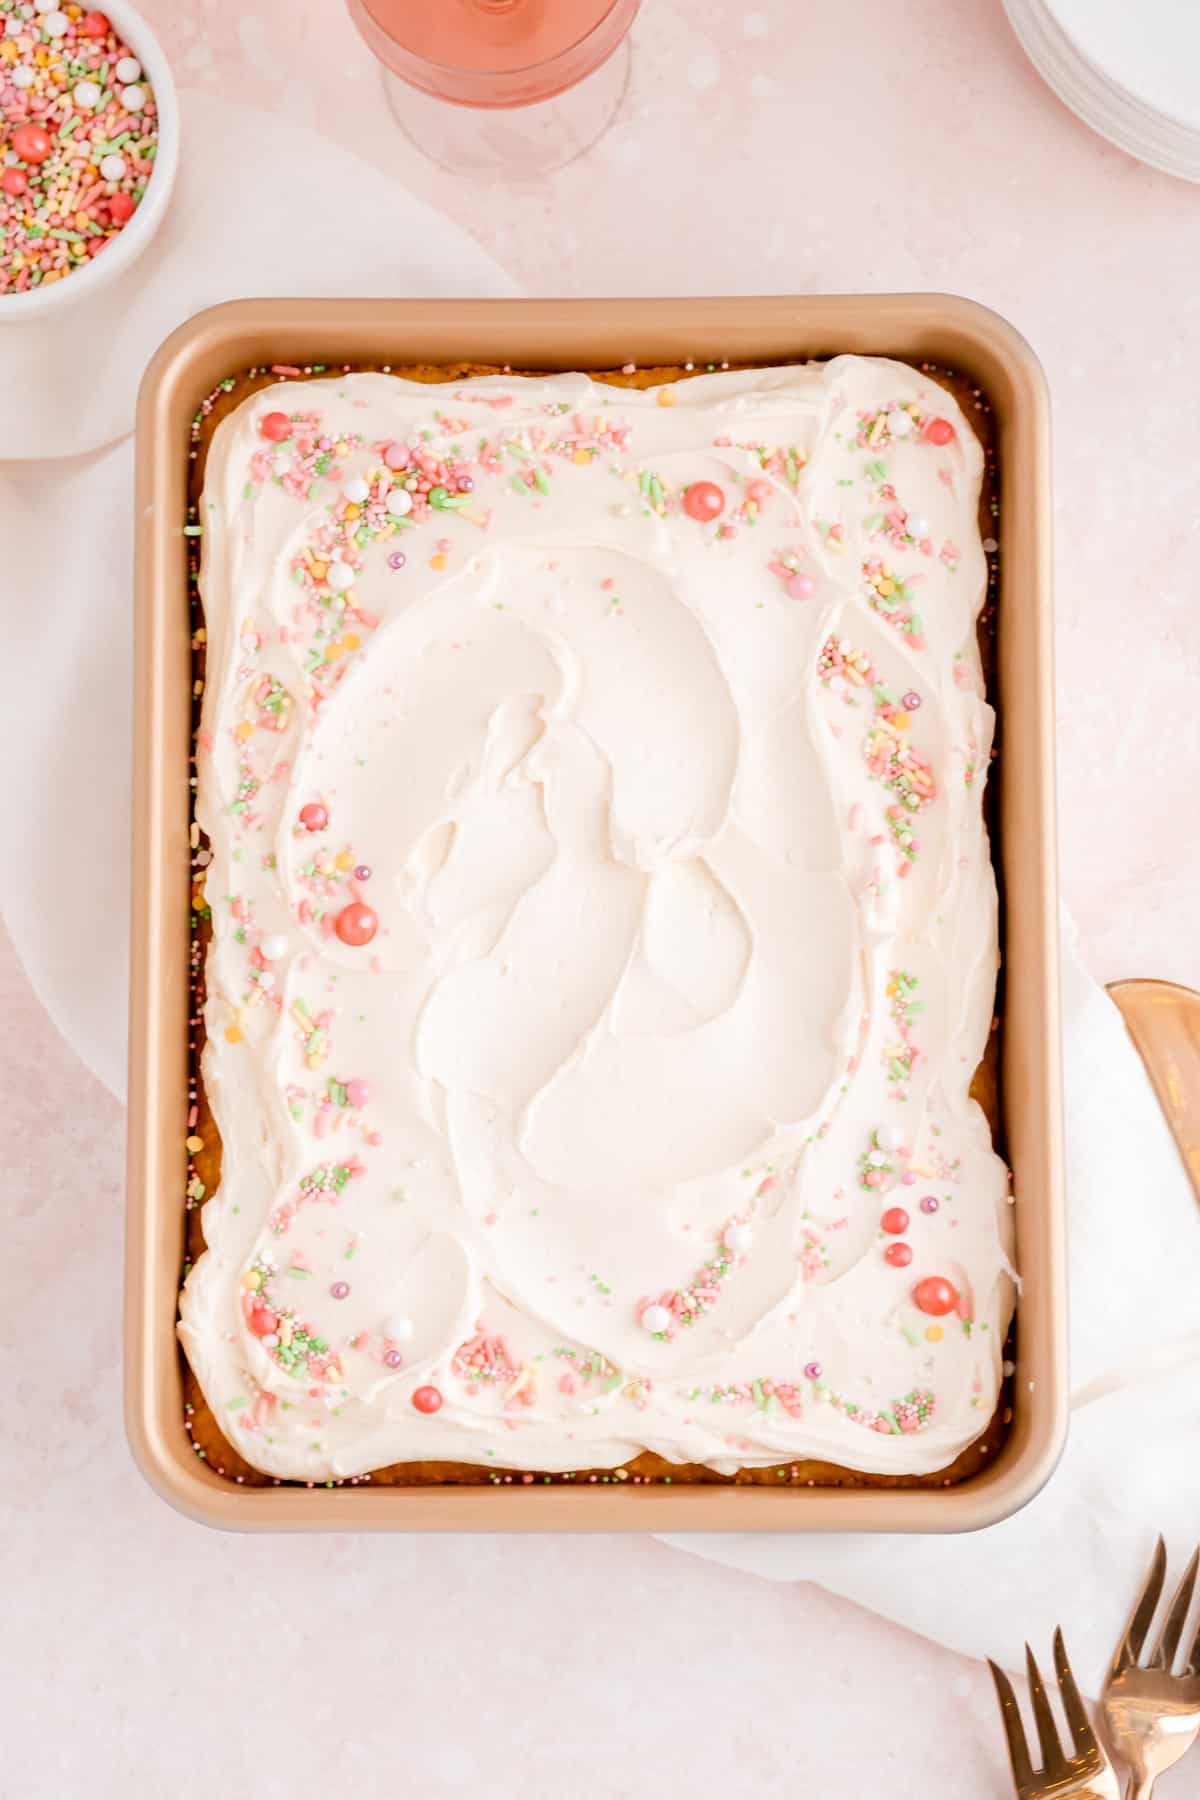
…vanilla sheet cake with vanilla frosting
…vanilla sheet cake with chocolate frosting
…vanilla sheet cake with cream cheese frosting
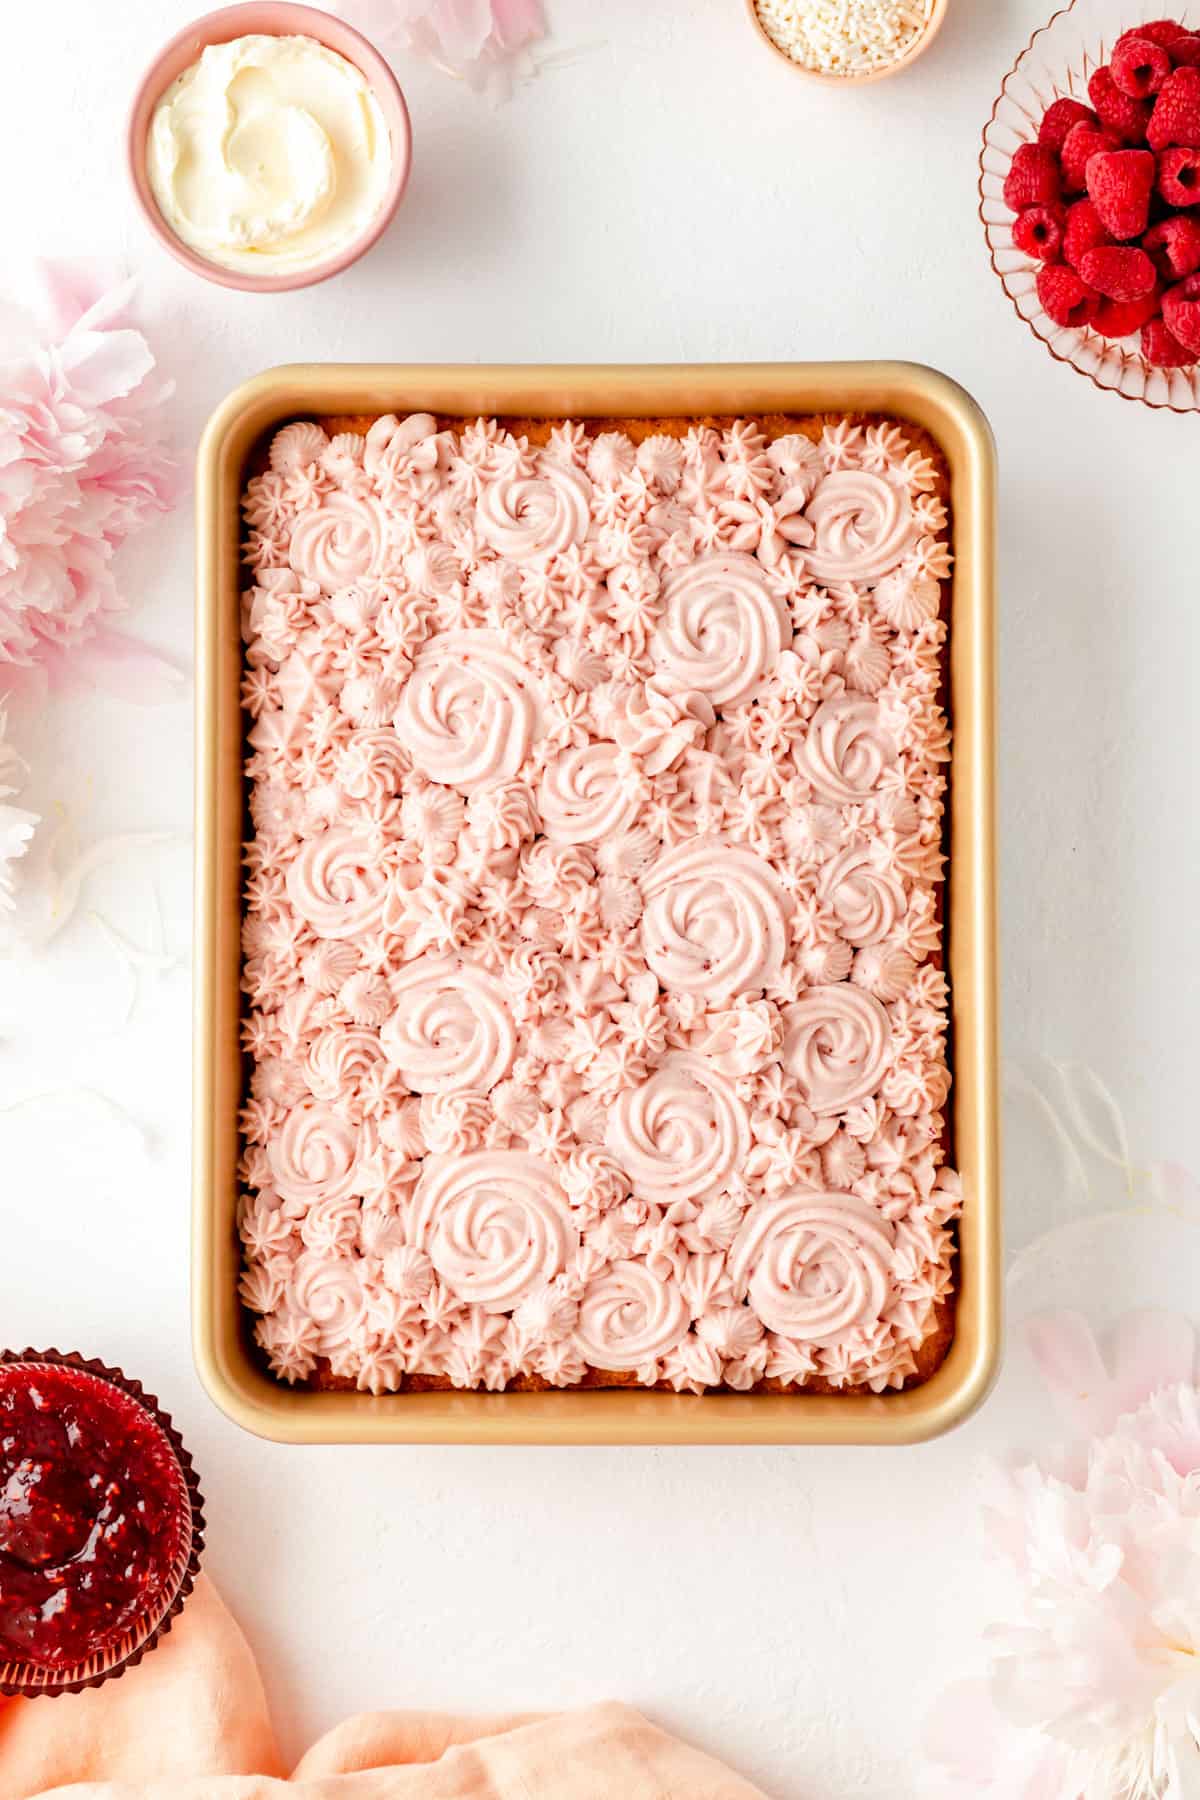
…vanilla sheet cake with raspberry frosting
I mean...I would eat any and all of those any day of the week!
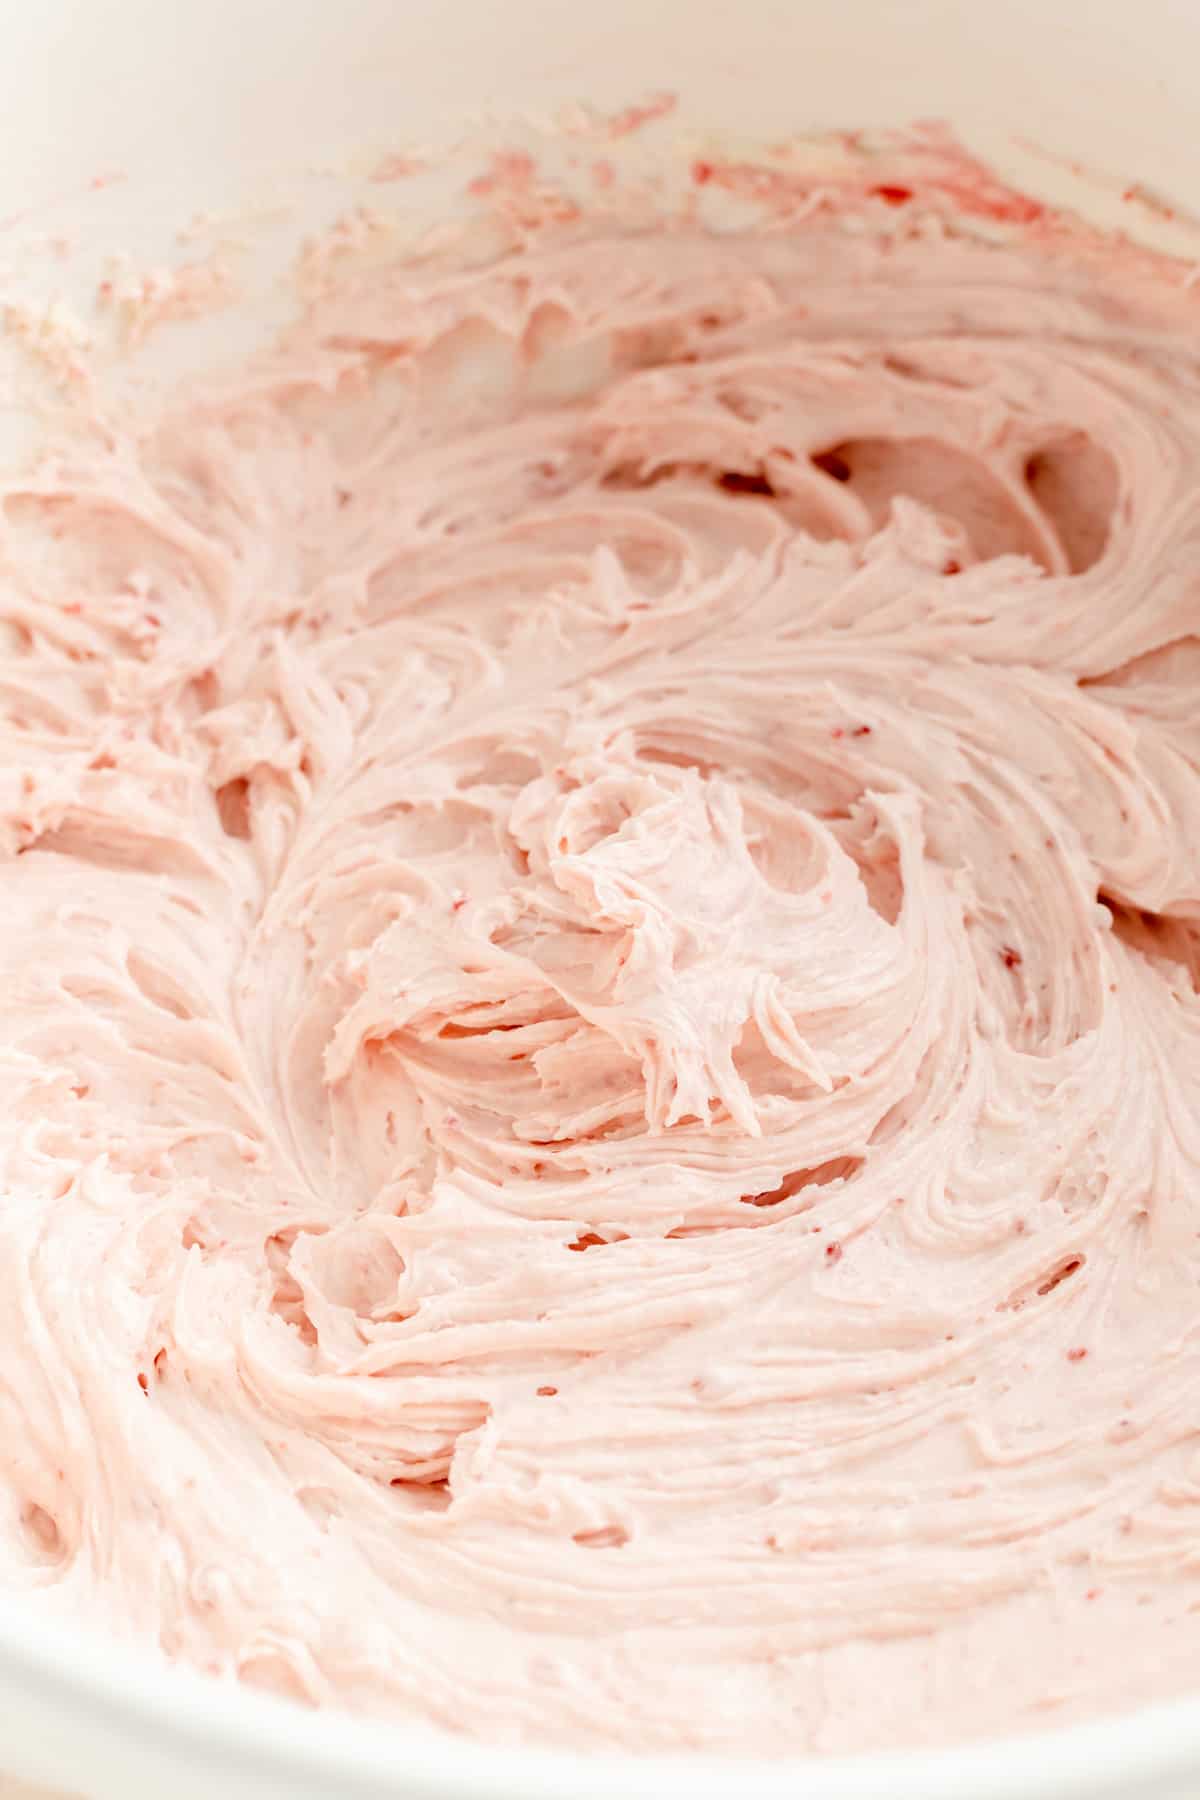
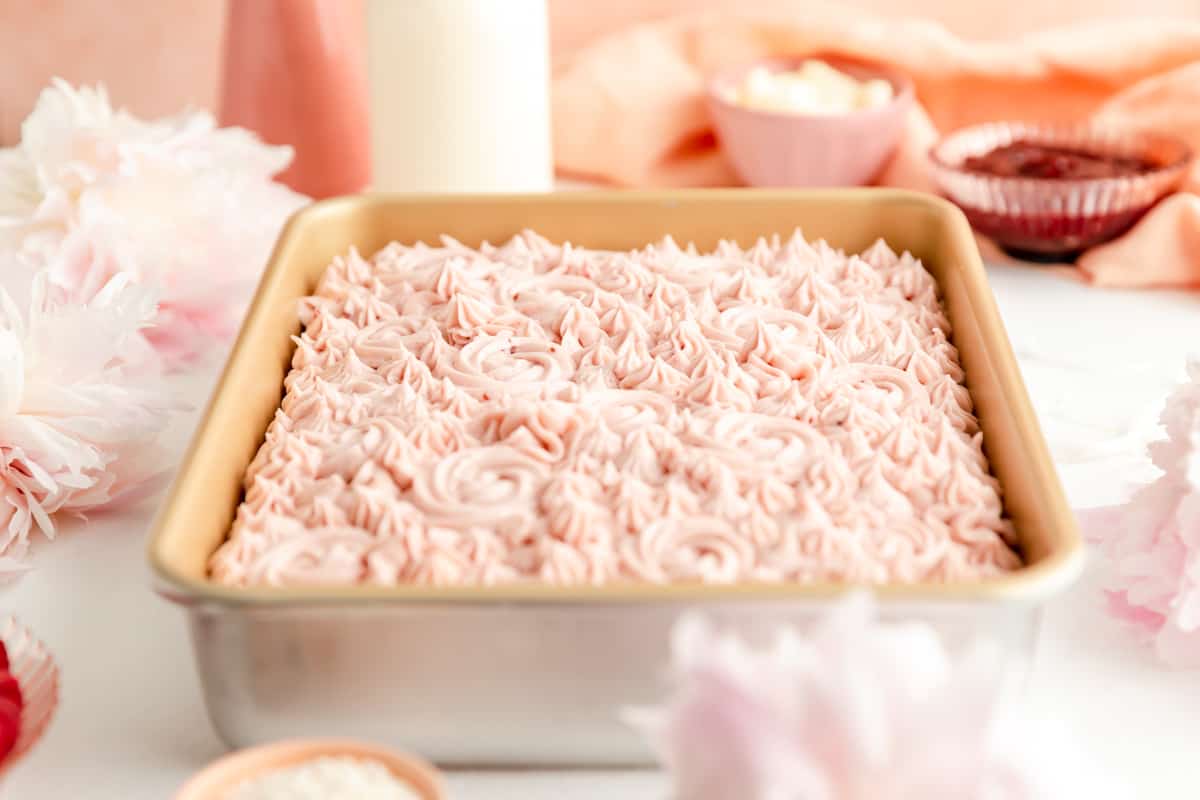
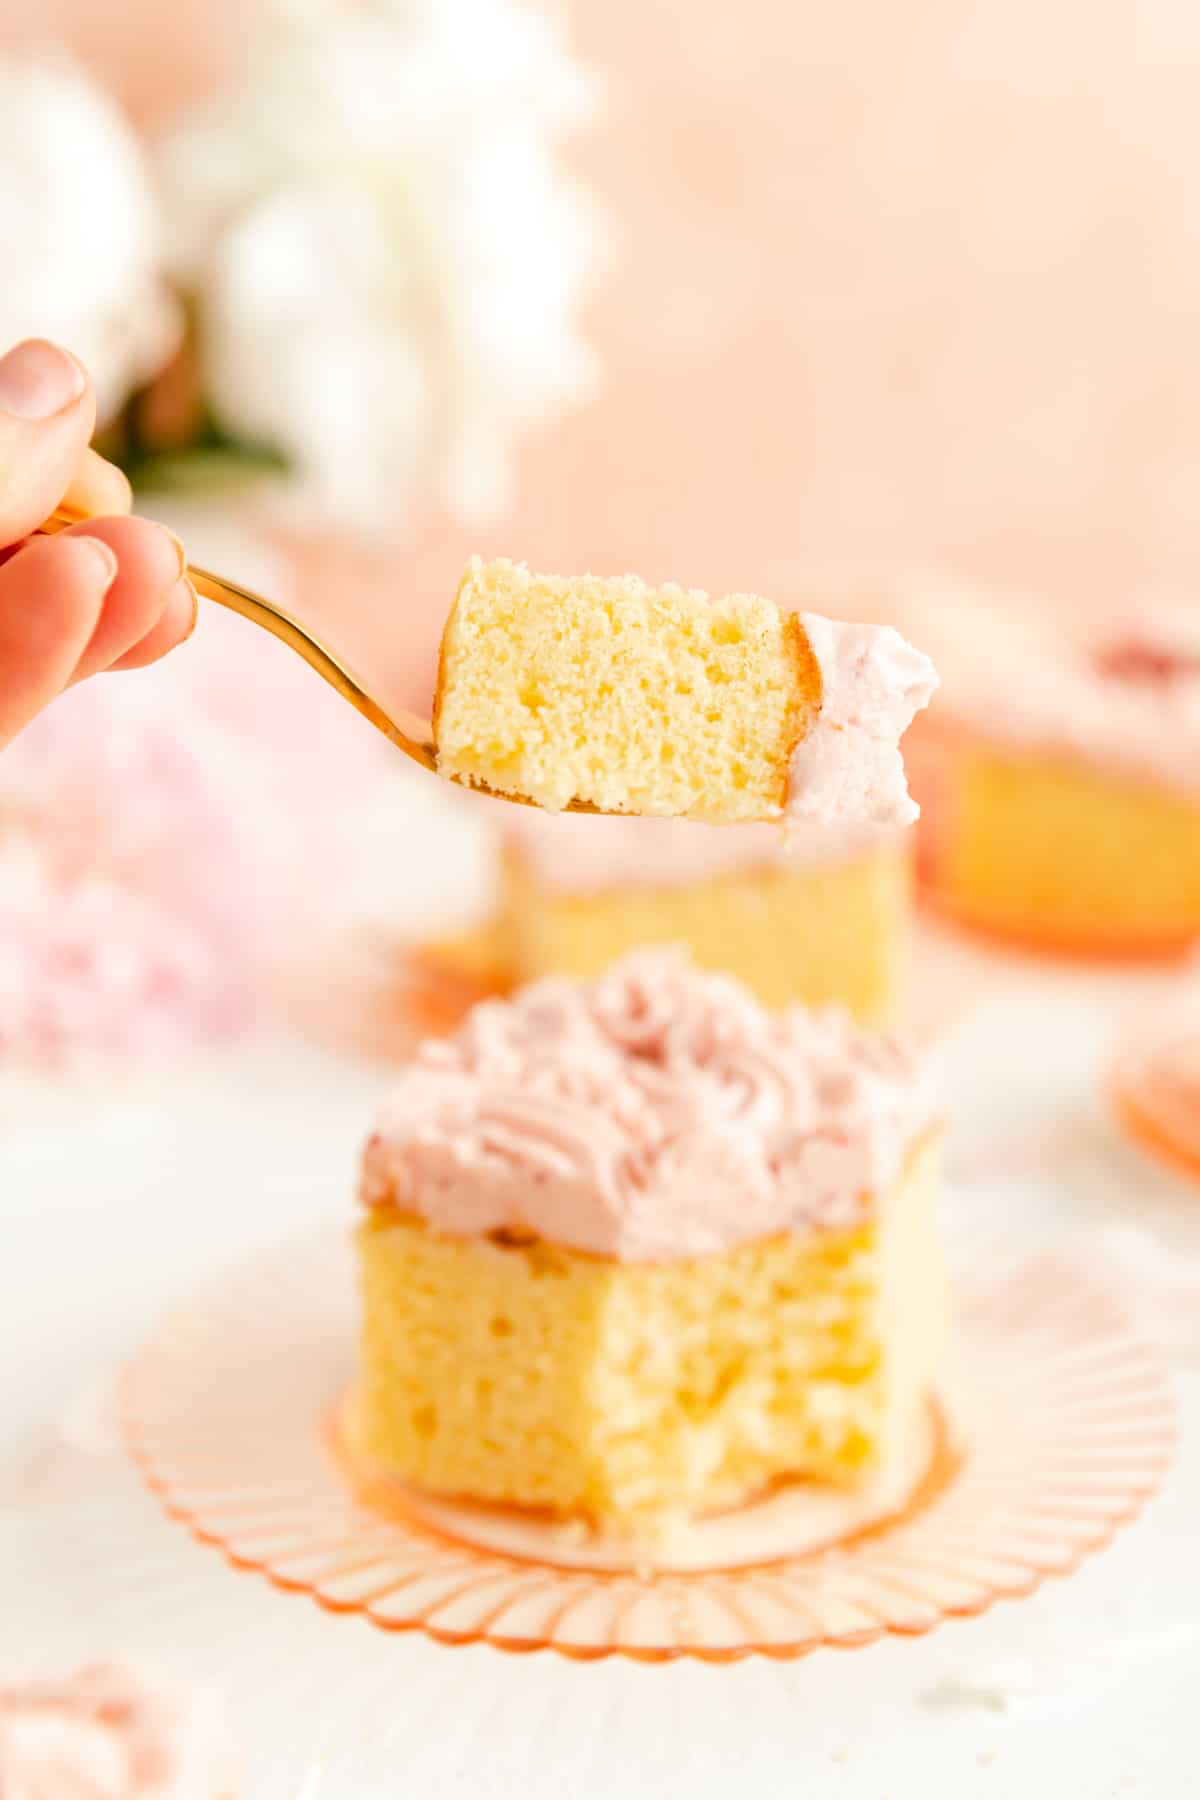
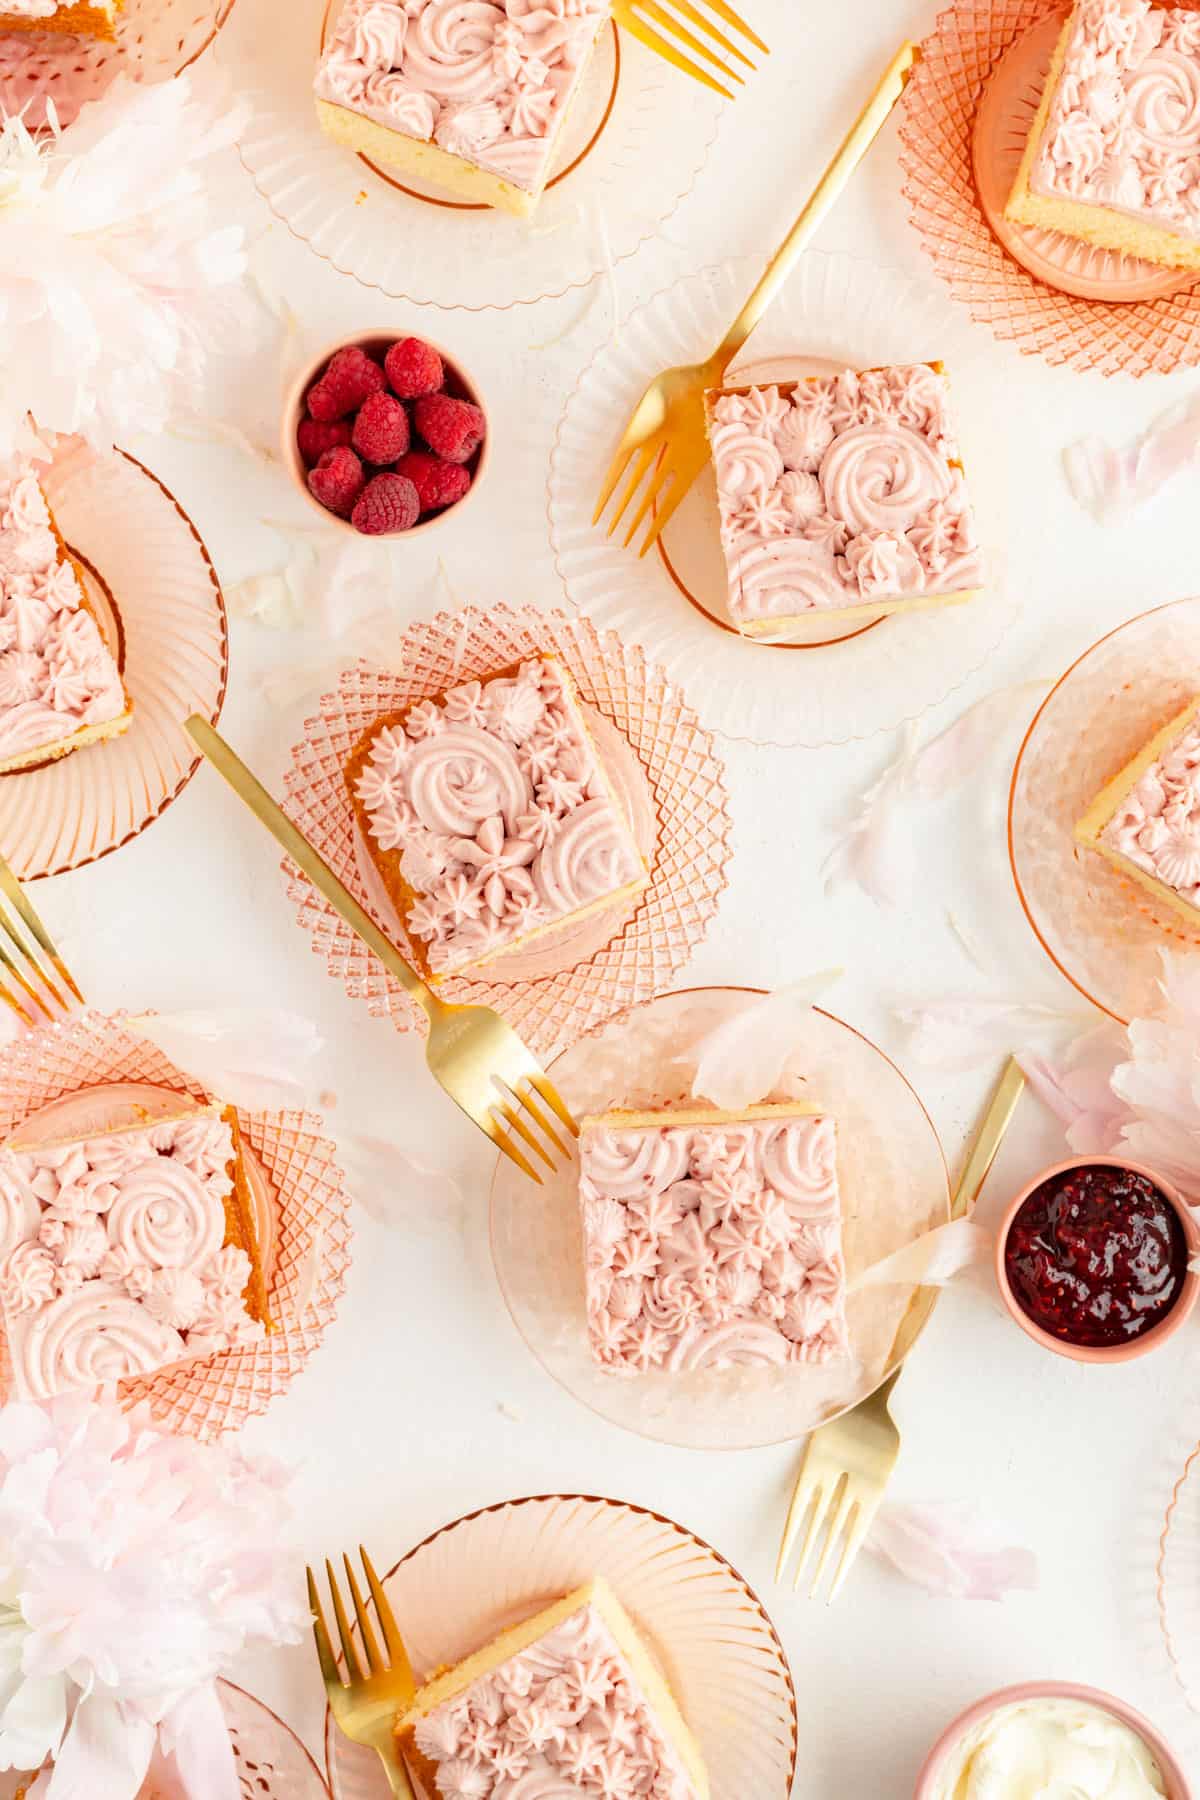
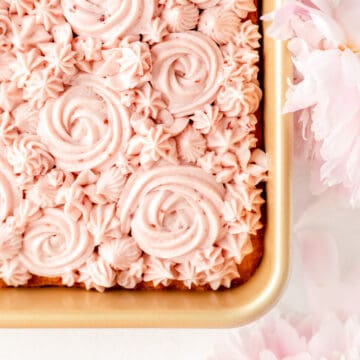
The frosting pictured here is my Raspberry Cream Cheese Frosting which is my personal favorite on this cake, but feel free to use whatever frosting sounds tastiest to you.
Of course, I highly recommend some sprinkles or even fresh fruit on top too. One of my favorite things about this recipe is that while it’s delicious on its own, it’s a great blank canvas to tailor to any occasion, season, guest of honor, or "just because" excuse for cake!
Test Kitchen Tips for Sweet Success
- Soft Butter: because of the quick mix method of this cake, it's important to have some nice, soft butter so it blends in well and you don't end up with little butter pockets in your final batter. So be sure to set it out at least a few hours ahead of time.
- Mix well at the start: the main thing to be wary of with this recipe (which is honestly pretty foolproof) is proper mixing. Although you can beat the butter and sugar vigorously, once you add the other ingredients, you should make sure to blend them together well, but avoid whipping them at high speed like you do when creaming the butter. This can both toughen your cake and cause the dome to fall during cooling.
- Bake it all. the. way. You also want to make sure your cake is fully baked before pulling it out of the oven (there are more tips on how long to bake your cake and checking for done-ness below!). It gets pretty dark on top well before it's finished baking so you'll want to use all the recommended tips to make sure your cake is fully set in the center.
More Tips + FAQs
Can you make this cake ahead of time?
I would recommend making your cake as close to service as possible.
But, you can always speed things up by mixing up the frosting a day ahead.
You can store the frosting overnight in the fridge and then just pull it out 2-3 hours before you plan to frost your cake. This will allow it to soften up again to room temperature for easy use.
How do you store leftover sheet cake?
While fresh cake is always best, this cake will keep for up to 5 days in an airtight container at room temperature.
You will notice the crumb start to dry out over time, so if you can leave the cake in its original pan, and just wrap it super well with plastic wrap, that will preserve it as well as possible.
It's also helpful to put a small piece of plastic wrap over any cut edges of the cake for extra protection.
How many pieces of cake in a sheet cake?
Just to be clear, our 9 x 13 cake is technically a ¼ sheet cake according to standard bakery definitions.
In terms of servings for a ¼ sheet cake, the answer to this questions is really baker's choice. I recommend cutting your cake in one of the following patters:
(long side x short side)
4 pieces x 3 pieces = 12 servings total
4 pieces x 4 pieces = 16 servings total
5 pieces x 4 pieces = 20 servings total
6 pieces x 4 pieces = 24 servings total
So in short, you can get anywhere from 12-24 servings our of this ¼ sheet cake, depending on how large you'd like each serving to be.
So what makes cake moist and fluffy?
As you'll know if you've read through just about any of the lessons in The Baker's Pantry tutorials, even the simplest recipes are complicated under the surface.
In this particular recipe, the eggs and baking powder are both helping to lighten our cake, making it rise and dome. The buttermilk, butterfat, and eggs are also all contributing to the moist texture of this cake.
Even the flour plays an important role here, as we need enough to give our cake structure to support that risen dome. But, I was also careful not to add too much or we'd end up with a heavy texture and dry crumb.
So in short - everyone has a part to play, and nearly every ingredient contributes to this cake's light and fluffy texture. It also shouldn't be overlooked that since this is a 9 x 13 inch sheet cake, there's a lot of batter in just one pan. That means the balance of ingredients is even more important to prevent dome collapse.
How long do you bake a sheet cake?
Speaking of falling domes…one of the biggest problems with 9 x 13 inch sheet cakes is that they seem to take forever to bake. If you don't leave your cake in long enough, that beautiful dome that comes out of the oven will slowly sink along with your domed-cake dreams.
While it's important to have that nice golden color, you need to look for additional details to know if your cake is ready to come out of the oven or not.
So, be sure to leave yours in the oven until…
…there is absolutely no wiggle in the middle when you gently shake the pan.
…the center of the dome doesn't feel soft, but springs back when pressed.
…the whole surface is a deep golden-brown.
…a toothpick inserted into the center comes out clean.
Another great hint is that you'll likely see the edges of the cake starting to pull away from the pan as well when it's done.
If you check all these boxes, there’s no way your cake will be under-baked!
Other Cake + Frosting Recipes You'll Love
Craving more delicious treats? Here are a few of my other favorite cake and frosting recipes:

⭐ If you gave this recipe a try please give it a ⭐ rating and tag me on Instagram @mint.and.mallow.kitchen so I can see what you're baking up! ⭐
📖 Full Recipe
Easy Vanilla Sheet Cake (in a 9"x13" pan!)
Ingredients
- 1 cup (2 sticks) unsalted butter, softened (see tips)
- 1 ½ cups sugar
- 1 ½ teaspoons vanilla extract
- 2 ¼ cups all-purpose flour
- 2 ¼ teaspoons baking powder
- ¾ teaspoon salt
- ½ cup buttermilk
- 4 large eggs
- 1 batch Raspberry Cream Cheese Frosting (or your preferred frosting)
- ¼ cup sprinkles (optional, but highly recommended for extra cheer)
Instructions
- Preheat and prep: preheat your oven to 350°F. Lightly grease the bottom (not the sides) of a 9" x 13" pan. On top of that, place a piece of parchment, cut to fit in the bottom of the pan, and again lightly grease the top of the parchment paper.
- Cream butter, sugar and vanilla: cream together the butter, sugar, and vanilla until well-blended, light and fluffy using a hand or stand mixer (about 1-2 minutes on medium-high speed).*1
- Beat in all other ingredients: add all the remaining ingredients and mix on medium speed for 1-2 minutes until all ingredients are fully combined and batter is smooth. (Please note: this is a pretty thick batter so don't worry if it seems stiffer than usual cake batter.)
- Pour and bake: pour batter into prepared pan and spread evenly throughout pan. Bake for 36-40 minutes until the center of the top is golden brown, fully set, and springs back when lightly touched.
- Cool, frost, and enjoy: allow cake to cool fully before frosting. Frost cake right in the pan using an offset spatula, dinner knife, or piping bag. Add some sprinkles and decorate to your heart's desire, then share with your fellow cake-lovers and enjoy!
Test Kitchen Tips
- *1Soft Butter: make sure your butter is fully softened as this quick mix cake will need it to makes sure your don't end up with cold butter chunks in your batter.
- Storage: While fresh cake is always best, this cake will keep for up to 5 days in an airtight container at room temperature. You will notice the crumb start to dry out over time, so if you can leave the cake in its original pan, and just wrap it super well with plastic wrap, that will preserve it as well as possible. It's also helpful to put a small piece of plastic wrap over any cut edges of the cake for extra protection.









Joanna says
Hi,
Just wondering how high this cake comes out. I wanted to decide if I want to do a 1.5 recipe to slice in half to fill it, or should I just use the recipe as is and torte it anyway.
Appreciate an answer. Thanks!
Jocelyn at M+M says
Hi Joanna! You definitely could split this cake in half to fill it with about 1/2" layer above and below as 1X recipe fills the pan up as much I you can while still getting a nice even bake.
But if you want to do a 1.5X recipe to thicken up the layers, you're welcome to try. I would recommend baking it in 2 9" x 13" pans though with that size of batter. If you put a 1.5X recipe in a single pan, you might have some difficulty getting it baked through all the way without it drying out, and you may also end up with low sides and a high domed middle that wouldn't be ideal for splitting and layering.
If you do give either option a try, please let me know how it goes and happy baking!
Jasmine Barnard says
Can i make this dairy free? How would i sub the buttermilk? Thanks 🙂
Jocelyn at M+M says
Hi Jasmine! I haven't tested this recipe with dairy substitutes, but because there is a lot of butter and milk in here, I don't expect the results would be great (although of course you're welcome to experiment!). My recommendation is to find a recipe designed to be dairy-free from the start and that way you know you'll have a good result in the end and not waste your time or ingredients trying to change my recipe around. Cookie Dough Diaries is a great dairy free blog you could try - hope that helps and happy baking!
Norah says
I would like to add Ghirardelli Premium baking white chocolate to the cake batter. How do I incorporate the white chocolate to this recipe?Thank you.
Jocelyn at M+M says
Hi Norah! I love that you're trying to make this recipe your own and I wish you the best of luck! If you are going to add chocolate chips, I would recommend folding them in by hand gently as the last step of making the batter (after you've mixed all the other ingredients together. It is possible though that the chocolate chips may all sink to the bottom of the pan in which case they will likely burn. This is common when you try to add a heavy inclusion like a chip to a light and fluffy cake batter which just can't hold the weight of the chip once it's molten batter in the oven. As I never tested adding inclusions like chocolate chips to this cake, I unfortunately can't guarantee it will work, but you are more than welcome to experiment. If you do, I'd love to hear how it goes! Happy baking!
Dio says
I made this cake last night on a whim because I just craved a vanilla cake, and it was INCREDIBLE! I'll definitely be making this again. Thanks for the great sheet cake recipe!
Jocelyn at M+M says
Woo Hoo! I'm so happy to hear this recipe was the perfect fix for a vanilla cake craving, and I'm hoping it's a favorite for many more years to come!
Fatima says
I made this last week and it was delicious! Very moist and tasty. I used a 9 x 13 pan as indicated in the recipe but was wondering what I would need to do to bake it in a 9 x 9 pan? Would I need to half the ingredients?
Jocelyn at M+M says
I'm so glad you loved this recipe, Fatima! To make this in a 9x9 pan, you'll need to do a bit of math. When resizing recipes, you want to look at the area of the original pan compared to the area of the new pan. Since a 9x13 is 117" square, and a 9x9 is 81" square, you can divide 81 by 117 and you'll get .69 which is about 2/3. So you need about 2/3 of the original recipe for the same thickness of cake in the new pan.
As a side note, if you ave an 8" x 8" pan, that would work well with the 1/2 recipe which you can toggle to on the recipe page's recipe card.
While the conversion isn't perfect and I haven't tested this resized recipe myself, I think these amounts for a 9" x 9" should work for you:
2/3 cup (11 tablespoons) unsalted butter, softened
1 cup sugar
1 teaspoons vanilla extract
1 1/2 cups all-purpose flour
1 1/2 teaspoons baking powder
1/2 teaspoon salt
1/3 cup buttermilk
2 large eggs + 1 large egg white
Happy baking!!
Debbie says
Obviously other people have had success with this recipe. I don’t know what went wrong for me. I followed the recipe exactly, except when I read the one reviewer who said their cake was dry, I decided to check the cake at 28 minutes. Toothpick came out clean, so I removed the cake from the oven. The texture was almost like dry cornbread and the flavor wasn’t even very good.
Jocelyn at M+M says
I'm so sorry to hear you had trouble with this Debbie, as like you said, this is definitely not a dry cake by design and often a pretty sure recipe for success. Since over-baking doesn't sound likely based on your description, my best guess is that you might have had a little too much flour in there depending on how you measure your flour. Weighing it is always best, but if you are using a volume cup measure, make sure to fluff the flour up really well in its container, and then sprinkle it into your cup. Finally, use a knife to level it off. It may seem like it wouldn't make much of a difference, but it can keep an extra 1/4-1/2 cup of flour from being added to the batter. Hope that helps and I'm sorry this recipe didn't go well for you the first time around!
Sharon says
The recipe is easy to follow and tasted flavorful but it turned out dry.. do you think using 3 eggs instead of 4 would omit the dryness? Any tips would be appreciated the cake is delicious it was just dry.
Jocelyn at M+M says
Actually the opposite, Sharon - I think one less egg would make it probably make the cake dryer. I would guess instead of the eggs being the culprit of dryness, it likely was a little too much flour or over-baking. For the flour, make sure to use the fluff/sprinkle method of fluffing the flour really well in it's container/bag before using and then sprinkle it in the cup before leveling it off (don't scoop the cup into the bag, which will lead to compressing the flour and adding too much). Or even better, use a scale if you have on available to measure the flour by weight. And for the baking time, I'd just try baking a few minutes less next time and see if your oven might have that cake baked a little early. Big batch bakes like sheet cakes do take a long time to bake and there is definitely wiggle room depending on the specific pan and oven use. Hope that helps and happy baking!
Gracie says
Turned out wonderful! I wanted to ditch the boxed cake mix for something homemade to use for cake pops, and this recipe was perfect. I didn't have any buttermilk on me, so I substituted with almond milk + apple cider vinegar — still so delicious and moist! Thank you for sharing 😊
Jocelyn at M+M says
That's wonderful, Gracie! Thank you so much for taking the time to let me know you loved this recipe, and kudos to you for the genius buttermilk substitute. Happy baking!
Kim says
This recipe was so easy and the cake was perfectly moist and fluffy. I paired it with ermine frosting and it got rave reviews from friends! Thanks for posting this recipe, please post more cakes.
Jocelyn at M+M says
Thanks so much for letting me know how much you loved this recipe, Kim, and I will definitely work on getting some more cakes up on the site - happy baking!
Debbie E. says
Whipped this cake up for strawberry shortcake and it turned out amazing!! My husband said it was the best cake he’s ever eaten! This recipe is a keeper for sure! Thank you for posting.
Jocelyn at M+M says
I'm so thrilled to hear that Debbie, and thank you for taking the time to come back here and let me know! I hope it stays as a favorite for many years to come - happy baking!
Georgia mrazkova says
Would this recipe work as cupcakes? How about two small round cakes?
Jocelyn at M+M says
Thanks so much for your question, Georgia! I haven't tested this recipe as cupcakes or smaller rounds. So while I would guess this batter will probably work fine in other pan sizes, those pans do technically have some different baking dynamics (for example cupcakes usually baker hotter and faster, where as bigger single pans like sheet cakes bake at lower temps and slower). Because of that, I can't guarantee they'd work in those other pan sizes and my recommendation would be to start with a recipe designed for those pans from the get go, but it you do choose to try this recipe in another plan, I would love to hear how it goes!
Debbie McCulloch says
Do I need to make two cakes if I want a filling?
Jocelyn at M+M says
That's totally up to you, Debbie! It would be a little bit tricky, but you could slice the single sheet in half horizontally for two thin layers that you could then add a filling between. That said, it would definitely be easier to bake a second cake if you want a filling in the middle. In that case, I would just make sure you leveled the dome off the bottom layer before adding the filling on top and stacking the cakes to make sure everything stacks up neatly for you. Let me know if you have any other questions and happy baking!