


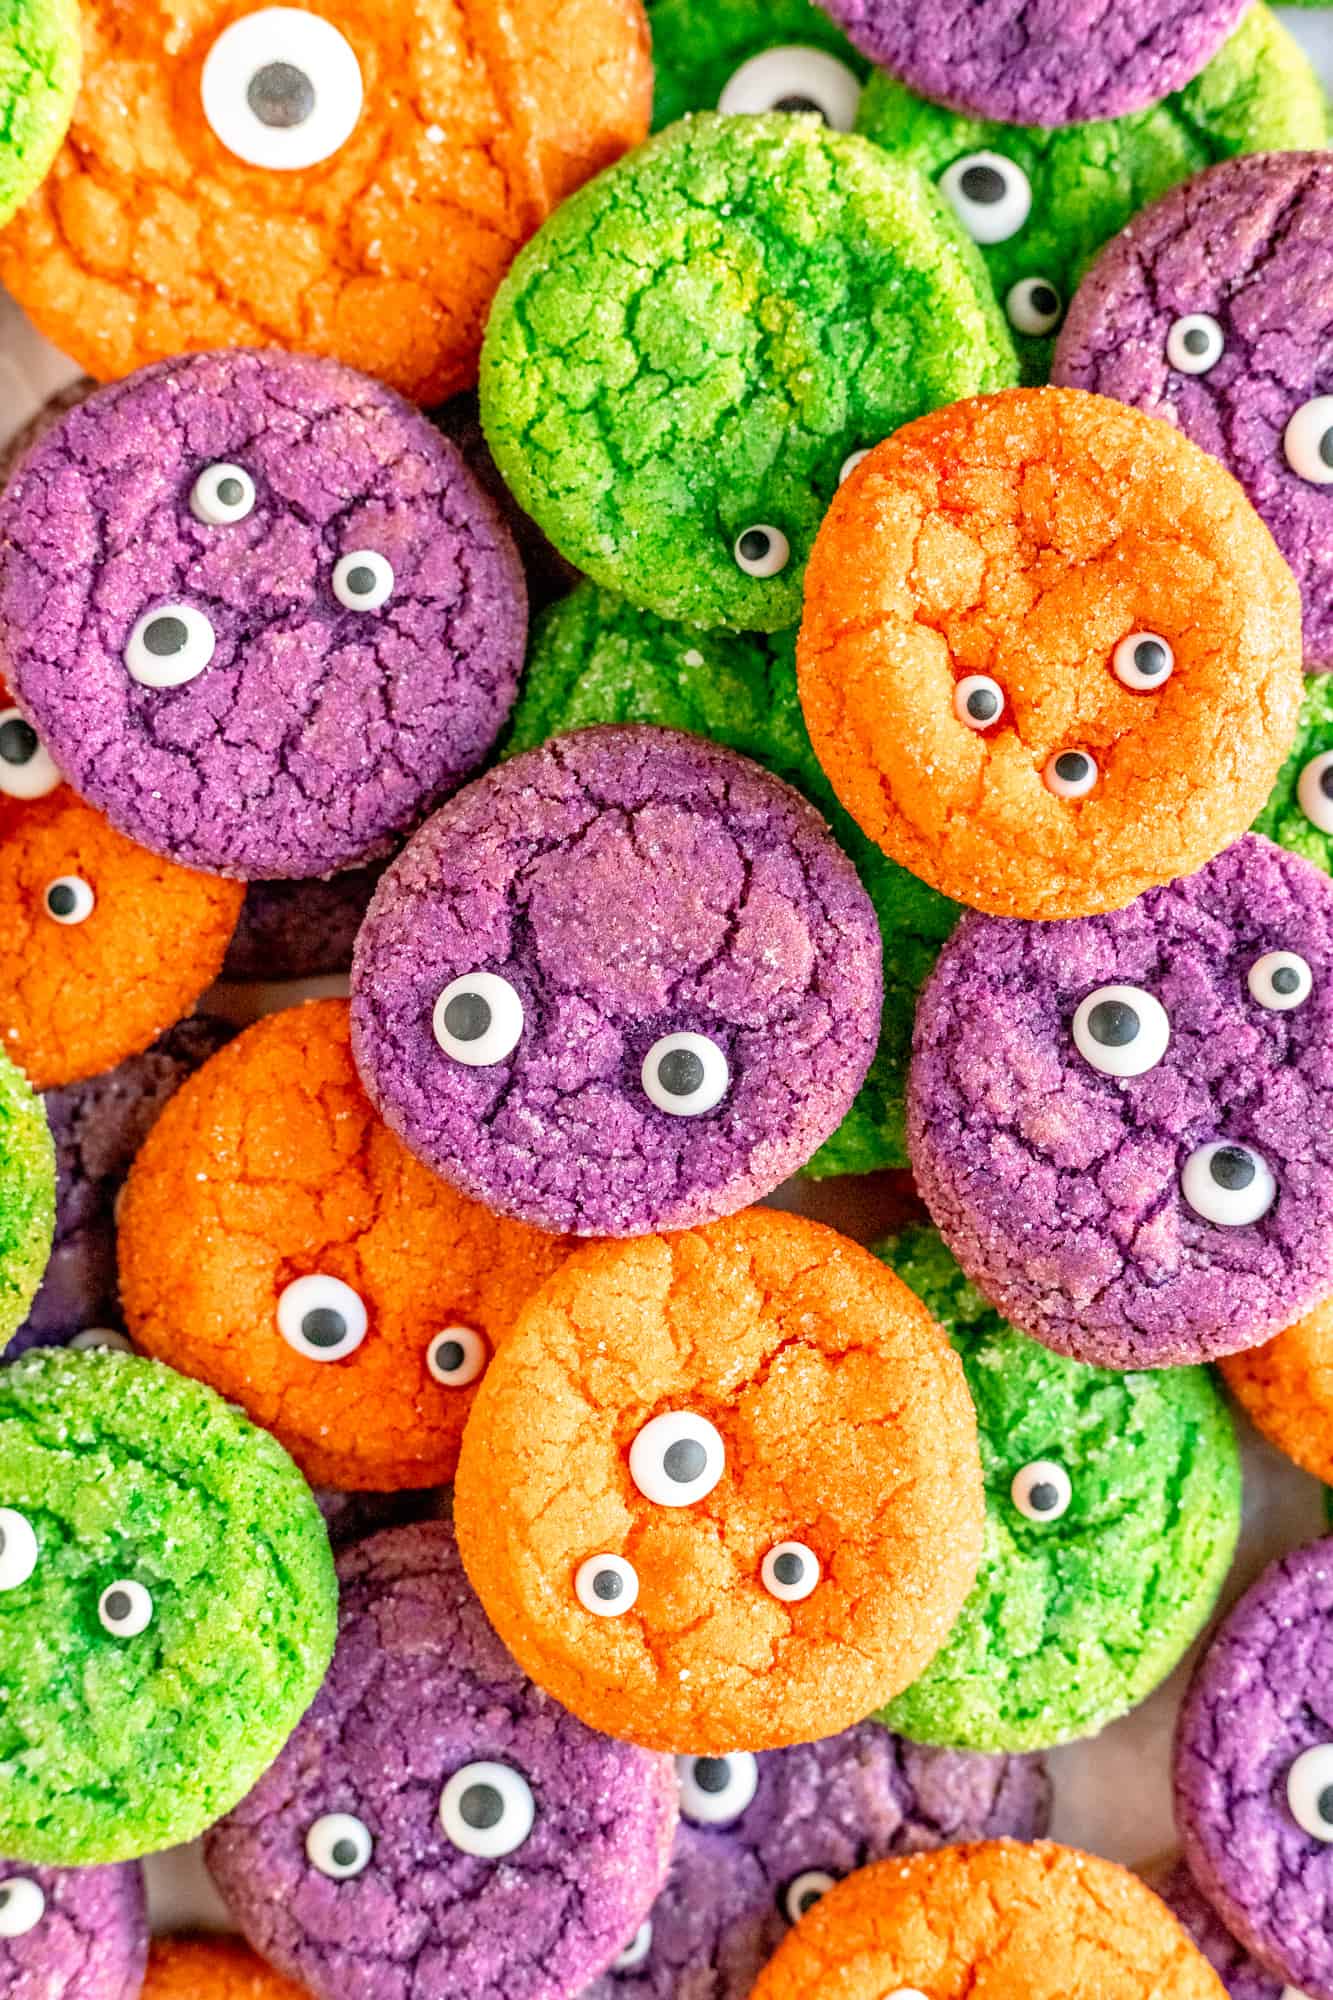
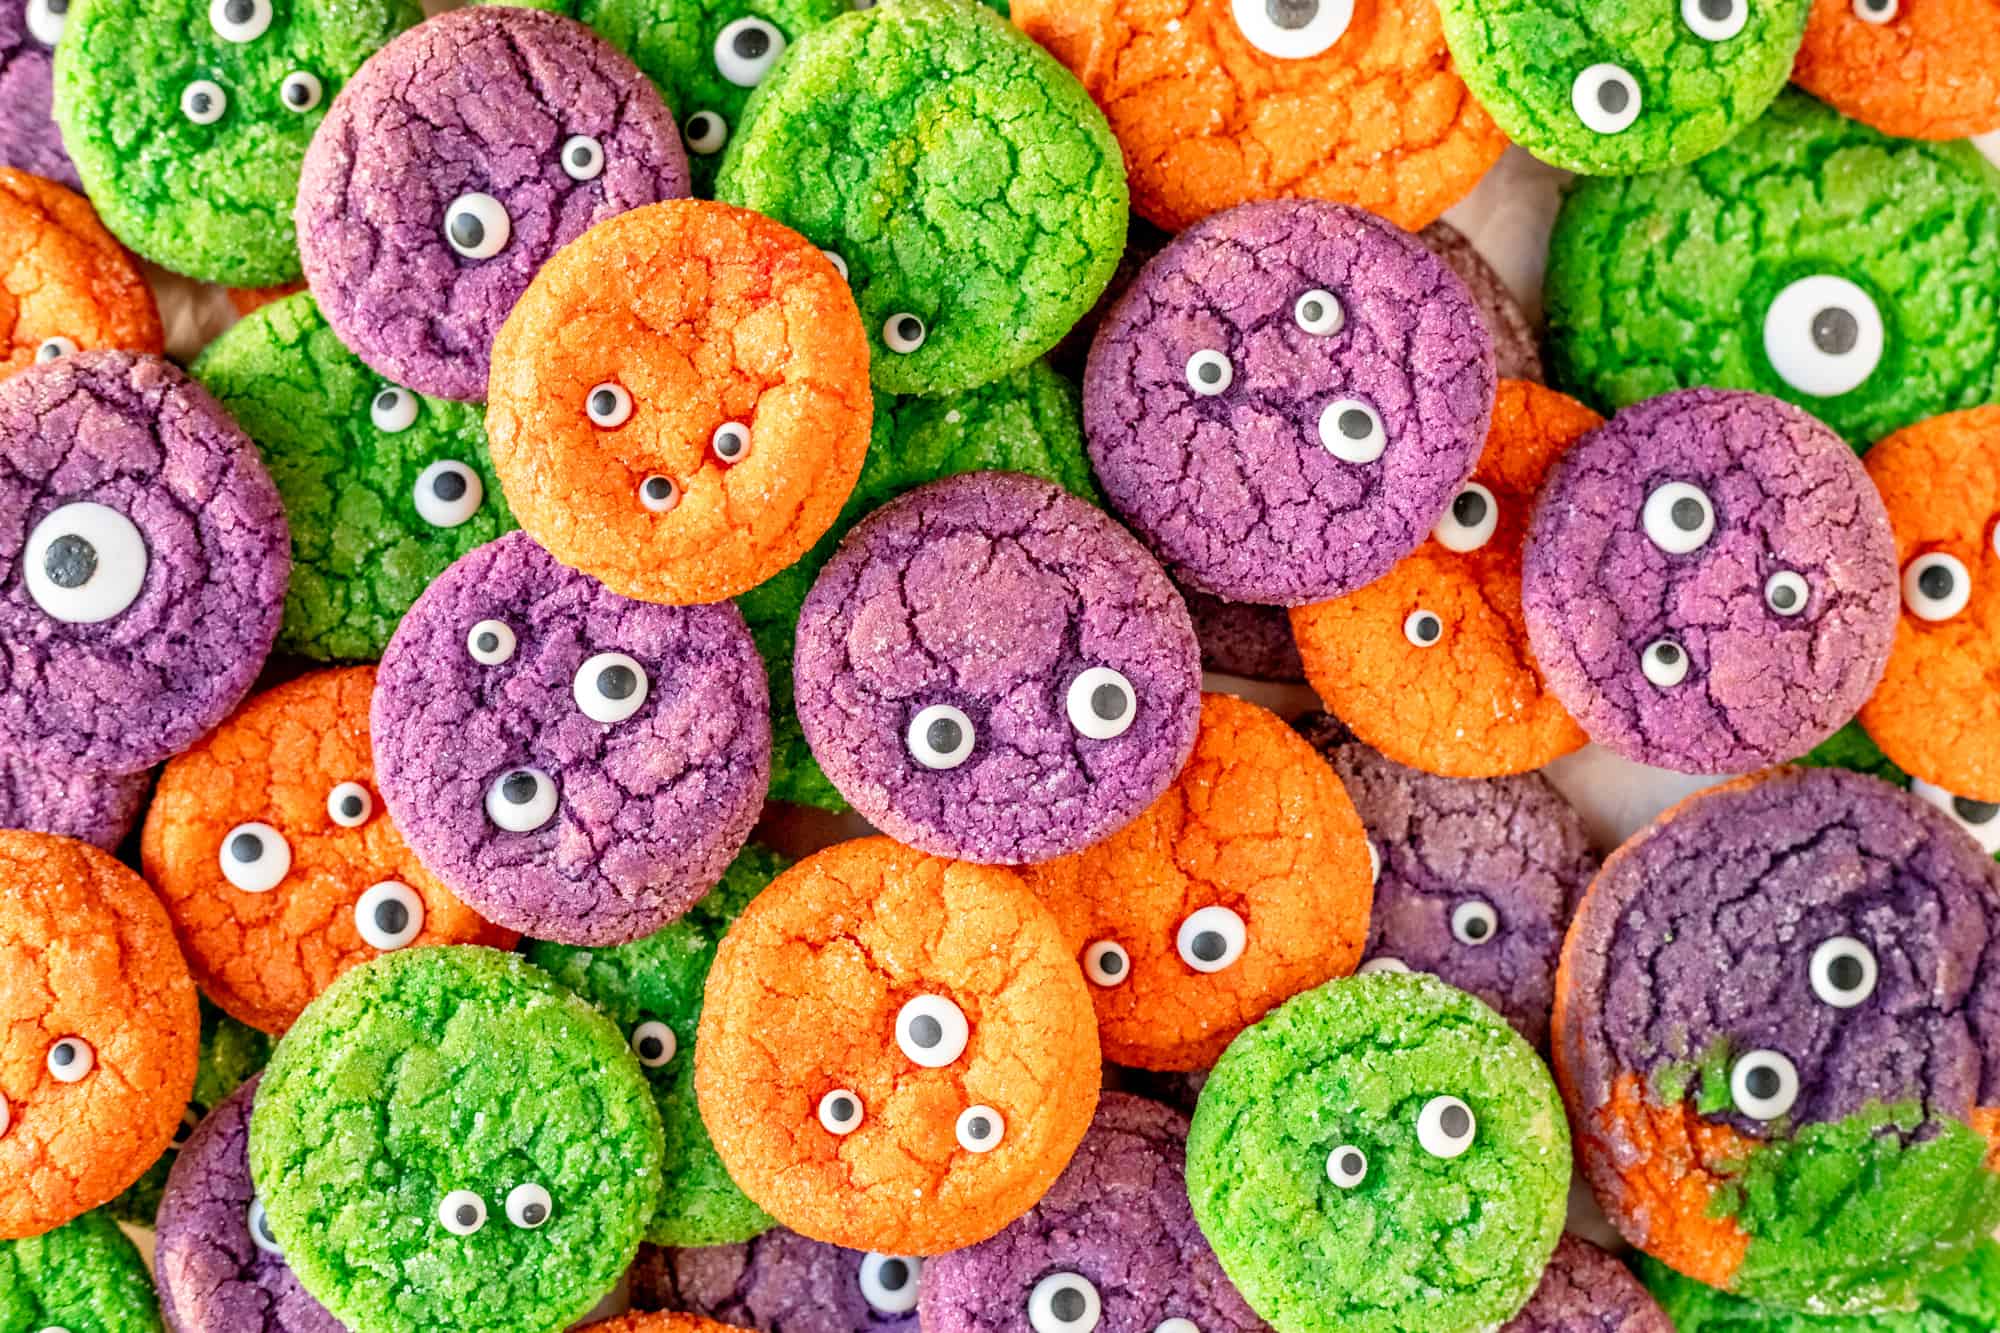
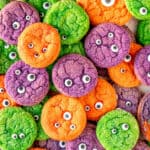
These chewy Halloween Sugar Cookies are festively colored and filled with candy eyeballs for an easy-to-make sweet monster treat! They still have that classic sugar cookie flavor with a soft and chewy texture, but this old-fashioned cookie is now all dressed up for the Halloween party with an adorably monstrous makeover.
Jump to (scroll for more!):
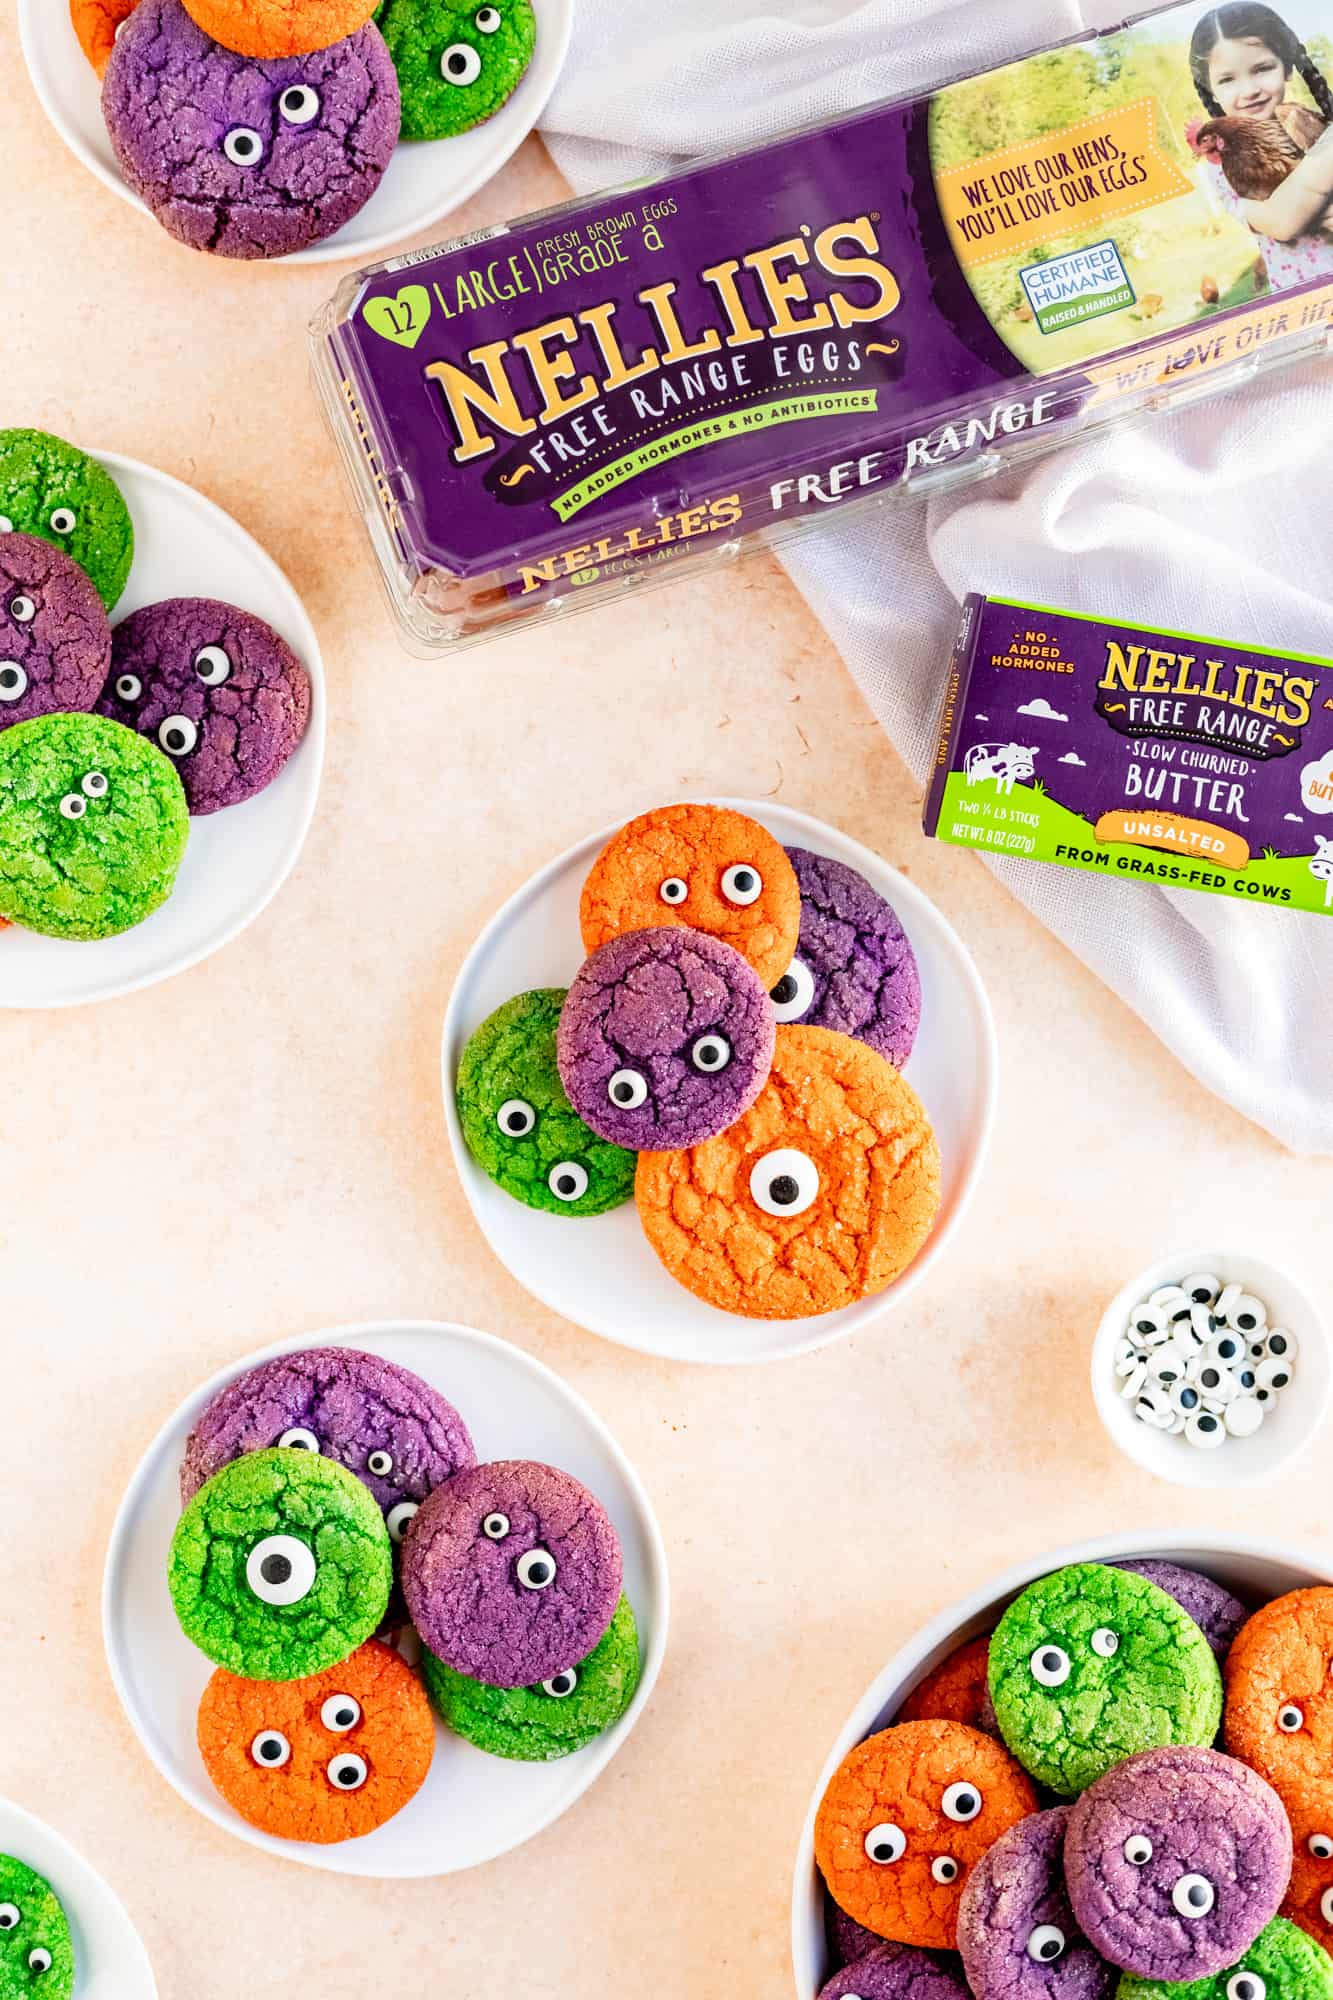
This recipe was created for my friends over at Nellie’s Free Range. I use their Certified Humane free range eggs all day, every day, in the kitchen and I appreciate you supporting the brands that I love to bake with and that keep this blog going. All opinions expressed here are my own.
Cute...but terrifying...sugar cookies.
I always wish Halloween had the build-up of Christmas for one reason...it has the CUTEST treats by far! I mean...all you have to do is throw googly eyes on any basic recipe and it's instantly adorable.
These sugar cookies are no exception to that rule. With a slightly crunchy crust from the sugar coating, and a chewy, almost gooey-when-warm center, these cookies are as delicious as they are adorable!
(And in other delicious halloween cookie news, don't miss my loaded halloween candy cookies to give that leftover candy a delicious new life!)
Why This Recipe Leads to Sweet Success
- A simple classic: this recipe has a simple prep and is pretty hard to mess up. Because of that, this can be a really fun recipe to mix up with your kids. Have them crack in the egg, or “mix” together the butter and the sugar. Because you really want to whip the batter for a while in the first two steps, you don’t have to worry about them messing the recipe up at all. (And playing with the dough balls or pressing in the googly eyes are other fun steps for the kiddos to join in on too!)
- Customizable colors: you can color these cookies however you like, and if you don’t want to deal with colored dough, you could also just roll them in colored sanding sugars instead of regular table sugar to still add that fun color for their Halloween theme. You also can skip the candy eyeballs altogether as the colored dough makes these cookies plenty festive for the holiday already!
- Bigs or minis: I’m a little obsessed with mini everything when it comes to pastries. But I also love a big ol’ cookie. So, I developed this recipe to do both! You’ll find instructions below to make regular or mini cookies, and you can feel free to cater the size to your needs.
Ingredient Tips to Bake it Better
(Pssst…if you're ready to just get baking, get all the details in the recipe card below!)
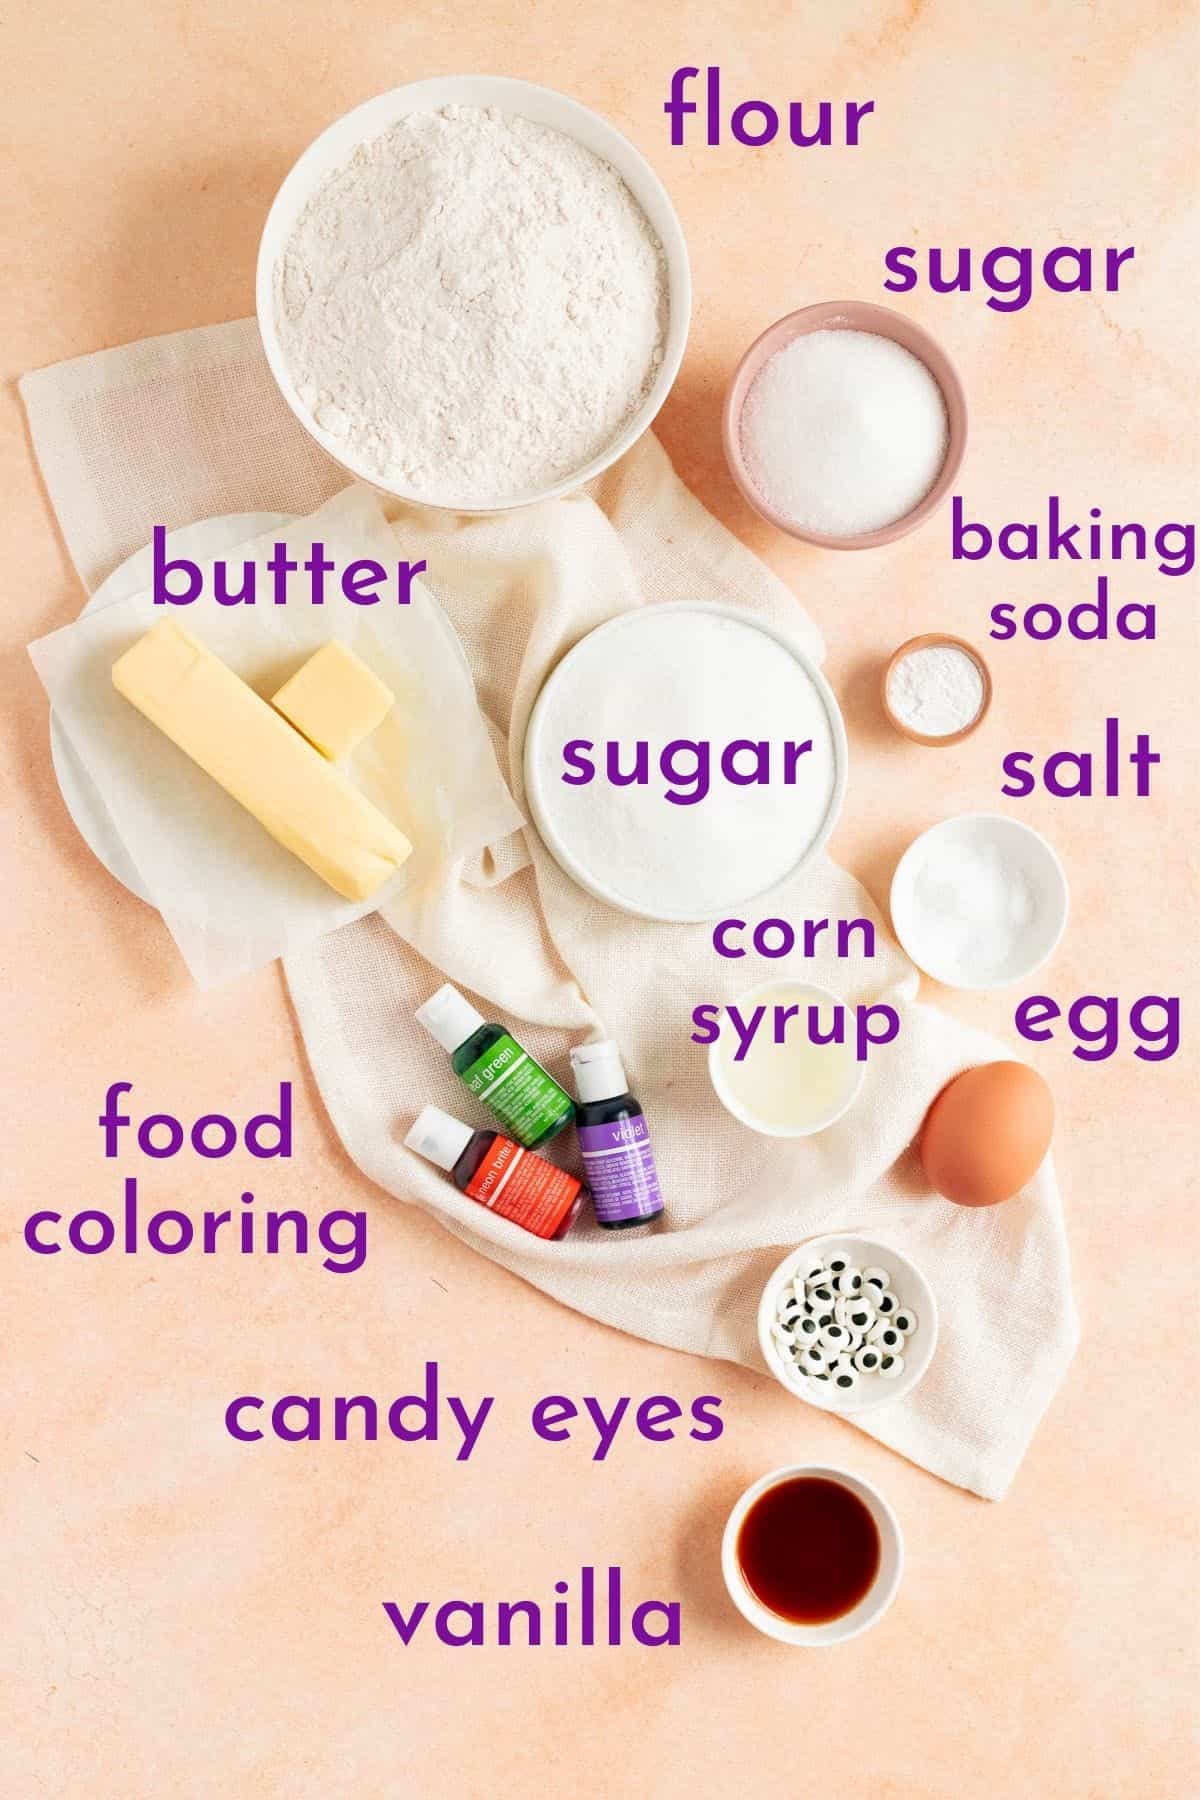
- Butter: there is a lot of butter in these cookies so be sure to use unsalted, so they don’t turn out too salty!
- Corn syrup: I know corn syrup has a bad reputation these days, but it serves an important function in these cookies. It’s the number one ingredient that gives them their “chewy” texture. And since I know someone will ask, no…there’s no good substitute for its unique properties here either. So, if corn syrup is a deal breaker for you, this probably isn’t your recipe and I’d recommend looking up another recipe designed without it for the best results.
- Candy eyeballs: not all candy eyeballs are created equal – especially if you’re baking them in the oven. So, I actually tested a few different kinds and these ones from amazon were my favorite both for the best look, and holding up well in the oven too.
(p.s. for all the basic tips that no one ever taught you, that are super important to help you bake your best, check out my Baking 101 series!)
Let's chat food coloring.
Like corn syrup, I know food coloring is an ingredient many try to avoid these days. I personally have yet to find any natural food colors that give those bright colors I’m looking for, and don’t negatively impact flavor or texture. So alas, I do still use artificial coloring. (This set is my current favorite.)
That said, you are more than welcome to use natural food coloring, just know your colors will be a little bit more on the earthy side and overall duller than those you see pictured in this post.
Luckily, oranges and purples in particular have some good options for natural coloring ingredients that will be right on theme. You also can use no coloring at all if you like, and still have some very cute golden googly-eyed cookies!
How to Make These Spooky Cookies from Scratch
(Pssst…if you're ready to just get baking, get all the details in the recipe card below!)
- Preheat your oven and line your baking pans.
- Cream together the butter, sugar, corn syrup and vanilla extract. (More on why you want to add the vanilla early in this lesson on butterfat!)
- Beat in the egg.
- Mix in the dry ingredients, just until combined.
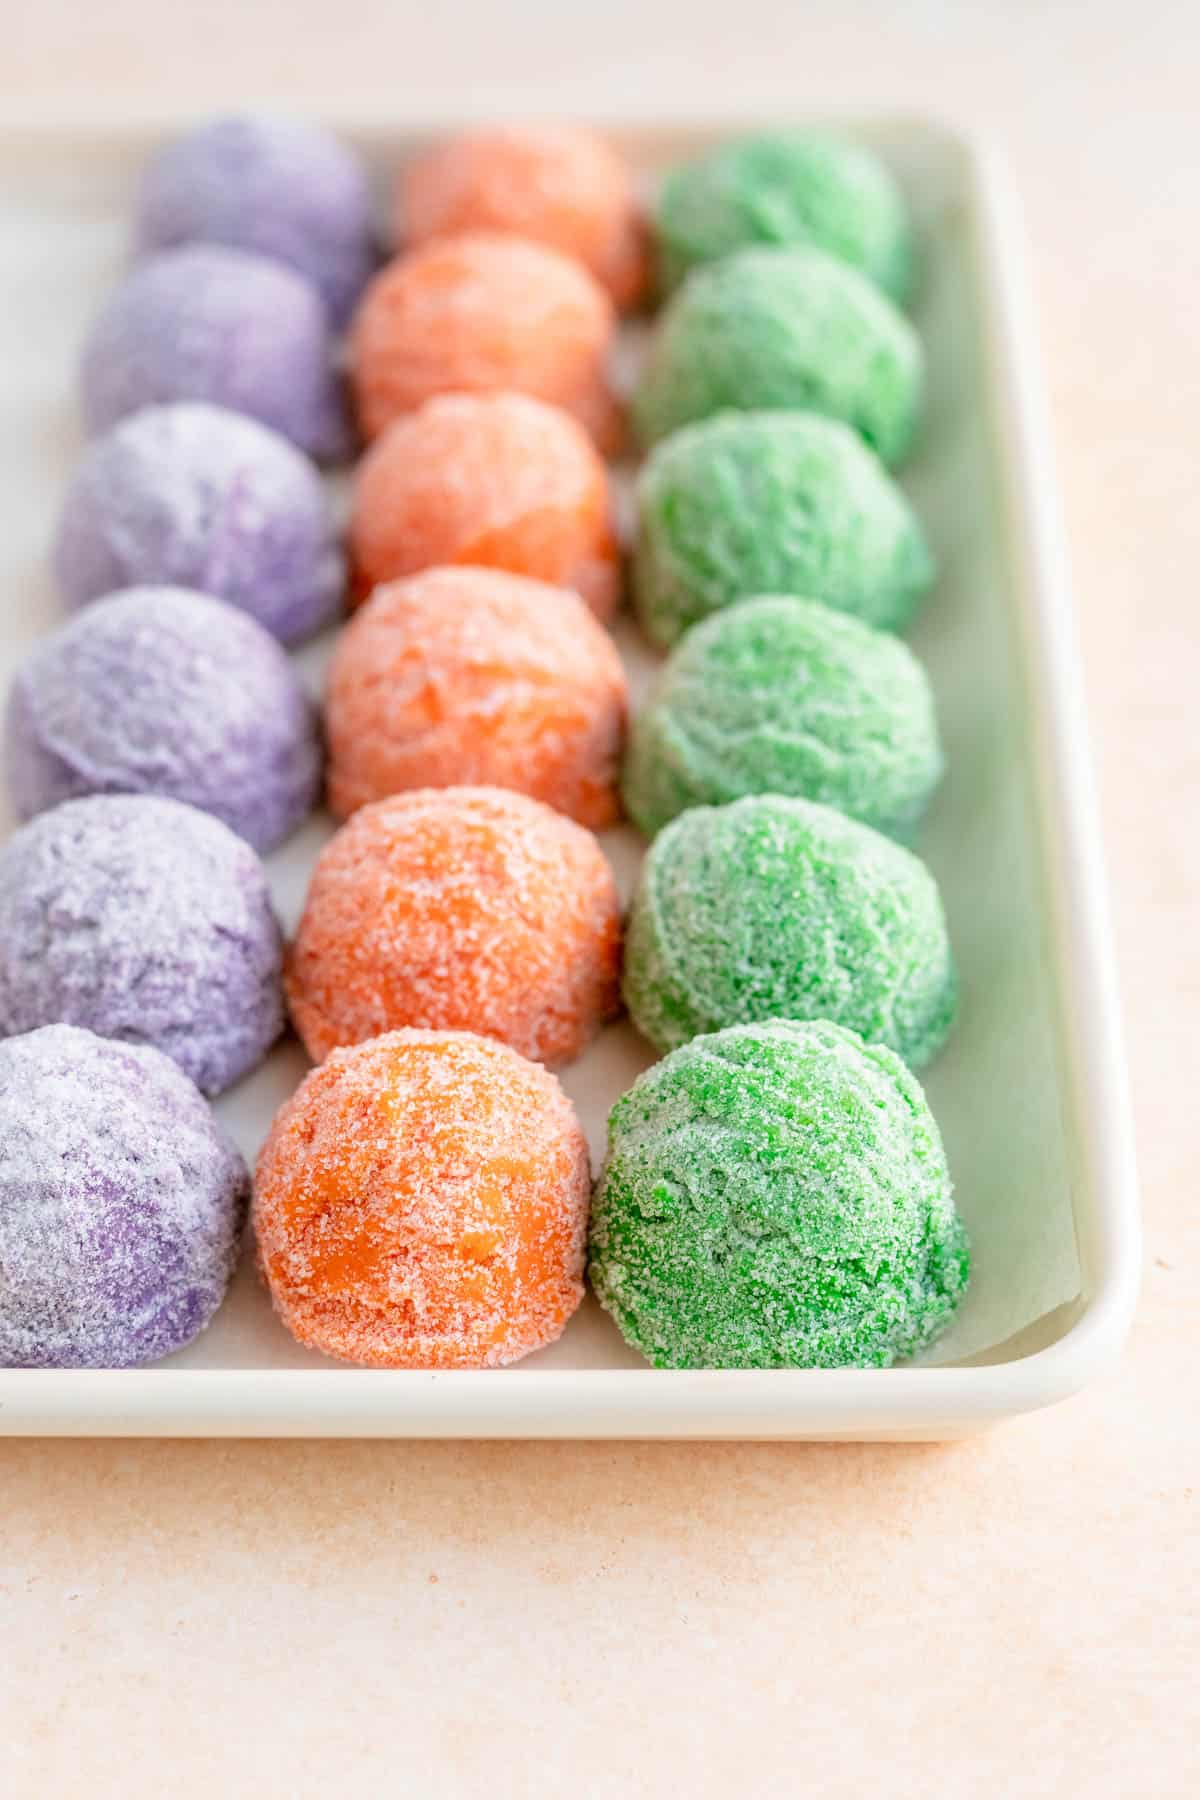
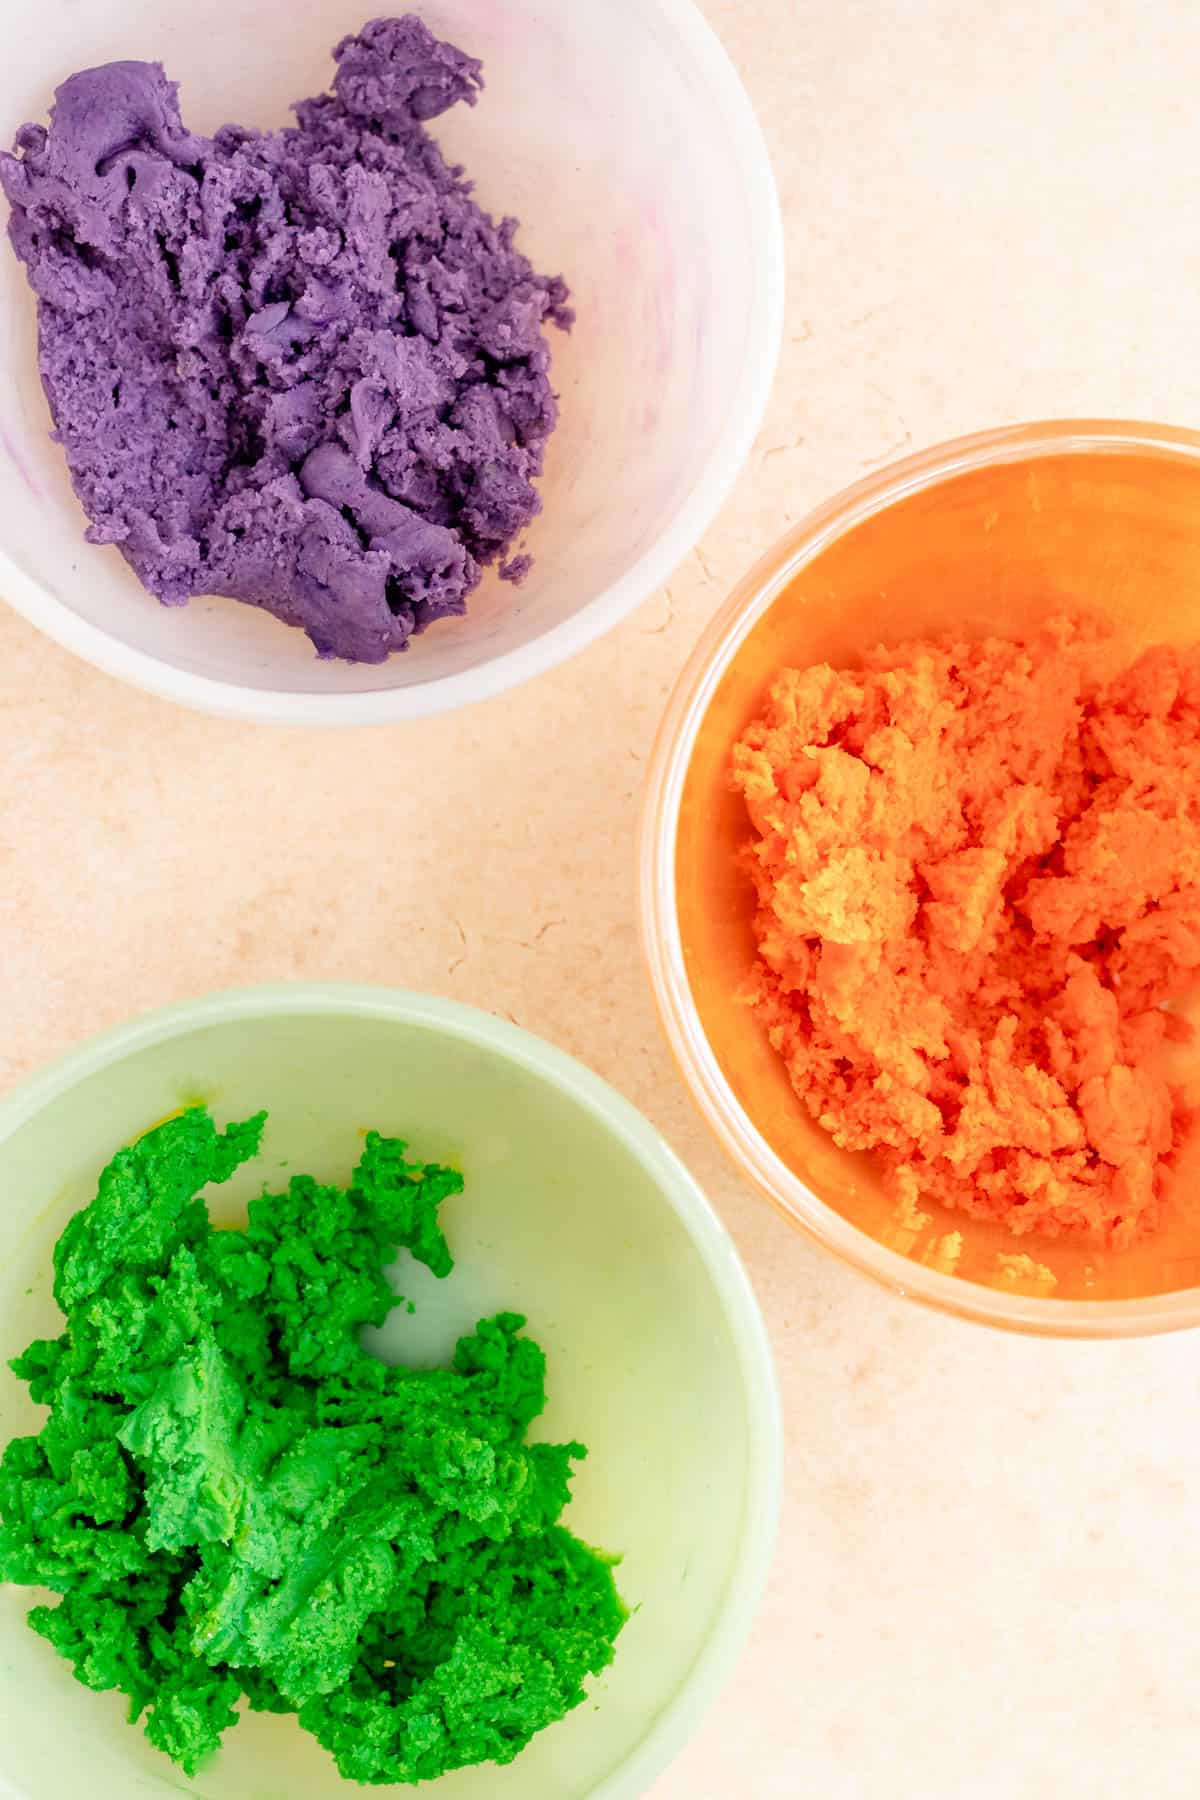
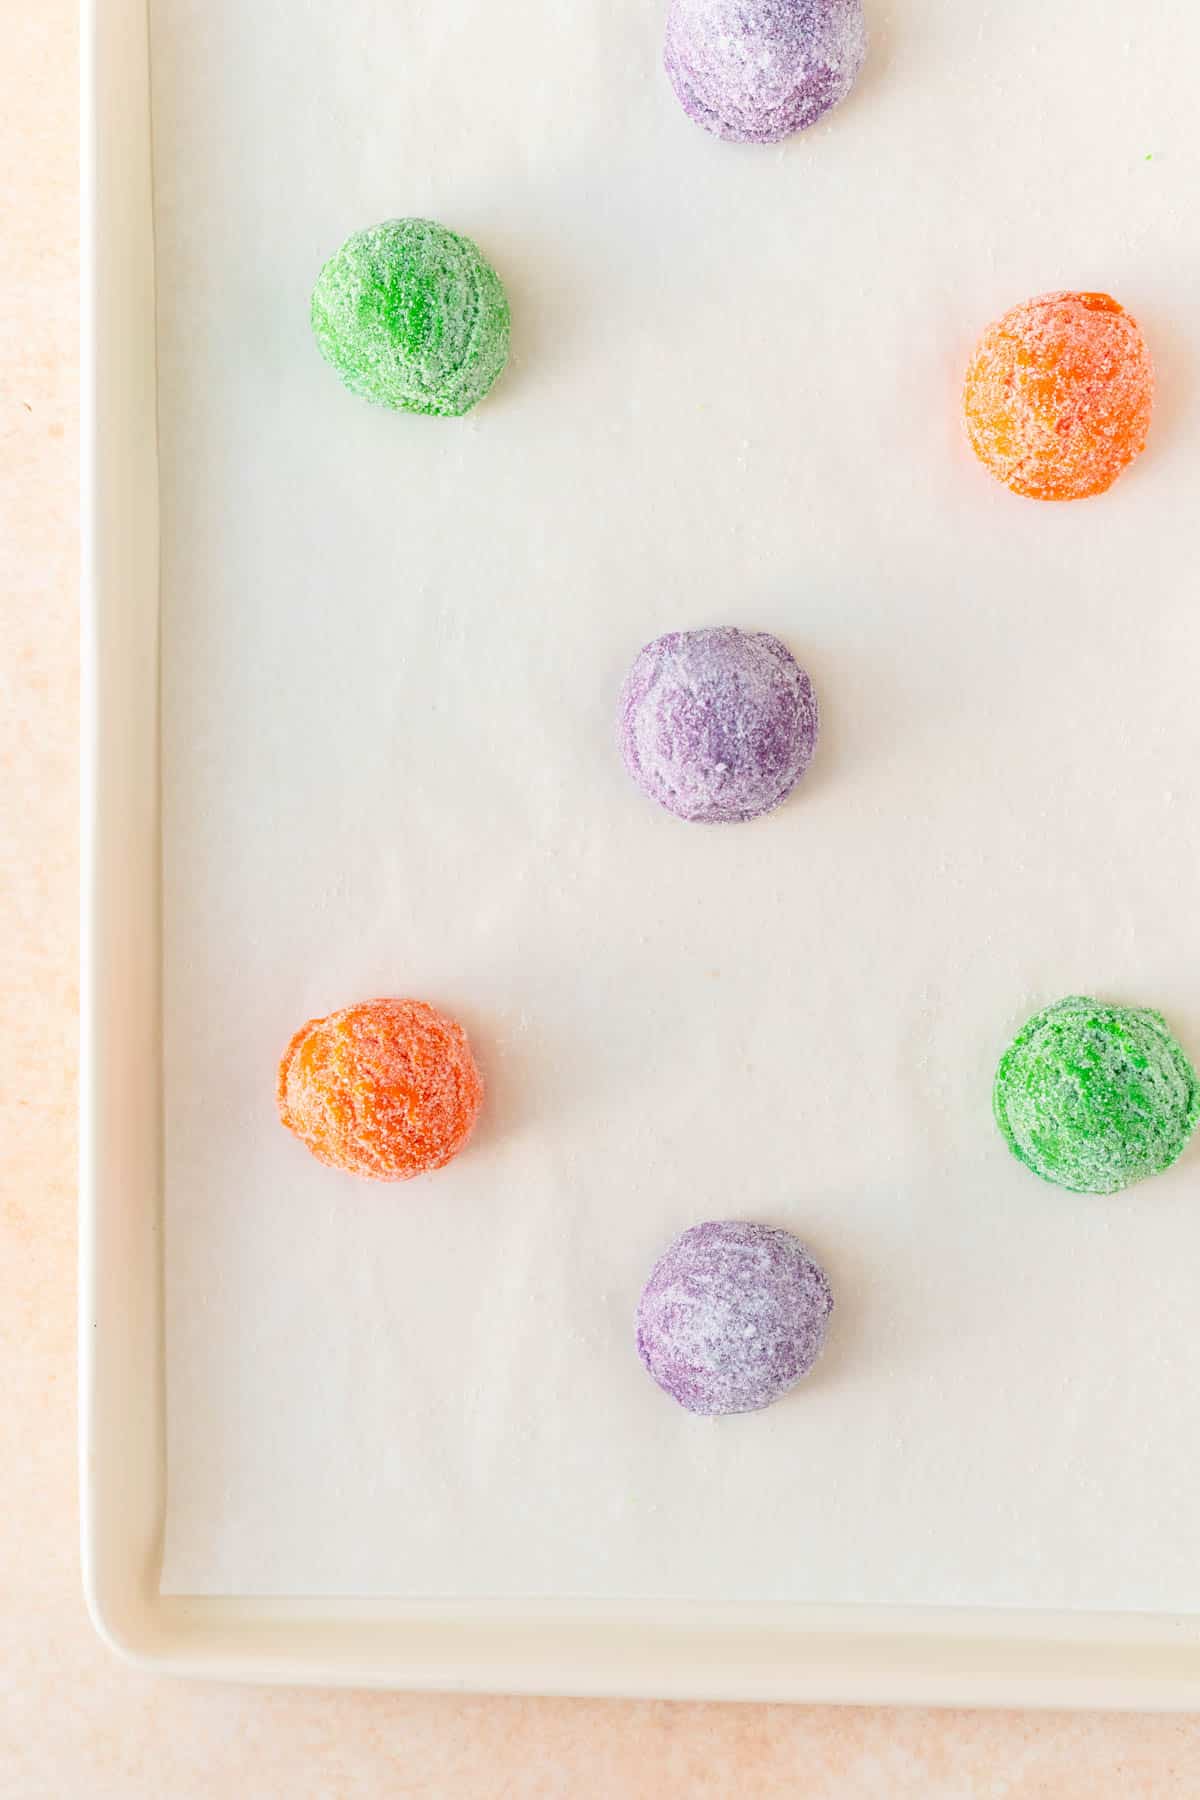
- Divide and color your dough, if desired.
- Scoop your cookies into big or mini dough balls. Roll if needed, then coat in granulated sugar.
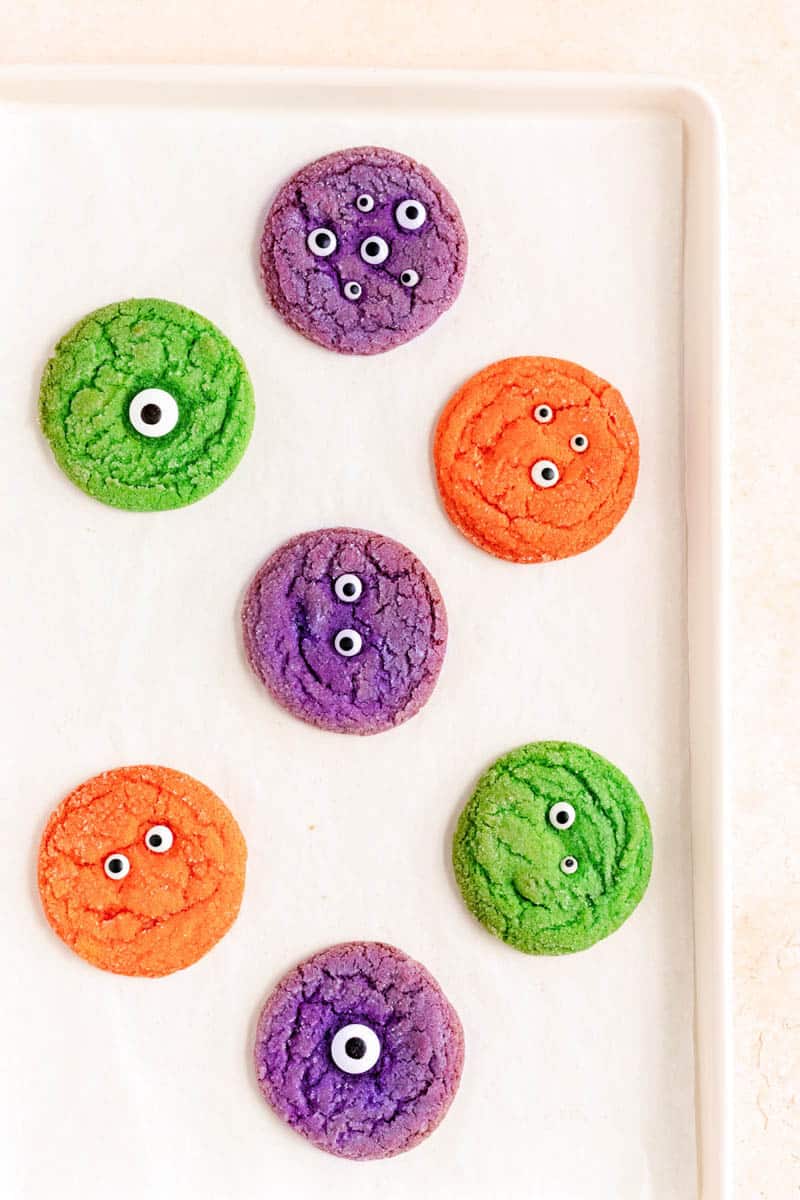
- Tray on prepared pans and press a few candy eyes firmly into the surface of each cookie.

- Bake until almost-set (with very little, to no color). You’ll want to watch your cookies carefully as you’ll lose the brilliance of your colors if they brown too much, and we want them a little underbaked for that nice chewy texture.
- Knock cookies on the counter to settle them right out of the oven.
- Cool, share, and enjoy these monstrous treats!
Check out the full RECIPE WEB STORY for a click-through tutorial!
*Expert Tips and Tricks* for Better Baking
As I mentioned above these cookies are straightforward and foolproof, so if you just follow the mix speeds and times in the recipe card, you’ll have deliciously chewy cookies right out of the oven!
My main tip for these little guys is to really pay attention during the bake. You want these cookies to have little to no color when they’re baked. They go fast and a little under-baked is what we’re going for with these guys. Plus, if you leave them in even a minute or two too long, they can brown quickly and ruin those fun bright colors you were hoping they’d have.
Can you make these cookies ahead of time? How do you store them?
Yes! These cookies keep well for 5-7 days, especially if they’re a little underbaked. Store cookies just at room temperature in an airtight container.
Can you use natural food coloring?
You absolutely can! Your color will likely be duller and more earth-toned than those pictured here which used artificial food coloring. But they will still taste just as delicious! You’re also welcome to not color the dough at all, or use colored sugars instead of food coloring to add that Halloween theme to your cookies.
Other Recipes You'll Love
If you're looking for another uber-festive Halloween Treat, be sure to check out my Halloween Surprise Stuffed Candy Corn Layer Cake!
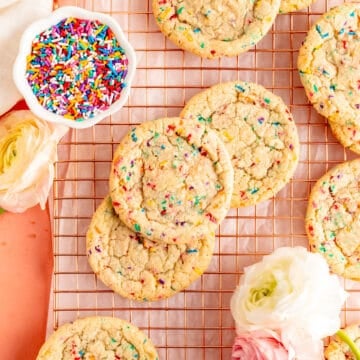
And for a year-round chewy sugar cookie, be sure to check out my classic Classic Chewy Sugar Cookies, Bakery Chocolate Chip Cookies with Sea Salt, Dark Chocolate Chocolate Chip Cookies and Birthday Cake Sugar Cookies too!

⭐ If you gave this recipe a try please give it a ⭐ rating and tag me on Instagram @mint.and.mallow.kitchen so I can see what you're baking up! ⭐
📖 Full Recipe
Chewy Monster Eyeball Sugar Cookies
Ingredients
- 10 tablespoons (1 ¼ sticks) unsalted butter (softened)
- 2 tablespoon light corn syrup
- 1 ¼ cups sugar
- 1 ½ teaspoons vanilla extract
- 1 large egg
- 2 ½ cups all-purpose flour
- 1 teaspoon baking soda
- ½ teaspoon salt
- 1 cup sugar (for coating)
- Purple, orange, and/or green natural or artificial food coloring
- Candy eyeballs*
Instructions
- Prep and line: preheat your oven to 375°F and line two baking sheets with parchment paper.
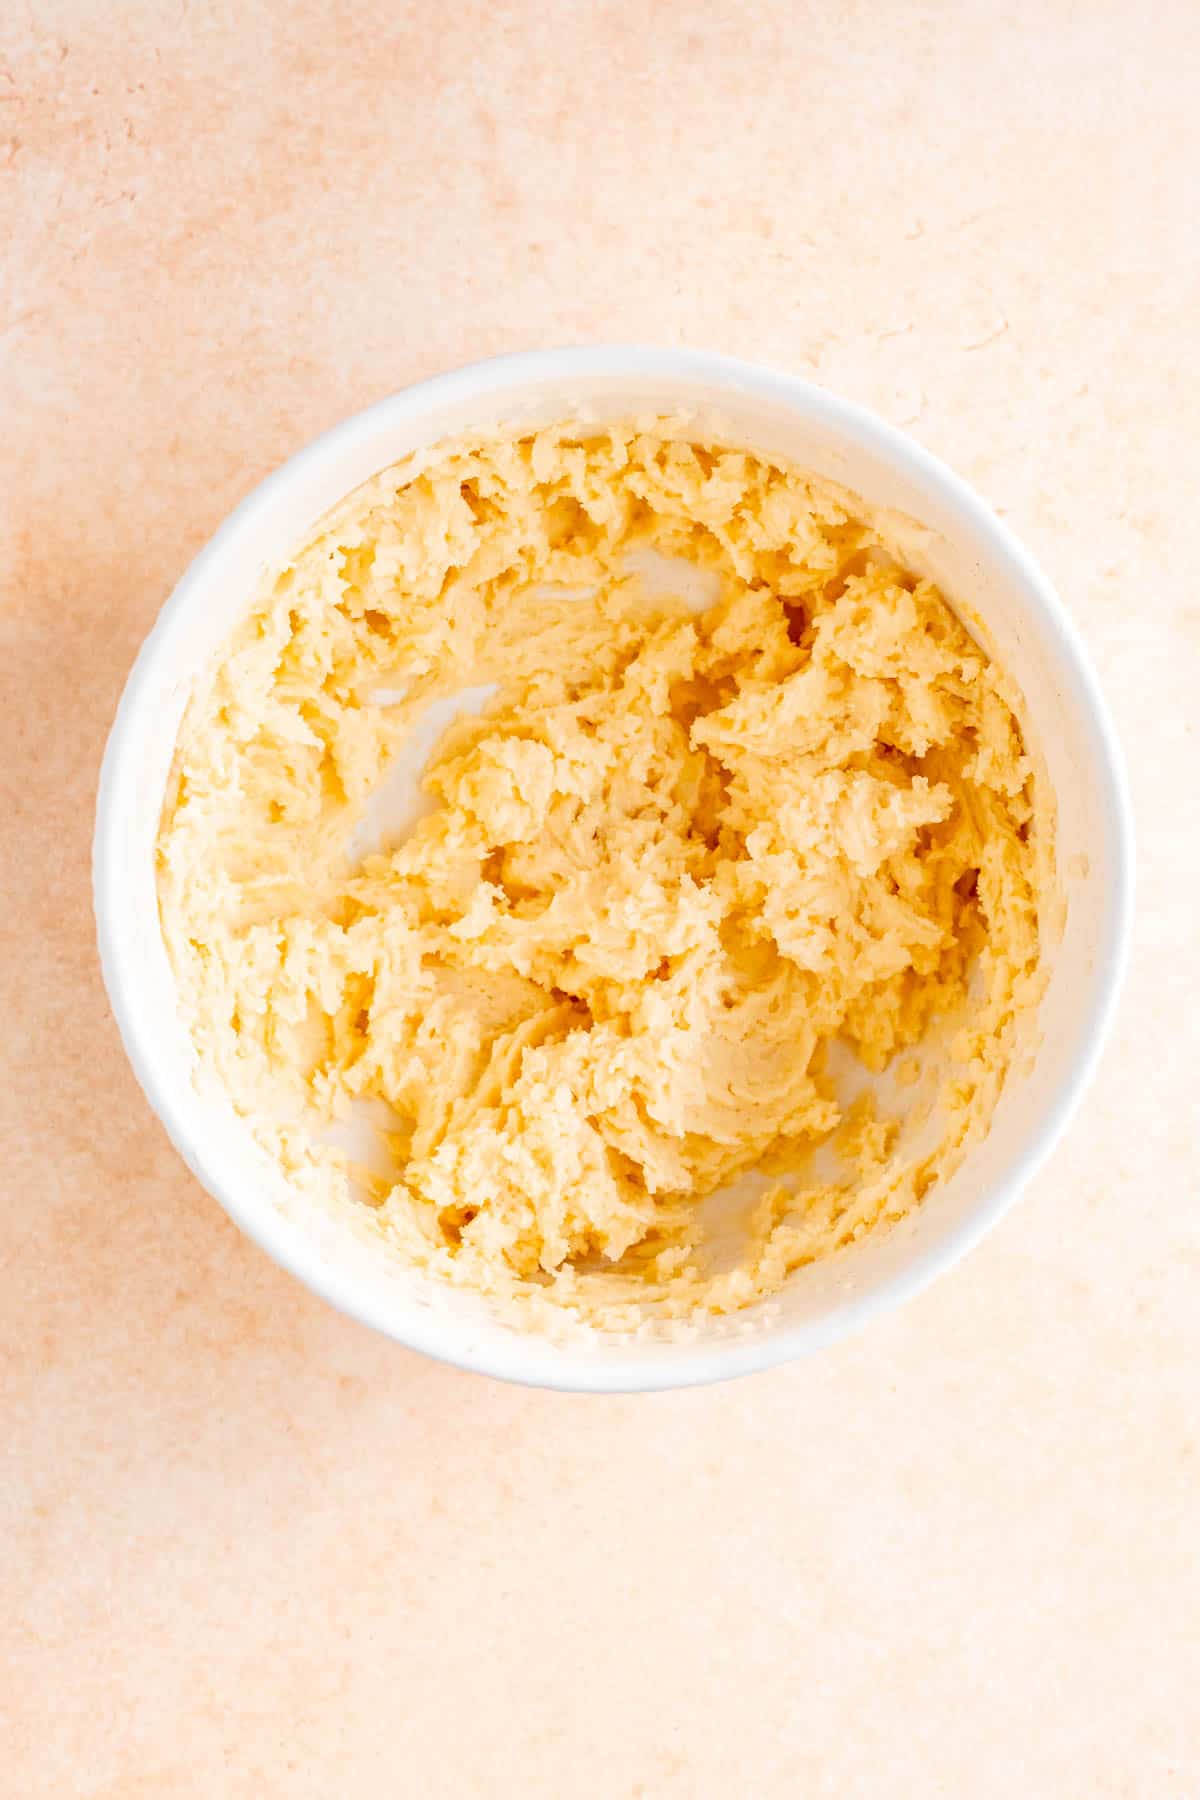
- Cream butter, sugars, and vanilla: cream together the butter, 1 ¼ cups sugar, corn syrup, and vanilla extract for 1-2 minutes until very light and fluffy on medium-high speed using a hand or stand mixer.**
- Beat in the egg: add in the egg and beat for 30 seconds more on medium-high until the batter is smooth, opaque, and slightly fluffy.
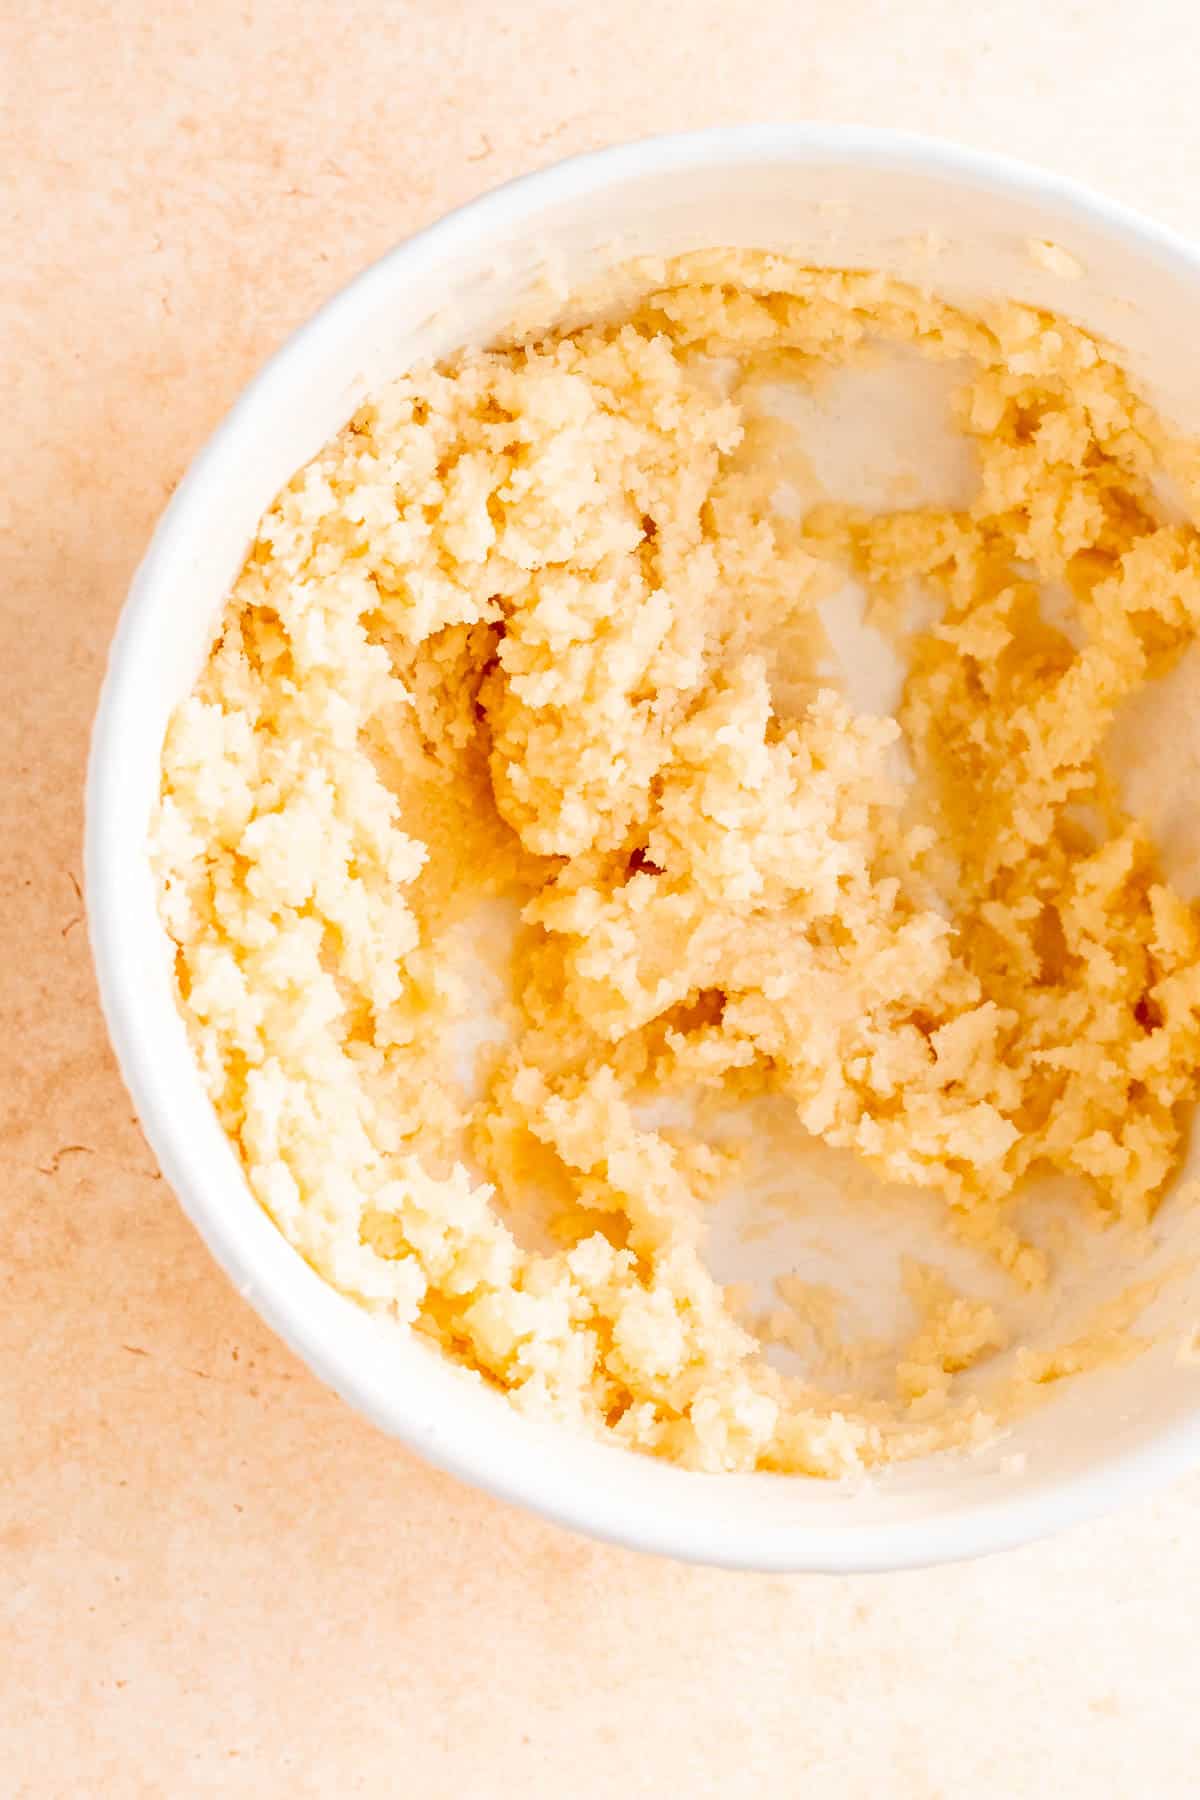
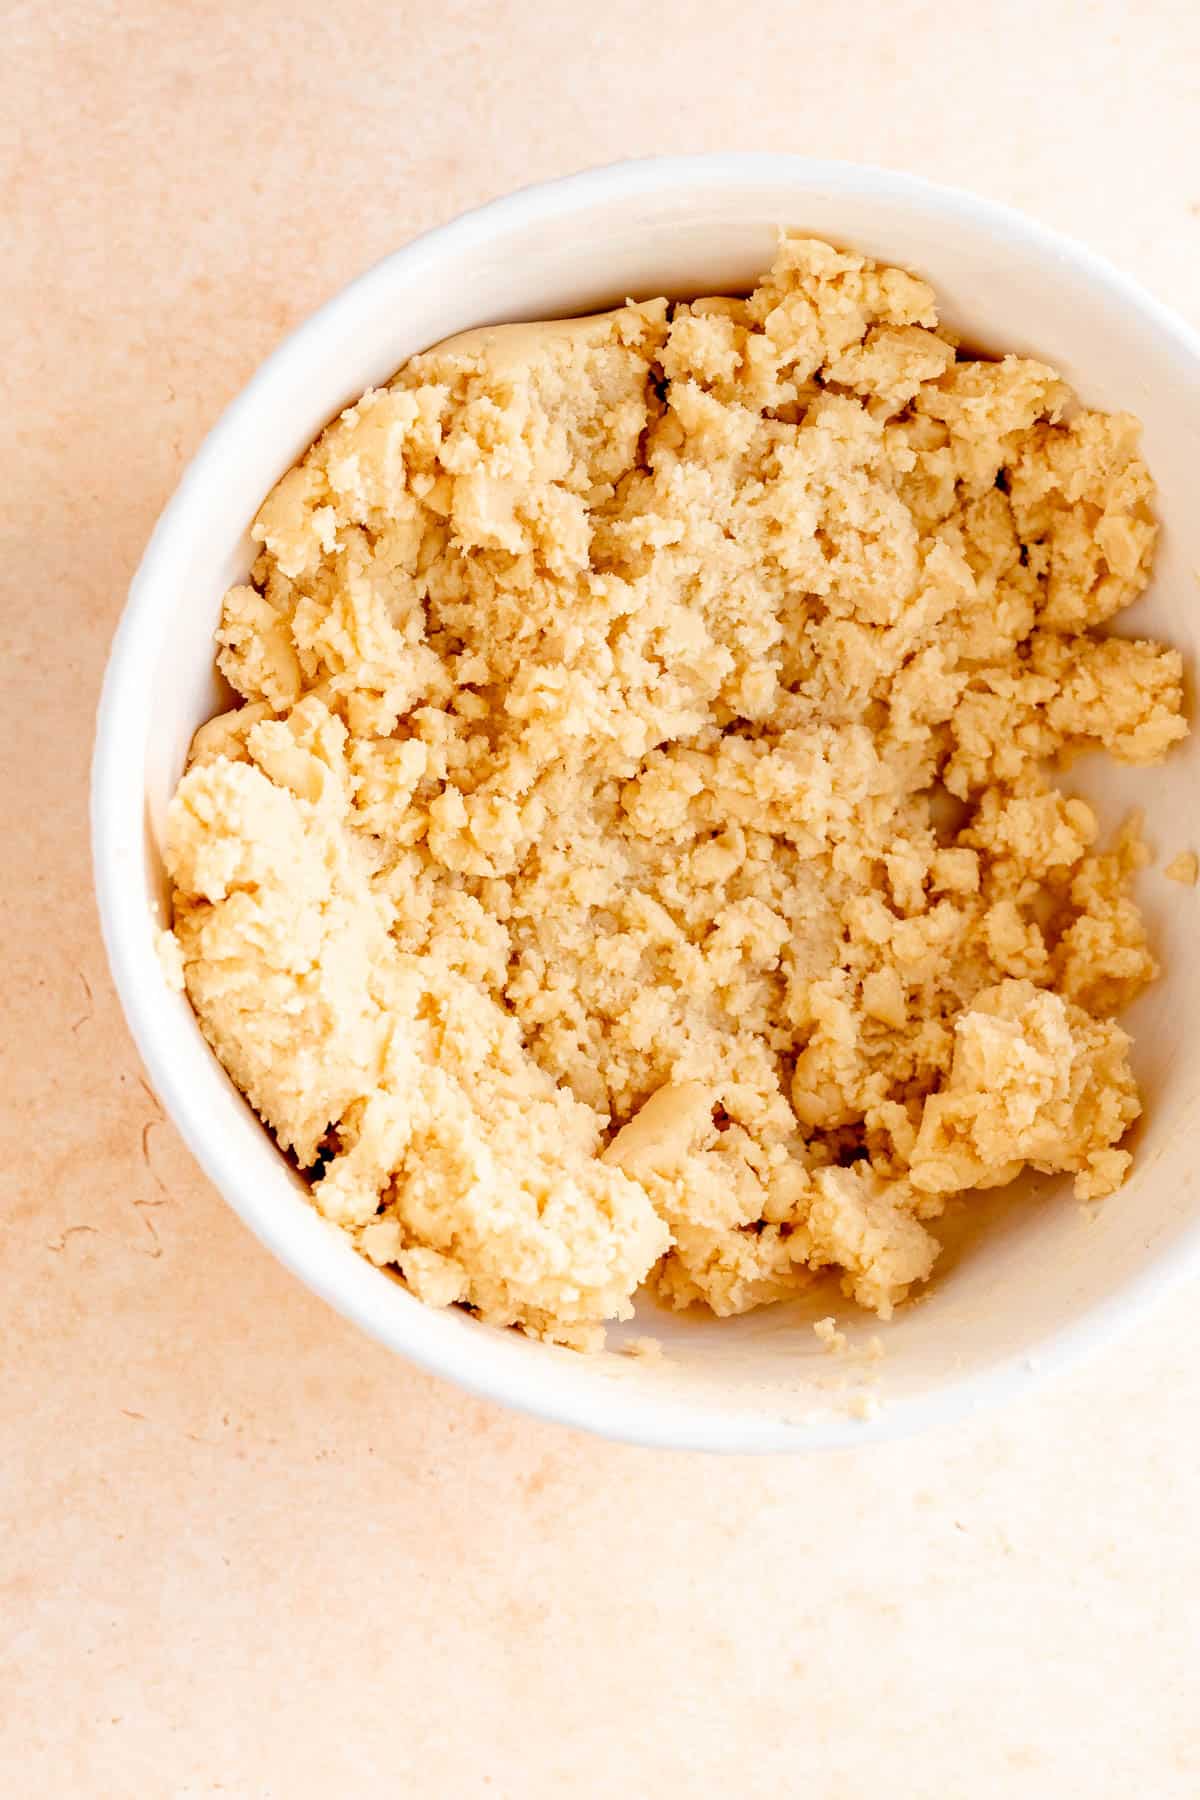
- Mix in dries: add in flour, baking soda, and salt, and mix on low speed until fully combined, then beat briefly on medium-low for just 15-20 seconds. A smooth, stiff dough should form, and be sure to scrape the bowl really well about half-way through mixing.
- Color your dough: if you would like to color your dough, divide it equally into individual bowls for each color. Add the coloring to your dough to reach your desired hue, blending in the color by hand in each dough piece. (You also don’t have to color the dough at all if you don’t want to!)
- Scoop and decorate: place 1 cup of sugar in a fairly small, wide bowl. Scoop dough into 2" balls (about 2 tablespoons of dough) for big cookies, or 1" round balls (about 1 tablespoon of dough) for mini cookies. Roll dough balls between your hands to fully round if not using an ice cream scoop, then roll in the sugar until fully coated.
- Tray and bake: place cookies on prepared trays, at least 3” apart. Press a few candy eyes firmly into the surface of each cookie. Bake big cookies for 9-12 minutes, or minis for 6-8 minutes, just until their bottoms are golden brown and they look fully set and crackled on top (you do want these cookies to be a little under-baked for the tastiest texture and if they brown too much it'll dull your colors).
- Knock em' down: knock each tray firmly on the counter or stovetop immediately after removal from the oven to collapse the dome and get that perfect cookie crackle.
- Cool, share, and enjoy: allow cookies to cool as long as you can (so those doughy middles can set up to a perfectly chewy center, and the edges can get deliciously crisp). Then pass around these monstrously delicious treats that will put a smile on any kiddos face!
Test Kitchen Tips
- *Candy Eyeballs: some candy eyeballs hold up better in the oven than others. These are the ones I use for these cookies that work great!
- **When to color your dough: if you’re only using one color for your cookies, you can add the coloring when creaming the butter and sugar together, and just make sure it’s a little darker than you’d like as it will lighten when you add the other ingredients. If you’d like to use multiple colors, then wait to color the dough as the very last step.


Comments
No Comments