


These soft, cut out sugar cookies require no chill at all, yet hold their shape beautifully as the perfect base for frosting and sprinkles! Their classic vanilla flavor, tender texture, and festive sprinkle finish will have these cookies ready for the top of your holiday cookie tray in no time.
Jump to (scroll for more!):
- Should sugar cookies be hard or soft?
- A New Kind of Sugar Cookie
- Why This Recipe Leads to Sweet Success
- Ingredient Tips to Bake it Better
- Special Tools and Equipment You'll Need
- How to Make Cut Out Sugar Cookies from Scratch
- Fun Ways to Make This Recipe Your Own
- *Expert Tips and Tricks* for Better Baking
- Other Recipes You'll Love
- 📖 Full Recipe
- Comments
Should sugar cookies be hard or soft?
I've always found sugar cookies are fairly unique in the recipe world in that their title, "sugar cookie," can mean many different types of sweets.
The first classic sugar cookie is a chewy-centered, crisp-edged, soft sugar cookie, dropped on a baking pan and baked until flat and crackly on top. The second is a crisp, pretty hard sugar cookie that typically must be chilled, before being rolled and cut into shapes. When baked, it holds its shape and has a smooth final surface, without much rise.
Typically, the softer style can not be formed into festive shapes, and the harder style is well...really hard and usually doesn't taste great as this recipe style tends to prioritize looks over flavor. If you're wondering which cookie this recipe will yield, it's a little bit of both!
A New Kind of Sugar Cookie
Not only have I designed this recipe to be a no chill, cut out sugar cookie dough that holds its shape, but I've also created a dough that will slightly puff up in the oven to produce a soft and tender texture.
The delicious yet simple vanilla flavor of these cookies has also kept them a family favorite for years.
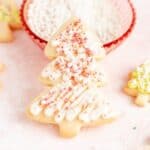
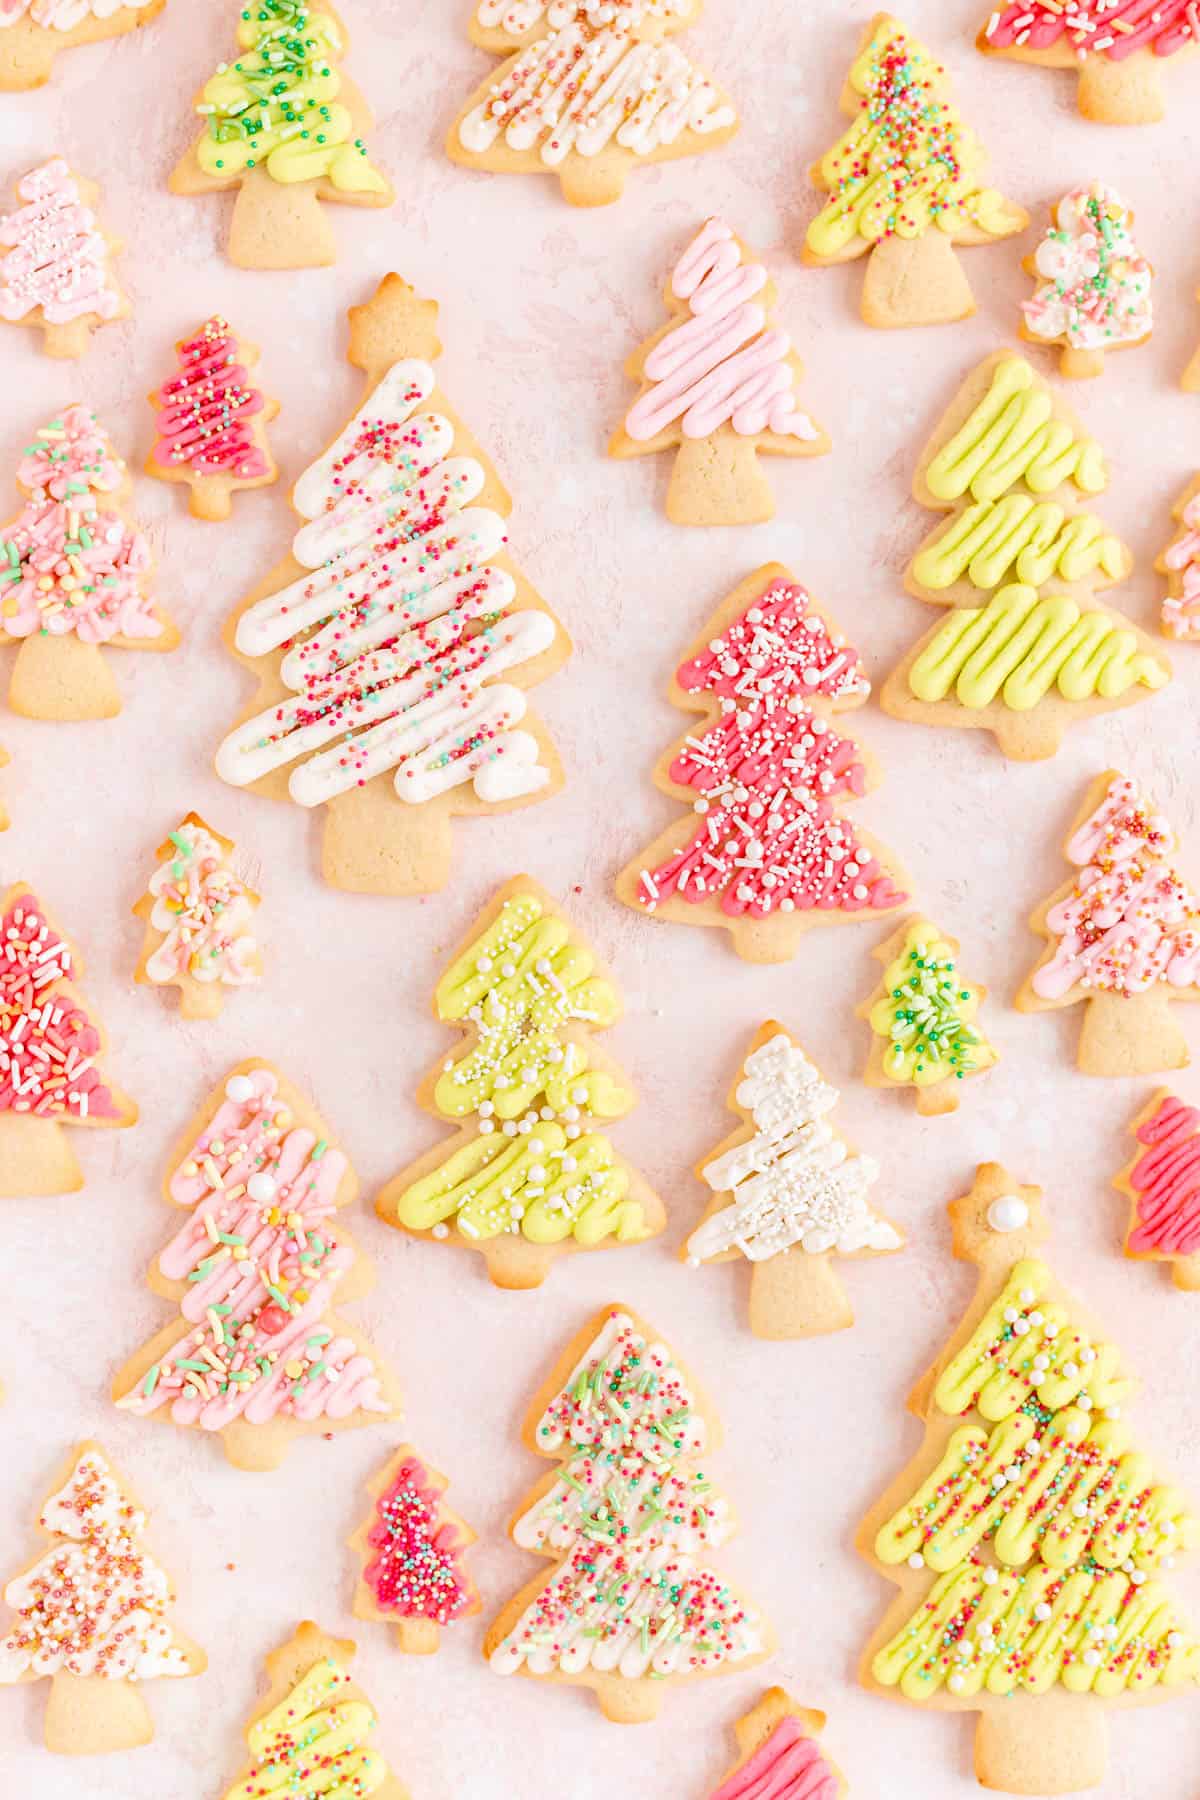
Throw a little American-style buttercream frosting on top (with shortening if you like for stability) and some festive sprinkles, and you have a cookie tray fit for any festive occasion.
For my family, these sugar cookies (which were actually the first recipe I learned to make as a little girl) are a go-to Christmas classic. So in this post, I'll not only teach you how to make these tasty cookies, but walk you through my favorite simple, but festive decoration method to feature your favorite holiday colors and sprinkles. So let's get baking!
Why This Recipe Leads to Sweet Success
- Not to soft, not too hard: this cookie will come out of the oven a little firmer than you would expect and we need to do this so it can be handled for decorating. But give it about a 24-hour sit with frosting on top, and you'll see it will suck some of that moisture into the cookie which will soften up.
(Full disclosure: these cookies will not be as soft as a chewy drop cookie. That type of dough simply won't hold its shape. But, they are much softer than all the classic cut out sugar cookies I've had that don't require a chill. If you'd like an even softer cookie, you'll want to look for a recipe that requires a chill, as that will allow you to make a softer dough to start with.)
- No chill needed and easy to roll: the challenge of a no chill sugar cookie dough (which is a pretty uncommon recipe) is making the dough workable at room temp. I tested all kinds of ratios to make sure this recipe came together into a dough that is workable right after mixing. That said, if you're struggling because your kitchen is particularly warm, or your butter was extra soft, you're welcome to chill the dough for 15, 20, or even 30 minutes to make it even easier to work with.
- Easy decoration with frosting that actually tastes good: the go-to frosting I always see for sugar cookies is a royal icing. Now, royal icing certainly has its place in baking, but I personally just don't love the taste. So I use an American-style buttercream frosting which provides some moisture that can be sucked back in the cookies to soften them up once they're decorated. This particular frosting recipe has 50% shortening at 50% butter which will make it a little sturdier and easier to pipe at room temperature.
Ingredient Tips to Bake it Better
(Pssst…if you're ready to just get baking, get all the details in the recipe card below!)
- Butter: I tested this recipe multiple times with butter and margarine. My family recipe uses margarine for this dough which does sometimes yield a slightly softer texture in cookies. But in this dough, these two fats were actually pretty equal in term of final texture, which surprised me. So I chose to stick with butter because the flavor was much better and richer in the final cookies.
- Baking Powder: you'll notice these cookies have a lot of baking powder. That baking powder helps us to get a nice rise during the bake. That helps to keep the cookies from being really hard and compact, as a lot of roll and cut sugar cookies are.
- Vanilla extract (+almond extract): because the ingredients in this cookie are pretty simple, using a high quality vanilla is really important in both the cookie and the frosting (I like Neilsen-Massey's Vanilla Extract). Feel free to adjust your frosting to your taste too. You may want to add a little extra vanilla, or maybe even a ¼ teaspoon of almond extract which is often found in frosted sugar cookie recipes.
- Shortening: the shortening in the frosting here is important as it helps to stabilize our frosting and also gives it a bit more structure when it crusts over too. That said, if you're just not a fan of shortening, feel free to use or butter in your frosting. Just know that the frosting will be a little bit softer, but should still be pipe-able.
(p.s. for all the basic tips that no one ever taught you, that are super important to help you bake your best, check out my Baking 101 series!)
Special Tools and Equipment You'll Need
You’ll want a hand mixer or stand mixer to make the frosting for these cookies for sure, and the dough can be made either by hand or using a mixer on low speed (I personally prefer letting the mixer do the work for me though!).
You can also have some cookies cutters on hand in addition to your rolling pin to cut sugar cookies into whatever fun shapes you like!
If you'd like to follow my decoration method, you'll also need a pastry bag for each color of frosting you'd like to make (up to 4 colors works well) and a small to medium round tip for each bag as well. Alternatively, you can just use an offset spatula or dinner night to frost your cookies by hand.
How to Make Cut Out Sugar Cookies from Scratch
(Pssst…if you're ready to just get baking, get all the details in the recipe card below!)
TO MAKE THE COOKIES:
- Preheat the oven to 375°F and line two baking sheets with parchment.
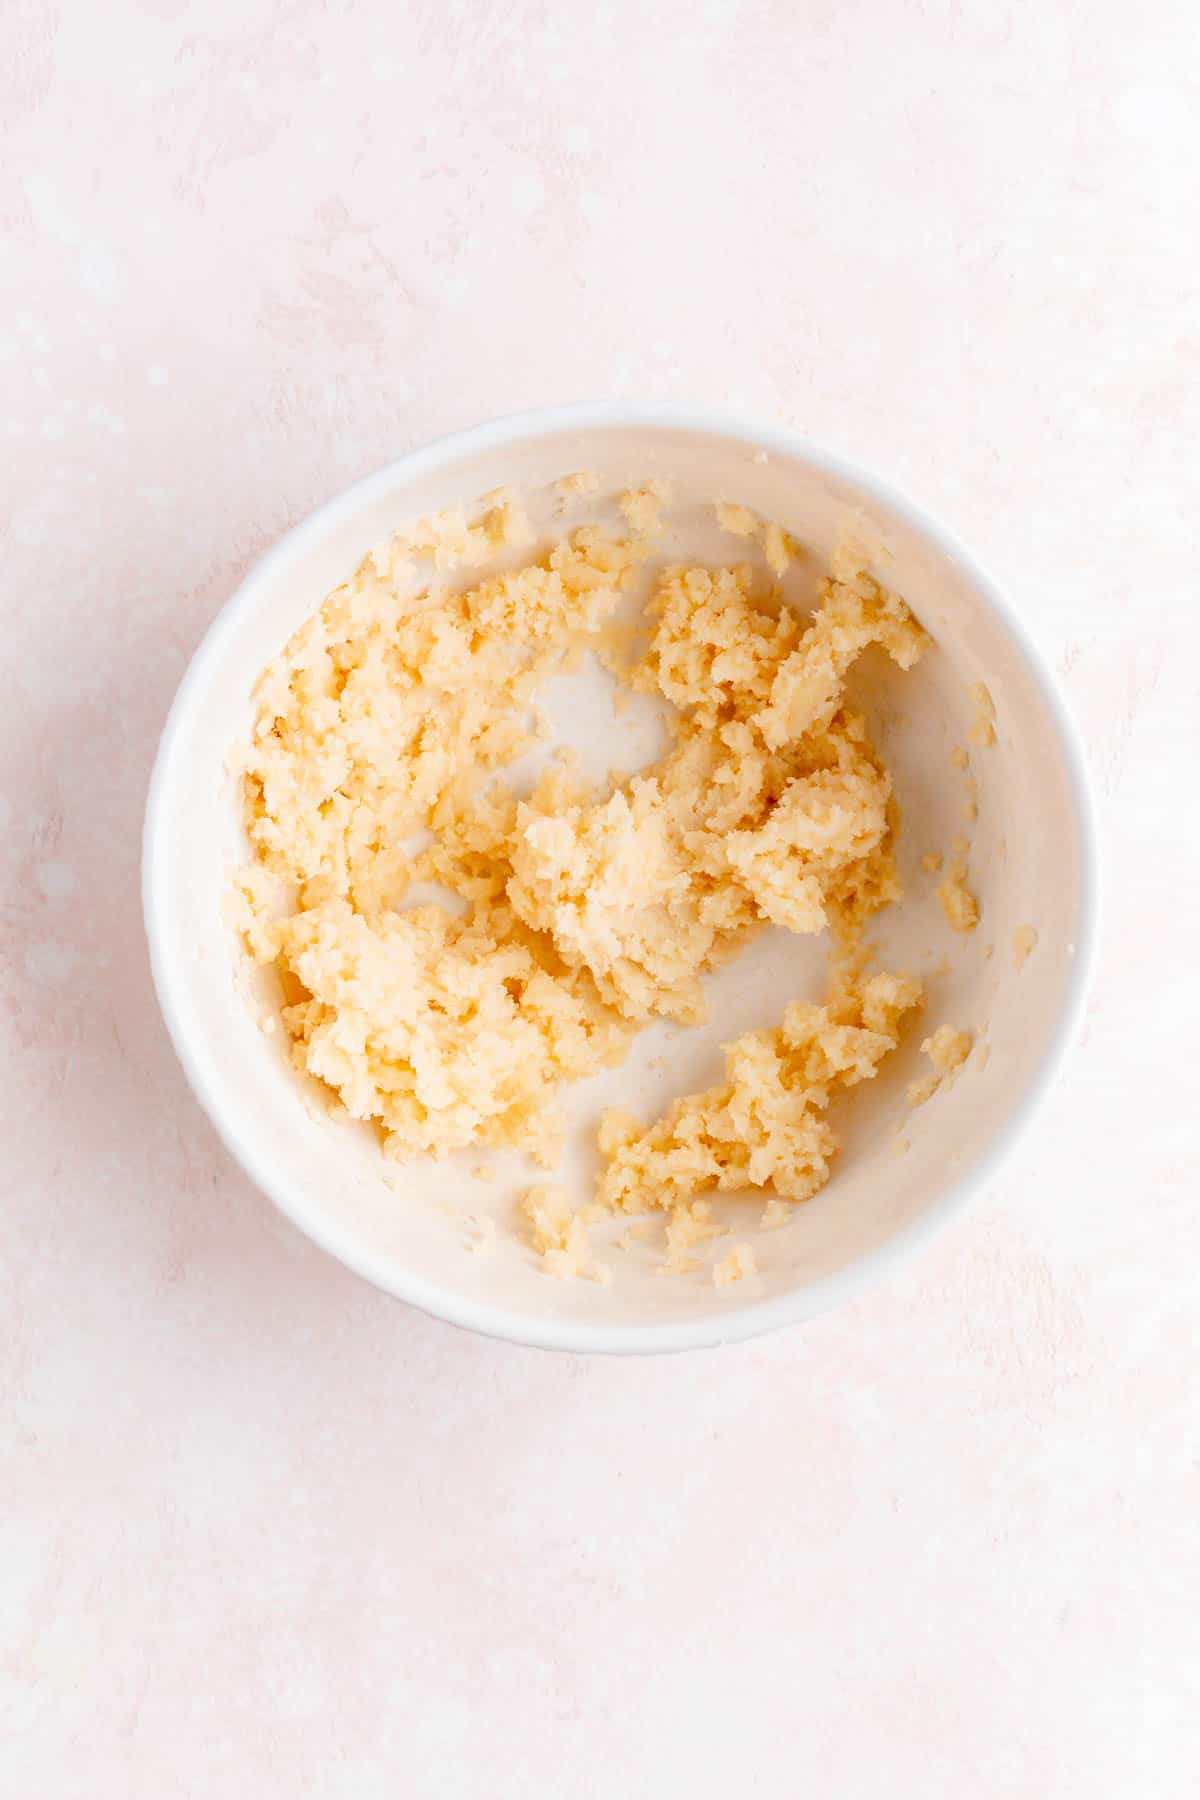
- Cream butter, sugar, and vanilla extract together until smooth.
- Beat in the eggs one at a time.
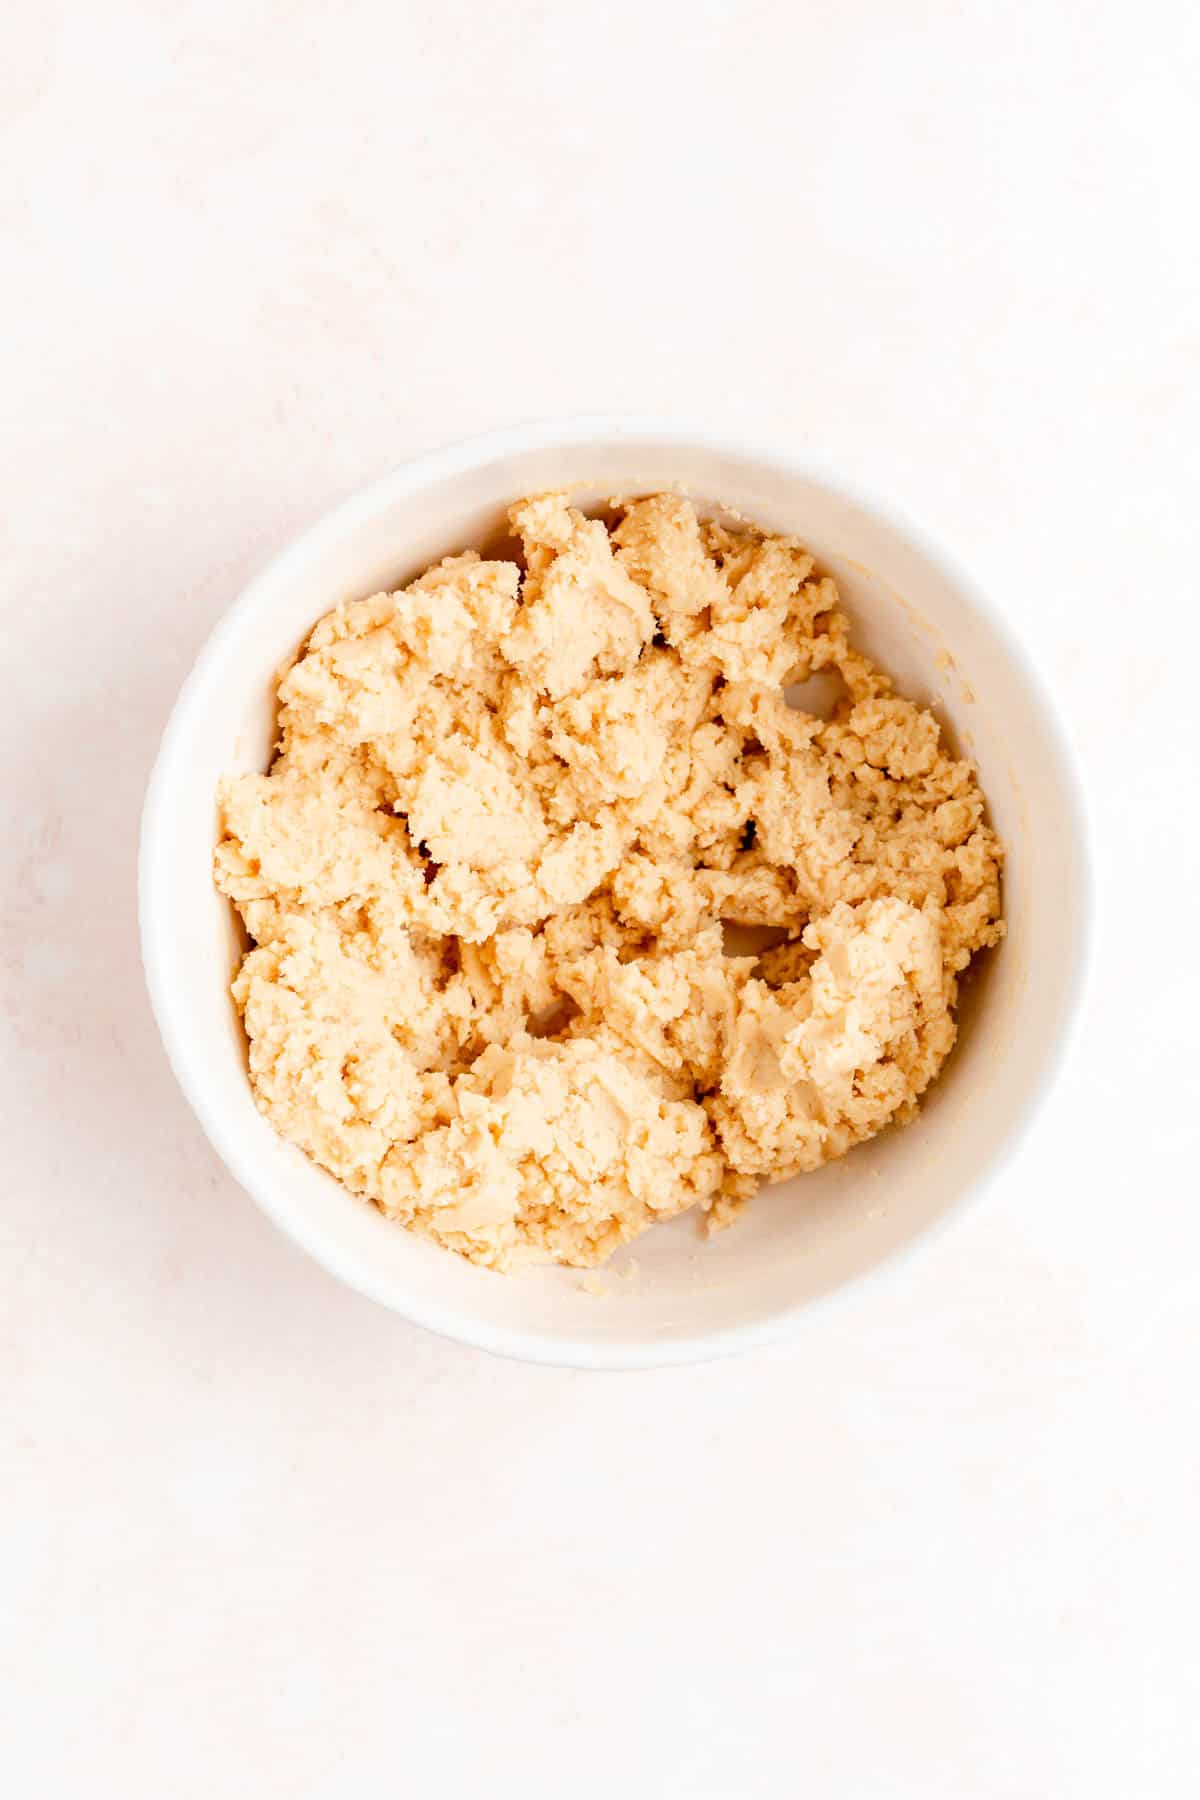
- Mix in dry ingredients to form a smooth, stiff dough.
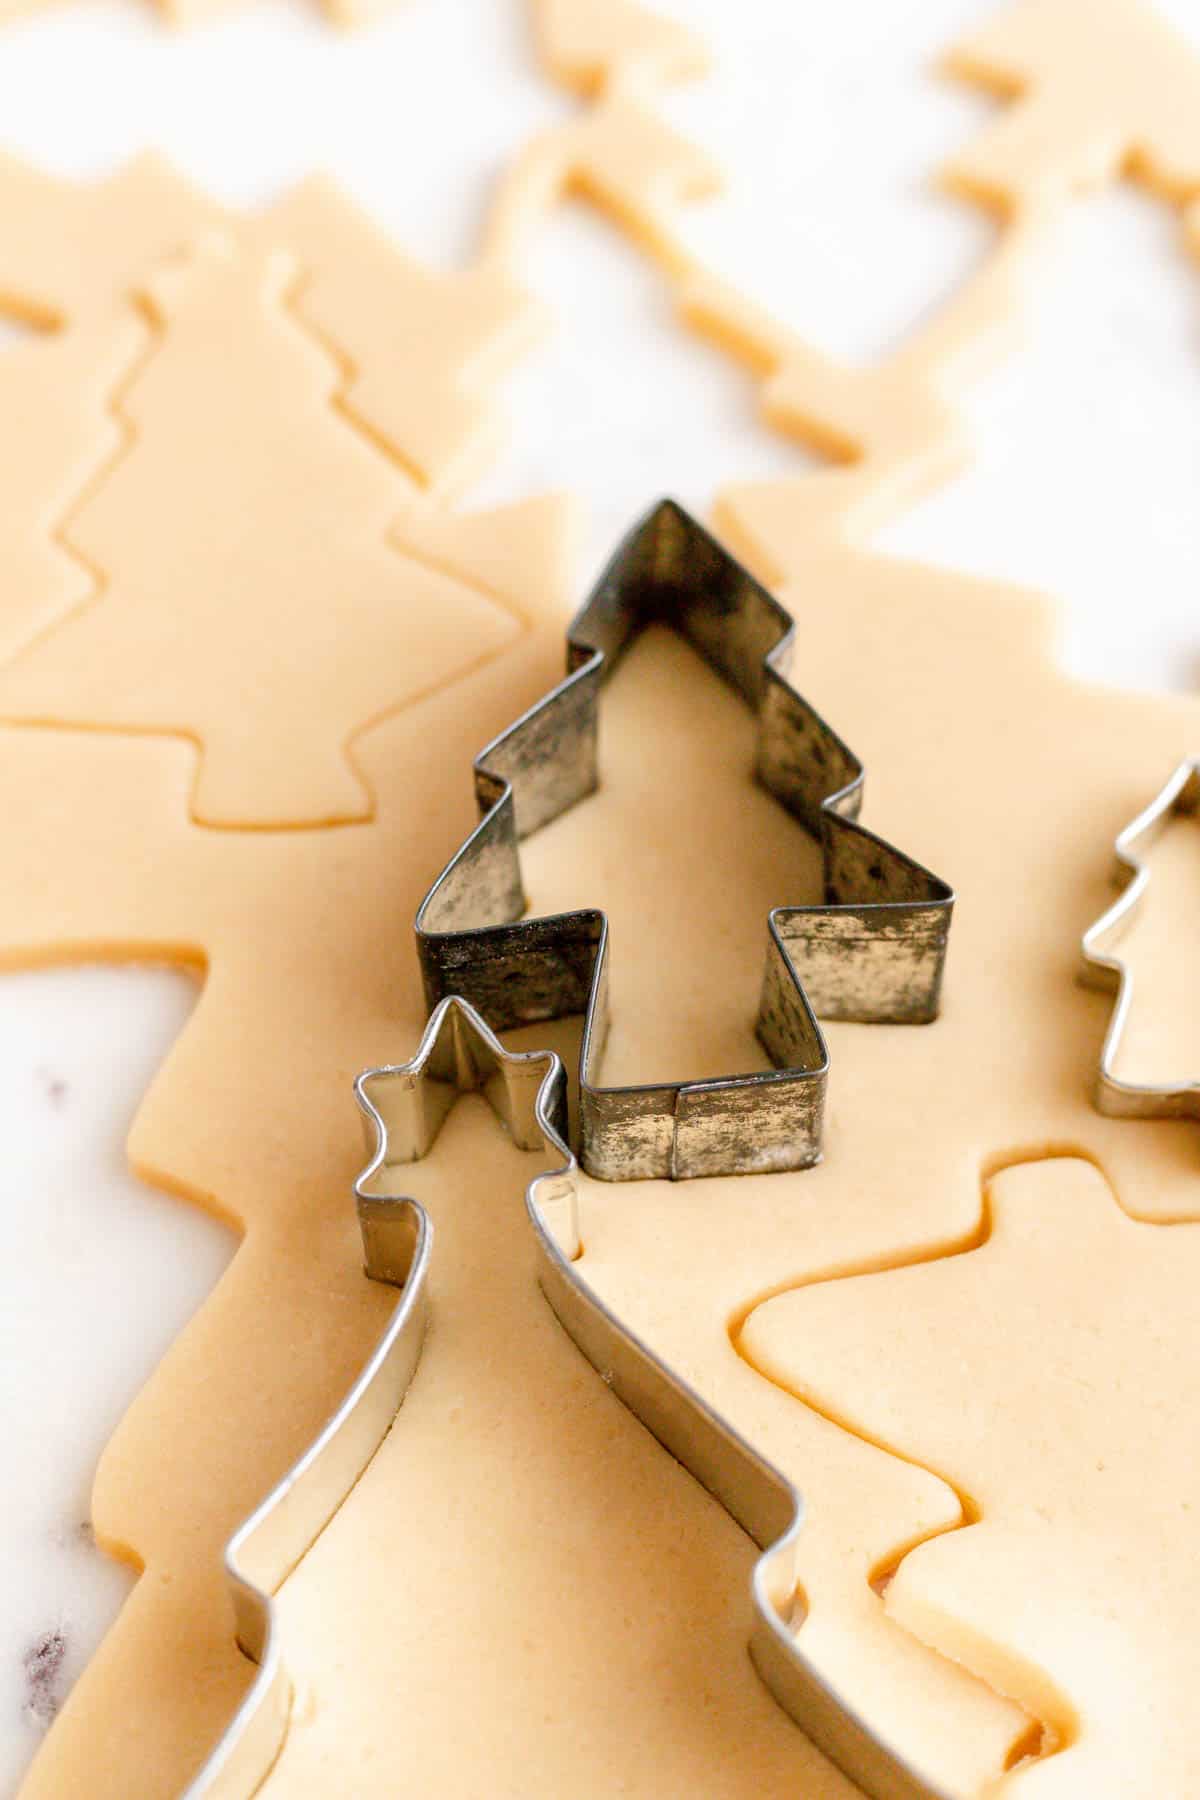
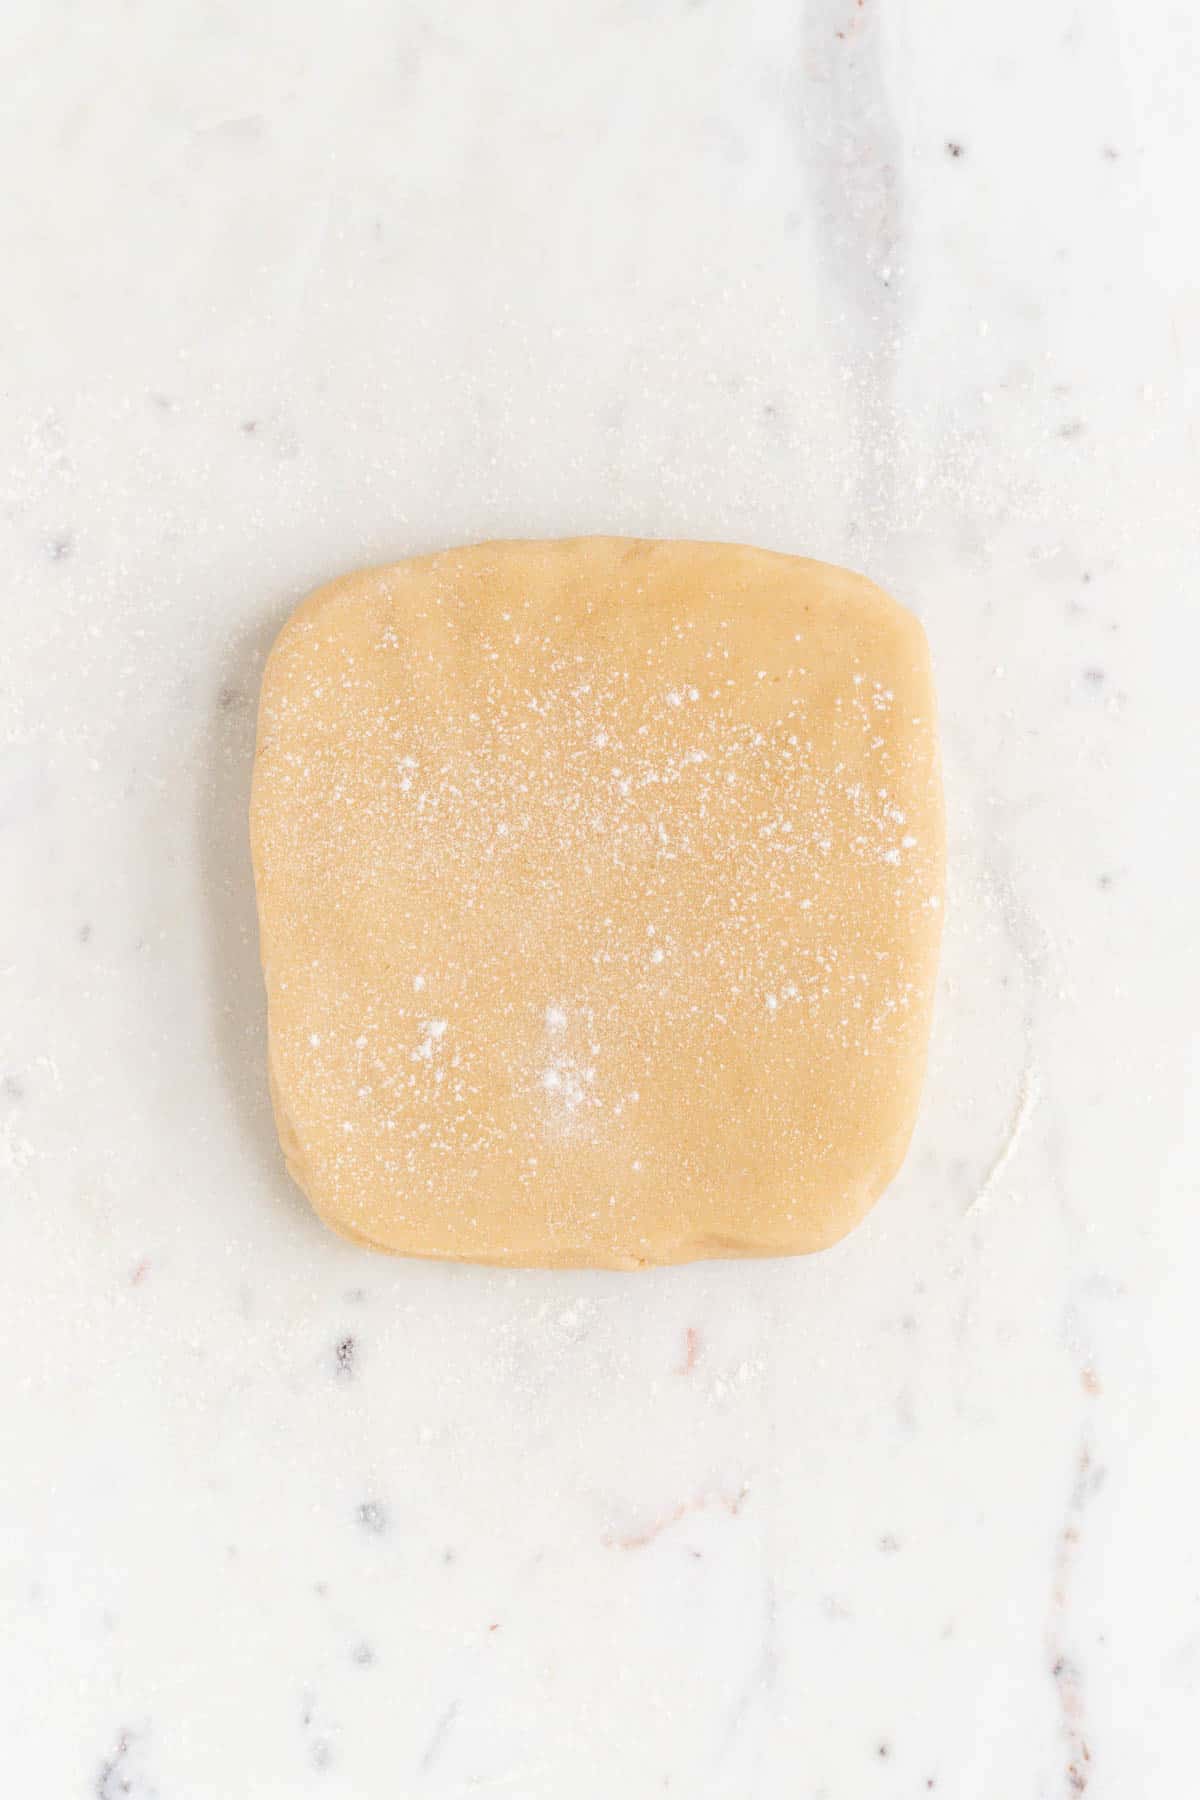
- Roll out the dough to about a ¼" thick.
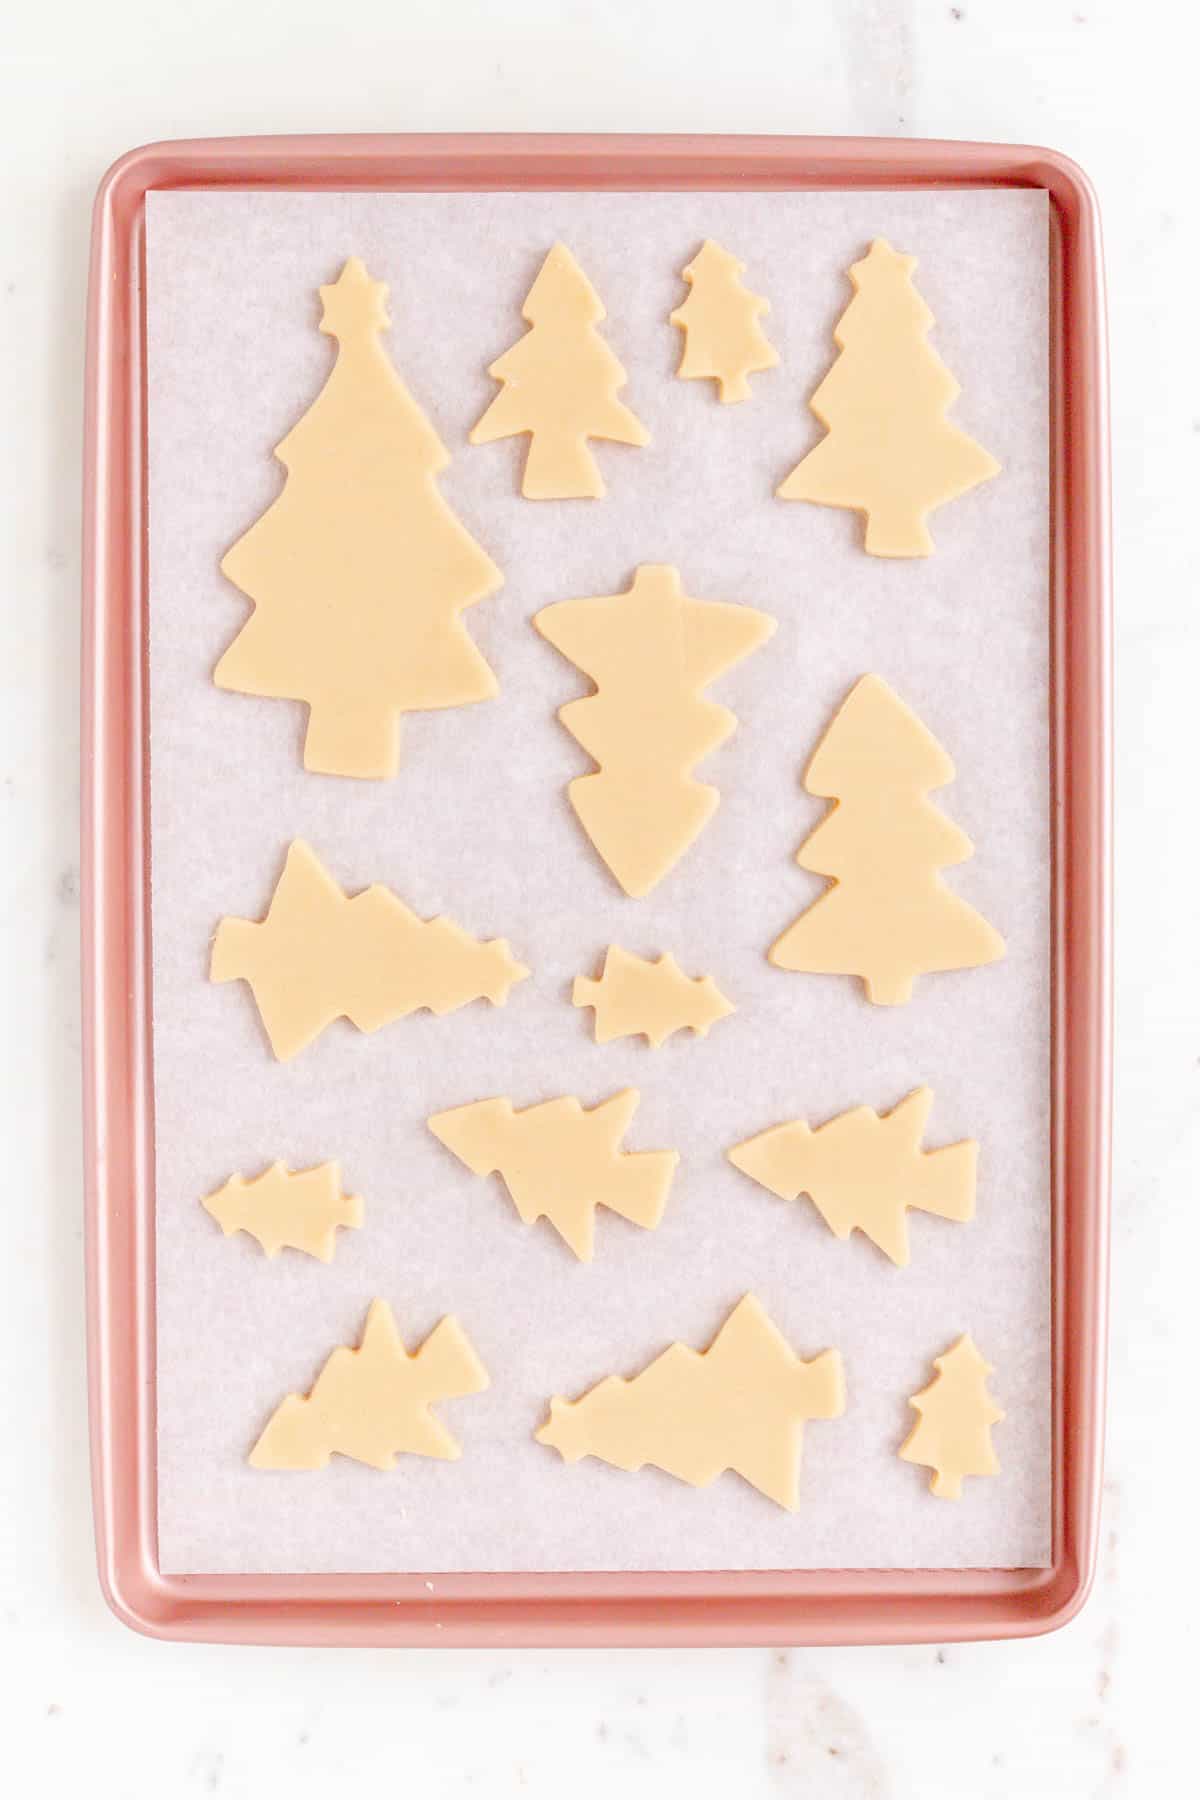
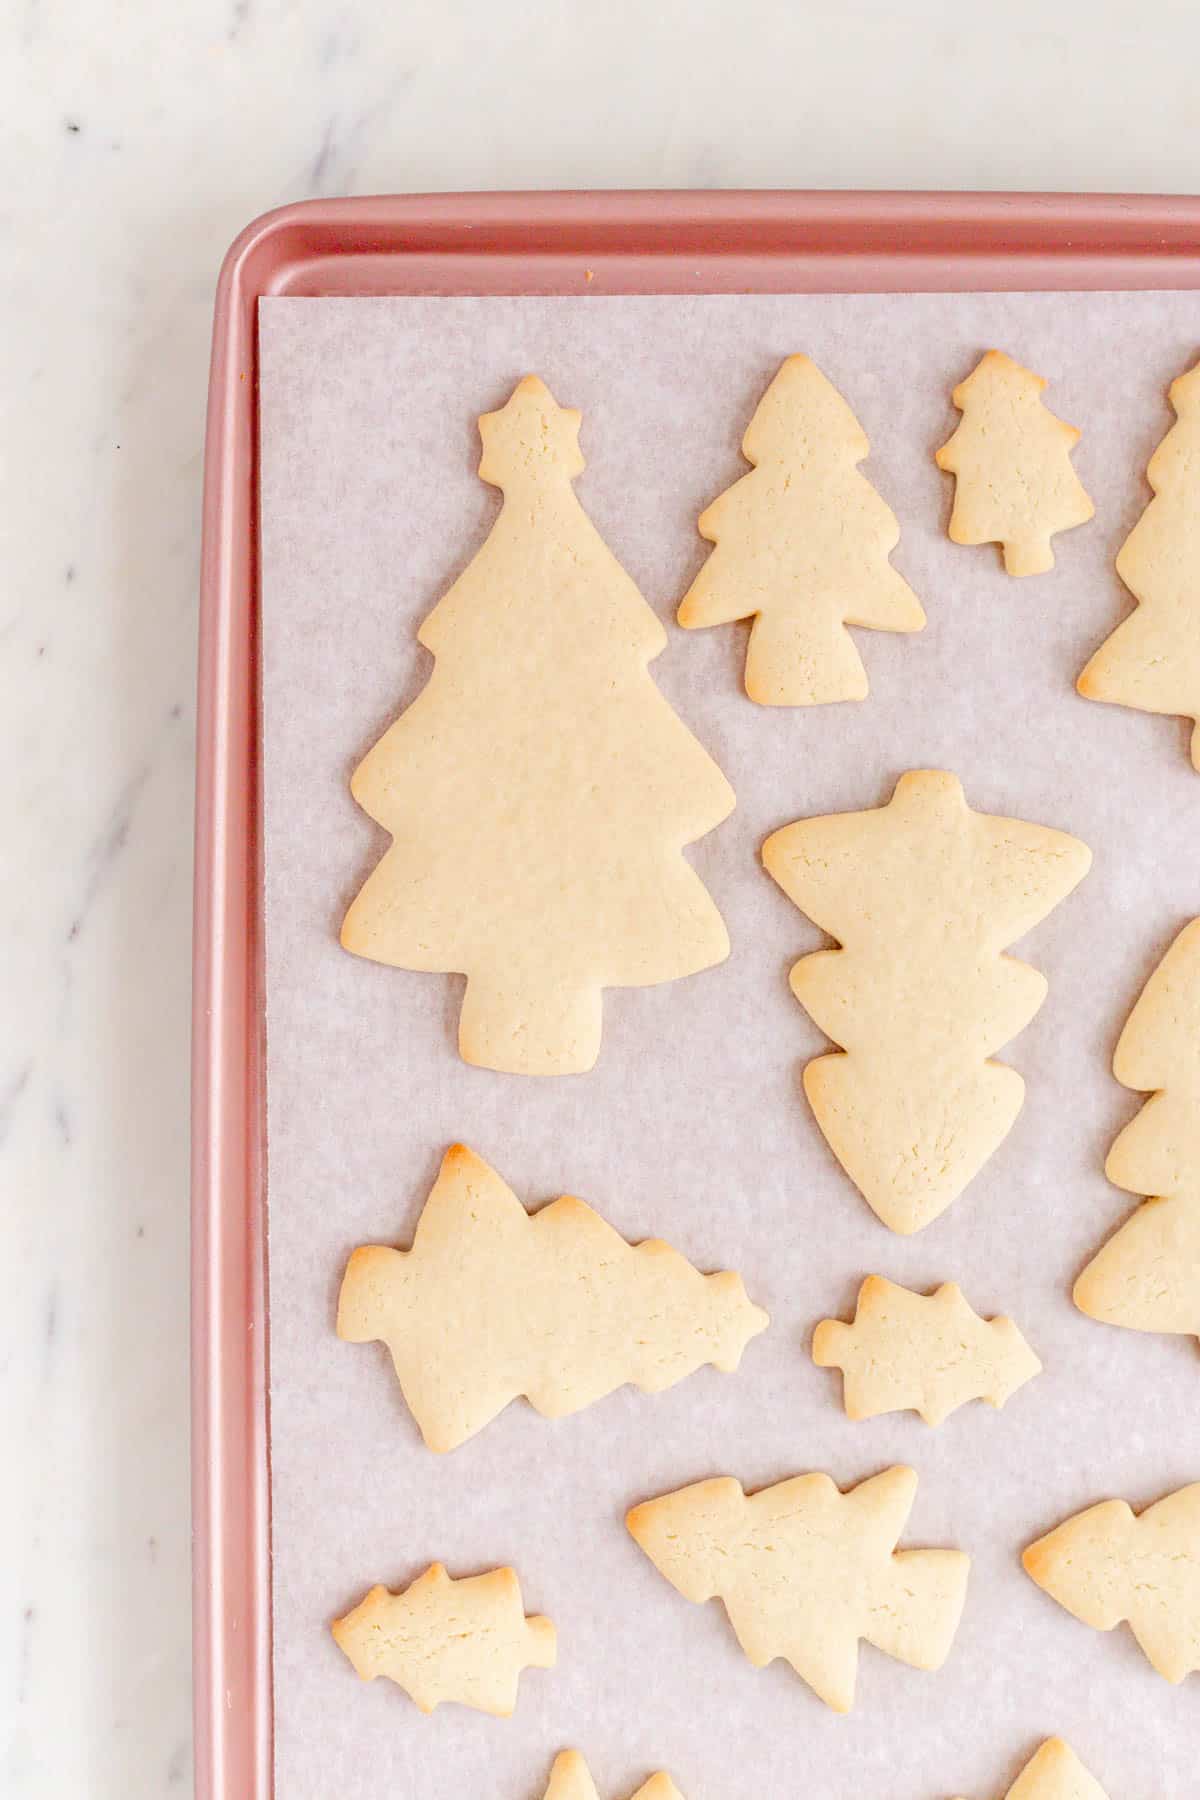
- Cut out your desired shapes.
- Place cookies on prepared baking sheets.
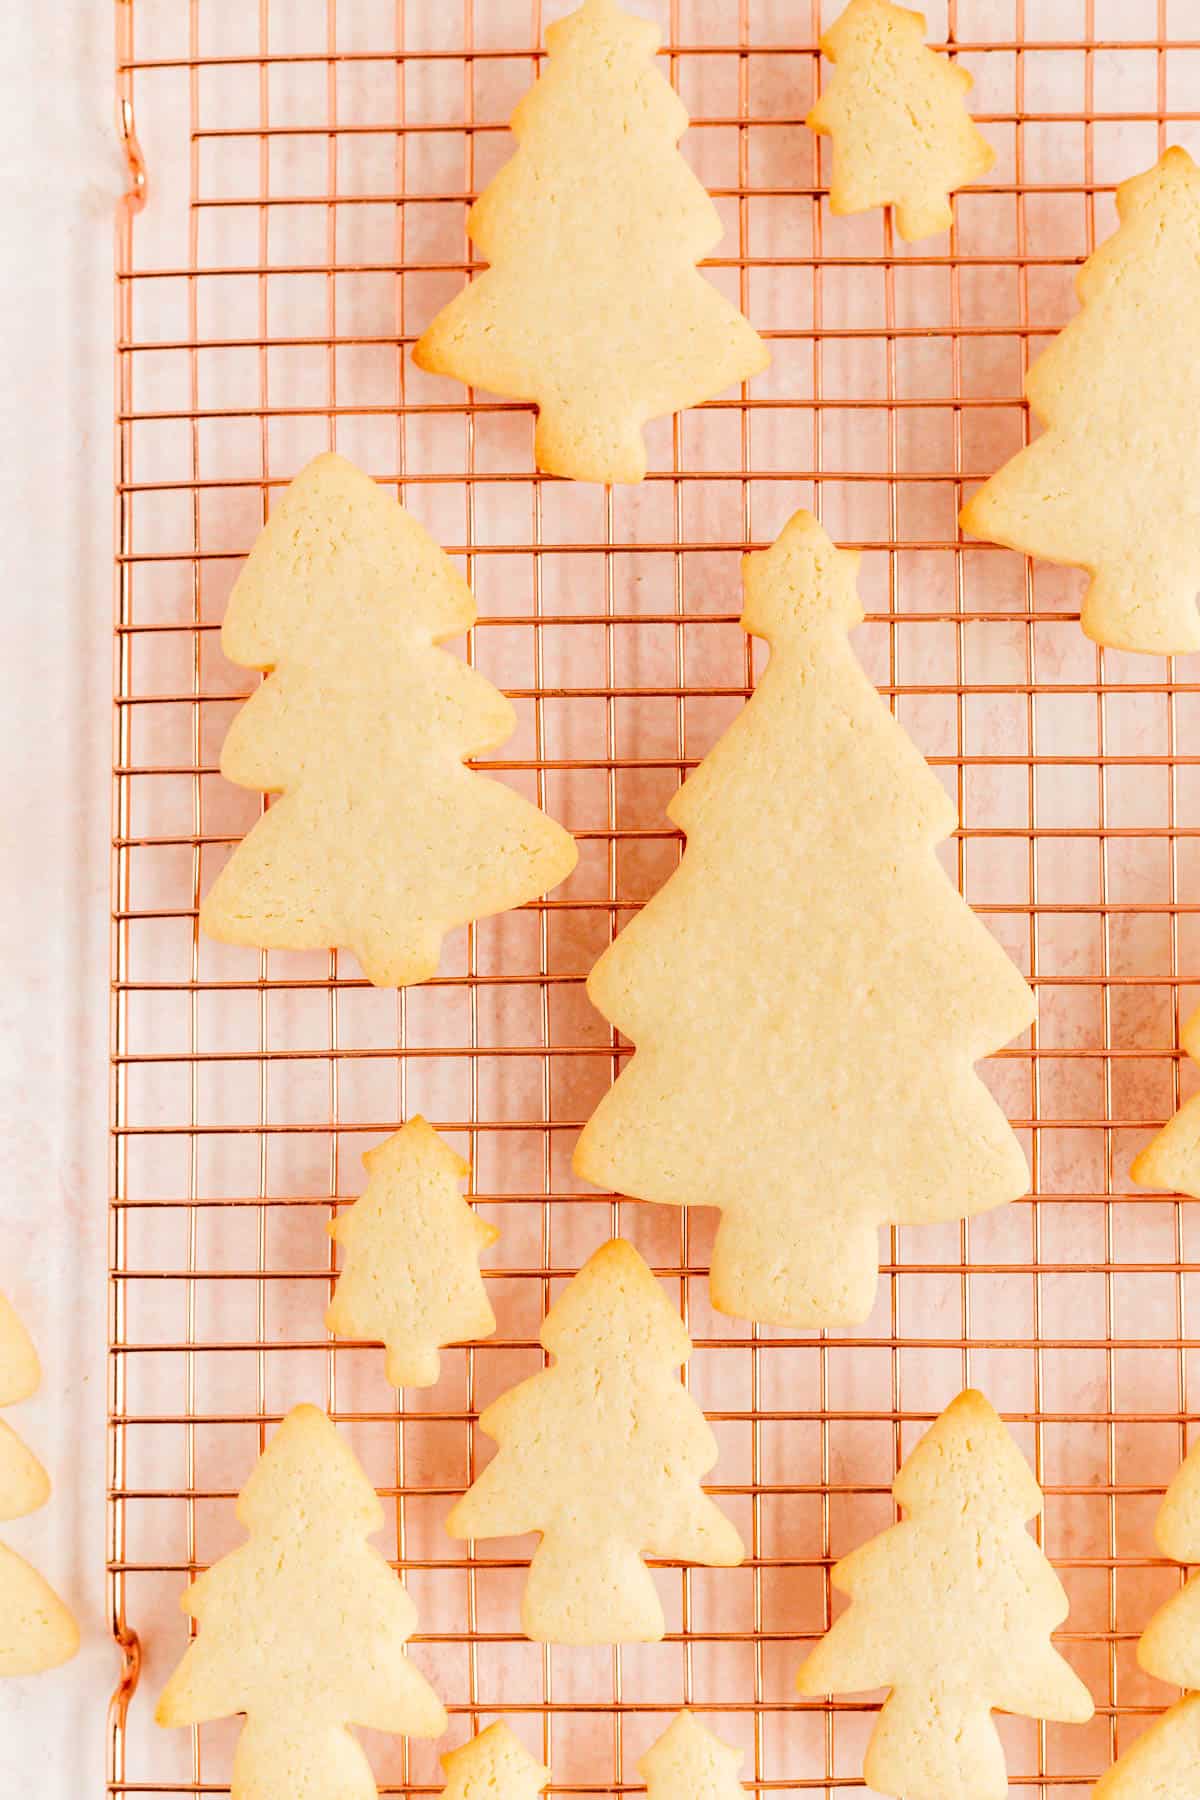
- Bake until just starting to color on the edge.
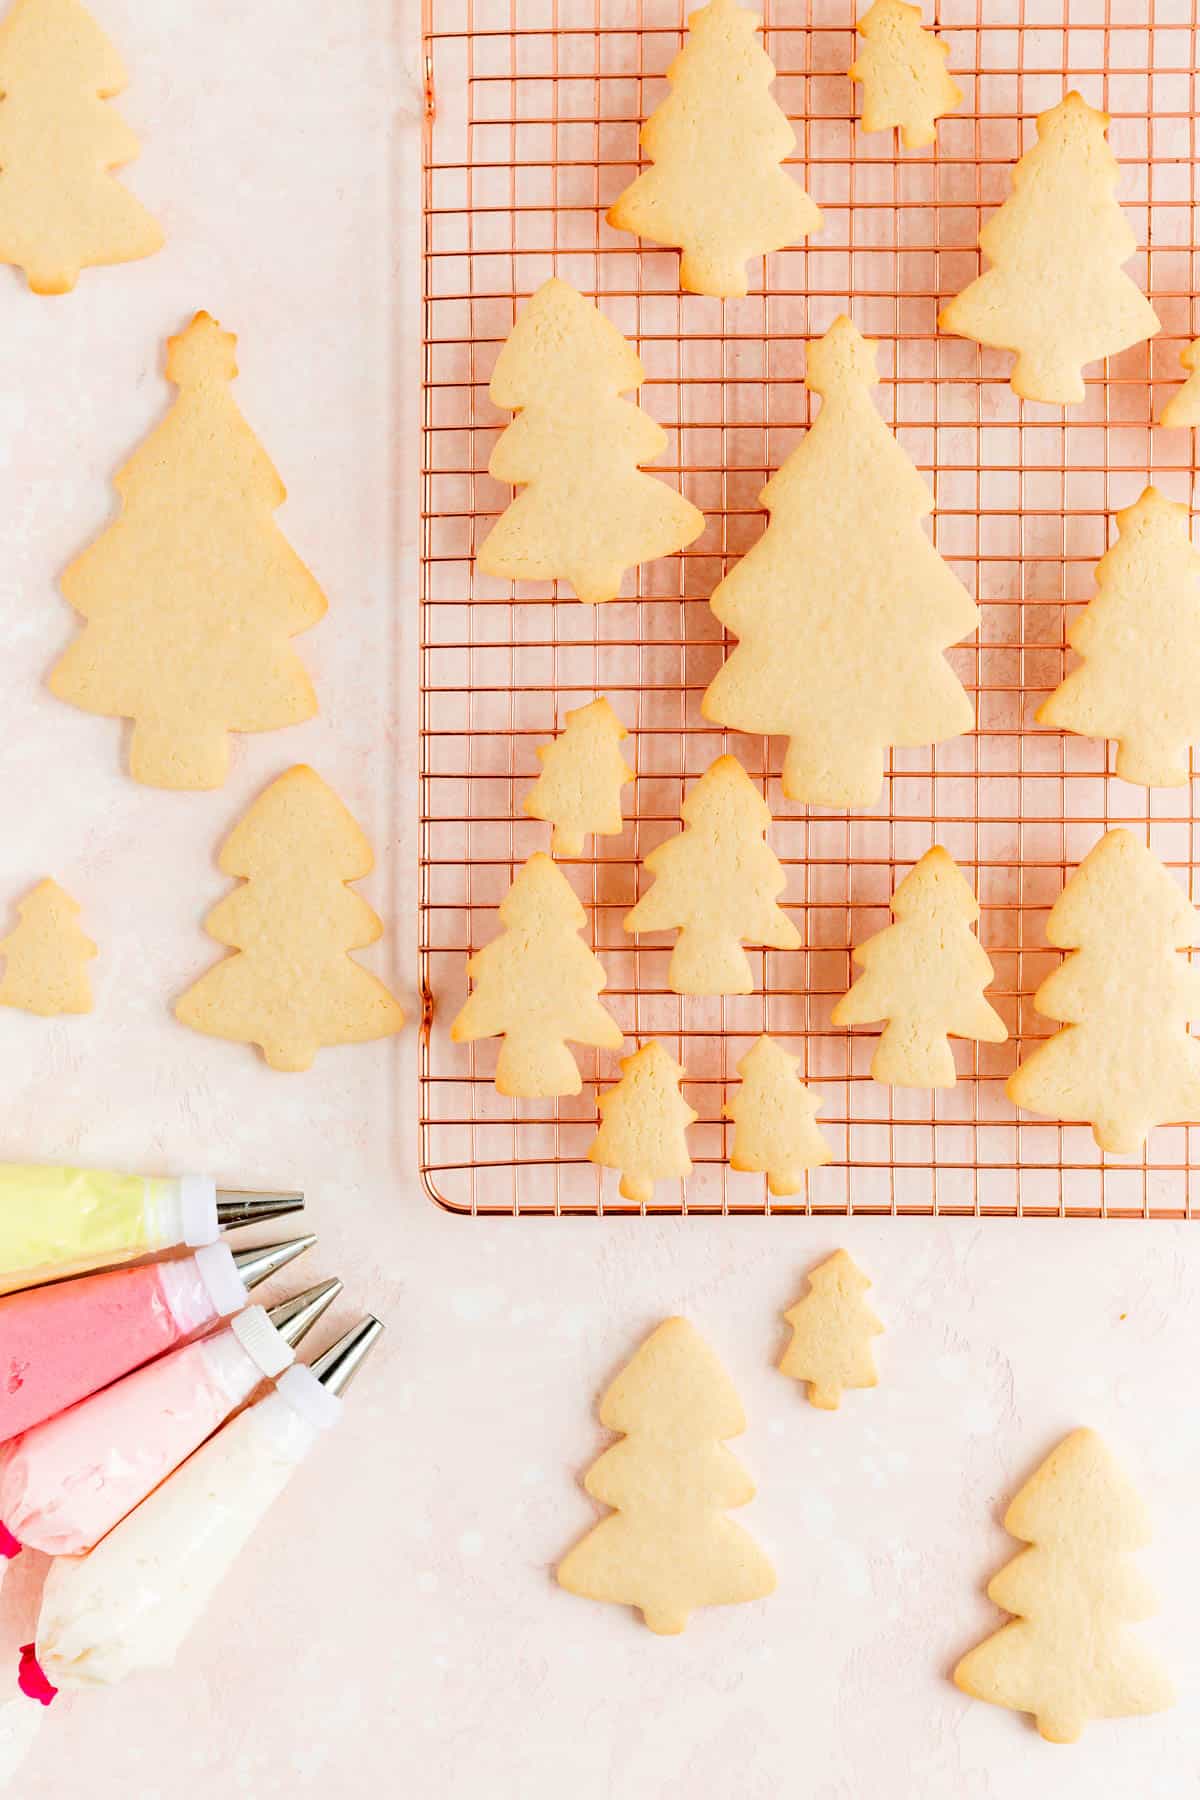
- Cool fully while you prepare the frosting.
TO MAKE THE FROSTING:
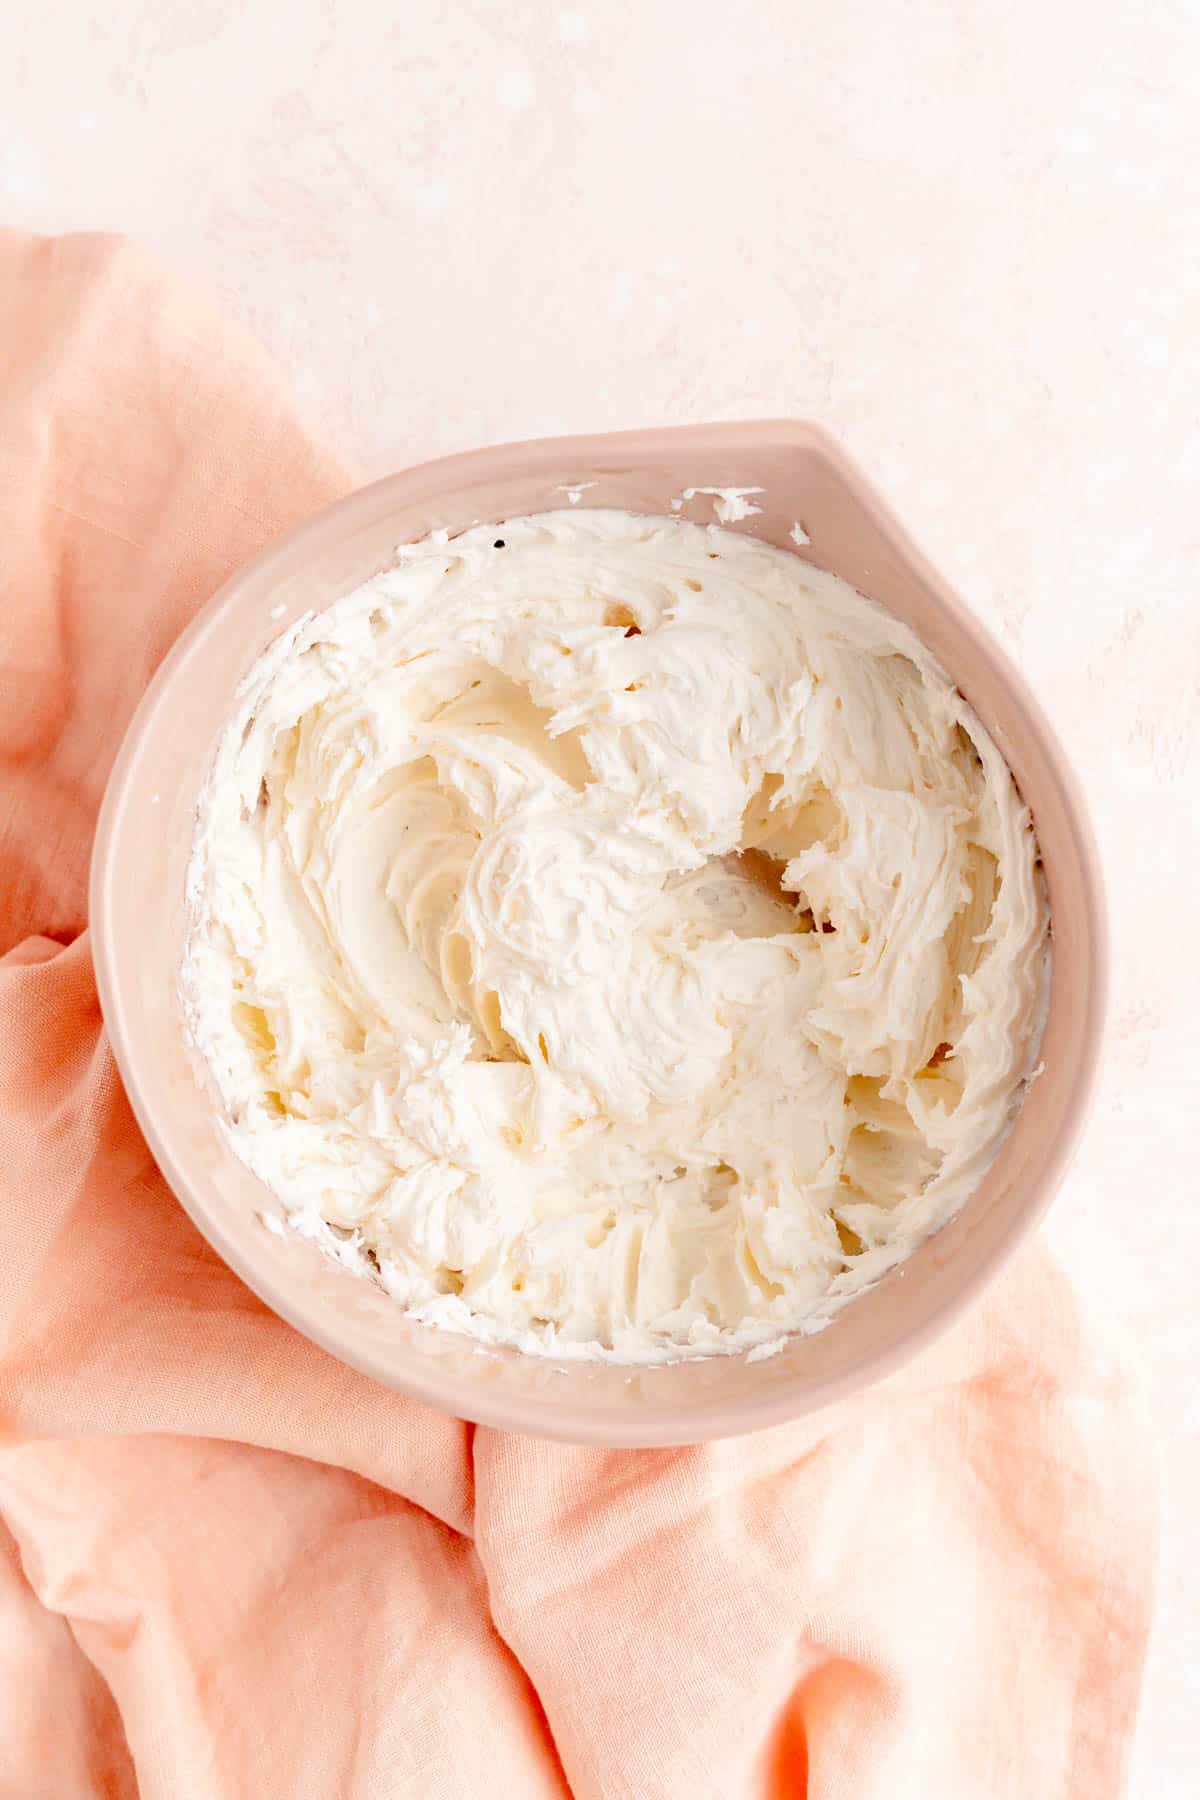
- Beat together all frosting ingredients until smooth and fluffy.
TO DECORATE:
- Divide and color the frosting into anywhere from 1 to 4 different colors. Transfer each to a pastry bag fitted with a round tip.
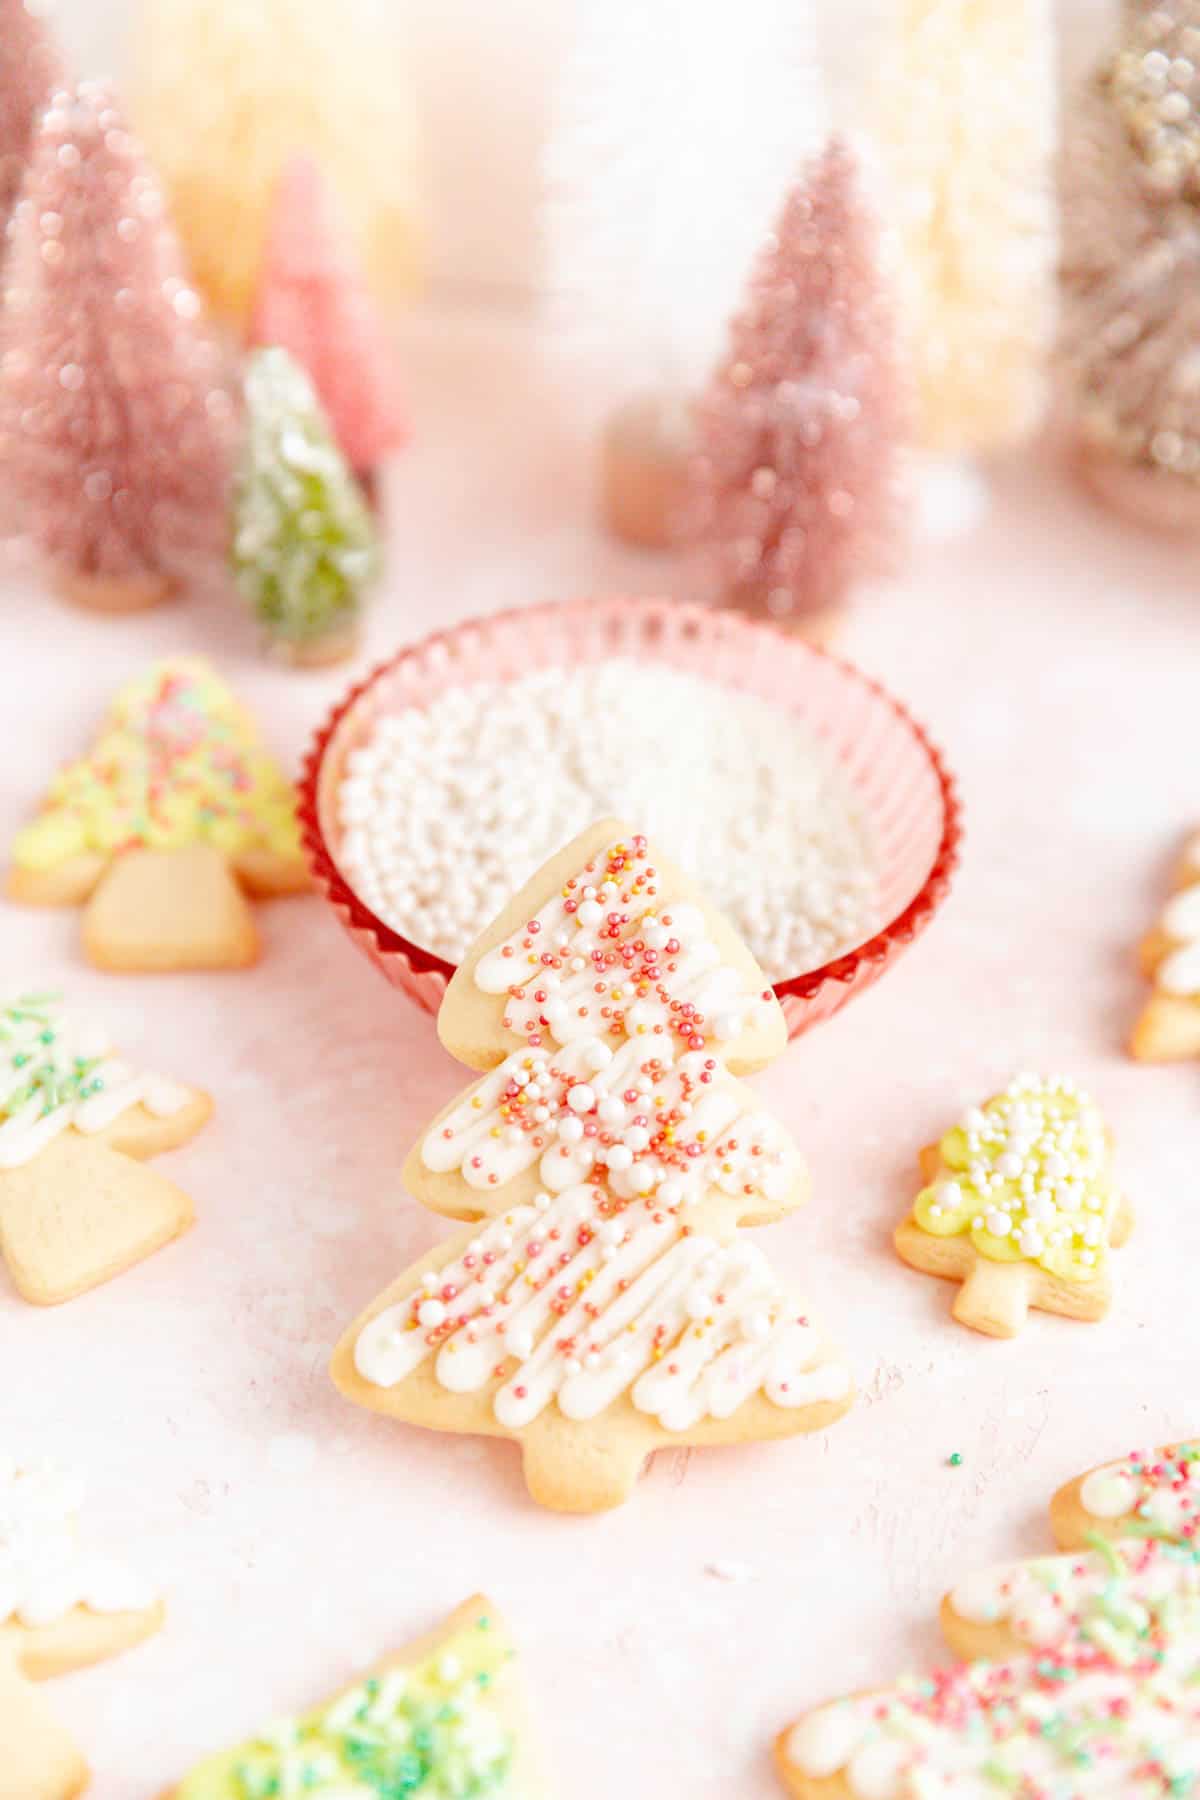
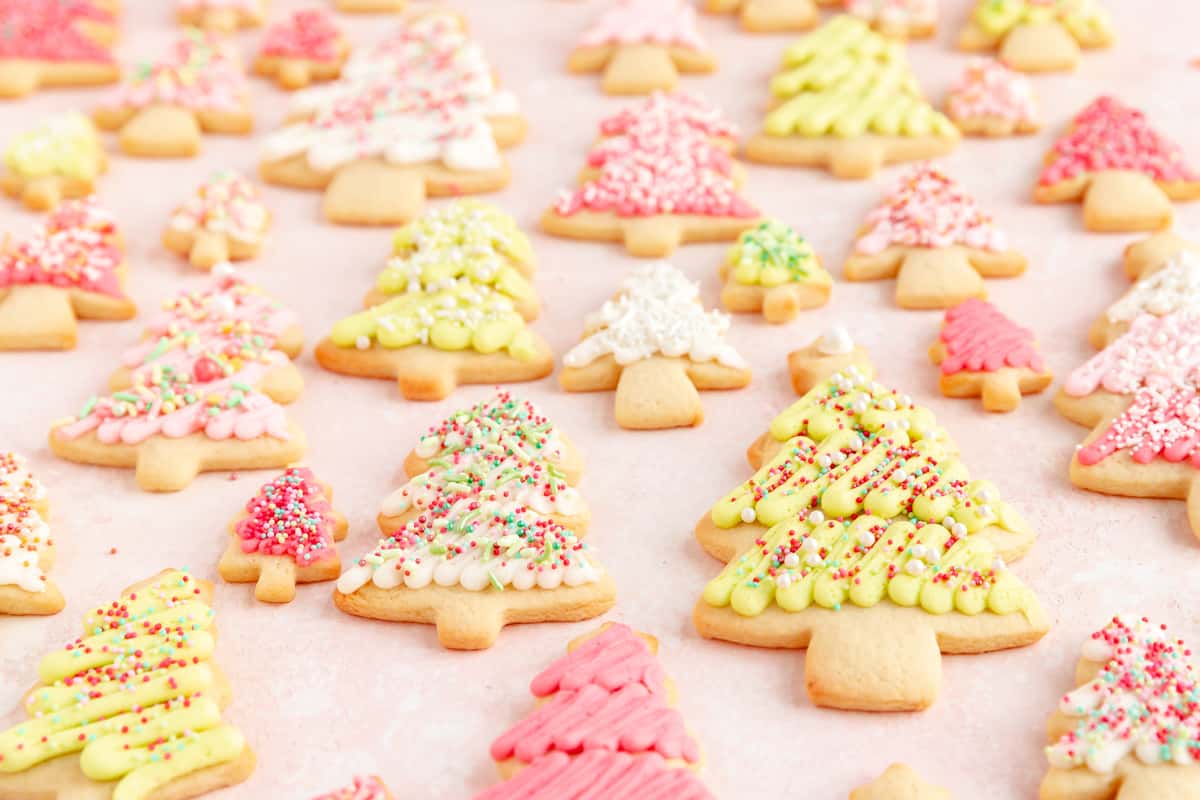
- Pipe frosting on the cookies in a zigzag pattern.
- Add sprinkles on top immediately so they stick.
- Store, allow cookies to soften, and enjoy!

Check out the full RECIPE WEB STORY for a click-through tutorial!
Fun Ways to Make This Recipe Your Own
- Other shapes: the easiest way to customize these cookies, of course, is to use different cookie cutters. Here I'm showing a Christmas cookie decoration, but this cookie dough is perfect for any occasion and any shape you want to use it for.
- Color the frosting: you can color this frosting up to 4 different colors if you like (beyond that, the portions for each color are a bit too small to easily work with in a piping bag). I like to pipe each cookie with a single color, so the sprinkles can really pop, but again feel free to frost your cookies in any and all colors that your heart desires.
- Festive sprinkles: festive sprinkles are a fun and easy way to dress up and customize your cookies with really minimal effort. Even if you left all the frosting white for these trees, you could still get all sorts of different looks by just using different styles and colors of sprinkles. My favorite place to get my sprinkles is Layer Cake Shop, and they have some great pre-mixed blends as well as individual colors if you'd like to make custom blends of your own.
*Expert Tips and Tricks* for Better Baking
What's the TOP TIP for making the best cut-out sugar cookies?
The most important thing about these cookies, in terms of keeping them as soft as possible, is making sure that they are just barely baked. The way to tell when they're done is to look for just a hint of color on their top edges. As soon as you see color, pull them out. At the time, the bottoms should have just a hint of a light brown on them as well.
Also, be sure to maximize the number of cookies you cut out of each roll. The more you re-roll your dough, the less smooth your tops will be, and the tougher your final cookies will be. To combat this, when you're bringing your scraps back together, you want to work with them as little as possible, but still make sure you have them back together in a single mass with a smooth surface on top to re-roll.
Can you make these cookies or the frosting ahead of time?
Because this dough is designed to be no chill, I wouldn't recommend making the dough ahead of time.
That said, you can make the frosting ahead of time and keep that in the fridge for up to 3 days before you need it.
How long do sugar cookies last? How do you store leftover cookies?
These sugar cookies last at least one week, and sometimes two depending on how dry your environment is.
One thing that's so wonderful about these cookies is that they actually get a little bit better 24-hours after decorating. This is because that harder cookie we needed for handling while piping, will soften up as it sucks some of the moisture out of the frosting. For that process to work though, you want to make sure you're storing these cookies airtight and wrapped up really well. I find that eating them about a day or so after they're frosted is the best time to enjoy them, which is perfect for prepping them a day ahead of your holiday celebration!
What is the difference between cut-out sugar cookies and drop sugar cookies?
The biggest difference between these two cookies is the ingredient ratios.
So you're gonna have a lot more softening ingredients (aka butter, sugar, and eggs) in the drop cookies. This yields a softer final dough, with a lot more spread during the bake.
For cut-out cookies, you're going to need a sturdier dough. It'll likely be higher proportionally in flour, and a bit lower in butter, sugar, and/or eggs, to create a rollable dough, that has a reduced spread when baked as well.
Other Recipes You'll Love
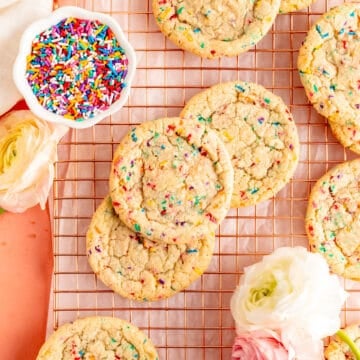
If you're a sugar cookie lover, definitely don't miss out on my Birthday Cake Sugar Cookies, and Soft and Chewy Sugar Cookies (without baking powder!).
And if you're looking for another roll and cut cookie recipe, you can check out my Jammy Dodgers for a butter cookie that holds its shape really well is delicious when filled with jam.
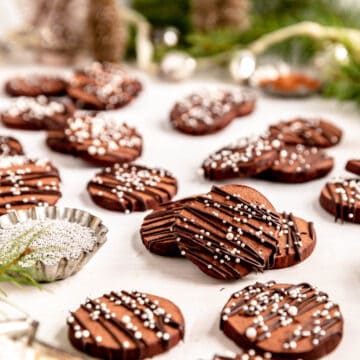
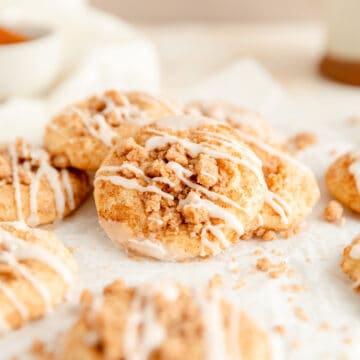
Last but not least, for other holiday cookies, you can check out my Chocolate Butter Cookies, Seven Layer Bars, and Gingersnap Sandwich Cookies with Orange Filling...yum, yum, and yum!

⭐ If you gave this recipe a try please give it a ⭐ rating and tag me on Instagram @mint.and.mallow.kitchen so I can see what you're baking up! ⭐
📖 Full Recipe

Soft Cut Out Sugar Cookies (no chill!) with Holiday Decorations
Ingredients
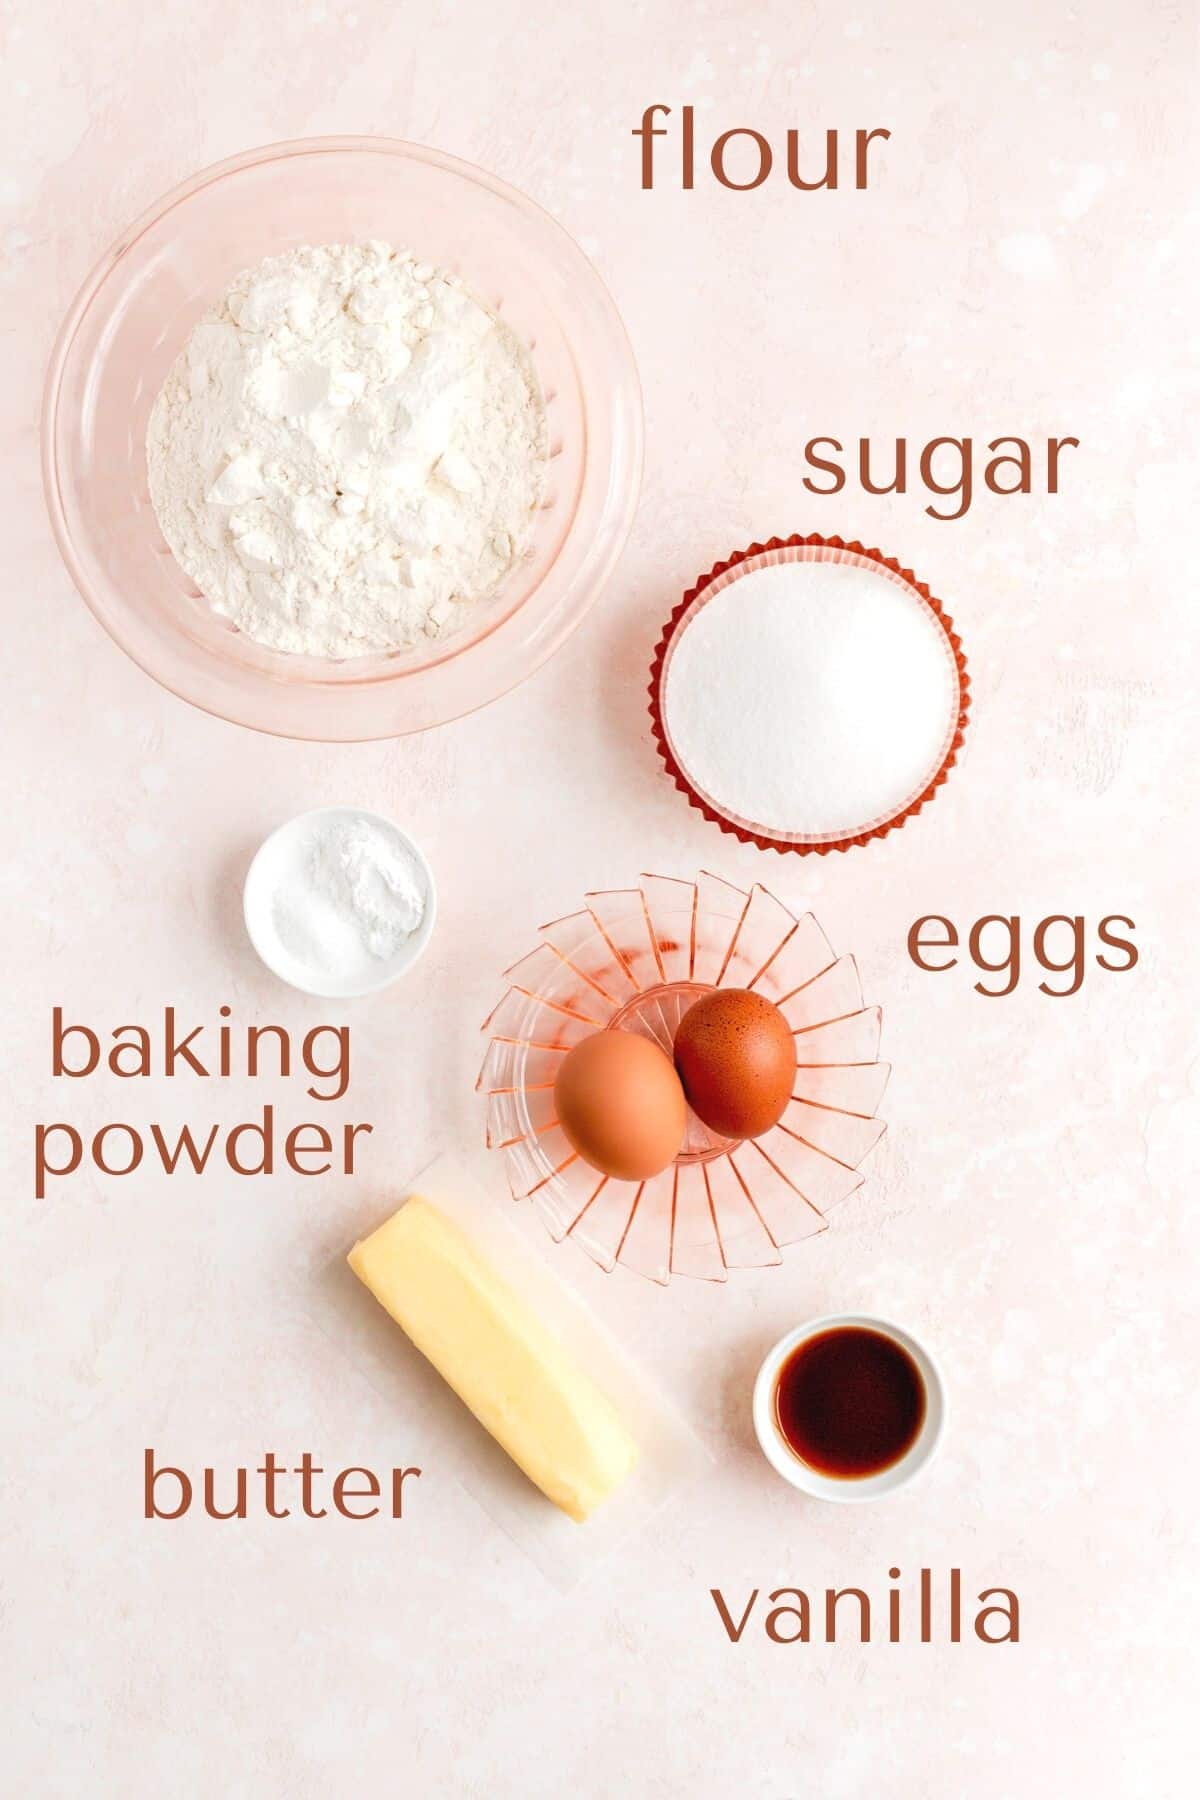
FOR THE COOKIES:
- ½ cup (1 stick) unsalted butter
- 1 cup sugar
- 2 teaspoons vanilla extract
- 2 large eggs
- 2 ¾ cups all-purpose flour
- 2 teaspoons baking powder
- ¼ teaspoon salt
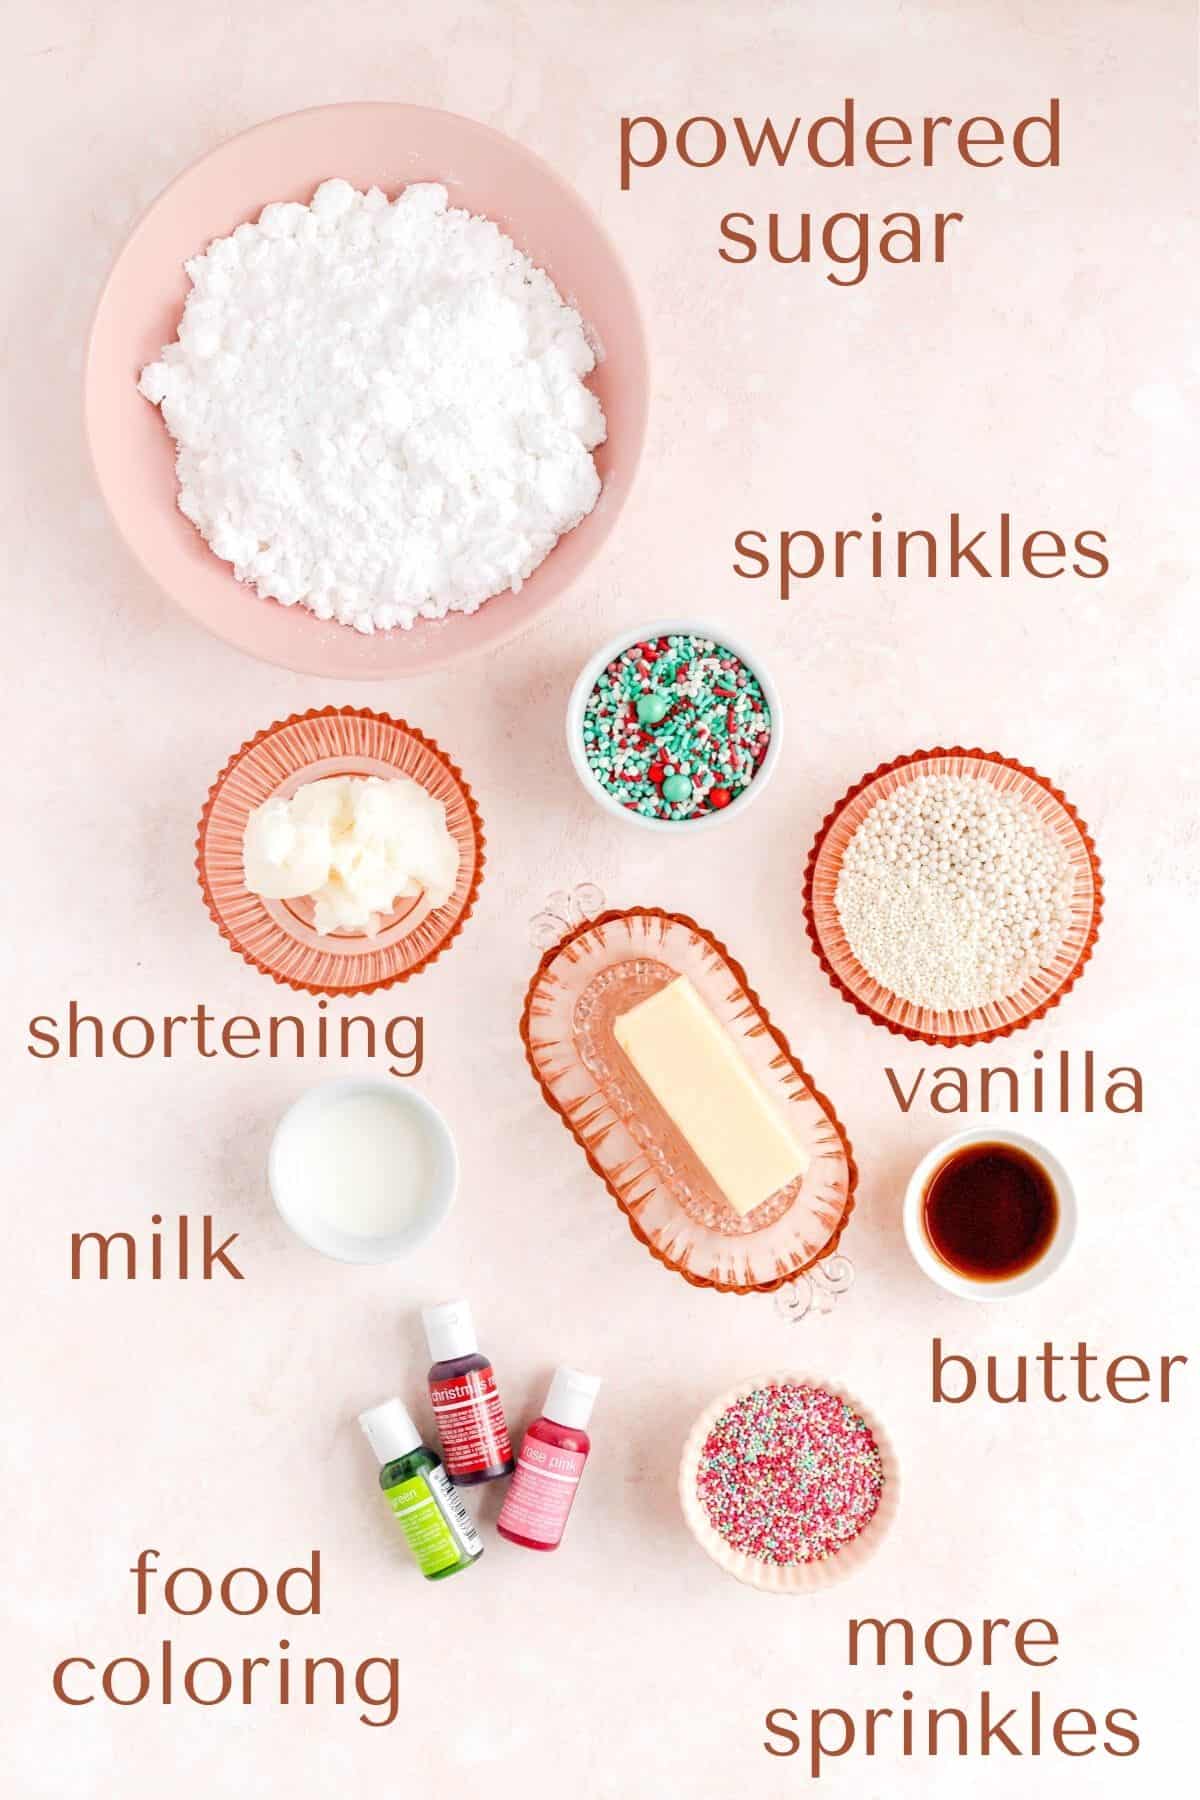
FOR THE FROSTING:
- ⅓ cup (5 ⅓ tablespoons) unsalted butter (softened)
- ⅓ cup shortening*
- 3 cups powdered sugar (sifted)
- 2 tablespoons milk
- 1 teaspoon vanilla extract
- Food coloring (optional, for decoration)
- Sprinkles (optional, for decoration)
Instructions
TO MAKE THE COOKIES:
- Prep and line: preheat your oven to 375°F and line two baking sheets with parchment paper.
- Cream butter, sugar, and vanilla: cream together the butter, sugar, and vanilla extract for 1 minute on medium speed until smooth.
- Beat in the eggs one at a time: add in one egg and beat for 30 seconds on medium until the batter is smooth again. Repeat with the second egg.
- Mix in dries: add in flour, baking powder, and salt, and mix on low speed just until fully combined. A smooth, stiff dough should form, and be sure to scrape the bowl really well about halfway through mixing (if using a hand mixer, you may need to bring the dough together by hand at the very end).
- Roll out the dough: lightly flour your work surface. Working with a ½ batch of dough at a time, roll out dough to about a ¼" thick, re-flouring your surface and rotating your dough as needed to prevent it from sticking to the counter.
- Cut to desired shapes: use your favorite cookie cutters to cut cookies into your desired shapes (I love using a mix of Christmas tree cutters for the holidays!). Place cut-out cookies on prepared baking sheets with 2" between each cookie.
- Bake until just starting to color: bake cookies for 9-12 minutes** for medium-sized cookies, until you just start to see a little color on the edges and the bottoms are a light golden brown. The cookies should be dry on the surface but still fairly soft when fully baked.***
- Cool while you prepare the frosting: allow cookies to cool on their pan for 10 minutes, then transfer to a cooling rack to allow them to cool fully while you prepare the frosting.
TO MAKE THE FROSTING:
- Beat together all ingredients: place all frosting ingredients in a medium-sized bowl. Beat on low speed using a hand or stand mixer, just until the ingredients are roughly combined, and then 1 minute on medium speed until smooth and fluffy.
TO DECORATE:
- Portion and color frosting: divide and color the frosting into anywhere from 1 to 4 different colors. Fit each pastry bag with a small to medium round tip, then fill each with their own color.
- Pipe on the frosting: pipe frosting into a zigzag pattern from the top of the tree to the bottom. You can either do one big zigzag left to right down the whole tree, or you can split it into tiers, and do up and down zigzags in rows. Alternatively, you can use an offset spatula or dinner knife to simply spread the frosting on your cookies by hand.
- Add sprinkles immediately: right after piping, immediately sprinkle your sprinkles on top as the frosting will dry pretty quickly.
- Store, allow cookies to soften, and enjoy: continue until all cookies are decorated and transfer finished cookies to a baking sheet. Wrap the pan in plastic wrap stretched snuggly over the top of the sheet so it isn't touching the cookies (we want them to be airtight). If possible, store cookies for at least 24 hours before enjoying to allow the frosting to re-soften the cookies. Then pass around these festive sprinkled treats, and enjoy!
Test Kitchen Tips
- *Shortening...can't I just use all butter? Well...yes, technically. If you really aren't a fan of shortening, you can use all butter in the frosting. However, you'll have a softer frosting that may not hold its shape as well when piped and it also may not set up quite as firmly as butter is softer than shortening at room temperature.
- **Bake time variance: your bake time will vary based on your cookie size. While mini cookies (1"-2") only need 8-9 minutes, medium-sized cookies (2"-4") will take 10-12 usually, and large cookies (4" or more) may need an additional minute or two beyond that. Just go by the coloration to tell when each different size of cookie is done. If you have multiple sizes on one tray, you can always pull the little guys off the baking sheet onto a cooling rack individually and then put the bigger cookies back in the oven to finish off.
- ***Just barely baked: these cookies will only be soft if you make sure not to overbake them (which is easy to do with this recipe). As soon as you see any color on the top of the cookies (for these guys it was the tips of the tree points that you can see got a little golden brown), and the slightest bit of browning on the bottom, pull these cookies out as that's enough bake time for them.
Jackie Niblock says
Loved the recipe! Easy to follow and they turned out perfect! Frosting was also easy to work with and who doesn’t love buttercream frosting? The grands enjoyed helping cut out and decorate . Thank you !!
Jocelyn at M+M says
Awwww yay! I'm so happy to hear these were enjoyed by all, Jackie, and especially the grand-kiddos! Here's to many more season of buildling beautifully *sweet* holiday memories! <3
Jillian Stone says
I altered the recipe just a little bit to work with what I had at home, but these were perfect! The dough is perfect to roll out and so easy to work with, way better then a store bought mix. I loved this website too!
Jocelyn at M+M says
That makes me so happy to hear, Jillian! I'm thrilled you loved this recipe and found it easy to work with as that is always my goal. I so appreciate you taking the time to write a review as well. Happy holidays and happy baking!
Ashley says
Hi Jocelyn, I’m baking these cookies today and I think they are going to turn out so yummy! Are these cookies able to be decorated with royal icing? Thank you!
Jocelyn at M+M says
Hi Ashley! So sorry for the delay in getting back to you, and I hope your cookies turned out wonderfully! In response to your question, absolutely. These cookies are a great decorating base for whatever frosting you prefer. If there's anything else I can help with, please let me know and happy baking!
Katy McAvoy says
This recipe is perfection! Delicious, no chill (which my 6yo appreciates!), and rolls out beautifully. We used this recipe for our annual Christmas Eve sugar cookies. This is my new go-to cut out sugar cookie recipe.
Jocelyn at M+M says
I am so honored to have made it into the official Christmas cookie bake, Katy! I could not be happier to hear you and your kiddo enjoyed making this recipe together as that is exactly what it was designed for. <3 I hope you and your family had a wonderful Christmas and have a very happy new year!