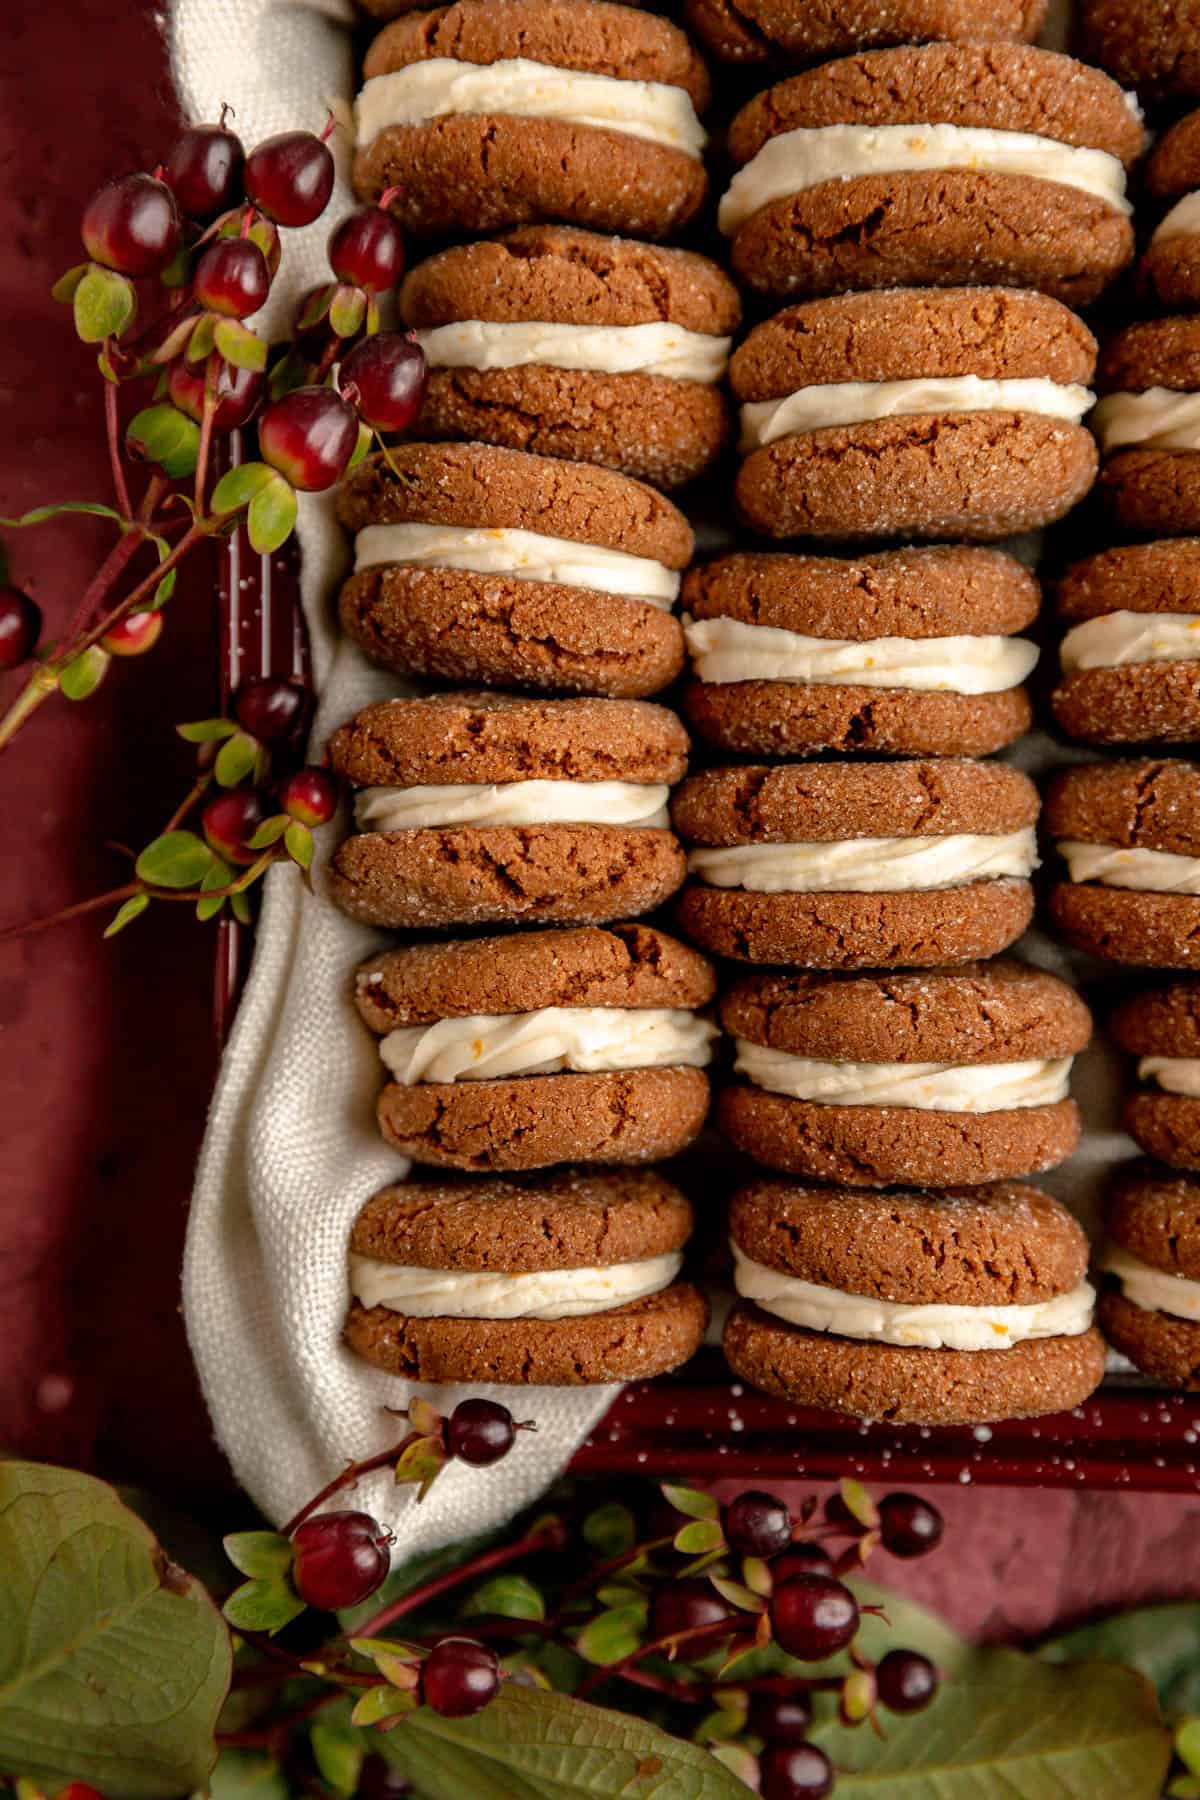
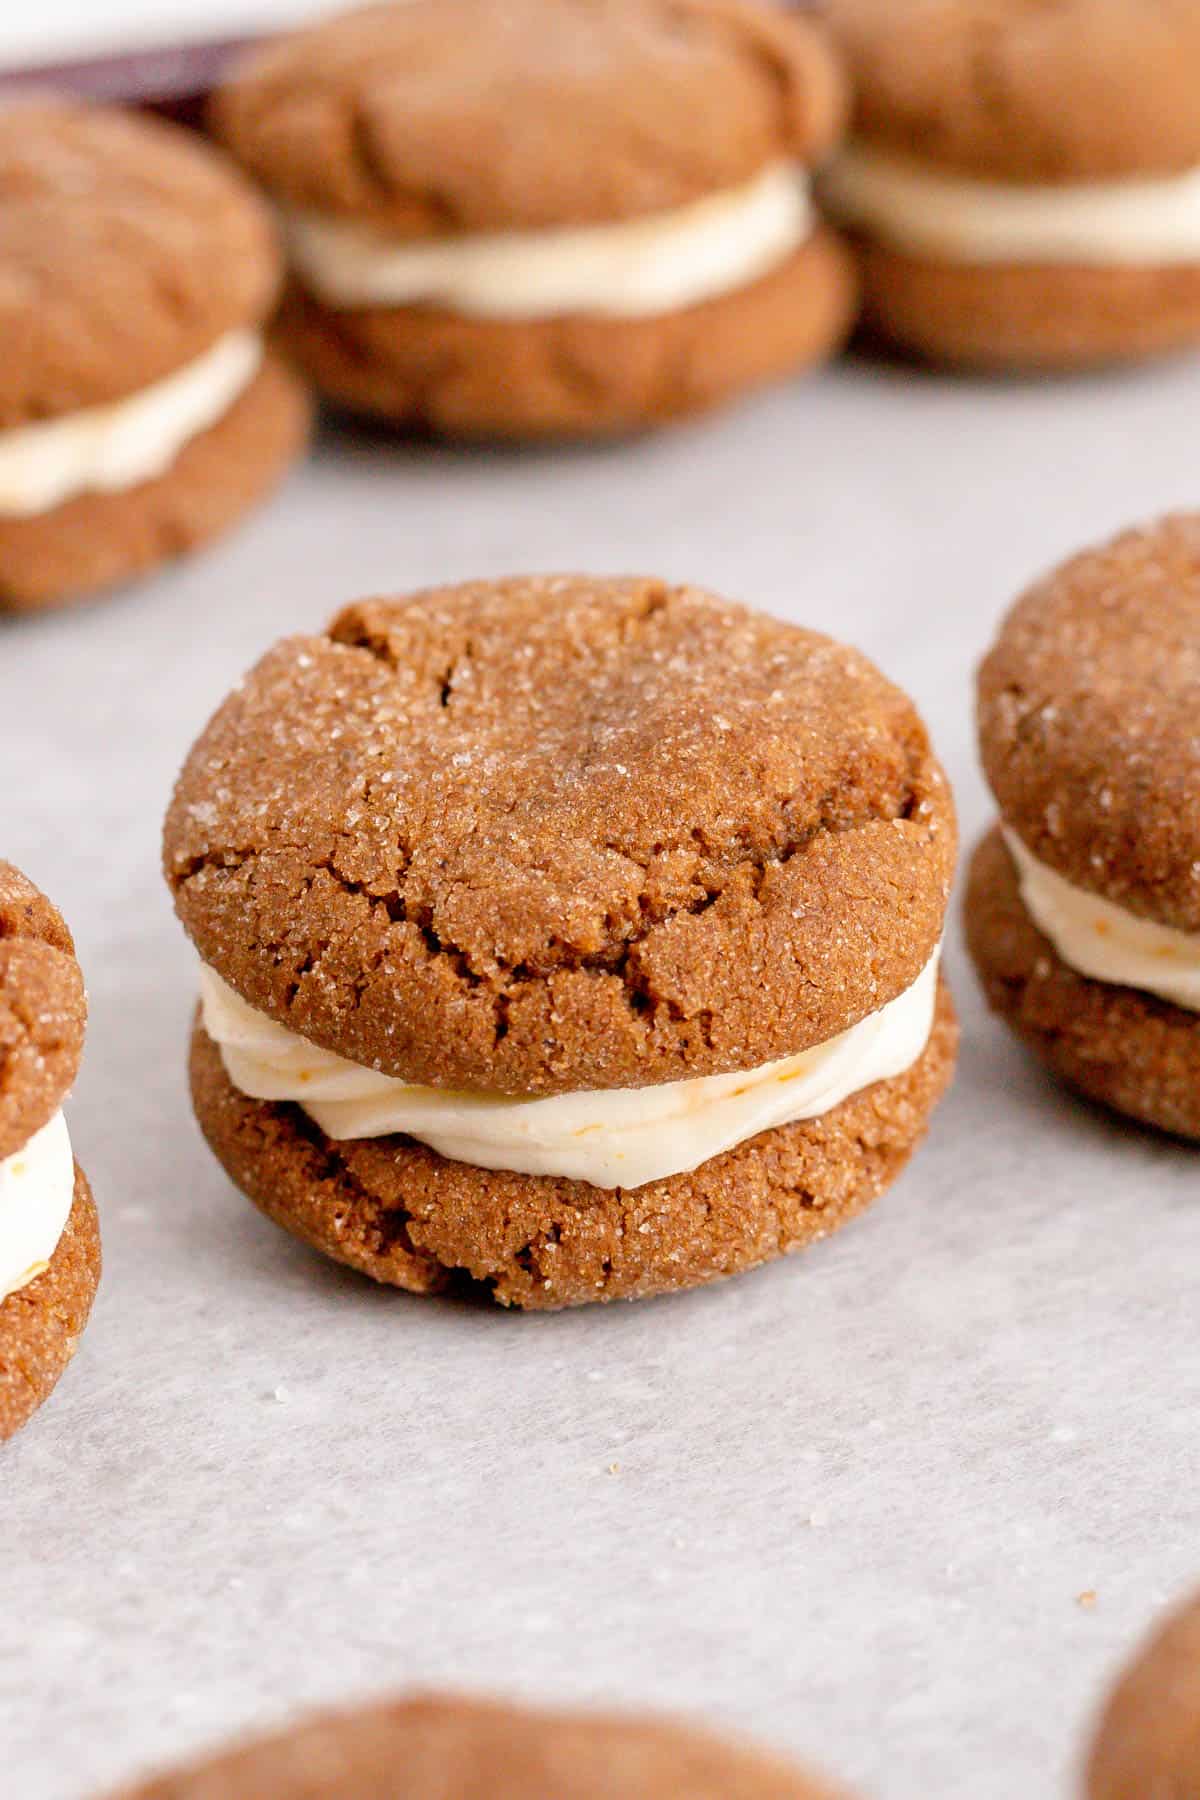
These chewy ginger sandwich cookies with orange cream filling are made with just the right amount of molasses and brown sugar to round out that classic gingerbread flavor you love. Then, they're filled with a bright and zesty orange frosting for a refreshingly modern twist.
Jump to (scroll for more!):
- Sugar, Spice and Everything Nice
- Why This Recipe Leads to Sweet Success
- Ingredient Tips to Bake it Better
- Special Tools and Equipment You'll Need
- How to Make These Sandwich Cookies from Scratch
- Fun Ways to Make This Recipe Your Own
- *Expert Tips and Tricks* for Better Baking
- Other Recipes You'll Love
- 📖 Full Recipe
- Comments
Sugar, Spice and Everything Nice
If I'm being honest, when it comes to my Christmas cookie preferences, plain gingerbread isn't the first cookie I'm going to reach for. However, a ginger cream mini sandwich cookie filled with luscious orange frosting is on the top of my Christmas cookie list every year!
My family has a very long-standing tradition of making anywhere from 30-40 types of Christmas cookies a year, traying them up with festive wrapping, and delivering them to family and friends living near and far. This spiced sandwich cookie has been on that tray every single year, and I'm always surprised by how often I pick it above all the other options.
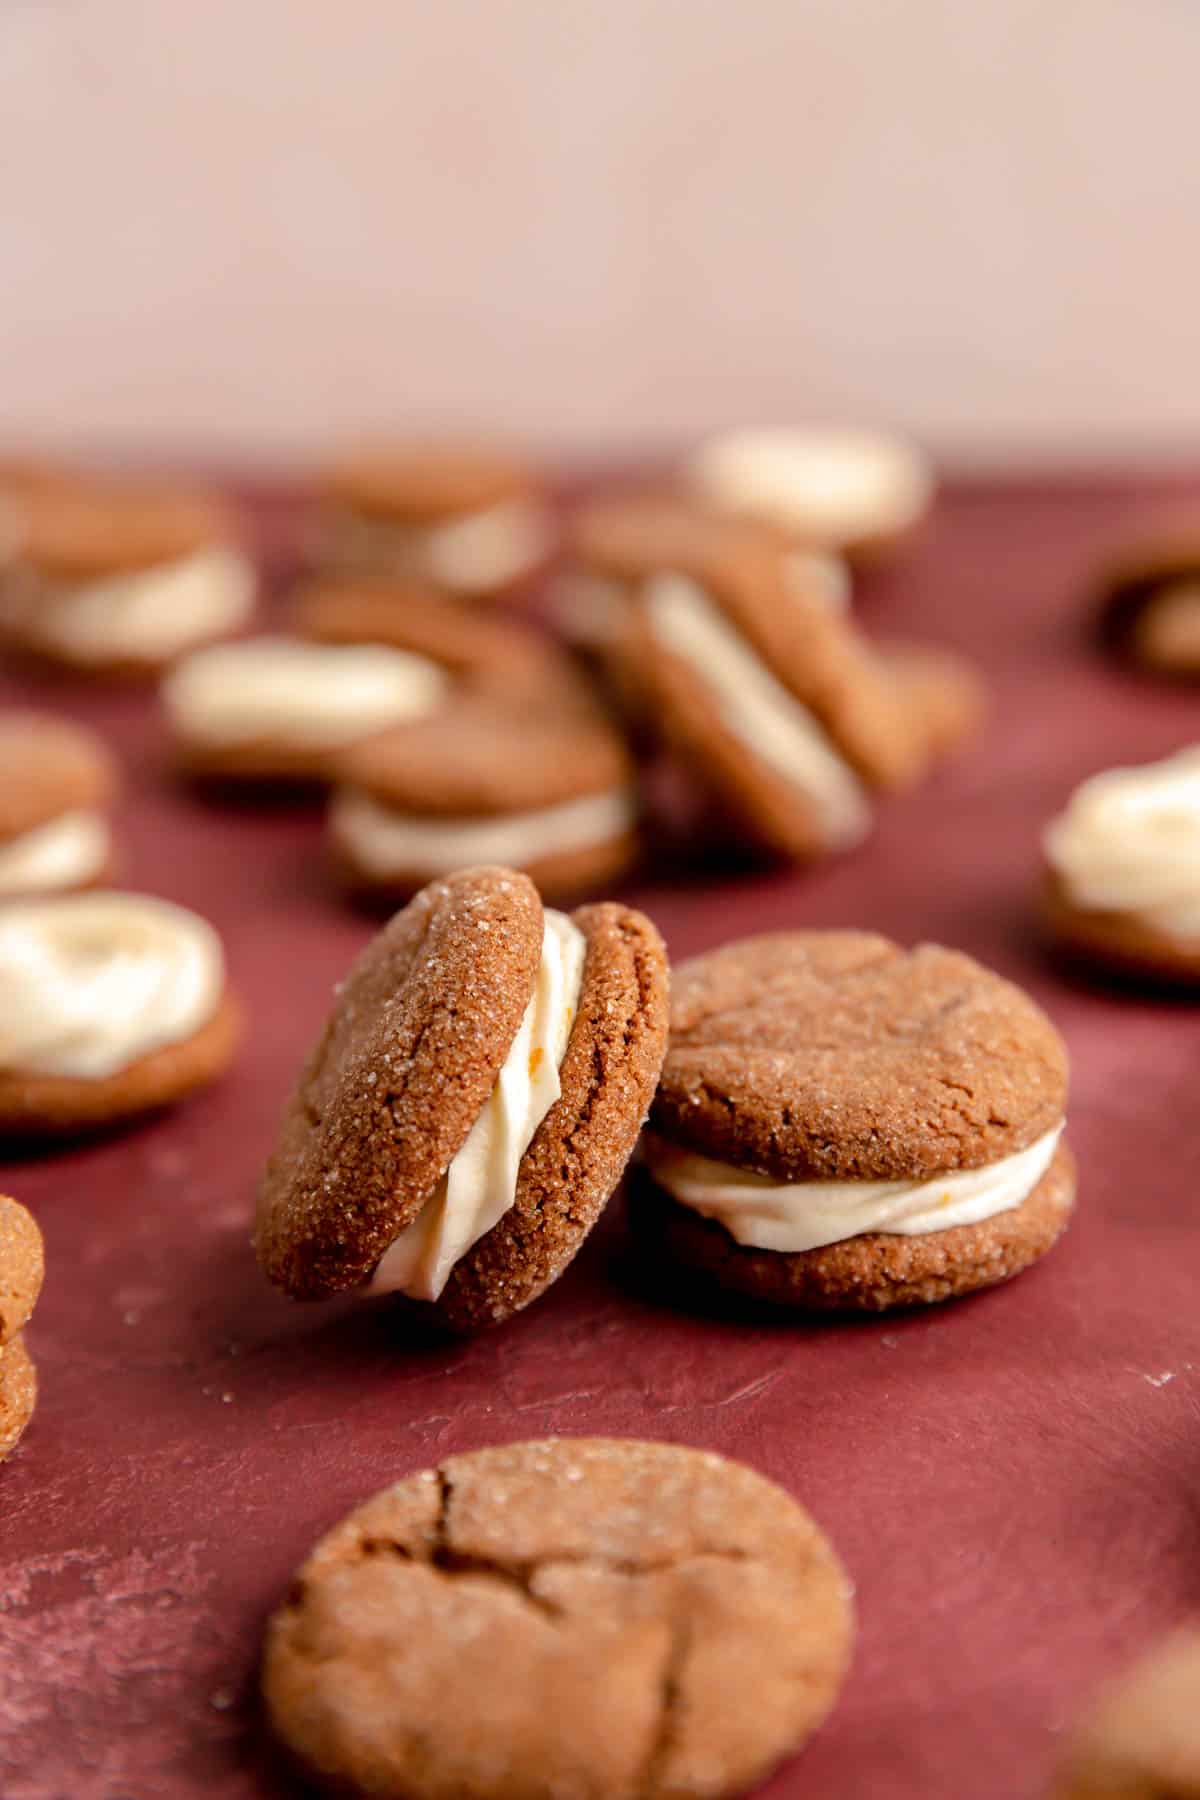
Any ginger cookie with icing just tastes more complete to me. The cookies themselves start out fairly firm - somewhere between a soft molasses cookie and a ginger snap with those brown sugar and molasses notes of caramel mixed in with the spices. But then, when you assemble these ginger cookies with that light and fluffy cream filling, they'll start to suck up some moisture from the frosting.
This will leave you with a delightfully spiced ginger cookie, softened just the right amount to blend with the texture of the cream filling. And that little bit of orange zest balances out the sweetness in the filling beautifully, so you get all the sugar and spice in a perfectly delectable bite.
Why This Recipe Leads to Sweet Success
- Sugar + spice + a little zest = perfection! These cream-filled cookie sandwiches are truly the best of both worlds. A slightly crisp yet still chewy-in-the-center cookie that softens as it melds together with the rich and creamy filling. Adding a little acidity from the orange zest takes this cookie to the next level and rounds out the sweetness of the filling.
- From gingersnap to chewy gingerbread: as I mentioned above, these cookies go on a bit of a journey and are actually best enjoyed over 24 hours after they're assembled. This helps take our firm-ish cookies, with that beautiful, crackly top, to a much softer and chewier texture. This transition will continue to happen over the first few days these cookies sit assembled as they'll continue to transfer moisture from filling to cookie. It also means they're really delicious for at least a week after they're made if properly stored (not that they ever last nearly that long in our house...hehe).
- Rolling into cookie perfection: the original version of this recipe we used for years was always a beast to work with. Super sticky, and a mess to get shaped and coated. I, of course, couldn't do that to you guys! So I've tweaked the recipe to create a dough that still yields a beautifully chewy cookie, but doesn't make your hands all gooey in the process.
Ingredient Tips to Bake it Better
(Pssst…if you're ready to just get baking, get all the details in the recipe card below!)

- Baking Soda: we're using baking soda instead of powder here. Baking soda will help us get a chewier instead of cakier cookie, while still producing that beautiful crackle on top.
- All the spices: this recipe has a lot of spices in it as, of course, that's a crucial part of any gingerbread recipe. The beautiful thing about this recipe is that we can use a lot of spices for their flavor, but still not be overwhelmed with spiciness because that sweet, citrus filling balances the spices' heat out in the final cookie sandwiches.
- Cardamom: full disclosure here - I. love. cardamom. (Especially the one from The Spice House). While it is optional (since I know it's not in a lot of people's pantries), I highly recommend giving it a try as I think it's one of the most underutilized ingredients in our spice drawer. You won't be able to taste it directly, but it'll further enhance the orange flavor in the filling with its natural citrus notes, giving these cookies that little something extra that keeps you coming back for more.
- Brown Sugar: the brown sugar here is really contributing to that chewiness and of course the molasses-y flavor of our cookies as well. If you'd like a slightly stronger molasses flavor, feel free to use dark brown sugar.
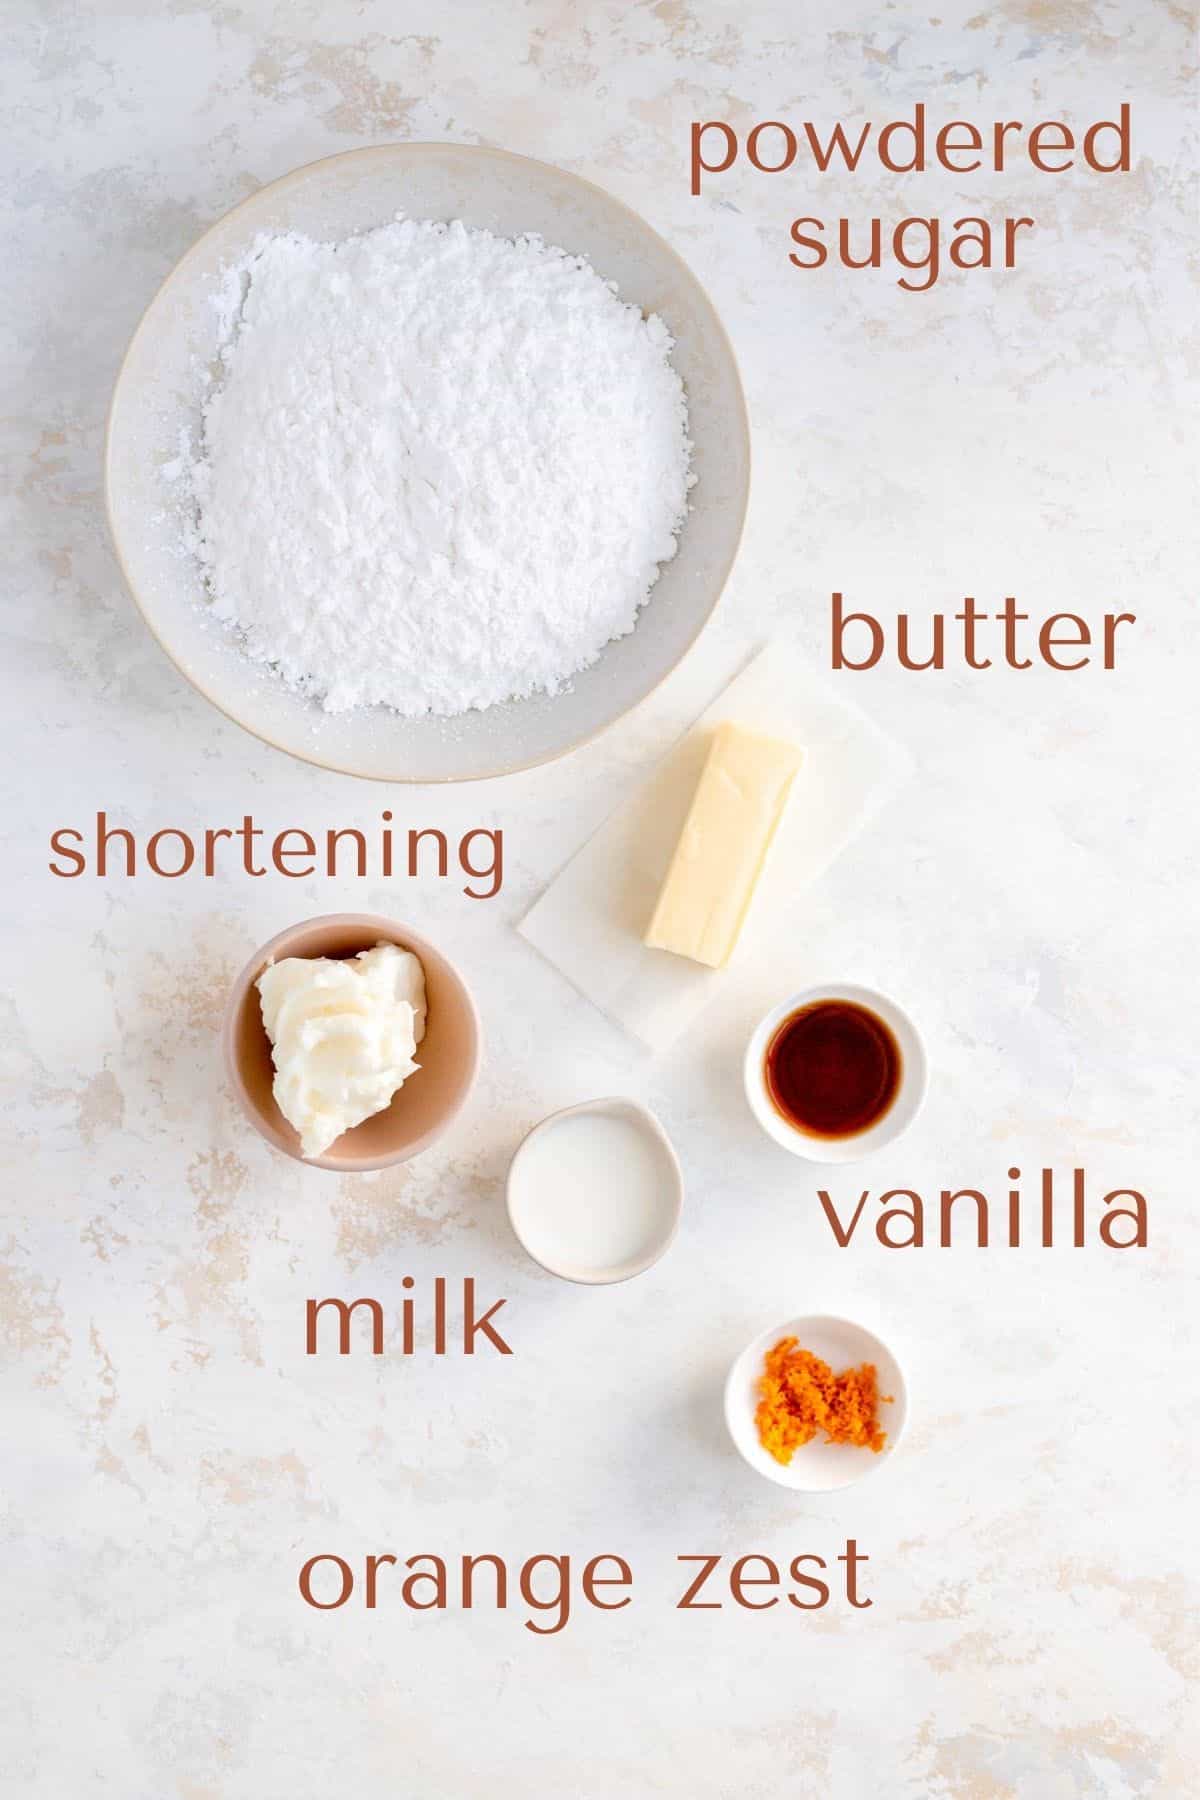
- Shortening + Butter: I know shortening has a bad reputation, and I do try to use it sparingly to be sensitive to that fact. But in this case, both in the cookies and in the filling, it's a really important ingredient. It helps to keep the cookies from over-crisping (as they would with all butter), and it helps make a sturdier filling which is ideal for a sandwich cookie as well.
- Molasses: I'm not a big fan of molasses if I'm being honest so I like to make sure I use a brand with a milder flavor, which in these ginger molasses cookies comes through in a supporting as opposed to leading role. That said, if you're a big fan of molasses, feel free to use a more robust variety in addition to the dark brown sugar as well.
- Milk, cream, or orange juice: you're welcome to use whatever flavor of liquid you'd like in your filling. I default to milk, but you can use cream for a slightly richer filling, or orange juice if you really want to amplify that orange flavor in your filling by juicing your orange(s) after you zest it.
(p.s. for all the basic tips that no one ever taught you, that are super important to help you bake your best, check out my Baking 101 series!)
Special Tools and Equipment You'll Need
There is no special equipment besides a hand mixer or stand mixer required for these cookies, but there are some tools that'll help make your baking journey easier.
Firstly, you’ll find an ice cream scoop to be very helpful. It will allow you to evenly portion and form your ginger cookies into rounds. That’ll help produce much rounder cookies after the bake and also be faster and easier than shaping your dough with a dinner spoon (although you absolutely can use a spoon if you prefer!).
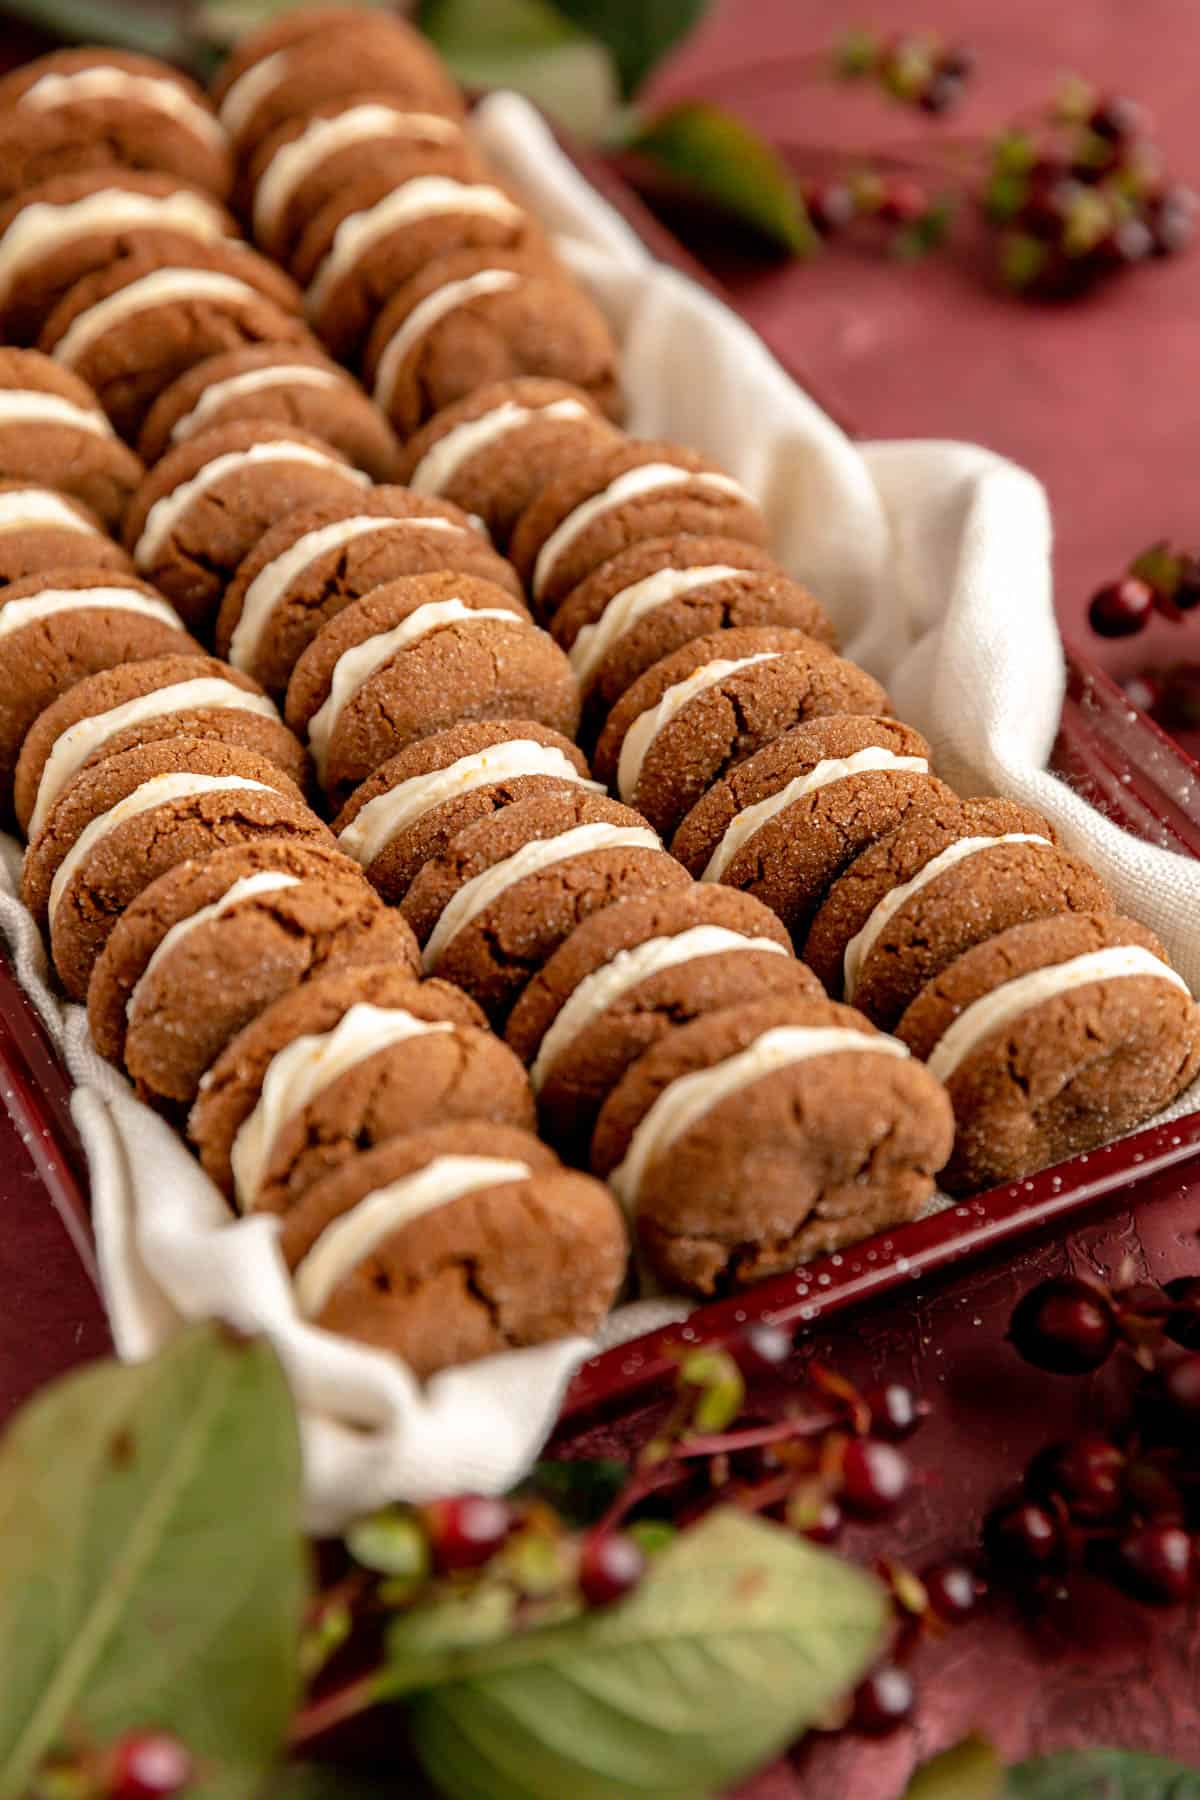
Secondly, a pastry bag and tip (I used a medium-sized star tip), can make it quick and easy to fill your cookies with a pretty swirl. But again, no worries if you don't have one as you can just scoop and spread the filling out by hand as well.
How to Make These Sandwich Cookies from Scratch
(Pssst…if you're ready to just get baking, get all the details in the recipe card below!)
TO MAKE THE COOKIES:
- Preheat your oven to 350°F and line three baking sheets with parchment paper.
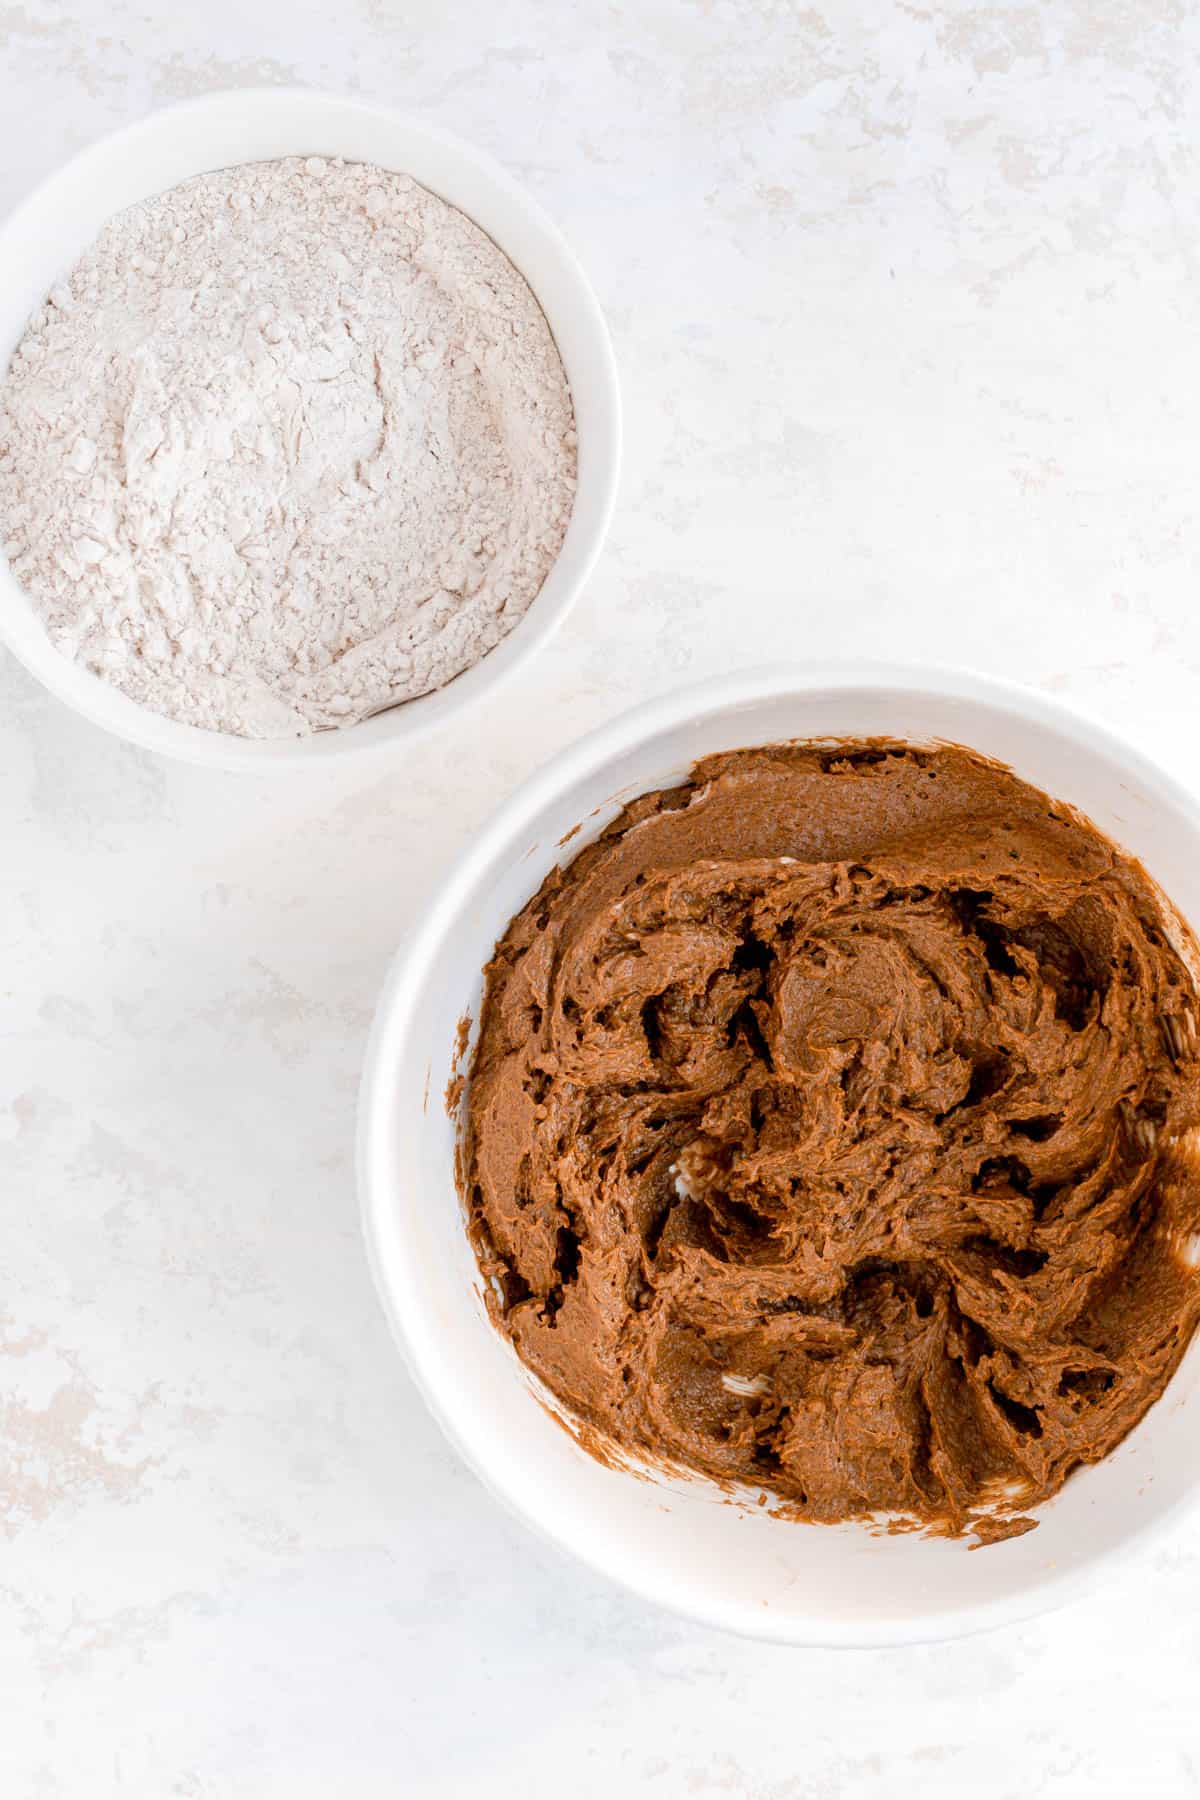
- Combine the flour, baking soda, spices, and salt in a small bowl. and set aside.
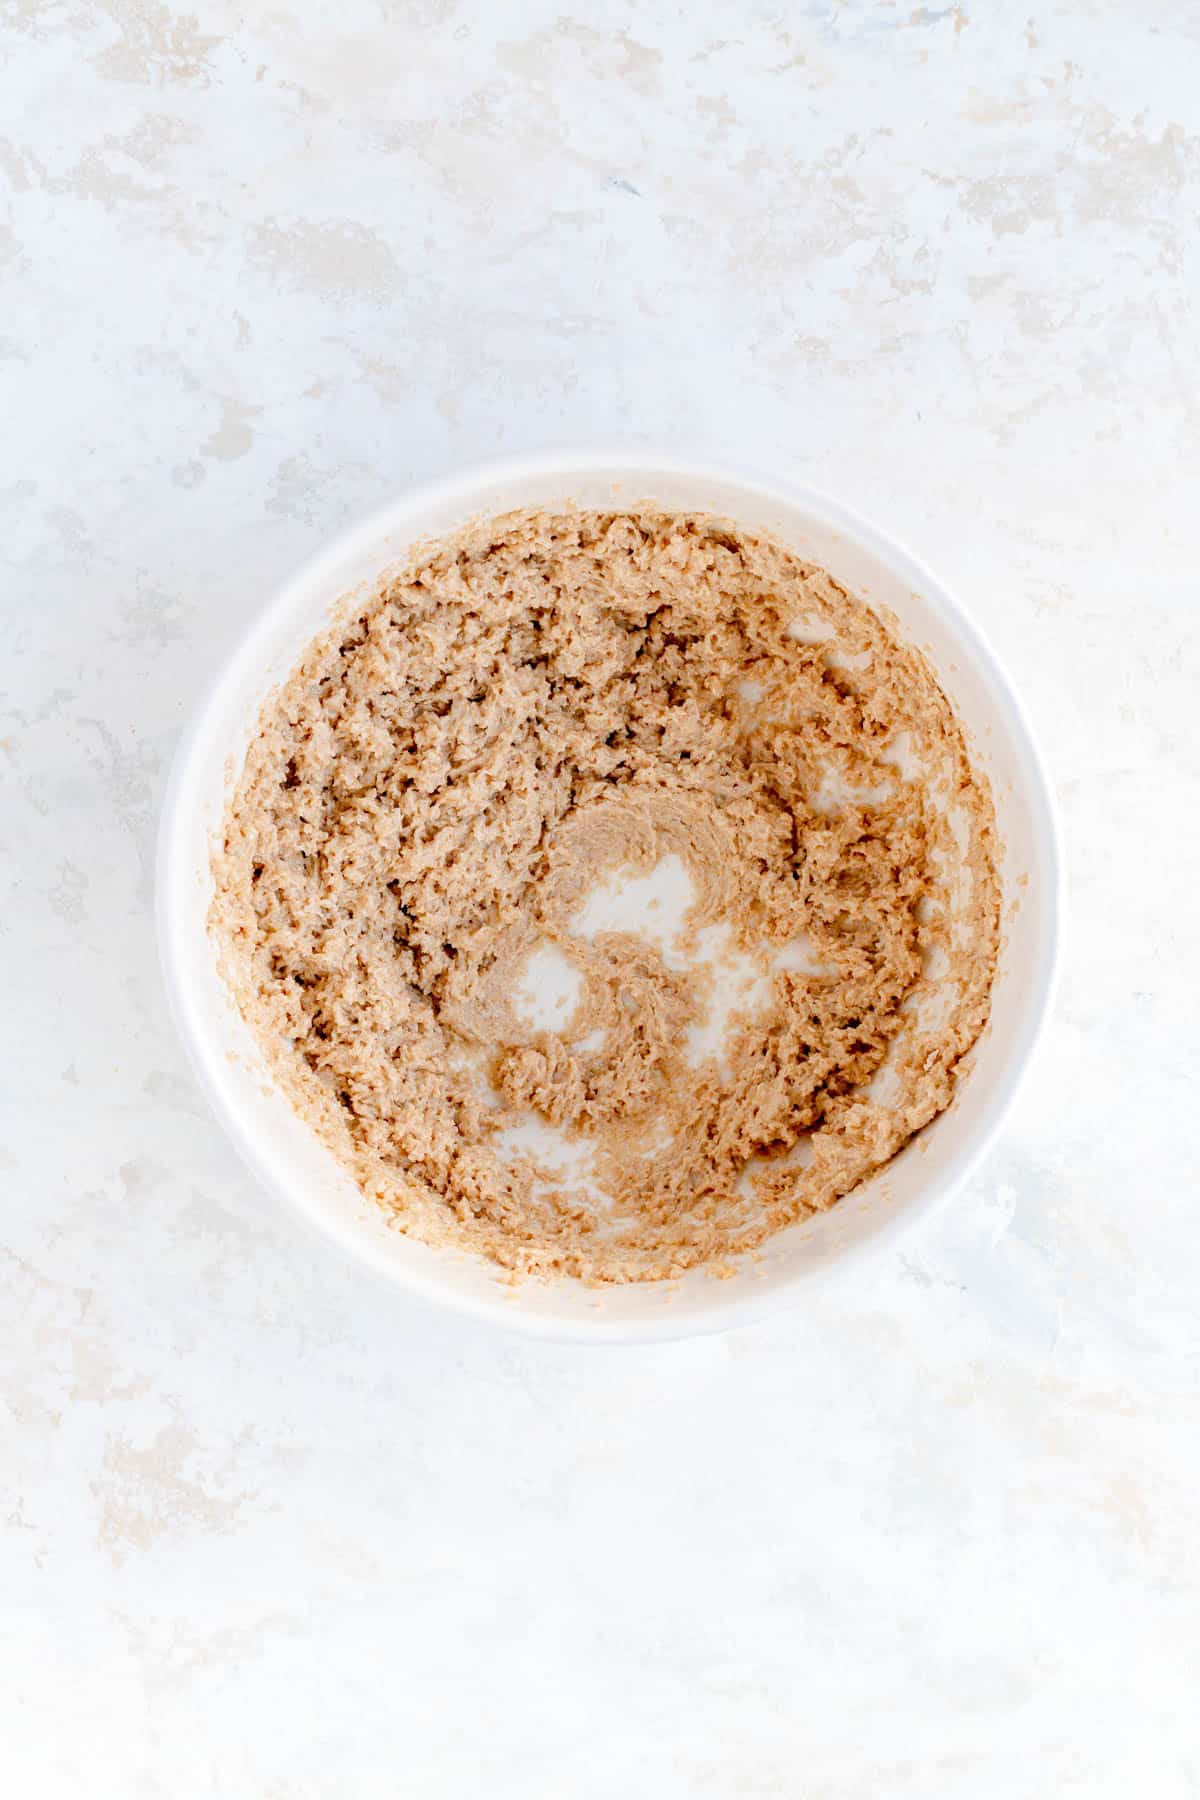
- Cream butter, shortening, and brown sugar until light and fluffy.
- Add egg, molasses, and vanilla extract until blended and smooth.
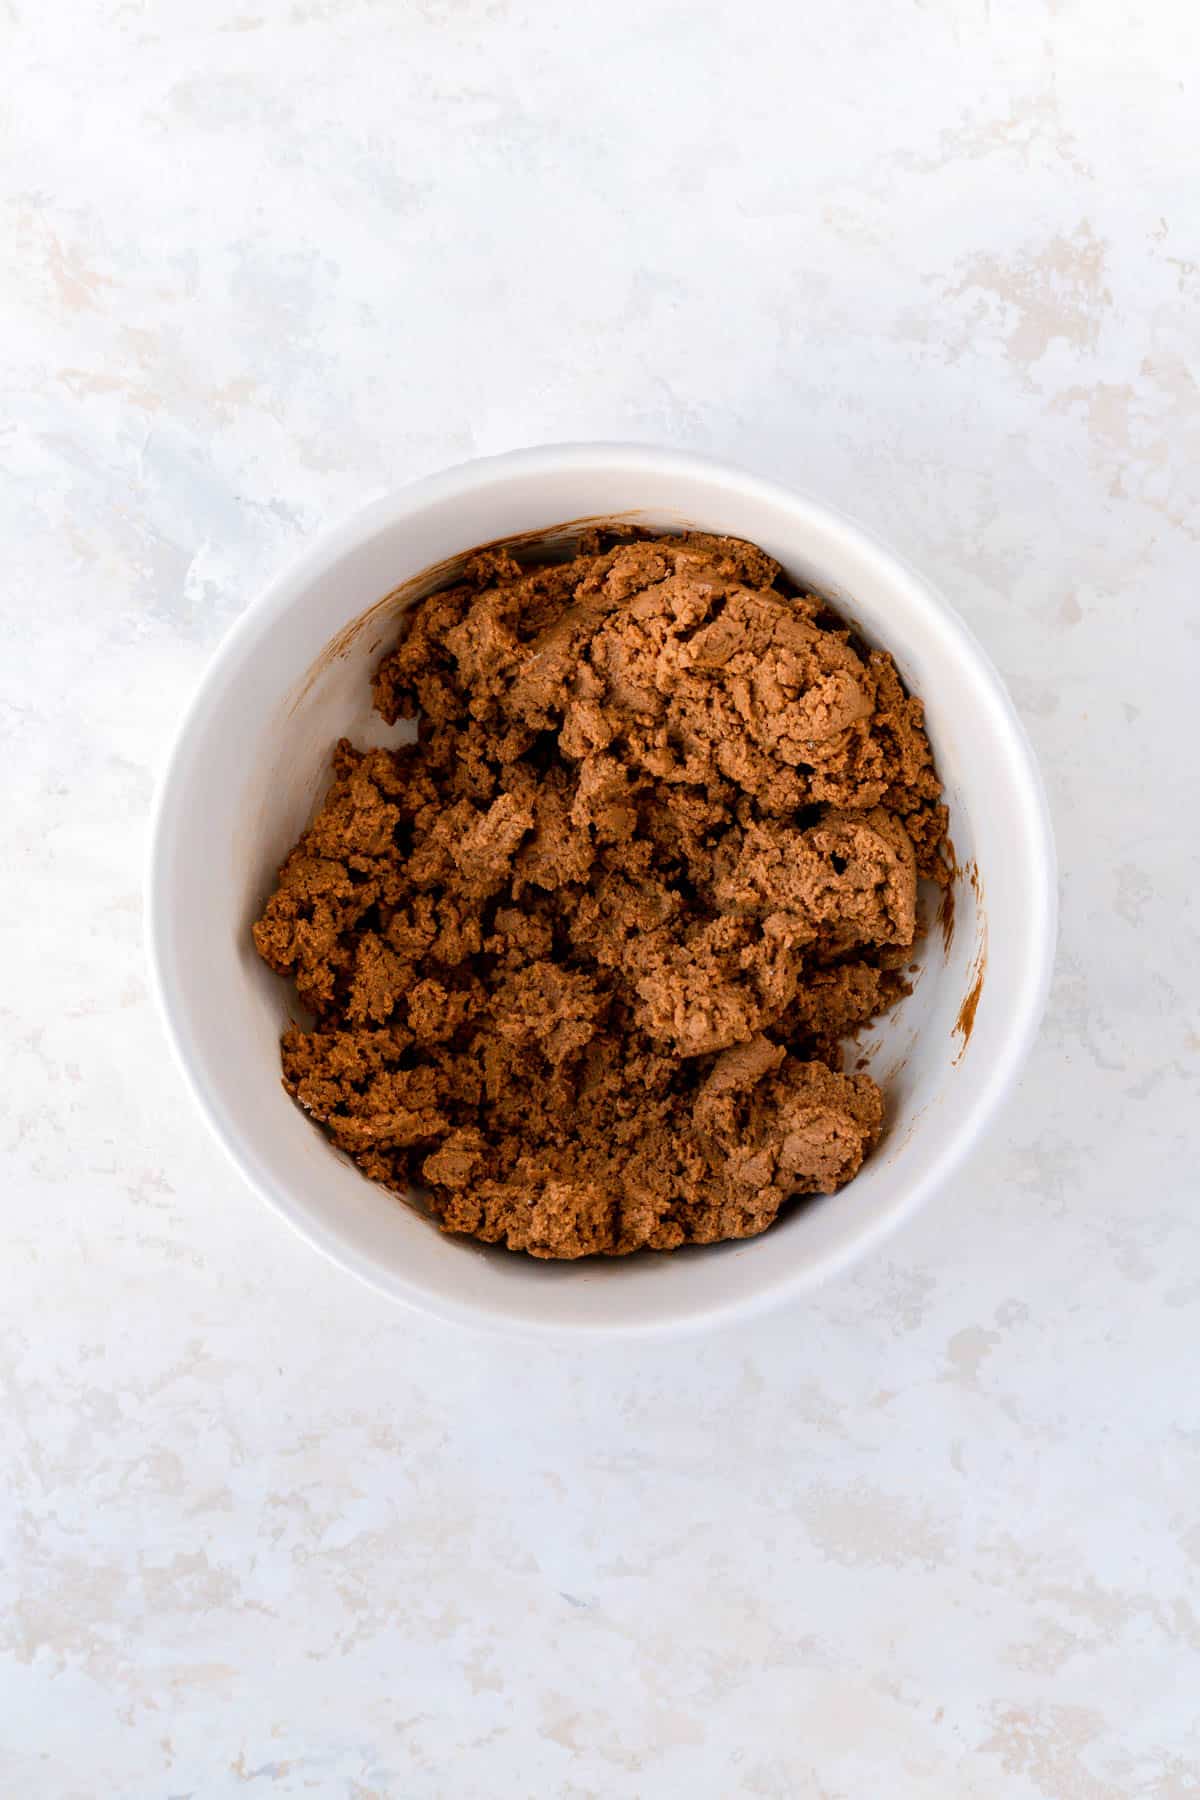
- Mix in the dry ingredients on low just until combined.
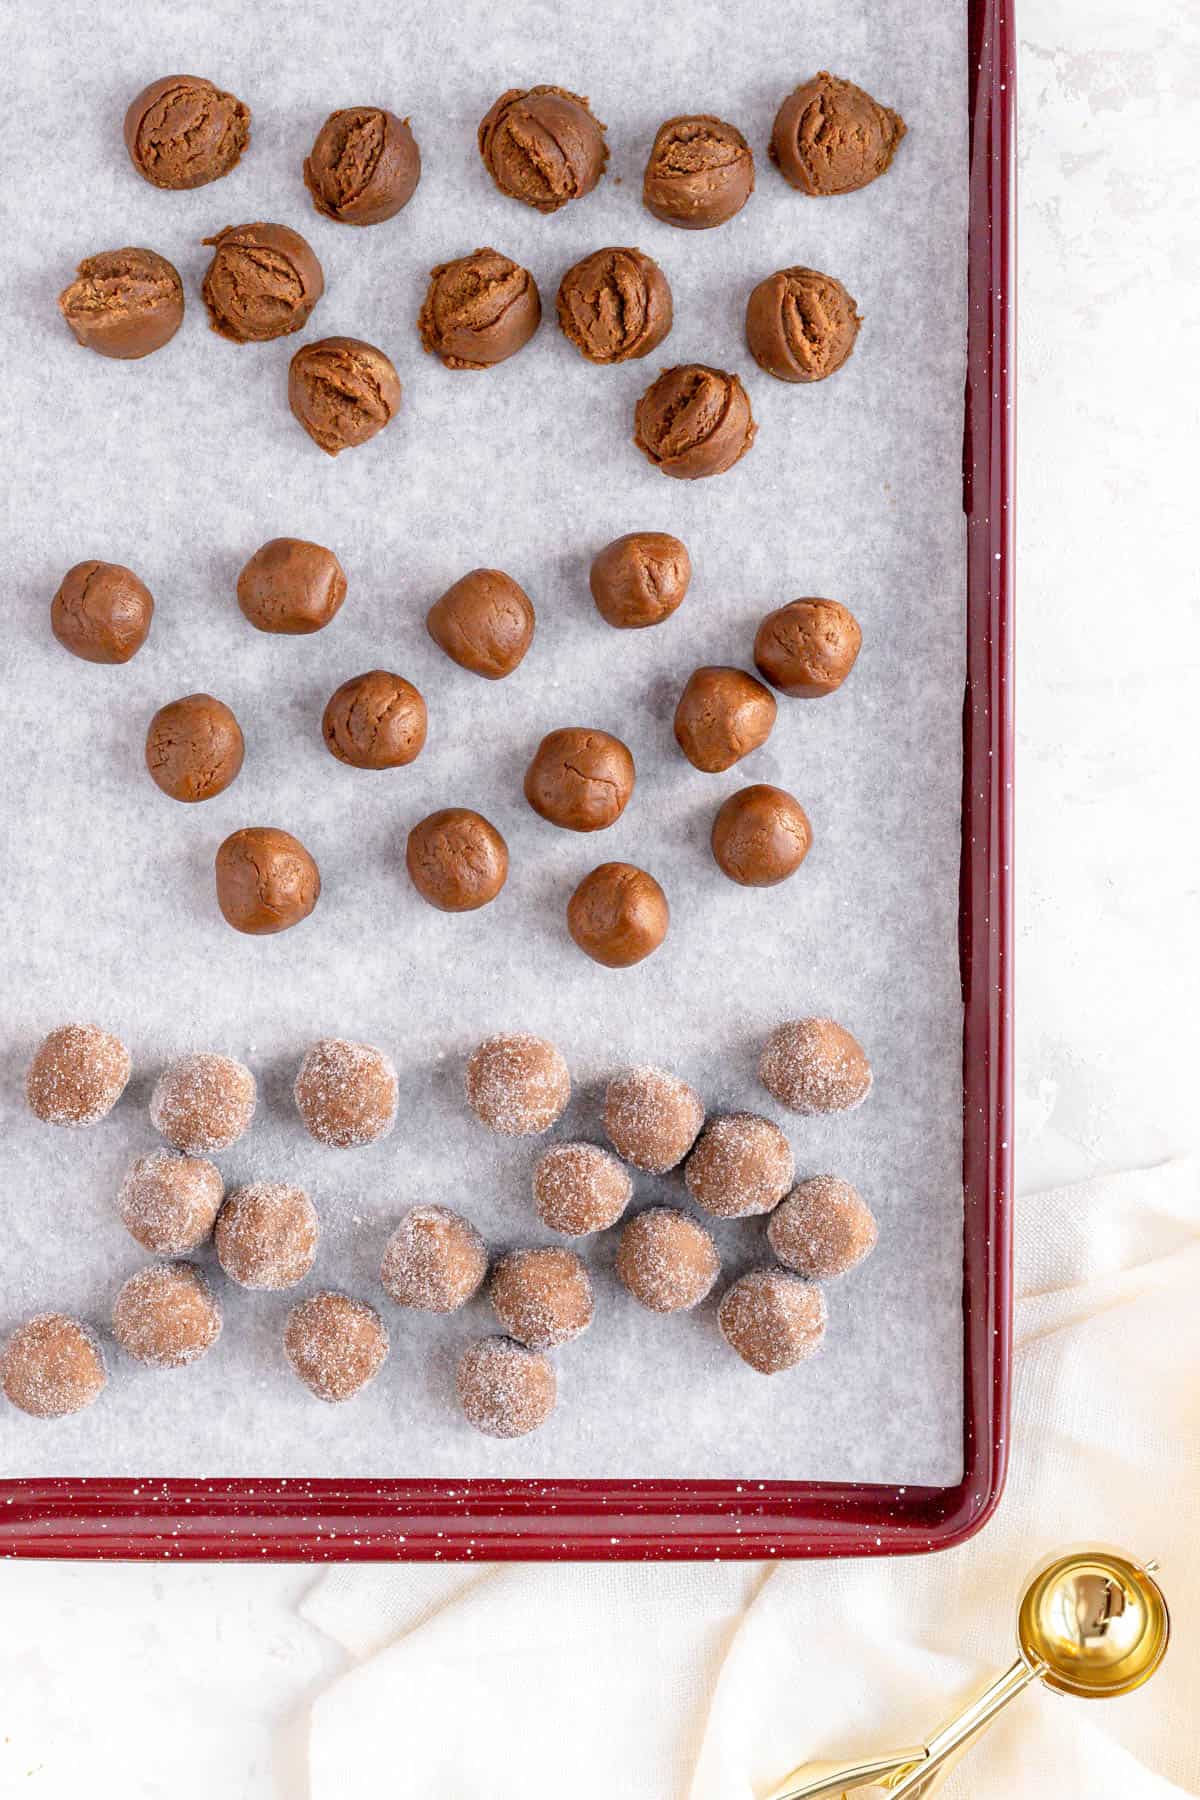
- Scoop dough into 1”-1 ½” balls, and round them off by hand.
- Coat all the dough balls fully in granulated sugar and place thme on the baking sheets.
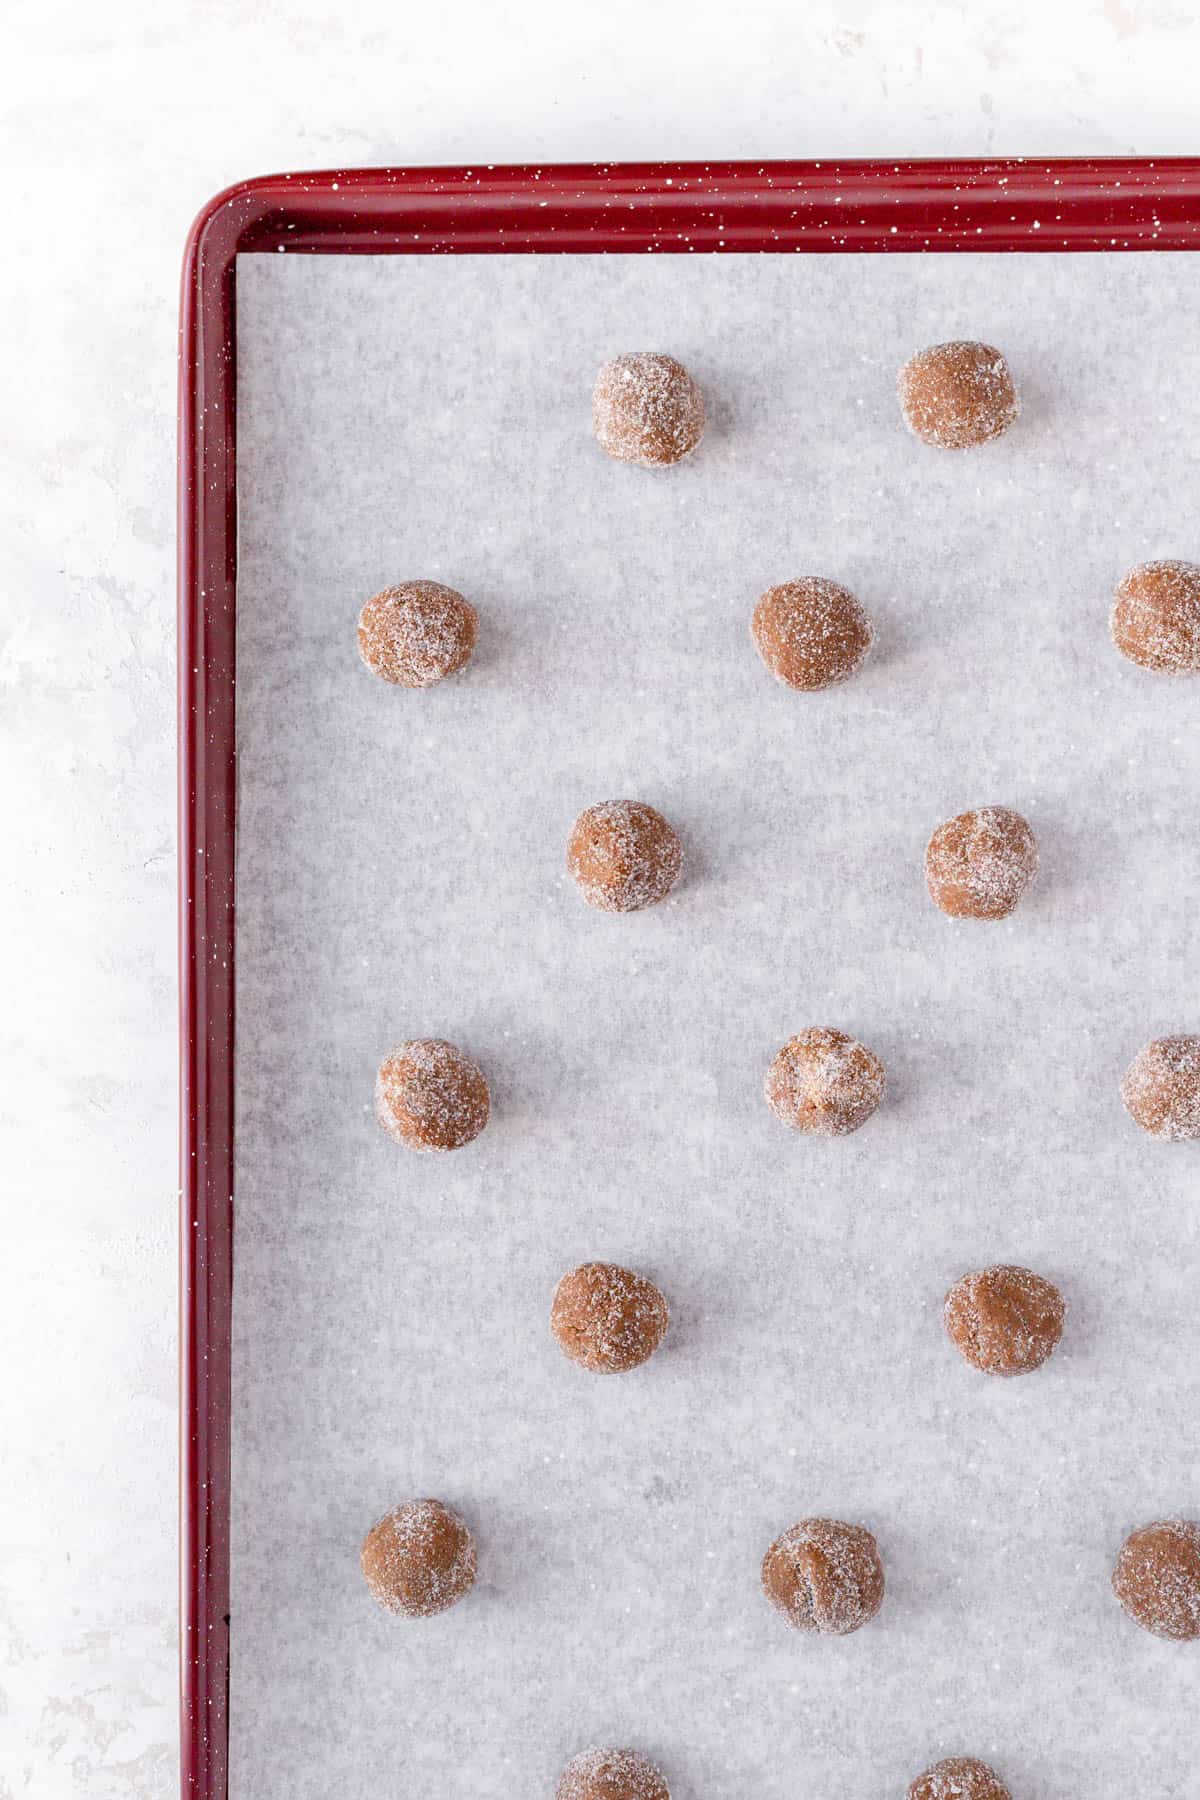
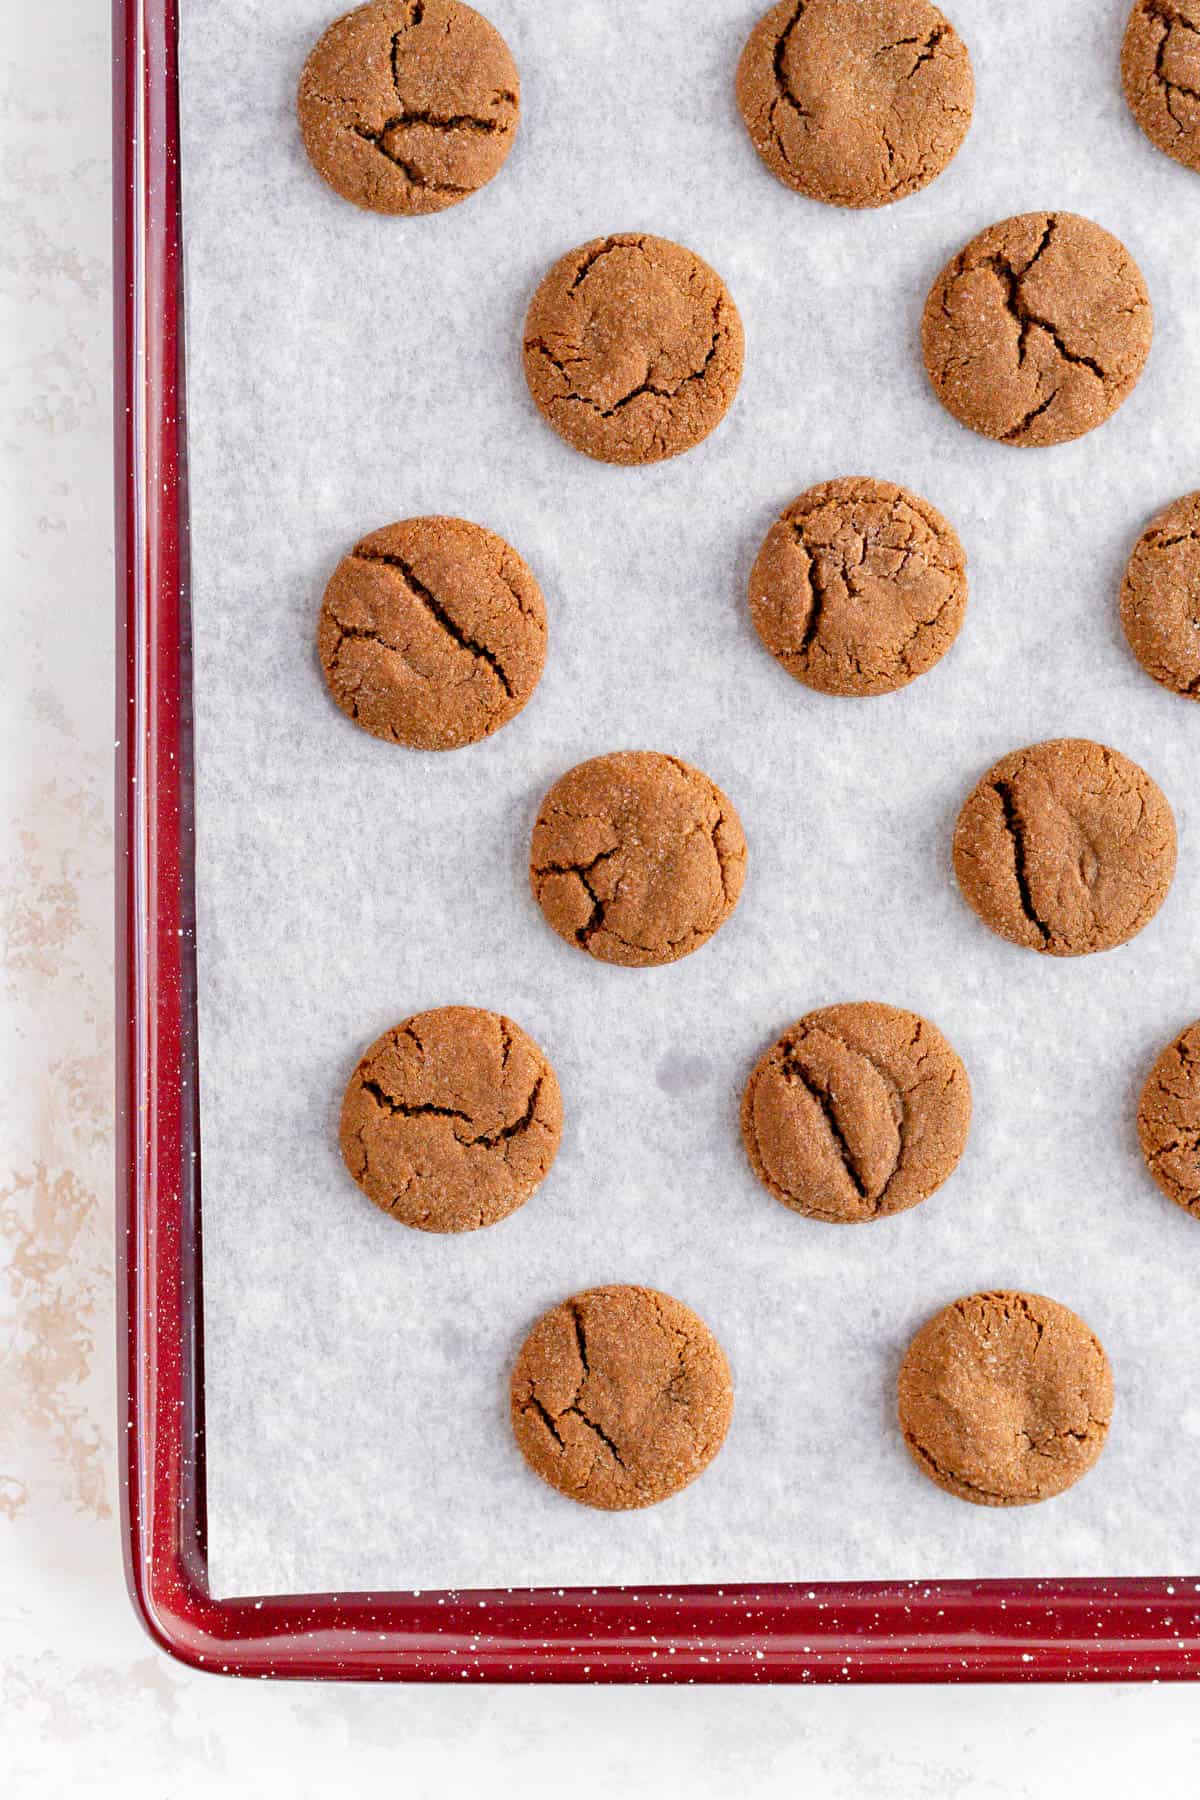
- Bake for 9-11 minutes until crackly and set on top.
- Allow cookies to cool fully before frosting.
TO MAKE THE FROSTING:
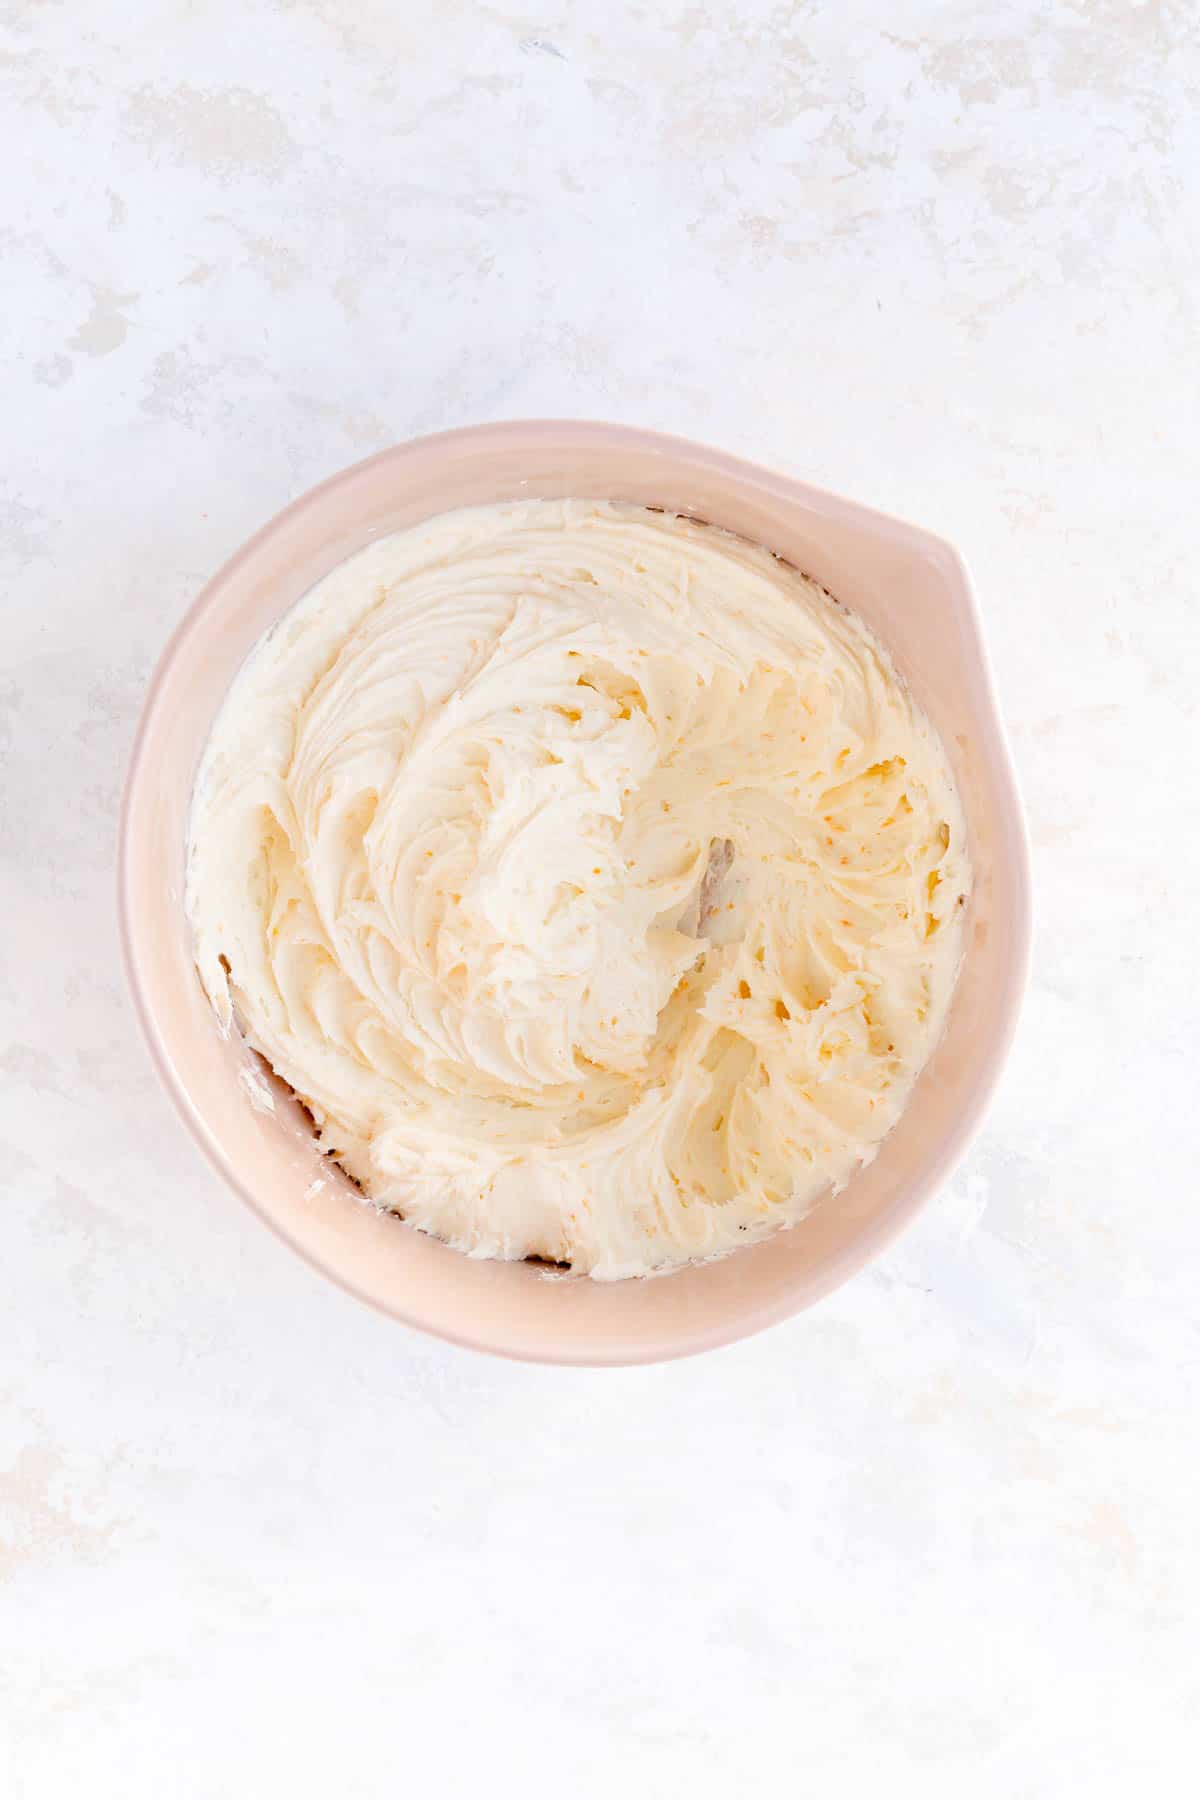
- Beat together all frosting ingredients until smooth and fluffy.
TO ASSEMBLE THE SANDWICHES:
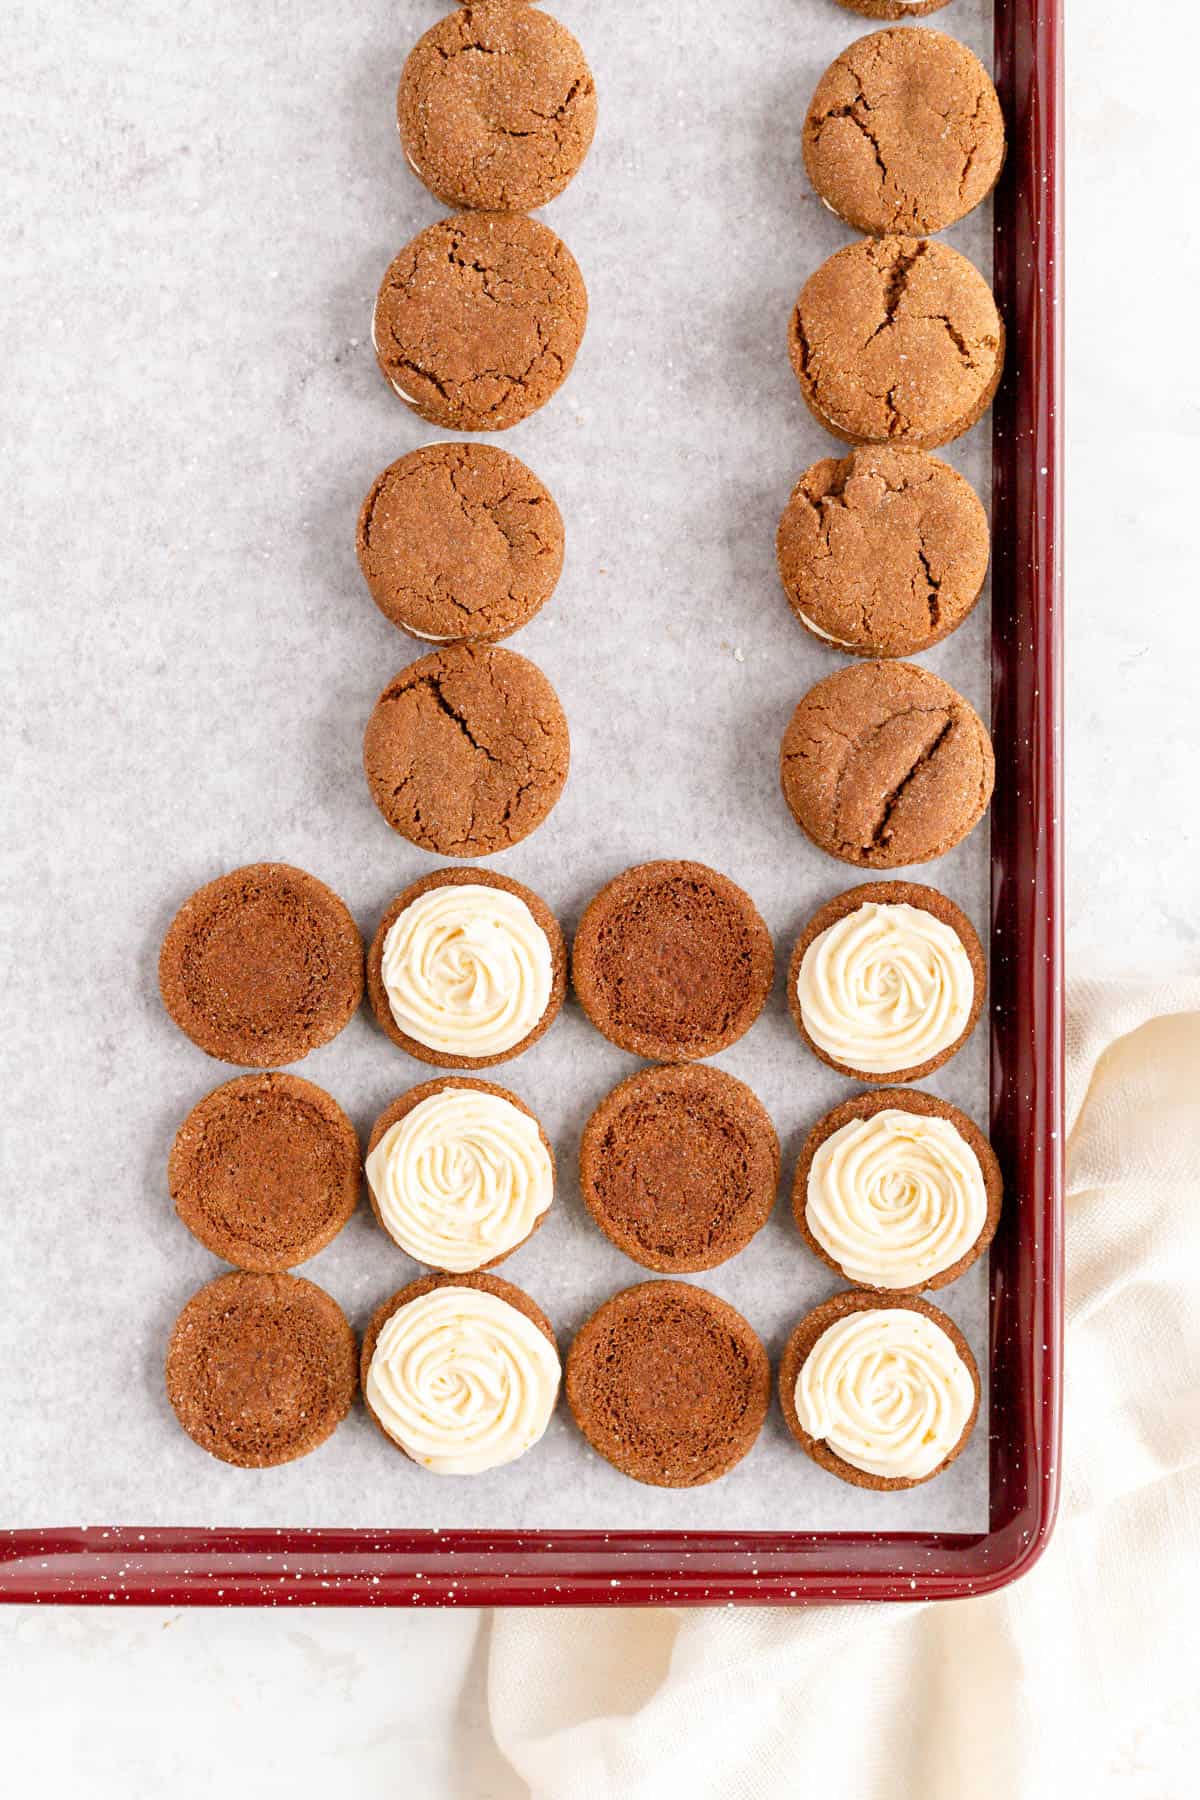
- Marry the cookies and place them bottoms-up in pairs, matched by size and dimension.
- Pipe or spread 1-2 tablespoons of frosting on one cookie in each pair.
- Top the frosted cookie with its partner to make a sandwich. Allow sandwiches to sit at least 24 hours if possible to allow the cookies to soften, then enjoy these deliciously spiced and creamy sandwiches!
Check out the full RECIPE WEB STORY for a click-through tutorial!
Fun Ways to Make This Recipe Your Own
- Interested in making this recipes without molasses? I get it - molasses is usually super low on my ingredient list too. But here, it just rounds our the gingerbread flavor profile without that icky bitterness you can taste in some gingerbread recipes. Of course, if you'd just like to skip it all together, you can makes these cookies with golden syrup instead, subbed 1 to 1 for the molasses.
- Ginger Cookie Frosting: spiced, citrus, vanilla, cream cheese filling...all are good options with a ginger spiced cookie. The best part of sandwich cookies is that you can fill them with whatever you you like! Here are some ways you can switch up the filling for these cookies:
- Cream cheese filling: check out my Pumpkin Whoopie Pie post with a tasty cinnamon cream cheese filling for an alternative frosting recipe. You can choose to make that cinnamon spiced version, or make an orange cream cheese filling instead by leaving out the cinnamon and adding in the zest of 1 orange for a ½ batch of that frosting. (Please note, you'll also only need a half recipe of that cream cheese filling to fill a single batch of these cookies.)
- Lemon instead of orange filling: simply use zest of one lemon in place of the orange zest in this recipe. I would, however, recommend sticking to milk or cream as your liquid, because 2 tablespoons of lemon juice will be a bit too acidic in this filling.
- Classic vanilla cream: you also can feel free to leave the zest out all together for a classic vanilla cream filling option. In that case, simply increase the vanilla extract amount to 1 teaspoon per batch.
- Cream cheese filling: check out my Pumpkin Whoopie Pie post with a tasty cinnamon cream cheese filling for an alternative frosting recipe. You can choose to make that cinnamon spiced version, or make an orange cream cheese filling instead by leaving out the cinnamon and adding in the zest of 1 orange for a ½ batch of that frosting. (Please note, you'll also only need a half recipe of that cream cheese filling to fill a single batch of these cookies.)
*Expert Tips and Tricks* for Better Baking
What's the TOP TIP for making the best ginger cream sandwiches?
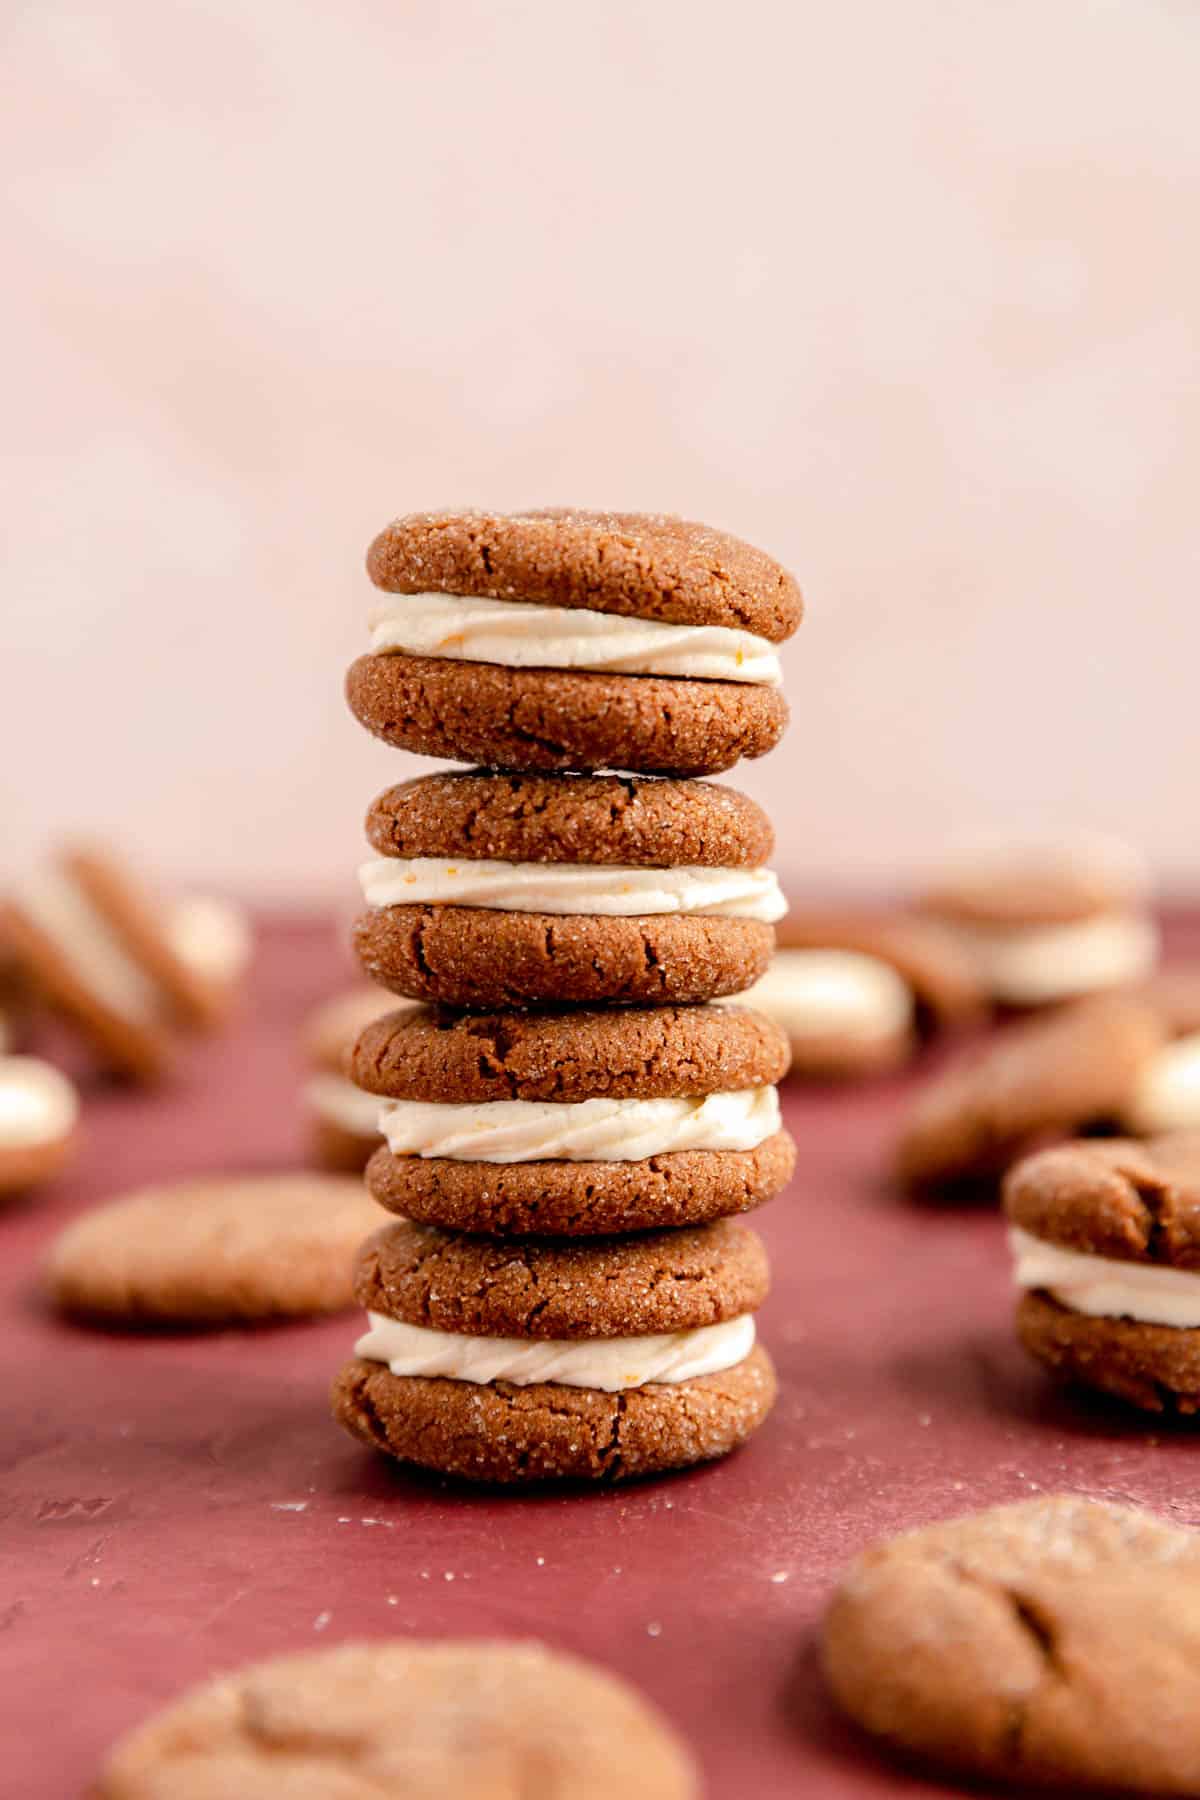
While this may seem a little counterintuitive, it's to let them sit for a day or two before enjoying them. The melding together of the filling and cookie textures is one of the best parts of these cookies. Once you assemble them, it takes a little time for the cookies to absorb the filling's moisture. That's not to say they aren't still delicious on day 1, but these will get even more delicious every day after that!
Can you make these cookies ahead of time?
Absolutely. These cookies actually get better with age so feel free to make them up to 2 days before your plan to serve them.
How do you store these sandwich cookies?
Simply store well-wrapped or in an airtight container for up to a week at room temperature.
Other Recipes You'll Love
If you're looking for other delicious spiced recipes, be sure to check out my Pumpkin Whoopie Pies with Cinnamon Cream Cheese Filling, Cinnamon Crumb Coffeecake Cookies, Cinnamon + Sugar Donut Muffins, Cakey + Soft Snickerdoodle Cookies and these Cinnamon and Sugar Pie Crust Cookies as well!
If you're looking for extra cookies to add to your holiday cookie tray in a variety of flavors, here are a few of my favorites: No-Chill, Cut Out Sugar Cookies, Chocolate Butter Cookies (slice + bake!), and 7-layer Magic Cookie Bars.

⭐ If you gave this recipe a try please give it a ⭐ rating and tag me on Instagram @mint.and.mallow.kitchen so I can see what you're baking up! ⭐
📖 Full Recipe
Chewy Ginger Sandwich Cookies with Orange Cream Filling
Ingredients
FOR THE COOKIES:
- 1 cup granulated sugar (for coating only)
- 2 ¼ cups all-purpose flour
- 2 teaspoons baking soda
- 2 ½ teaspoons ground ginger
- 1 ¼ teaspoons ground cinnamon
- 1 teaspoon ground cloves
- ¼ teaspoon cardamom (optional, but delicious)
- ½ teaspoon salt
- ¼ cup (½ stick) unsalted butter (softened)
- ½ cup shortening
- 1 cup light or dark brown sugar (packed)
- 1 large egg
- ¼ cup molasses
- 1 teaspoon vanilla extract
FOR THE FILLING:
- ⅓ cup (5 ⅓ tablespoons) unsalted butter (softened)
- ⅓ cup shortening
- Zest of one large or two small oranges*
- 3 cups powdered sugar (sifted)
- 2 tablespoons milk, heavy cream, or orange juice**
- ½ teaspoon vanilla extract
Instructions
TO MAKE THE COOKIES:
- Prep and line: preheat your oven to 350°F and line three baking sheets with parchment paper. Place 1 cup white sugar in a small, shallow bowl and set aside.
- Combine flour, leavener, spices, and salt: combine the flour, baking soda, spices, and salt in a small bowl and stir until well combined. Set aside.
- Cream butter, shortening, and brown sugar: cream butter, shortening, and brown sugar (not the granulated coating sugar), using a hand or stand mixer for 1-2 minutes on medium-high until light and fluffy.
- Add egg, molasses, and vanilla: add in the egg, molasses (grease your cup with baking spray for easy release!), and vanilla extract, and beat just until blended and smooth.
- Add in dry ingredients: dump in the flour mixture, and mix on low speed, just until fully combined.
- Scoop and round: scoop dough into small 1” to 1 ½” balls, and use your hands to round them off. Set the finished ones aside on one of the prepped baking sheets while you finish scooping and rolling the rest of the dough (an ice-cream scoop works well here for easy portioning and shaping).
- Coat in sugar: one or two at a time, roll the dough balls in the granulated sugar you set aside in the first step until well coated. Place dough balls at least 2” apart on the other prepared baking sheets.
- Bake until crackly and set: bake for 9-11 minutes, until the cookies have flattened, crackled, and feel set on top when gently pressed (they’ll still be a little soft in the centers though).
- Cool fully before frosting: allow cookies to fully cool while you prepare the frosting.
TO MAKE THE FROSTING:
- Beat together all ingredients: place all frosting ingredients in a medium-sized bowl. Beat on low speed using a hand or stand mixer, just until the ingredients are roughly combined, and then 1 minute on medium speed until smooth and fluffy.
TO ASSEMBLE THE SANDWICHES:
- Marry the cookies: pair cookies according to the best matches by size and dimension on your work surface or a baking sheet with the flat bottoms facing up.
- Fill with frosting: using a pastry bag, or a spoon/ice cream scoop and a dinner knife, top one cookie in each pair with 1-2 tablespoons of frosting each. Spread frosting into an even layer (about a ¼" thick) until it's just shy of the edge (if piping into a neat, even layer, you don't need to spread it out any further).
- Sandwich and enjoy! Top the frosted cookie with its partner to make a sandwich, and gently press the cookies together until the filling reaches the edge of the cookies. Allow sandwiches to sit at least 24 hours if possible before enjoying so the filling can soften your cookies to the perfect texture, then enjoy these deliciously spiced and creamy sandwiches!***
Test Kitchen Tips
- *Zest then juice: if you plan on juicing your orange for the filling liquid, be sure to zest it first as it’s difficult (and dangerous) to try and zest a cut and/or juiced orange.
- **Milk, cream, or orange juice: you're welcome to use whatever flavor of liquid you'd like in your filling. I default to milk, but you can use cream for a slightly richer filling, or orange juice if you really want to amplify that orange flavor in your filling by juicing your orange(s) after you zest it.
- ***They get better with age: unlike many cookies which I recommend eating fresh for the best experience, the melding together of the cookies and filling for these sandwiches can take a little time. Therefore I recommend waiting 1 or even 2 days after you make these guys to eat them. For that 1-2 days, simply store them wrapped airtight at room temperature.
- Just a classic gingerbread cookie: I love these cookies in their full sandwich form. BUT, the cookies themselves are so delicious, you can definitely just bake up some plain cookies (which will land somewhere between a ginger snap and chewy molasses cookie), and just skip the filling altogether!









Sarah says
My cookies cake out flat and spread what did I do wrong?
Jocelyn at M+M says
That's a good question, Sarah, as I haven't had that happen with this recipe before (if anything they actually spread a little less than I liked sometimes during testing). Assuming you followed the recipe exactly as written, I would guess some possible issues could be you maybe had a bit of extra molasses in there as I know that's a hard ingredient to measure and transfer well. A particularly warm kitchen could have had the dough extra-soft going in the oven as it is butter-based, or the other possibility is your oven could have been running low which would allow the cookies to spread more before solidifying (either because it needs recalibration or just because the door was opened frequently or for a long time when loading the cookies). I'm sorry you didn't have better luck with this recipe, but I hope the cookies at the very least still tasted delicious and sandwiched up nicely for you, and if you have any additional questions, please don't hesitate to ask. Happy holidays!
Taylor says
These were THE BEST COOKIES! An instant holiday fave that will be a Christmas tradition for my family from now on. Thank you for this recipe!
*would also be delish with a chocolate cookie!
Jocelyn at M+M says
I'm so happy to hear you loved these Taylor! They were definitely a favorite among my family and friends on our cookie trays this year too. Thank you so much for taking the time to come back and write a review, and I hope you and your family continue to enjoy them for many more years to come. (And I'll add working on a chocolate version to my list too!) Happy new year!
Marguerite White says
This recipe sounds delicious and I can’t wait to try it. Frustrating though when you (and others) say it’s best to weigh ingredients but then don’t give the weights in the recipes! Please give the weights as well as the cup measurements.
Jocelyn at M+M says
So sorry for the confusion, Marguerite! All my recipes do have weights, they are just shown in volume by default since that's what most Americans are used to. If you look at the recipe card near the bottom of the post, just above the ingredient list, you'll see "US Customary" and "Metric" listed. If you just click the "Metric" button, all the ingredients will instantly by listed by weight instead of volume. I hope that helps and if you have any other questions, please feel free to let me know. Happy holiday and happy baking!