


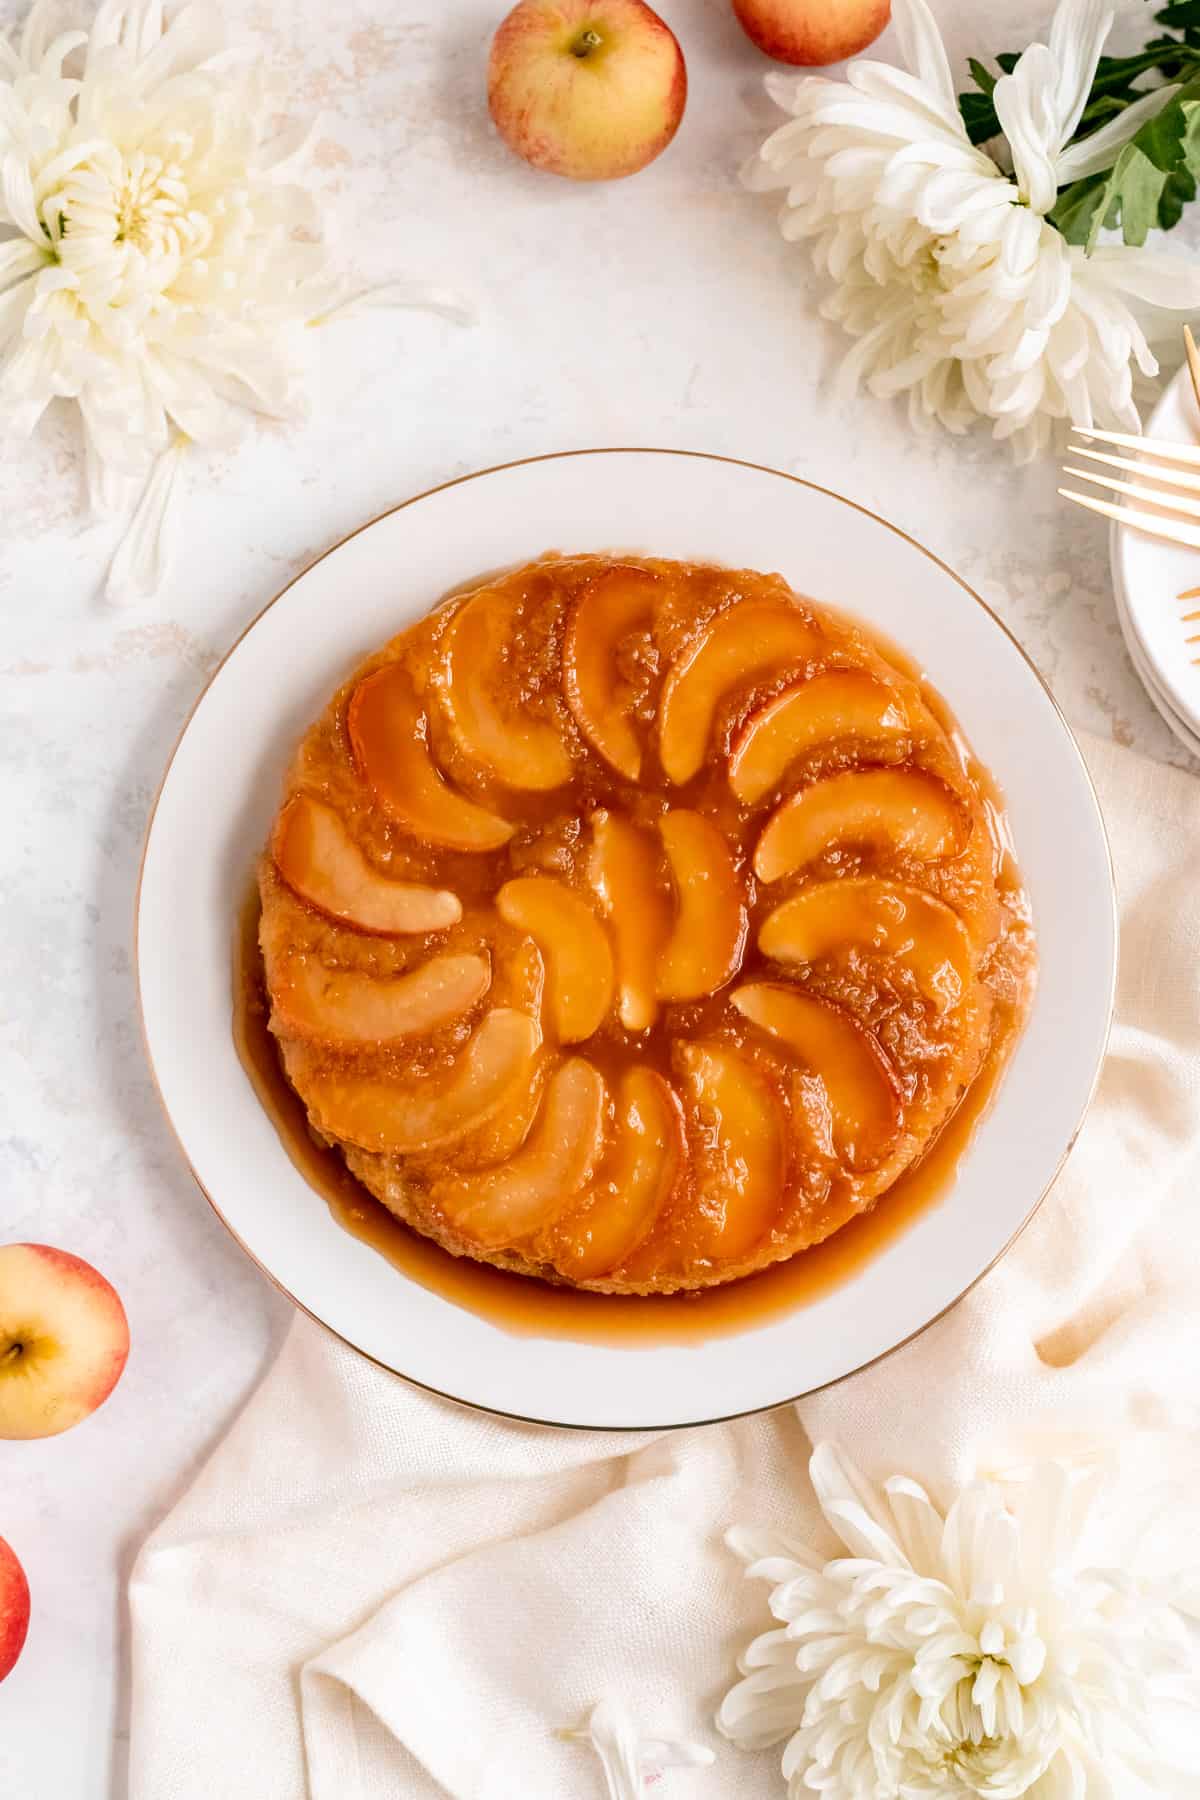
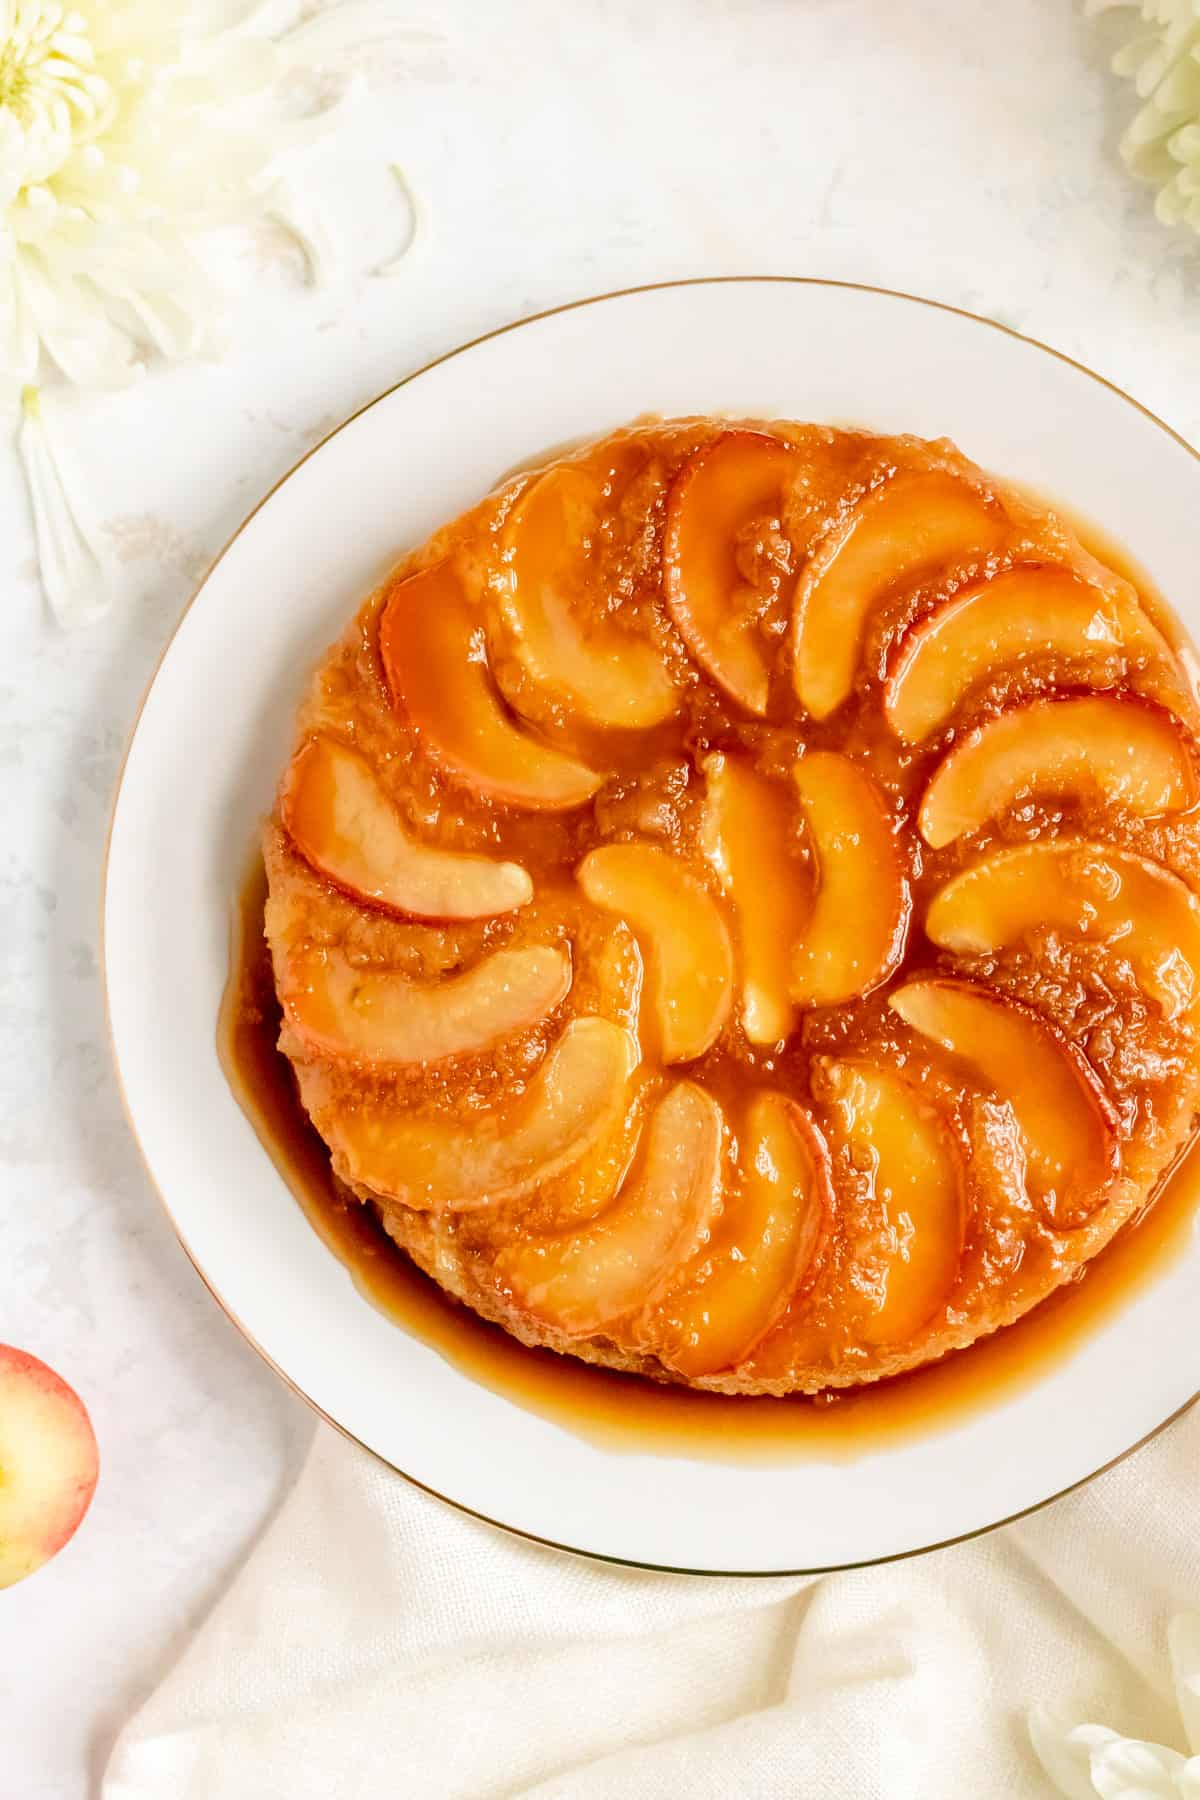
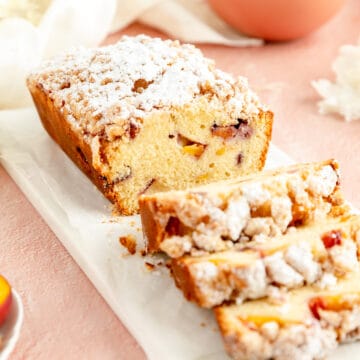
This easy Maple Caramel Apple Upside-down Cake may be a mouthful to say, but it's also a mouthful of all the best and tastiest fall flavors in one easy cake! No fillings, frostings, or garnishing needed here. Just a quick microwave caramel sauce, some delicious, sliced apple, and a to-die-for light and fluffy cake to soak up all that tasty flavor!

Jump to (scroll for more!):
Upside-Down Cake Magic
Upside-down cakes are a thing of magic. You pile everything up in one pan and then flip out a layered beauty on the other end of the bake.
This cake has been simplified as much as possible while still maintaining all the delicious components of this classic recipe – caramel sauce, fresh fruit, and vanilla cake.
Now I know from researching this recipe, that a lot of people like to make it with cake mix. BUT, I urge you to try the scratch version at least once. That way, you at least know what you’re missing out on if you use a box mix the next time around!
Why This Recipe Leads to Sweet Success
- Easy prep: upside-down cakes can seem like a lot of work since there are multiple components. But with a quick mix approach to each piece of this recipe, I’ll make it as easy as possible while still ensuring a high-quality product comes out of oven.
- Caramel can be a pain: homemade caramel can be very intimidating, but I promise, you really can’t mess this one up! The only trick is making sure you use a nice big container for microwaving it, in case it boils up on you.
- Customizable: you could honestly swap in any fruit you wanted in this cake. I recommend sticking with the apples or pears, or a combo of the two, because I know their water content will work with this recipe. You can definitely try out a peach, plum, or even pineapple variation, but just know that because there are different levels of water in those fruits, your results may vary a bit from the recipe as designed.
- This cake is pretty fool-proof: while caramels are daunting for many home bakers, cakes can cause a little apprehension too. Whether you’re worried they’ll be too dense or collapse on you as they cool, I designed this recipe to avoid both! It’s a quick mix recipe, that has you coat the flour with fat to prevent it from being too tough, and then we bake it for what’ll seem like a long time to cook it thoroughly through even with a whole bunch of caramel, fruit, and batter in one little pan.
Ingredient Tips to Bake it Better
(Pssst…if you're ready to just get baking, get all the details in the recipe card below!)
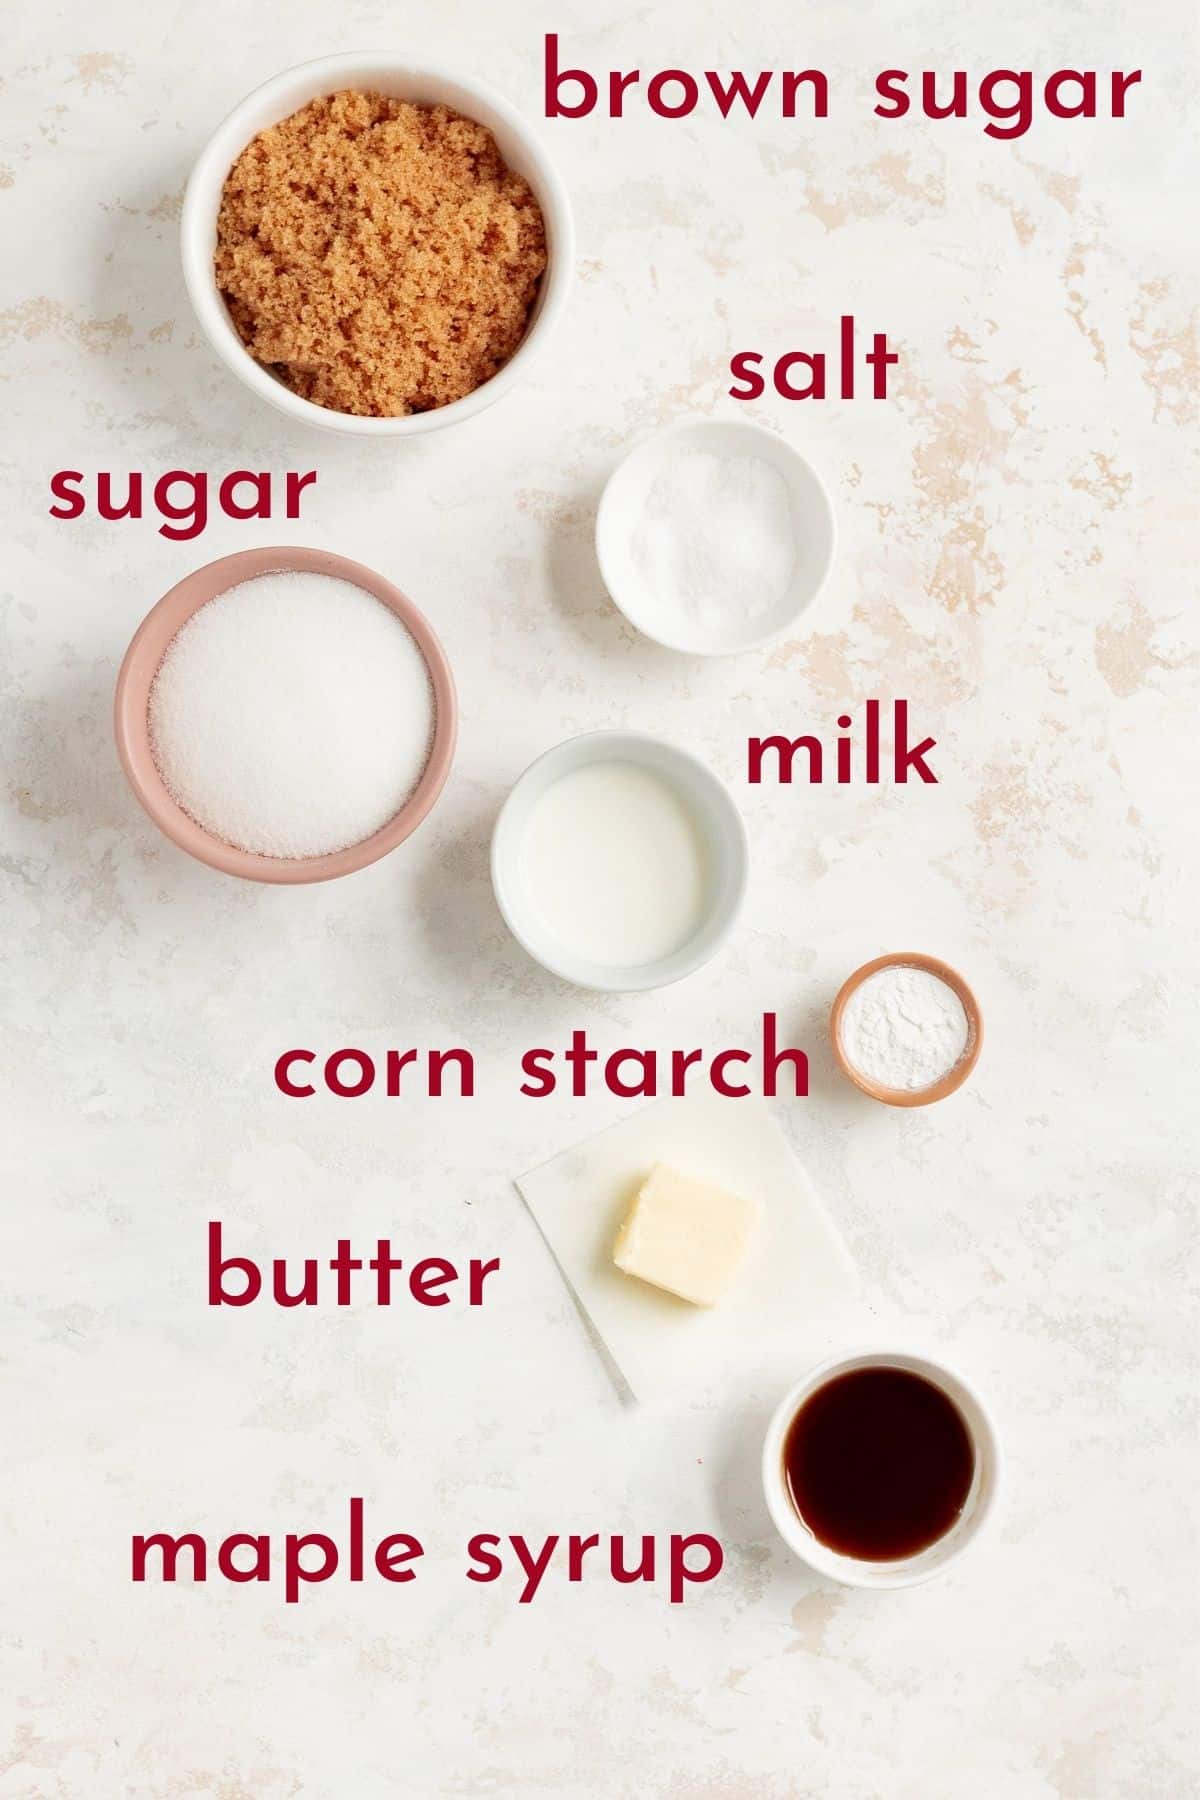
- Brown sugar + granulated sugar: in the caramel, this combo helps to give us a chewy/tacky consistency (brown sugar), while also caramelizing and hardening a bit on the top of our cake (granulated sugar)
- Cornstarch: this is what thickens up our caramel. Make sure it is fully combined with the other dry ingredients with no clumps left so you end up with a nice, smooth sauce.
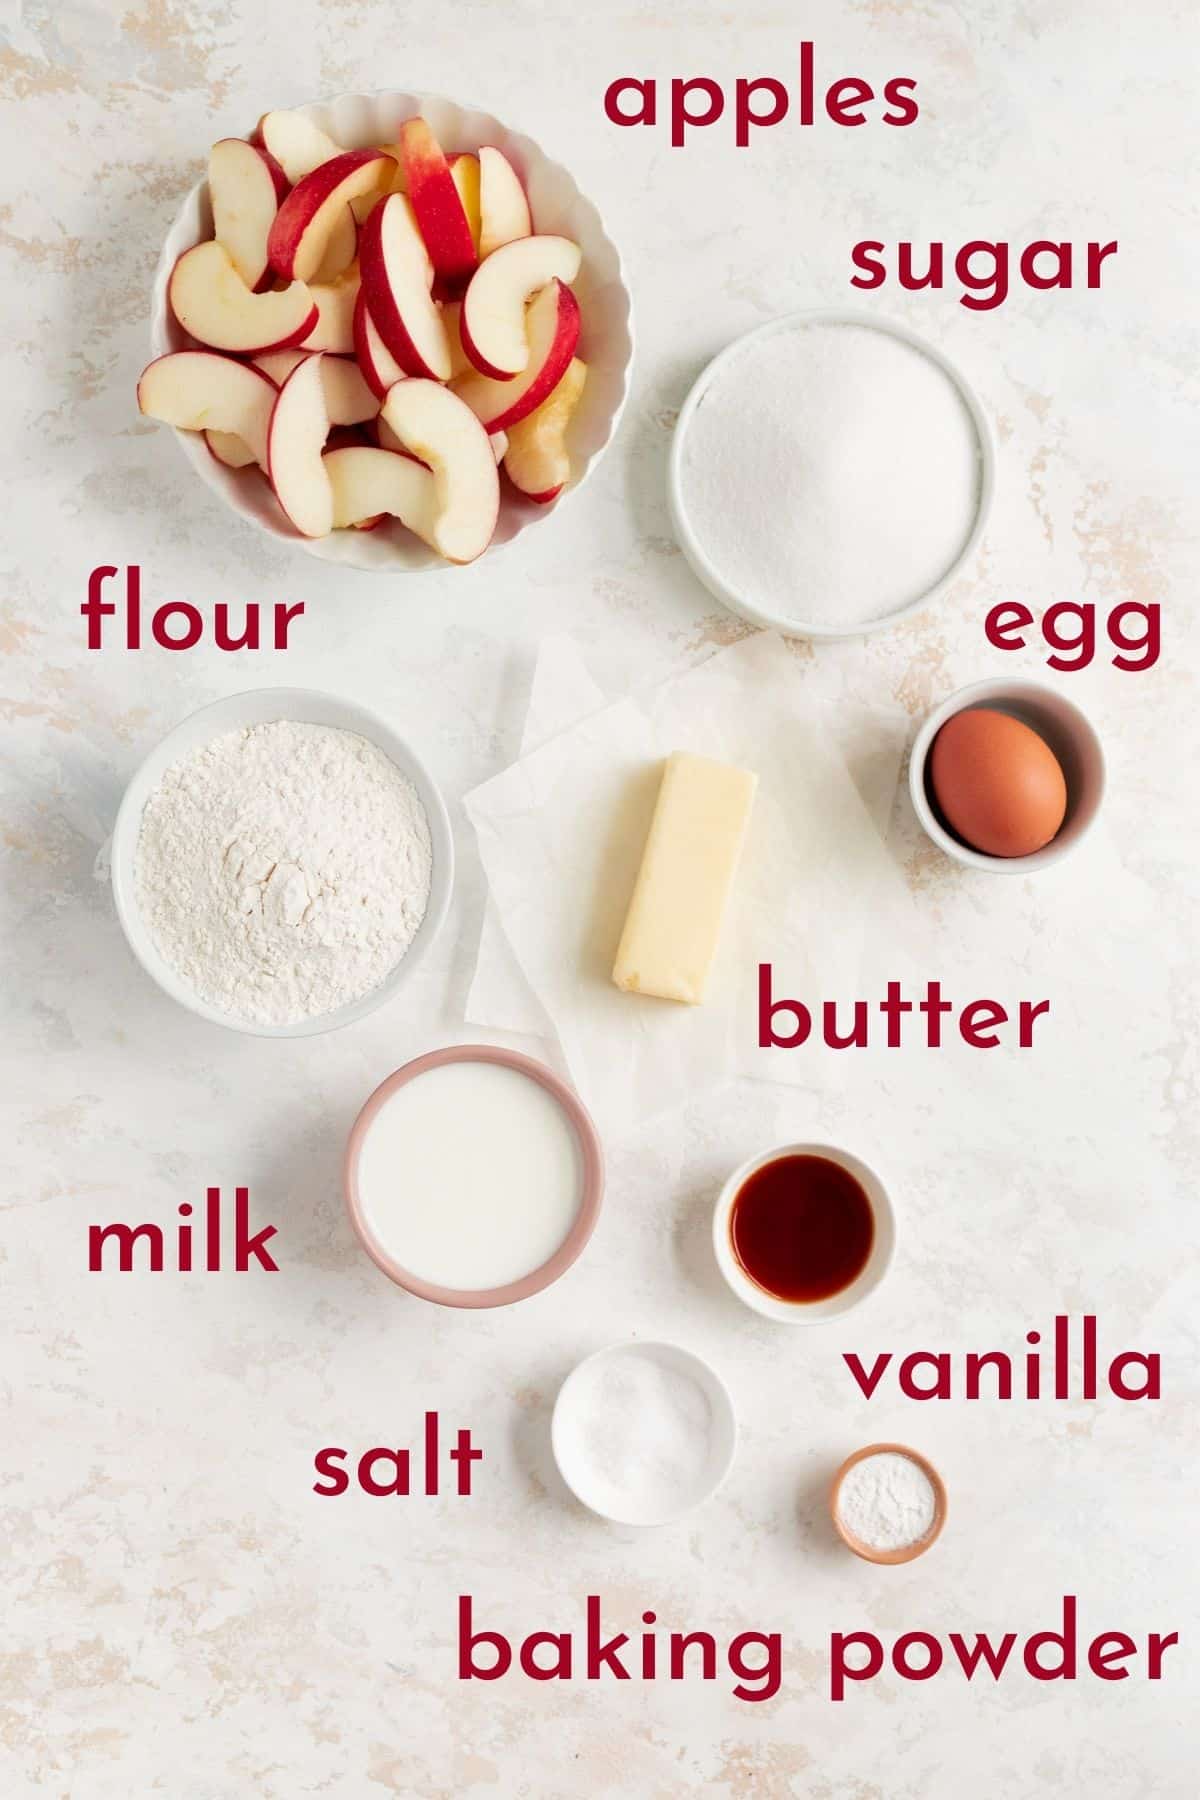
- Apples: for this recipe, a lot of apples will work as they’re fully embedded in the cake. That said, you’ll find that “baking” apples hold their shape better. My personal go-to is Braeburn as a great balance of good flavor and good structure after the bake. Honeycrisp and Pink Lady are two of my other favorites for baking.
- Spices: I kept the spices subtle in this cake so the apple, caramel and maple notes can really shine through. That said, feel free to dial up the spices if you like!
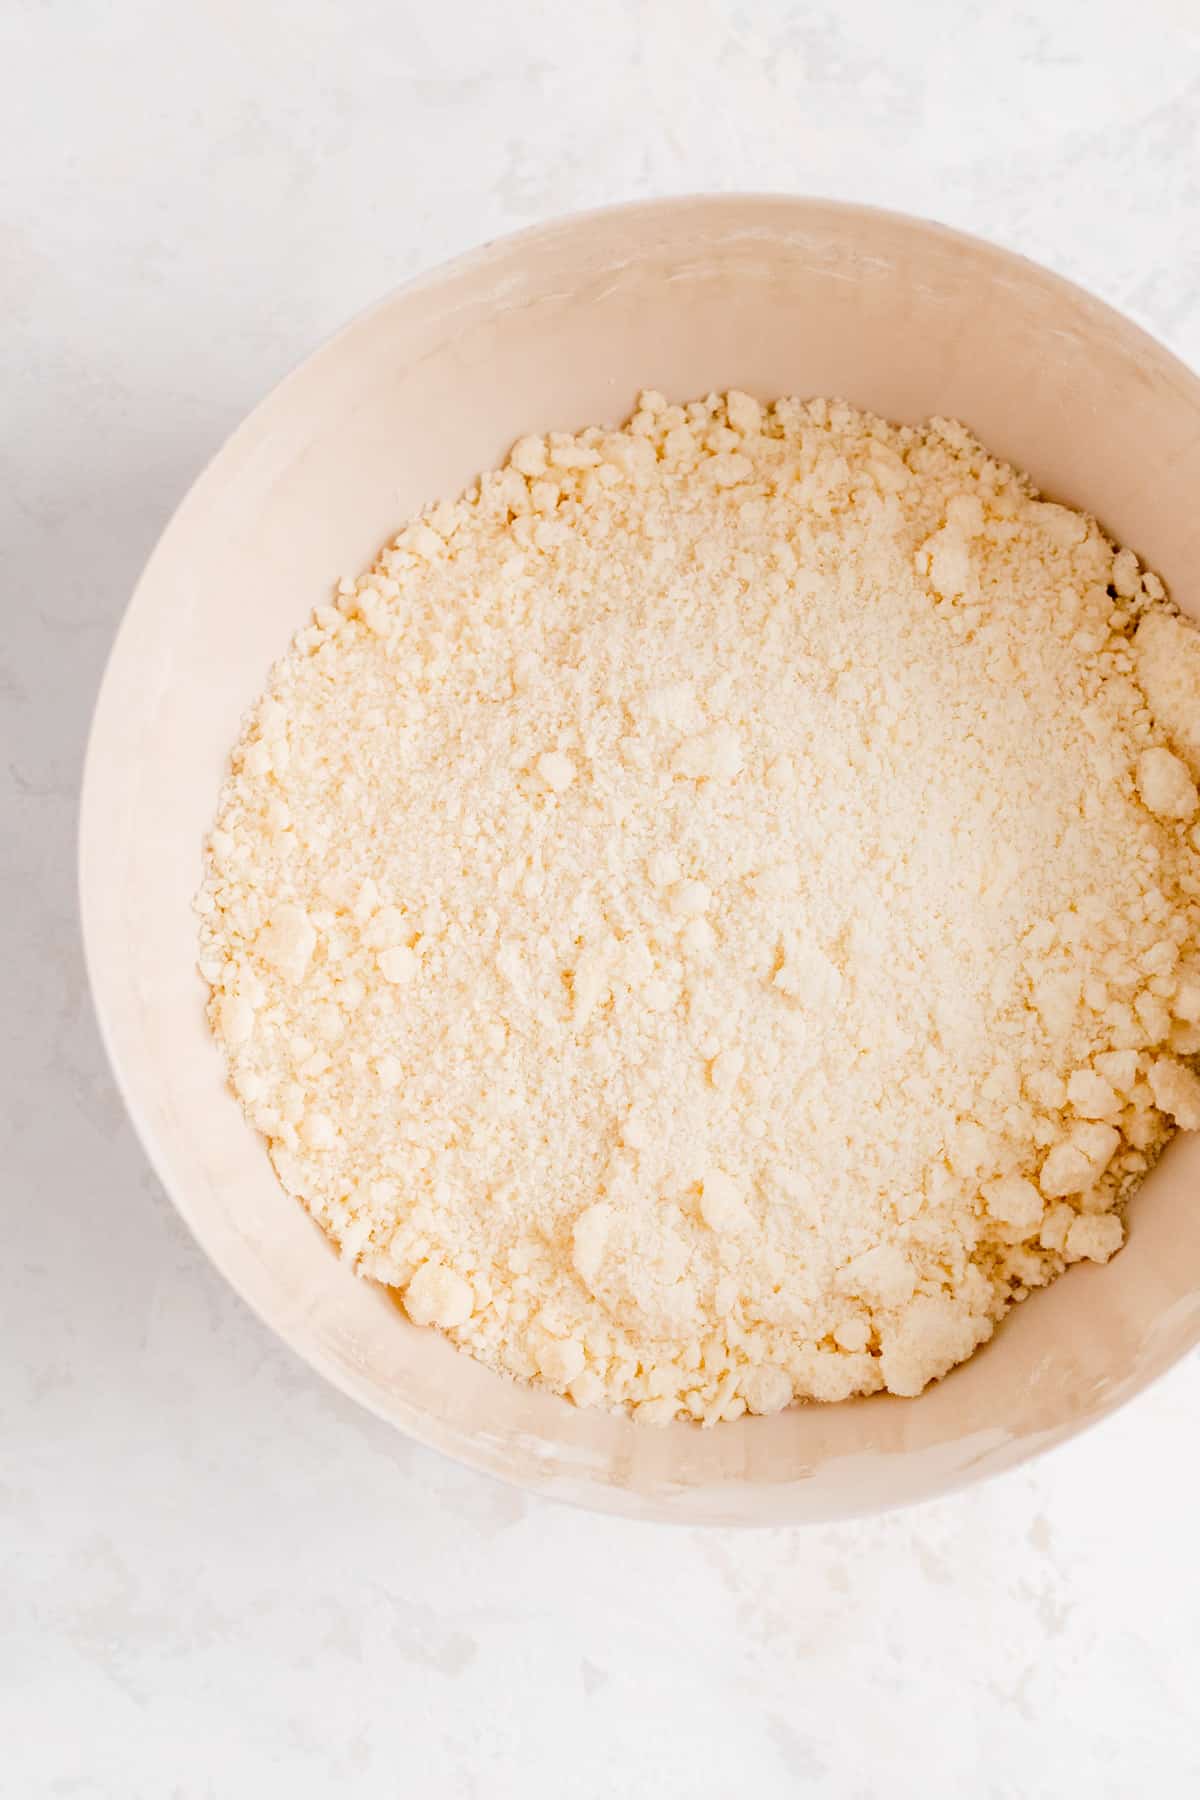
- Butter: for the cake, you want to make sure your butter is well mixed in. So, if you find your mixer is leaving big pieces, just rub those into the dry ingredients by hand until you have nice, even, coarse crumbs.
(p.s. for all the basic tips that no one ever taught you, that are super important to help you bake your best, check out my Baking 101 series!)
Special Tools and Equipment You'll Need
No special equipment here, but I do want to mention that your microwave-safe container for your caramel should be 3-times as big as your final ingredients.
In theory, your caramel shouldn’t boil too much based on the cooking time in the recipe, but if you have a particularly powerful microwave, or your caramel is in a hot spot, it may boil. In this case, it can more than double in size – and no one wants to clean up that overflowing mess in your microwave.
How to Make This Apple Upsides Down Cake
(Pssst…if you're ready to just get baking, get all the details in the recipe card below!)
TO MAKE THE CARAMEL:
- Prep your pan and preheat your oven.
- Mix the dry ingredients well, then combine everything together.
- Microwave caramel until sugar starts to dissolve.
- Transfer caramel to pan.
- Immediately press apples into the caramel.
TO MAKE AND ASSEMBLE THE CAKE:
- Combine the dry ingredients, then combine the wet ingredients.
- Mix together the dry ingredients and the butter to form coarse crumbs.
- Mix in the wet ingredients.
- “Plop” cake batter into the pan over the apples, then smooth into an even layer.
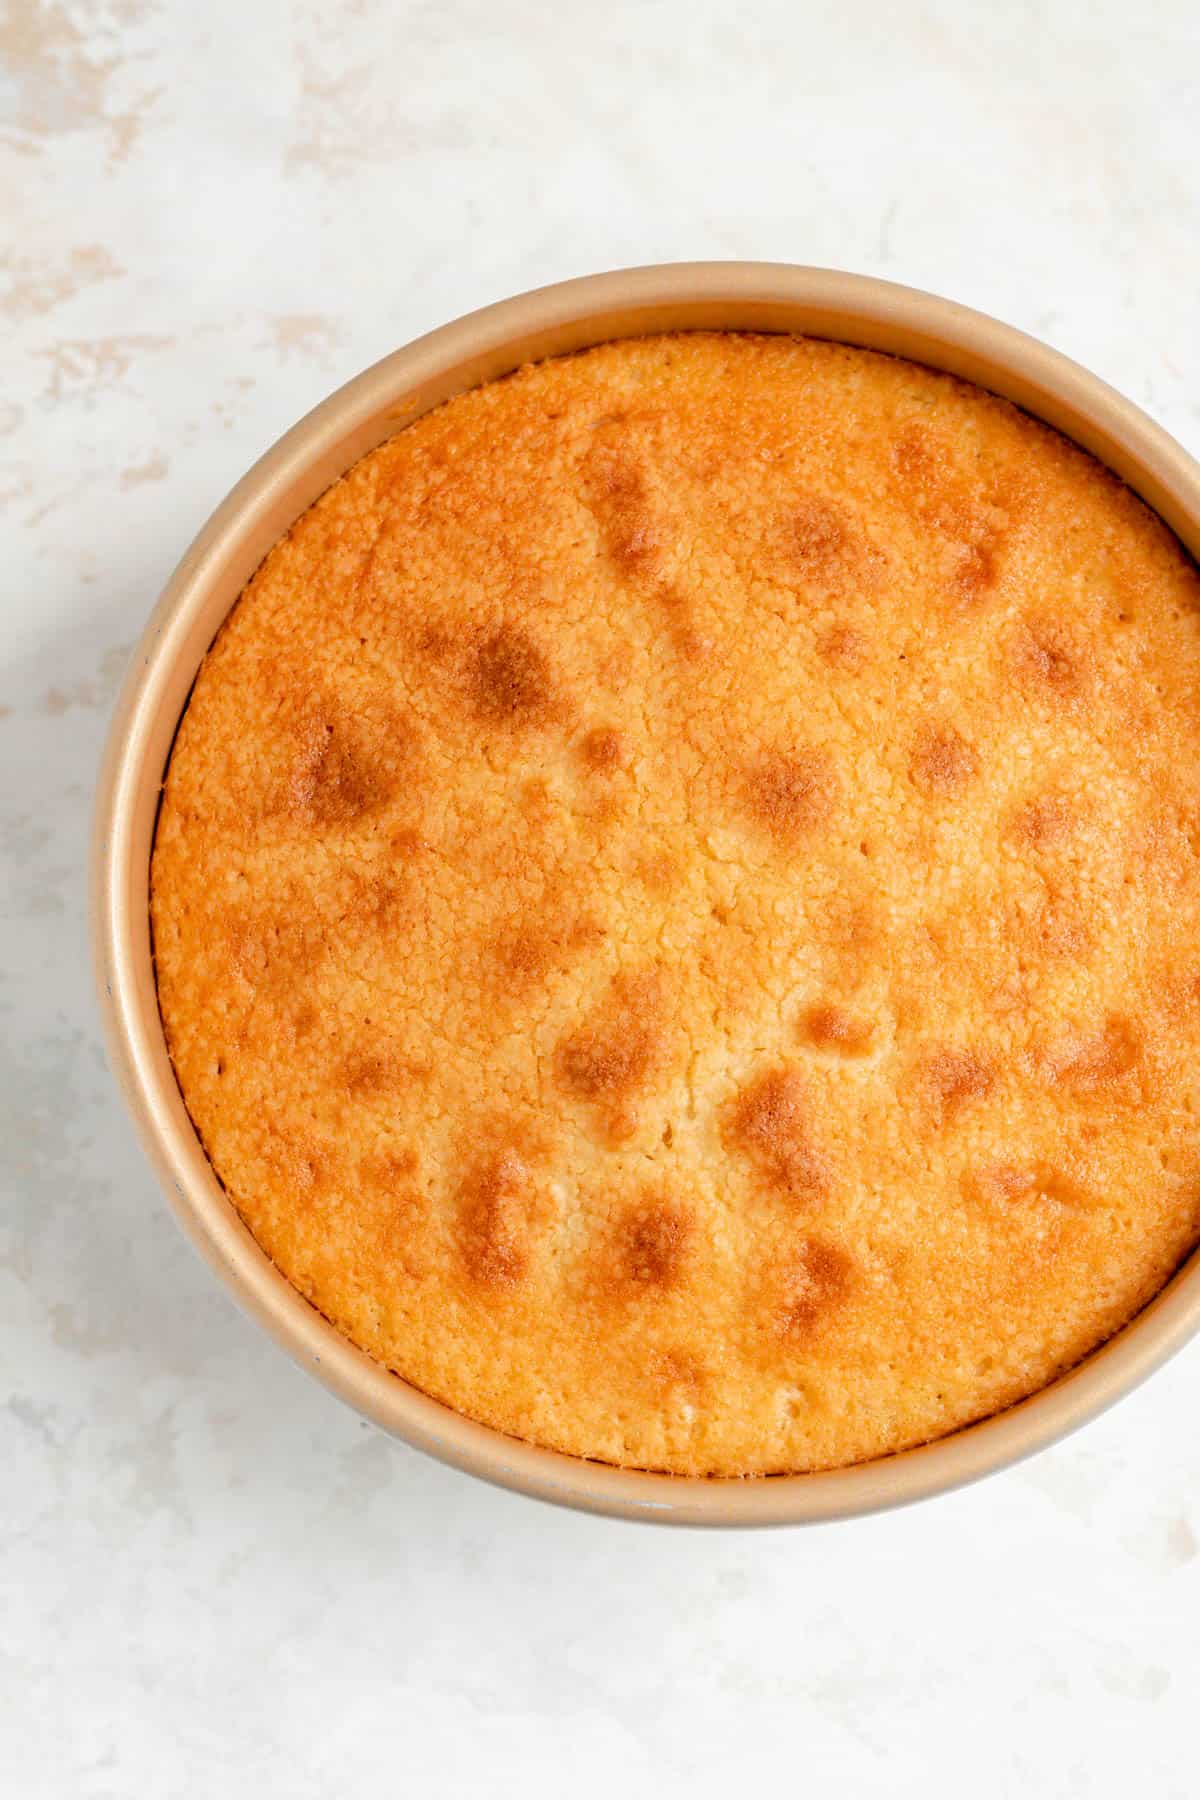
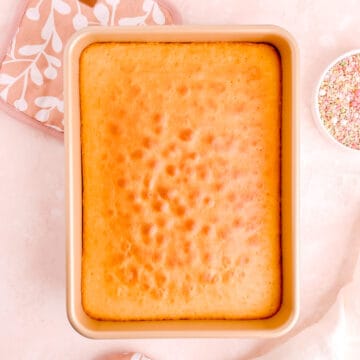
- Bake until deep golden-brown and fully set.

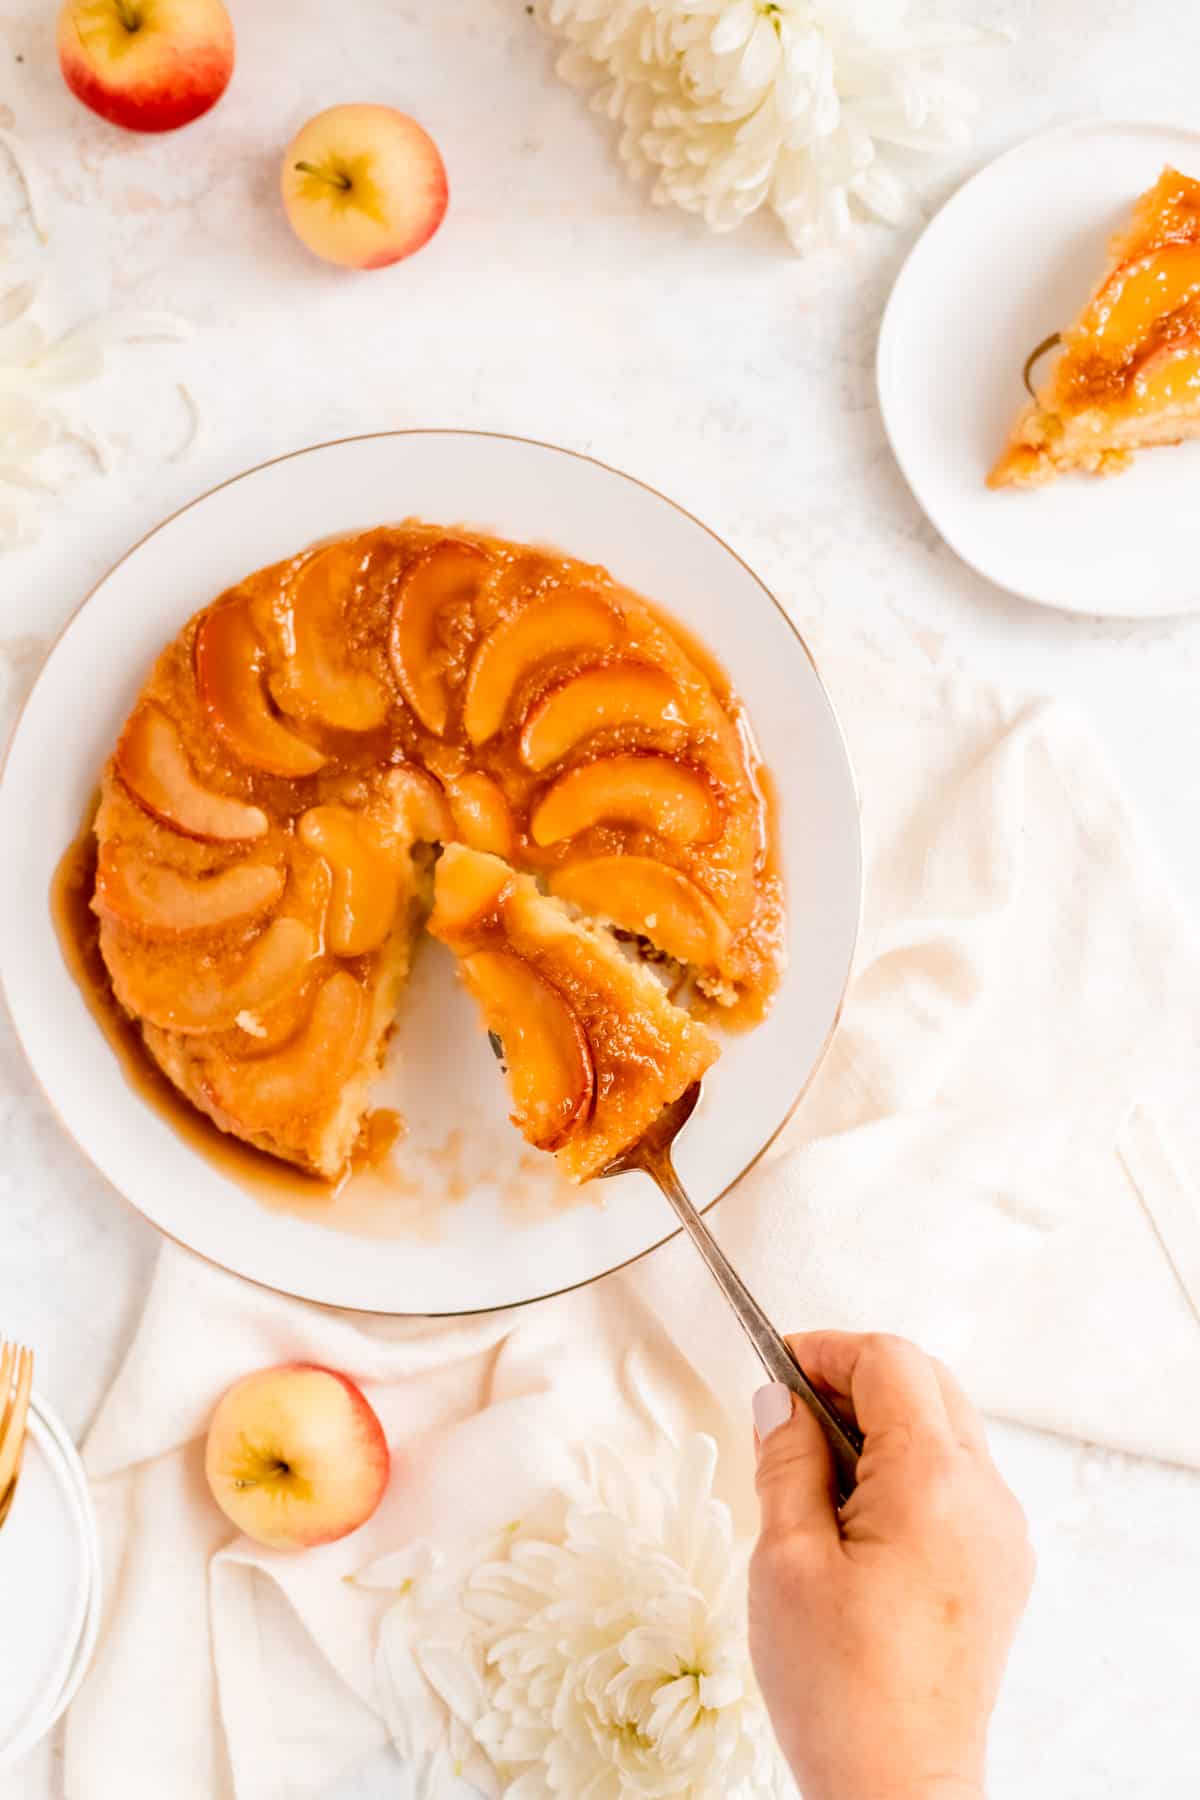
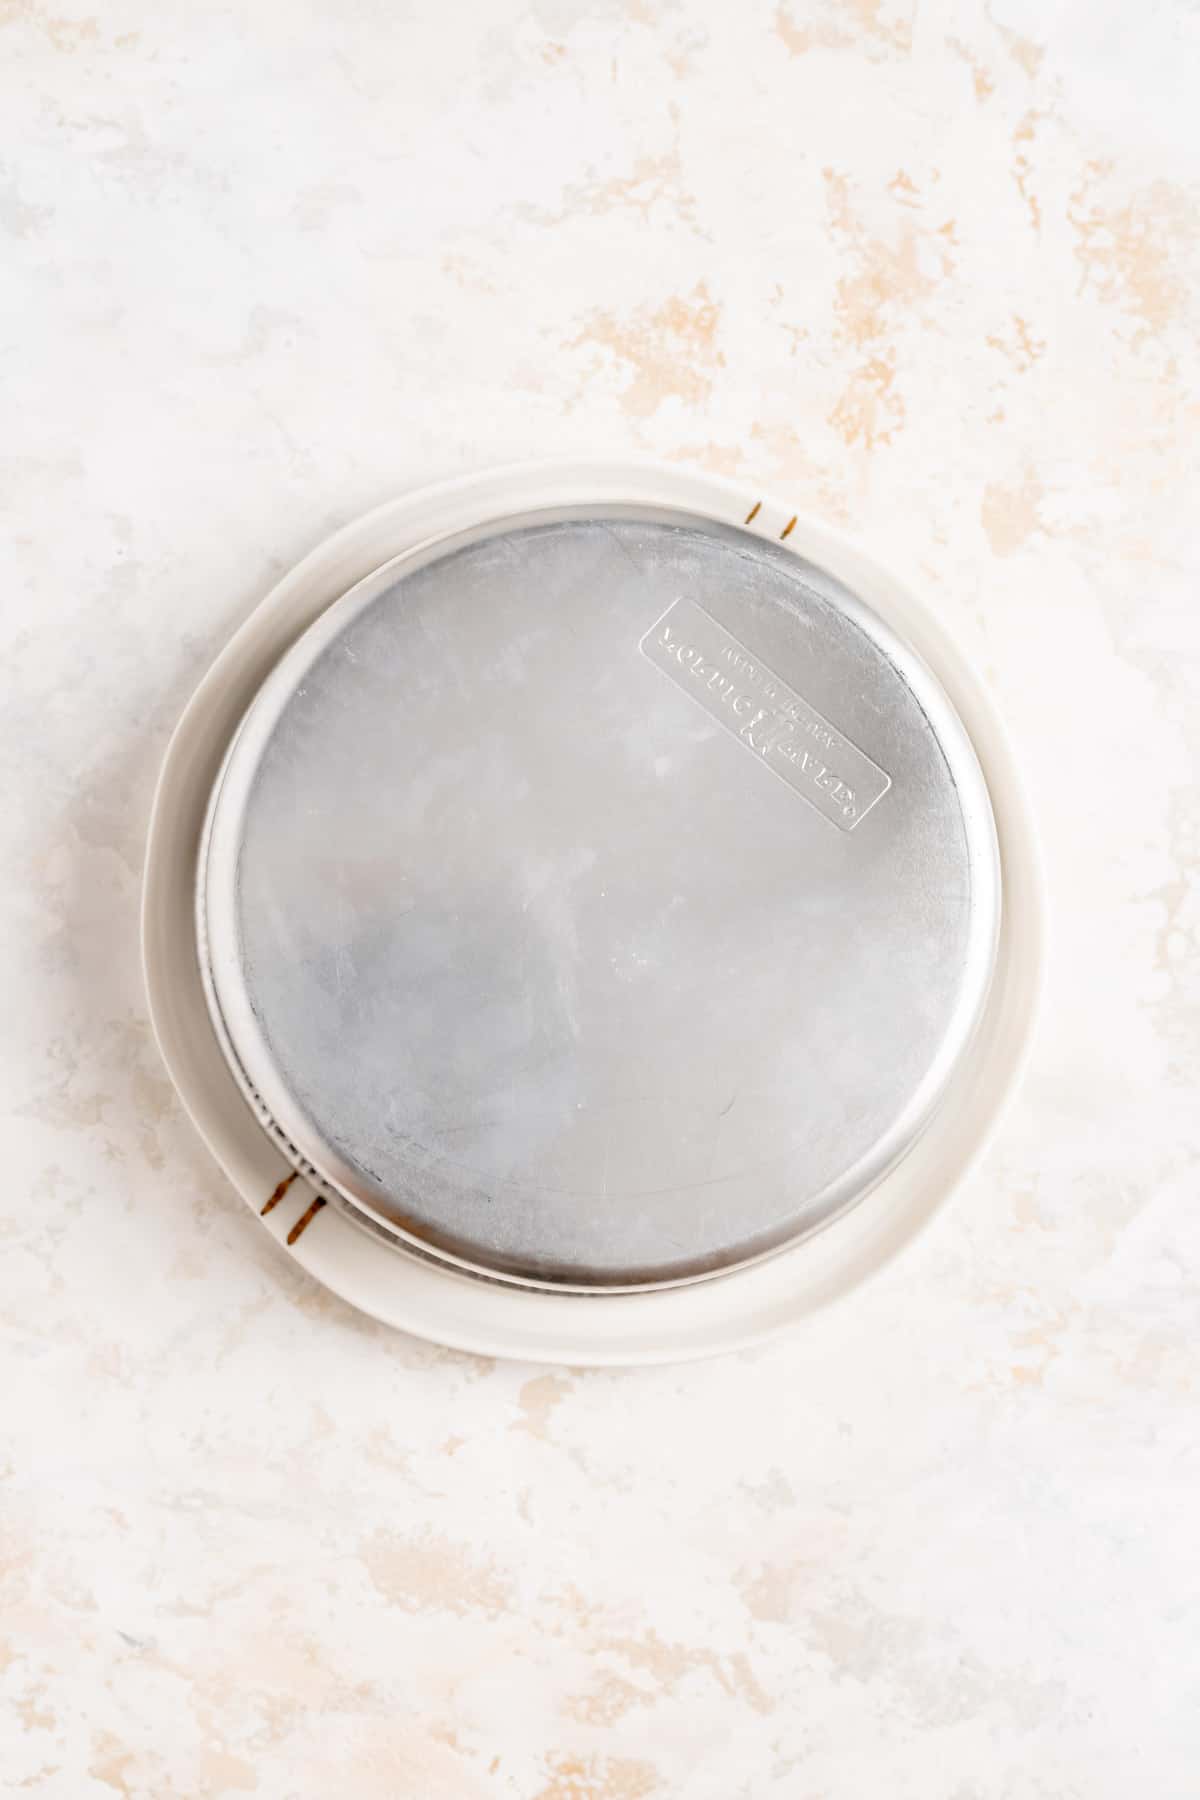
- Cool for 5 minutes, then flip onto serving plate.
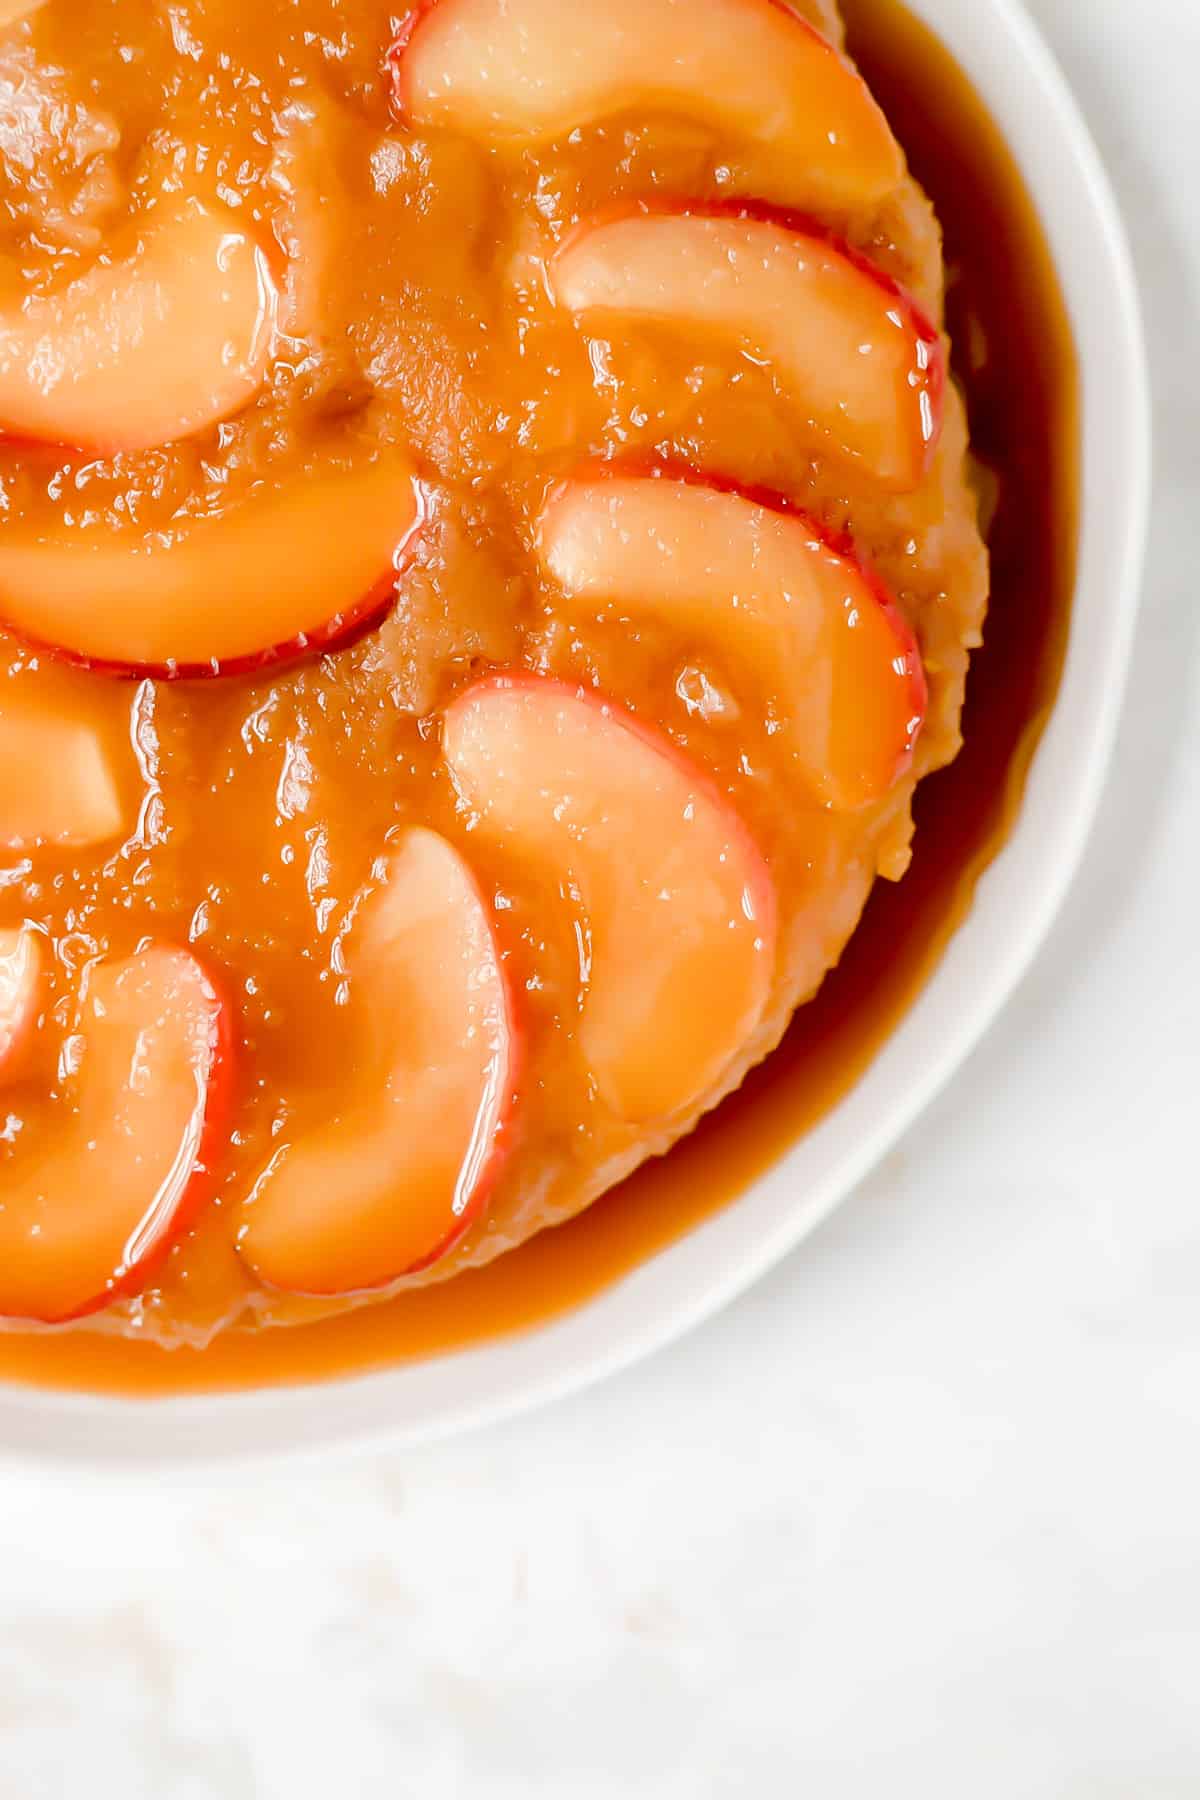
- Steam for 5 minutes, then un-pan and see your beautiful caramel apple top revealed!
Fun Ways to Make This Recipe Your Own
- Add in some pears or mix up the apple varieties for a customized for flavor profile. Caramel Apple and Pear Upside-Down Cake sure sounds good to me!
- Add in a little extra spice to jazz up the flavor.
- If you're in a hurry, you can even use a store-bought yellow cake mix for the batter, but I definitely recommend trying the scratch recipe your first time around!
*Expert Tips and Tricks* for Better Baking
Make sure to add your apples to the cake right after you cast the caramel into the pan. The caramel will harden quite quickly, and while you can reheat it or just lay the apples right on top, it’s helpful to be able to press and lock them into the caramel before it hardens.
Can you make this cake ahead of time?
Technically, yes, but I don’t recommend it. This cake is surprisingly delicious leftover, but there’s nothing that beats a fresh-baked upside-down cake, with a hot caramel sauce and a little vanilla bean ice cream on the side.
Can you freeze this cake? How do you store leftover cake?
This cake isn’t one I recommend freezing as you’ll lose a lot of the textural contrast that makes it so enjoyable. For storing leftovers, they’ll keep at room temperature for 3-4 days, well-wrapped in an airtight container.
What kind of apples should I use for baking?
Baking apples are the best way to go for any sweet treat, and you can learn more about them in a great article here. My personal go-to is always Braeburn apples as I find they’re a great balance of good flavor and good structure. I also love Honeycrisp and Pink Lady too if you can’t find Braeburn.
Can you make this with cake mix instead of from scratch?
You absolutely can try this cake with your favorite box mix. But, because box mixes vary in texture and density, you’ll have the best results, both in terms of flavor and texture, if using this tested scratch recipe (and I promise the little bit of extra work is more than worth it)!
Other Recipes You'll Love
Be sure to check out these other tasty apple recipes:
- Cinnamon Rolls with Apple Pie Filling (and cream cheese glaze!)
- Apple Hand Pie Pockets with Cinnamon Streusel
And here are a few of my favorite fall spiced treats:
- Cinnamon French Toast Pancakes
- Cinnamon and Sugar Donut Muffins
- Mini Jam-Filled Strawberry Donut Muffins
- Fluffy Lemon Pancakes with Fresh Lemon Whipped Cream
- Classic Buttermilk Pancakes
- Blueberry Scones with Maple Glaze
- Sour Cream Blueberry Muffins with Cinnamon Streusel

⭐ If you gave this recipe a try please give it a ⭐ rating and tag me on Instagram @mint.and.mallow.kitchen so I can see what you're baking up! ⭐
📖 Full Recipe
Easy Maple Caramel Apple Upside Down Cake
Ingredients
FOR THE CARAMEL:
- ⅓ cup brown sugar
- ⅓ cup granulated sugar
- 2 tablespoons cornstarch
- ¼ teaspoon salt
- 1 tablespoon unsalted butter (melted)
- 1 tablespoon maple syrup
- 2 teaspoons milk
- 1 large or 2 small apples (cored and cut into ¼" slices)
FOR THE CAKE:
- 1 ¼ cups all-purpose flour
- 1 cup granulated sugar
- 1 teaspoon baking powder
- ½ teaspoon salt
- ½ cup milk
- 1 large egg
- 1 teaspoon vanilla extract
- 6 tablespoons (¾ stick) unsalted butter (softened)
Instructions
TO MAKE THE CARAMEL:
- Prep and preheat: preheat oven to 350°F. Grease the bottom of an 8" round pan (pan must be at least 1 ½" tall to prevent overflow).
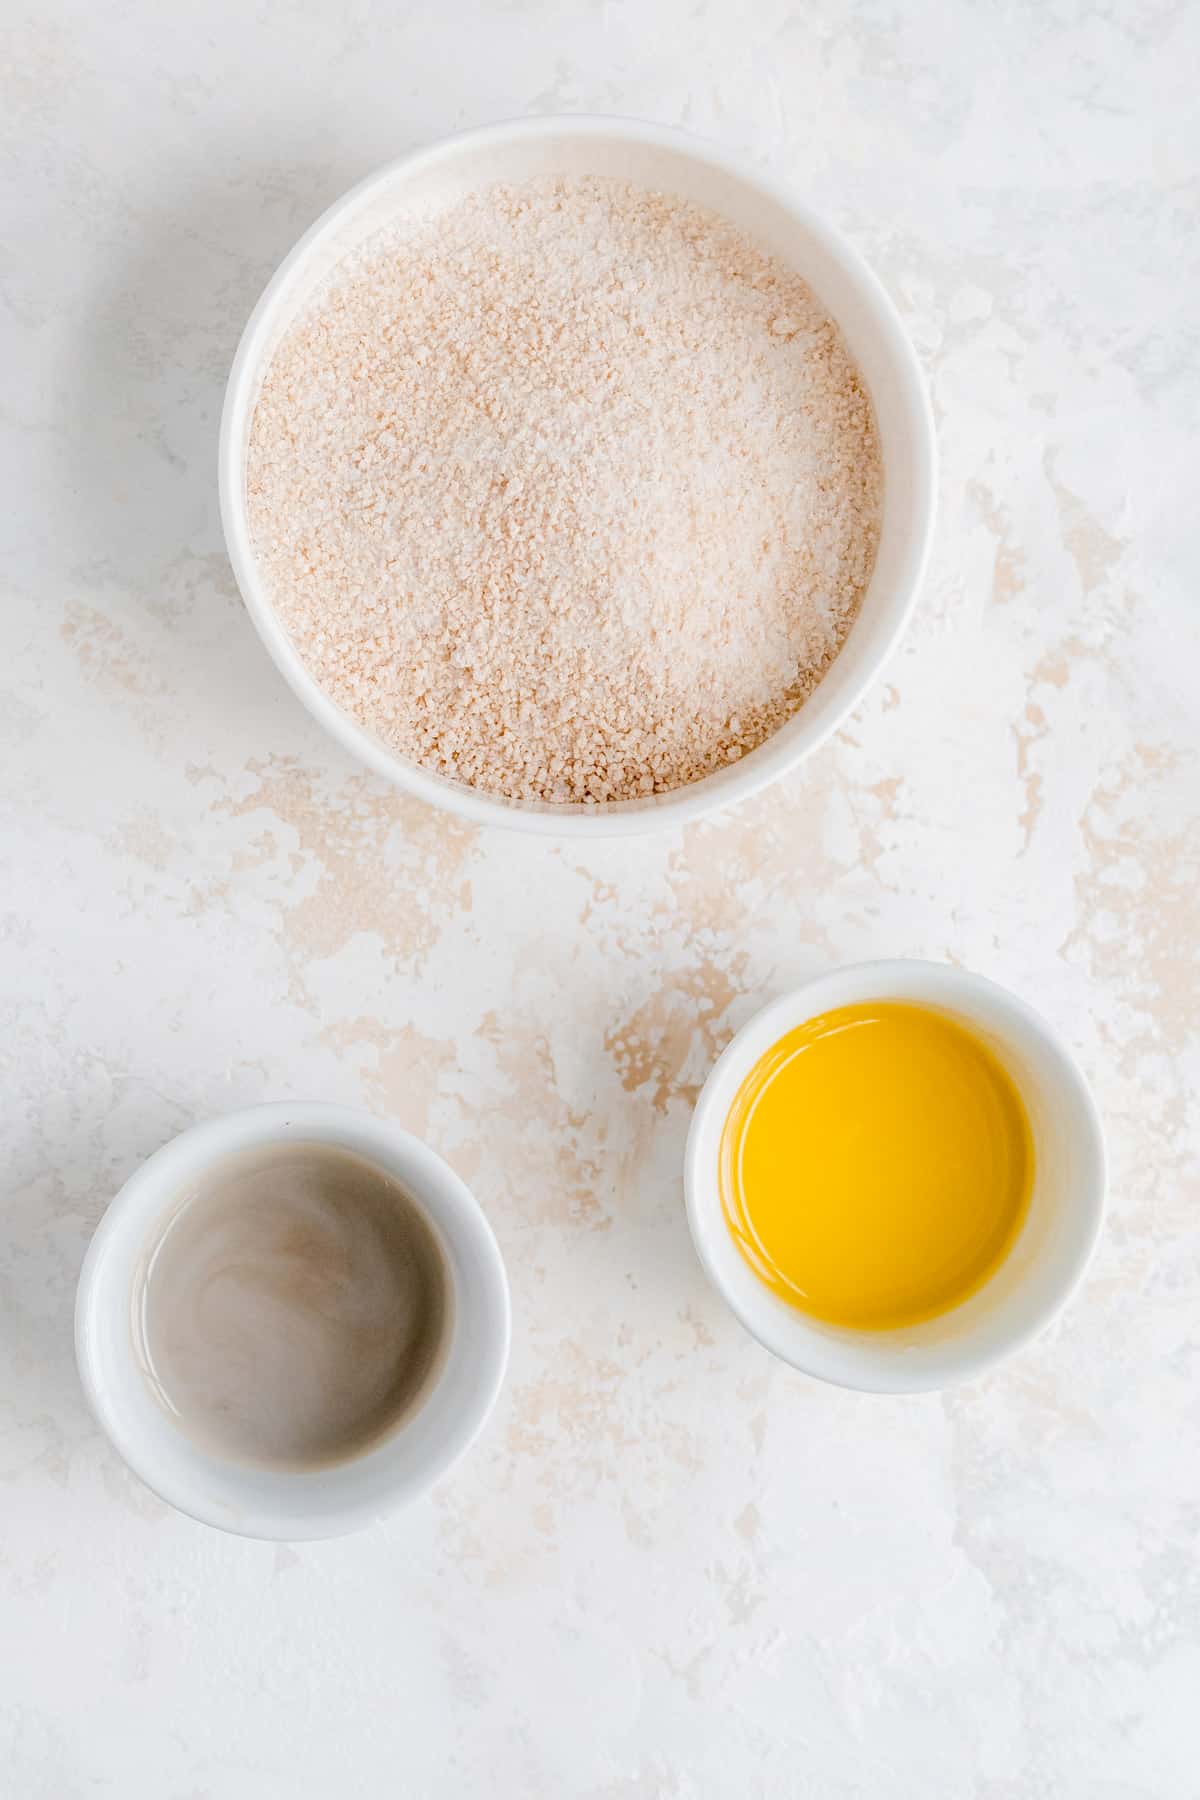
- Mix dries, then combine other ingredients: stir together brown sugar, granulated sugar, cornstarch, and salt for the caramel in a large microwave-safe bowl or pitcher, paying special attention that no cornstarch lumps remain (you'll want the bowl to be 2-3 times bigger than all the caramel ingredients combined just in case it boils up in the microwave). Add the melted butter, maple syrup, and milk to dry ingredients, and stir with a whisk or fork until smooth and well blended (if it's a little clumpy because the butter cooled, that's okay too).
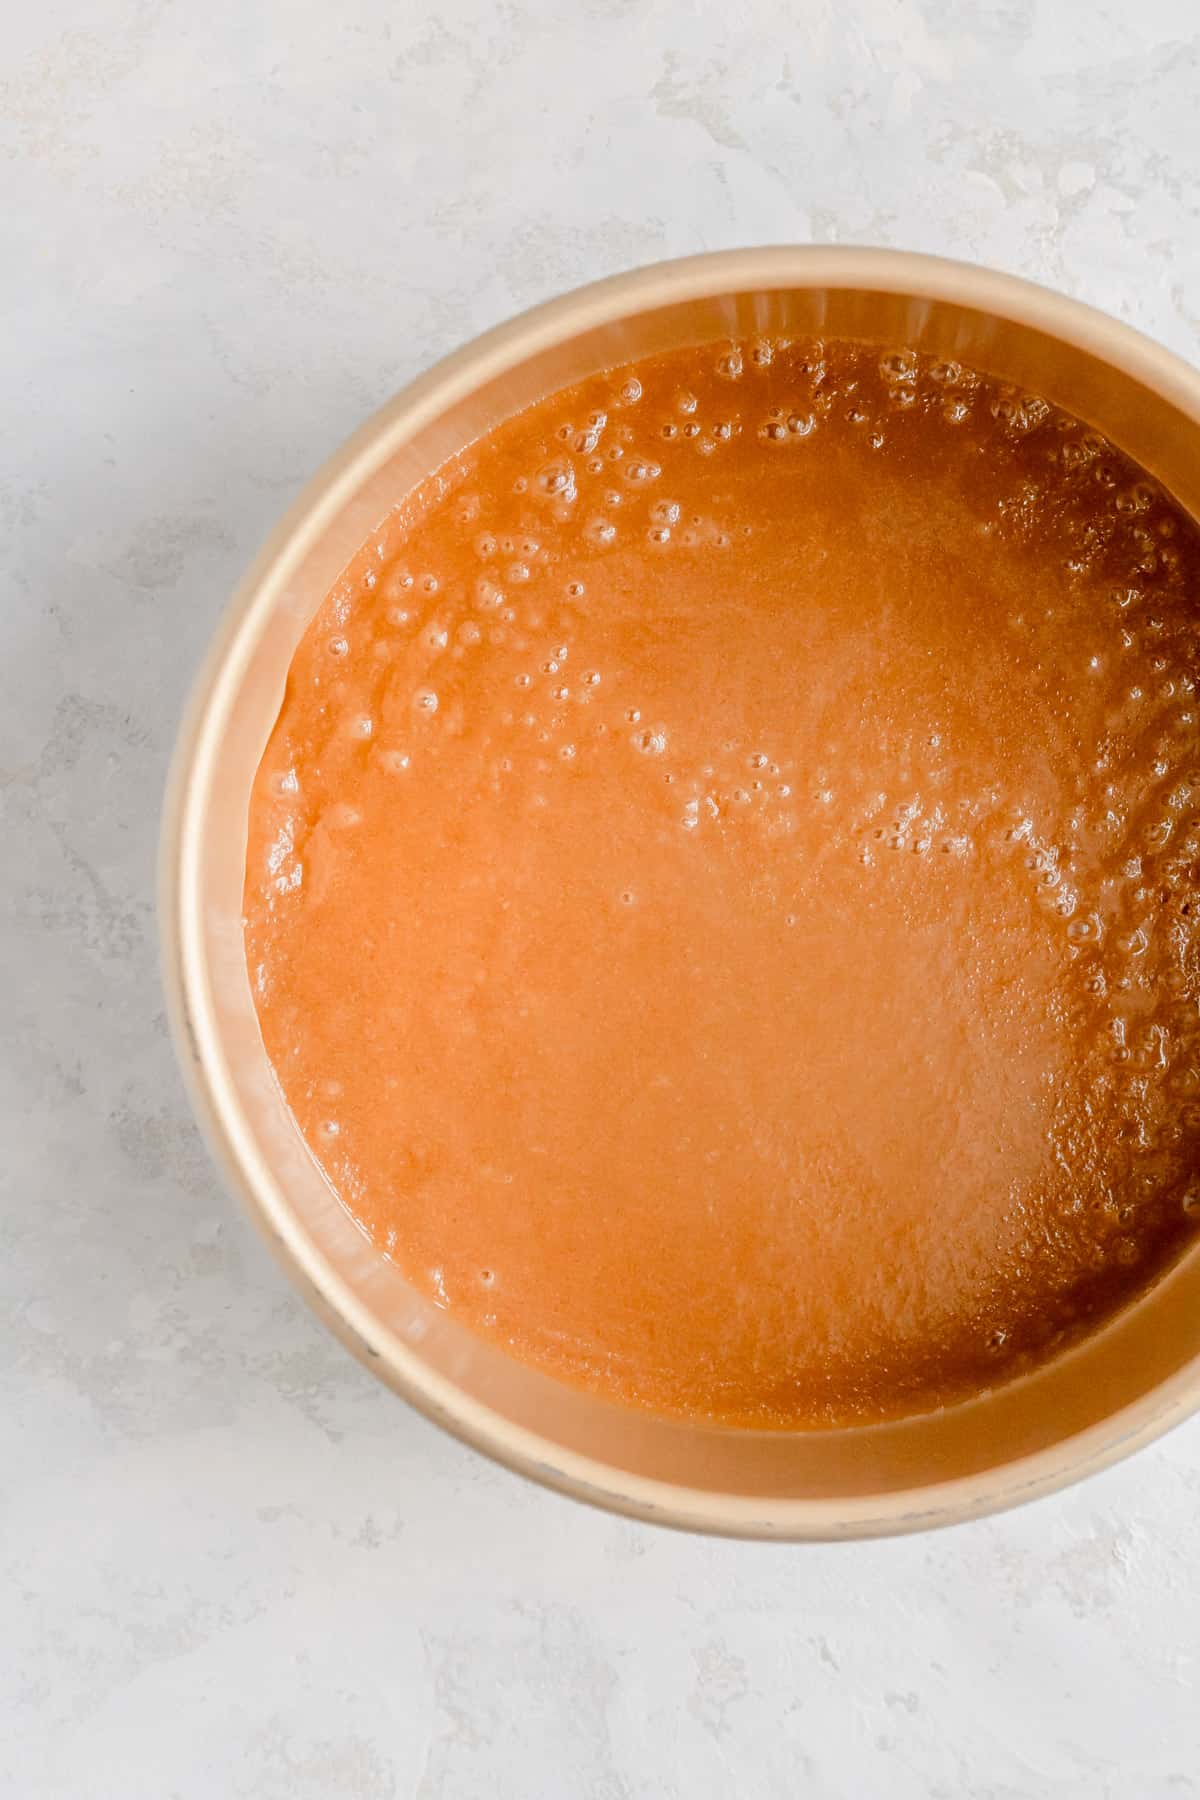
- Microwave caramel: microwave for 30 seconds on high, remove from the microwave, and stir briefly, then microwave for another 30 seconds until sugar starts to dissolve, and mixture is bubbling or possibly starting to boil. (Be careful not to overcook the caramel as it will expand substantially, and possibly overflow to make a mess of your microwave if fully boiling!)
- Transfer to pan: carefully pour hot caramel into the pan, then shake/tip pan to spread caramel evenly throughout the bottom.
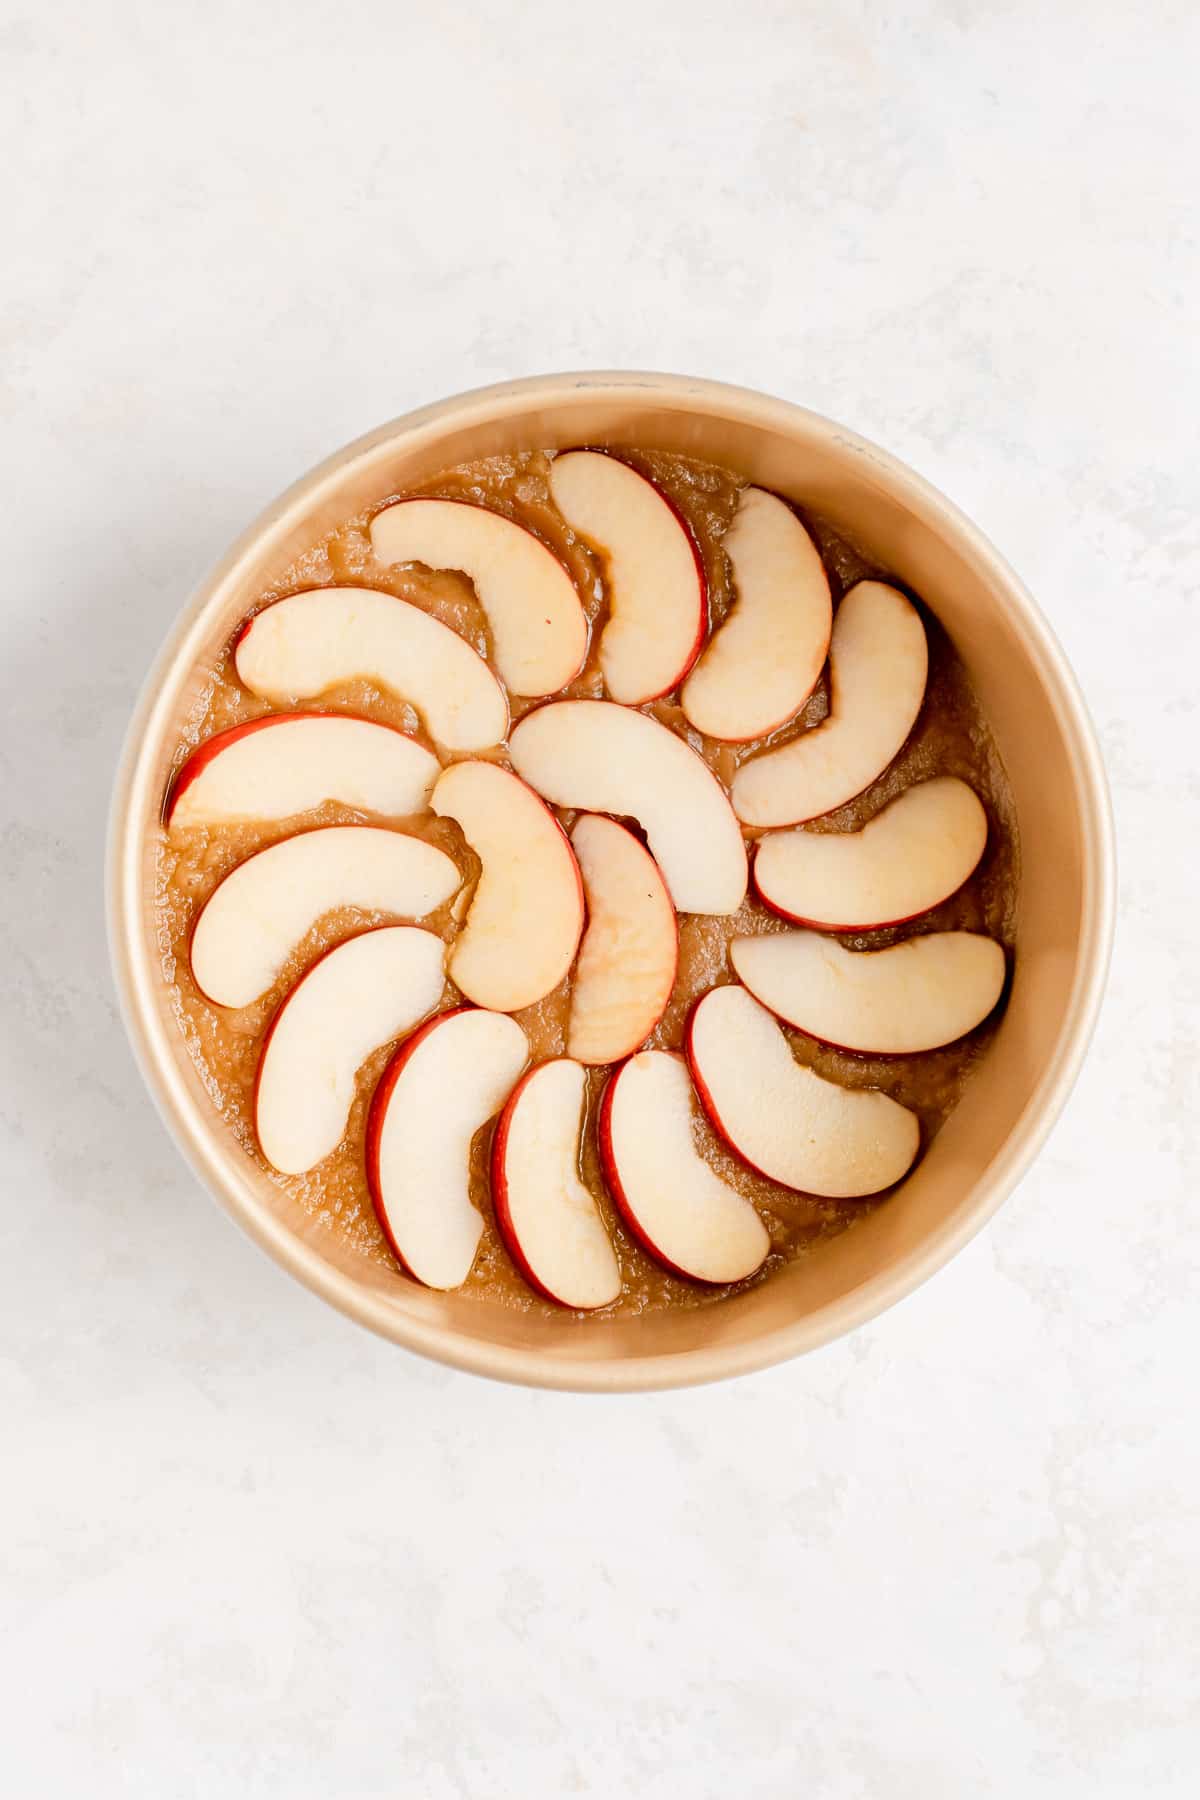
- Place apples on caramel: while the caramel is still hot, carefully arrange sliced apples on top of the caramel sauce in your desired pattern (I did mine in a ring!).*
TO MAKE AND ASSEMBLE THE CAKE:
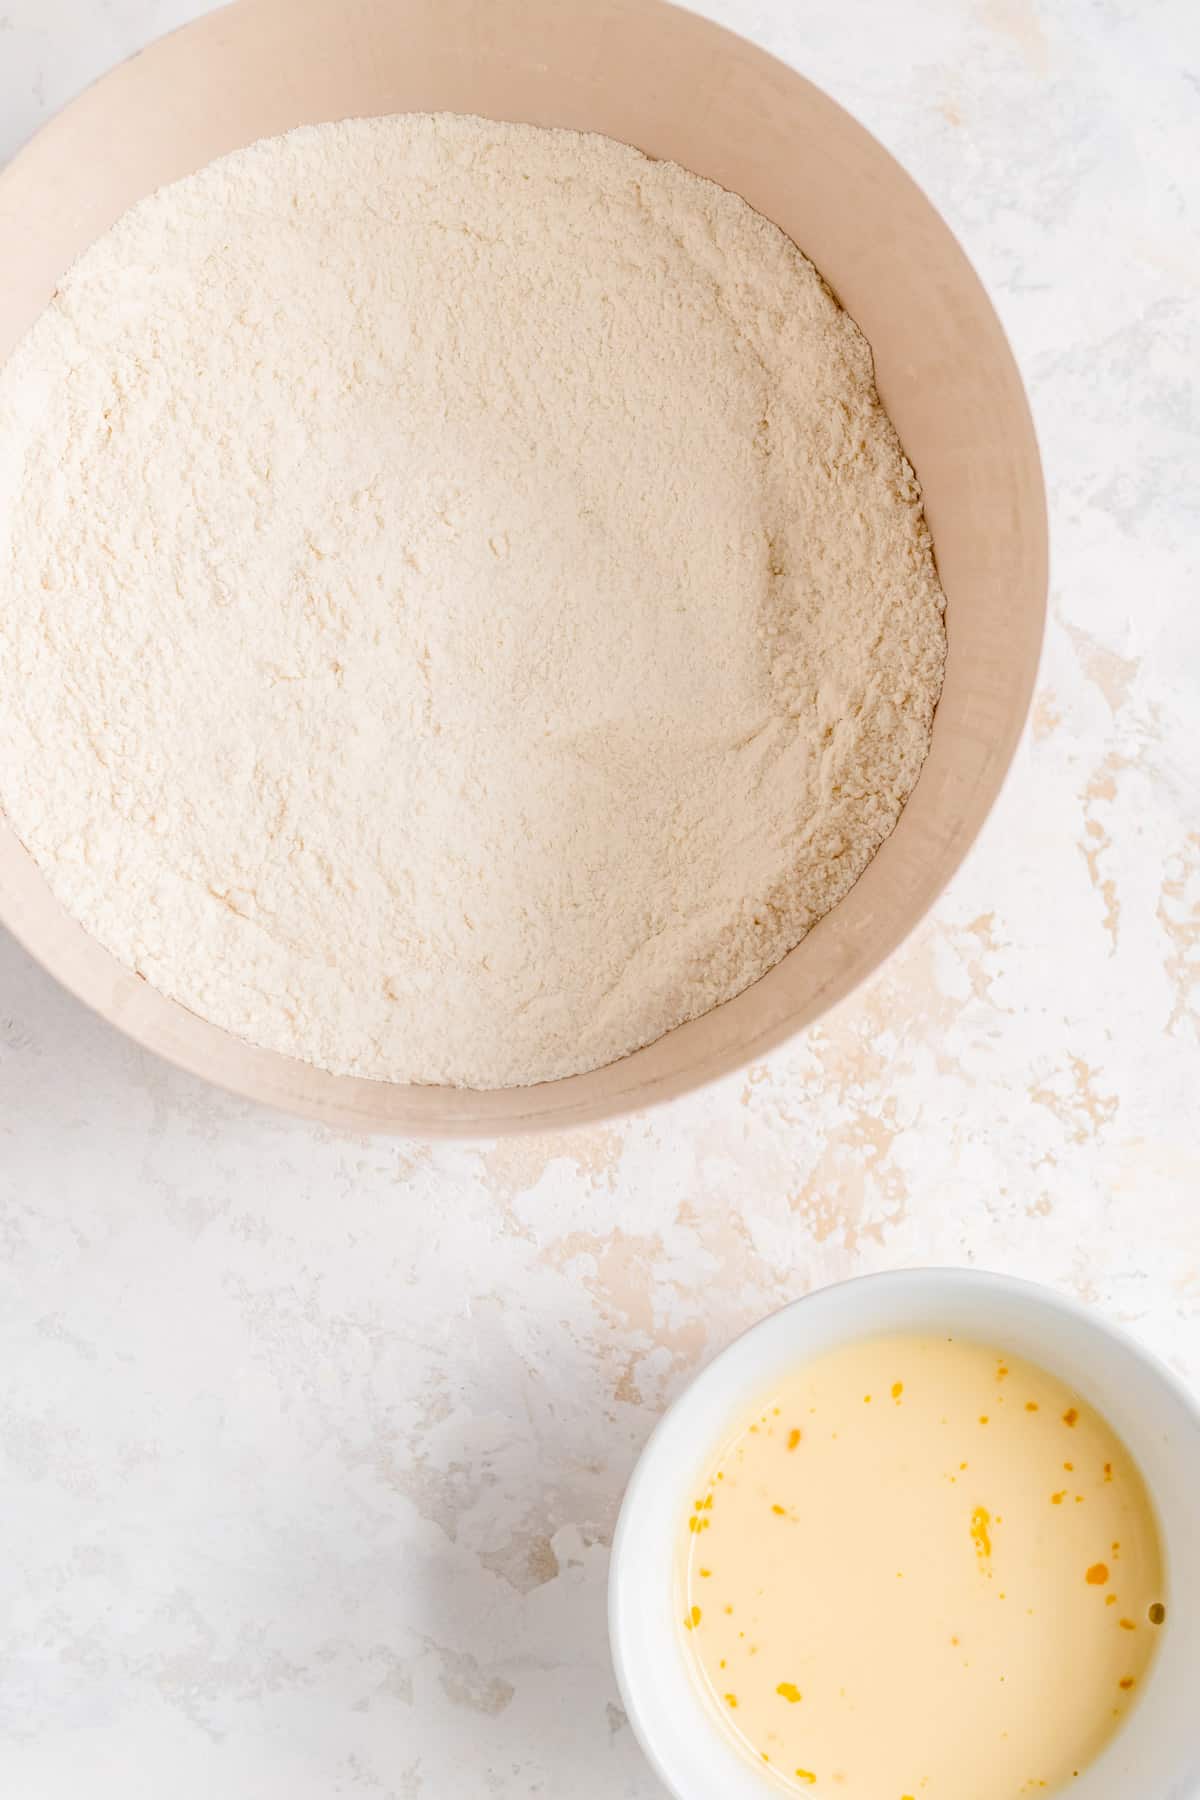
- Combine dry ingredients, then combine wet ingredients: stir together all dry cake ingredients in a medium-sized mixing bowl until combined. In a separate small bowl, stir together milk, egg, and vanilla until well blended.
- Mix in butter: combine the dry mix and softened butter until evenly blended and crumbly, using a hand or stand mixer on low.
- Mix in the wet ingredients: pour in the egg mixture and beat on medium-high speed for 30 minute until smooth, fully blended, and fluffy.
- Add cake batter to pan: gently "plop" cake batter in several piles across the surface of the apples, then use a spatula or offset spatula to gently spread batter into an even layer, filling in all the holes.
- Bake to deep golden brown: bake until cake is a deep golden brown and feels fully set on top in the center, about 38-42 minutes.
- Cool and flip: let cake cool for 5 minutes on a wire rack after removing it from the oven, and have the serving plate ready.** After that brief cool, with oven-mitts on, place the serving plate over the still-hot cake pan, press them tightly together, then flip while continually pressing together (I recommend doing this over the sink in case anything goes wrong!).
- Steam, then remove the cake pan: once the serving plate is on the bottom, set it down on the counter. Allow the cake to sit with the pan still on top for 5 minutes to steam (this helps with the release). Once the 5 minutes is up, still wearing the oven mitts, slowly and carefully remove the pan from your cake, and see your beautiful caramel apple top revealed! (If anything sticks in the pan, just use a knife to gently loosen it and replace it on the top of the cake and feel free to scrape out any extra caramel as well!).
- Serve and enjoy: serve warm (maybe with a little vanilla ice cream - yum, yum!) - and enjoy the apple-y maple caramel deliciousness!
Test Kitchen Tips
- *Add the apples immediately: be sure to add the apples right after pouring the caramel into the pan because it will set up quickly. If this happens, just place the pan in the oven and check it every two minutes to re-liquify the caramel so you can easily add the apples again.
- **Flip it while it's hot: make sure you don't let your cake cool for more than 5-10 minutes in the pan or it will likely be stuck in there (in which case, I'd recommend still eating with a spoon out of the pan, or scooped on top of some ice cream as it will still be soooooo tasty!).
- Warning - caramel is HOT: the cake and caramel especially will be VERY HOT when you flip the cake out of the pan so be sure to wear oven mitts so you don't get burnt.
Comments
No Comments